
The Legend of Zelda: Tri Force Heroes Guide Clothing Quest World 8: Sky Realm
Level 4: Sky Temple
ChallengesClear within the time limit Clear without any items Fewer Heart Containers Sub-WeaponsAll Materials
Recommended Outfits |


My goodness is this level challenging! Or rather, it would be if you didn’t bring the Hammerwear. So bring the Hammerwear, because you want to knock this level out with ease. (Don’t you?) Only one Link should wear the Hammerwear, while the others should wear the Sword Suit, the Legendary Dress, or some combination of the two.
This level is made up entirely of battles against a variety of enemies. You’ll be able to choose from every Sub-Weapon in the game a handful of times throughout the level. We’ll make sure to let you know what the best Sub-Weapons to choose for each area are.
Room 1
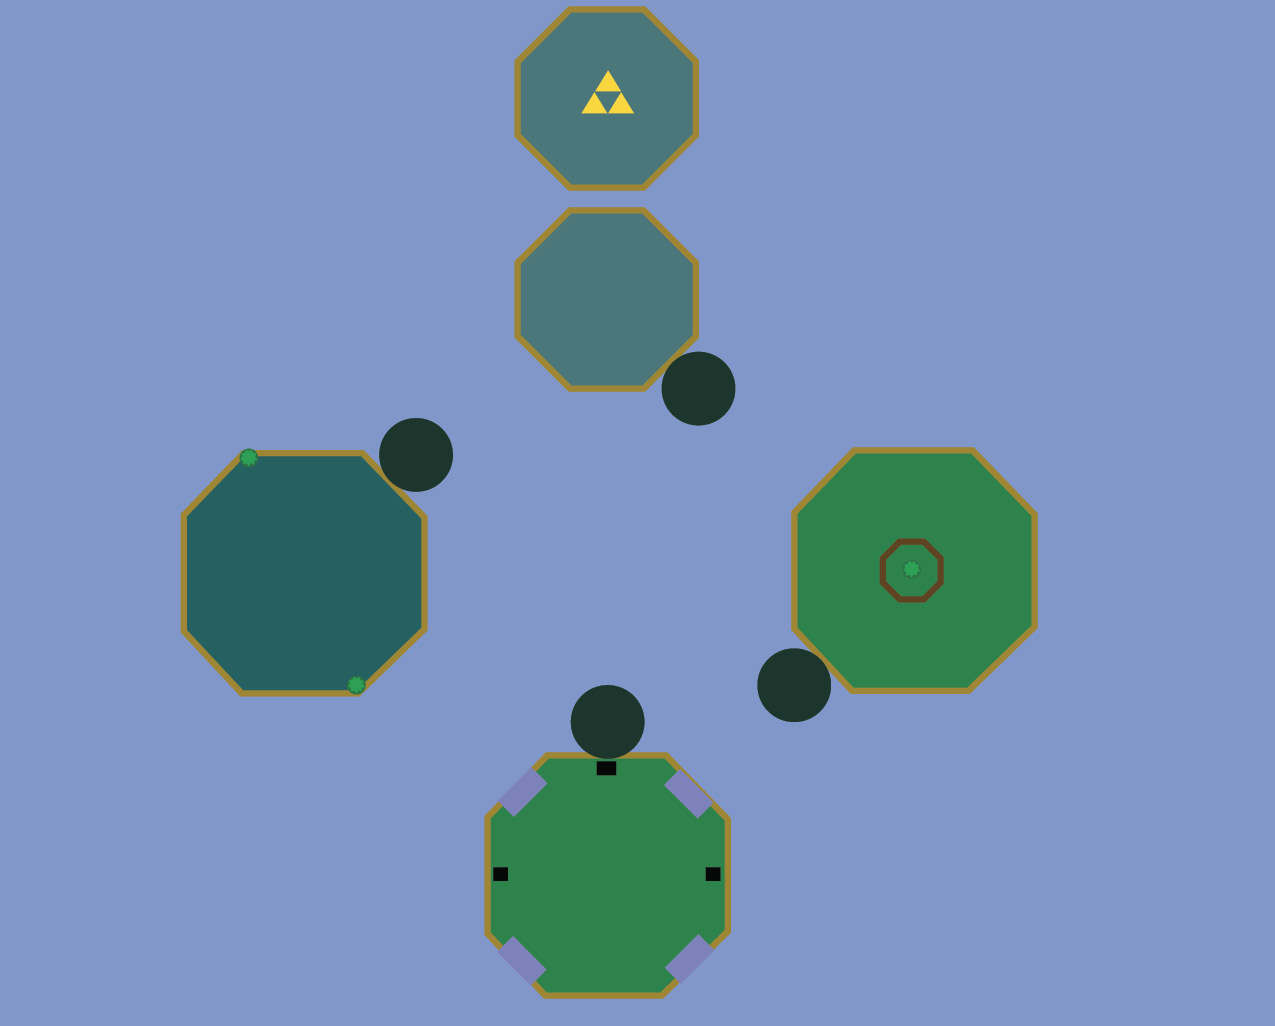
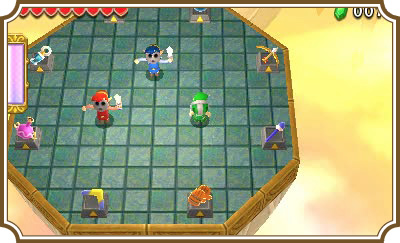
Platform One: You’ll find all of the Sub-Weapons in the game on this platform. You’ll want to pick the Bow, Magic Hammer, and Water Rod. As soon as you pick up three Sub-Weapons, a translucent platform will appear. Make a three-Link Totem with your Bow Link in the center, then step onto the platform.
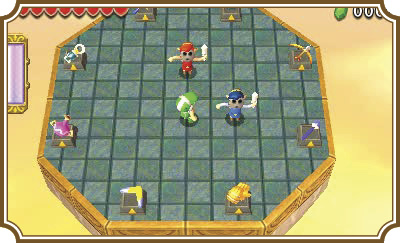
Platform Two: You’ll land on a small elevated platform in the center of a larger platform. Two Mini-Margos will appear and two Totem Dekus can be found on the left and right sides of the larger platform. You’ll want to take out the Totem Dekus first and foremost; they’ll make defeating the Mini-Margos far more challenging that it needs to be. Throw your top Link off of the Totem. Your Bow Link should now be on top. Aim at the taller Totem Deku on the right and shoot it with your Bow.
Now drop off the middle platform and take out the Totem Deku on your left. With both Totem Dekus out of the way, you’ll have a much easier time defeating the Mini-Margos. Throw a Link onto the middle platform again, then have that Link grab a Bomb and toss it toward one of the Margos as it stops.
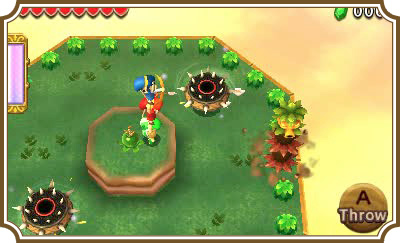
Once you’ve defeated the Mini-Margos, another translucent platform will appear. Make a three-Link Totem, then walk onto the platform.
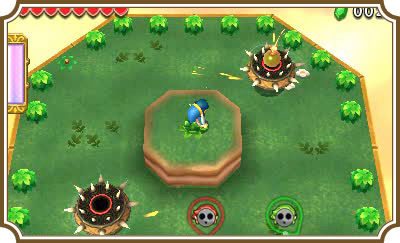
Platform Three: You’ll have to face three Water Tektites, two Water Octoroks, and a Keeleon on this watery platform. This fight is actually quite simple if you switch to your Water Rod Link. Just create water pillars under each enemy, then slash the enemy with your sword until it is no more.
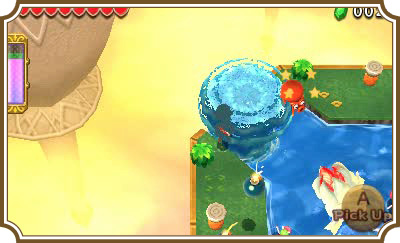
Once you’ve defeated all six enemies, another translucent platform will appear. Make a three-Link Totem and hop onto the platform.
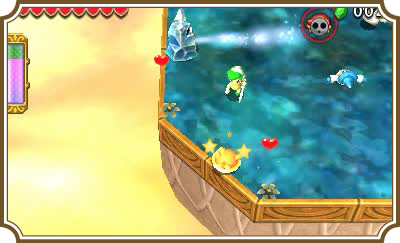
Platform Four: You’ll face two Freezards, two Ice Wizzrobes, and three Terrorpins on this iced platform. Use the Hammer to flip the Terrorpins, then slash them with your sword. The Ice Wizzrobes just need a good ol’ fashioned slashing to be defeated.
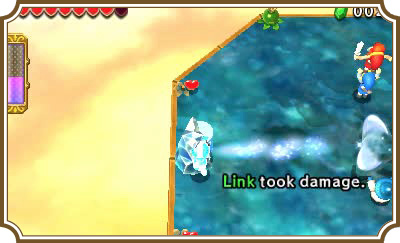
You can use your Hammer to smash the Freezards, but you run the risk of getting too close and taking damage by way of touching the Freezards. If you want to play it extra safe, you can always use Bombs. There is a Bomb Flower on both the north and south sides of the platform. You’ll need to pick one of the Bombs up and throw it next to each Freezard to destroy it. This is easier said than done, so don’t sweat it if it takes a couple of tries to land a Bomb next to a Freezard.
Once you defeat the Freezards, another translucent platform will appear. Make a three-Link Totem, then step on the platform and it will carry you to the Triforce gateway.
Room 2
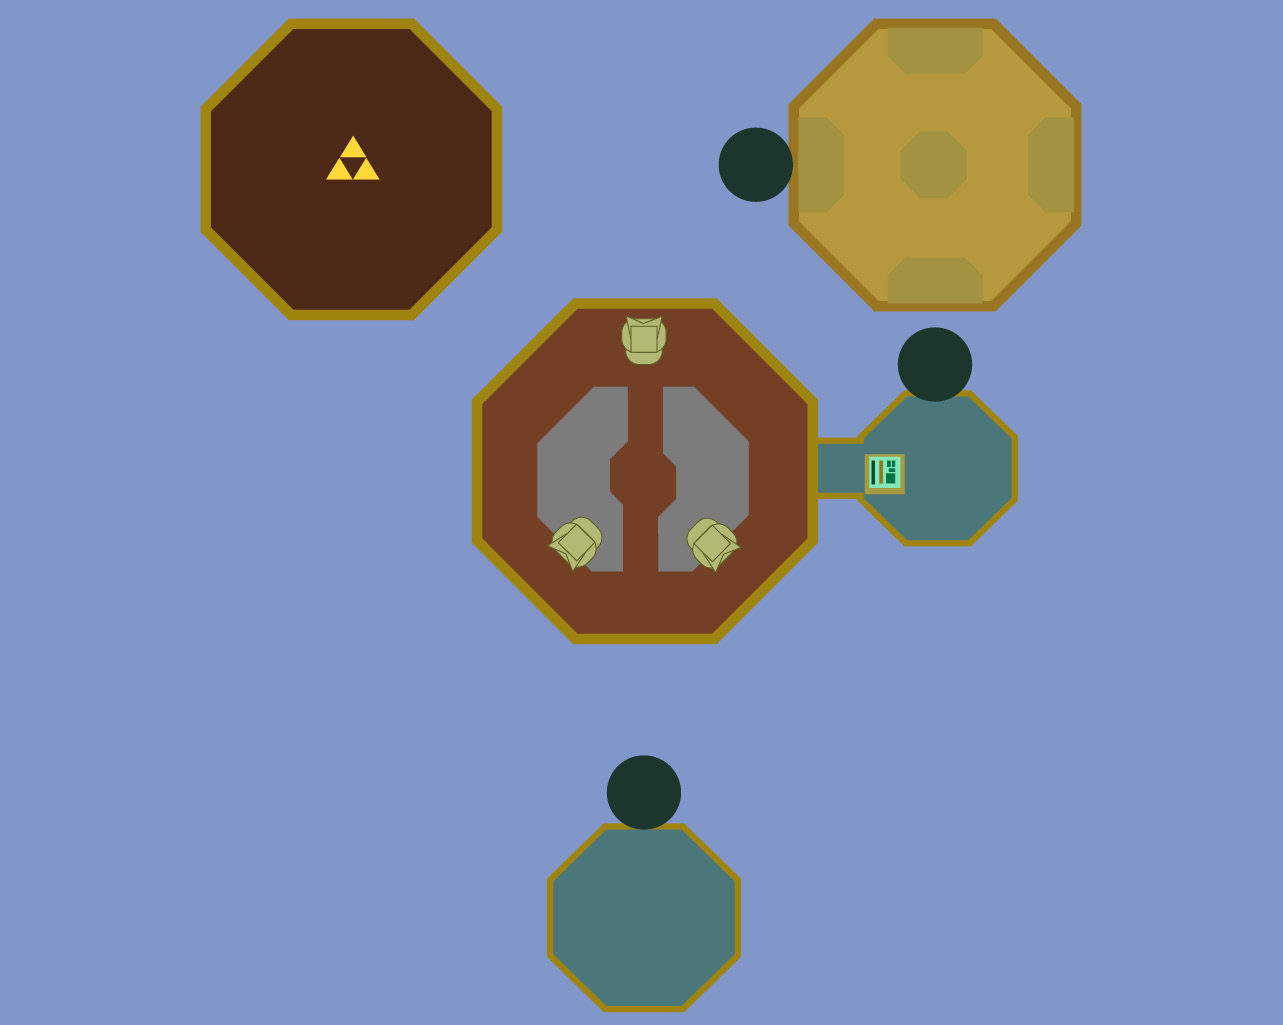
Platform One: Grab the Magic Hammer from the ring of Sub-Weapons, if you haven’t already. Any other Sub-Weapons for the other Links will do, just make sure to have some sort of projectile Sub-Weapon, like the Boomerang, Bow, or Gust Jar. The Magic Hammer in the hands of a Hammerwear-wearing Link is absolutely devastating for the rest of this level. When you’re ready, stand on the translucent platform with a three-Link Totem to move on.
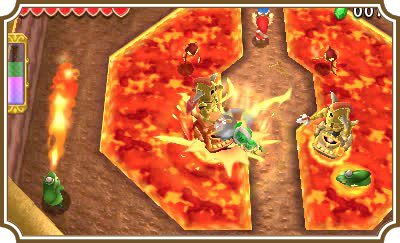
Platform Two: As soon as you land, two Totem Armos-Riding Soldiers, two Fire Keese, and two Kodongos will appear. Smash them. Smash them all (except for the Keese)! If you’re wearing the Hammerwear, the Hammer can smash the Kodongos in one hit and knock the Armos riders off of their Totem Armos. Another hit from your Hammer and the Soldiers will be dust. Now use a ranged Sub-Weapon to defeat the Fire Keese.
Once you’ve defeated all of the enemies, make a three-Link Totem and walk onto the translucent platform to the east.
Platform Three: You’ll find four sets of the slowing, prickly Morths, three Stalfos, and a Gibdo in this room. The Hammer will take care of them all with incredible ease—just make sure not to stand still in the sand or you’ll sink into it.
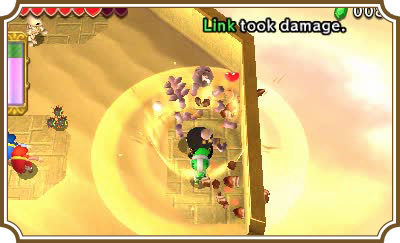
When you’ve defeated all of the enemies, make a three-Link Totem and hop onto the next translucent platform.
Platform Four: Now this platform is tricky. Well, it would be if you didn’t have the Hammer. You’ll face five Light Ghinis and a Sky Fire Chain Soldier, all of whom you’ll have to defeat in the dark, unless you defeat the Chain Soldier first.
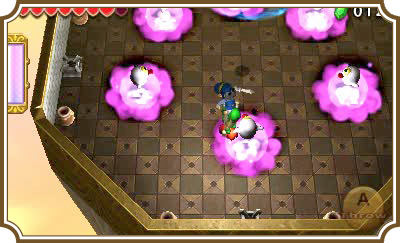
Move directly toward the Chain Soldier on the north side of the platform and smash it with the Hammer. As soon as it is defeated, four unlit torches on the four sides of the room will light. You’ll have to use your sword to take out the Light Ghinis, but they’re little more than Poes, meaning it only takes two hits to defeat them.
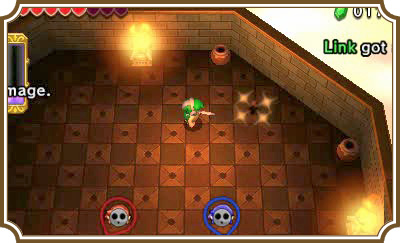
As soon as you defeat all six enemies, the Triforce gateway for this room will appear in the middle of the platform.
Room 3
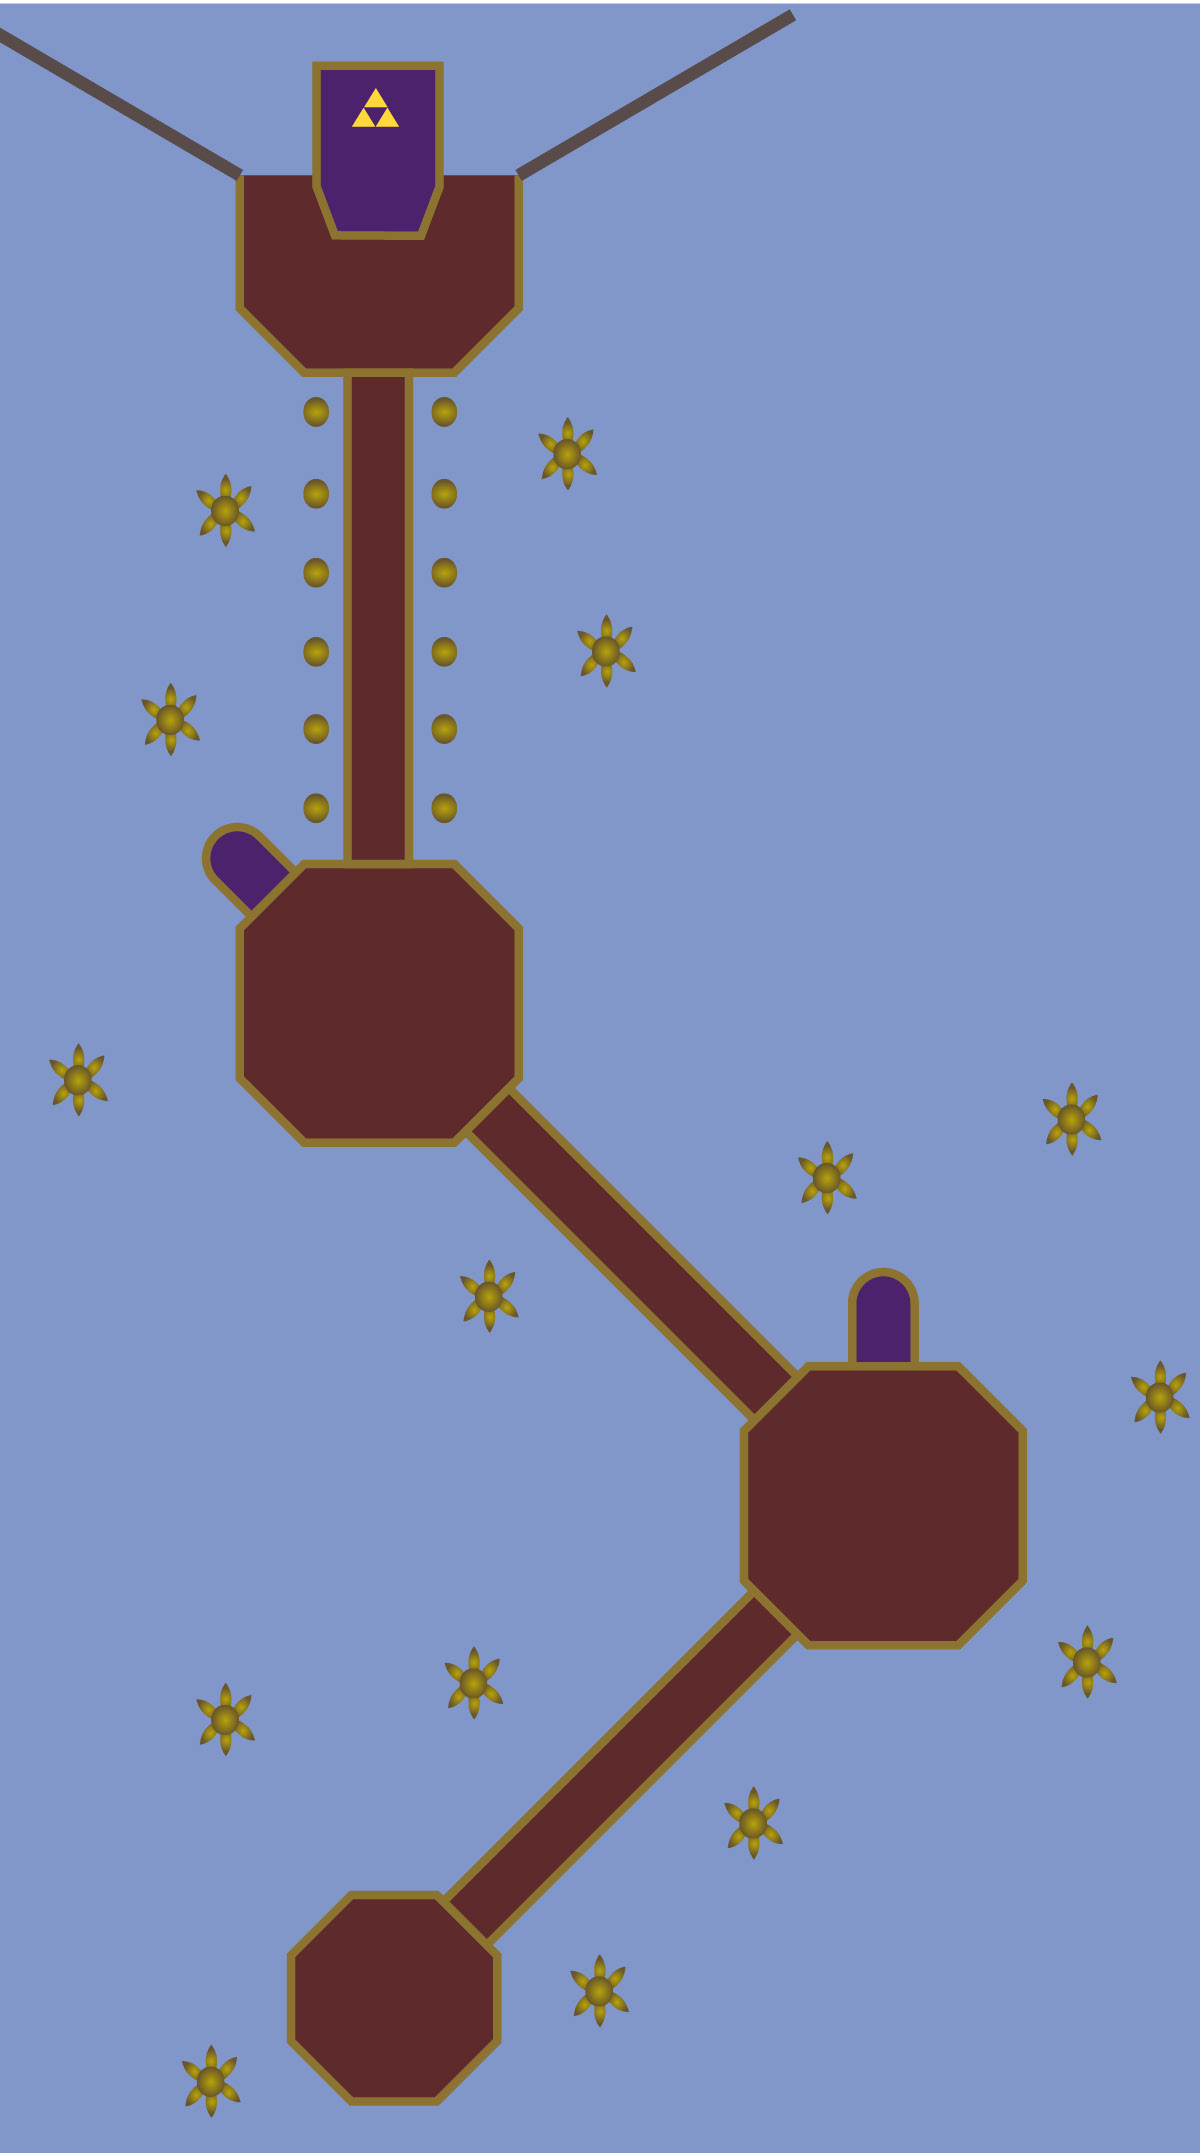
You’ll start this room on another platform with all of the Sub-Weapons. Don’t bother switching them out unless you want the Links who are not using the Hammer to use something else. Once you’re ready, make your way up the stairs.
As soon as all three Links enter this next area, the gates will close behind you and five Soldiers will ferry in on the north side of the platform. As the Hammer Link, wait for them to step off the ferry, then start smashing. If any Soldiers remain on the ferry, head to the south side of the platform and wait for them to drop off of it. Now go and give them a good smashing!
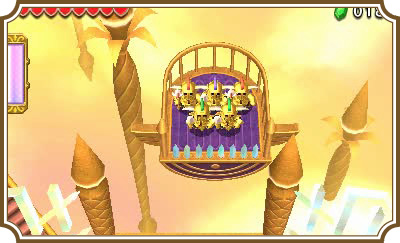
Once all five Soldiers have been defeated, the gates will reopen. Head up the next flight of stairs. As soon as you enter the area at the top of the stairs, five more Soldiers will ferry into the northwest corner of the platform. Again, wait for these five Soldiers to step off the ferry, then head over to them with the Hammer Link and smash them flat, same as the last set.
Now head up the northern flight of stairs. Once all three Links touch down on the platform at the end of the stairs, two Super Aeralfos will appear. The only real difference between Super Aeralfos and the Aeralfos you’ve fought is that these guys can use a fire attack. Other than that, they are exactly the same.
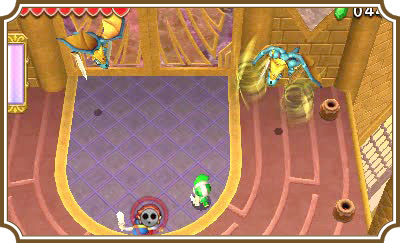
Use your Hammer as each Aeralfos swoops down at you. One direct hit with the Hammer will take them out with ease. Once both Super Aeralfos have been defeated, the northern doors will open, a Squiddy will appear, and you’ll be given access to the Triforce gateway. Say your sweet, somber goodbyes to our good friend Squiddy and prepare to face the final boss!
Room 4
Boss Fight: The Lady
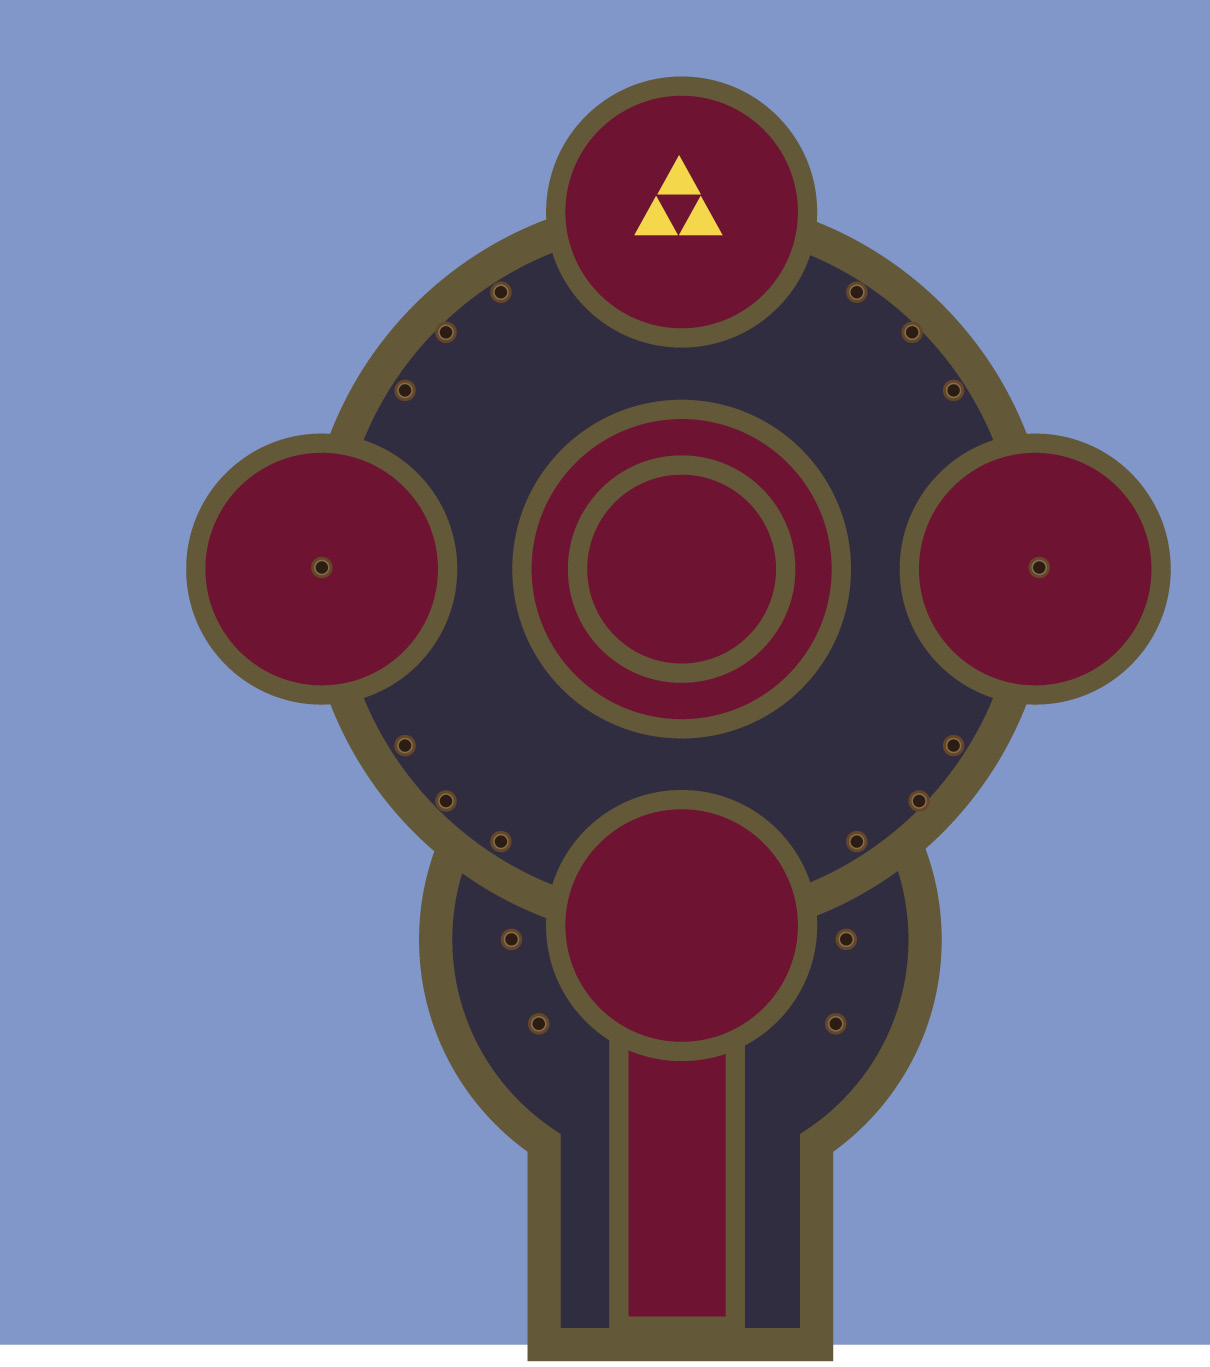
As soon as you enter this room, The Lady will appear and steal all of your Sub-Weapons. (This is why we suggested only one Link wear the Hammerwear, while the other two Links mix and match the Sword Suit and the Legendary Dress.)

Smash the pots on the sides of the hall’s north end to refill your health, then have all three Links stand in the red circle. Gates will close around the Links and the red circle will lift into the air. Once you reach the top of the elevator’s path, you’ll begin the first phase of the fight with The Lady.
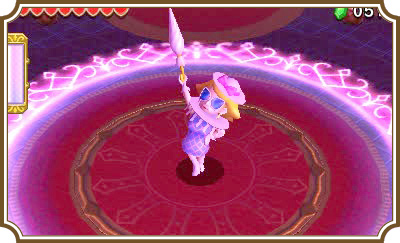
The Lady doesn’t do much during this first phase of the fight. (When you look that fabulous, why would you want to fight?) She’ll create a ring around her and stand on the center platform patiently. To damage her, you’ll need to make a three-Link Totem, throw the top two Links over the ring, and then circle behind her with the two-Link Totem. She’ll try to keep you from getting behind her and she’ll also throw parasols across the room, which will damage any Link hit by one.
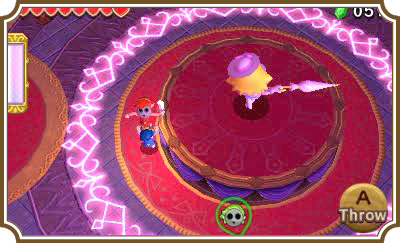
When you’re sure you have a clear shot, throw the top Link up behind The Lady and have him strike! After a few hits, The Lady will use her parasol to shove the Link attacking her off of the platform. You’ll need to throw him back over the ring, make another two-Link Totem, and attack The Lady’s back once again.
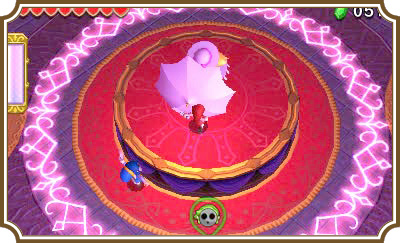
After a few more hits, The Lady’s platform will lower and she’ll come out swinging—literally! A colored lightning bolt will begin flashing above her head and she’ll start to chase whatever Link matches the bolt’s color.
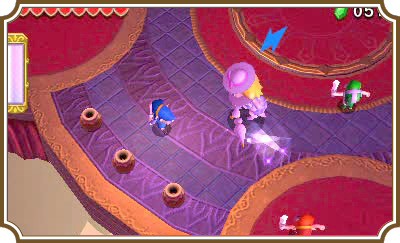
This is basically the Moldorm fight all over again. Lure The Lady away from the other Links, then switch to another Link and have him slash her back. (If you’re playing multiplayer, just slash her back while she’s chasing another Link.) She’ll immediately switch her focus to the Link that did the slashing. Switch to a Link not being chased by The Lady and slash her in the back again. Repeat this process a handful of times and The Lady will transition into her next phase.
Do you remember the Phantom Ganon fights from Ocarina of Time, Wind Waker, and Twilight Princess? If not, do you remember your fight with Aghanim in Link to the Past? Well, this phase is those fights, but with three Links. It may not sound challenging, but things can get hectic pretty quickly, especially in multiplayer.
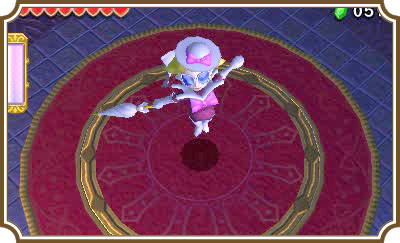
For those who are unfamiliar with those fights, The Lady will create a colored ball of electricity and throw it at one of your Links. The Link that matches the color of the electricity ball will need to hit the ball back at The Lady without getting hit himself.
If she throws the energy ball at a Doppel, it will often bounce into the air and change colors, giving you a chance to switch Links and hit the ball. So long as the ball bounces straight into the air, you’ll almost always have time to reach it before it bounces on the ground twice and explodes. To all but guarantee that you can hit it back when it bounces, keep your Links near each other and always keep the Link you’re controlling behind the other two Links. This will help to keep her from tossing the electricity ball away from you and your Doppels, disabling your ability to hit it back at her before it hits the ground.
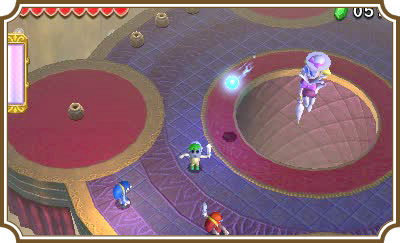
As you hit the ball back at The Lady, its speed will increase and the size of the ball will grow. After hitting it back at her several times, she’ll fail to return it and will get stunned as a result. Race to her and hit her with your sword to damage her. If you’re playing multiplayer, only have the Sword Suit Link hit her with his sword. The Lady will be invulnerable for a split second after every sword hit, which means not all three Links can hit her at once. The Sword Suit does double sword damage, so you want him doing all the swinging.
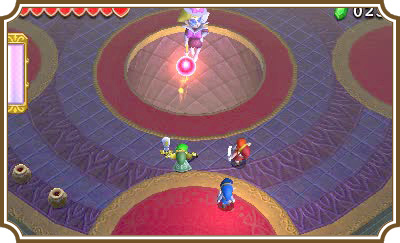
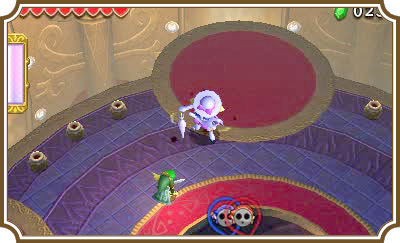
Repeat this one or two more times and The Lady will move into her final phase—and let us tell you, it’s no joke!
The Lady will create parasol platforms of varying colors around her. Your goal is to throw your Links onto the platforms that match their colors and slash her head. The bigger platforms are closer to the ground and the smaller ones are in line with The Lady’s head.
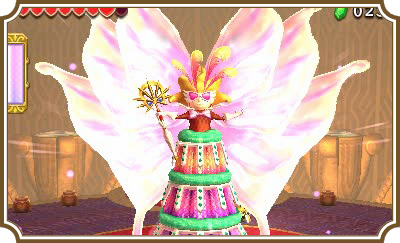
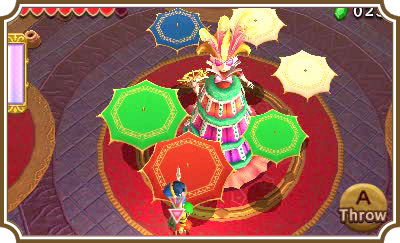
Make a Totem as soon as The Lady unfolds her parasols, then get a Link up onto one of the small parasols, or get a two-Link Totem onto the bigger parasols and slash away at her head. You will have very little time to try to get your Links up there, so keep your Links together, quickly build your Totem based on the colors of her parasols, and throw your Link up near her head.
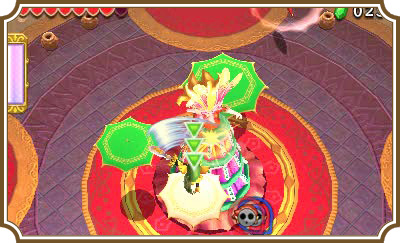
The Lady will fold some of her parasols shortly after they appear, then she’ll have them spin around the room. The safest place to be is on the edges of the red circles lining the room, but you should only go there if you’re feeling the heat. While she’s spinning the parasols, you’ll still have plenty of time to try and reach her head.
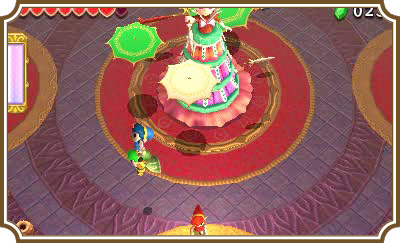
The second you see lightning bolts strike the parasols, jump back to the ground. Those bolts are indicators of even larger lightning bolts and where they’re going to land. The smaller bolts can’t hurt you, but the big bolts certainly can. The large bolts will also destroy all of her parasols, meaning you’ll have to wait for her to pull out new ones in order to try to reach her head again.
The timing during this phase is extremely tight, so you’ll have to be constantly on watch to avoid taking damage and to reach her head.
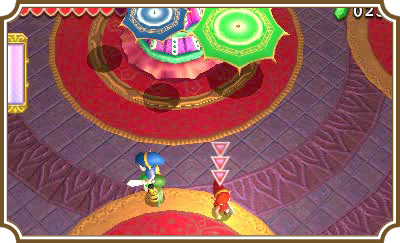
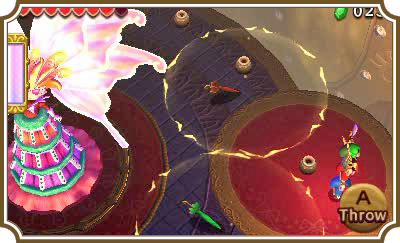
Once you’ve hit her head a handful of times, The Lady will move into full attack mode. She’ll fold her parasols and spike them into the ground. Small lightning bolts will hit the parasols in a specific order and electric rings will come off of the parasols. These are both indicators of what order she’s going to electrify the parasols and the area that the electricity can reach you in. If you’re not in where any of the circles were when the big lightning strikes, you’ll be completely safe.
After shocking all of the parasols, The Lady will open up several more parasol platforms for you to climb. Quickly make a Totem and throw a Link onto the smaller parasol platforms or have a two-Link Totem stand on the bigger platforms, then attack her head.
Hitting her a handful of times will make her mad once again, meaning she’s going to change up her tactics one last time. The center platform will rise again, making it extra hard for you to reach her head. She’ll now throw her parasol platforms onto the ground. You’ll need to quickly make a three-Link Totem and stand on one of the platforms. The platform will take you near The Lady, which is your chance to have the top Link slash her head. She’ll also regularly throw out another set of parasols that she’ll electrify shortly after they spike into the ground.
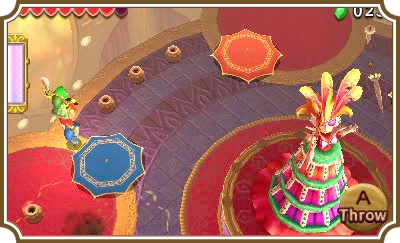
There’s a lot to pay attention to during this portion of the fight, but playing it safe is your best option. You can always stand on the edge of the red circles to avoid taking damage and collect yourself. Wait for the right time to hop onto a platform that’s on the ground and don’t rush! Take your time, wait for the right platforms to hop onto, then take The Lady down! It won’t take but a handful of hits to end The Lady’s gorgeous reign of terror once and for all!
Once the fight is finished, you’ll get the final piece of the Lady’s Outfit, which is necessary to break the unfashionable curse The Lady put on Princess Styla and the whole of the Hytopian kingdom. Head to Madame Couture’s to create the Outfit, put it on, and then head to the throne room to break Princess Styla’s curse. Now enjoy the celebration in your honor. You’ve certainly earned it!