The Legend of Zelda: Tri Force Heroes Guide Clothing Quest World 2: Riverside
Level 2: Abyss of Agony
ChallengesHalved attack and defense Guard the orb Clear within the time limit Sub-Weapons
Materials
Recommended Outfits |


This level lives up to its namesake with challenging puzzles. The Zora Costume will help a bit here if you have it, but whatever Link is designated to use the Bow should definitely wear the Kokiri Clothes.
Room 1
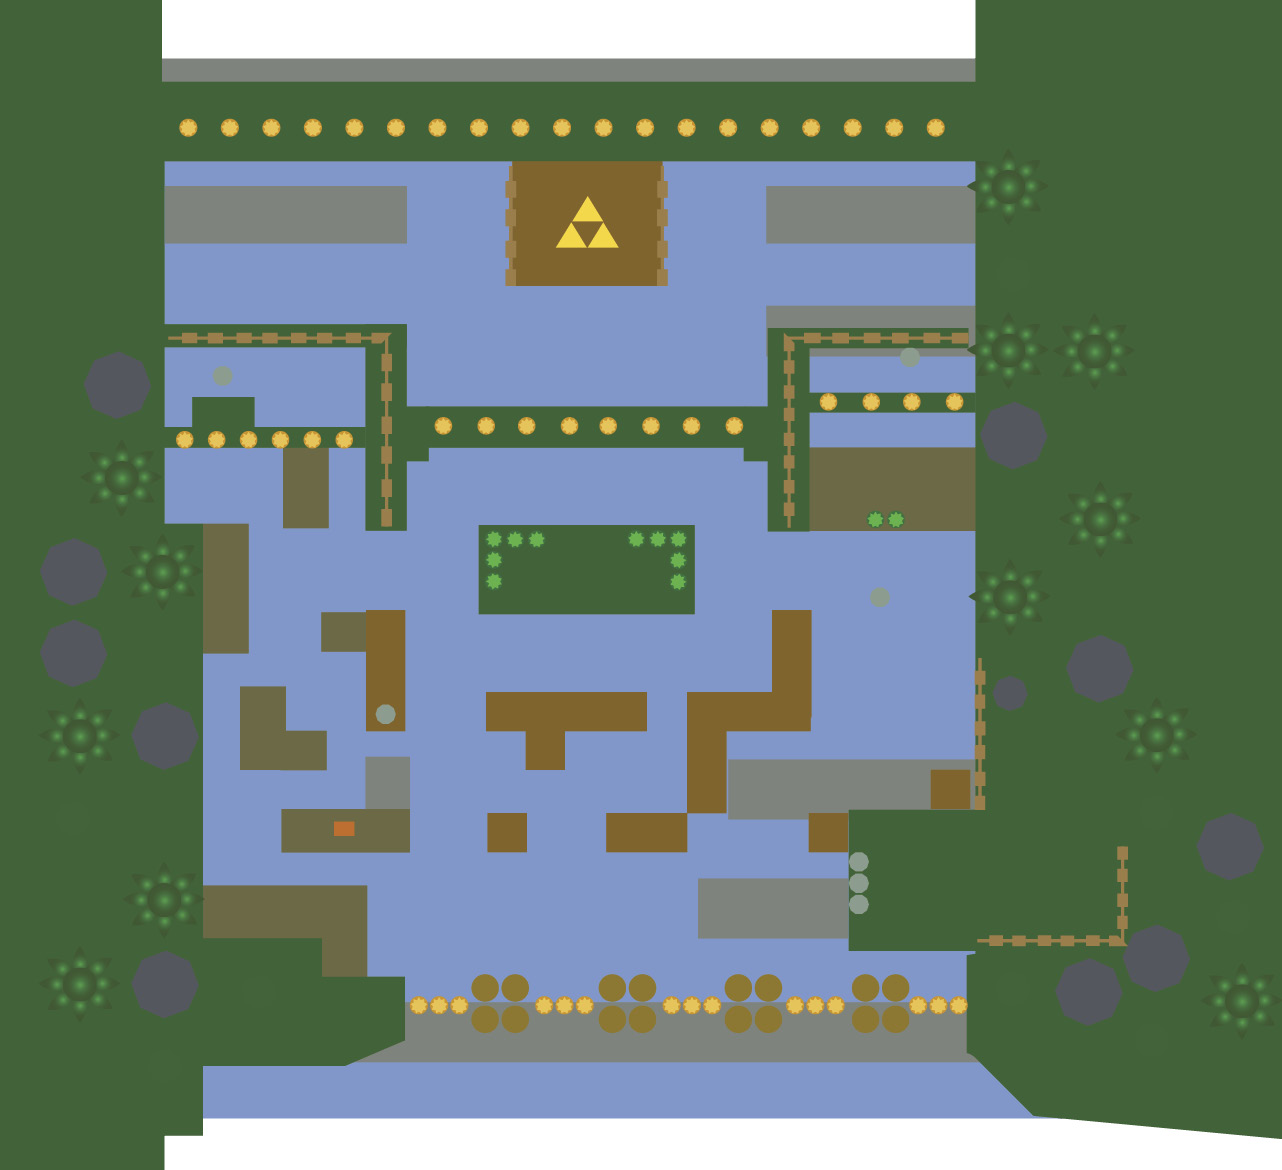
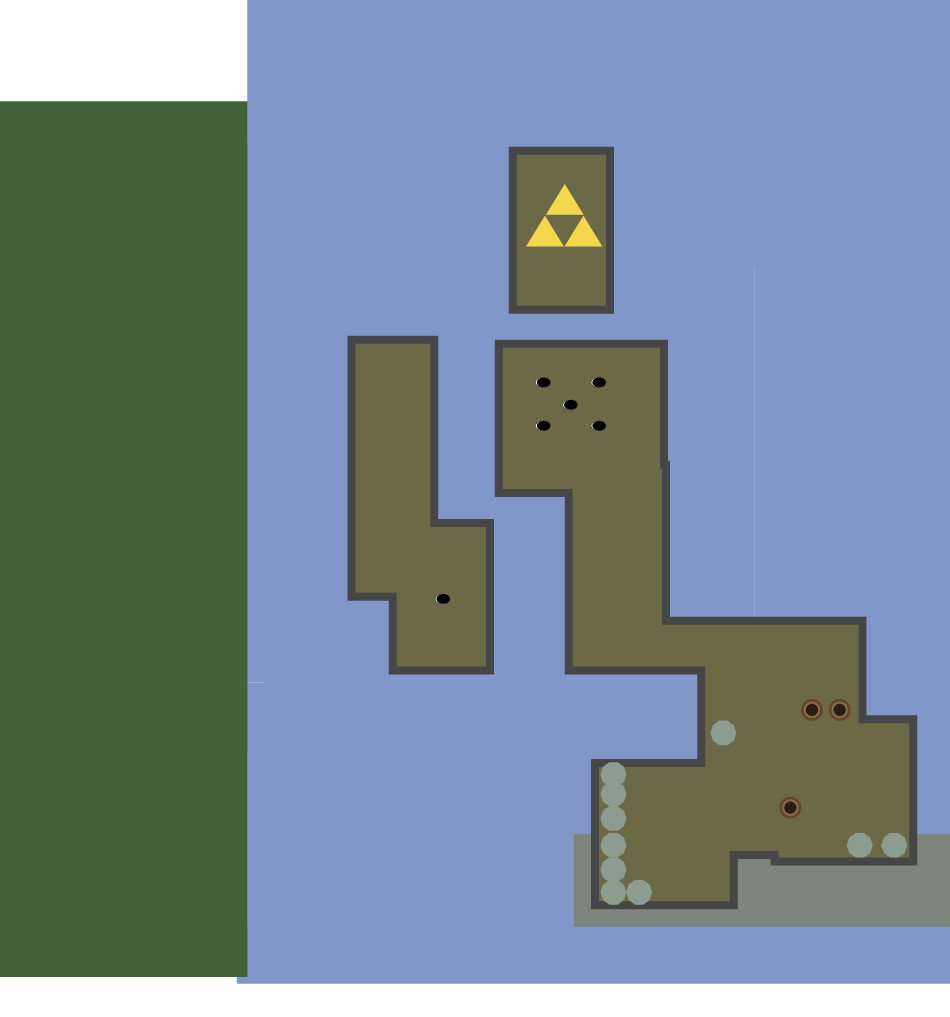
In order to get the Triforce gateway to appear, grab each of the Sub-Weapons off of the pedestals in the center of the room. Make sure to give the Bow to the Kokiri Clothes-wearing Link. In order to reach the Triforce gateway, you’re going to have to jump through some hoops. Namely, you have to avoid the water as much as possible.
The water has fast currents running through just about all of it. If you fall in, you’ll be dragged along on a wild ride and likely taken back to the island in the center of the room. Use the Water Rod to traverse through the water safely.
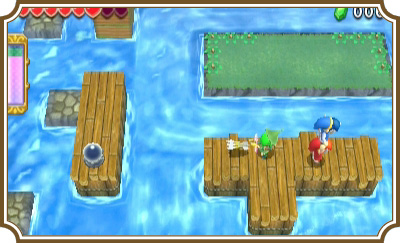
On the east side of the room is your first of three orb switches. Make a two-Link Totem with a Water Rod Link on top. Use that Link to create a platform to reach the east side of the room, then have your Bow Link line up with the orb switch and fire.
This will lower a gate just north of you, giving you access to another orb switch. Use the Water Rod to cross to the platform above you, make a two-Link Totem with the Bow Link on top, and have that Link shoot an arrow at the orb switch.

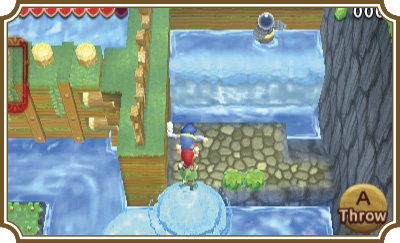
Make a two-Link Totem with the Water Rod Link on top and head to the west side of the room, taking care to avoid the spikey, exploding mines in the water. You’ll find another orb switch to the left of the platform you started the level on. Create water pillars, throw your top Link safely to the other end of the platform, and then hit the switch.
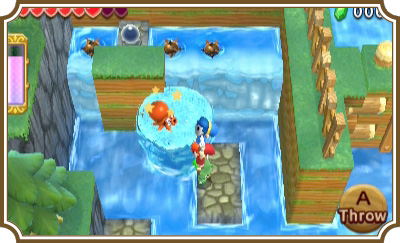
This will open another gate, but this time to the northwest. Three more mines are floating in the water above the gate and you’ll have to deal with a pesky Water Octorok. You can use the Water Rod to pull the Water Octorok out of the water and slash it with your sword to defeat it, but you’ll need to be careful not to pull the mines up with you.
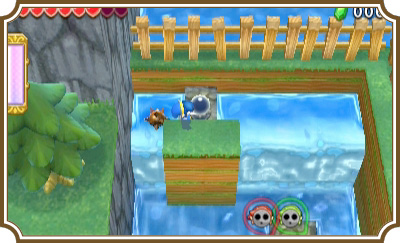
Make another two-Link Totem with your Water Rod Link on top and create a path up to the orb. Throw your top Link into the water at the top of the waterfall and have him swim up to the orb and hit it; just make sure to avoid the two mines in front of the orb. This will unlock the gate at the center of the room, giving you access to the Triforce gateway.
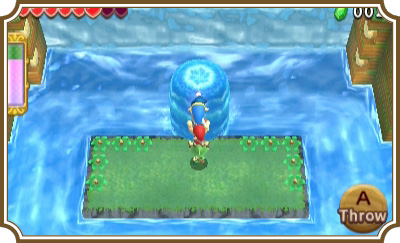
Head back to the platform in the middle of the room and make a three-Link Totem with a Water Rod Link on top. Create a water bridge up to the waterfall, then create another platform on top of it. You should be able to walk onto it with no problem. But if you’re not close enough or if you accidentally touch some of the water above the waterfall, your Totem will fall apart, so take extra care. At the top of the room is the Triforce gateway. Get all three Links on it to move on to the next room.
Room 2
Start by scaling the ledges on your right, taking care to avoid falling into any water along the way. The currents are just as strong in this room as they were in the last, but this time you’ll either fall back to the bottom of the room or lose health by being thrown off of a cliff. Climb until you reach the waterfall at the top of the cliff, then carefully jump down onto the lower platform to your left.
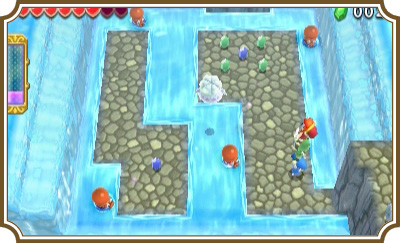
When all three Links jump down into this area, four Water Octoroks and a Keeleon will appear. Use the Water Rod to pull the Water Octoroks out of the water and to also put yourself at the same height as the Keeleon. Defeat all five enemies and a second wave of enemies will appear—this time two Buzz Blobs and two more Water Octoroks. Use the Bow Link to defeat the electrified Buzz Blobs, then use a Water Rod Link to defeat the Octoroks.
Once the room is clear, the Triforce gateway will light up. Carefully create a water pillar against the ledge the Triforce gateway is sitting on, then head to the next room.
Room 3
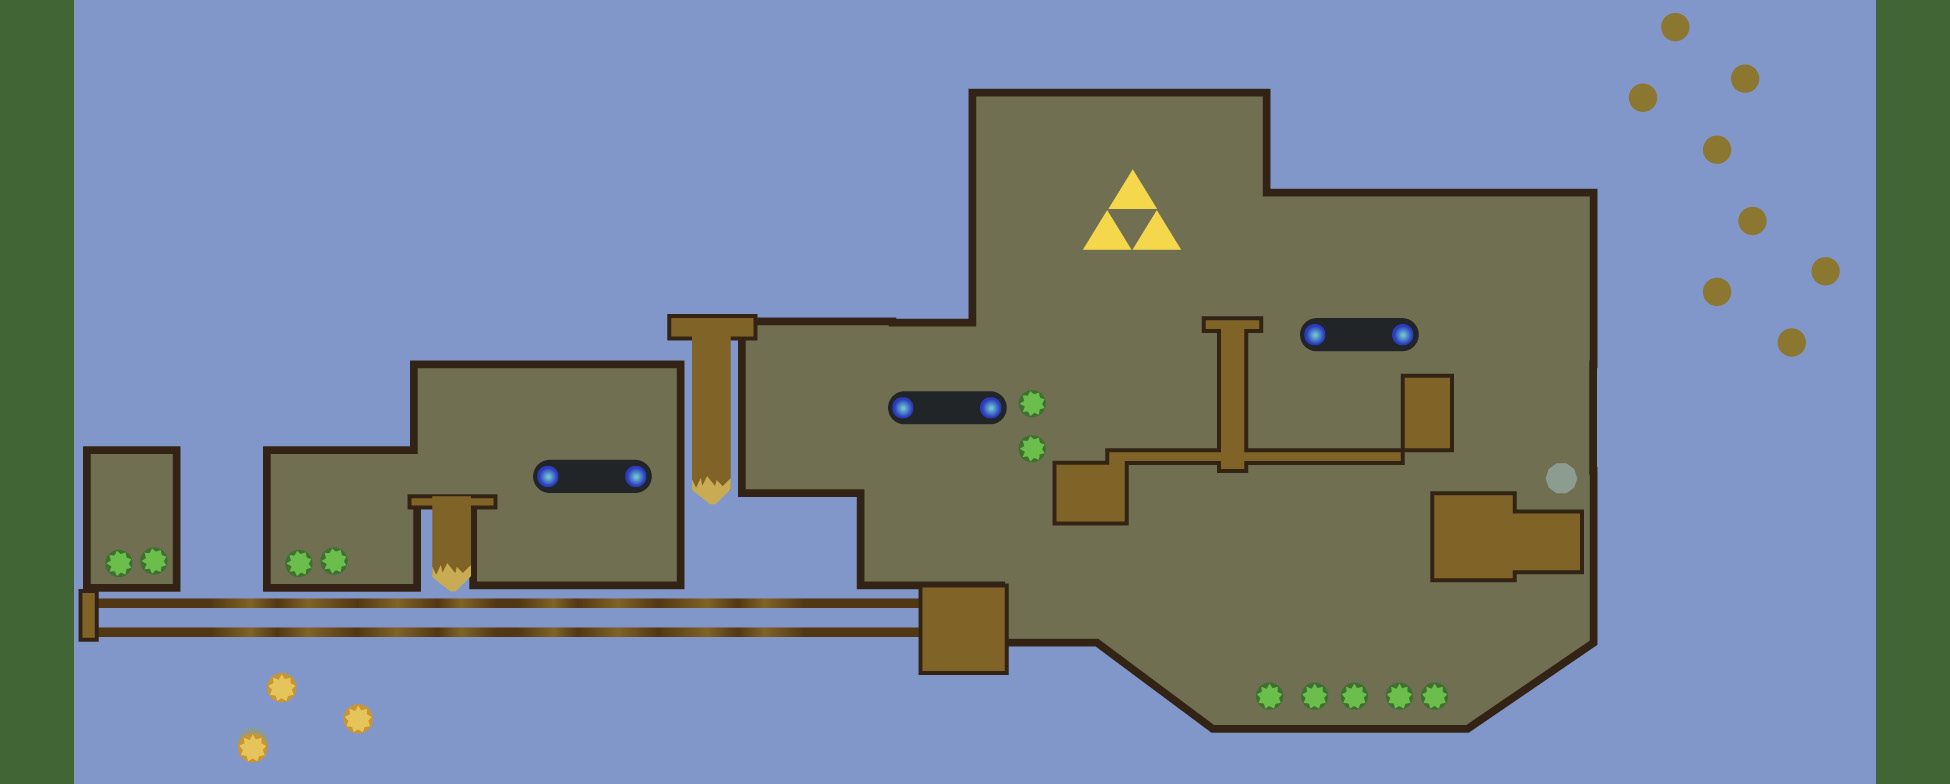
This room is quite a challenge on both single-player and multiplayer. You’ll need to position your Doppels properly or have your teammates on the same page as you—this is a troll-free zone!
At the start of the area you’ll find a Squiddy and a stone pillar. Smack the Squiddy against a wall and break it for its sweet, sweet treasures, then head west. Make a three-Link Totem with a Water Rod Link on top and scale the cliffs on the west side of the area. At the top of the cliffs is a wheel that is powered by water, which you happen to have control over. Designate a Water Rod Link to stand by the right side of the water wheel while the other two Links are positioned on the platform just below the wheel. Make sure to not be in a Totem and watch out for the pesky Crows that are flying around in front of the platform.
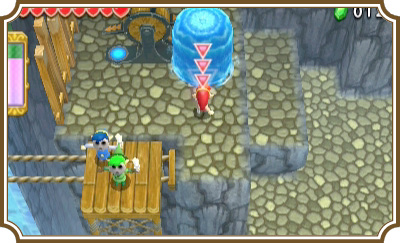
Position the Bow Link so that he is facing north, then have the Link that stayed behind use his Water Rod on the right side of the water wheel. This will propel the platform west. There is an orb switch just left of the water wheel that you’ll need to have your Bow Link shoot while the platform moves, so be ready!
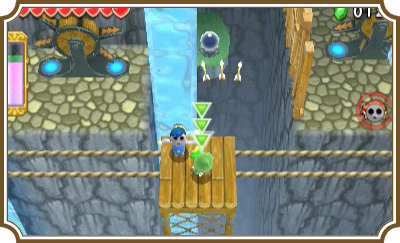
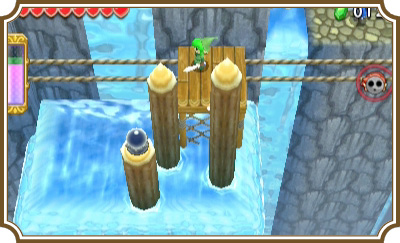
Once you’ve shot the orb switch, a gate will open to the left. The platform will come to a stop in front of another water wheel. Have the Water Rod Link on the platform move over, and use his Water Rod on the left side of the wheel to send the platform back to the other Water Rod Link. Once the second Water Rod Link is on the platform, have the first Water Rod Link hit the right side of the wheel to bring the second Water Rod Link back.
Leave the Bow Link and Water Rod Link on the platform and have the Link controlling the water wheel hit the right side again once the two Links stop near him. Have the Bow Link face south and prepare to shoot another orb switch.
Shooting the second orb switch will open another gate higher up on the cliffs. This will give you a clear route up near the top of the cliffs. Use the Water Rod Link on the platform to create a water pillar up to the ledge above, and then move both Links up there. Make a two-Link Totem with the Water Rod Link on top, then create a water pillar over the rushing water to reach the right side of the two platforms.
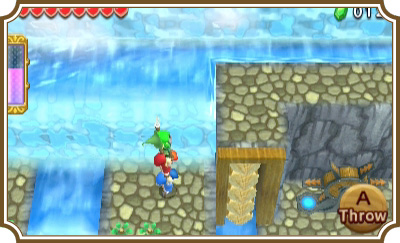
Next, have the wheel-controlling Link use his Water Rod to make a platform on the left side of the ledge he is currently standing on. Make a three-Link Totem with a Water Rod Link on top and create a platform against the ledge on the northeast corner of the ledge you’re currently standing on.
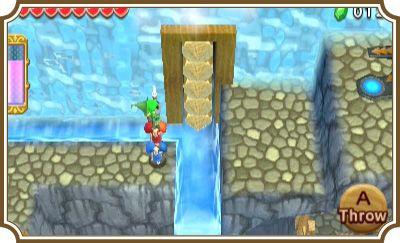
Scale the mountain using the Water Rod until you reach another water wheel. Designate one of the Water Rod Links to control this wheel and make a two-Link totem with the remaining Links. Have the two-Link Totem carefully walk onto the wooden platform ahead; any mistakes here and you’ll fall back down to the beginning of the room.
Use the Water Rod to move the platform to the other side of the ravine, then have the two-Link Totem hop off. There is another orb switch on the other side of the ravine. Hit it and it will activate the giant stone pillar you saw at the beginning of the room. This is actually an elevator that you can use to have your other Links cross the ravine.
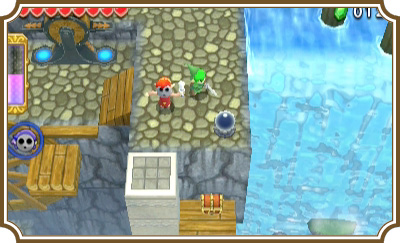
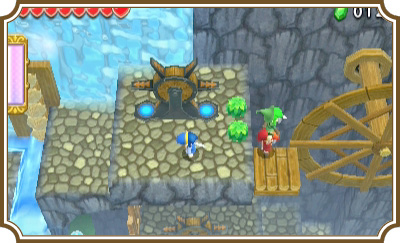
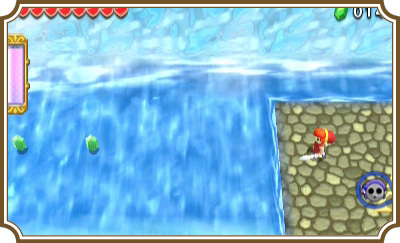
Once all of the Links are on the other side of the ravine, make a three-Link Totem with a Water Rod Link on the top and scale the cliffs on the north side of the ledge you’re currently on. At the top of the ledge you’ll find the Triforce gateway and, if you’re feeling brave, you can use a Water Rod Link to travel over the water to the left of the Triforce gateway to obtain some Rupees. Just make sure to pay close attention to your energy gauge.
Room 4
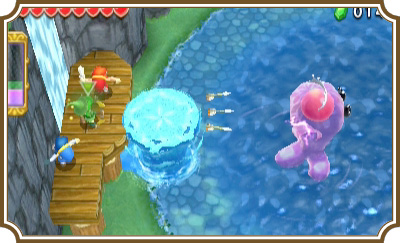
Boss Fight: Electric Blob Queen
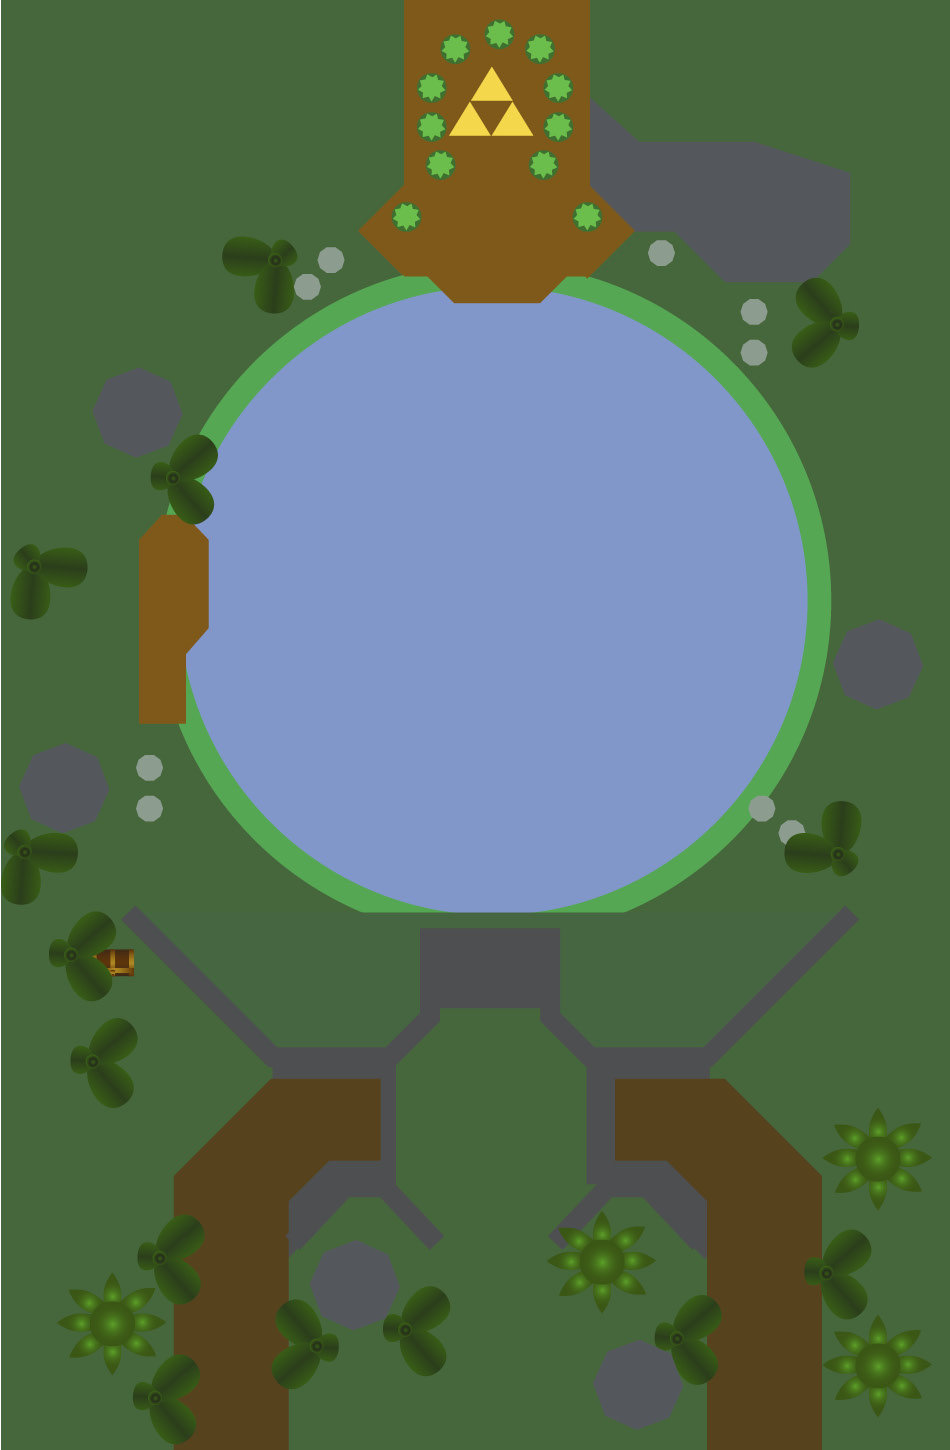
This fight is very similar to the Electric Blob King fight in world 1. You need to use your Bow-wielding Link to shoot the red ball inside the Blob Queen’s head. After taking so much damage, she will dive under the water and you’ll need to use a Water Rod Link to pull her back up.
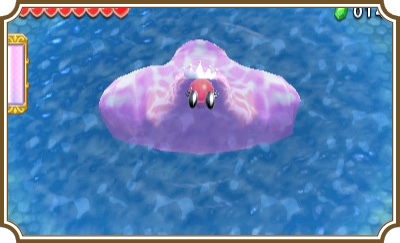
The biggest change during this fight is her ability to electrify the water when she does her electric blast attack. She’ll not only shock the entire pool of water.
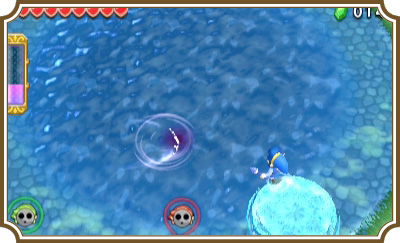
You can use the platforms along the walls to shoot her after she grows the first time. You’ll be completely safe up here and, if you’re using the Kokiri Clothes, you’ll be able to shoot the red ball with relative ease. The second time she grows, you only need to make a two-Link Totem while on one of the platforms to reach her.
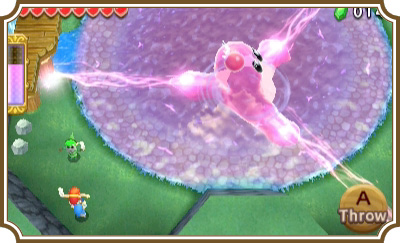
Once you hit the red ball in her head four times, she’ll submerge underwater. The only way to get her out is to have one of your Water Rod Links create a water pillar underneath her. At this point, she’ll grow a little taller, meaning you need to have one of your Water Rod Links pick up the Bow Link in order to shoot the red ball again. Shoot it four more times and she’ll submerge again. Pull her up with another water pillar and she’ll grow taller yet again. Make a three-Link Totem with the Bow Link on top and fire away. Four more shots will liquefy this shocking blob.