The Legend of Zelda: Tri Force Heroes Guide Clothing Quest World 2: Riverside
Level 3: Cove of Transition
ChallengesHalved attack and defense Evade the Wallmaster Clear within the time limit Sub-Weapons
Materials
Recommended Outfits |


There is a whole lot of water and a whole lot of swimming in this level. If you took the time to get the Zora Costume, make sure to wear it for this stage—it’ll help you quite a bit!
Room 1
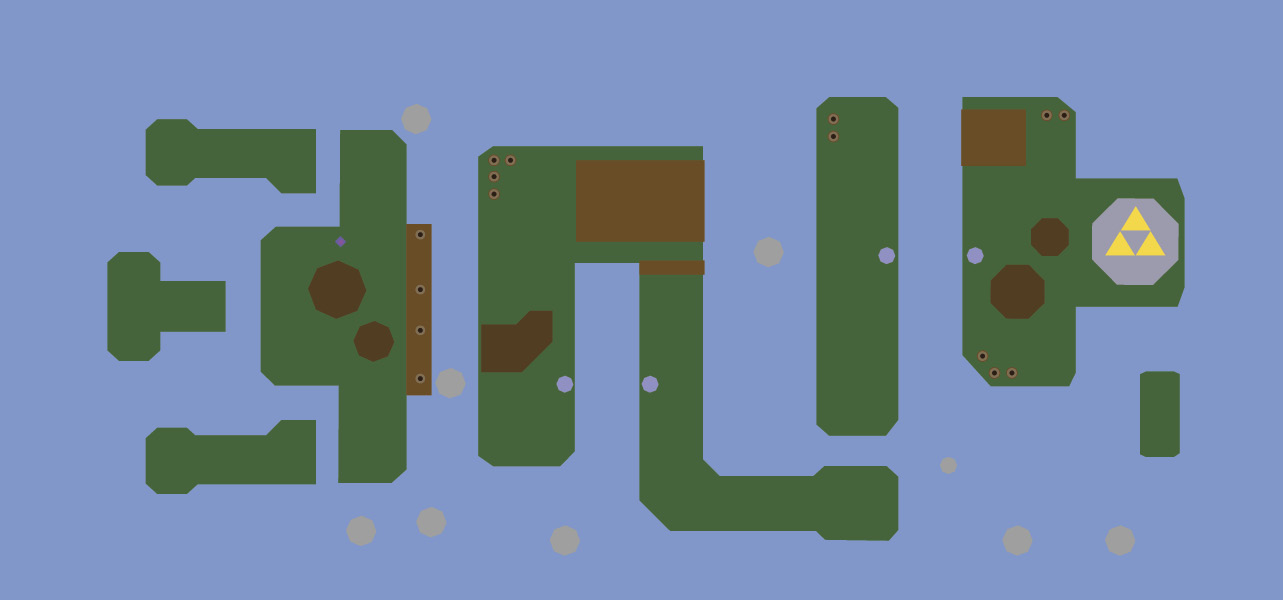
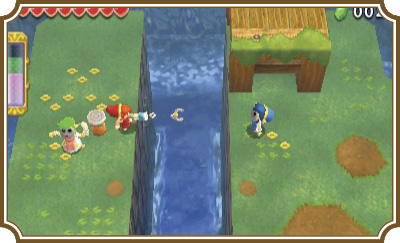
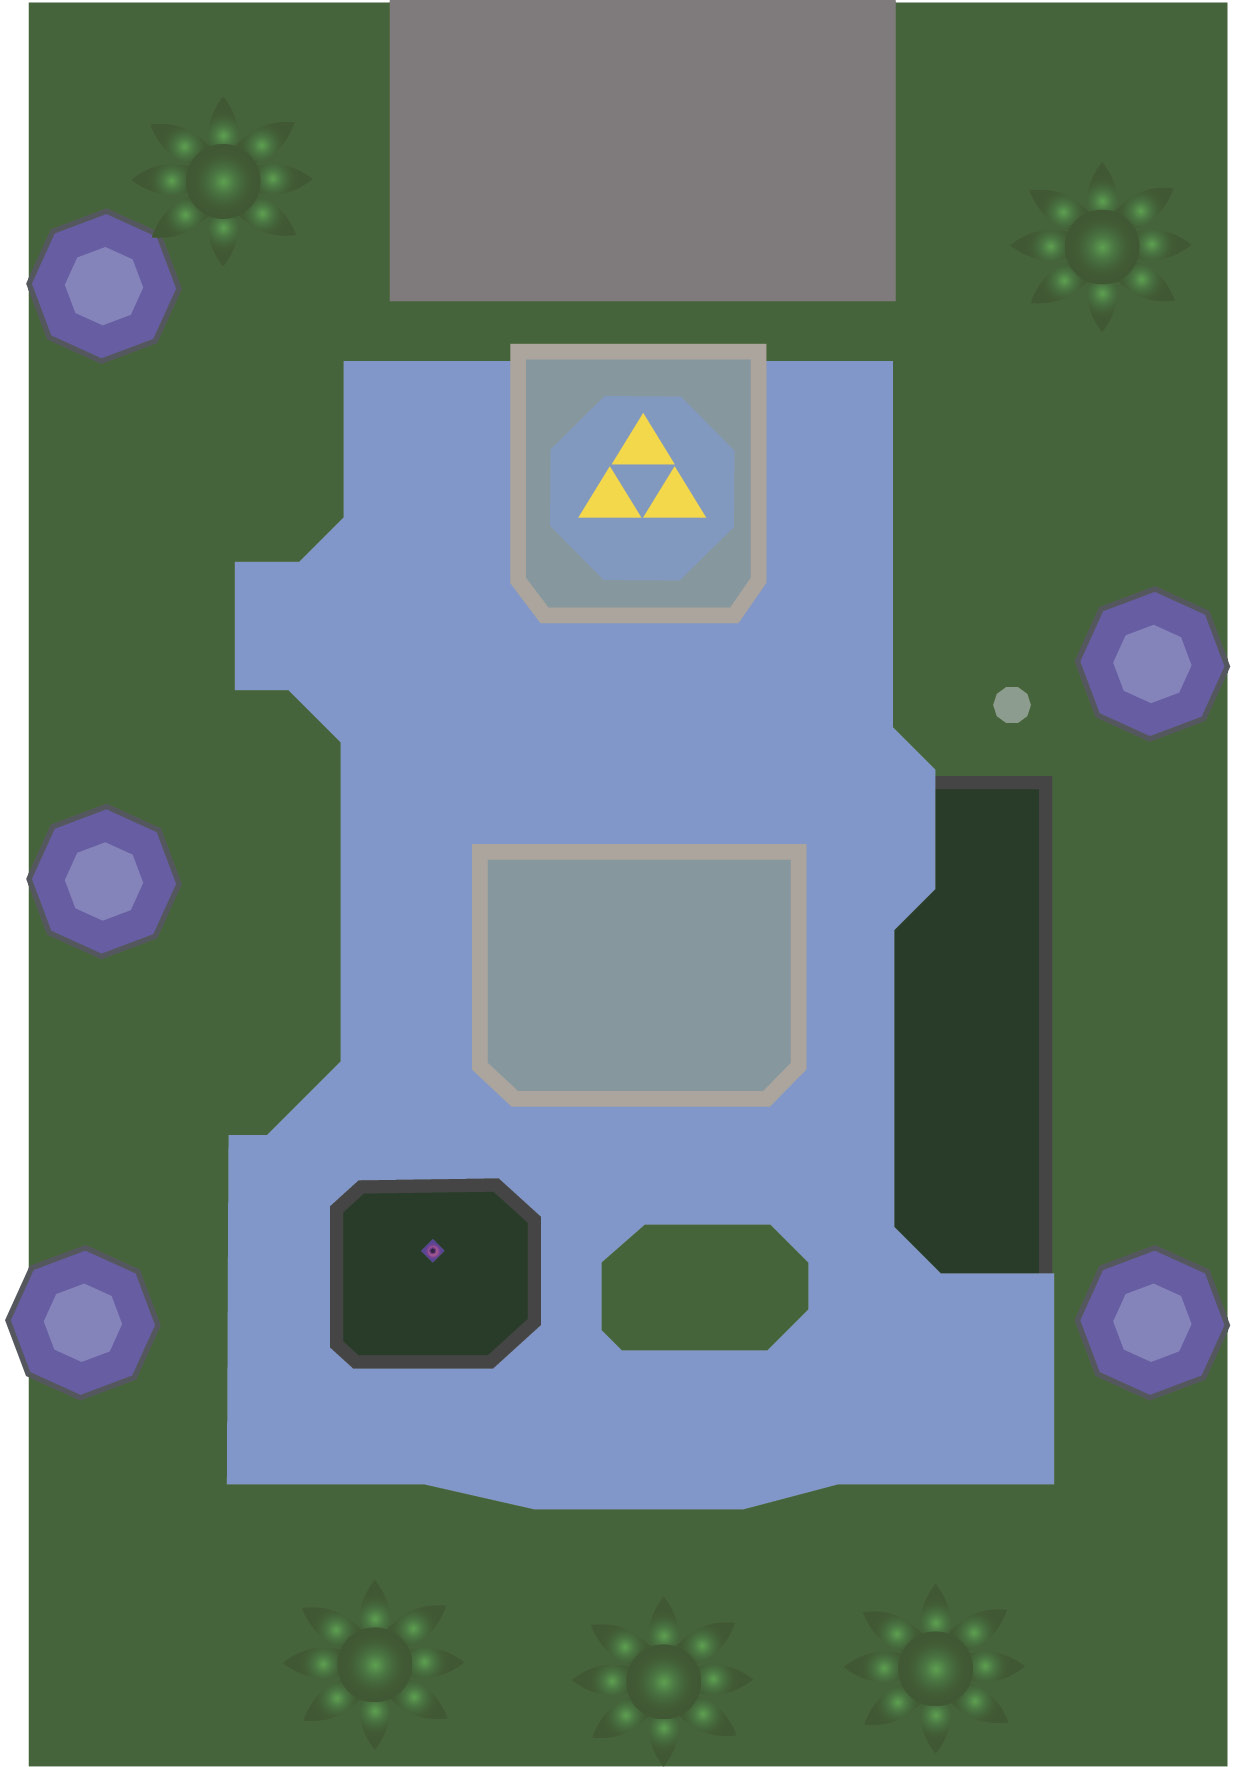
Each Link will start on a different plateau with a Gripshot ahead of them in this room. Grab the Gripshot, head right, and shoot it at one of the pegs across the ravine.
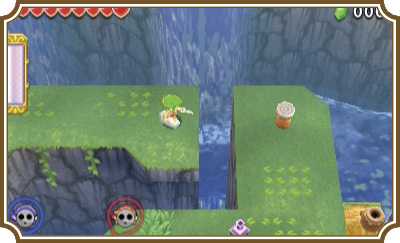
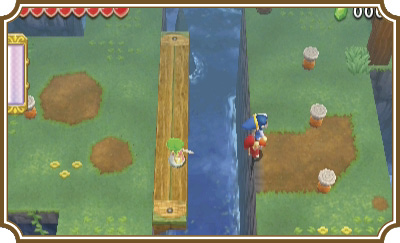
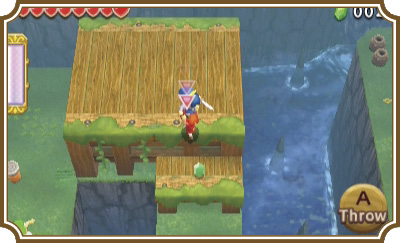
The Gripshot can pull Link across distances whenever it is shot at pegs like these. You can also use it to pull items to Link and it will stun enemies if they are hit with it. It’s a pretty handy gadget, if we do say so ourselves.
Once each Link has crossed the first ravine, have each of them walk onto the wooden platform on the right side of the plateau and then use the Gripshot on the pegs to pull each of them over.
Make a three-Link Totem and head to the north end of the plateau. Throw the top two Links onto the wooden platform to your right. Switch to the Link at the bottom of the Totem and drop down onto the lower wooden platform, and then onto the plateau below.
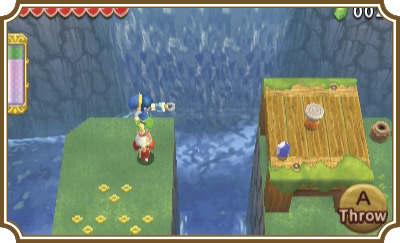
Position the Links parallel to the lone Link, but don’t stand too close to the left edge of the plateau. There is another feature to the Gripshot that we haven’t mentioned yet. In addition to hooking onto pegs, the Gripshot can hook onto other Links. Have the lone Link Gripshot the other Links to get him across the ravine.
Have the Link on the wooden platform drop down onto the plateau below, then position him so that the other Links can Gripshot across the ravine, using him as their anchor point. Once all three Links are across, have them step on the Triforce gateway and move on to the next room.
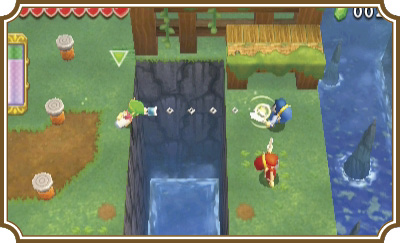
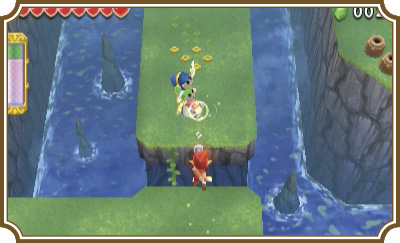
Follow the plateau east until you reach a break in it. Throw two Links over the break, then use the Gripshot on those Links to pull the remaining Link across.
Head to the north end of the plateau and make a three-Link Totem. Face the Totem to the right and line it up with the peg on the wooden platform. Have the top Link Gripshot the peg to pull him across the ravine.
Room 2
This is another combat room, but with a twist: The water level of the room fluctuates up and down while you’re fighting, making hitting your enemies a challenge. You’ll only have to face Tektites and their smaller, pond-skimmer-like cousins the Water Tektites during this fight, so there isn’t too much to worry about. Whenever the water level rises, rush over to land. These enemies may not be tough out of the water, but they’ll give you a good thrashing while you’re in it.
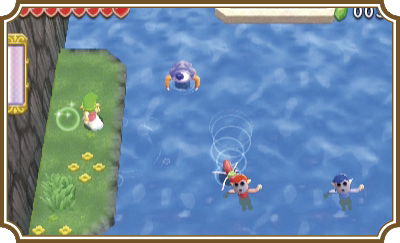
Once you defeat all of the enemies, the Triforce gateway will light up, giving you access to the next room.
Room 3
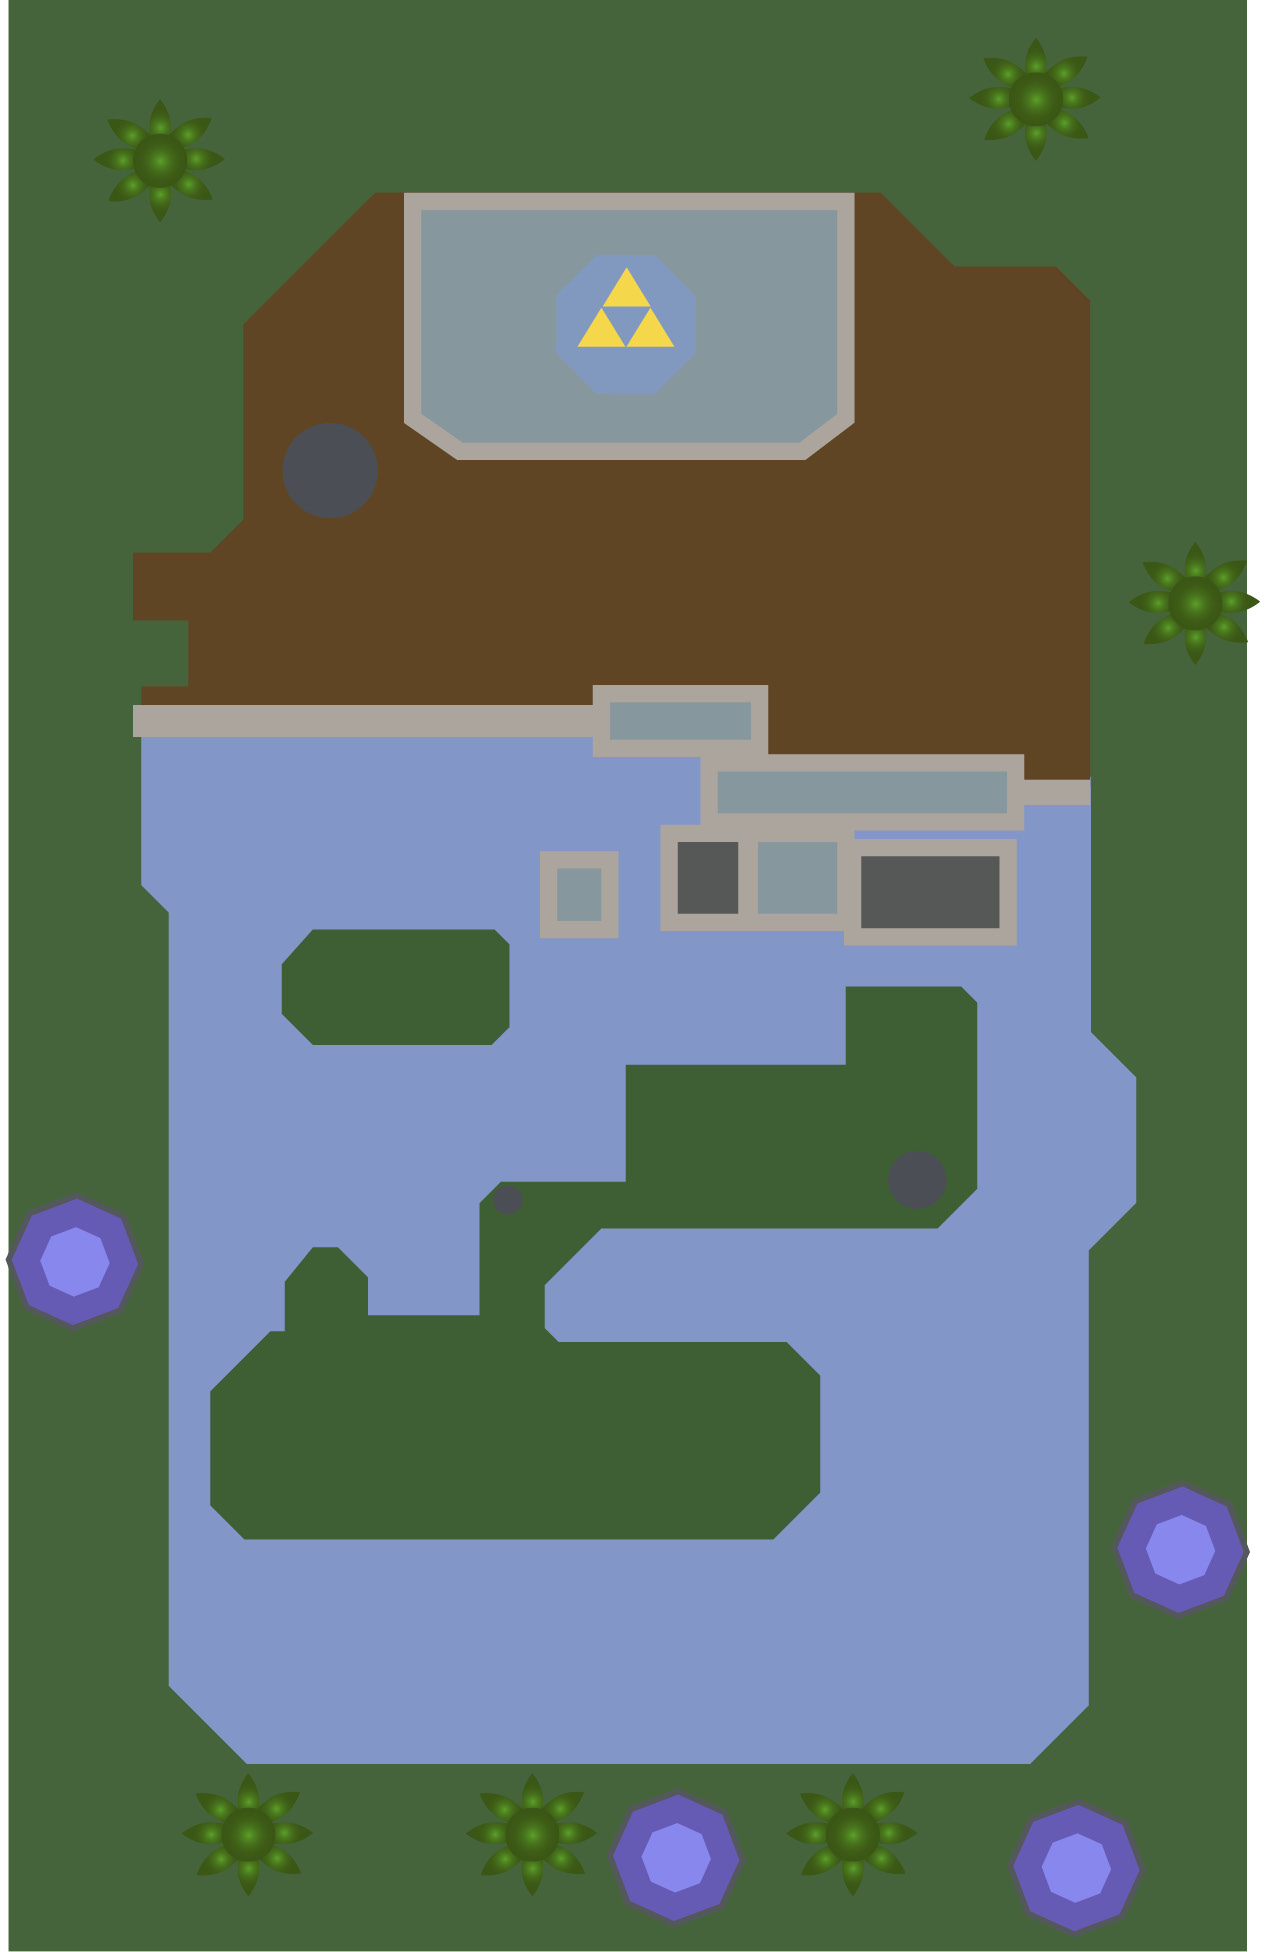
There is a raft almost directly above where you start in this room. Walk over to the raft with just one Link and Gripshot onto the pegs north of your position. This will drag the raft along the water toward the pegs. Next, Gripshot onto the pegs to your right.
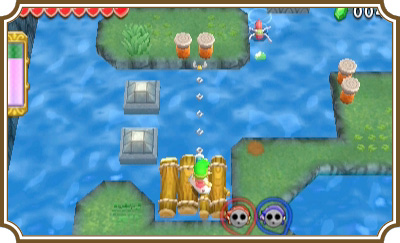
Now you’ll need to switch to another Link and have him stand on the gray platform north of you.
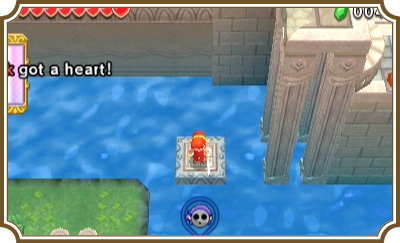
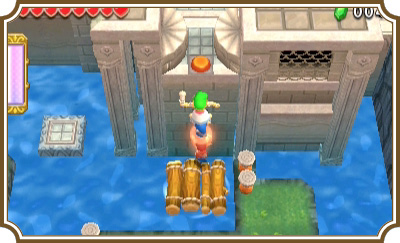
Gripshot that Link with the Link on the raft to pull yourself forward, then face right again and Gripshot onto the pegs to the right. Now make a three-Link Totem and have the middle Link throw the top Link onto the pressure switch on top of the wall you are up against.
Hitting this switch will raise the water level, allowing you to head to the north side of the room. Swim north and you’ll find the Triforce gateway and another Squiddy. You know what must be done. Once the Squiddy is no more, stand on the Triforce gateway to move on to the next room.
Room 4
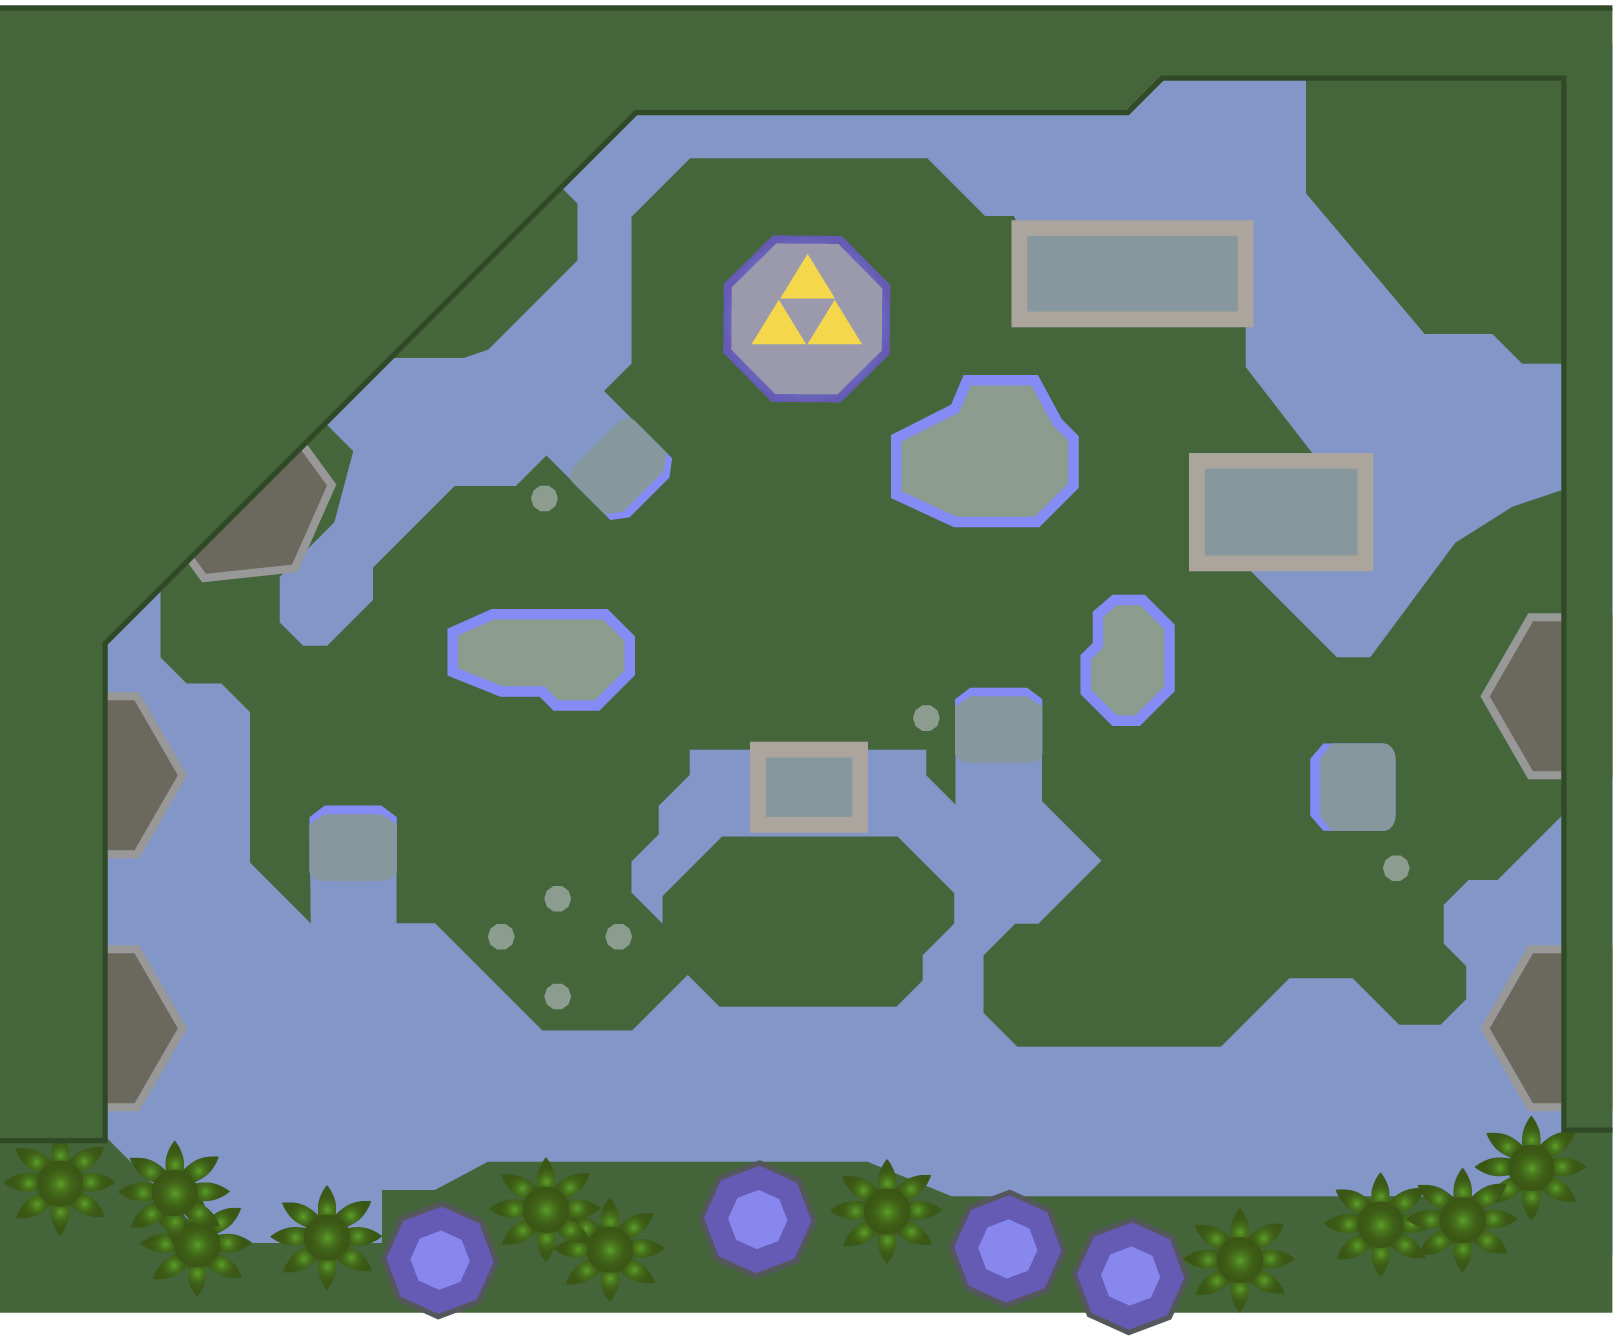
In order to complete this room, you’ll need to defeat all the enemies in it—but that’s easier said than done. You’ll face a new enemy called a Gyorm. While a Gyorm is hiding in its shell, it is invincible. So you just need to pull it out of the shell, right? Yes, but with a caveat: If you pull a Gyorm out of its shell while standing near it, it’ll immediately race back into its shell before you can even swing. What should you do then? Stand farther back, of course! Stand as far away from the shell as you can while still being in range with your Gripshot. When you pull out the Gyorm, it’ll still race to its shell, but it will hesitate before climbing back in, giving you a chance to strike. Instead of chasing the Gyorm directly, race back to its shell after pulling it out and then start swinging. If you’re far enough away when you Gripshot it, you’ll be able to take these slippery punks out before they can re-enter their shells. Clear a couple waves of Gyorms and you’re home free.