
The Legend of Zelda: Tri Force Heroes Guide Clothing Quest World 7: The Ruins
Level 1: Illusory Mansion
ChallengesFewer Heart Containers Don’t fall at all Clear within the time limit Sub-Weapons
Materials
Recommended Outfits |



This place is tricky and there are an awful lot of pits to fall into. In fact, there is an enemy at the end of the level that specifically uses pits to damage you and your Links. That’s why we can’t emphasize enough that you use Tingle Tights for this stage above all other Outfits.
Room 1
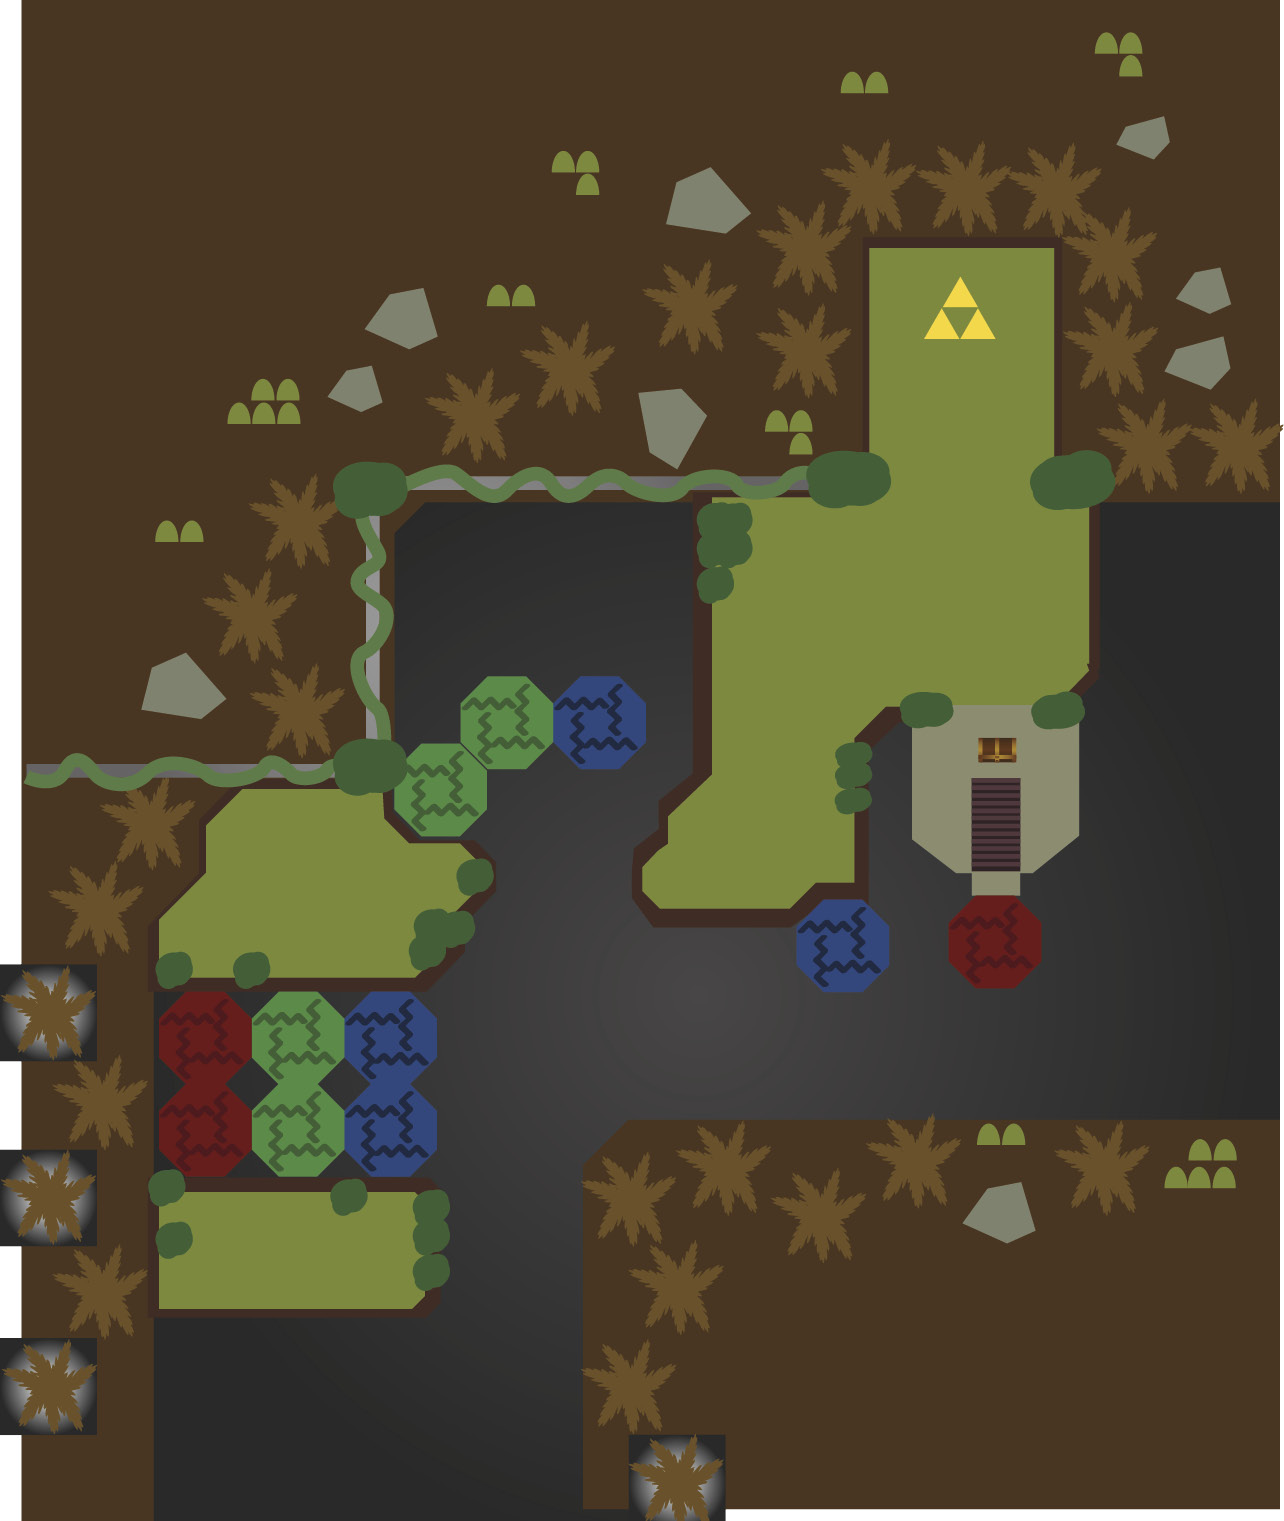
The colored platforms ahead correspond to each color of Link. Only a Link of the same color as the platform can cross each type of platform. For example, the green Link can walk on the green platforms, but not the red or blue ones. This makes for some tricky puzzle solving later in the level. For now, make a three-Link Totem and walk all three Links across the platforms that are the same color as the Link on the bottom of the Totem.
Grab the Boomerangs off their pedestals before moving on. Now you’ll need to make a Totem to match the order of the colored platforms ahead (green on bottom, blue in the middle, and red on top). Walk across the green platforms and throw the top two Links onto the blue platform ahead. Now throw the red Link over the gap to the right.
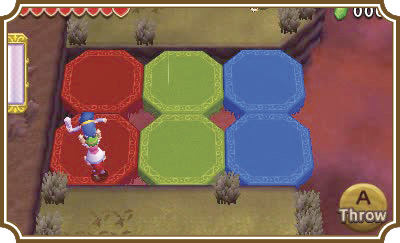
Now, as the blue Link, turn around, Boomerang the green Link, and throw him over to where the red Link is standing. Now use the red or green Link to clear out the ghostly Poes floating around the area, then Boomerang the blue Link over the gap.
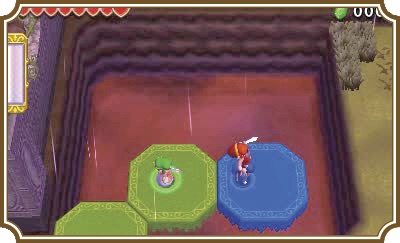
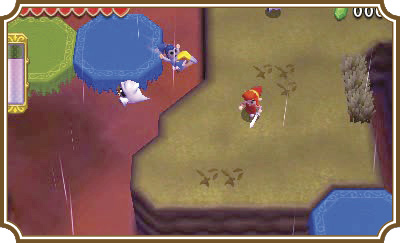
Normal Poes don’t pose much of a threat. (Pun intended? We like to think so.) A couple of hits and they’ll walk into the light, so to speak.
You’ll need to open the treasure chest on top of the tower on the east side of the room. The northern gate is locked and the key is inside the chest on top of that tower.
To reach the treasure chest on top of the platform on the right side of this area, make a Totem with the blue Link on the bottom and the red Link on top. Walk onto the blue platform to the south, then throw the red Link onto the red platform. Have the red Link head up the stairs and grab the treasure, throw it north onto the landing below, and then move back onto the red platform. Now have the blue Link Boomerang the red Link back to the blue platform and you’re good to go.
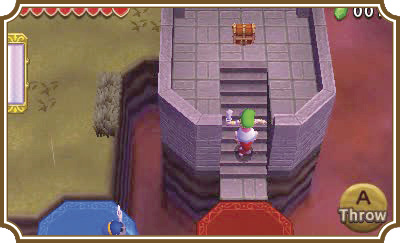
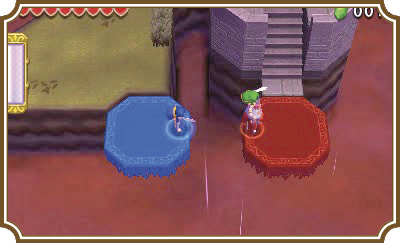
Use the key to open the gate, then move on to the next room.
Room 2
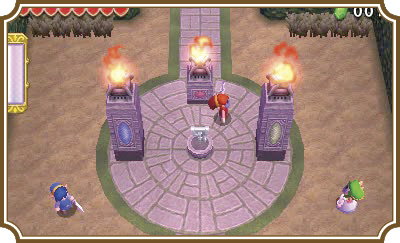
As you head north, three colored Poes will appear near three unlit torches. To defeat these colored Poes, you’ll need to attack them using the Link that matches the color of each of the Poes (the green Link attacks the green Poe and so on). The colored Poes are not different from the normal white Poes in behavior, so a couple of slashes from your sword will take them out.
As you defeat each Poe, a torch will light. Once you defeat all three Poes, a key will fall between the torches. Pick up the key and head north.
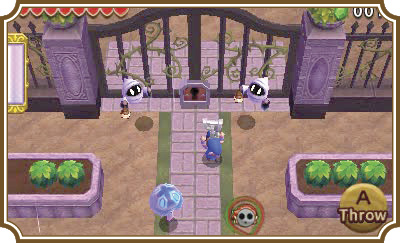
As you approach the northern gate, two white Poes will appear and try to attack you. Defeat them, “have a word” with Squiddy, and then unlock the north gate.
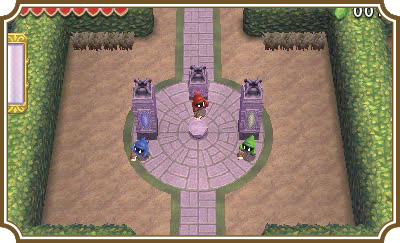
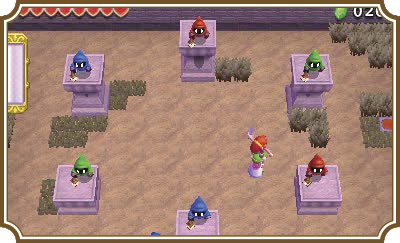
When you enter the next area, six colored Poes will appear at varying heights. You’ll need to make a Totem with the Link that matches the Poe you’re trying to attack on top. This is not a particularly difficult fight, so you should be able to mop the Poes up quickly. Once you do, a Triforce gateway will appear in the middle of the area.
Room 3
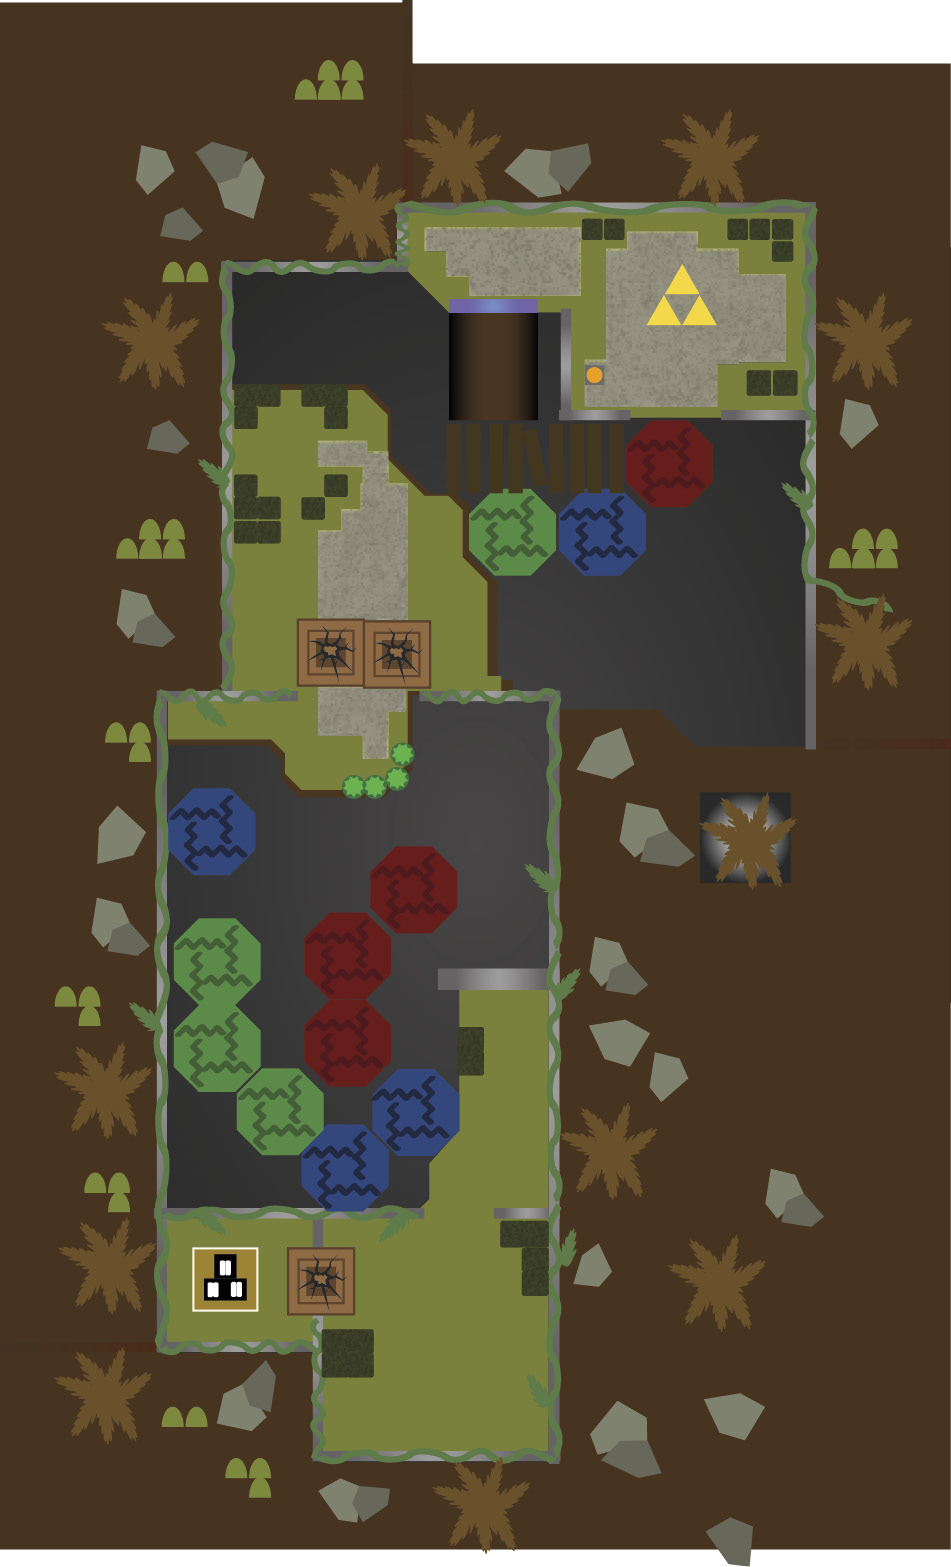
Have the blue Link walk on the blue platform ahead of your starting point. Now grab the Bomb ahead of you and run it back to the cracked block on the left side of your starting point to blow it up.
You’ll find a three-man pressure switch behind the block. Have all three Links stand on it and several more colored platforms will appear in the area north of you.
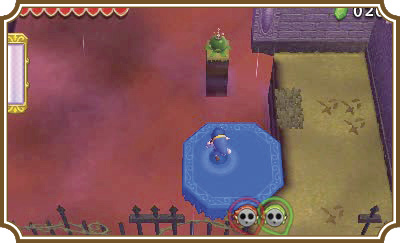
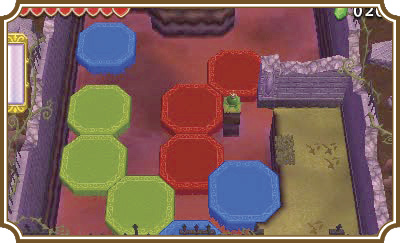
Make a Totem with the blue Link on the bottom, the green Link in the middle, and the red Link on top, then walk onto the blue platform. You’ll want to defeat the one-eyed, Keese-like Chasupas flying around the platforms; they’ll cause you plenty of grief if you don’t. Once the coast is clear, throw the top two Links onto the green platform, then have the green Link turn and throw the red Link onto the red platform.
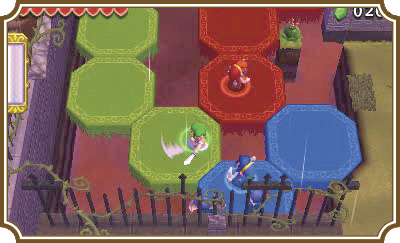
Now have the green Link Boomerang the blue Link and carry him north up the green platforms. At the end of the platforms, throw the blue Link onto the blue platform ahead, then have the blue Link Boomerang the green Link over to him.
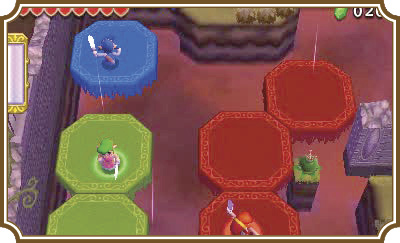
Throw the green Link onto the landing ahead, then have the green Link Boomerang the blue Link over. Now wait near the cracked block. Have the red Link Boomerang the Bomb in the center of his row of platforms, then throw it over to the other two Links. Next, get the green or blue Link to throw the Bomb in front of the cracked blocks to destroy them. Now have the green or blue Link Boomerang the red Link off of his platforms, then head north.
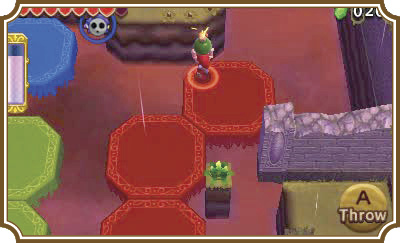
Take care not to get ambushed by the Life Like on the north end of this area. You’ll know where it is when you see the fake Heart wobbling on the ground in the middle of the grass ahead.
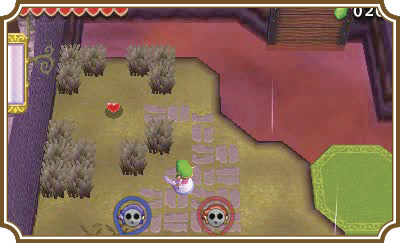
Make a Totem with the green Link on the bottom, the blue Link in the middle, and the red Link on the top, then walk onto the green platform on your right.
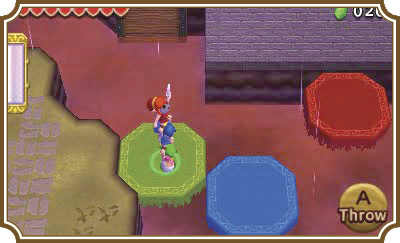
Throw the top two Links onto the blue platform, then have the blue Link throw the red Link onto the red platform.
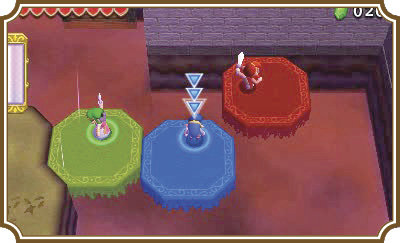
Now have the blue Link Boomerang the green Link, then walk to the northeast corner of the blue platform and have the red Link pick up the blue Link’s Totem.
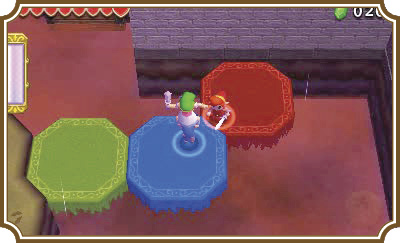
Face north, then have the blue Link throw the green Link onto the platform above.
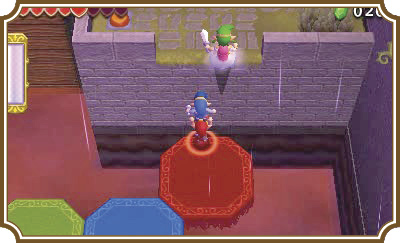
Have the green Link step on the pressure switch to create a bridge for the other two Links to use to reach the Triforce gateway above.
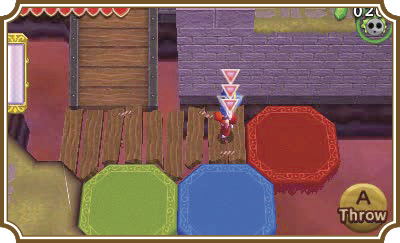
Room 4
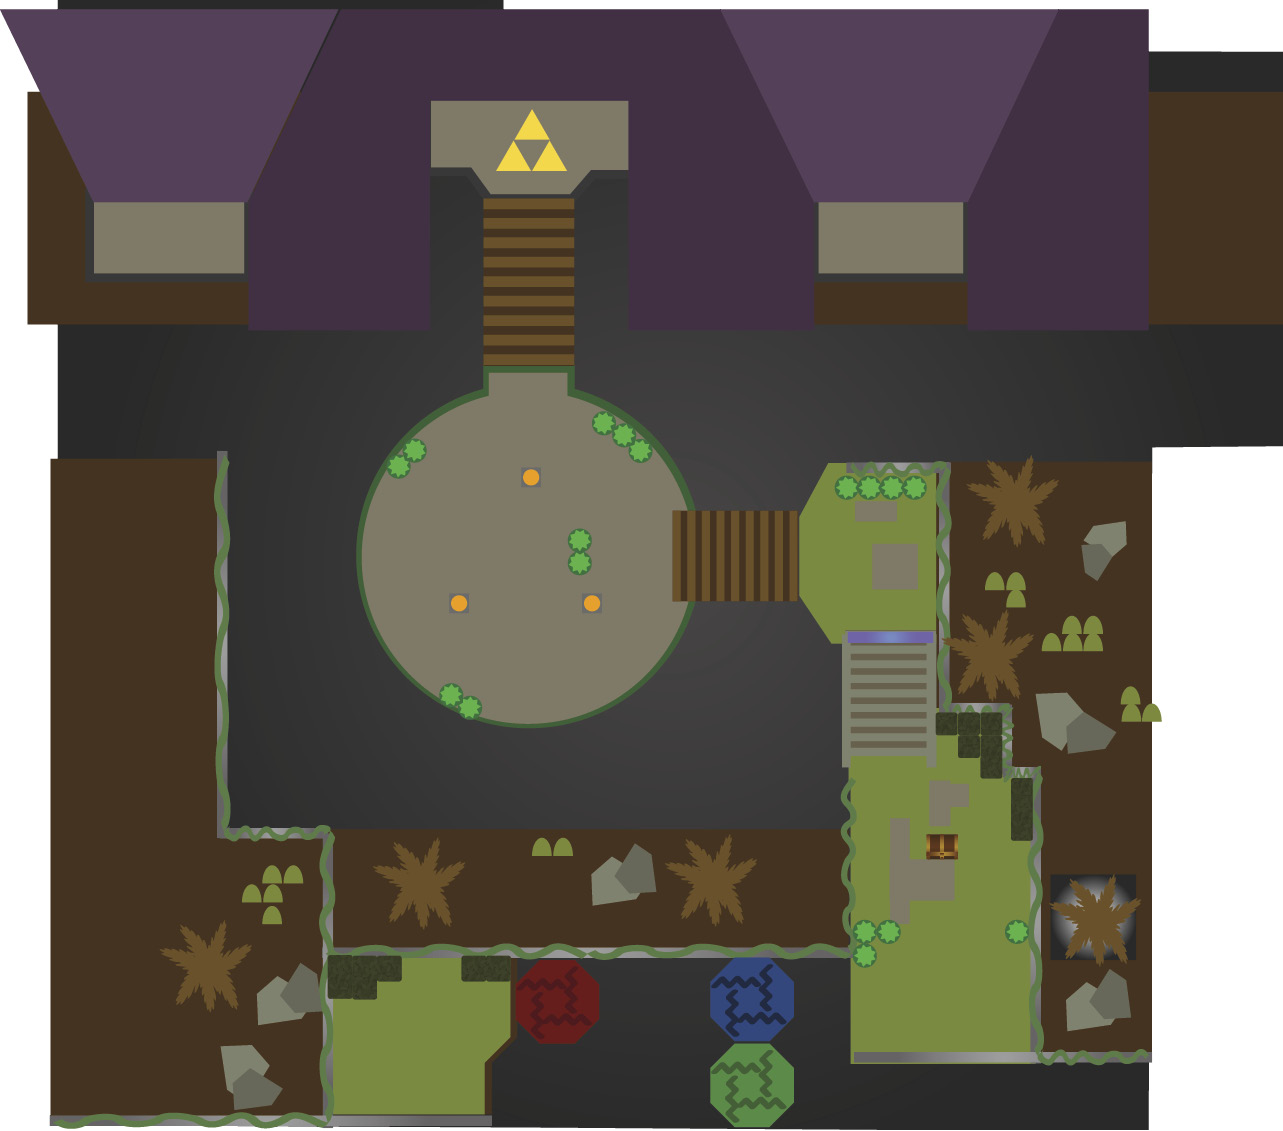
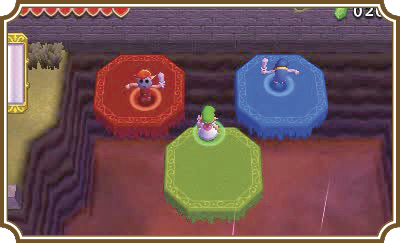
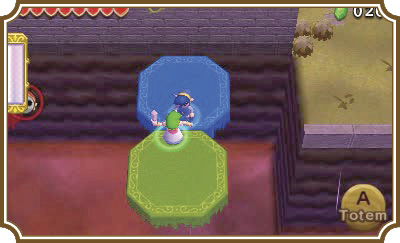
Make a three-Link Totem with the red Link on the bottom, the green Link in the middle, and the blue Link on top, then step onto the red platform. Have the red Link throw the green and blue Links onto the green platform below you, then have the green Link throw the blue Link onto the blue platform.
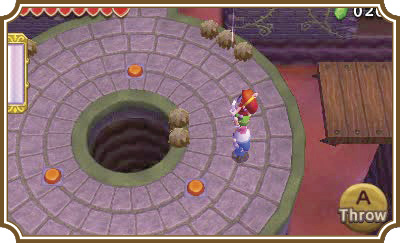
Boomerang the red Link with the green Link to create a Totem. Walk to the northeast edge of the green platform, then have the blue Link pick up the Totem and walk onto solid ground on the right side of the room.
An ambush of Poes will appear in the center of the area. Defeat them and a treasure chest appears. Head up the stairs and drop down onto the circular platform on the left.
Have each Link stand on one of the pressure switches to activate them. When the switches are activated, the bridge you dropped from will retract and three new enemies, Prankster Poes, will appear.
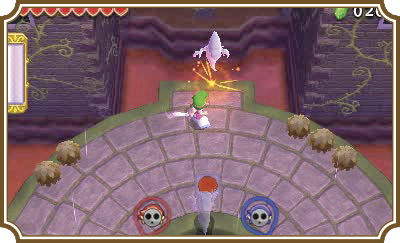
There’s no other way to describe these enemies except to call them massive jerks. They will chase after a Link like Ganon chases after the complete Triforce, and they won’t stop until they reach him. But the fun doesn’t stop there! Once they have their horrible little hands on your Link, they’ll pick him up, usher him to the nearest pit, and toss him right in. Out of all the enemies that have ever graced a Zelda game, none have been nearly as rude as the Prankster Poes.
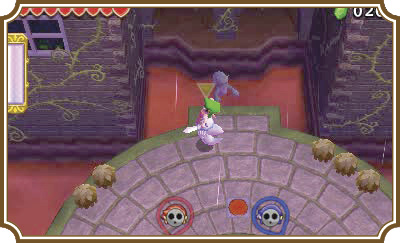
If you slash them, they’ll disappear momentarily, then reappear behind whichever Link slashed them. You’ll need to be quick to catch them before they catch you. When a Link gets picked up, if you’re playing single-player, you can switch to another Link and quickly slash the Poe to get it to drop the Link. In multiplayer, you’ll need a friend to slash the Poe for you.
Once you’ve defeated all of the Prankster Poes (good riddance!), a bridge will extend from the north, giving you access to the Triforce gateway for this room.