
The Legend of Zelda: Tri Force Heroes Guide Clothing Quest World 7: The Ruins
Level 2: Palace Noir
This level is dark. Really dark. It also has a good deal of tricky puzzles, made trickier by the lack of light. The Outfits you wear in the stage aren’t going to have a major impact, but we went ahead and listed a few that offer a bit of help. You can feel free to wear any Outfit with a general benefit (Sword Suit, Legendary Dress, etc.) if you’d prefer. Most of this level is about being patient and not walking off of the edge of a platform.
Room 1
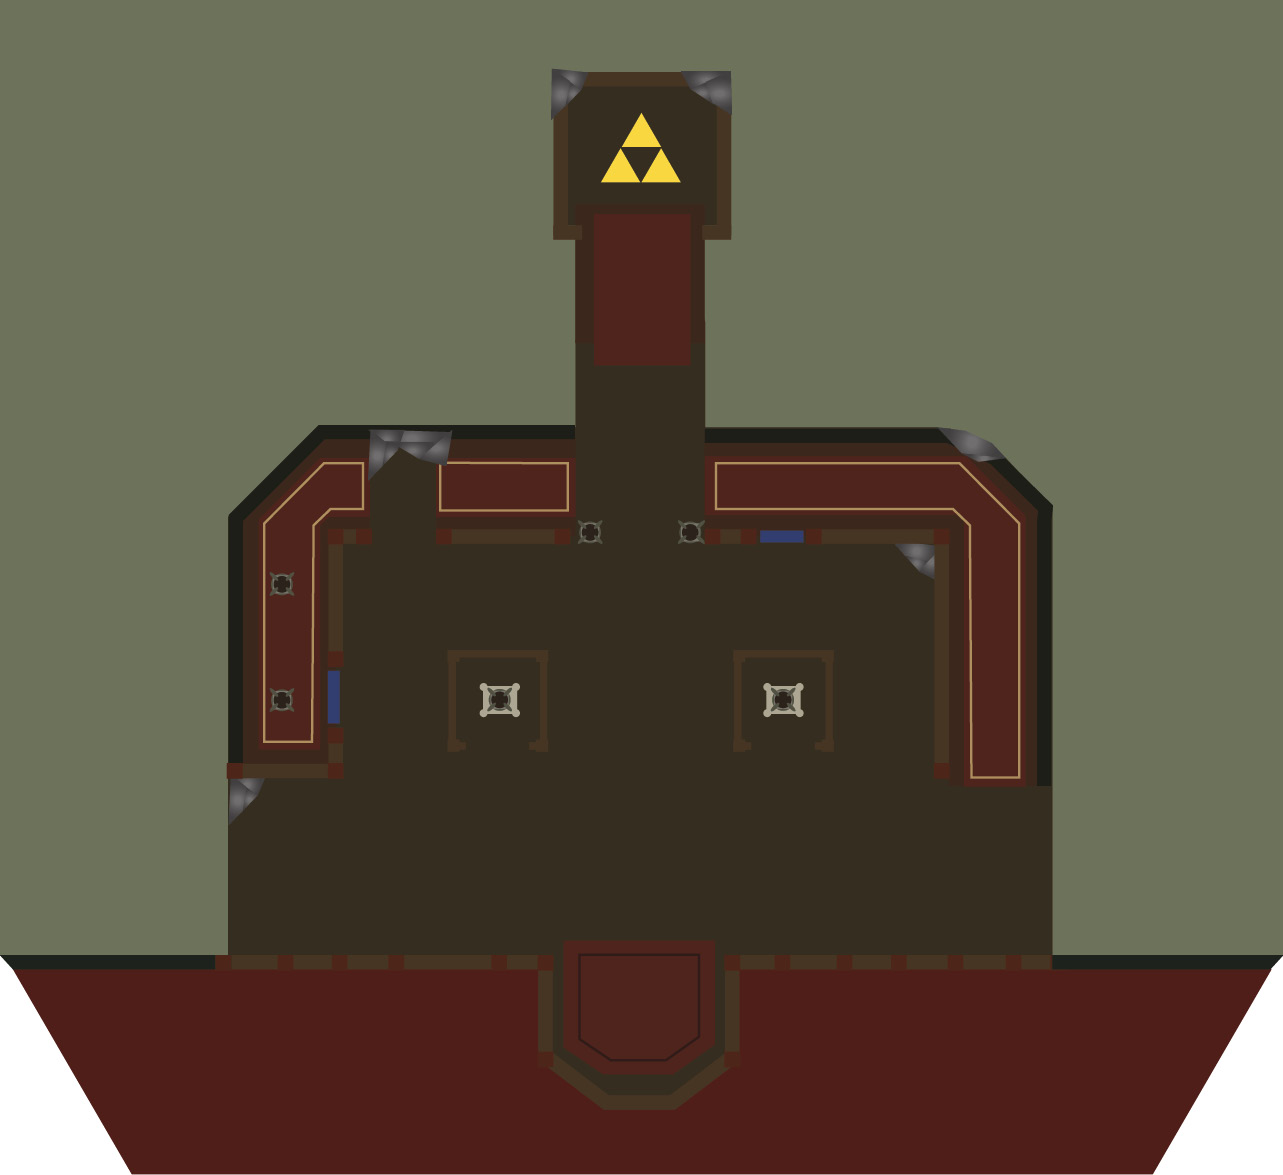
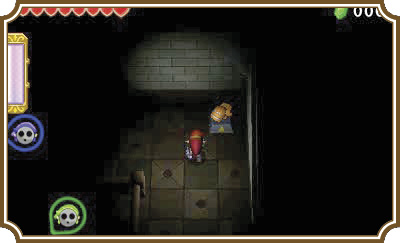
The white Poe holding the lantern is harmless. In fact, it’s actually pretty helpful in this dark room. You can use the Poe’s light to see around whatever area the Poe is in, but we won’t need it.
You’ll find the first Sub-Weapon for this level, the Bow, directly ahead of you. The Gust Jar is in the top-left corner of the room, and the Fire Gloves are on the top-right corner of this downstairs area.
Have the Fire Gloves Link light the two torches in the north side of the room to help dispel this darkness.
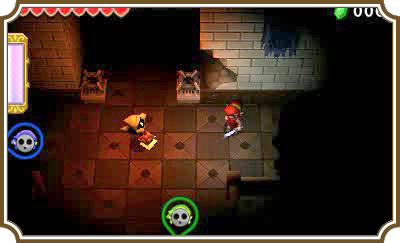
Now head up the stairs on the right side of the room and a small cutscene highlighting another unlit torch will play. Have the Bow and Fire Gloves Links line up at the left edge of the floor, then have the Gust Jar Link blow them over.
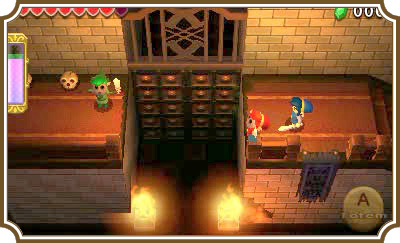
Once on the other side, have the Bow Link throw the Fire Gloves Link across the gap on your left. Now have the Fire Gloves Link light the torches on his platform.
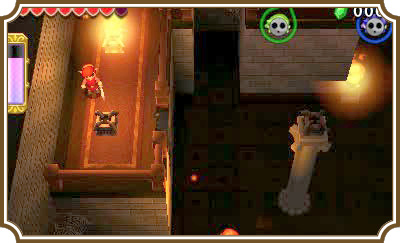
Have the Fire Gloves Link drop down to the bottom floor, head up the stairs on the right side of the room, and then let the Gust Jar Link air blast the Fire Gloves Link back to where the Bow Link is. Have the Fire Gloves Link throw the Bow Link across the gap this time. Now have the Bow Link stand in front of the bottom torch of the platform, face to the right, and fire an arrow through the torch. The arrow will light one of the two remaining torches.
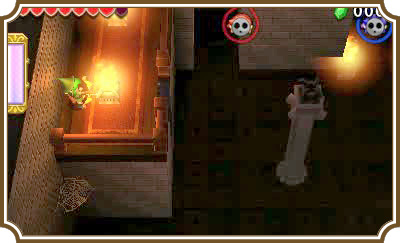
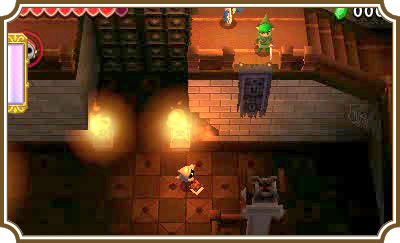
Have both the Fire Gloves Link and the Bow Link head back up the stairs to where the Gust Jar Link is standing. The last torch that needs to be lit is directly south of your position, sitting on top of one of the white pillars in the center of the room.
In single-player, this part is quite tricky. You’ll need to position your Fire Gloves Link on the very edge of the opening in the balcony while facing north. Your Bow Link will need to stand against the north wall directly in front of the Fire Gloves Link, but have your Bow Link face south.
Now have the Fire Gloves Link throw a fireball toward the Bow Link, then quickly switch to the Bow Link and fire your arrows. If your timing was right, your Bow Link’s arrows will shoot through the fireball, catch fire, and then hit the torch on top of the column. It might take a few tries, but you’ll get it eventually.
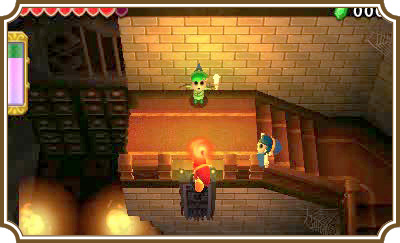
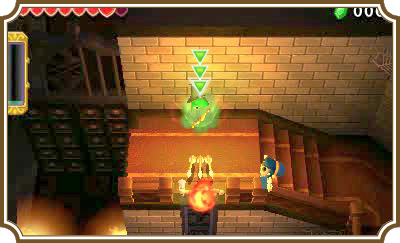
Once all of the torches in the room are lit, the Lantern Poe will pop and the gate on the north side of the room will open. You’ll be able to reach the Triforce gateway just behind the gate.
Room 2
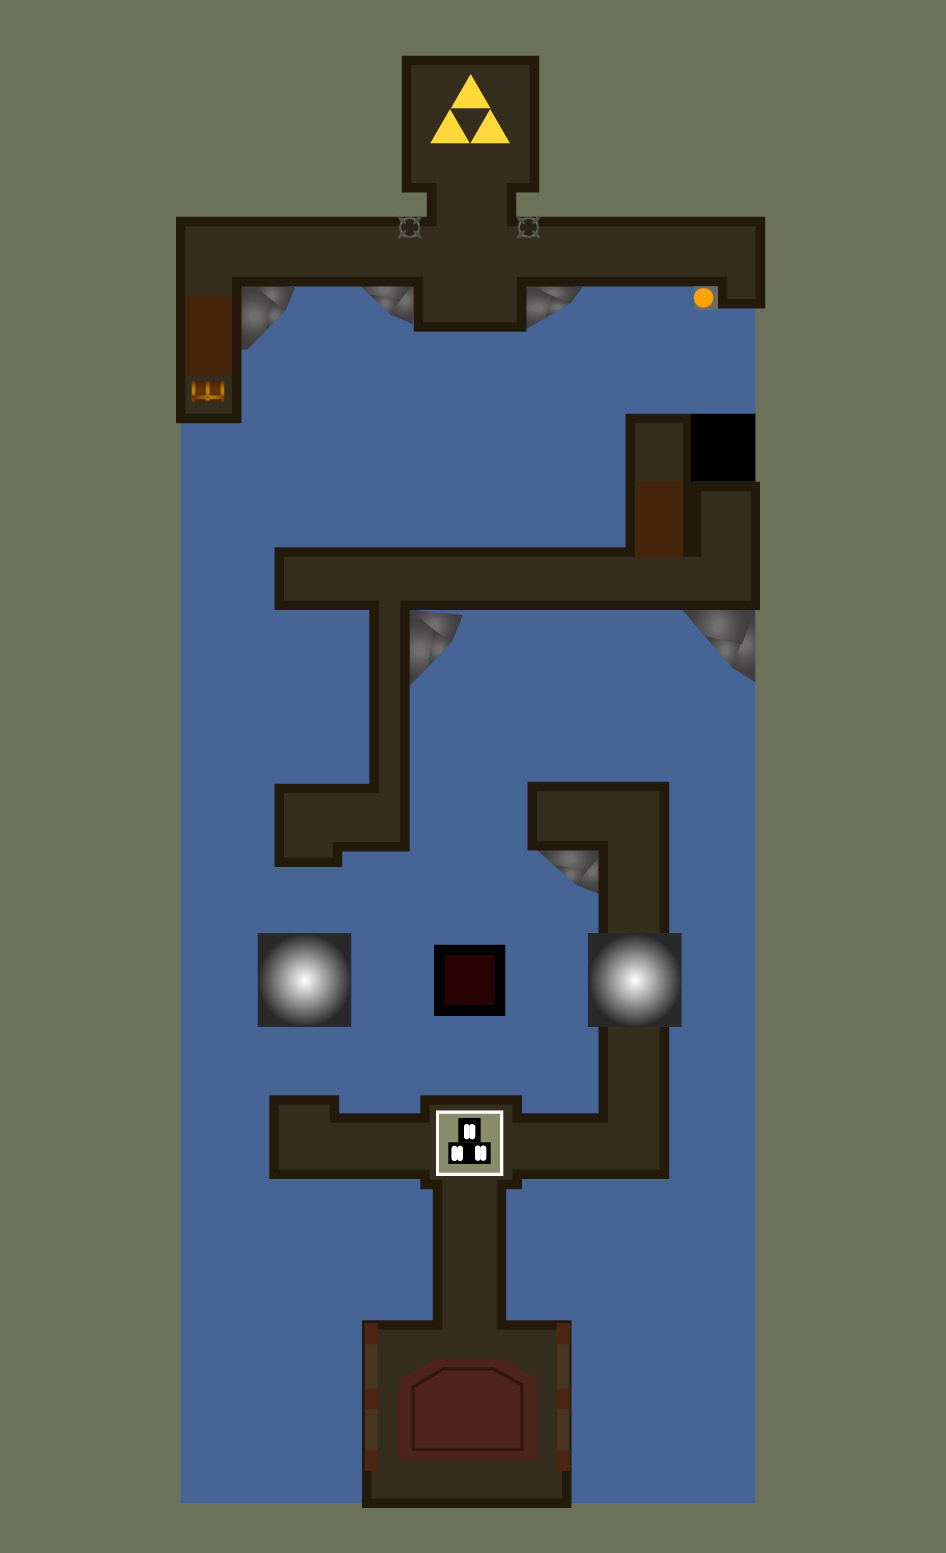
This room is also dark, and to make matters worse, the pathways here are very narrow. There is a three-man pressure switch directly ahead of you. Have all three Links stand on it to activate it. Activating this switch will cause a key to fall onto a column in the center of this area. You’ll need to grab that key to unlock the door blocking the Triforce gateway on the north end of the room.
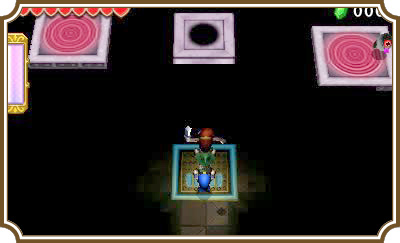
The key will shortly thereafter be engulfed in fire. In order to reach it you’ll need the Gust Jar Link to put the fire out. Have one Link (but not the Gust Jar Link) head left along the pathway until you encounter a moving platform. Have that Link stand on the middle of the platform while the other two Links head to the right.
Make a Totem with the Gust Jar Link on top. Now walk the Totem onto the moving platform on the right side of the room and face the key. When the left platform is just about parallel with the platform the Totem is on, fire the Gust Jar at the key. If you’re close enough, the key will launch off of its column and land on the moving platform on the left side of the room. Having the Link over there will help you catch it.
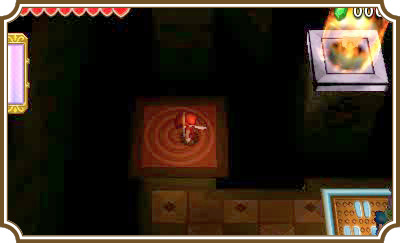
With key in hand, have all three Links use the left platform to reach the northwest corner of the area, then follow the path east. You can find another unlit torch at the end of this path. Lighting it will make things a bit easier.
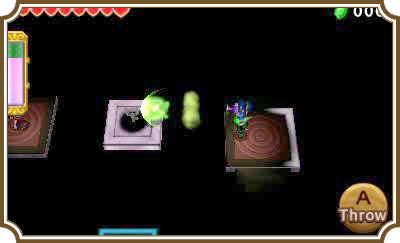
To get across the gap on the far right side of the room, put the key safely on the ground, make a two-Link Totem (but don’t add the Gust Jar Link to it), and have the Totem stand at the edge of the red platform. Now move your Gust Jar Link onto the landing above the red platform and air blast the top Link of the Totem across the gap.
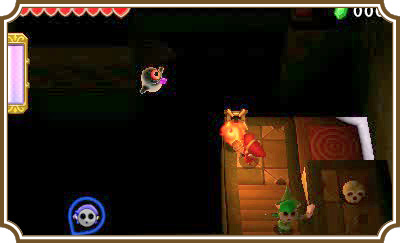
Have the Link that crossed the gap hit the pressure switch to make the red platform move. Now grab the key, hop on the red platform, and cross to the other side of the room. Put the key in the lock on the northern gate to open it and gain access to the Triforce gateway.
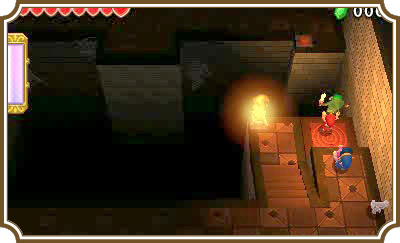
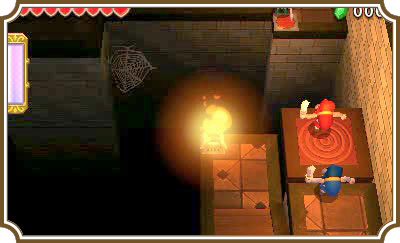
Room 3
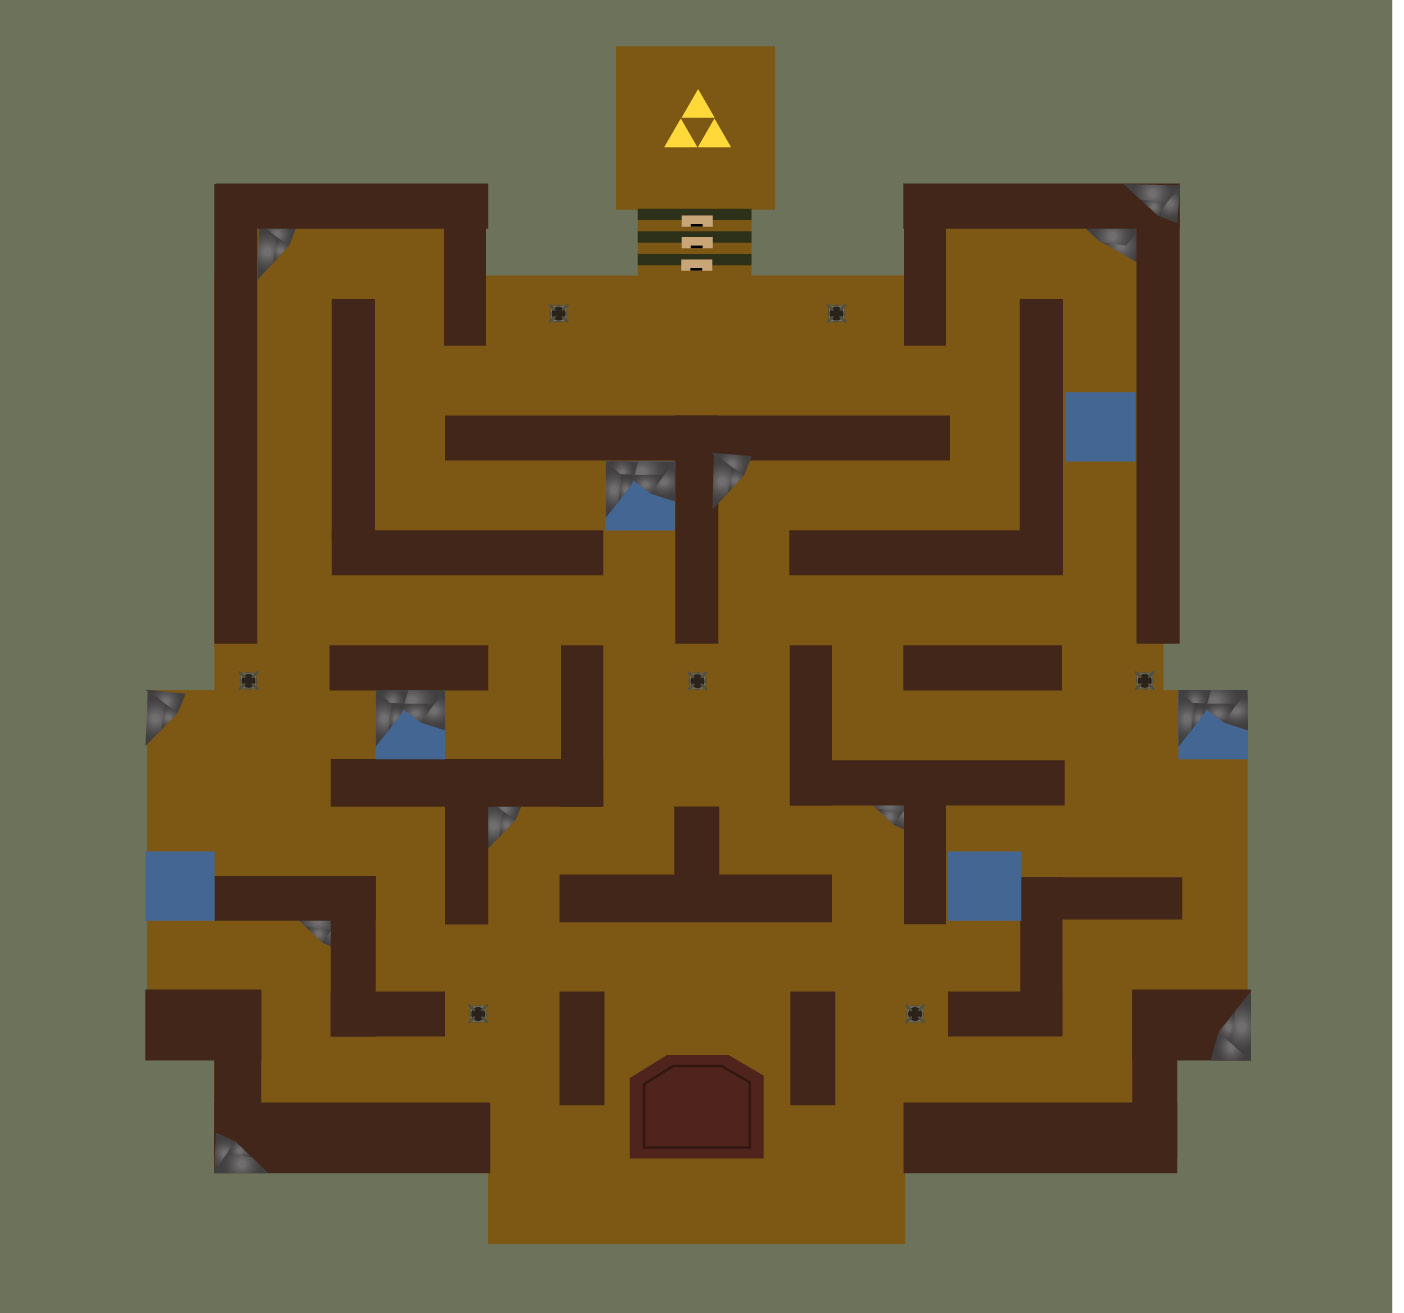
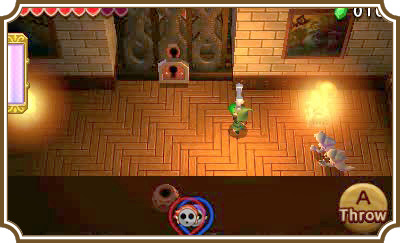
This room is large, but simple. Three Key Bandit Poes are holding three keys, all of which you need to unlock the gates on the north side of the room. This room is a bit of a maze, complete with pitfalls and enemies, but none of it is too challenging if you mind your step.
The Key Bandit Poes are similar to the Prankster Poes, except they’ve only got eyes for keys. The second you pick one up, a horde of Key Bandit Poes will try to attack you to take the key back.
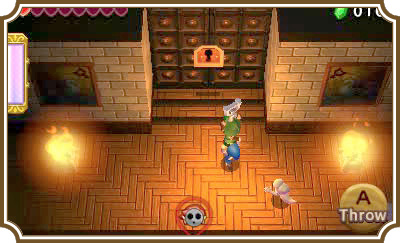
Once you have a key, immediately take it to one of the locks on the northern gates. Grab all three keys and escort them to the gates to exit the room. The last lock requires a two-Link Totem be made in order to reach it, so quickly race to one of your other Links, have one of them pick up your key-holding Link, then race back to the lock.
Once all three gates are open, a Squiddy will appear directly below the gates. Speak with the Squiddy in a language it understands, then exit the room.
Room 4
Boss Fight: Grim Repoe
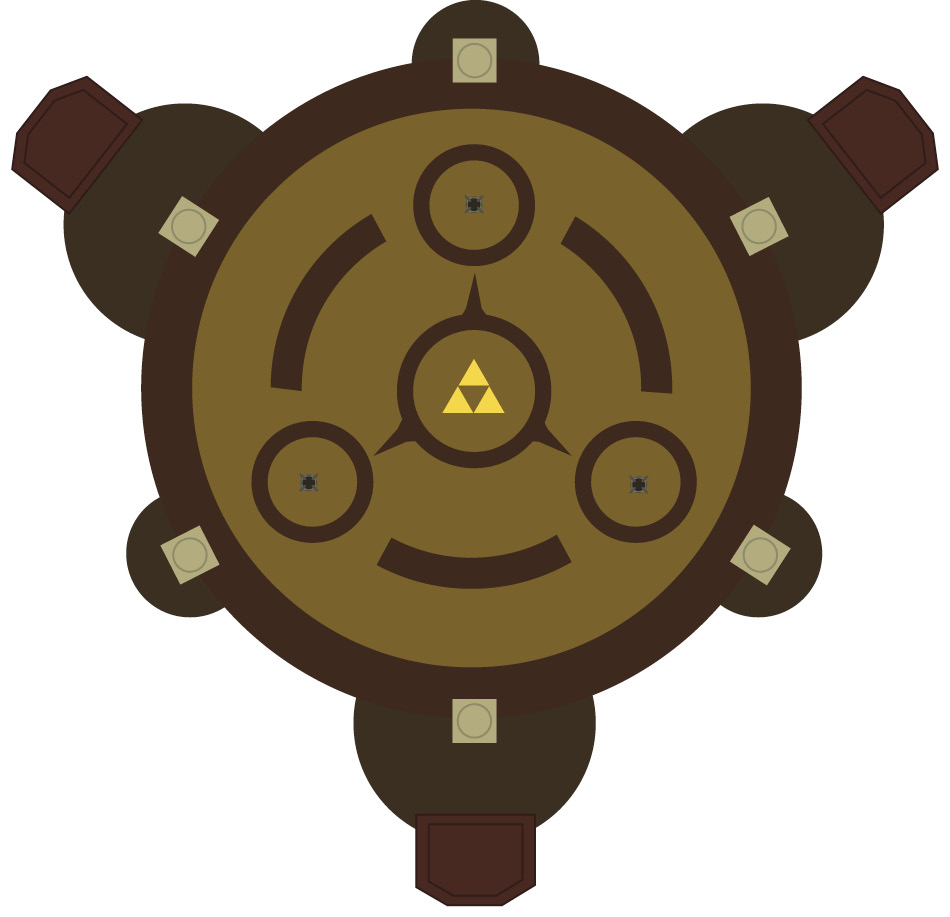
Each Link starts in a different area of this room. When all three Links enter the center of the room, three colored Poes appear, but these ones are a little different than the ones you’ve faced up to this point. These Poes will run away from you as you approach, so you’ll have to herd them into one of the alcoves surrounding the room to hit them.
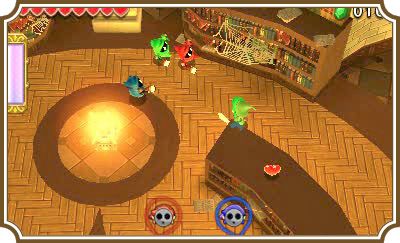
In single-player, you can force them toward an alcove with one Link, then leave that Link in between the wall and the bookshelf to basically create a barricade that the Poes won’t cross. Control a different Link and move him to the opposite side of the bookshelf to keep the Poes from moving through that side as well. Now take your third Link and attack. Keep pressuring the Poes back, then block them in until all three are defeated.
After each of the three Poes have been defeated, Grim Repoe will appear to avenge its fallen brethren.
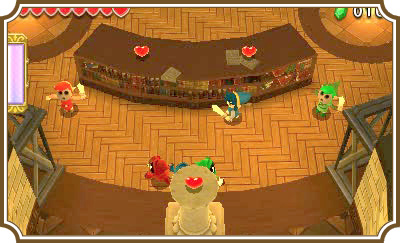
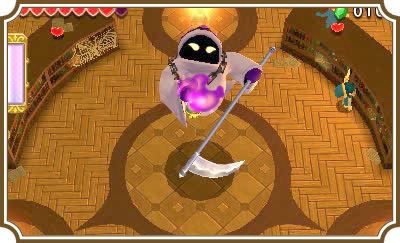
The Grim Repoe will promptly disappear after the fight begins, leaving only its scythe visible. To make Grim Repoe visible again, you’ll need to have the Fire Gloves Link relight all three torches surrounding the center of the room.
When all three torches are lit, Grim Repoe will reappear, but it’ll still be untouchable. Have the Gust Jar Link hit it with an air blast and it’ll be completely visible, meaning you can hit it with your sword. After a handful of hits, Grim Repoe will blow the lights out and become invisible once again.
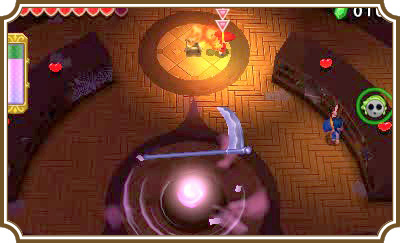
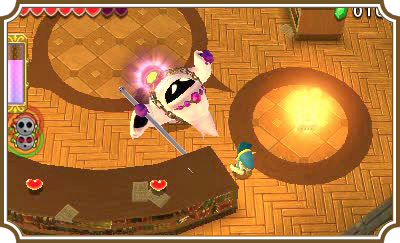
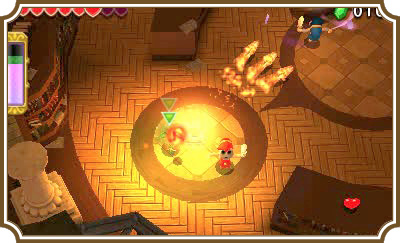
You’ll need to relight the torches, but Grim Repoe will try to put them out with its spin attack. You’ll need to be quick if you want to relight all three before Grim Repoe can put one out again. If you equipped the Kokiri Clothes, you can light one of the torches, then shoot through the torch toward the other two to quickly light them. It takes some good aim, but it’s the fastest way to get the torches up and running again. You can also do it without the Kokiri Clothes, but the Outfit makes it easier.
You only need to make Grim Repoe visible and attack it with your sword one or two more times to defeat it.