The Legend of Zelda: Tri Force Heroes Guide Clothing Quest World 6: The Dunes
Level 1: Infinity Dunes
ChallengesAdventure in the dark Guard the orb Fewer Heart Containers Sub-Weapons
Materials
Recommended Outfits |


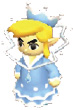


Having one Link wear the Torrent Robe will be pretty helpful in this level. There’s a good bit of puzzle solving and platforming that require the use of the Water Rod, and having the Water Rod Link wear the Torrent Robe will make it that much easier. It’s not required by any means, so if you want to wear a general Outfit like the Sword Suit, Legendary Dress, or the Rupee Regalia, you can feel safe knowing it’s not going to come back to bite you in the hindquarters.
Room 1
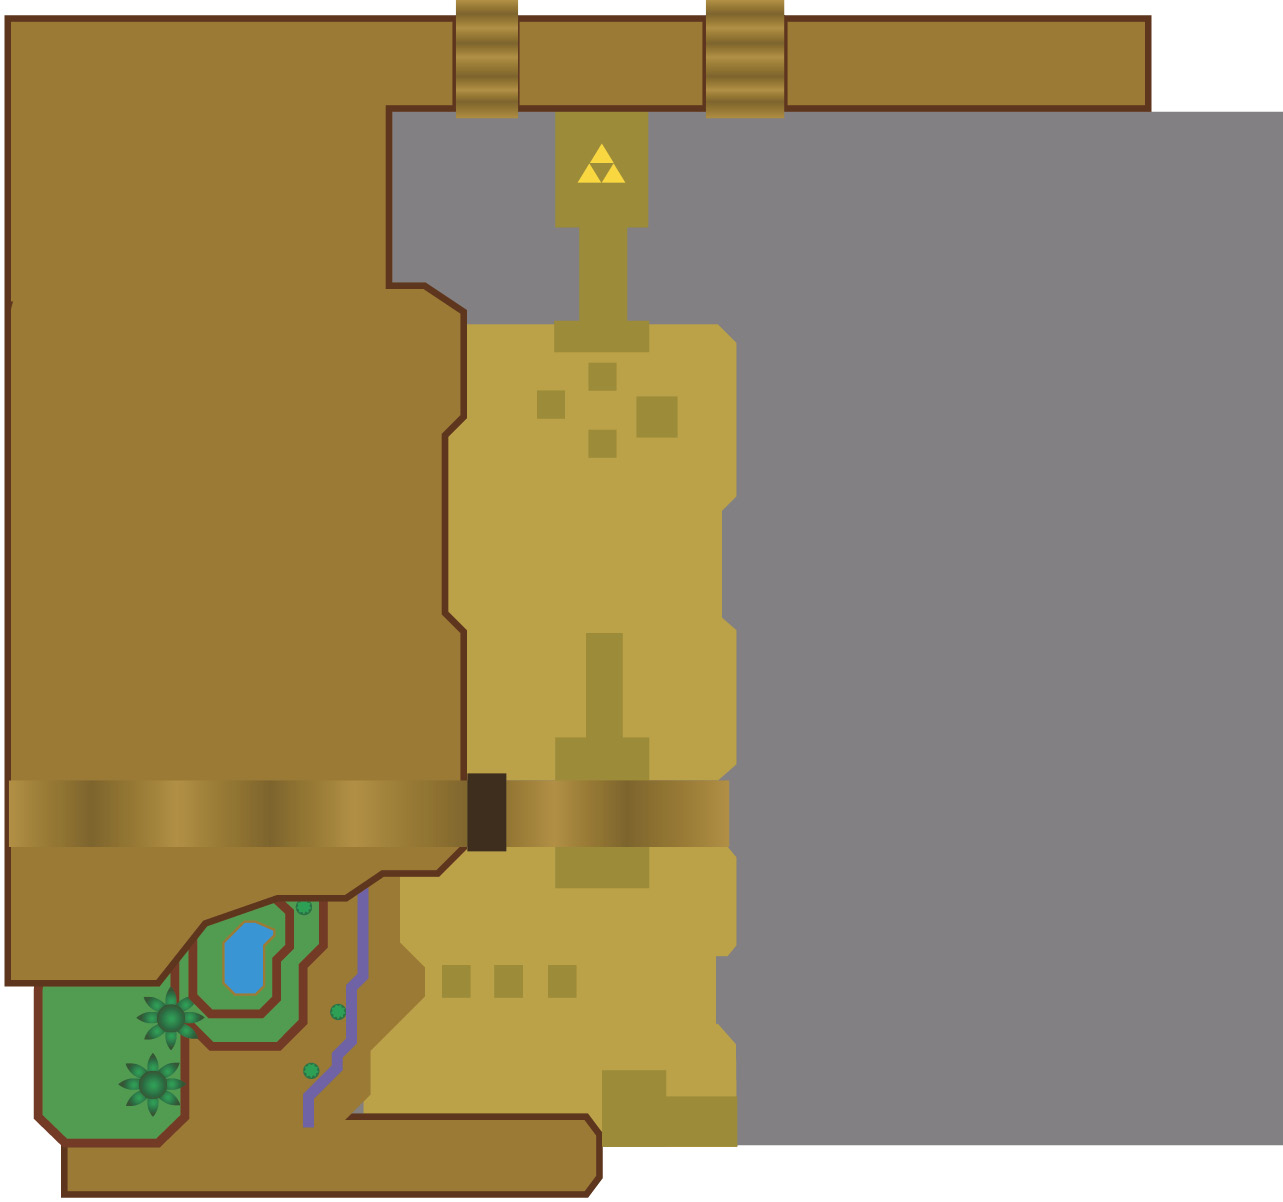
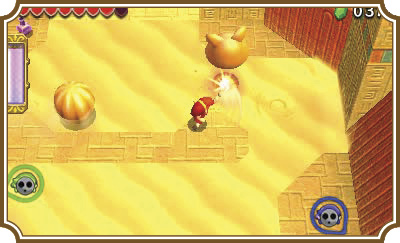
Drop into the pit to the north and grab the Sub-Weapons. Use the Water Rod to get your Links back up to the surface, then start heading north. It’s worth exploring the area for breakables and Rupees, but whatever you do, don’t stop moving! The sand is actually quicksand, and standing still in it for more than a couple of seconds will see your Link swallowed whole by the sand. It is safe to stand on any stone platforms you see around the area, but the sand is always bad news.
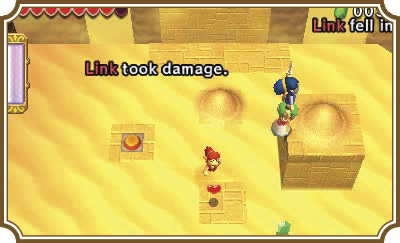
Once you reach the sand river in the center of the room, have your Water Rod Link create a water bridge across to reach the other side of it. To get across faster, you can make a two-Link Totem with your Gust Jar Links, create the bridge, and then pick up the Totem and run across.
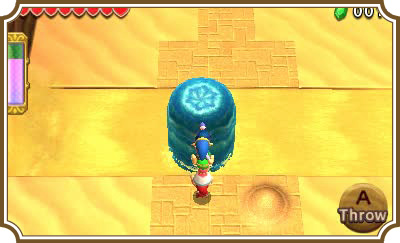
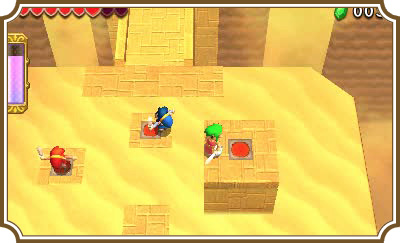
Continue north and avoid the skeletal Sandfish, which are just Skullfish except they swim in sand instead of water. After walking north for a while, you’ll reach a gap that you can’t cross. There is a pressure switch on the leftmost brick platform, but it doesn’t do anything when you press it. Use your Gust Jar or Water Rod to destroy the sand mound on the brick platform to your right, then use the Water Rod or throw your Link onto the elevated platform on the far right. Destroy the sand mound up there as well and you’ll now have three pressure switches around you. Step on all three to create a bridge across the northern gap, then continue north.
Room 2
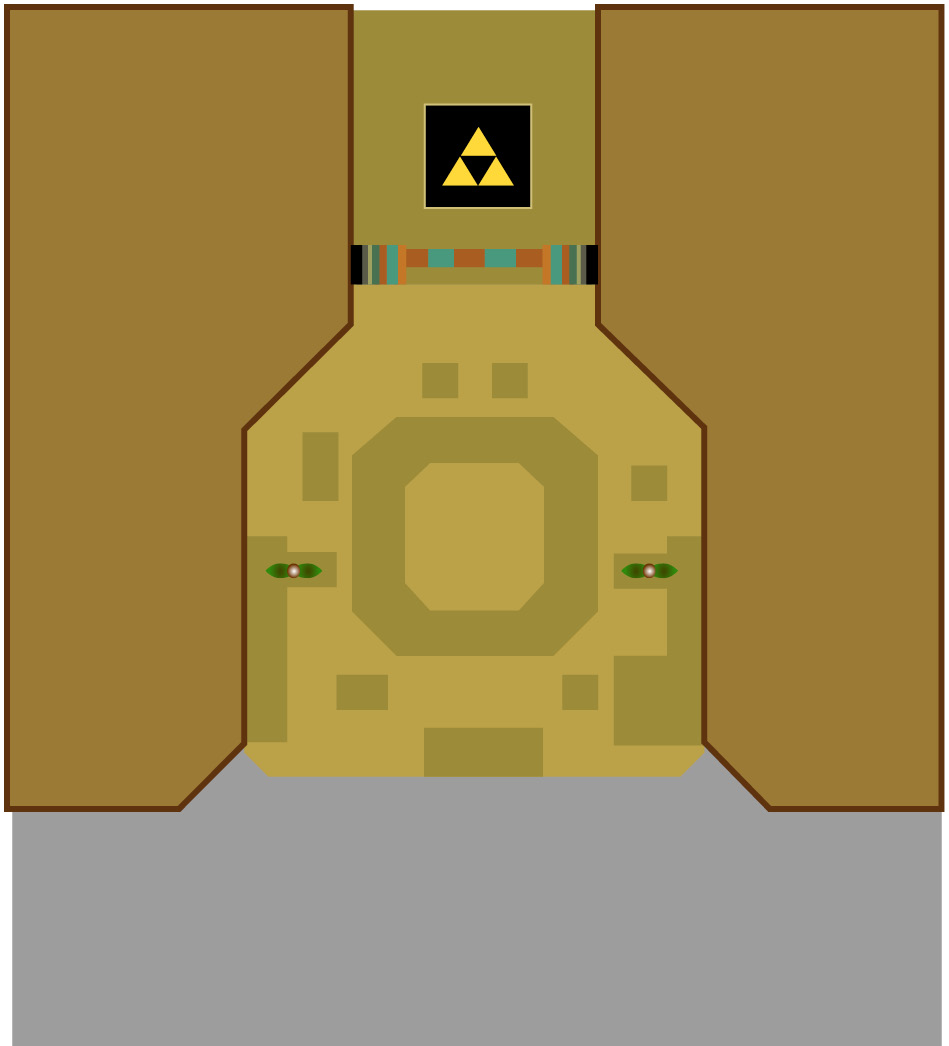
You’ll have to defeat all the enemies in this room to be able to leave it. You’ll face off with two Life Likes, two Leevers (plant-like creatures that dig under the ground, then rise to the surface somewhere else in the room), and a Vulture, which is not at all unlike the Crows you’ve encountered in past levels.
The Leevers only need a couple of sword slashes to be defeated, so they aren’t much of a threat. If a Life Like grabs you, immediately switch to one of your Doppels, or have one of your teammates hit it to get it off of you. You can use the Water Rod to grow the saplings on the east and west sides of the room. They’ll turn into Bomb Flowers, which you can use to throw into the mouths of the Life Likes. You can also use the Water Rod under the Vulture to stun it and bring it to a place you can reach it reliably.
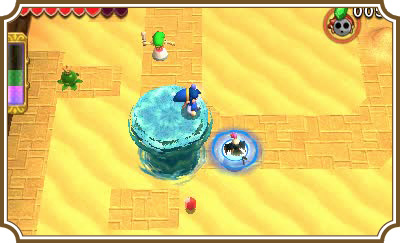
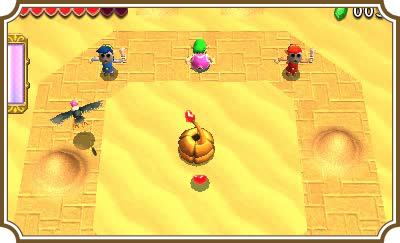
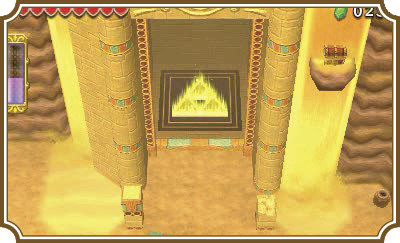
Once all of the enemies have been defeated, a gate on the north end of the room will open and reveal the Triforce gateway.
Room 3
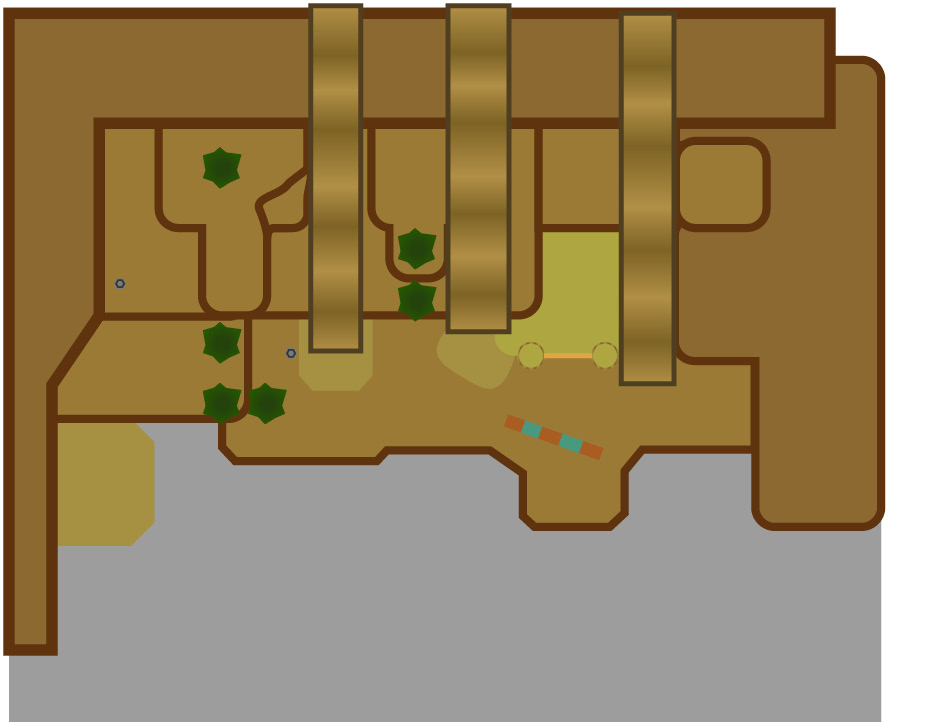
This room is very big and can seem pretty daunting, but if you know what you’re doing, it’s actually a breeze. Head west until you see a sapling. As you make your way west, a giant door will slide shut, blocking the Triforce gateway. Your goal is to reopen that door.
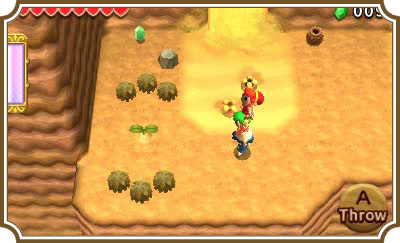
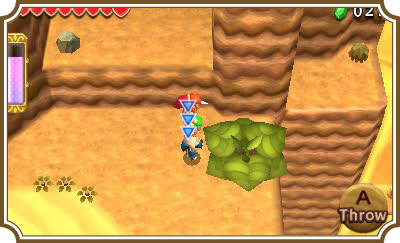
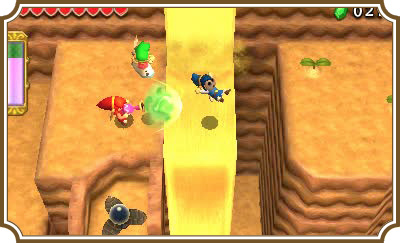
Use your Water Rod on the sapling to make it grow into a moving platform. Hop on the platform and ride it up the Cliffside. You’ll find another sapling, some Rupees, and our good friend Squiddy at the top of the platform’s path. Remind Squiddy of the good ol’ days, grab the Rupees, and then use your Water Rod on the sapling to create another moving platform.
This is where things get a little tricky. There are a handful of sand waterfalls along this wall, and falling into any of them will take you back to the bottom of the room almost every time. Be very careful if you don’t want to have to climb the cliffs over and over.
Stand a Gust Jar Link and the Water Rod Link right by the waterfall without touching it, then use the remaining Gust Jar Link to blast both Links across to the platform on the other side.
You might have noticed the shy orb switch below your lone Link. Well, we’re about to take care of that. Have the Water Rod Link water the saplings to create Bomb Flowers. Next, have the Gust Jar Link on the other side of the waterfall air blast the Bomb over to your lone Link, then use the lone Link to pick up the Bomb and throw it onto the orb switch’s platform. The switch will activate and open one layer of the locked door at the southeast side of the room.
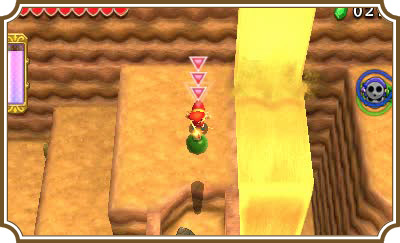
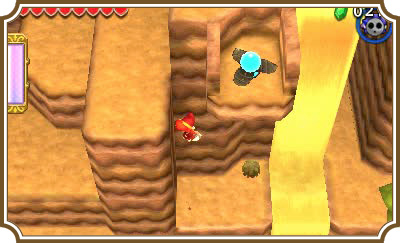
Now have the Water Rod Link drop south off the platform and use the Water Rod on the sapling below. This will allow the lone Link to rejoin his friends.
Have the lone Link walk off the right side of the landing onto the landing slightly below it, then walk to the landing’s south end and fall off of its right side. This will put you on the same level as the sapling your Water Rod Link just watered.
Now have the Water Rod Link create a bridge over the sand waterfall to allow the lone Link to cross. Have both Links ride the leaf platform back up to where the other Gust Jar Link is.
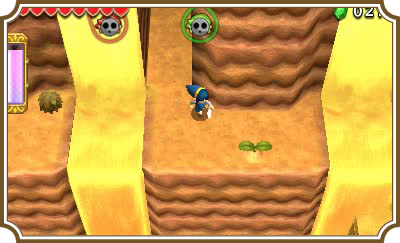
Once all three Links are back together, line up a Gust Jar Link and the Water Rod Link in front of the sand waterfall on the right, then use the remaining Gust Jar Link to blast them over.
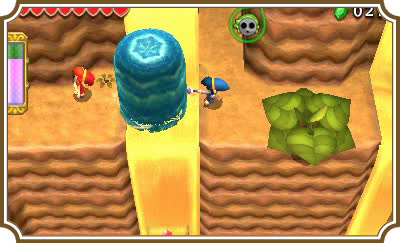
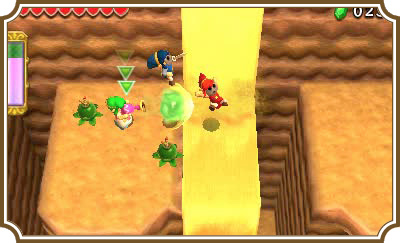
You’re supposed to blast a Bomb over to the two Links, have them create a water pillar, hop on it, and then throw a Bomb onto the second orb switch, but there’s an easier way to deal with this switch. Have your Water Rod Link create a platform in front of the orb switch, just before the sand waterfall.
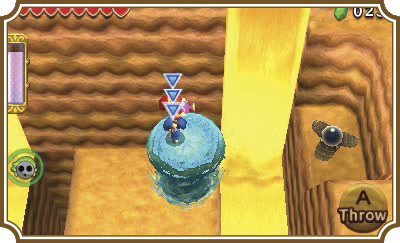
Pick up the Gust Jar Link, aim him towards the orb switch, and then have him fire an air blast to hit the switch. This will keep you from having to deal with the tight timing of blasting a Bomb over, creating a platform, picking up the Bomb before it blows, and then throwing it near the switch.
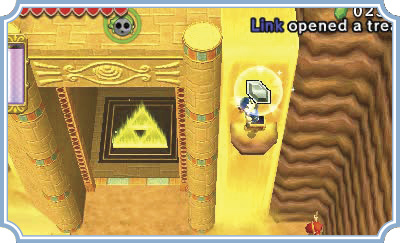
With the second switch hit, the southeast door will open, revealing the Triforce gateway. Drop off the cliff and head to the next room.
Room 4
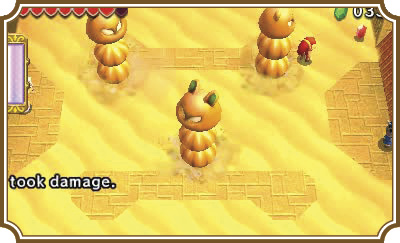
You’ll face a new type of enemy in this room: a Hokkubokku. To defeat it, you need to hit each part of its body until its head is on the ground. The catch is that every time you hit one of its body parts, it’ll go soaring around the room, damaging you if it hits you. The Hokkubokku will also dig into the ground and try to resurface under you to deal damage.
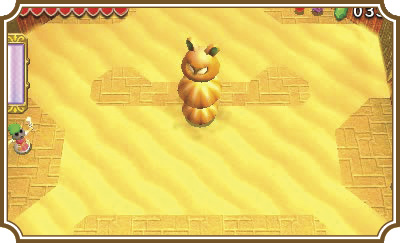
The easiest way to beat this enemy is to use your Water Rod to create a platform underneath it. It will stun the Hokkubokku in place for a moment, giving you plenty of time to smack its body parts out from underneath it. But sword slashes work just as well.
Once you defeat the first one, three more Hokkubokkus will enter the room. Try to take one down at a time to avoid having Hokkubokku body parts bouncing all over the room.
Once you’ve defeated these three, the northern gate will open to reveal the Triforce gateway.