
The Legend of Zelda: Tri Force Heroes Guide Clothing Quest World 7: The Ruins
Level 4: Grim Temple
ChallengesFewer Heart Containers Don’t fall at all Clear within the time limit Sub-Weapons
Materials
Recommended Outfits |





The platforming can get a little hairy in this level, which is why we’ve suggested the Tingle Tights. There are also some pretty challenging fights throughout this stage, so the Sword Suit will help end those sooner rather than later. You can also wear the Light Armor to help see in the dark in the earlier portions of this level. Any choice will do, so pick your poison!
Room 1
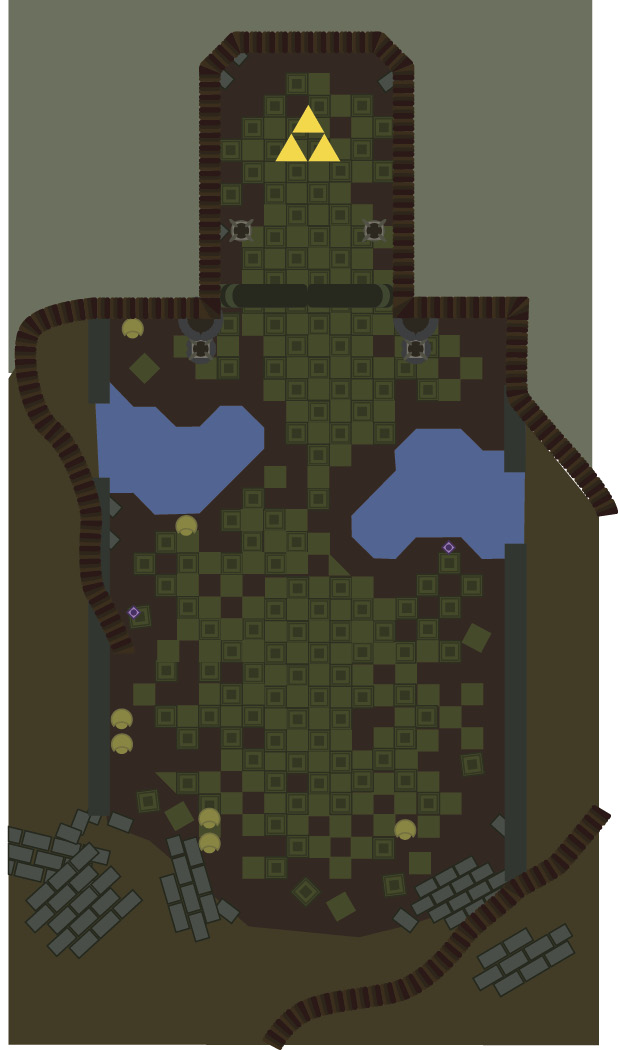
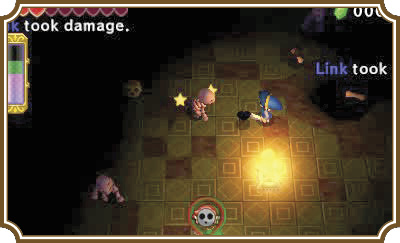
All three Sub-Weapons are directly above your starting location. Grab them, switch to your Fire Gloves Link, and light the torch slightly north of the Sub-Weapons.
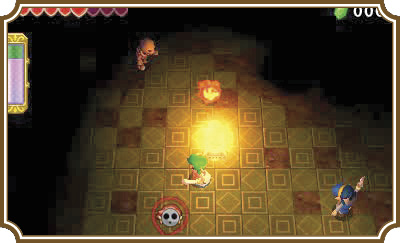
To exit the room, you’ll need to defeat all of the Stalfos roaming around it. Don’t bother swinging at them with your sword, throwing a Boomerang at them, or using your Fire Gloves on them; they’ll just jump away, dodge, and avoid most of your attacks. Instead, hit them with the Gripshot to stun them, then hit them once with your sword. Hit them with the Gripshot again, then the sword again. Repeat this process until they have been defeated.
Once you’ve defeated all the Stalfos, a gate will open on the north side of the room, revealing the Triforce gateway behind it.
Room 2
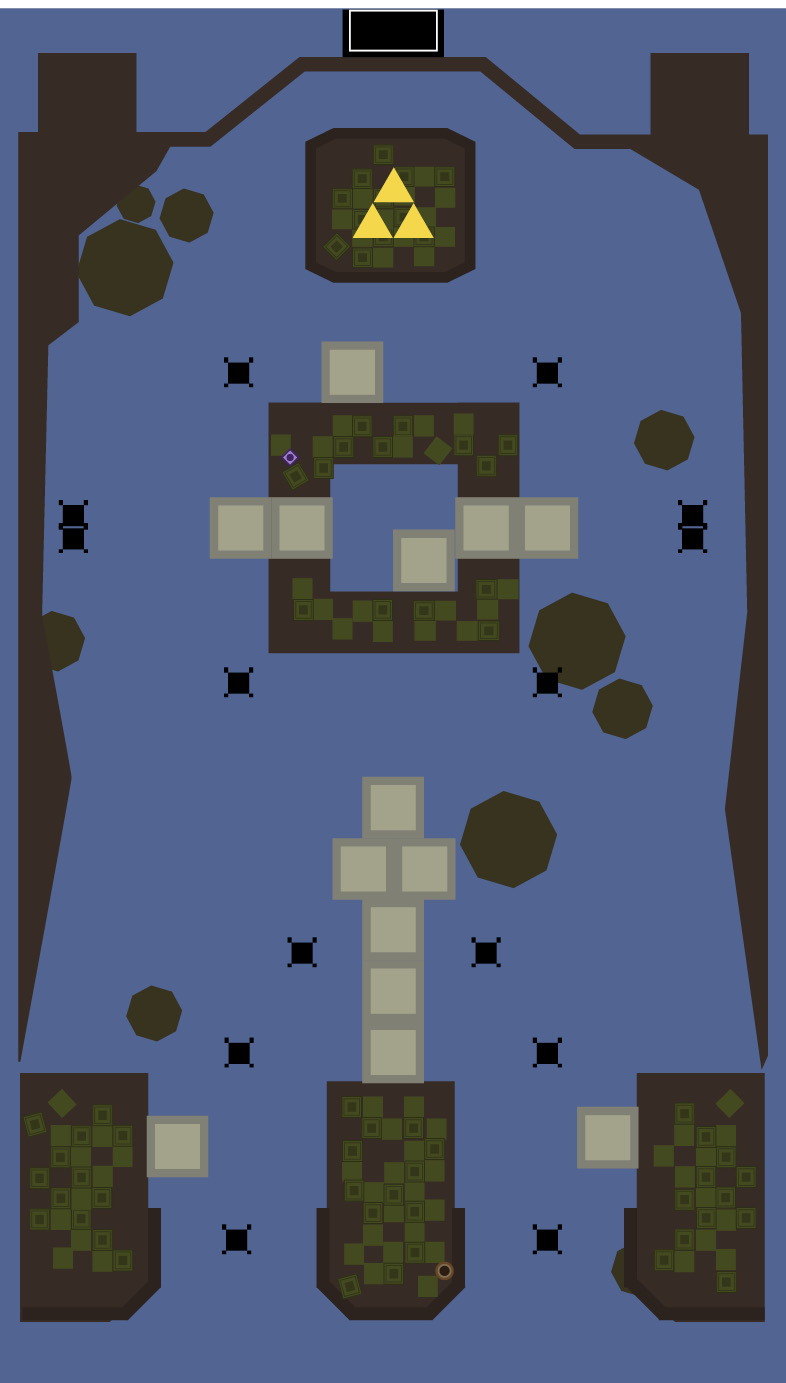
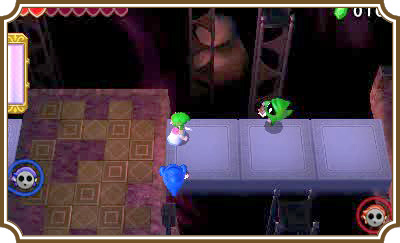
Each Link will start on a different area of the room, but a bridge of disappearing platforms connects all three landings the Links are on. Three colored Poes float around the platforms, and you’ll need to defeat each one with the appropriate Link. After you defeat all three, a couple of white Poes will appear. Defeat them to proceed.
Once you’ve defeated all five Poes, a bridge of disappearing platforms will form north of you. Cross the bridge and hit the orb switch at the end of it.
Another disappearing-platform bridge will appear. You’ll need to quickly cross this one before it disappears. Once it does, it won’t reappear until you hit the orb switch again.
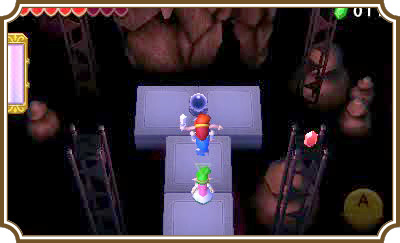
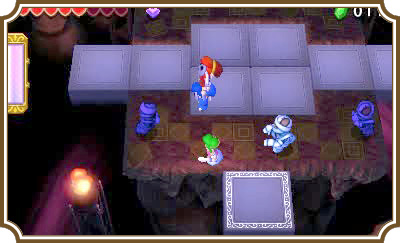
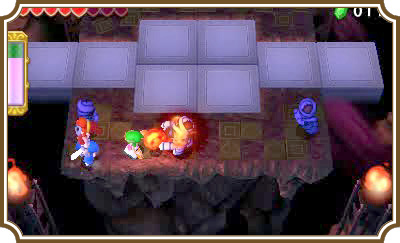
There’s a handful of Gibdos on the other side of the bridge. You’ll need to be careful, because the disappearing platforms in the center of this area, well, disappear!
Remember: You can use your Fire Gloves or Gripshot to remove a Gibdo’s bandages, making it just a plain ol’ Stalfos. Use your Gripshot to stun the Stalfos, hit it with your sword, and repeat to defeat it. You can also use the Gripshot to push the Stalfos off the ledge, provided that you keep hitting it until it finally takes the plunge.
Once all the Gibdos have been defeated, a bridge to the Triforce gateway will form ahead of you.
Room 3
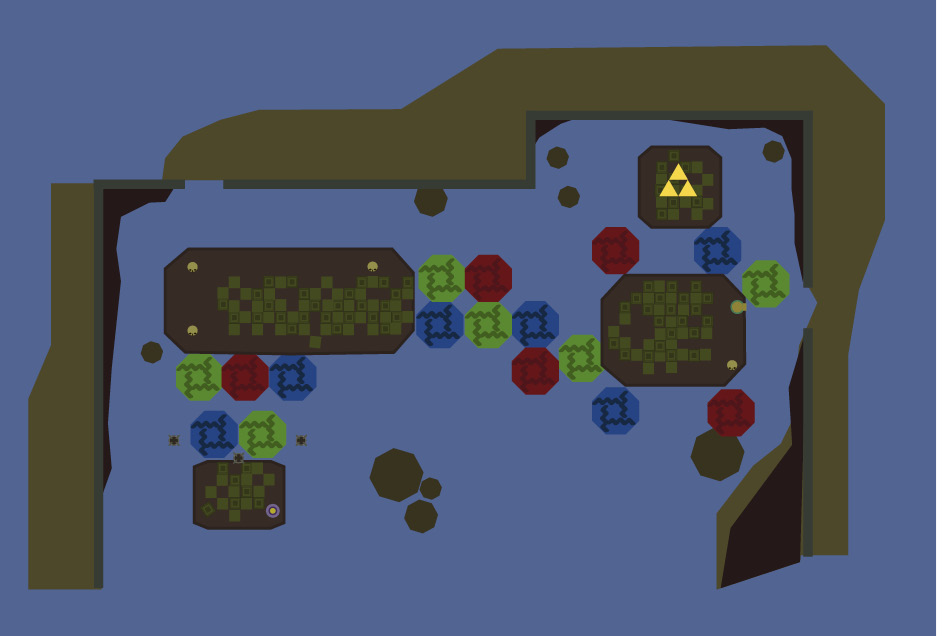
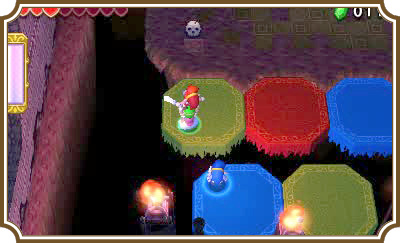
You’ll have to deal with more of those colored platforms you tangled with in the first level of this world. These are bit tricky. You’ll need to form a Totem with the Boomerang Link on the middle or top, then throw him to the platform that matches his color. Use the Boomerang Link to grab any remaining Links and pull them over to the Boomerang Link’s side.
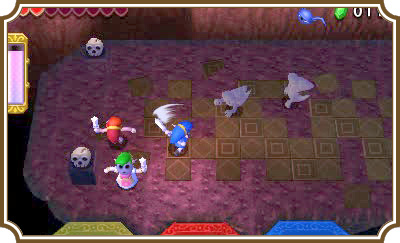
Once all three Links are across the gap, three of those terrible, troublesome Prankster Poes will appear. As a refresher, Prankster Poes will race toward Link and try to throw him off of a ledge. If you slash them, they’ll disappear and reappear behind whatever Link did the slashing. You can save a Link that has been grabbed from being tossed into a pit by quickly switching to another Link and slashing the Prankster Poe, or by having a teammate slash it.
Once the Poes have been defeated, more colored platforms will appear on your right and a Squiddy will appear on your left. Show Squiddy how sharp your sword is, then head to the right.
Make a Totem with a green Link on the bottom, red Link in the middle, and blue Link on top. Approach the higher of the two sets of colored platforms, then, one at a time, throw each Link onto their respective platforms ahead.
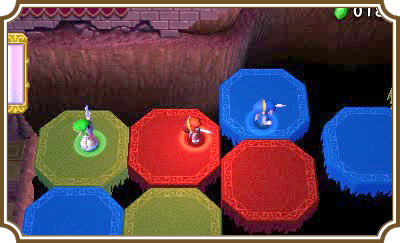
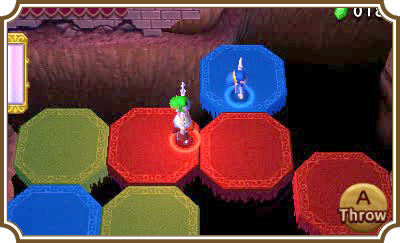
Now have the green Link get to the right edge of his platform and have the red Link come pick him up. Have the red Link approach the right side of his platform, then have the blue Link pick their Totem up.
Wait until a red platform approaches the right side of the platform your Totem is currently on, then throw the red Link and green Link onto it, or throw them onto their own individual platforms. If you’re playing single-player, only have one Link do all the fighting; leave the other two Links on their platforms and out of the way for now.
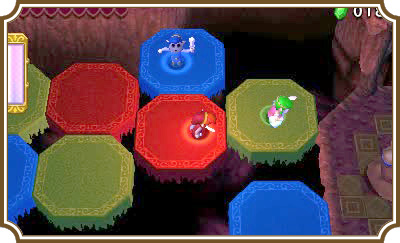
When a blue platform approaches your right, hop on it with the blue Link and get ready for another ReDead fight—this time on a very small landing.
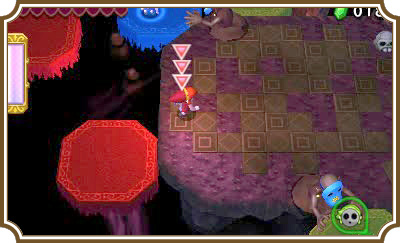
The easiest way to deal with the ReDeads is to use your Sub-Weapon to slowly push them off of the edge of the landing. Don’t bother using your sword at all, because a single slash will break a ReDead’s daze, allowing it to immediately counter-attack with one of its paralyzing screams.
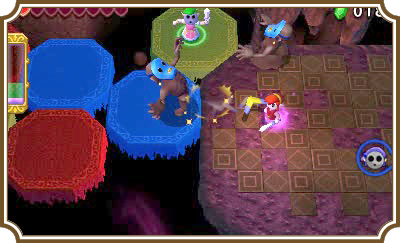
As a reminder, if a ReDead stuns you in single-player, immediately switch to a different Link to get it off of you. If one of your teammates in multiplayer is being eaten, you’ll need to quickly hit the ReDead doing the eating with a Sub-Weapon.
Once the ReDeads have been defeated, the Triforce gateway will appear on the north side of the room. Make a Totem, wait for the appropriate colored platform to come your way, and then cross to the north side of the room.
Room 4
Boss Fight: Prismantus
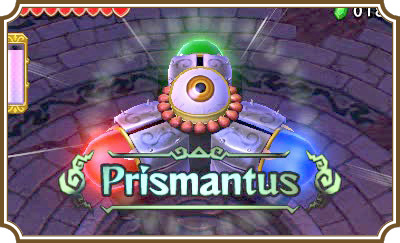
Cut the bushes and break the skulls ahead of you to try to refill your health. You’re going to need it, because you’re about to face the Grim Temple’s boss.
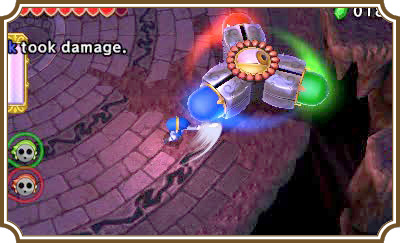
This boss isn’t terribly complicated, but it can run your Heart Containers down pretty easily if you’re not careful. Each of its three limbs have a colored orb at the end of it. You’ll need to use the Link with the matching color to hit each orb twice.
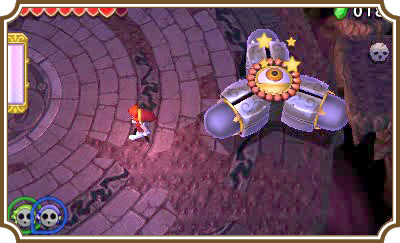
Prismantus has two speeds during this phase: Spin fast and spin faster. If you see Prismantus start spinning faster, that means it’s about to spin your way. Hitting its orb while it’s spinning at this speed is not wise. Instead, wait for it to slow its speed a bit before trying to attack its orbs.
Every time you hit an orb twice, that orb will darken. Once you’ve darkened all three orbs, Prismantus will be momentarily stunned. Grab a Link and throw him on top of one of Prismantus’s limbs. Now have the Link slash away at its eyeball to damage it.
After hitting Prismantus’s eye a handful of times, it will knock Link off of it and turn upright. Now hitting the orbs at the ends of its limbs is tougher. You can slash the orbs as it rolls around the room, but you’ll have to be careful not to get crushed by them.
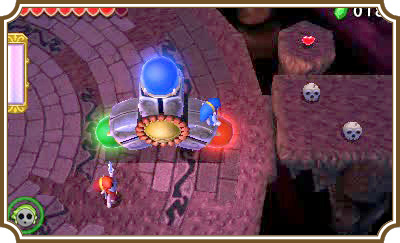
Prismantus will eventually come to a stop momentarily. This will give you a chance to slash its orbs. To reach the top one, you’ll need to make a three-Link Totem with the Link of the right color on top.
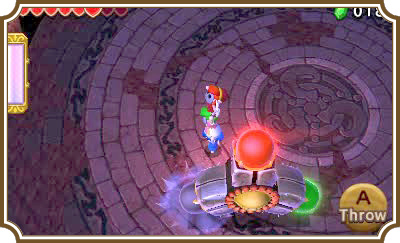
Once you’ve deactivated all three orbs, Prismantus will fall over stunned once again. Throw a Link on top of it and go to town on its eyeball.
After a few more hits, Prismantus will stand upright once again, but this time it will only be on one of its limbs. You’ll want to stay as close to Prismantus’s back as possible at all times during this phase. It will move much faster when it marches around the room. When it comes to a stop, it will shoot out a giant laser beam from its eye and will spin around the room slowly while doing it.
It’s incredibly difficult to hit Prismantus’s orbs while it’s marching during this phase of the fight. Your best bet is to wait until it holds still, make a three-Link Totem, and then attack the orbs one by one.
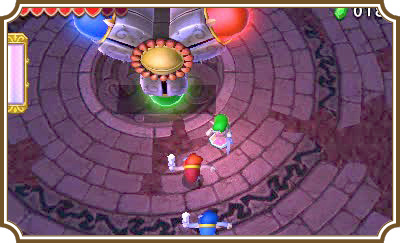
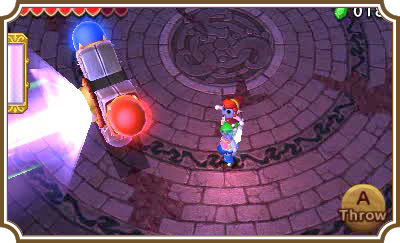
Once all three orbs have been put out again, Prismantus will fall to the ground, stunned once more. Throw a Link onto it and have him slash away at its eyeball. A few more hits and Prismantus will be finished!