The Legend of Zelda: Tri Force Heroes Guide Clothing Quest World 7: The Ruins
Level 3: Lone Labyrinth
ChallengesDon’t drop the pot Guard the orb Adventure in the dark Sub-Weapons
Materials
Recommended Outfits |





There are a lot of narrow pathways in this level and a lot of tricky combat situations. Really, any of these Outfits will do to help you complete this level, but if you want some guidance, the Tingle Tights or the Legendary Dress will help you keep your Heart Containers full.
Room 1
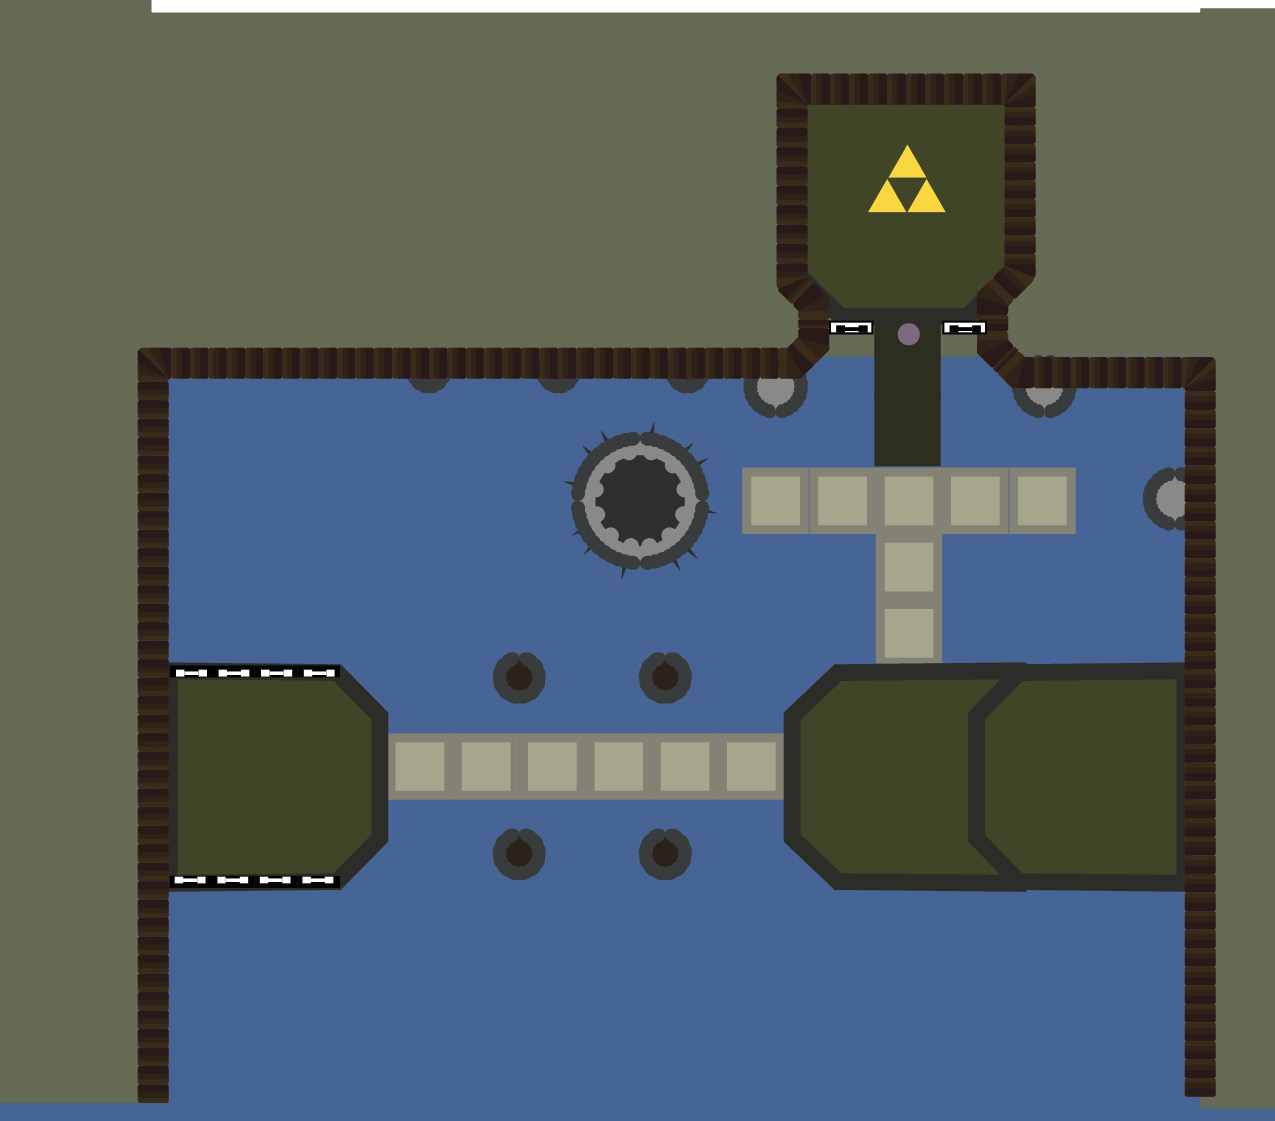
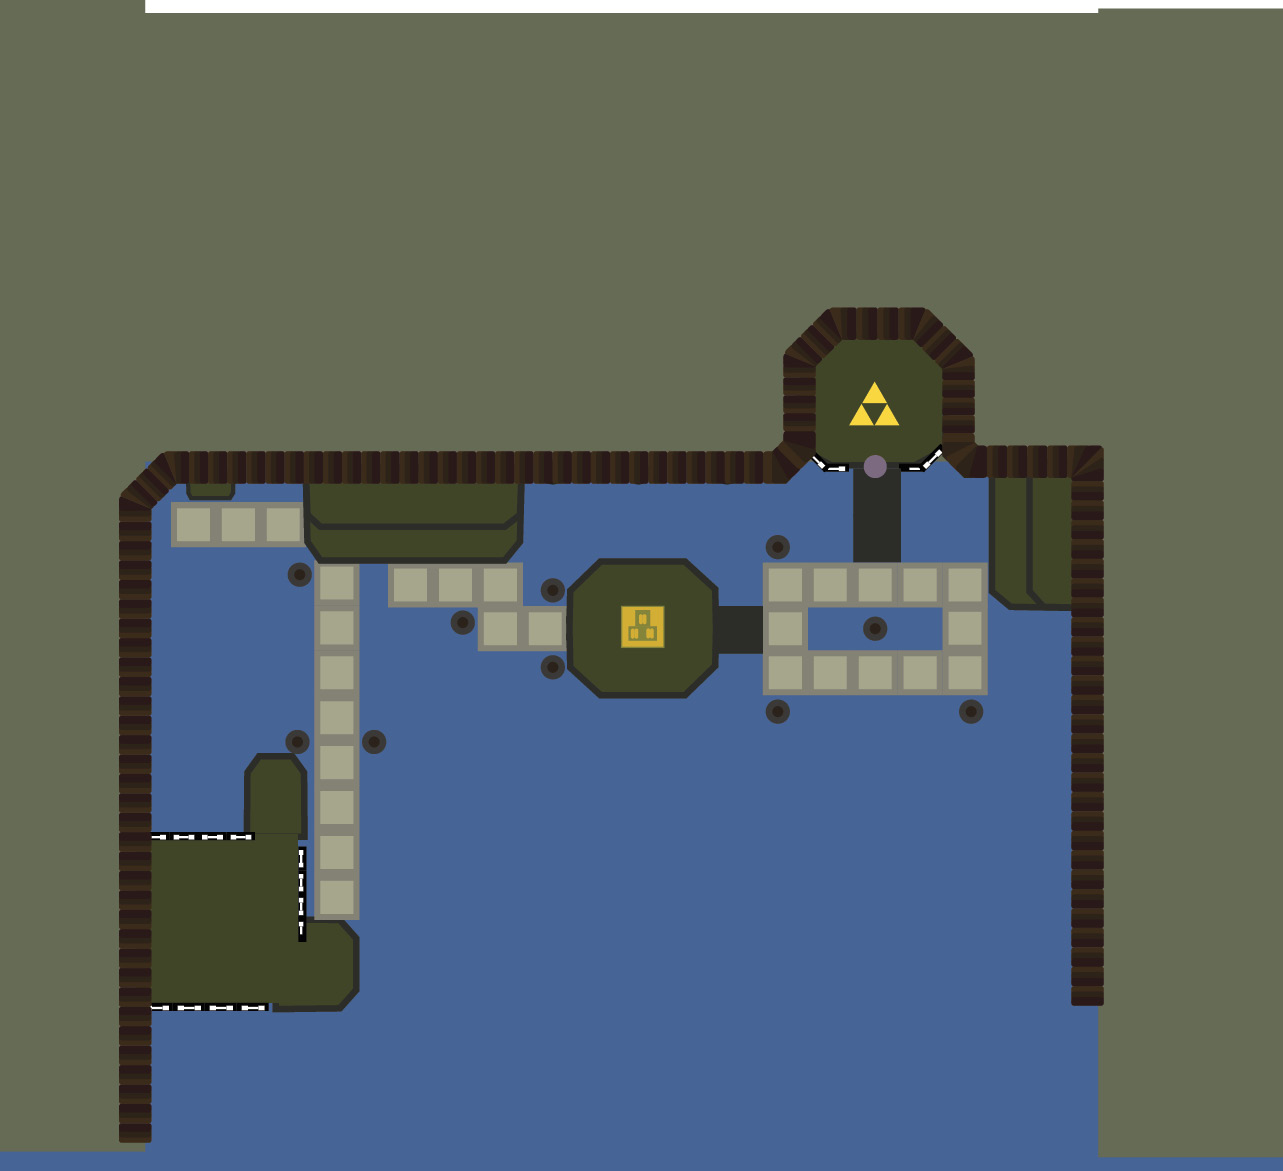
At the start of this level, hit the orb switch next to you to create a bridge to the east side of the room. You’ll find all three Sub-Weapons on the other side of the bridge. Grab them, but hold off on hitting the orb switch.
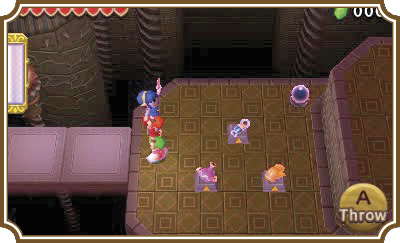
You can throw a Link onto the ledge to your right to reach a Squiddy. Have a heart-to-heart with the jewel-filled jelly, then hop back down and wait in front of the northern bridge.
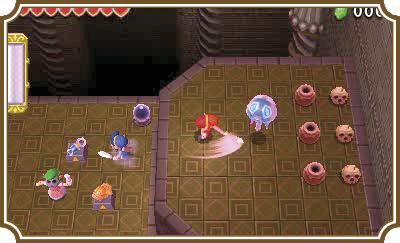
The orb switch will make a bridge to the north, but the bridge will disappear after a short time. You can make the bridge reappear by hitting the orb switch again.
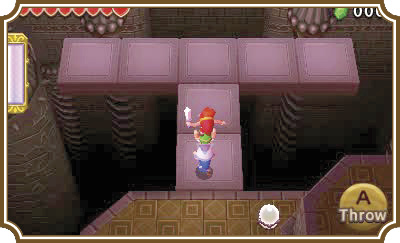
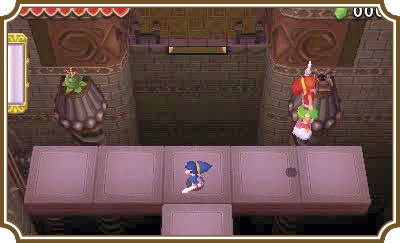
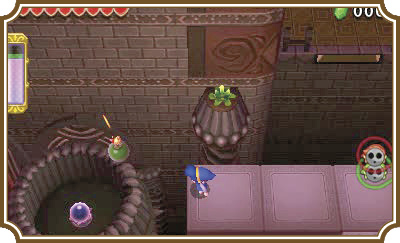
There are two switches you’ll need to hit to advance. One is in a structure on the left side of the bridge and one is on the right. You’ll also need to light a torch on the right side of the platform. Make a three-Link Totem with the Gripshot Link on the bottom and the Fire Gloves and Gust Jar Links on top. Head to the north end of the bridge and throw the top two Links to the right, while heading to the left with your Gripshot Link.
Use the Gripshot to grab the Bomb from the Bomb Flower on the left side of the platform. Now throw the Bomb into the pillar housing the orb switch.
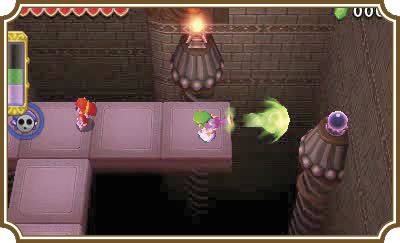
Now switch to your Gust Jar Link and hit the right switch with the Gust Jar. Switch to your Fire Gloves Link and have him light the torch on the northern wall. If you were fast enough, a bridge will extend from the north side of the room to give you access to the Triforce gateway.
Room 2
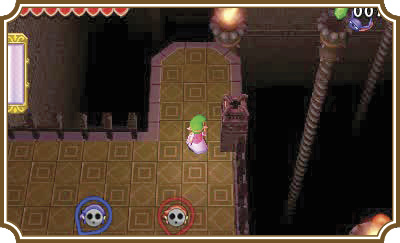
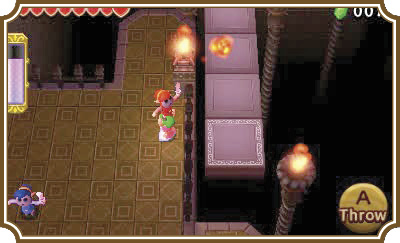
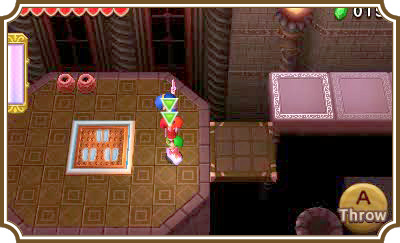
Head to the upper-right corner of the landing you start this room on, make a two-Link Totem with the Fire Gloves Link on top, and then light the torch.
Another bridge will form to your right, but this one’s platforms will disappear and reappear one at a time in succession. Watch the platforms to get an idea of when they’re going to disappear, then head across the bridge to reach the north side of the room. As a general tip, when you see the white border appear on one of the platforms, that means it’s about to disappear.
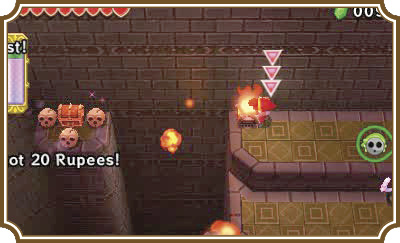
You can grab the treasure chest and light the torch on the ledge ahead, but lighting the torch is unnecessary for completing this room. It will, however, cause a treasure chest to appear on a column to your left. You can use the Gust Jar Link to send a Link over to the column to reach it. Once you open the chest, disappearing platforms will appear, making a path back to your other Links.
Drop onto the second set of disappearing platforms south of you and follow them to the right. You’ll come across a three-man pressure switch. Have all three Links stand on it to activate it. Three white Poes will appear around you and the pressure switch. Defeat them and another bridge of disappearing platforms will appear to your right.
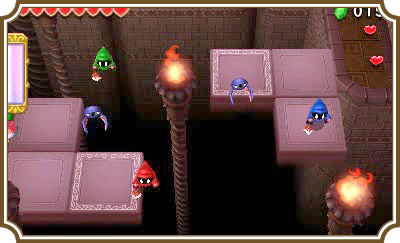
As soon as you approach the bridge, two Chasupas and three colored Poes will appear. This fight can be very tricky, since you can’t damage a colored Poe that doesn’t match the color of your current Link. Try and take out the closest Poes first, then head for the one on the far side of the platforms.
Once you’ve defeated all three Poes, a bridge will extend from the north, giving you access to the Triforce gateway.
Room 3
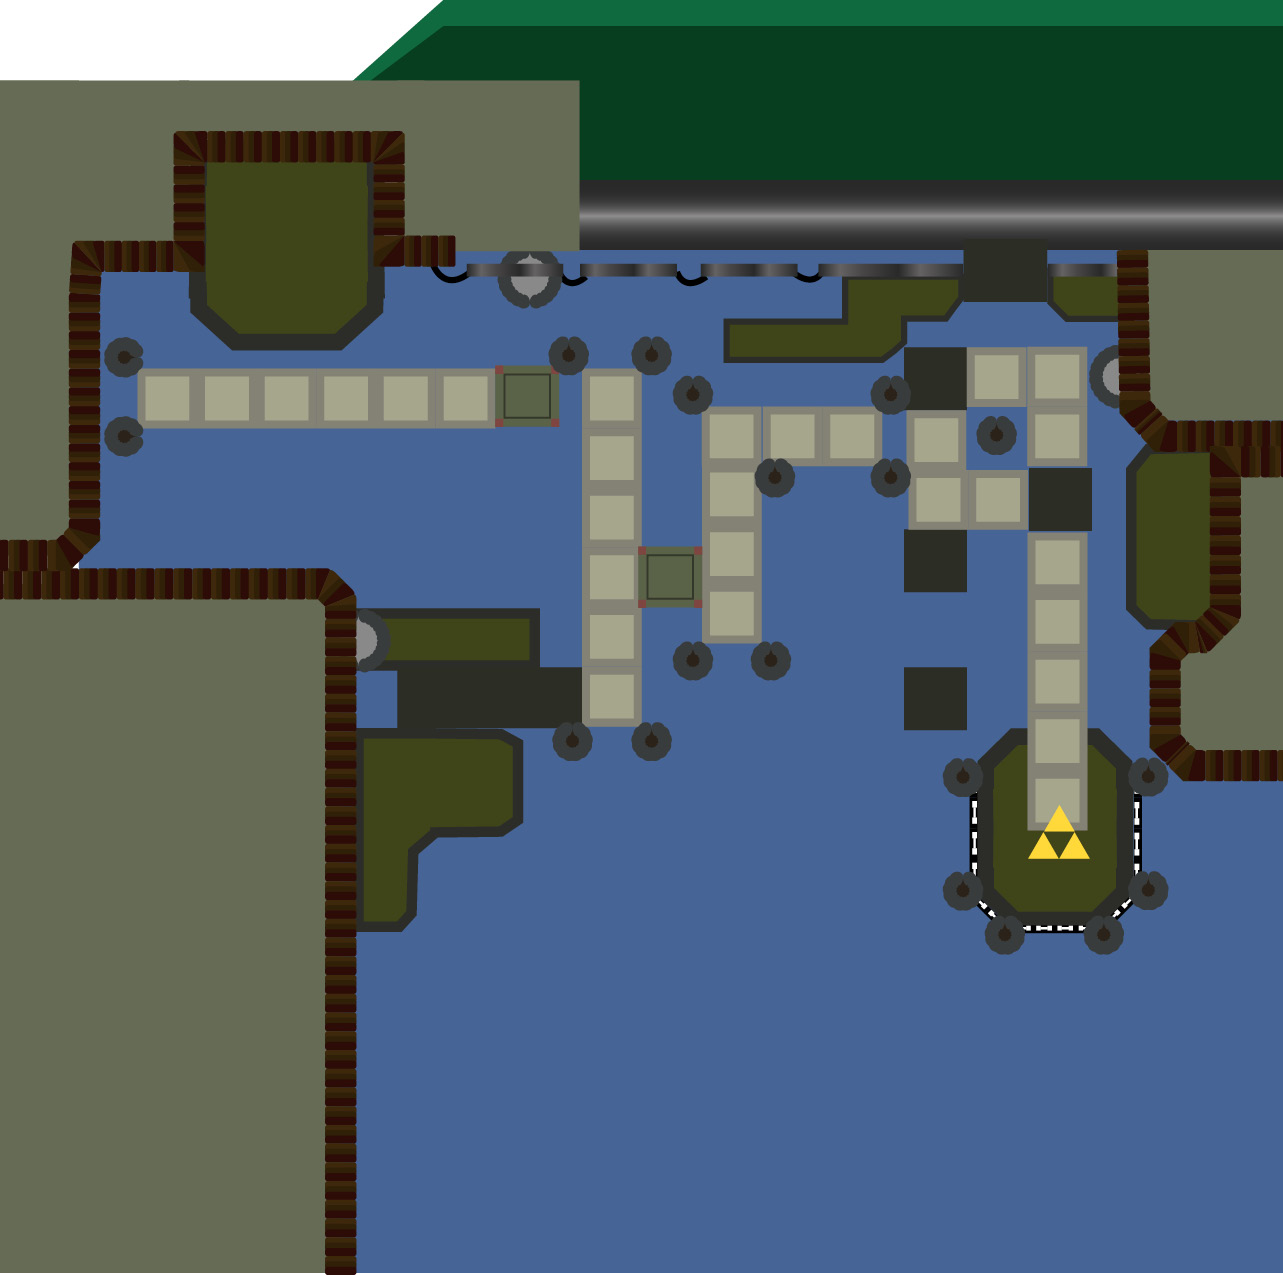
Drop down onto the disappearing platforms below your starting location, then immediately head to the right until you reach a solid platform. Use the Fire Gloves Link to light the torch above you, which will cause more disappearing platforms to appear on the right.
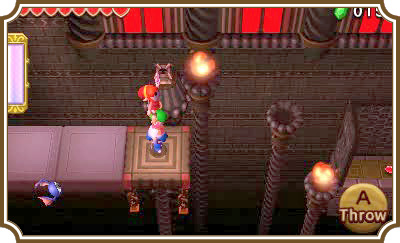
The platforms will disappear in succession downward, stop, start disappearing one at a time upward, and then repeat. Drop down onto the platforms when the coast is clear, then stand on the solid platform at the center of the disappearing-platform bridge.
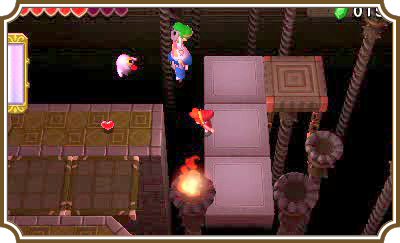
Wait for the disappearing platforms to reappear south of you, make a three-Link Totem with the Gripshot Link on the bottom, and head south on top of the platforms. Throw your top two Links onto the landing to the left, then use the Gripshot to pull the remaining Link over.
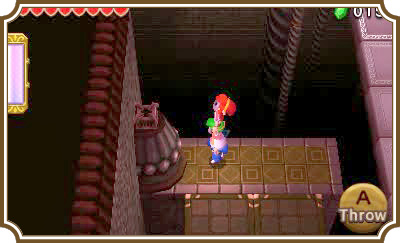
This will cause another set of disappearing platforms to appear to the right of the platforms you used to get to this landing. It will also create a bridge back to the disappearing platforms, so you don’t need to throw any Links over any gaps to get back onto the platforms.
When you’re ready, and when you’re sure it’s safe to go, walk onto the disappearing platforms, then head back to the solid platform.
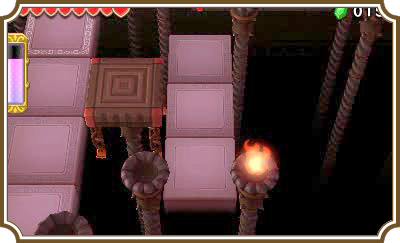
Make a three-Link Totem with the Gripshot Link on the bottom, then head north up the disappearing platforms on your right. Throw your top two Links onto the landing on the north side of the room, then Gripshot onto either the Links or the fence surrounding the back of the landing.
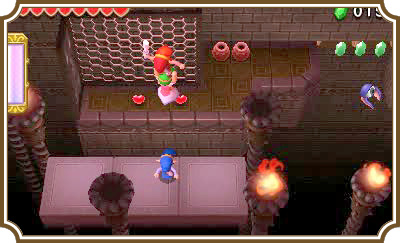
Proceed to the right end of the landing, then line up the Gripshot and Fire Gloves Links on the right ledge. Use the Gust Jar Link to blow the other two Links across the gap.
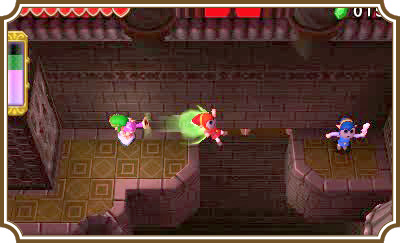
Make a Totem with the Fire Gloves Link on top, then light the torch just south of your location. A platform will bridge the gap you just crossed. Head back over to your lone Link.
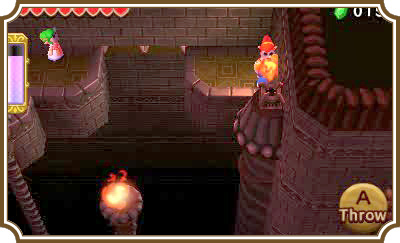
You’ll have to defeat three more colored Poes to progress. The catch is that the three-piece sections of disappearing platforms the Poes are floating around disappear at the same time.
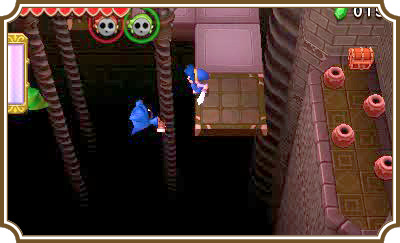
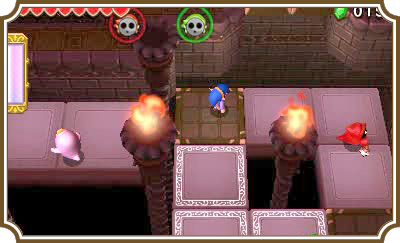
The safest way to deal with this section is to have two Links stay on the solid platforms on the upper-left and bottom-right corners of this area, while the third Link goes after the Poe of his color. (If you’re playing single-player, this is the way you have to solve it anyway, of course.)
Once you’ve defeated all three Poes, another bridge of disappearing platforms will appear below you and the sections of platforms that the Poes were floating over will stay visible permanently. From here you can throw the Gripshot Link onto the ledge to your right to grab the treasure chest, then have him Gripshot back to the other Links.
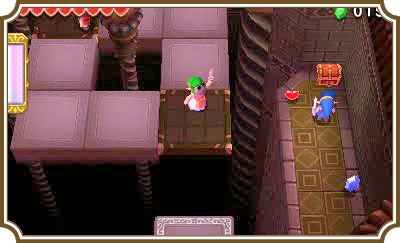
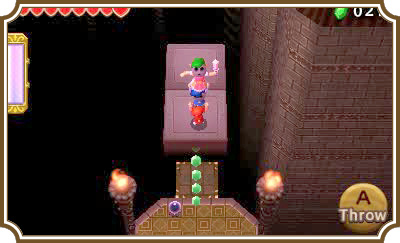
Now walk to the south end of the bridge and wait for the platform to disappear underneath you. You’ll fall onto a row of Rupees and land on the Triforce gateway below. You can hit the orb switch to take a platform back up to the upper levels of the room, if you desire.
Once you’re ready, head to the next room.
Room 4
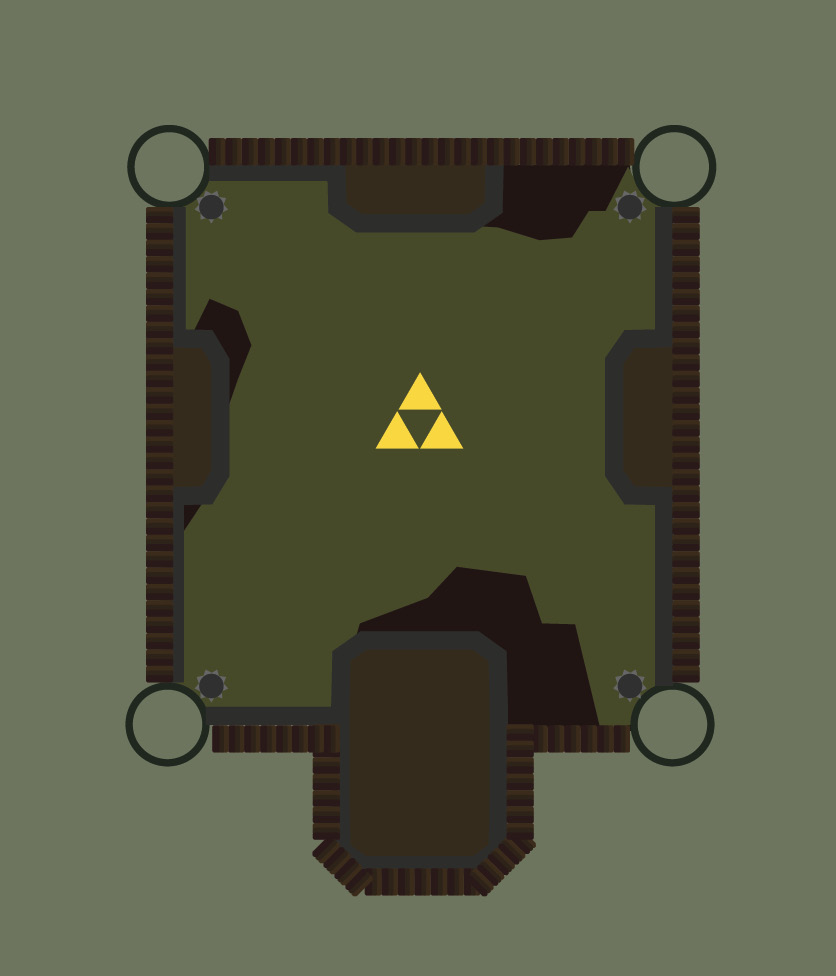
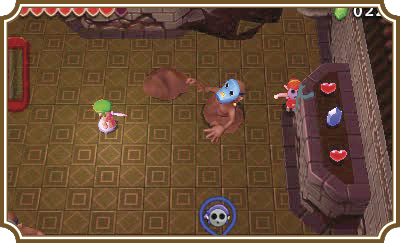
This room is monstrous in multiplayer and requires a lot of cooperation; in single-player it’s pretty simple. As soon as all three Links drop into the room, a ReDead will appear. These undead creeps may be rotting, but they’re not to be taken lightly.
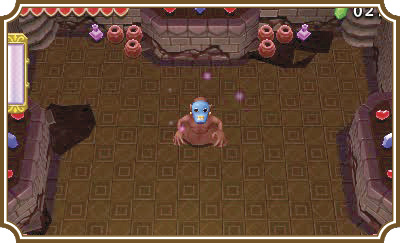
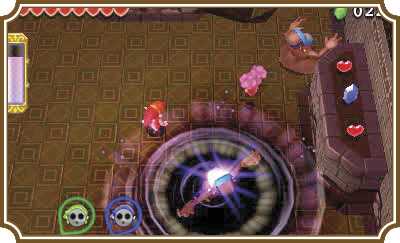
They move incredibly slow—that is until they let out a terrifying, blood-curdling screech, which will stop any Links within its range in their tracks for a limited time.
The ReDead will pick up its pace when it freezes a Link. When the ReDead reaches a Link, it will wrap itself around the Link and begin to drain his health. If you’re in single-player, you can just switch to a different Link to get the ReDead to stop coming after your frozen Link, or to let him go. If you’re in multiplayer, however, you’ll need a friend to hit the ReDead with a Sub-Weapon to get it off of the Link. (Sword slashes take too long, so stunning the ReDead is the best way to stop them from draining your Heart Containers.)
In the same fashion as a Life Like, the ReDead won’t stop draining your health until it is knocked off of a Link by another player, so if a Link gets grabbed, immediately race to his aid.
Every time you hit a ReDead, it will dig into the ground and move to another location in the room. When it pops up, if any Links are near, that’s when it’s most likely to scream, so try and keep your distance from a digging ReDead.
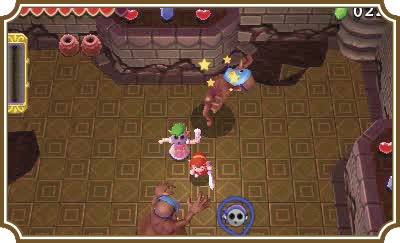
Once you defeat the ReDead, four more will appear and take its place. Focus on one ReDead at a time. The more you lower the number of ReDeads in the room, the easier this fight will get.
Once all the ReDeads have been defeated, a Triforce gateway will appear in the room.