The Legend of Zelda: Tri Force Heroes Guide Clothing Quest World 6: The Dunes
Level 4: Desert Temple
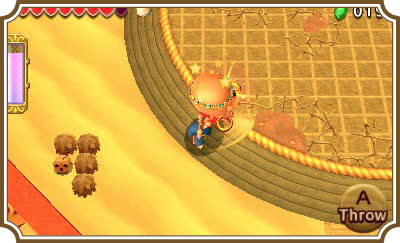
There’s a good deal of hammering to be done in this stage and the Hammerwear will make all of it a lot faster. This level has puzzle solving with the Magic Hammer, defeating enemies with the Magic Hammer, smashing obstacles and platforms with the Magic Hammer—almost everything uses it to some capacity in this stage! Bring the Hammerwear if you want it all to go much smoother.
Room 1
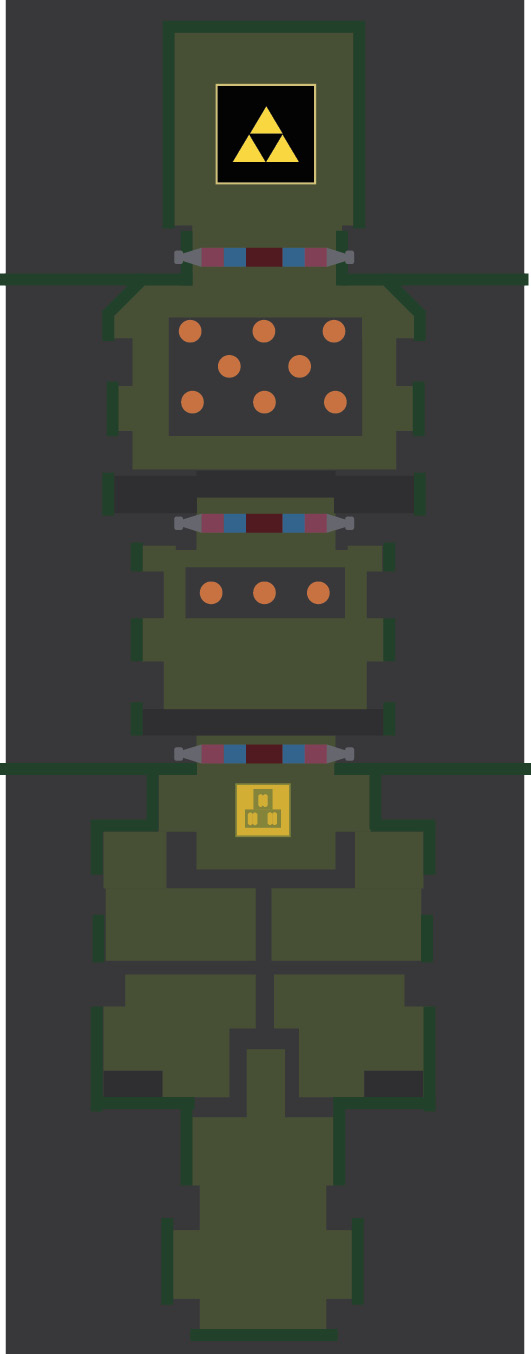
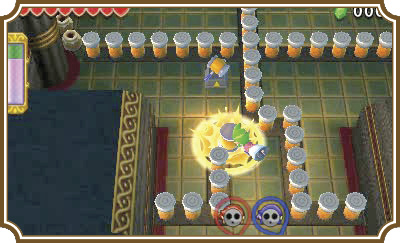
All three Sub-Weapons are in this room, but two of them are locked behind peg fences. Have a Link pick up the Magic Hammer ahead and smash down the pegs so that the other Links can retrieve the remaining Sub-Weapons.
Once you’ve collected all three, stand on the three-man pressure switch on the north side of the area. It’s now time to play a rousing game of Whack-a-Mole! A little creature will pop out of one of the three hatches randomly. Your job is to bop it on the head with your Magic Hammer.
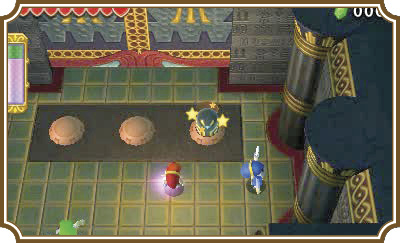
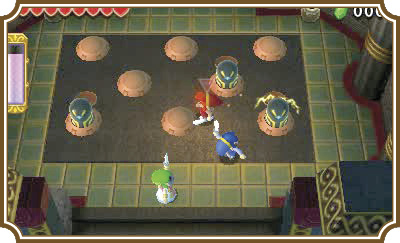
You can use your Boomerang to stun the creature when it pops up, then switch to your Magic Hammer Link and smash it while it’s still stunned. Once you’ve smashed the creature, the northern gate will open and you’ll have to smack multiple creatures with your Hammer. Plus, they’re faster now. Good luck!
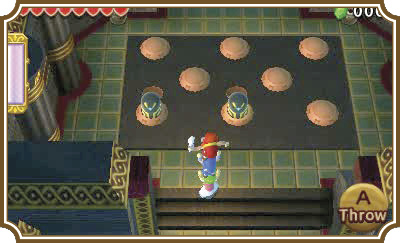
Electrified creatures will pop out of the hatches at times, so take care to watch what you’re swinging at. Use the Boomerang to stun one of the creatures, then switch to your Hammer and bop it, just like you did in the last area. You’ll need to smash three of the creatures to complete this mini-game and open the gate on the north side of the room.
Room 2
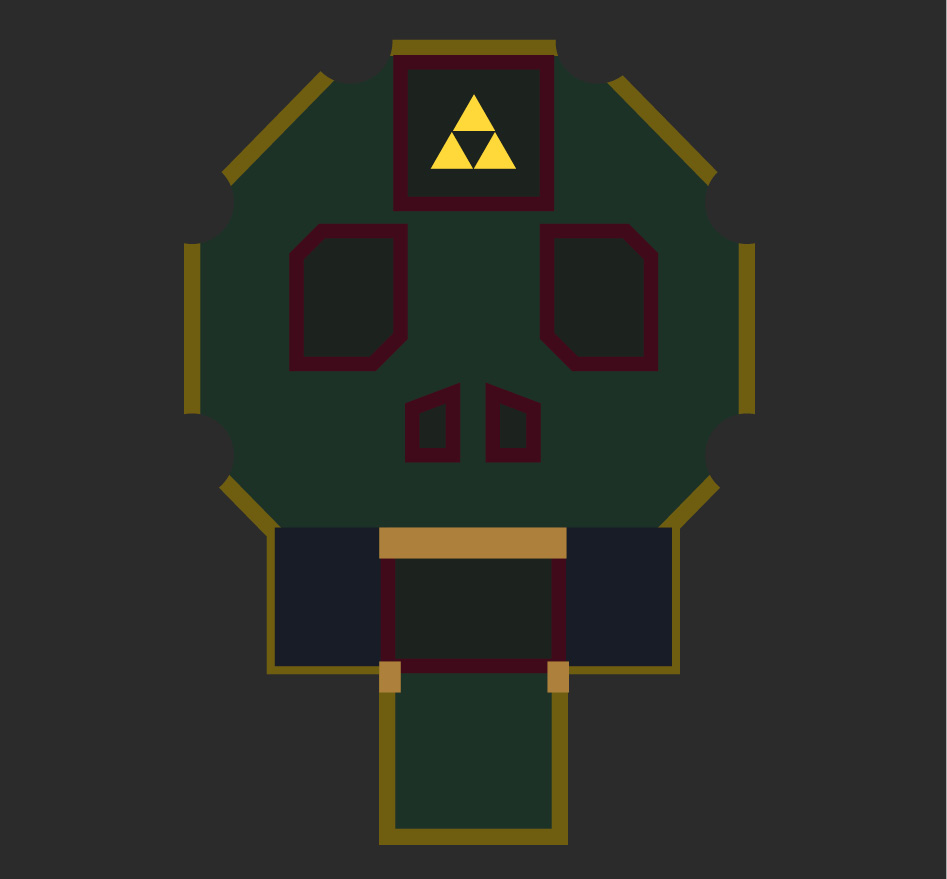
To complete this room you’ll have to defeat a large group of Stalfos. Lucky for you, you have just the Sub-Weapons to do it with ease. Stalfos don’t jump away from Hammers, meaning you can get in nice and close, then pound the Stalfos into the ground like tent stakes. The Boomerang also works well in stunning the bone bags. However you tackle this room, once you’ve cleared out the Stalfos, the Triforce gateway will appear on the room’s north end.
Room 3
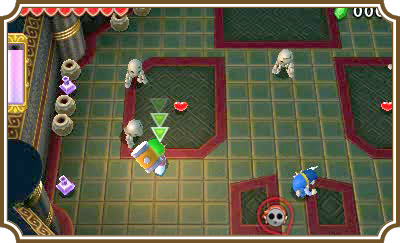
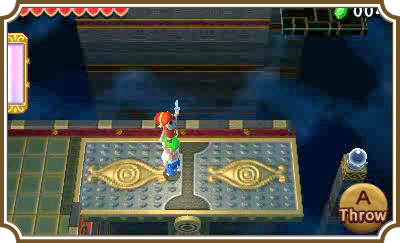
Head north until you reach the platform with eye symbols on it. These work similarly to the rocking platforms from the first level of this world. Don’t panic! That doesn’t mean you have to do any balancing! It’s all about positioning. Use your Magic Hammer on the left side and the right side will rise. Do the same on the right side and, well, you get the idea.
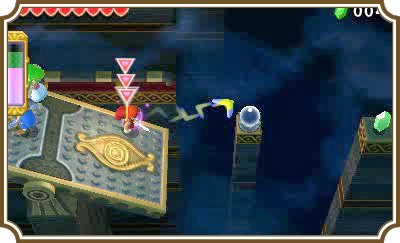
Use the Hammer on the right side of the platform to lower it, then use the Boomerang Link to hit the switch. The switch will cause platforms to fall down and create a bridge north. Hit the left side of the platform and raise the right side up, then throw your Boomerang Link over. Have the Boomerang Link grab the other two Links, then head north.
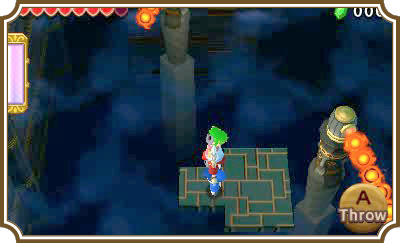
Have all three Links stand on the three-man pressure switch to cause moving platforms to make their way to you. Now, hop on the first platform and immediately stand on its left point to avoid getting burned by the flame rod ahead.
Once you pass the first flame rod, move to the north end of the platform, hop onto the platform ahead, and then stand on that platform’s right side. This will keep you from being burned by the second flame rod.
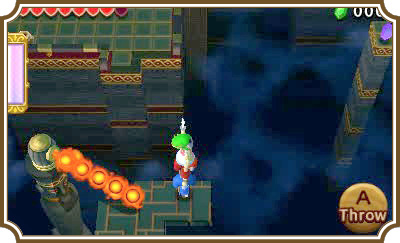
Once back on solid land, you’ll run into everyone’s favorite Squiddy: The Squiddy! Ask it politely to lend you some Rupees, then continue north until you reach another eye platform.
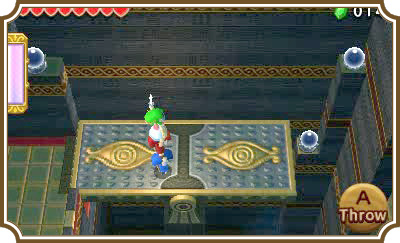
There are three orb switches surrounding the eye platform and you’ll need to hit all three before time runs out. Start by hitting the right side of the platform with your Hammer. Create a two-Link Totem with the Boomerang Link on top.
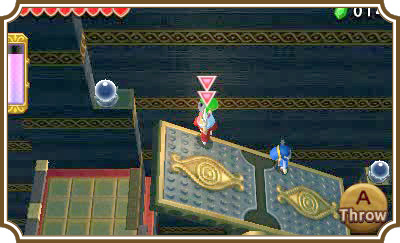
Now, with your remaining Link, hit the lower-right orb, switch to the Totem, and head to the left side.
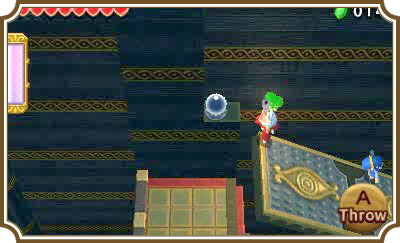
Use the Boomerang to hit the upper-left orb, switch back to your lone Link, and smash the left side of the platform with your Hammer twice. Now switch back to the Totem and hit the orb switch on the upper right. Once all three switches are hit, platforms will form just below you. Follow them to get around the right wall.
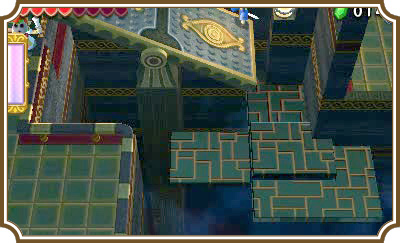
You can use your Boomerang Link to grab the purple Rupee south of you. Now head up to the orb switch above you and hit it to level out all of the eye platforms to your right.
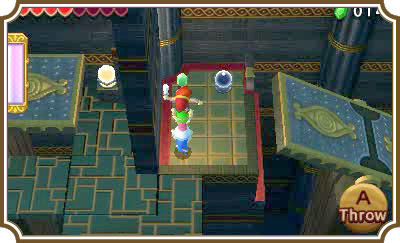
Smash the left side of the first eye platform to raise the right side up to the platform above it. Make a three-Link Totem and throw one of the Magic Hammer Links to the platform above as soon as the flame rod retracts.
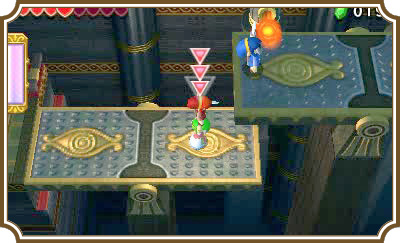
Now have the Hammer Link on the upper platform smash down the platform’s left side. This will bridge the gap between the upper and lower platforms, allowing the lone Link to rejoin his Link-y brethren.
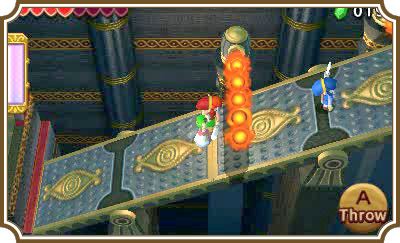
Repeat this process until you reach the top of the room and you’ll find the Triforce gateway.
Room 4
Boss Fight: Stalchampion
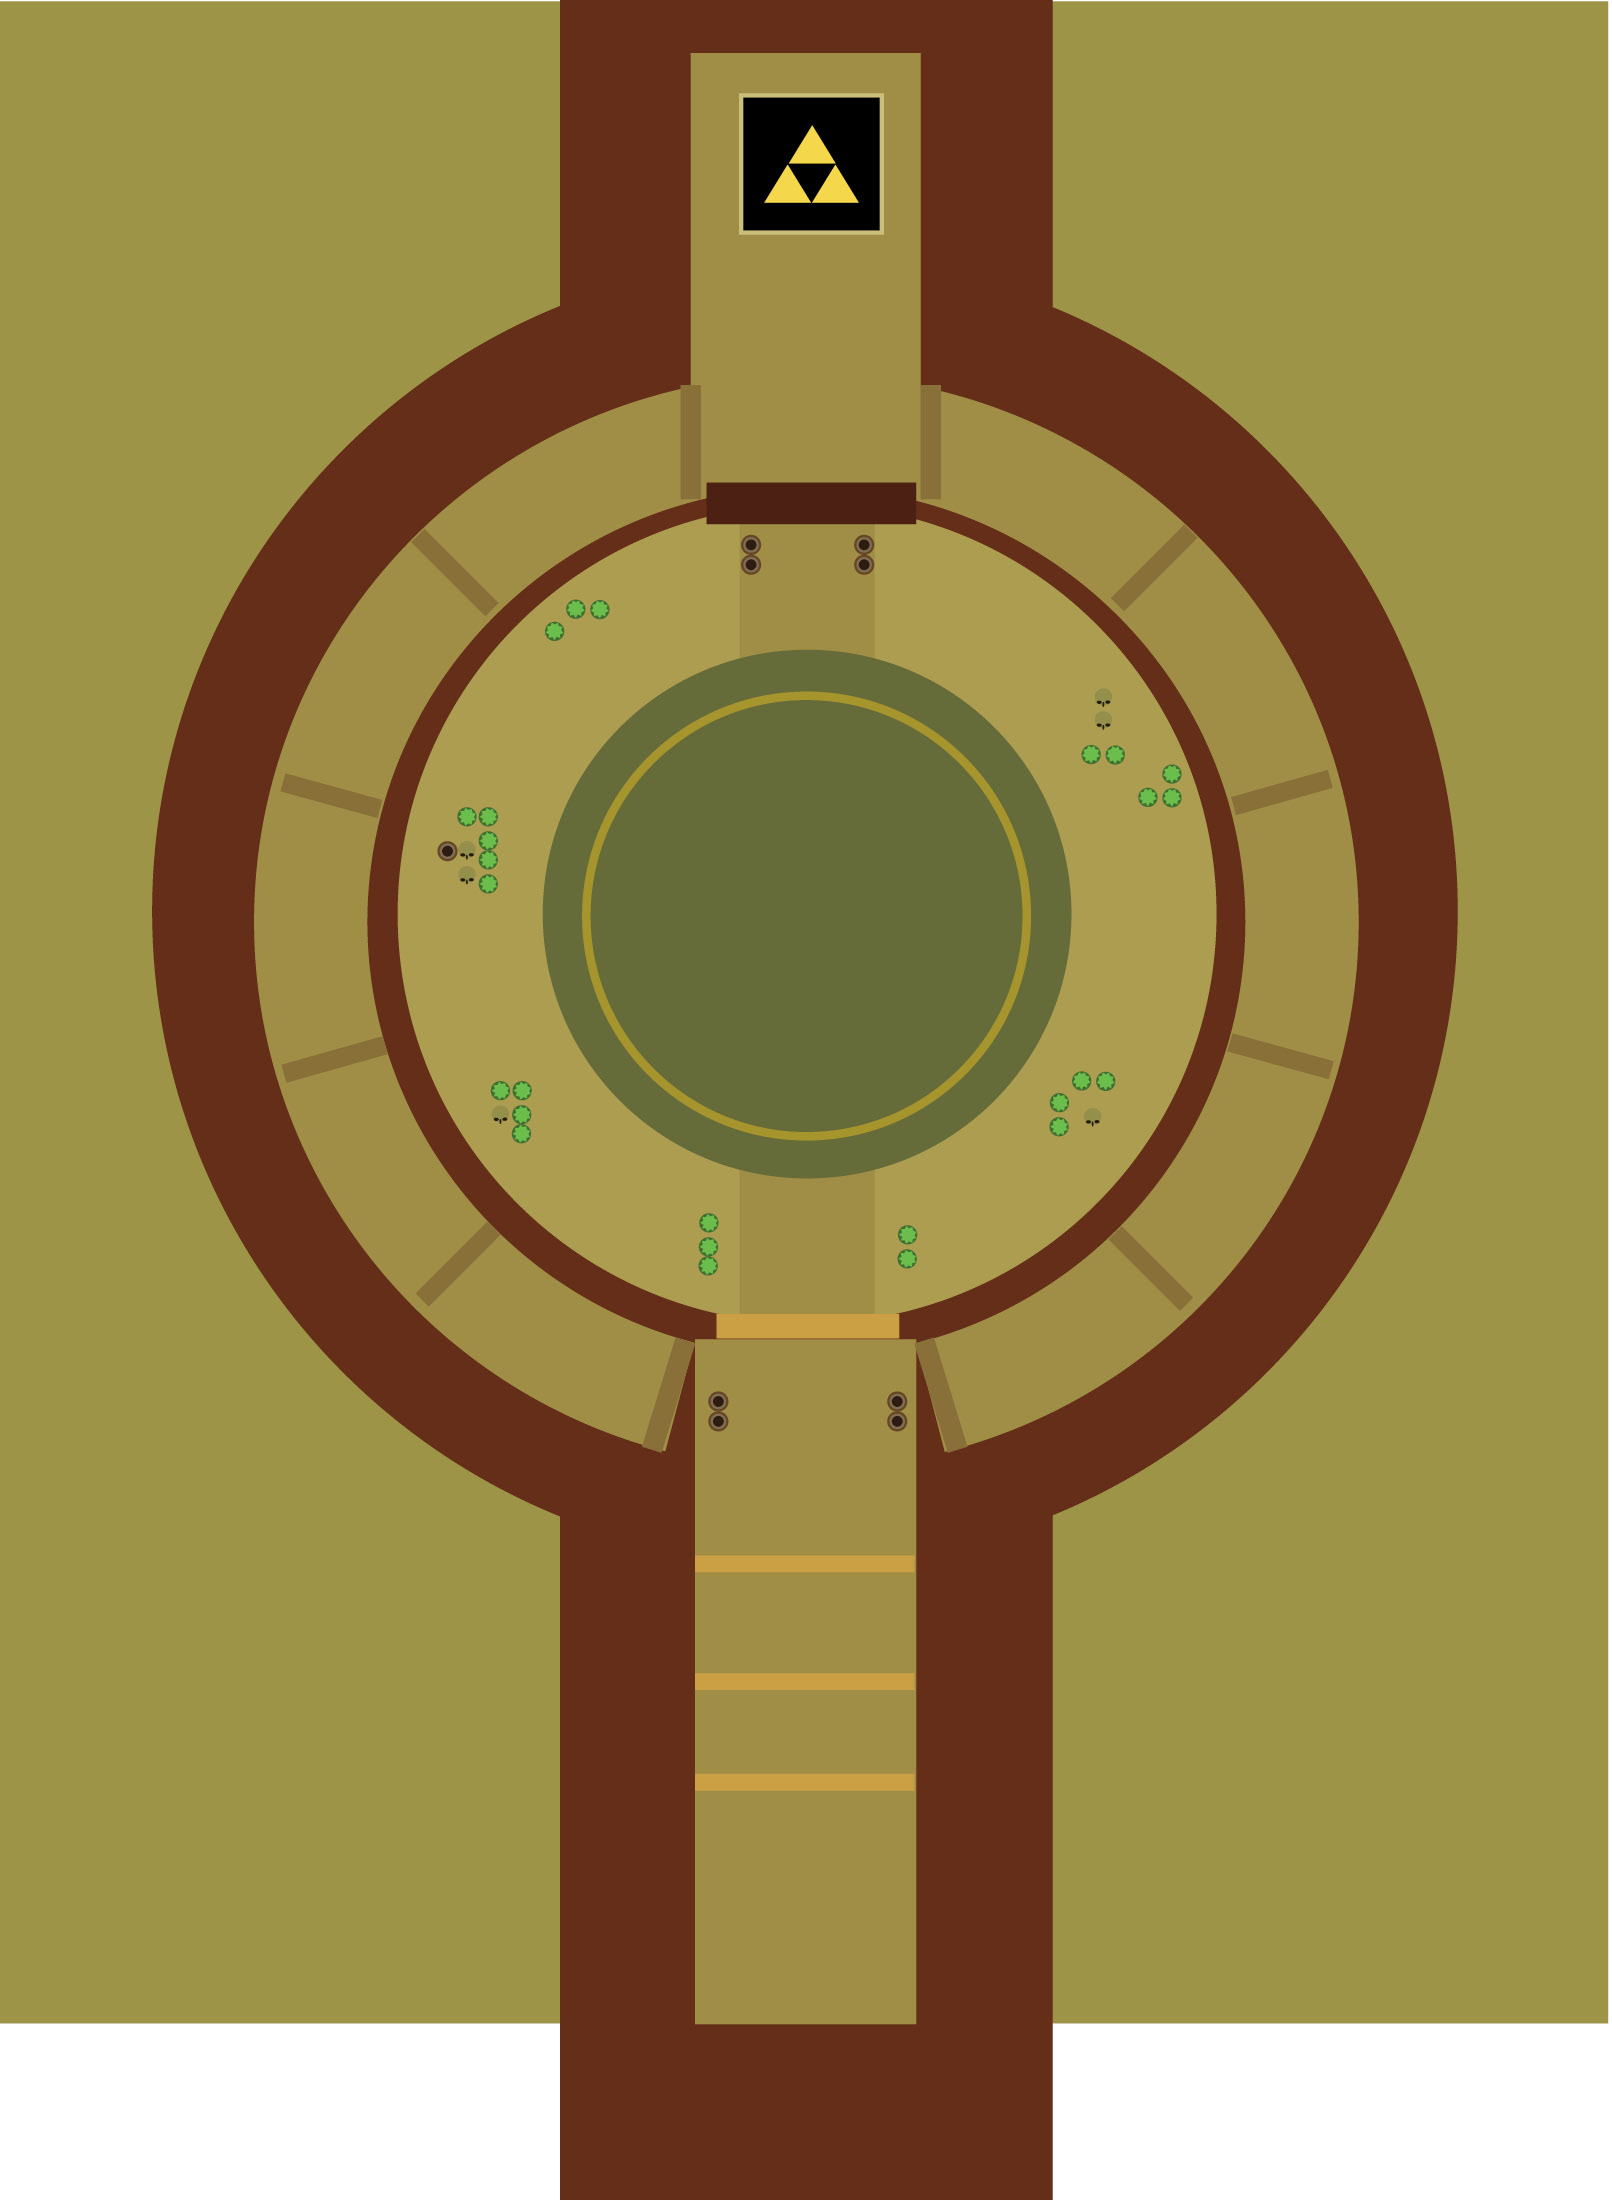
Head down the steps and crack open the pots if you’re in need of health. As soon as you enter the circular portion of this room, you’ll have to face the massive Stalchampion.
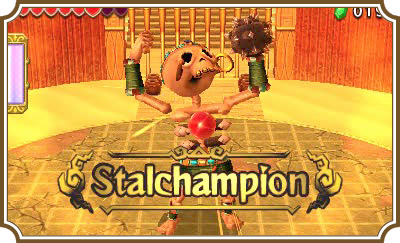
Stalchampion likes to create shockwaves and throw its bones like Boomerangs. The Boomeranging bones are easy enough to dodge, but the shockwaves can be a bit trickier. It’ll often do a one-two combo by throwing a bone at you and then slamming the mace that is connected to its right hand to the ground to create a small shockwave. Its shockwaves deal damage and knock you backwards.
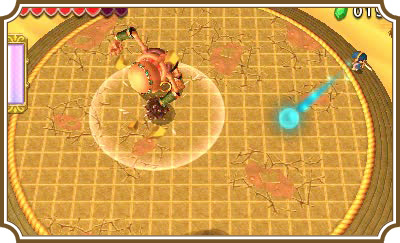
If you attack Stalchampion while it’s in the middle of this attack, it’ll either deflect it outright or bounce high into the air and create a shockwave as it lands.
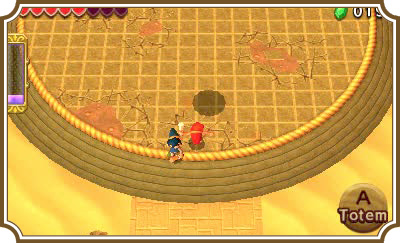
The way to defeat the Stalchampion is to hit it in the back. The best time to do this is when it’s in the middle of its one-two combo. When you hit it, it’ll begin to bounce around on one foot. Hit it again and it’ll fall to pieces. (The Boomerang is particularly excellent for hitting it this second time.)
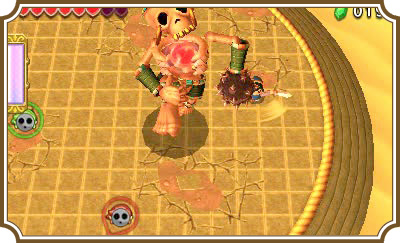
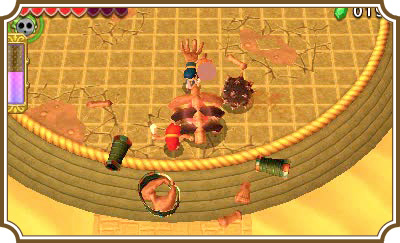
When the Stalchampion comes undone, have your Hammer Links smash its chest piece to do damage to it. Just watch out for the spiked mace, as it will slowly roll after you while the Stalchampion is in pieces. When Stalchampion comes back together, it’ll immediately jump into the air and create a small shockwave upon landing.
After beating up the Stalchampion for a bit, it’ll get angry and jump into the air. Get every active Link off of the center platform swiftly! When Stalchampion lands, it’ll create a massive shockwave that will hit anyone standing on the center platform.
The Stalchampion now will become a bit quicker and more difficult to hit in the back. If you’re playing single-player, you’ll want to spread your Links out along the edges of the center platform. While Stalchampion is looking at one of your Links, switch to another and quickly strike its back.
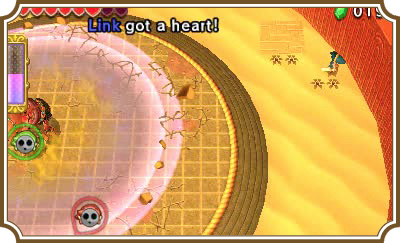
Every time Stalchampion rebuilds itself in this phase, it’ll jump into the air and create a shockwave that encompasses the whole center platform, so make sure to get off of it while it’s in the air.
After breaking Stalchampion down a few more times, its body will fall apart and it’ll chase you down with its floating head. Oh, did we mention its head is now on fire? Make a three-Link Totem with the Boomerang Link on top, then throw the Boomerang at Stalchampion’s head. The flames will recede while it’s stunned, which will give you a chance to slash it as it hovers in the air.
Keep stunning and attacking Stalchampion’s head and it’ll at last be defeated.