
The Legend of Zelda: Tri Force Heroes Guide Clothing Quest World 4: Ice Cavern
Level 1: Frozen Plateau
ChallengesDon’t get hit by snowballs Pop all balloons Guard the orb Sub-Weapons
Materials
Recommended Outfits |


You won’t have access to any Outfits that will directly help you with this stage (namely, the Cozy Parka), so bring the Legendary Dress or any other generally helpful Outfit that you might have made at this point.
This stage isn’t particularly long or difficult. It’s mostly to get you used to walking around on ice and dealing with the ice enemies. You’ll be able to get an Outfit that will help tremendously with these stages after you complete level 2, but for now we’re just going do what we can with what we’ve got.
Room 1
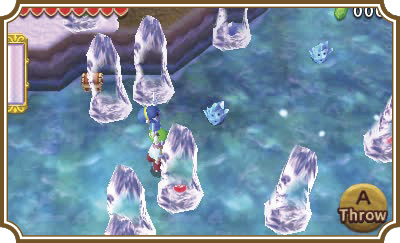
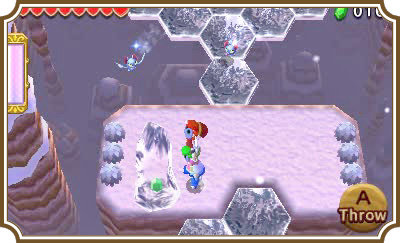
Make a three-Link Totem, head left, and then proceed up onto the ice. The ice is quite slippery, making it hard to move around accurately. Try not to go full throttle while walking on the ice by holding a direction for too long, or you’ll slide much farther, making it hard to stop or change directions.
You’ll also need to watch out for the small ice creatures that litter the ice. They’re called Mini-Freezards and if they hit you directly they’ll freeze you solid. You can hit them with your sword, but they’ll bounce wildly, making their movements hard to predict. That means you’ll be at a much higher risk of being frozen by them. Your best move is to just try to navigate around them.
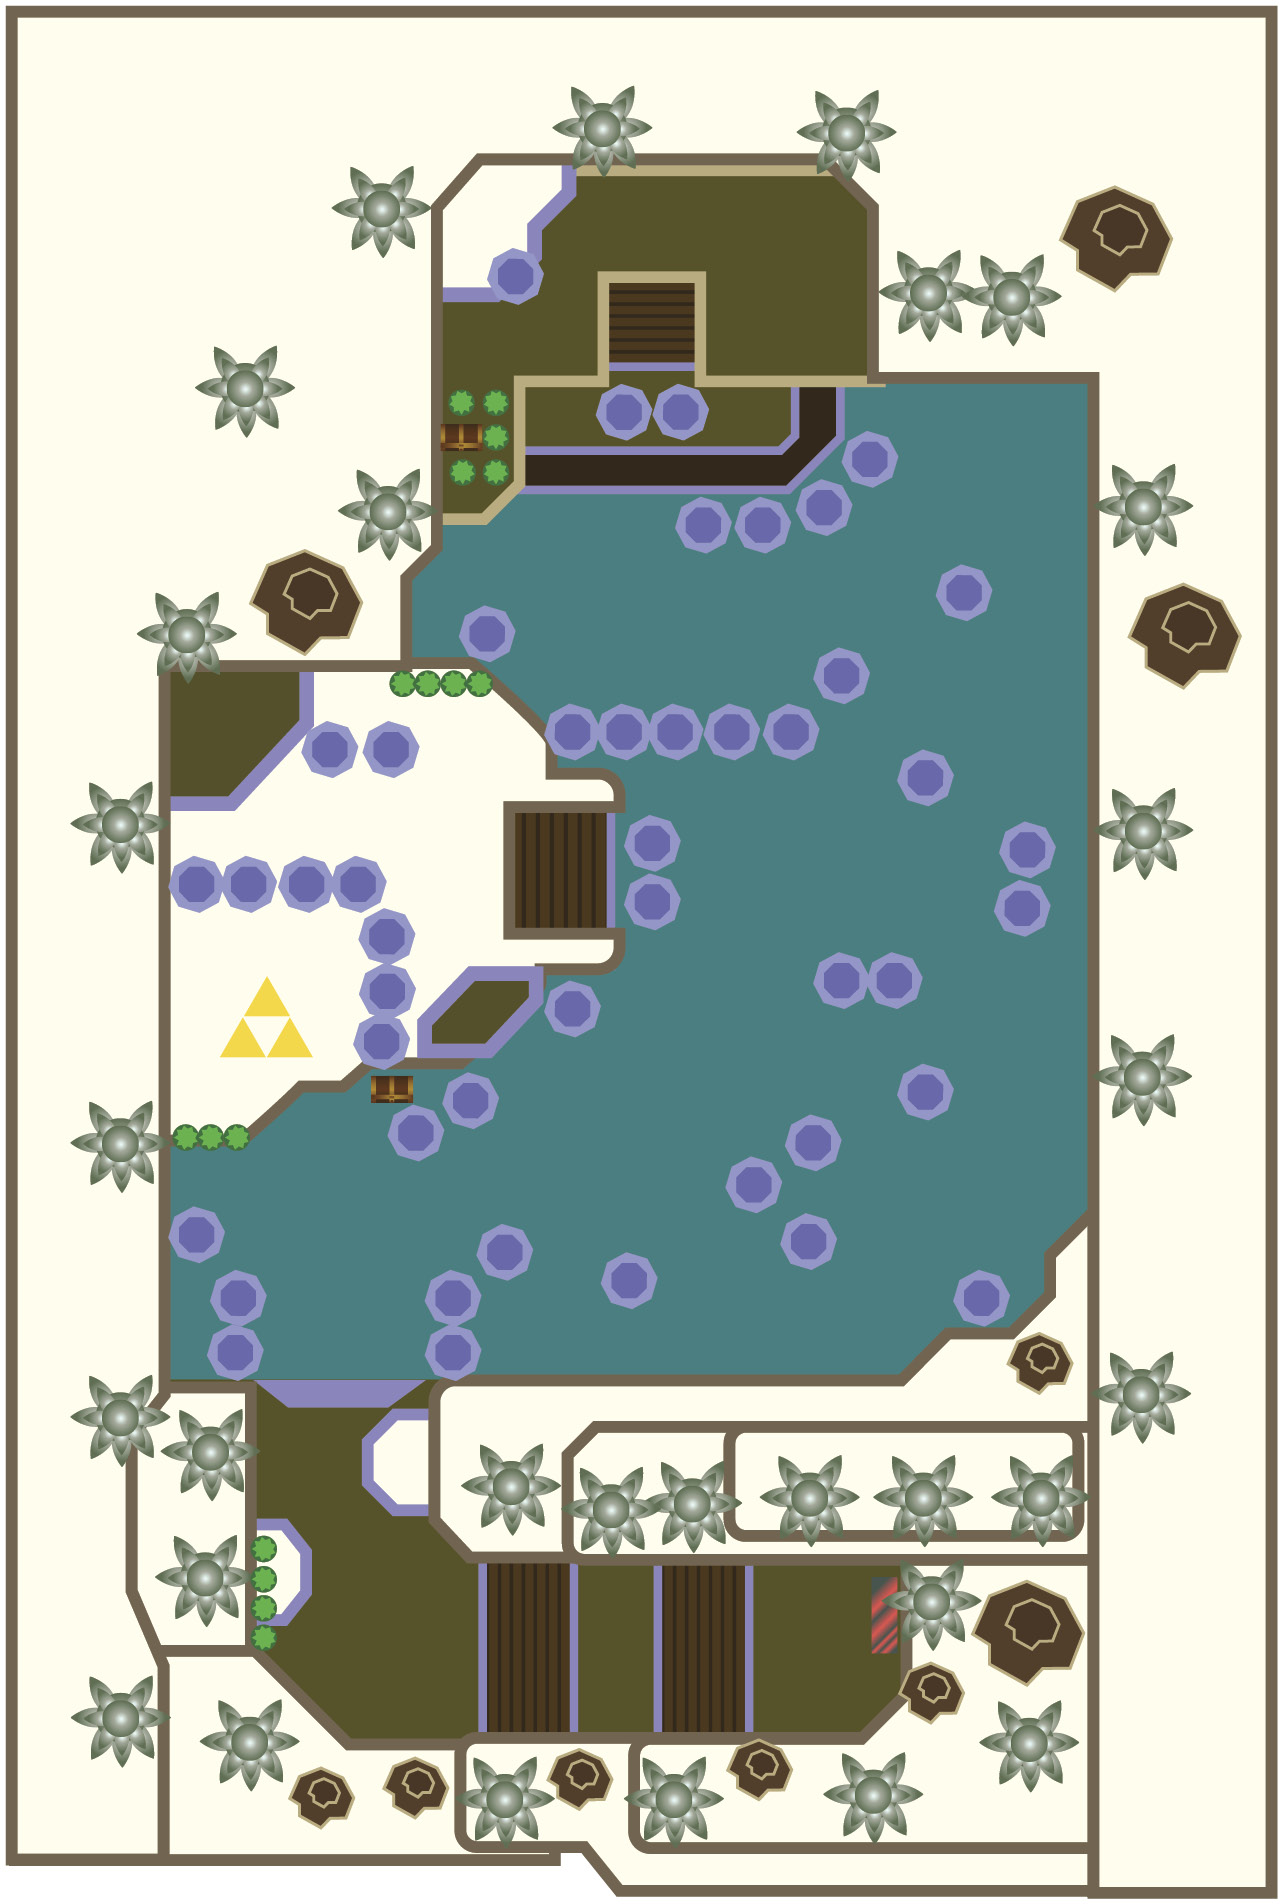
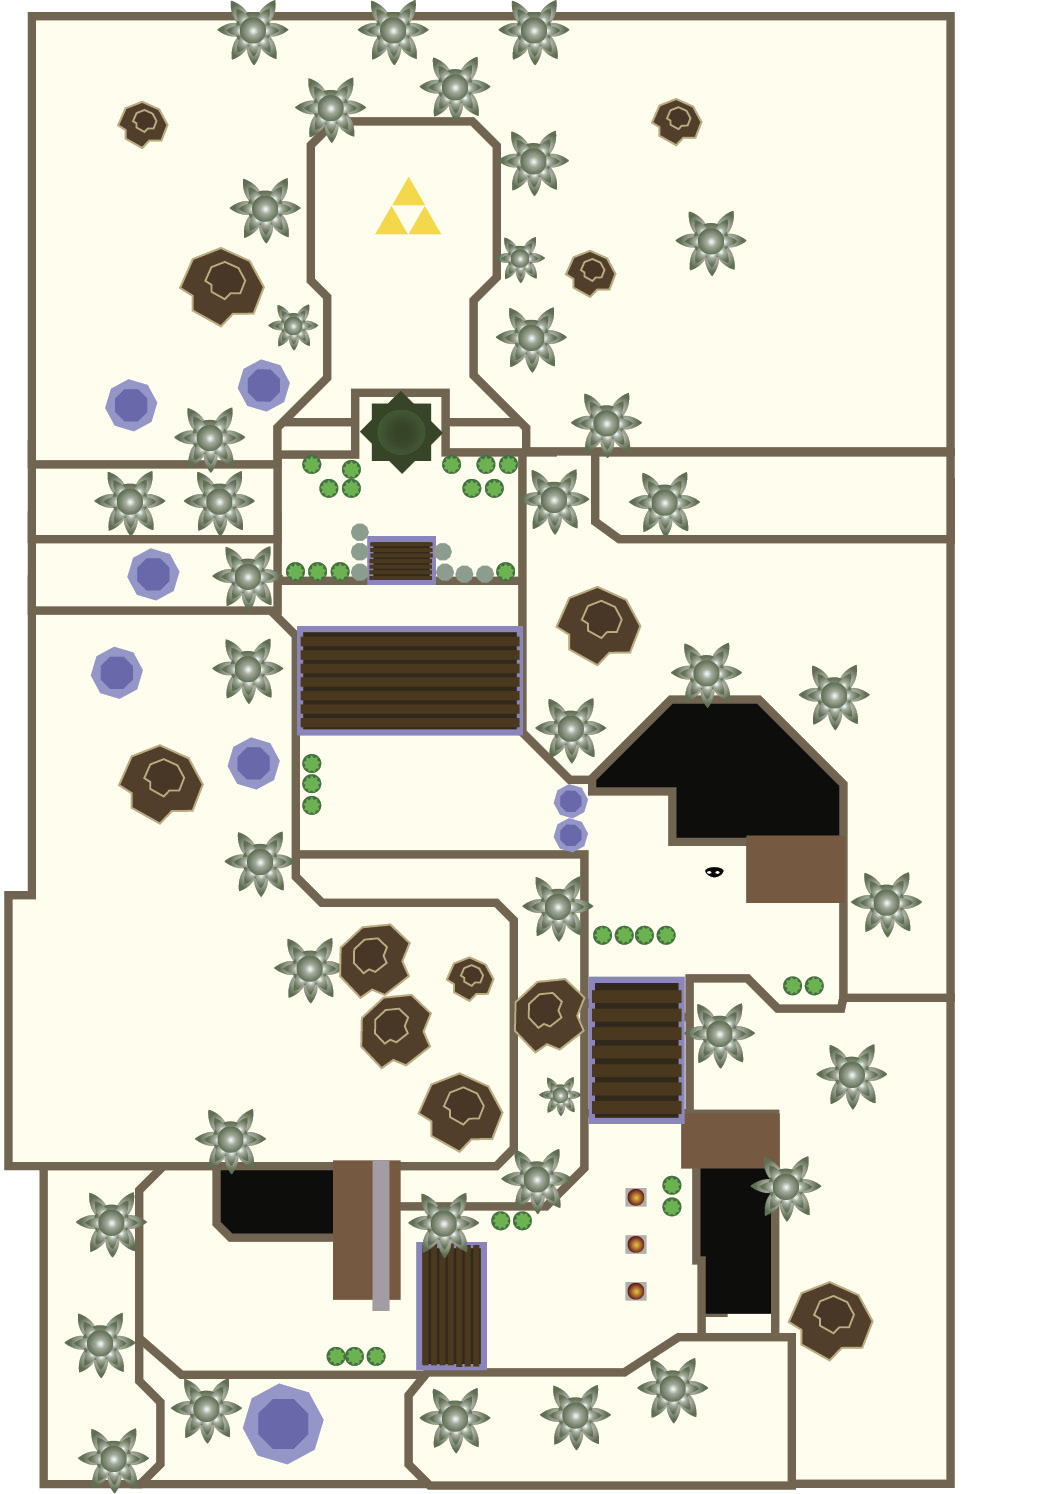
There is only one way you can go at this point, so follow the path east until it turns west in the northern part of the room. Once you reach a set of stairs in the northwest corner of the room, you’ll know you’re in the right place.
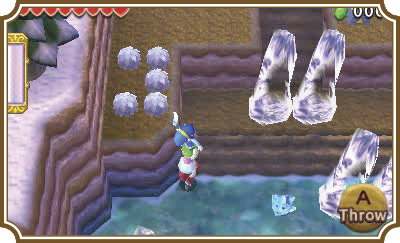
Throw your two top Links onto the ledge above you and have them grab the Sub-Weapons off the pedestals on the right side of the platform. These are the Fire Gloves, and they give you the power to shoot fireballs out of your hands like some sort of Super Mario Brother. You can use them to melt the icicles littered around the room and they also do a wonderful job of defeating ice-based enemies, like those pesky Mini-Freezards, provided you can hit them.
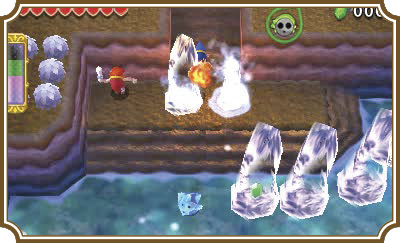
Melt the icicles blocking the stairs to get the Sub-Weaponless Link up to his own set of Fire Gloves, then head to the center of the room. There are two more icicles blocking the stairs leading up to the Triforce gateway. Melt them and you’ll be able to leave the room.
We suggest you take the time to explore the room a little before you go. There are plenty of Rupees to find frozen inside the icicles.
Room 2
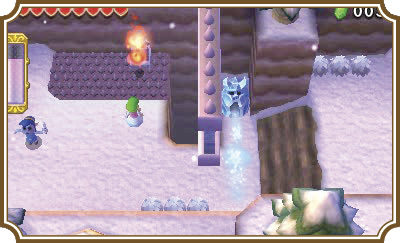
At the start of this room, you’ll see a torch surrounded by spikes and an ice statue breathing ice breath. The statue is a Freezard and it’s easily dispatched by a single Fire Glove fireball, but you need to be able to reach it before you can melt it down.
Line up with the torch and throw a fireball at it to light it. This will move the gate that is blocking the Freezard from your attacks. Once the gate retracts, throw a fireball at the Freezard and head up the stairs.
You’ll find three pressure switches at the top of the stairs. Step on all three and a gate to your right will retract. Your goal is to light the torch at the end of that spike path to open the northern gate. To do that, throw a fireball at the angled corner of the right wall and the fireball will bounce toward the torch with ease.
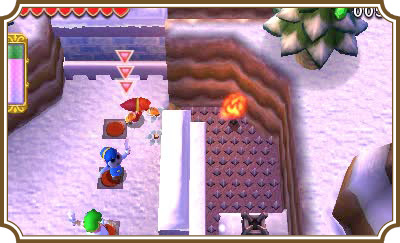
Once the gate is open, head up the stairs. Three more Freezards gladly greet you with great tidings of terrible frozen breath. In order to destroy them, you need to head to the pit on the right side of the area, point yourself at the angled wall straight across the pit, and throw a fireball. The fireball will bounce majestically across the spikes and into one of the Freezards. You only need to hit one of the icy enemies to get the others.
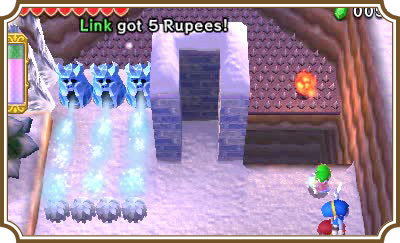
Walk into the space no longer occupied by Freezard breath and melt the two remaining Freezards. Melt the two icicles blocking the western path, then continue on.
You’ll run into a handful of Keese on the other side of the icicles. One in particular will give you trouble, and that’s the frosty Ice Keese. Like their fiery counterparts can harm you with fire, if you hit Ice Keese or if they touch you, you’ll be frozen solid. You’ll need to hit the Ice Keese with a fireball to defeat it safely.
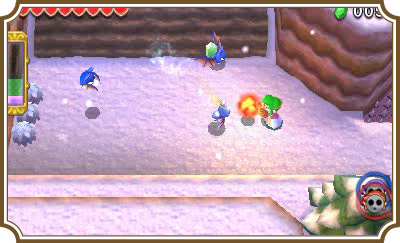
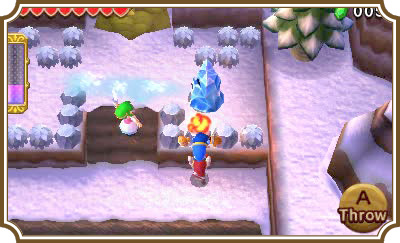
Once the Keese have been dealt with, head up the stairs until you reach another Freezard. Make a two-Link Totem and throw a fireball up at the Freezard to melt it away.
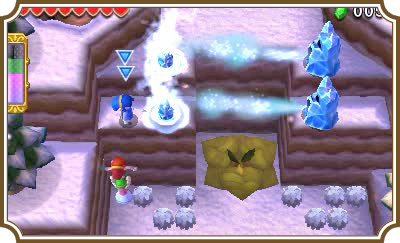
Wait! Before you think about stepping on that leaf platform, you’ll need to make a three-Link Totem and throw a Link onto both the left and right ledges behind the Freezards. Melt both Freezards on the right and both on the left before stepping on that leaf platform.
Once the Freezard menace has been formally thwarted, hop onto the leaf platform to reach the Triforce gateway.
Room 3
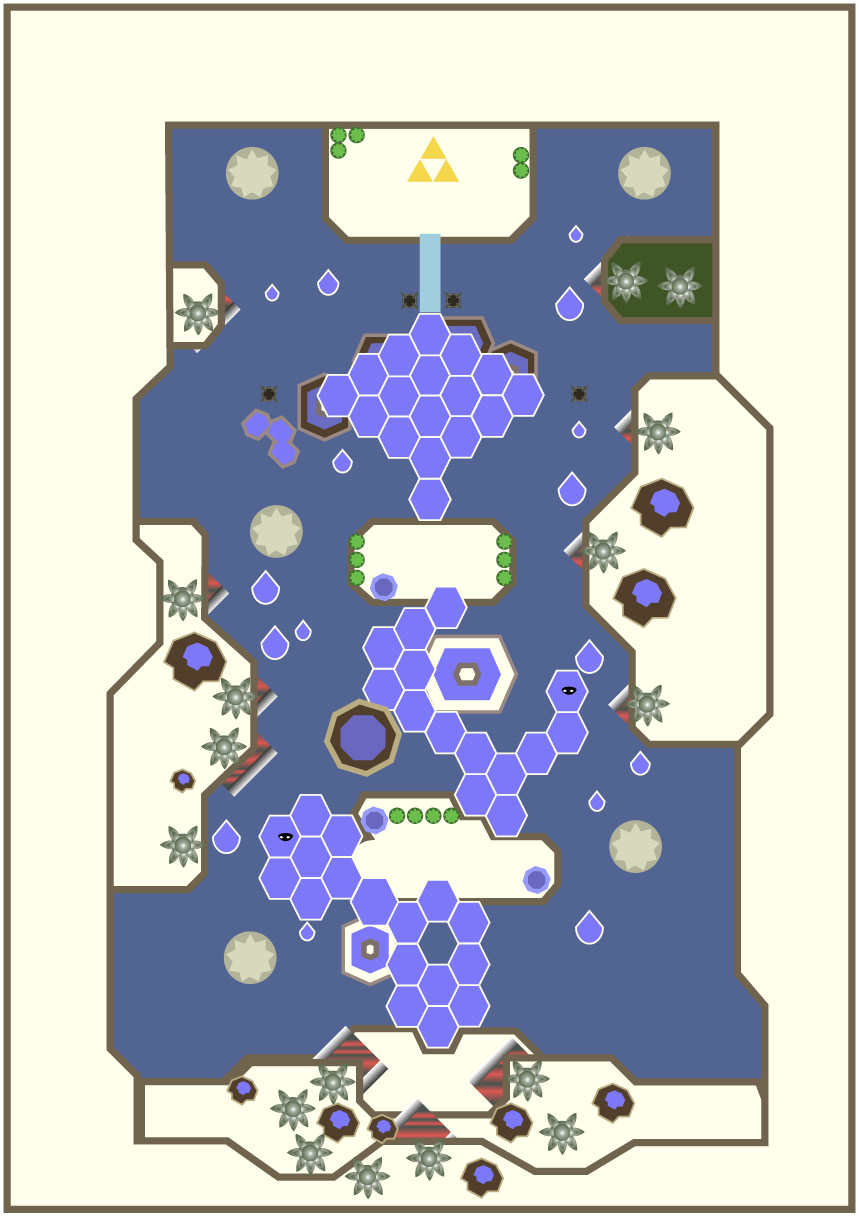
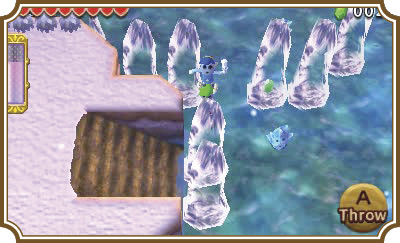
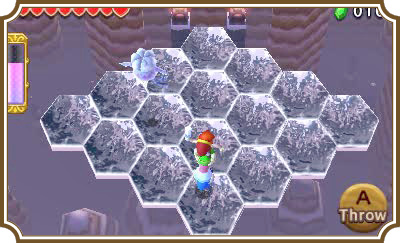
The ice sheets in this room work very similarly to the lava rock platforms back in the Volcano world. If you stand on them for too long, they’ll crack and then break, dumping you into the great beyond below. That’s why it’s in your best interest not to linger too long on any single ice sheet, lest you fall to your doom.
You’ll also need to look out for the Freezards littering the area. Don’t waste time on any of them if you don’t need to. The ice will more than likely break before you can land a clean fireball on the Freezard.
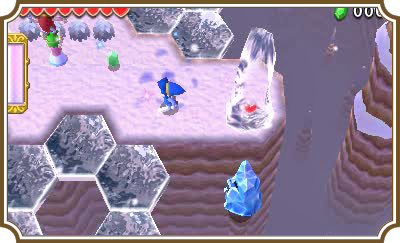
One more thing to keep in mind: DON’T. THROW. FIREBALLS! These are thin sheets of ice we’re working with here. A single fireball will melt it in a mere second, which will at best limit your ability to move around in the level, and at worst send you plummeting to your doom. If you’re on the ice sheets, don’t throw a fireball unless you’re positive it won’t land on an ice sheet.
Head north onto the next landing and… Wait a minute! Is that a Squiddy!? Trounce that Squiddy like it’s your last day in Hytopia!! Ahem. Sorry about that. Moving on. Continue north until you reach another landing. The path will branch before you reach the landing. Head right to get a red Rupee and head left to continue with the level. You’ll need to try and wait out the Freezard blocking your path to the landing, however. The best way to do this without breaking any ice sheets is to move back and forth between the two ice sheets in front of the Freezard’s breath. When the Freezard stops breathing, carefully move past it and set your feet on solid ground once again.
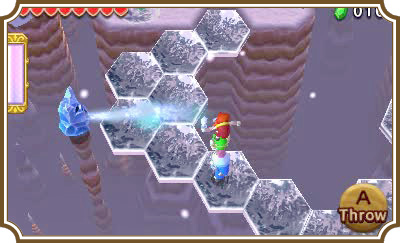
You’ll run into two more Ice Keese on this landing. You can freely use your Fire Gloves to take them out. Once they’re out of the way, make a three-Link Totem and continue on to the north.
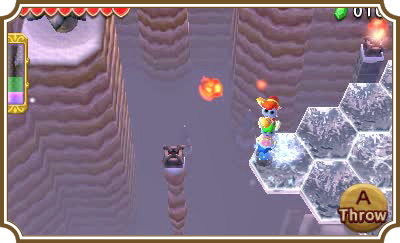
You’ll run into a Keeleon hanging out over the ice sheets. You do not want that Keeleon over those ice sheets! It will spew out Bombs that will shatter the ice sheets, and it can shatter several of them with a couple of Bombs. Immediately run over to it with your Link Totem and smack it into Keeleon heaven.
You’ll need to light two torches, one on the left side of the ice sheets and one on the right. You don’t need to disband your Totem in order to hit both, so keep the team together!
Once both torches are lit, a bridge will connect to the north side of the ice sheets. Cross the bridge to reach the Triforce gateway.
Room 4
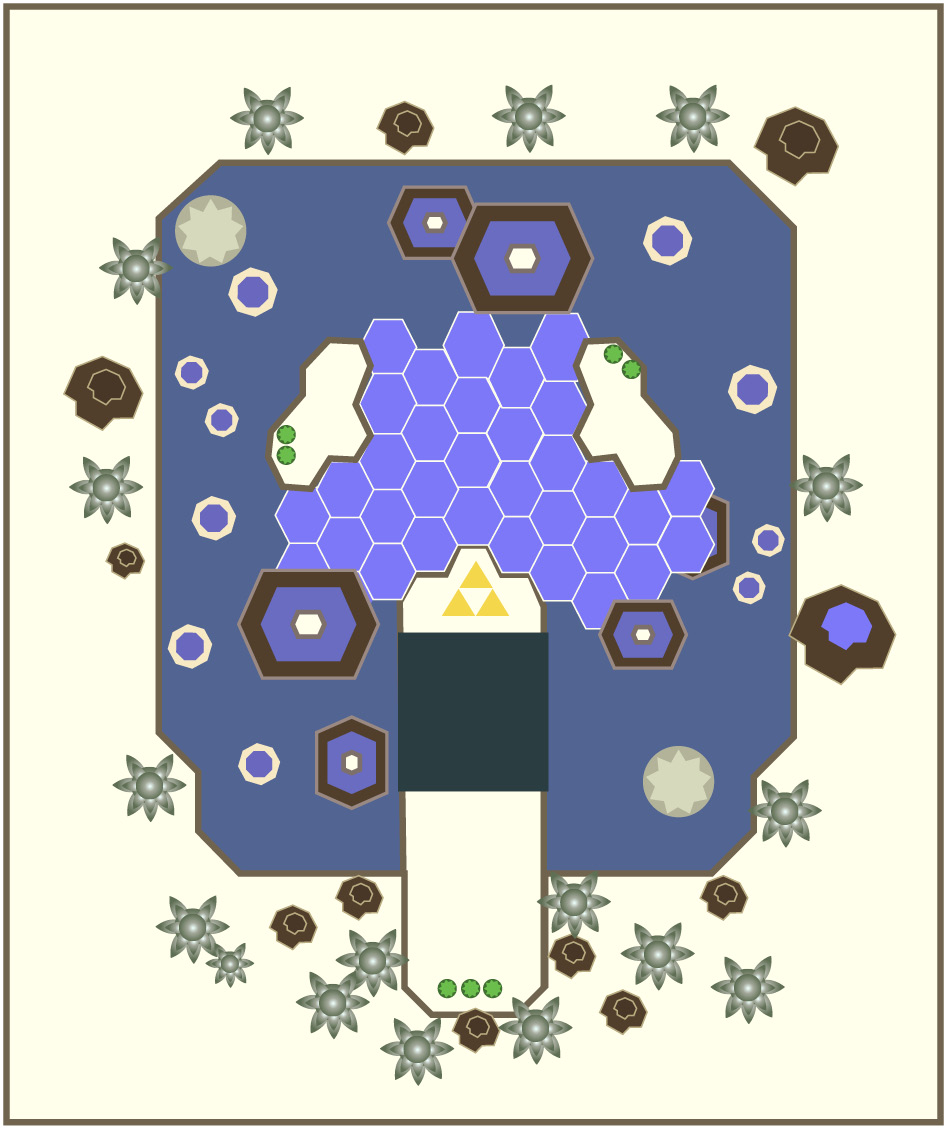
To wrap up this level, you’ll have to defeat five of a new type of enemy: The Ice Wizzrobe. These chilled wizards can, and will, teleport around the room after they shoot a few icy blasts of magic. If you’re hit by the ice wave, you’ll be frozen solid.
Now, we know we told you not to use the Fire Gloves while walking on the ice sheets, but we’re going to take that back. (For now.) If you’re very careful you can defeat the Ice Wizzrobes with a single fireball per Wizzrobe. Don’t run around the room like crazy. Just take your time, pick one Wizzrobe off at a time with a fireball, and everything should be pretty simple.
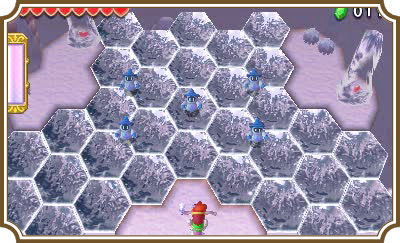
If the Wizzrobes aren’t appearing, you’ll need to walk out onto the ice a little bit. When they disappear, they won’t reappear until you’re close by. They’re very social creatures!
Once they’ve been defeated, a Triforce gateway will appear at the base of the ramp you slid down earlier.