The Legend of Zelda: Tri Force Heroes Guide Clothing Quest World 4: Ice Cavern
Level 4: Ice Temple
ChallengesFewer Heart Container Don’t get hit by snowballs Transport the orb quickly Sub-Weapons
Materials
Recommended Outfits |



The Cozy Parka pays out in full in this level. Right from the beginning of the level, you’ll have narrow pathways covered in ice to traverse. Wearing the Cozy Parka? Those pathways are just a merry jaunt to the next area. And what would an Ice Temple be without an ice-based boss to top it off? Wearing the Cozy Parka will limit some of the boss’s attacks, so that you can’t be frozen. If you haven’t made it yet, make a point to do so before continuing on in this level—you’ll be glad you did.
Room 1
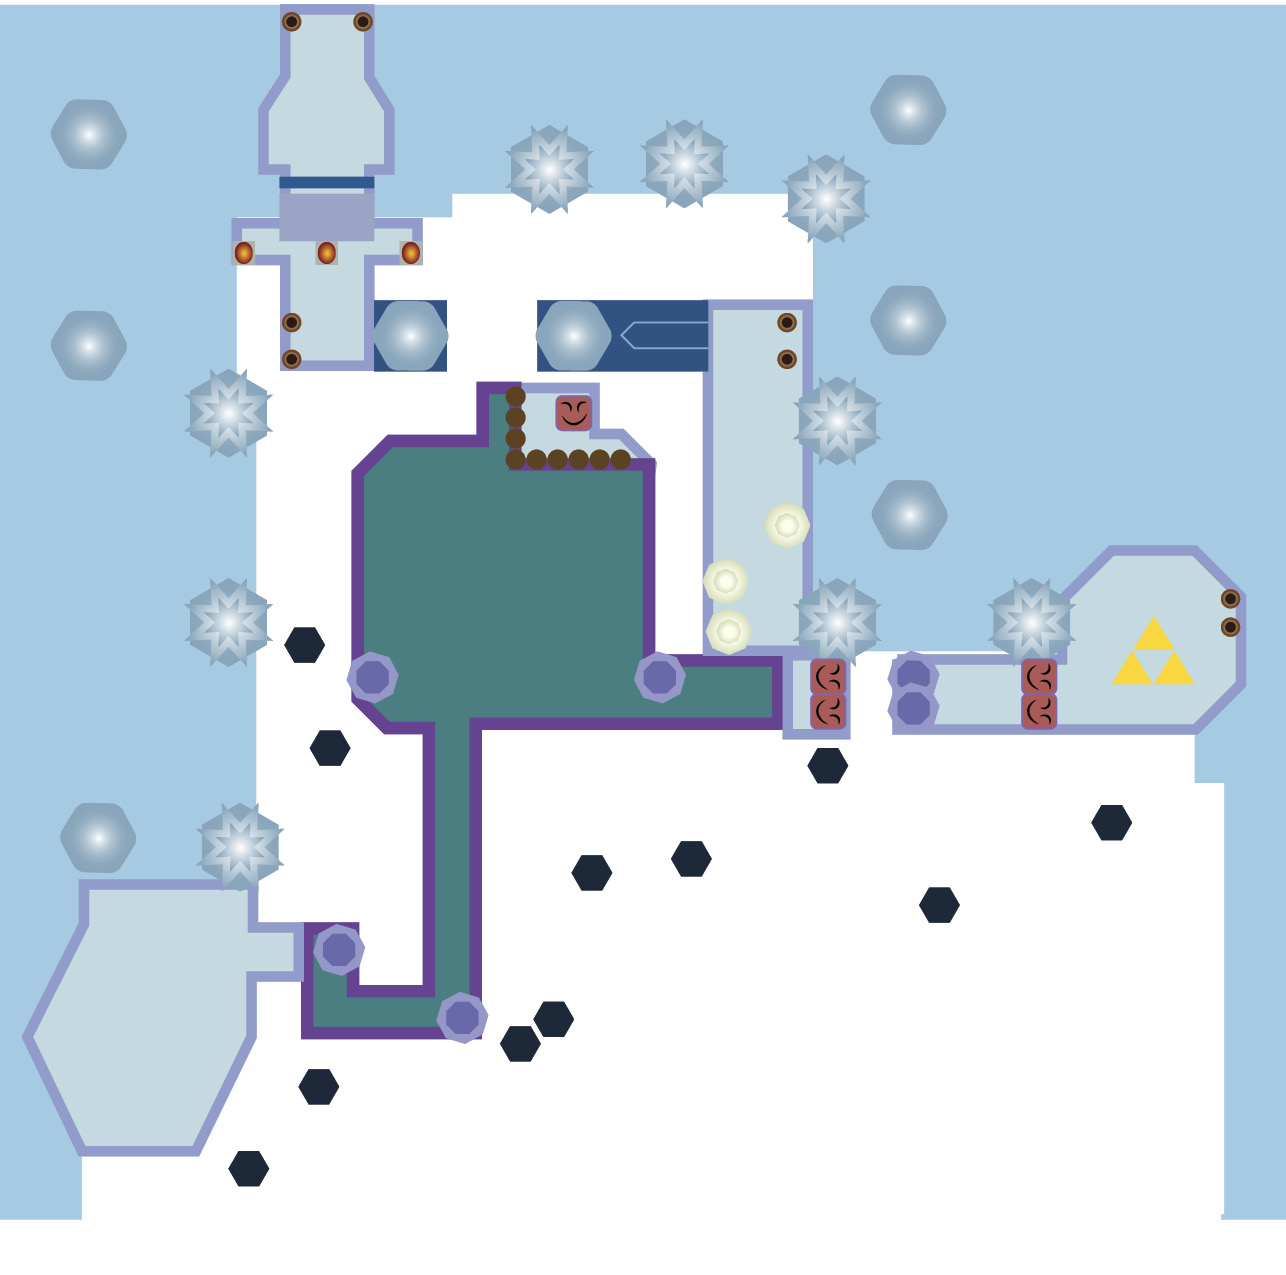
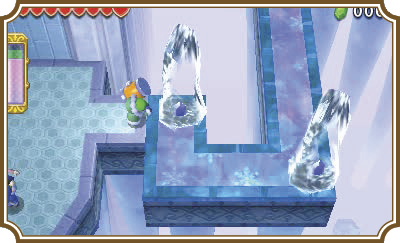
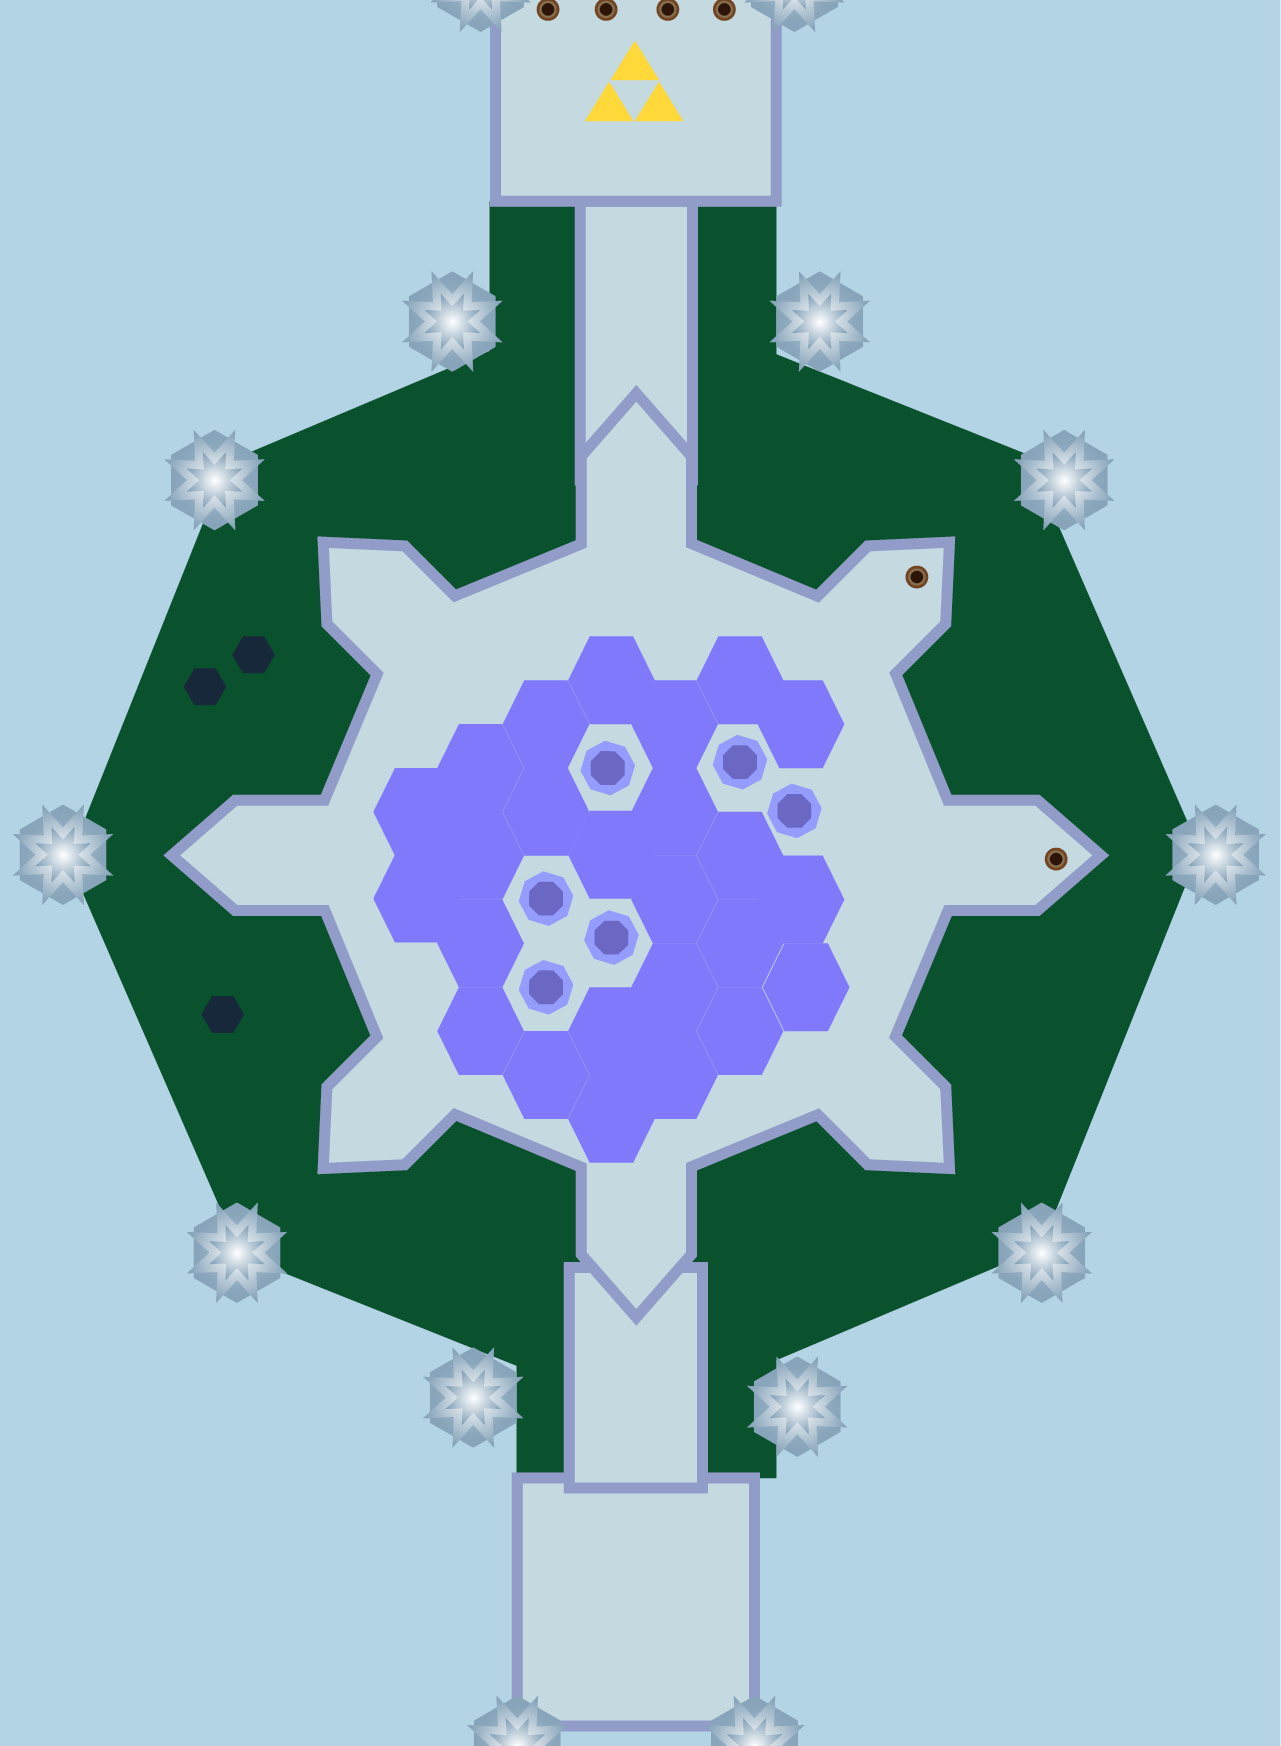
You’ll start this level near two Magic Hammers. Pick them up, then destroy the icicle to your right and make your way up the path.
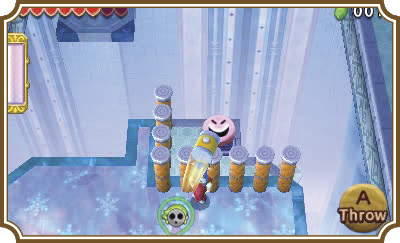
You’ll find a group of Terrorpins at the end of the pathway. Defeat them and create a two-Link Totem to smash down the tall pegs in the northeast corner of the room.
We’ve got good news and we’ve got bad news. First the bad news: You need to time when you smash down the spring pads in line with the platform above. The good news is that this is a much bigger, more forgiving platform. Wait for the platform to stop on the left side of its route. As soon as it starts moving again, smash the spring pad down, then wait. You should land on the platform perfectly.
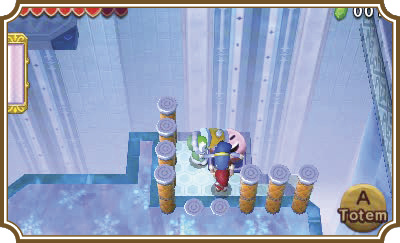
You’ll find three pressure switches at the end of the moving platform’s route. Have all three Links stand on the switches to open the door ahead. You’ll find a pair of Fire Gloves behind the door. Now ride the moving platform to the right and get off on the newly-extended bridge.
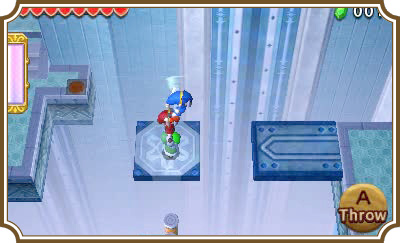
Follow the path to its south end, then drop down in front of the spring pads below. You’ll need to destroy the icicles ahead to get to the other side of the gap. Use your Fire Gloves Link to melt the icicles. Now smash down one of the spring pads and make sure the Fire Gloves Link crosses first.
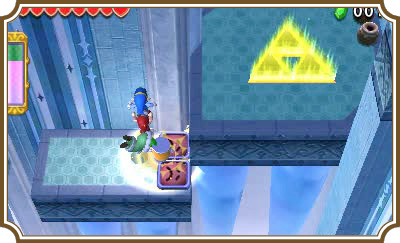
Make a two-Link Totem with the Fire Gloves Link and a Magic Hammer Link. As the remaining Link, pick up and throw the two-Link Totem onto the spring pads. Smash the spring pads down with your Hammer, pick up the Totem, and wait for the spring pad to launch you up to the Triforce gateway ahead.
Room 2
You’ll need to defeat five Deadrocks in this room to be able to reach the Triforce gateway. They’ll be hanging out on and around ice sheets, which means you’ll have to take care not to break them. (The ice sheets we mean, not the Deadrocks. Break those things with a furious vengeance!)
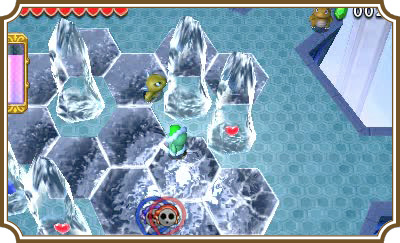
There aren’t any tricks to this room. Just defeat the Deadrocks and you’ll be free to go on to the next room.
Room 3
Now, if you took our advice and at least one Link is wearing the Cozy Parka, this room is going to be a lot easier.
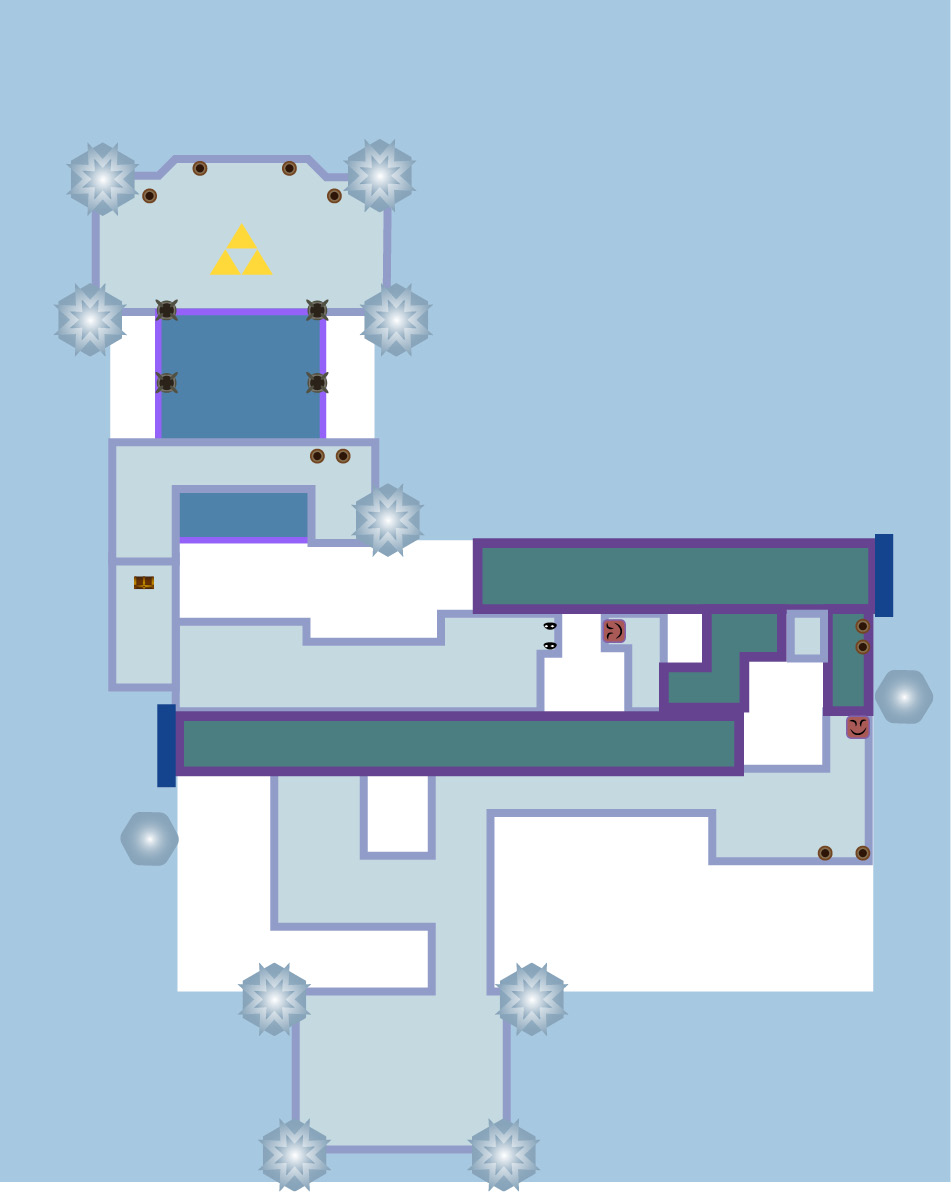
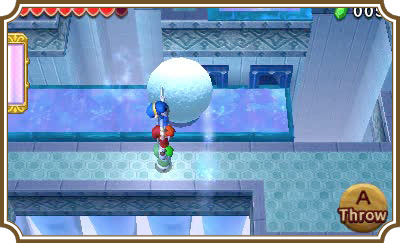
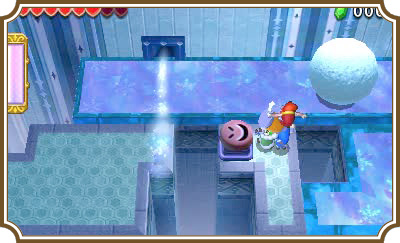
Just up ahead and to the left, you’ll see a large peg that is blocking giant snowballs. Smash that giant peg, smash the little pegs, and then wait for the snowball to pass each of the ice vents in order to cross safely, staying parallel with the snowball until you reach the spring pad at the east end of the room.
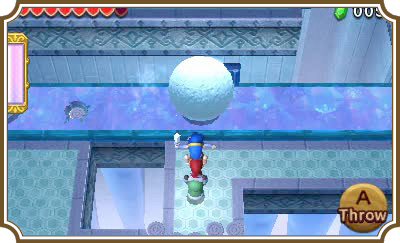
Wait for a snowball to reach the ice vents ahead before making your way to the spring pad. There are two ice vents next to each other here, so you’ll need to take extra care while walking along with the snowballs.
Like the last area, you have to wait for the snowballs to block the ice vents before you can move forward. When you reach the spring pad on the left end of the path, wait for a snowball to appear. Take a look at the wall just above you. See those stripes on it? And the dark stripe in the middle of all those stripes? As soon as the snowball reaches that dark stripe, smash the spring pad down and stand on it. If your timing was on point, you’ll land on the other side of the gap right as the snowball passes the vent.
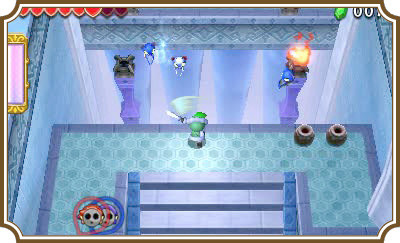
Continue west, then head up the flight of stairs. You’ll find two normal Keese and an Ice Keese flying in the gap above the stairs. You can grab a treasure chest to your left by making a Totem and throwing a Link near the chest.
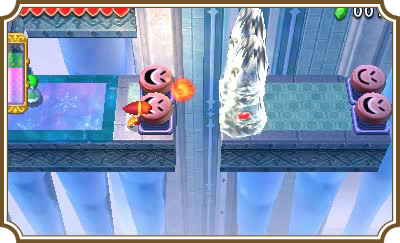
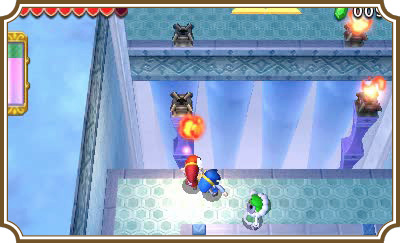
To reach the other side of the room, you’ll need to light the torches on the left side of the area. Line up your Fire Gloves Link with the torches and throw a fireball. The fireball should bounce from one torch to the other with ease. Once both torches are lit, a bridge will rise, giving you access to the Triforce gateway and another Squiddy. Head across the bridge, teach Squiddy how to use a sword the hard way, and then hop on the symbol to exit the room.
Room 4
Boss Fight: BLizzagia
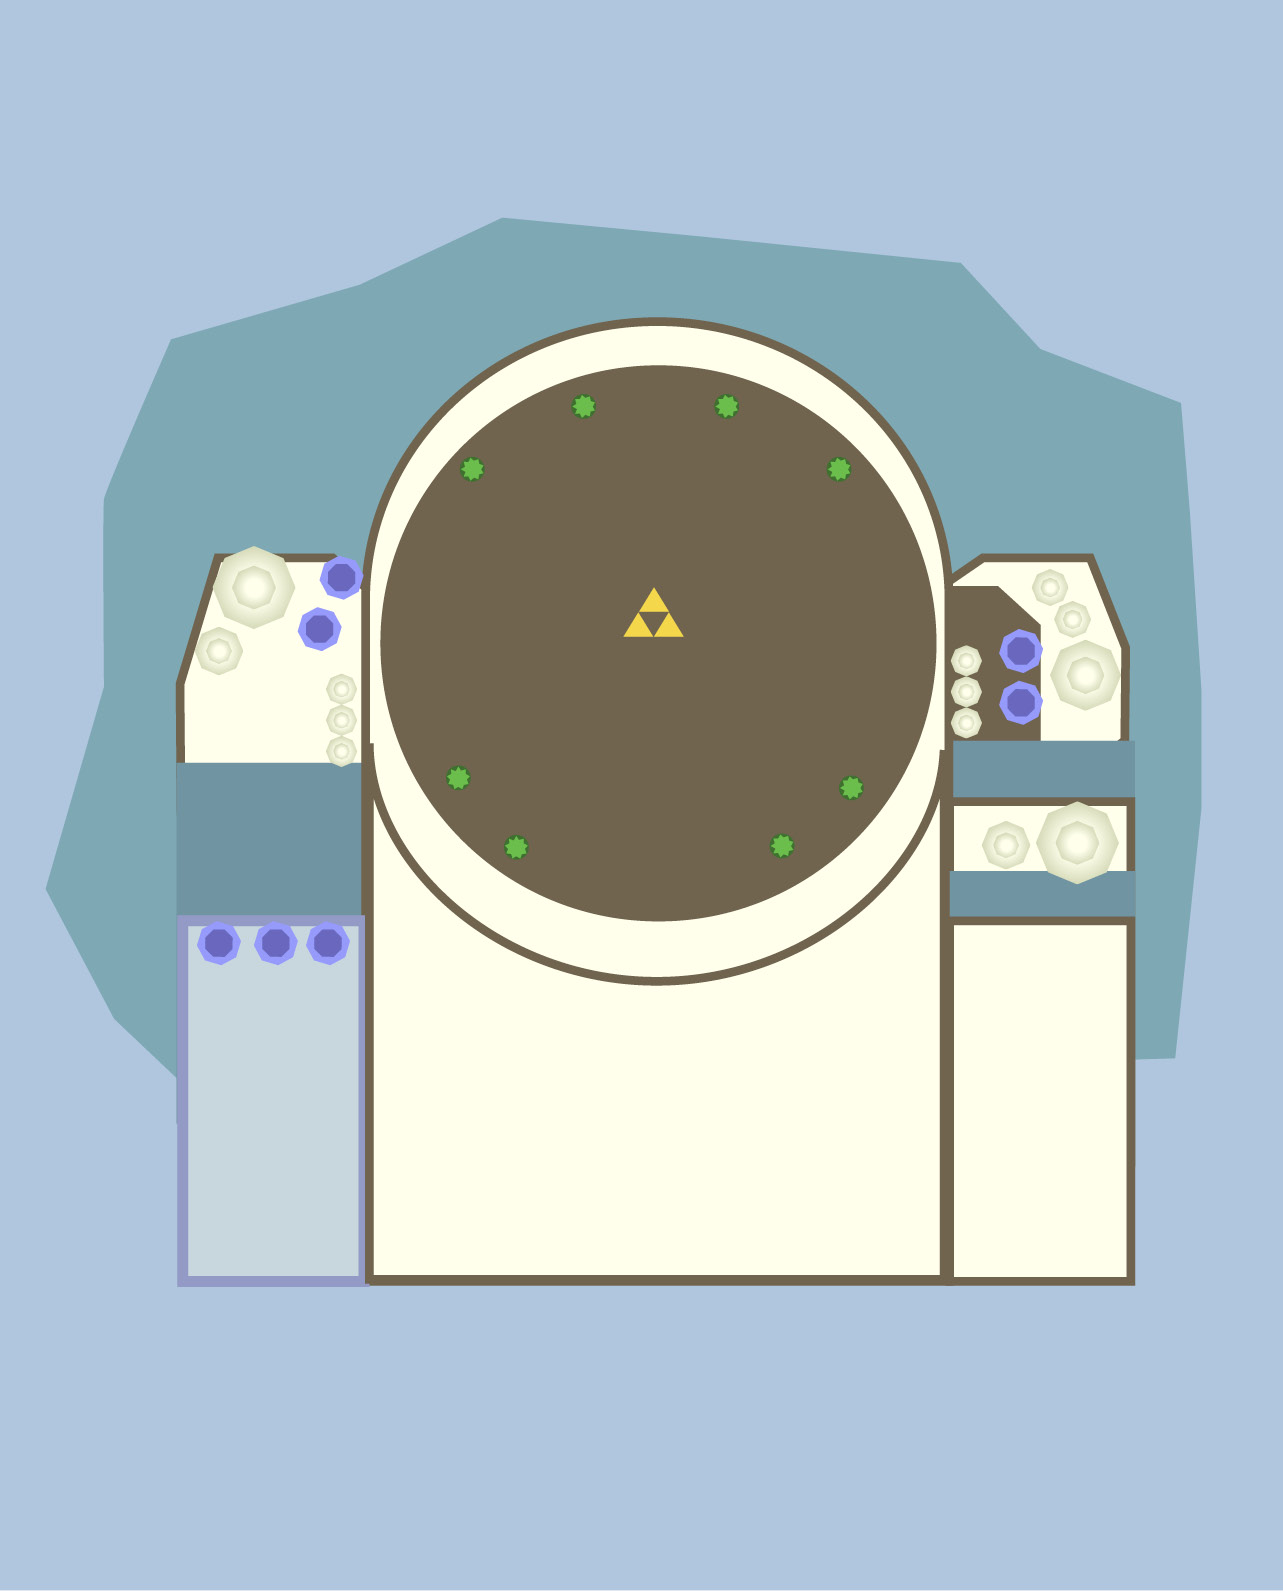
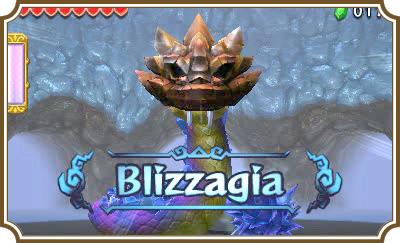
You’ll find icicles with Hearts in them littering the path ahead. Make sure to fill up your health, but save the icicles and rocks at the bottom of the slide if you don’t need them. As soon as all three Links drop into lowest part of the room, the giant ice snake, Blizzagia, will appear.
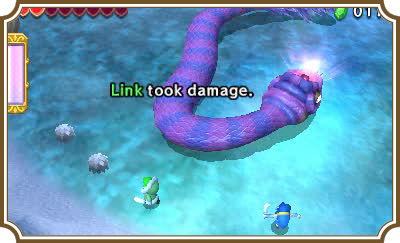
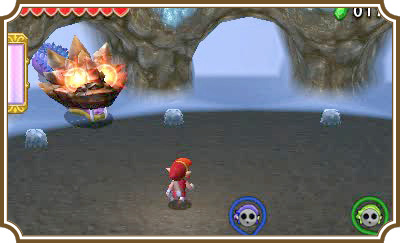
Blizzagia will start the battle by hiding in its tunnels. Whenever it pops out, it will breathe heavily, and then its eyes will flash. This is the signal to NOT be in front of the slithering reptile. It will launch itself forward, attempting to bite anyone standing in front of it.
It will linger momentarily after attacking, which is your chance to strike back. You can use your Hammers or Fire Gloves to burn away the ice on its back for Hearts, but if you want to damage the snowy snake, you’ll need to hit its head with the Magic Hammer. Stay near the center of the room, instead of near Blizzagia’s tunnels, if you want to reach its mask with ease. If you’re near its tunnels, it’ll shoot out too far for you to reach before it pulls itself back in.
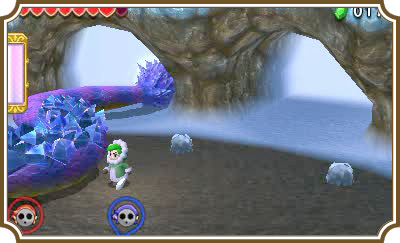
You’ll play this game of whack-a-snake for about five or six hits, at which point Blizzagia’s mask will crack.
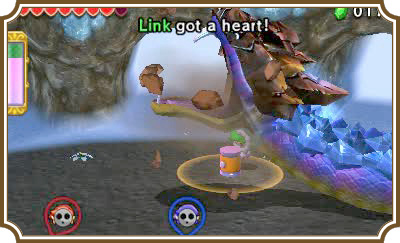
Blizzagia will pop out and completely freeze the ground, making it a slippery mess. If you’re wearing the Cozy Parka you have nothing to fear, but all others will have to be very careful with their movements.
After freezing the ground, Blizzagia will stay out of its tunnels, choosing to slither around out in the open instead. You still need to hit its head to progress the fight, but if you hit its unshielded body with the Magic Hammer, it will stop momentarily. During multiplayer, having one person hit Blizzagia’s body with the Magic Hammer while the other hits its head is an excellent strategy.
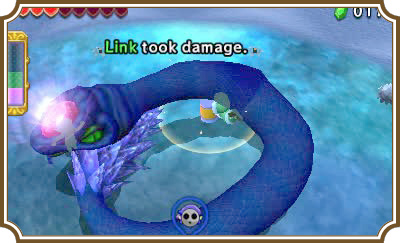
You’ll need to watch out for Blizzagia’s tail as much as possible. If it hits you, it will cause damage and freeze you—unless you’re wearing the Cozy Parka, of course.
After another five or six hits to Blizzagia’s head, its mask will finally break and reveal the beast inside. A giant gem adorns the snake’s head—a clear weak point. From this point on, you will be able to hit Blizzagia’s head with your sword or the Fire Gloves, which means everyone can join in on the battle.
Blizzagia’s movements will become a little more erratic. It will travel over its own body, making it elevate its head in the process, but the battle will be more or less the same. You’ll need to pay attention to when Blizzagia’s eyes flash to avoid getting bitten, however.
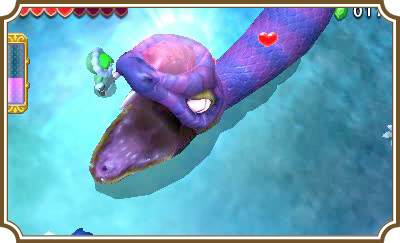
If you want to avoid taking a lot of damage and if you want to reach Blizzagia’s head as easily as possible, stay near the south side of the room for the rest of the fight. Blizzagia will roam around and snap its mouth with very little warning. Trying to keep up with Blizzagia is either frustrating or deadly, but if you make the serpent come to you, you’ll have a much easier time fighting it.
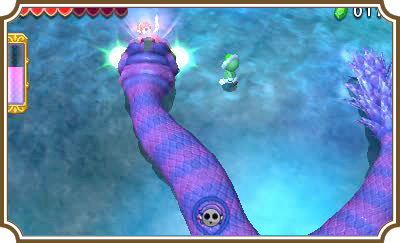
Continue hitting Blizzagia in the head and use the Magic Hammer to stun it momentarily, if needed. After hitting its head several times, Blizzagia will keel over and you’ll be left the victor!