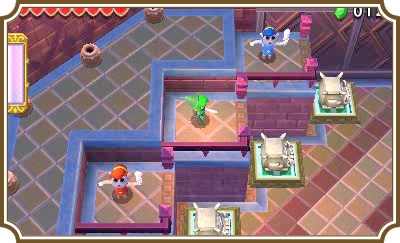
The Legend of Zelda: Tri Force Heroes Guide Clothing Quest World 5: Fortress
Level 3: Training Ground
ChallengesClear within the time limit Halved attack and defense Don’t drop the pot Sub-Weapons
Materials
Recommended Outfits |



This is undoubtedly one of the toughest levels in the game. Some of the puzzles here are outright devious! Bringing the Goron Garb will be a huge help for some of the puzzles, but if you can only pick one Outfit, go for the Kokiri Clothes. The Goron Garb helps, but you can still get past the puzzles without it; the Kokiri Clothes will make a lot of the fights and a puzzle or two significantly easier.
Room 1
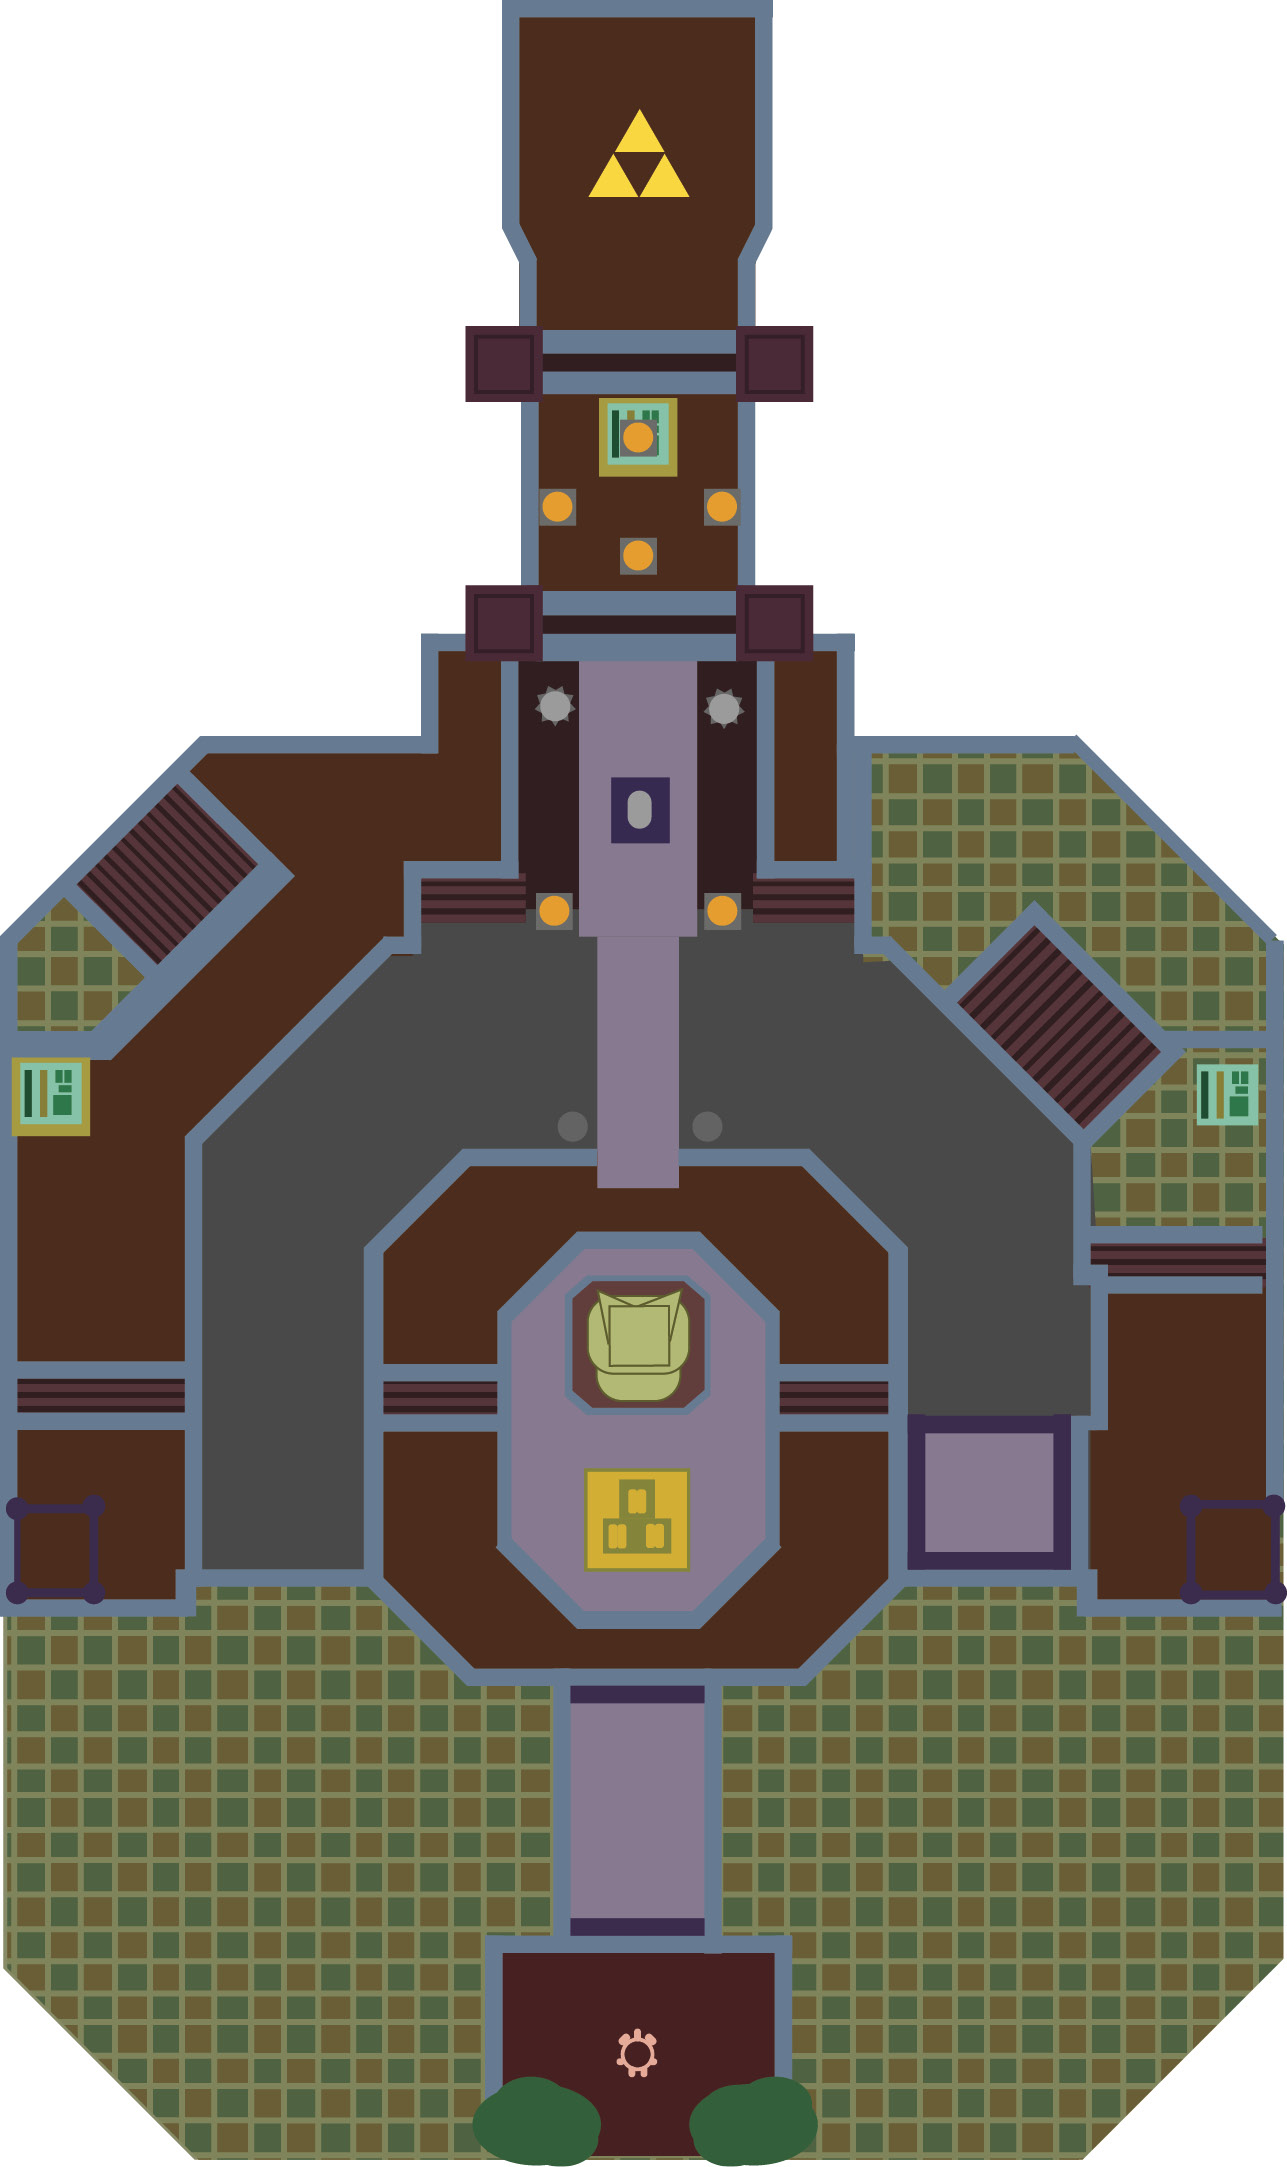
Head north and stand on the three-man pressure switch in the center of the platform. This will raise a Totem Armos up to the platform. Stand on the upper level behind the Totem Armos, then drop down on top of it. The Totem Armos can be pretty tough to control, but once you get the hang of it, it’s your own stompy, baddie-busting, all-terrain vehicle.
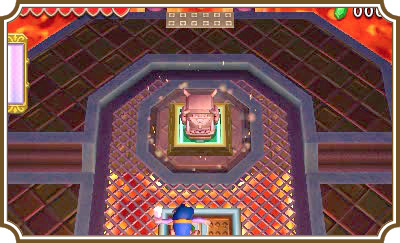
Steer the Totem Armos across the bridge to the right side of the room, then steer it up to the glowing eye symbol on the ground. You can speed the Totem Armos up by holding the R-Button while riding it.
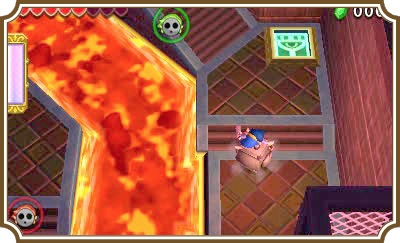
When the Totem Armos reaches the symbol, it will park and Link will leap off. This is the only way to get off of the Totem Armos once you’re on it (aside from being hit off of it by an enemy). You’ll find the Bow at the top of the stairs. Grab it with the Link wearing the Kokiri Clothes. Have all three Links walk up to the upper level above the Totem Armos, make a three-Link Totem, and then hop back on it.
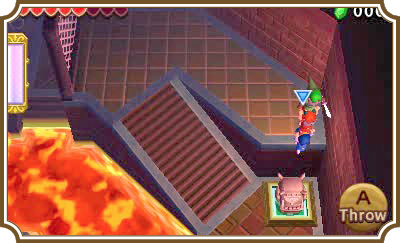
Steer the Totem Armos into the lava and drive it to the north side of the room. Head up the stairs, then follow the wall to the west side of the room. You’ll find another eye symbol for you to park the Armos.
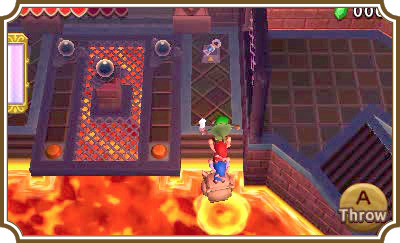
You’ll find the Gust Jar and Gripshot, along with three shy orb switches, on the north end of the room. You can hit the two pressure switches to bridge the gap to where you originally got on the Totem Armos.
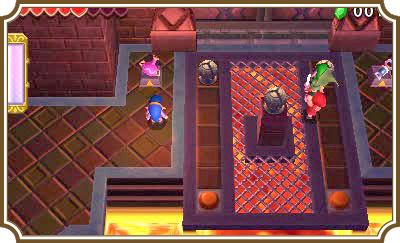
To reach the Triforce gateway, you’ll need to hit all three orb switches in roughly three seconds. Have the Bow Link (with the Kokiri Clothes) stand in the center of the south end of the bridge you just extended, then have the other two Links make a Totem. Have the Totem stand off to the left or right of the elevated orb switch, far enough away to keep the orbs from hiding.
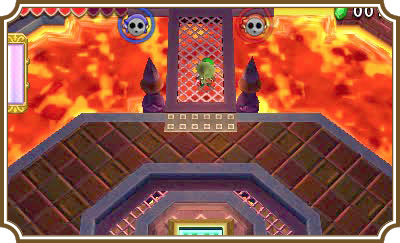
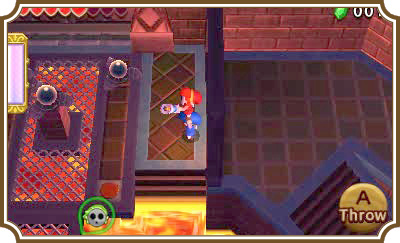
Now have the Totem fire the Gust Jar or Gripshot at the orb switch, then immediately have the Bow Link fire his arrows. The arrows will split and hit the back two orb switches, while the Totem Links take care of the elevated switch. If your timing was tight enough, the wall on the north end of the room will recede and reveal four more pressure switches.
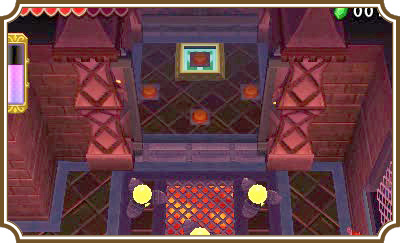
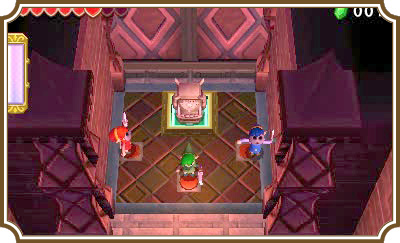
You’ll need to drive the Totem Armos onto the eye symbol in the north point of the room to activate that pressure switch. Once that’s done, have each Link stand on a pressure switch to make the wall recede and reveal this room’s Triforce gateway.
Room 2
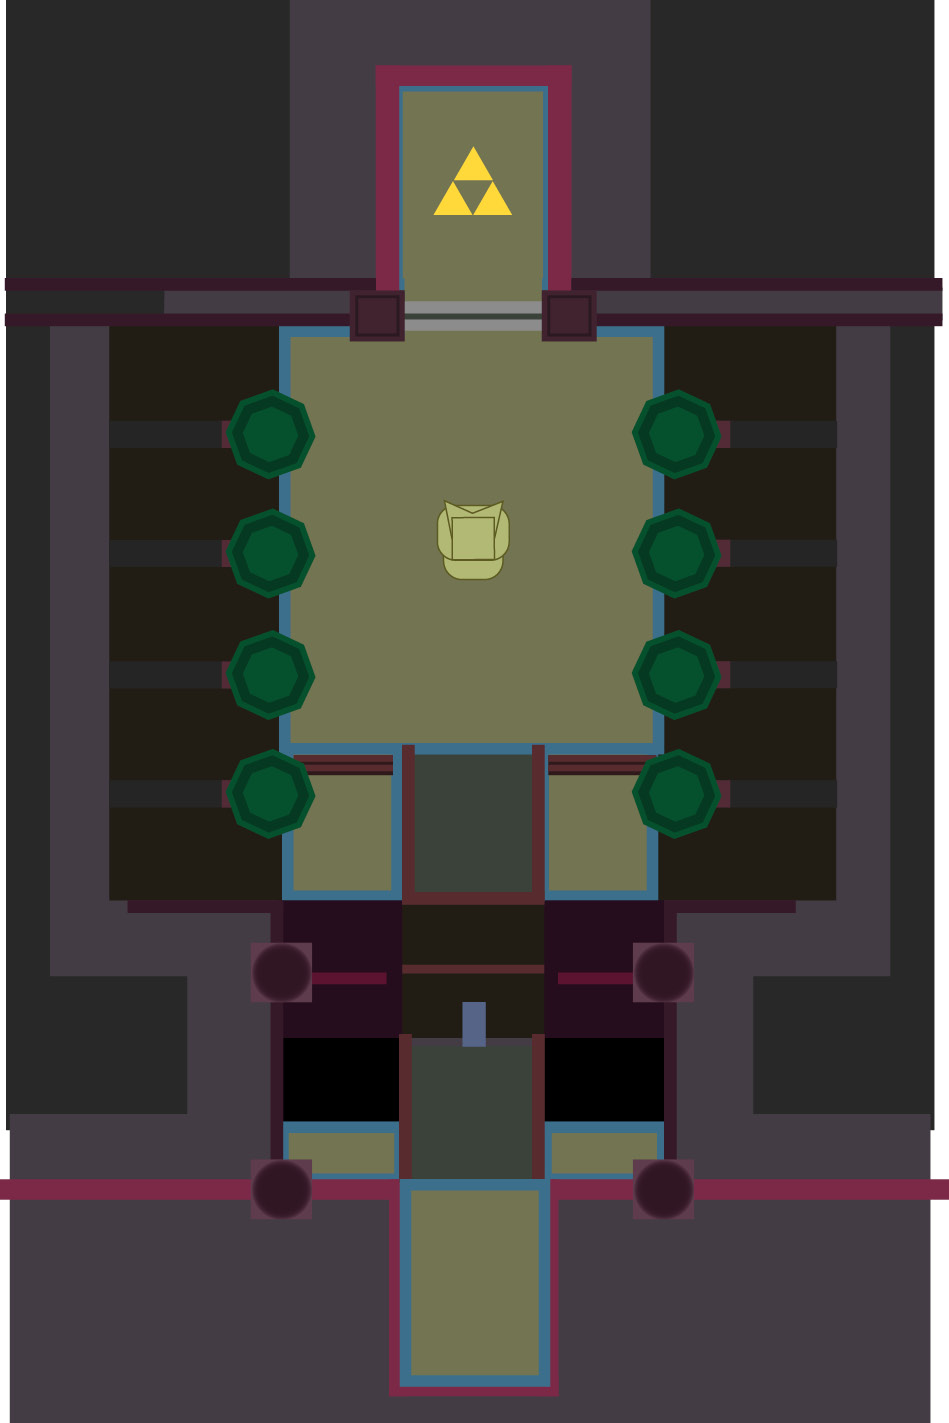
Ride the elevator on the north end of the room to the room’s upper level. Before you walk off the elevator, there are things you should know. Six red Hardhat Beetles will appear along with two blue Sword Soldiers. You can’t hit the Hardhat Beetles without stunning them first or you’ll get burned, and the blue Soldiers have shields that will deflect any frontal assault. What can you do about all of this? Immediately rush to the Totem Armos in the center of the room and throw one or two Links on top of it. The Armos will do damage to any enemies it bumps into and, best of all, you won’t take damage from the fiery, red Hardhat Beetles.
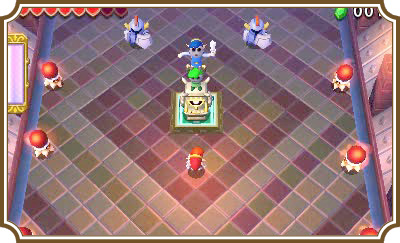
Have the remaining Link use his Sub-Weapon to defeat the Hardhat Beetles and stun the blue Sword Soldiers while the Totem Armos mows enemies down. (Remember to hold the R-Button to speed up while on the Armos.)
Once the enemies have been defeated, the giant doors on the north side of the room will open, revealing the Triforce gateway.
Room 3
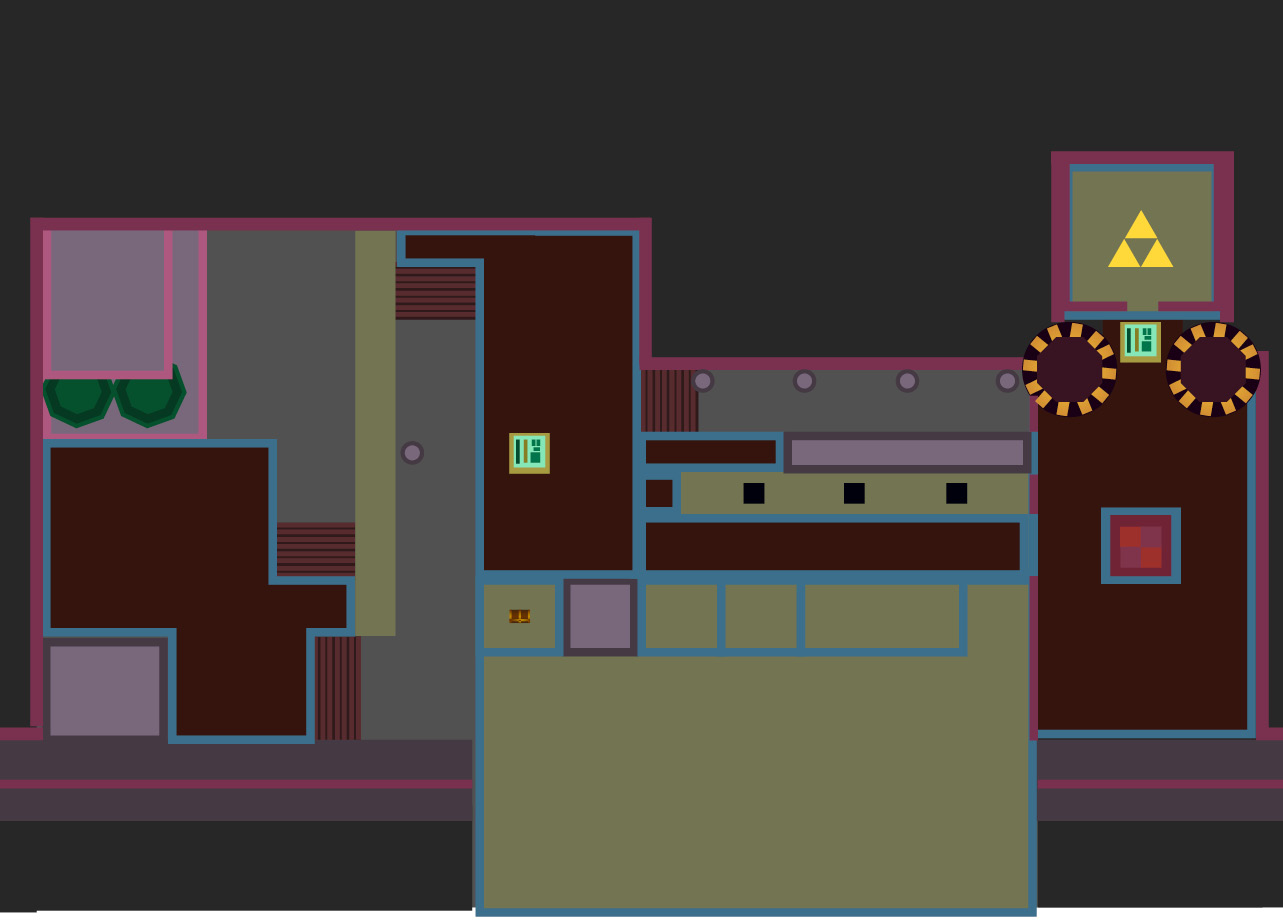
If one or more of your Links is wearing Goron Garb, this room will be a whole lot easier. You’ll see a Beamos on top of a Totem Armos ahead of you. Beamos are another Zelda staple enemy. They’ll look around a room in a circle and shoot lasers from their eye whenever they spot a Link. If you wait for their eye to pass, you can sneak past them or even destroy them.
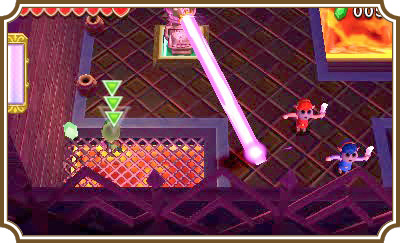
Make a two-Link Totem and wait for the Beamos’s eye to pass your area, then move in and slash it or shoot it with arrows until it falls off of the Totem Armos. The Beamos will begin to flash and roll toward you. Get as far away from it as you safely can—the Beamos will explode after flashing for a few seconds.
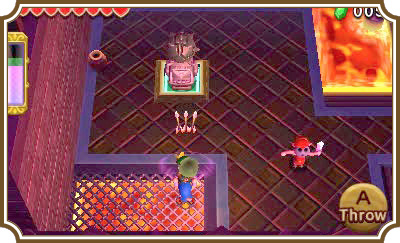
Now throw two of your Links on top of the Totem Armos and have them steer up the narrow path on your right and have it bounce in front of the tunnel that the giant steel balls are coming out of. If you’re in multiplayer, you’ll want to have whatever Links aren’t on the Totem Armos follow behind it to keep from getting knocked off the path and into the lava by the steel balls. If you’re in single-player, switch to the other Links while the Totem Armos Link bounces in front of the tunnel. Move the other Links to the other side of the path, then switch back to the Totem Armos and steer it onto the eye symbol on the right side of the of the area.
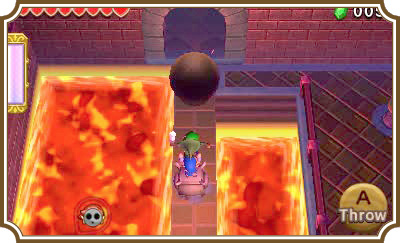
This next part can be brutal in multiplayer without the Goron Garb, so we hope at least one of your Links is wearing it. Single-player is a good bit easier than multiplayer and is made even easier with the Goron Garb, but it’s not absolutely needed.
Throw one of your Links on top of the Totem Armos and don’t steer it at all! It will automatically move to the right, which is exactly what you want. The Totem Armos will move past the flame rods and block them momentarily. You’ll need to walk along with the Link riding the Totem Armos as it passes over the flame rods. If you switch from the Link controlling the Armos to either of the other two Links, the Totem Armos will stop in its tracks. To get it moving again, switch back to the Totem Armos’s pilot and it will continue hopping forward.
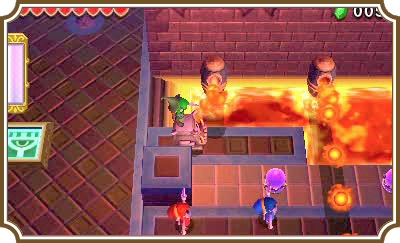
As soon as you pass the first flame, rush over and hit the color orb and switch it to yellow. This will raise a bridge to keep the Totem rider from being burned by the second flame rod and will also block the second flame rod, so you can keep walking along with the Totem Armos.
Move the Totem Armos past the second flame rod, then hit the color orb ahead to lower the bridge again. This will keep the pilot from being burned by the third flame rod. The two Links on solid ground can walk under the third rod safely, so don’t worry about trying to block it.
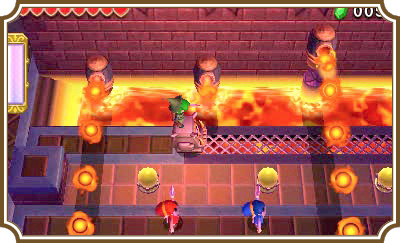
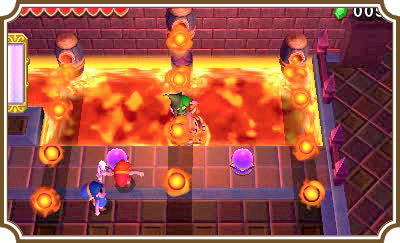
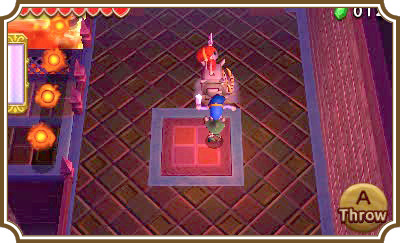
As soon as the Totem Armos passes under the third flame rod, use one of the other Links to hit a color orb to raise the bridge again. Now move the Totem Armos in front of the fourth and final flame rod to block it and get the other two Links to the east side of the room.
Have the Totem Armos come to a stop in front of the elevator platform in the center of the landing, then have your other two Links make a two-Link Totem, hop onto the elevator, and then drop down onto the Totem Armos. Steer the Totem Armos into the eye symbol on the north side of the area and all three Links will hop off onto the upper landing. This is where you will find the Triforce gateway.
Room 4
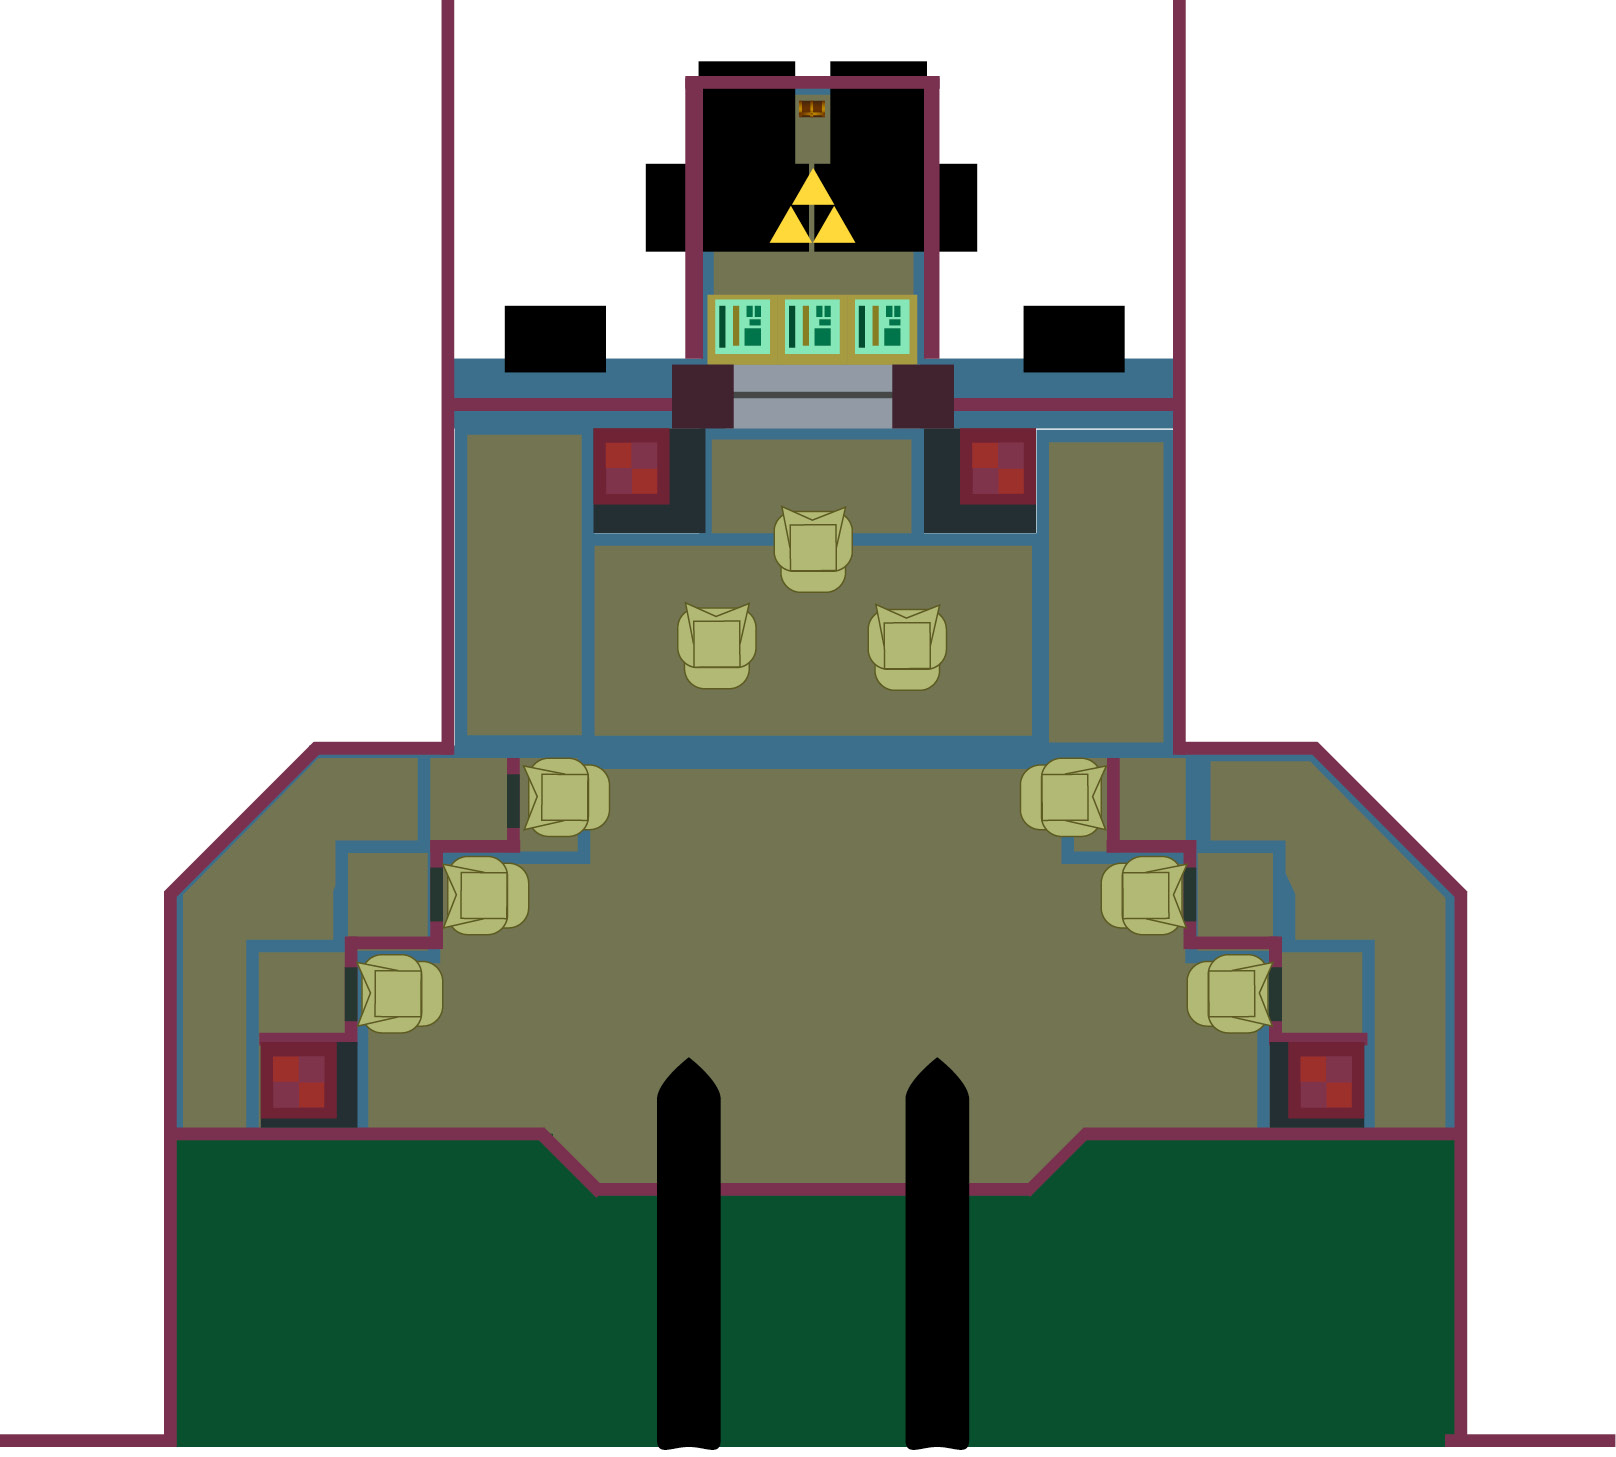
Each Link will start on a platform above a Totem Armos. Move a Link onto an Armos, and then get ready for some Armos jousting! Several Soldiers will appear, each on a Totem Armos of its own. Using your Bow Link to fight the Soldiers from a distance is a particularly good strategy, but sword slashes work too.
After defeating the first wave of Soldiers, a second wave will appear on the north side of the room. Once you’ve defeated all of the Soldiers, park each Totem Armos on an eye symbol on the north end of the room, then use the Triforce gateway to exit the room.