
The Legend of Zelda: Tri Force Heroes Guide Clothing Quest World 2: Riverside
Level 1: Secret Fortress
ChallengesPop all balloons Clear with halved energy Evade the Wallmaster Sub-Weapons
Materials
Recommended Outfits |



This level introduces you to the Water Rod, a Sub-Weapon that creates climbable pillars of water that allow you to ascend to new heights without having to make a Totem. This allows for a lot of new and interesting puzzle-solving techniques. (And using the Water Rod to annoy your friends is a great time, too.)
You won’t have either of the Outfits that work exceptionally well on this level (the Zora Costume and the Torrent Robe), but one Outfit that will help terrifically on a challenging puzzle near the end of the level is the Big Bomb Outfit. If you’re playing multiplayer, have one player wear the Big Bomb Outfit and have the remaining two players wear the Legendary Dress. (You can also wear the Lucky Loungewear, if you took the time to make it.)
Room 1
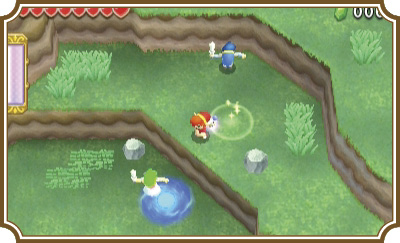
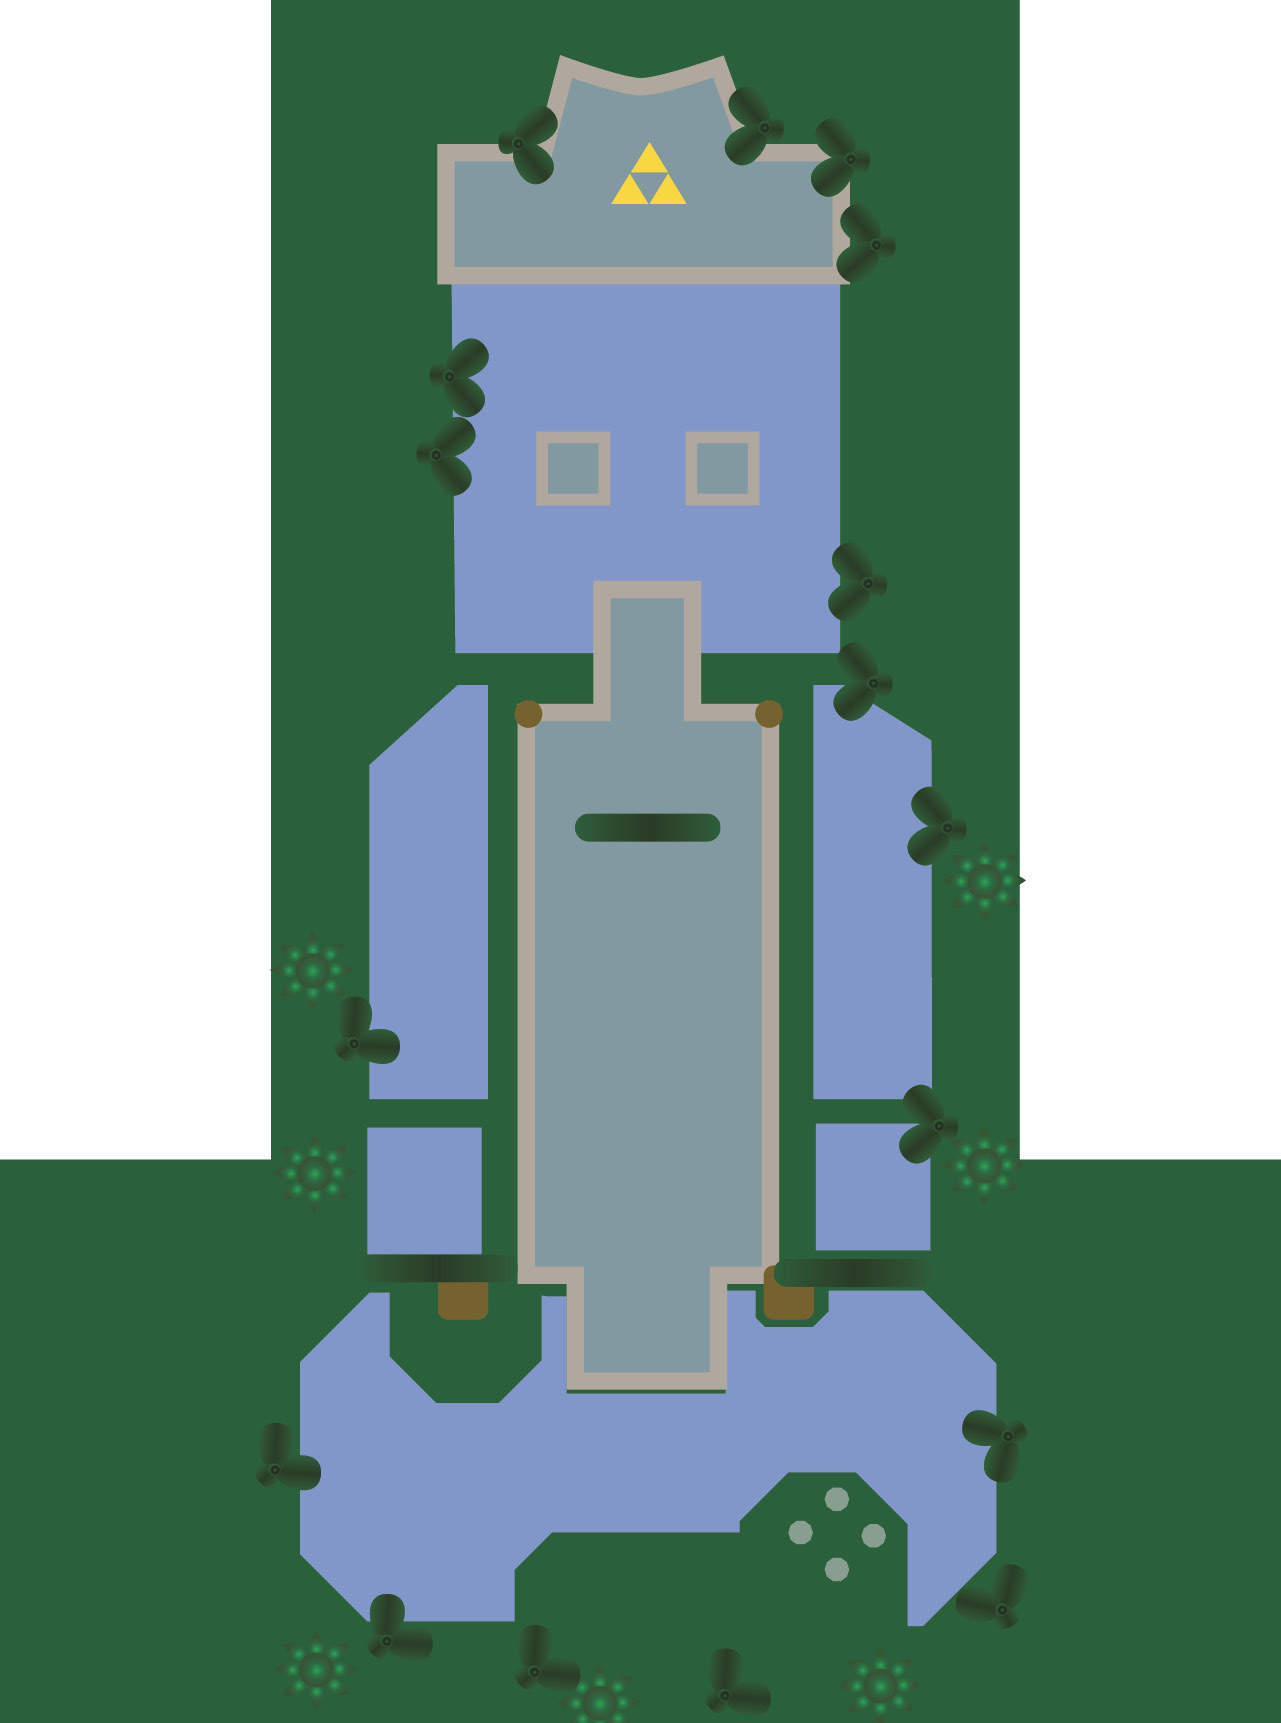
You’ll start this level at the base of a set of cliffs. Make a three-Link Totem and throw the top two Links onto the ledge to your right. You’ll find a Water Rod on this first ledge. Grab it and use it to get the Link on the lower level up to where your other two Links are.
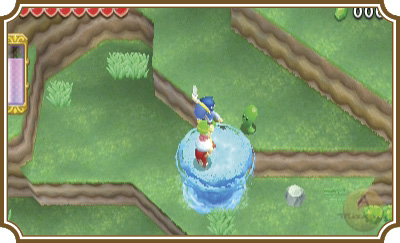
Make a three-Link Totem with the Water Rod Link at the top, then use that Link’s Water Rod to create a platform to the next cliff. On the north and south ends of the cliff you have moved to, you’ll find two more Water Rods. Grab them with your Sub-Weaponless Links, make a three-Link Totem, and use the Water Rod to scale the cliffs to your right. Just make sure to avoid the Blobs on your way up.
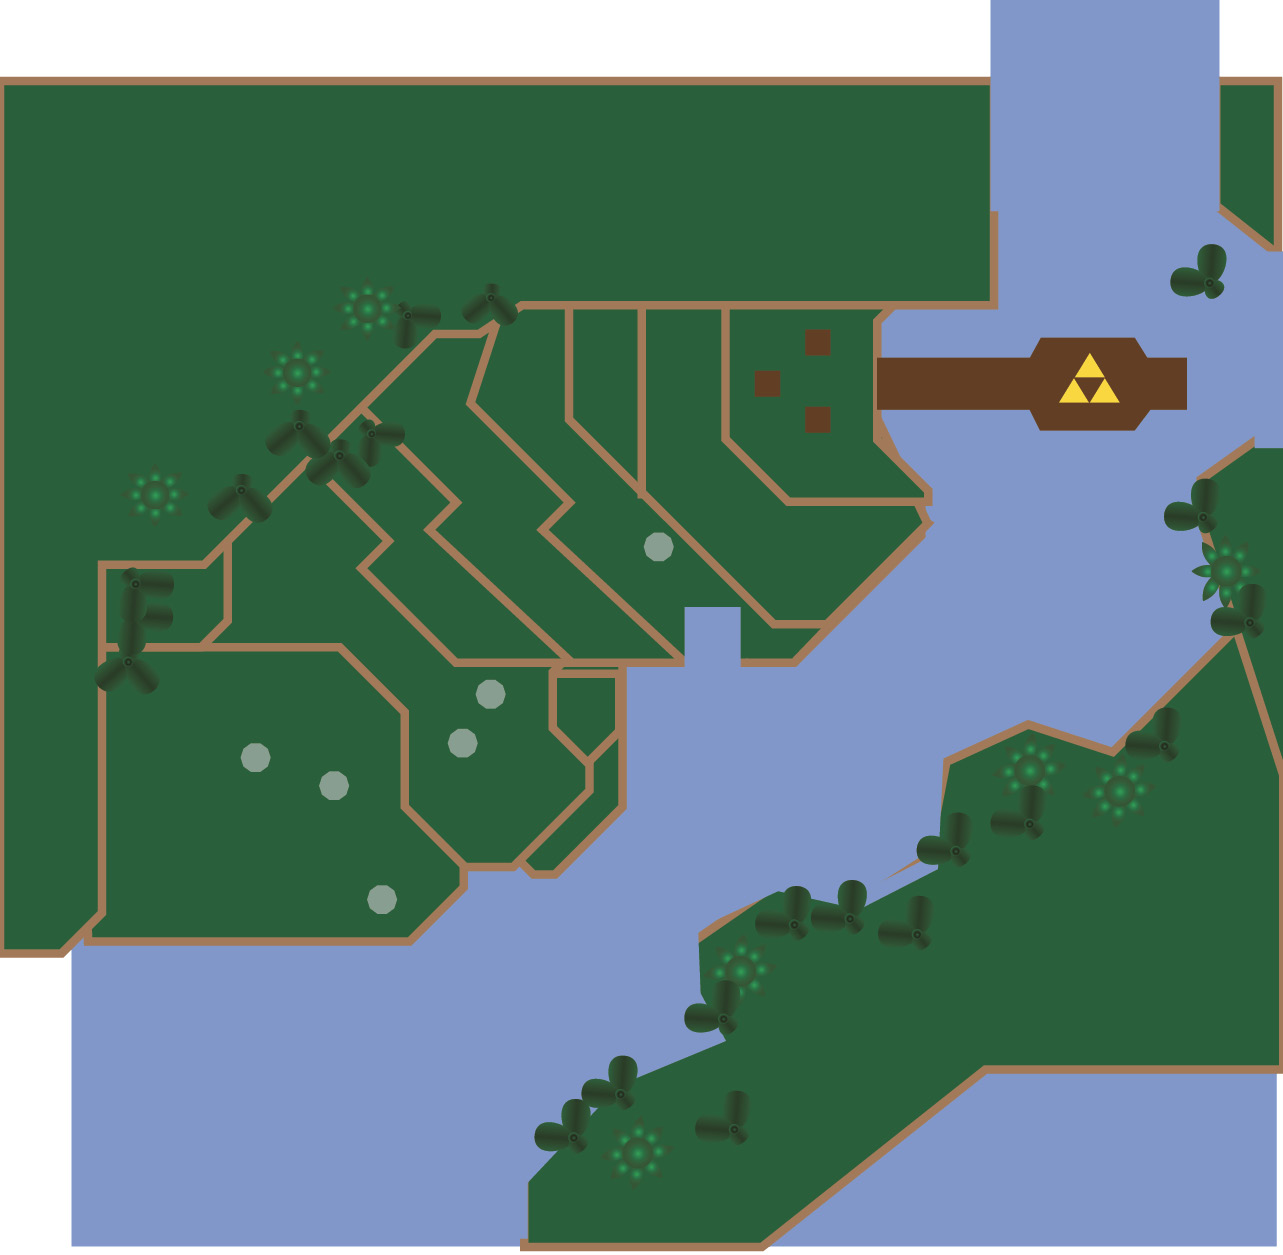
Once at the top of the cliff, you’ll find three short towers, each with a switch on top, and two of which have Spear Throwing Moblins on top. Use the Water Rod with each Link and position them on each of the three switches. This will cause a bridge to extend from the east, giving you access to the Triforce gateway.
Room 2
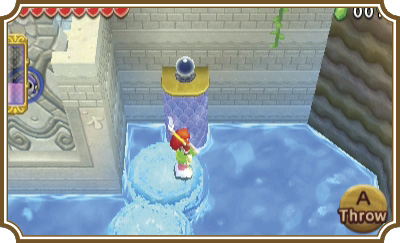
There are two orb switches, one on the left and one on the right side of the gate, just north of your starting position. To reach them, grab a Link to make a two-Link Totem, then use the Water Rod to create a bridge of water pillars to the orb switch on the right. Throw the top Link onto the platform the orb switch is on, then swim back to the shore you started on. These switches aren’t timed, so you can have Link standing next to the right switch and hit it at any time.
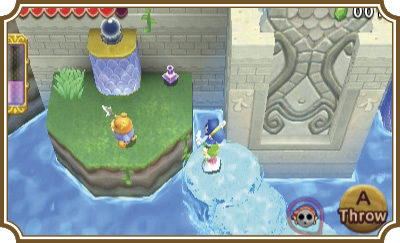
Now make a two-Link Totem with the remaining Link and use the Water Rod to create a bridge of water pillars leading to the left side of the gate. There’s a Moblin patrolling the plateau the orb switch is on, so take care not to get knocked back into the water by it. Once the coast is clear, create a water pillar just below the orb switch and then throw the top Link onto the switch’s platform. Have that Link hit his switch and the gate will open for you.
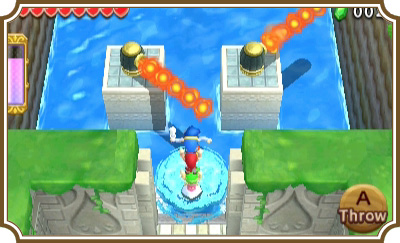
Things get a little tricky in this room. There are three switches for the three Links. All three Links must stand on their switches at the same time to activate them. Problem is, there are flame rods covering two of them. In order to keep the fire at bay momentarily, you need to create a water pillar in front of the flame rod’s source. This will buy you a few seconds to stand on the switch. If you’re playing single-player, you can create a water pillar to stop the fire, position your Link on the switch, and then switch Links. Doppels can’t take damage unless they fall off of a cliff, so you don’t have to worry about them taking damage while they keep the switch pressed.
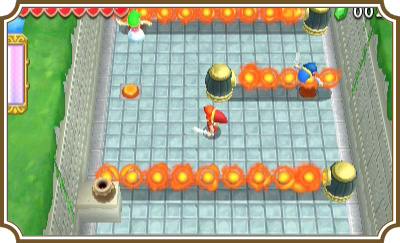
If you’re playing multiplayer, you’ll need to coordinate with your teammates in order to hit the two switches under the flame rods. Count down from three, have two of the Links create water pillars in front of the flame rods, and then step on the switches while the third Link stands on the safe switch. If you time it right you’ll open the northern gate leading out of this room.
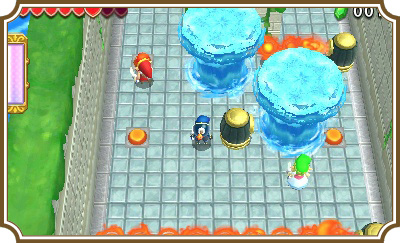
Two more flame rods will try to impede your quest in this next area. To make matters worse, they spin in a circle. Don’t worry, however—these ones can be easily thwarted. Wait for the flame rod on the left to pass you, then quickly create a water pillar to the plateau on the north end of the room. You’ll want to have one Link pass at a time if you’re playing single-player. The timing here is very tight and you’ll likely need to jump into the water, wait for the flame rod to pass, and then hop back on your water pillar.
You’ll find another Squiddy and the Triforce gateway out of this room on the other end of this room.
Room 3
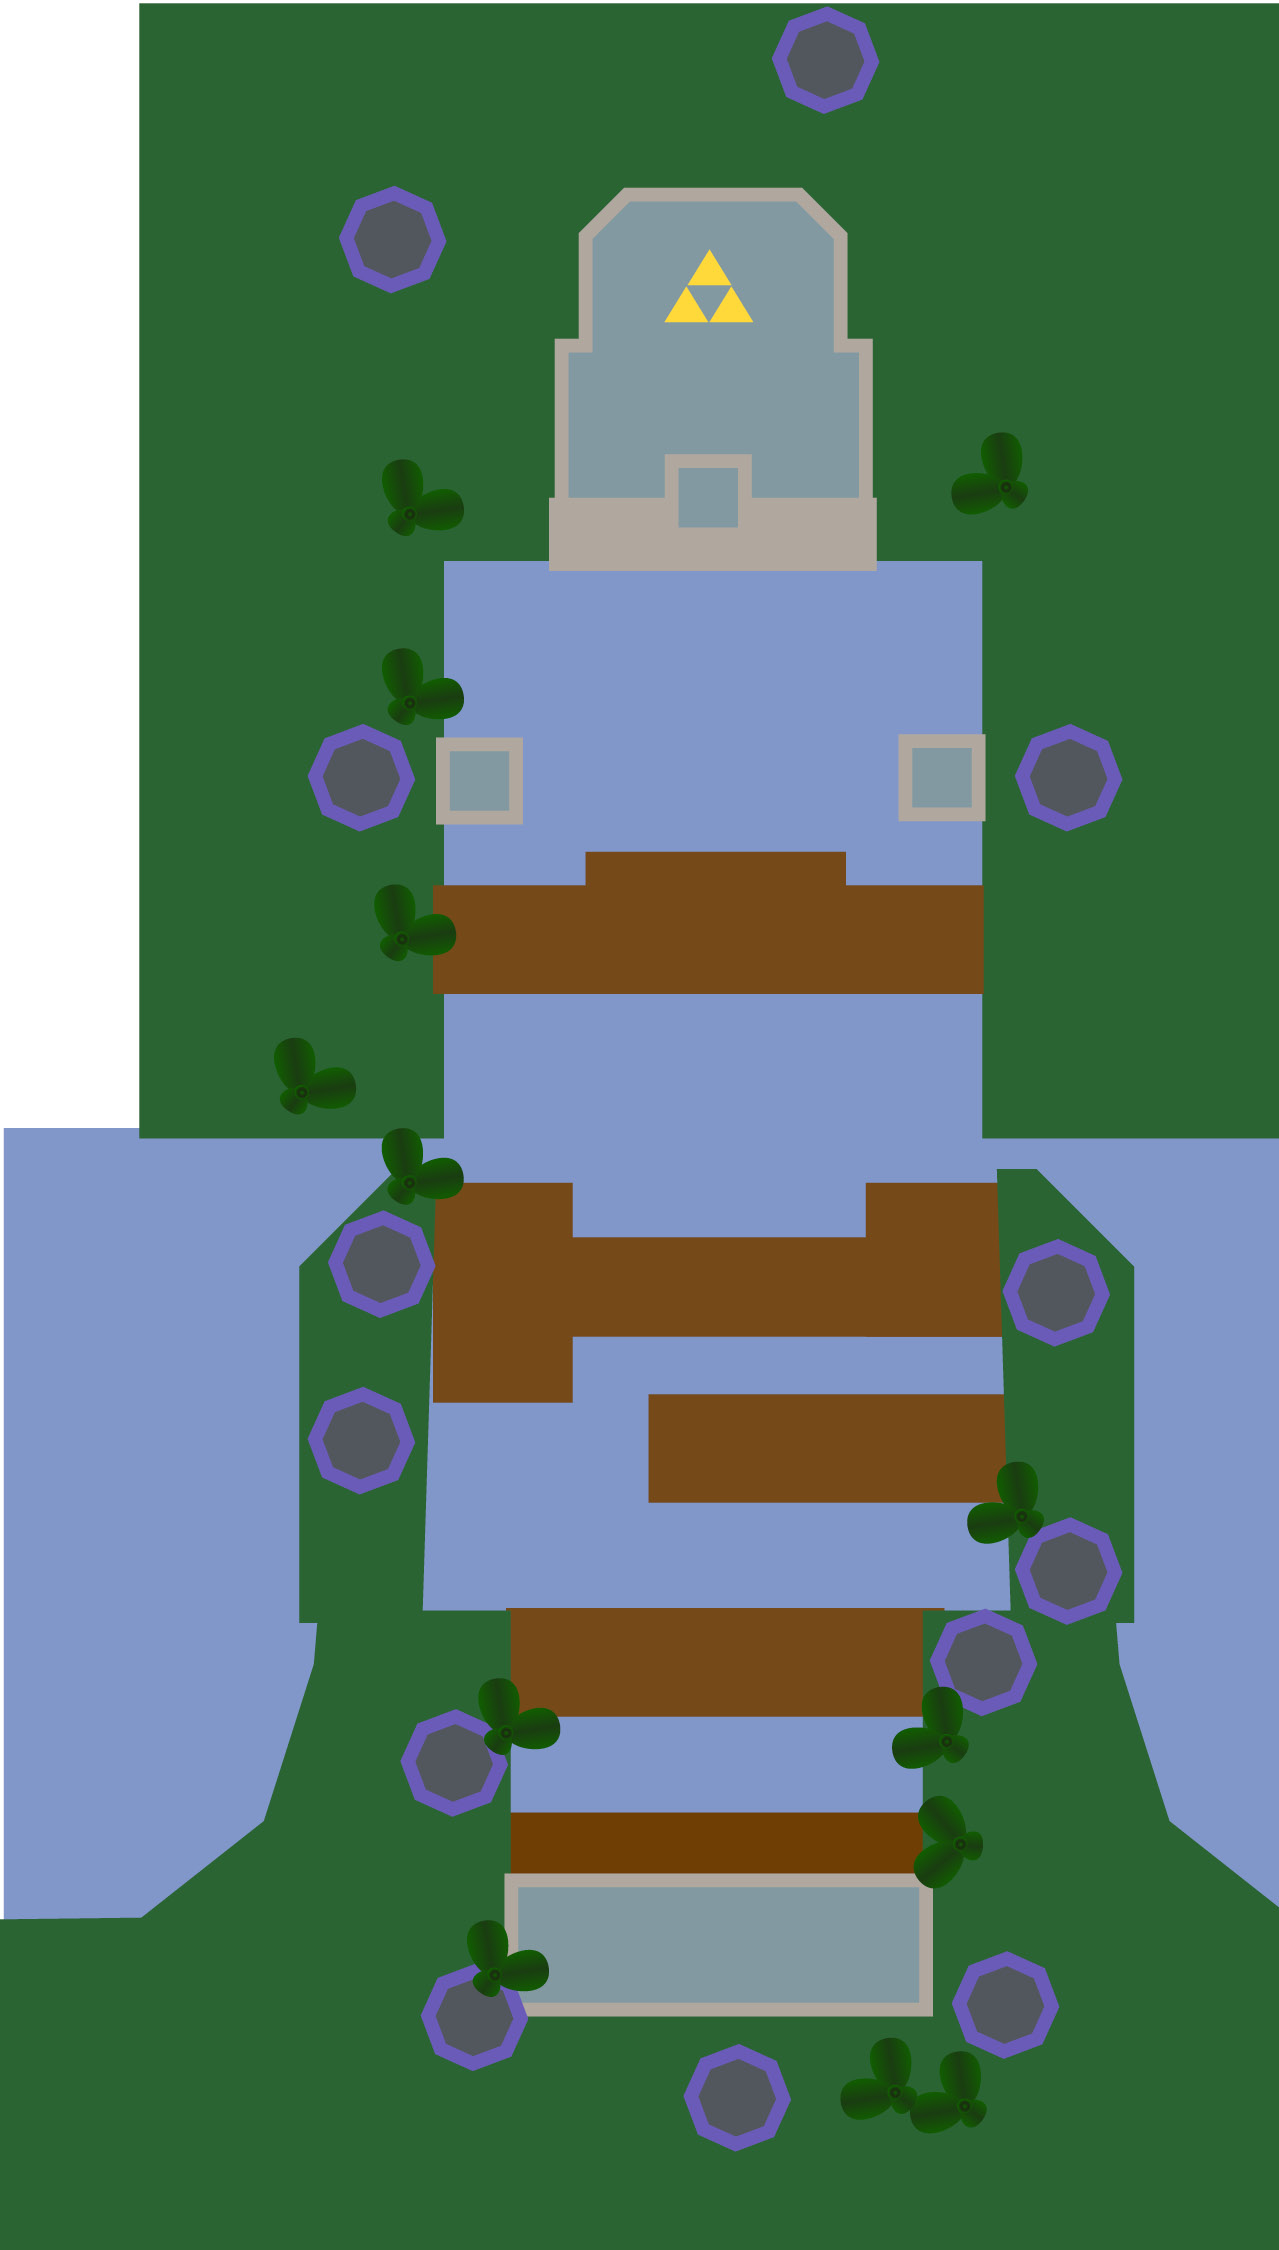
The first half of this room simply requires you to create water pillars to reach the grated platforms sitting above the river. Spear Throwing Moblins will try and knock you into the water every chance they get, so take care to defeat them as quickly as possible while you make your way north.
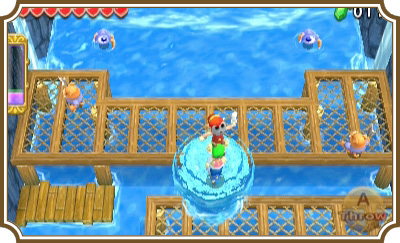
After crossing three of the grated platforms, you’ll come to a waterfall and some Tektites. The Tektites are easily defeated or ignored, depending on how determined they are to get to you. Create a water bridge north to the wood platform above the waterfall. This is where things get tricky.
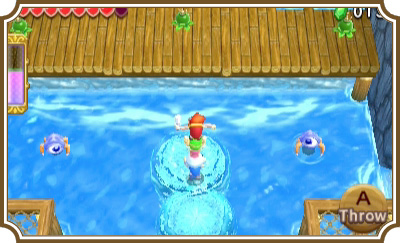
A gate is blocking your path on the north end of this area and you’ll need to open it to progress. To do that you’ll need to hit the orb switches on the left and right sides of the room. These aren’t timed switches, so you don’t have to worry about rushing. Simply create a water pillar, grab a Bomb from the Bomb Plant, hop onto your water pillar, and throw the Bomb next to the orbs. You don’t need to create a water pillar to get the Bombs up next to the orbs, but it definitely makes it easier.
Once you’ve done that, the gate will open. Unfortunately, this is where things get tough. Two giant cracked blocks impede the way to the Triforce gateway and you need to destroy them with the Bombs on the wood platform you’re standing on. Before you attempt this, create a water bridge to the northeast and northwest corners of the room to defeat the pesky Crows circling the area. (They’ll gladly make this area more difficult for you than it needs to be.)
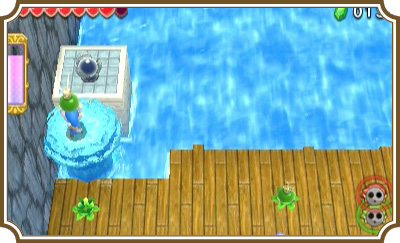
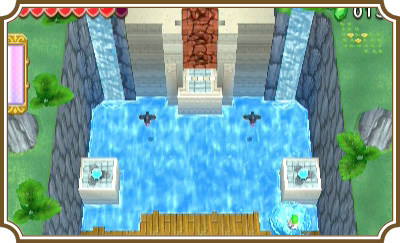
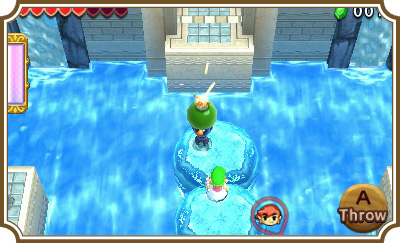
This is the reason we suggested the Big Bomb Outfit: This puzzle is very challenging in single-player and requires some excellent teamwork in multiplayer. In order to reach the cracked blocks in single-player, create a water pillar as close to the cracked blocks as possible while still being able to reach it with a Bomb. Your job is to create two platforms, grab a Bomb, get on top of the second platform, and then throw the Bomb at the cracked blocks. If you don’t have the Big Bomb Outfit, you’ll likely have to throw two Bombs up near the cracked blocks.
The timing is very tight, so you need to be as quick as possible.
Things work a bit differently in multiplayer. You’ll need to have one Link pick up a Bomb, while another Link creates a water bridge to the cracked blocks. This is much easier than the single-player method, but it requires accuracy and speed with the Water Rod to avoid having the Bomb blow up in your teammate’s hands.
When you succeed, have all the Links create water pillars and make their way to the platform where the cracked blocks were. Make a three-Link Totem, then create a water pillar and use the Triforce gateway to exit the room. If you don’t succeed, try again. It’s challenging, but you’ll definitely get it if you keep trying!
Room 4
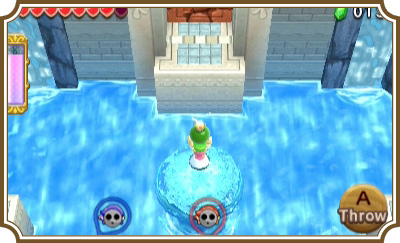
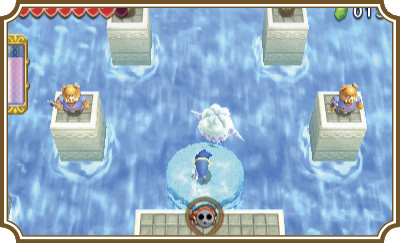
The last room of this level requires you to defeat all the enemies in it to reveal the Triforce gateway. There are several Spear Throwing Moblins standing on isolated platforms and a couple of new enemies called Keeleons. These flying pests will likely cause you more trouble than the Moblins could ever hope to, so taking them out should be your priority. They’ll fly above your reach and spit Bombs at you. You can take them out in a handful of ways, one of which is to use the Water Rod on the platform you’re standing on and hop on it to reach the same height as the Keeleon. This allows you to hit them directly with your sword. You also can make a three-Link Totem to reach them. Finally, you can pick up their Bombs, wait until the Bombs are flashing (signaling that they are about to explode), and then throw them toward the Keeleon. If you’re wearing the Big Bomb Outfit, you’ll take the Keeleon out with ease, but you’ll need to make sure you’re far away from the explosion to avoid taking damage.
Once you’ve defeated all the enemies in the area, a platform with the Triforce gateway will rise in the center of the room, meaning you completed this level!