
The Legend of Zelda: Tri Force Heroes Guide Clothing Quest World 3: Volcano
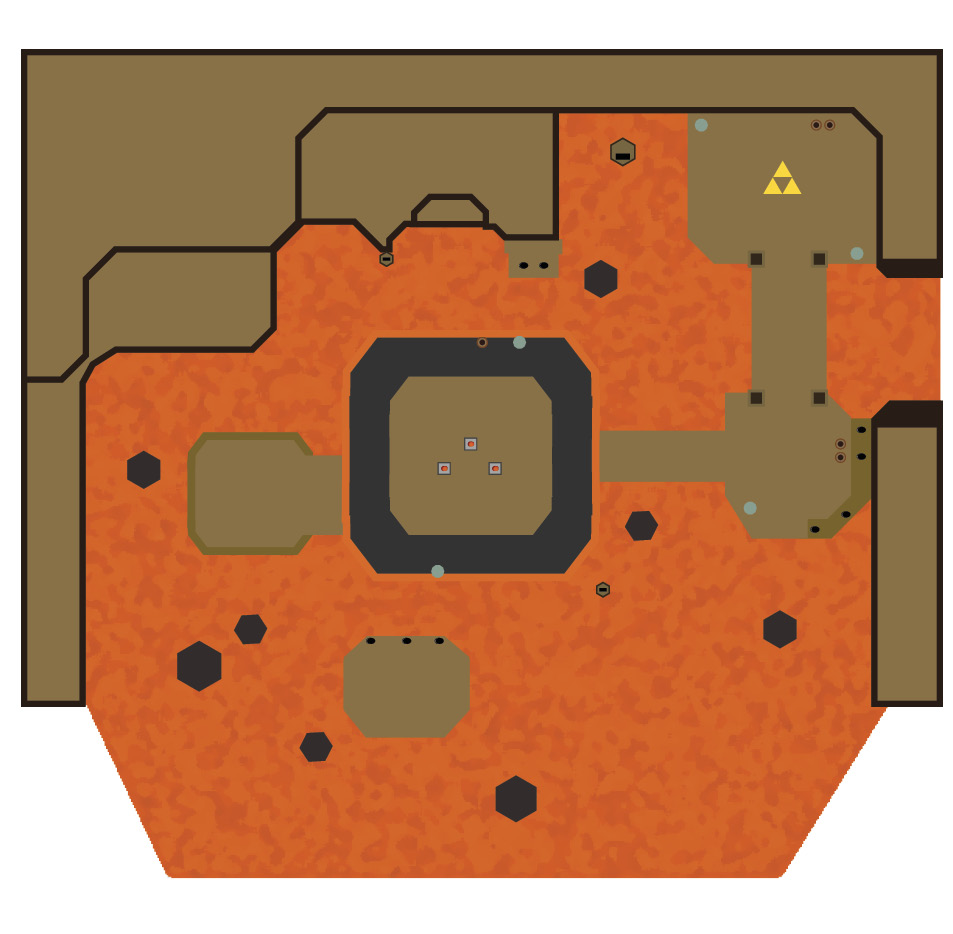
Level 3: Den of Flames
ChallengesFewer Heart Containers Avoid the volcanic rocks Clear within the time limit Sub-Weapons
Materials
Recommended Outfits |



You’ll get to use a new Sub-Weapon called a Gust Jar for this level. This Sub-Weapon sends out blasts of wind that can be used to propel your friends across gaps, push swinging platforms, or put out fires.
The Goron Garb is incredibly helpful on this stage. There is plenty of fire, lava, fire enemies, and flame rods to more than justify the Goron Garb’s usage. If you don’t have it, we suggest you use the Legendary Dress to keep your health up—you’ll need it.
Room 1
You’ll find two Gust Jars and a Boomerang to your right as you start this level. It doesn’t matter who grabs what. (But if you’re playing multiplayer, you should probably grab the Gust Jar before your friends do—it’s a real good time.)
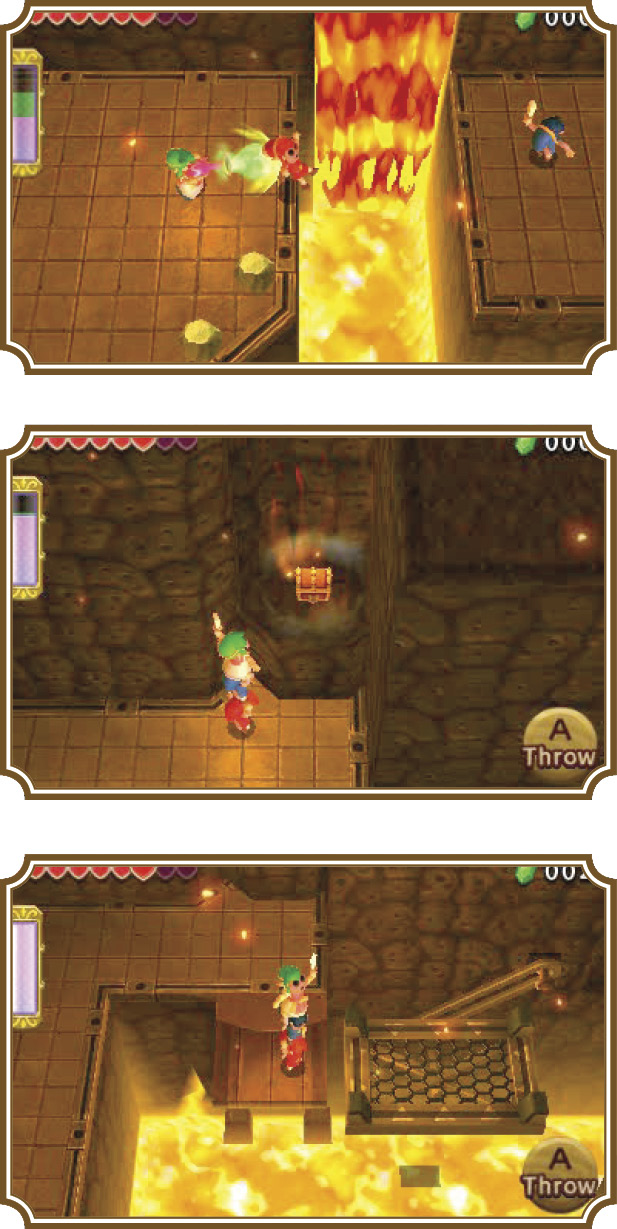
Have all three Links head to the right end of the platform, then use the Gust Jar to blow two of the Links over to the other side of the gap. Have the Boomerang Link grab the lone Link from the left side of the gap, then follow the path to the right.
Near the end of the path, you’ll find a treasure chest engulfed in flames. Make a three-Link Totem with the Gust Jar Link on top, then use the Gust Jar to put out the flames.
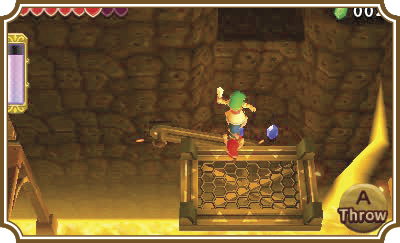
Just south of that is a steel platform. A swinging platform will reach that steel platform, then swing back the other way. Naturally, wait for the platform to swing to your side, then walk all of your Links onto it.
You can use the Gust Jar to cause the swinging platform to swing higher and faster. Just point the Gust Jar in the opposite direction from where the swing is swinging, then fire. This will allow you to reach extra Rupees and treasure chests.
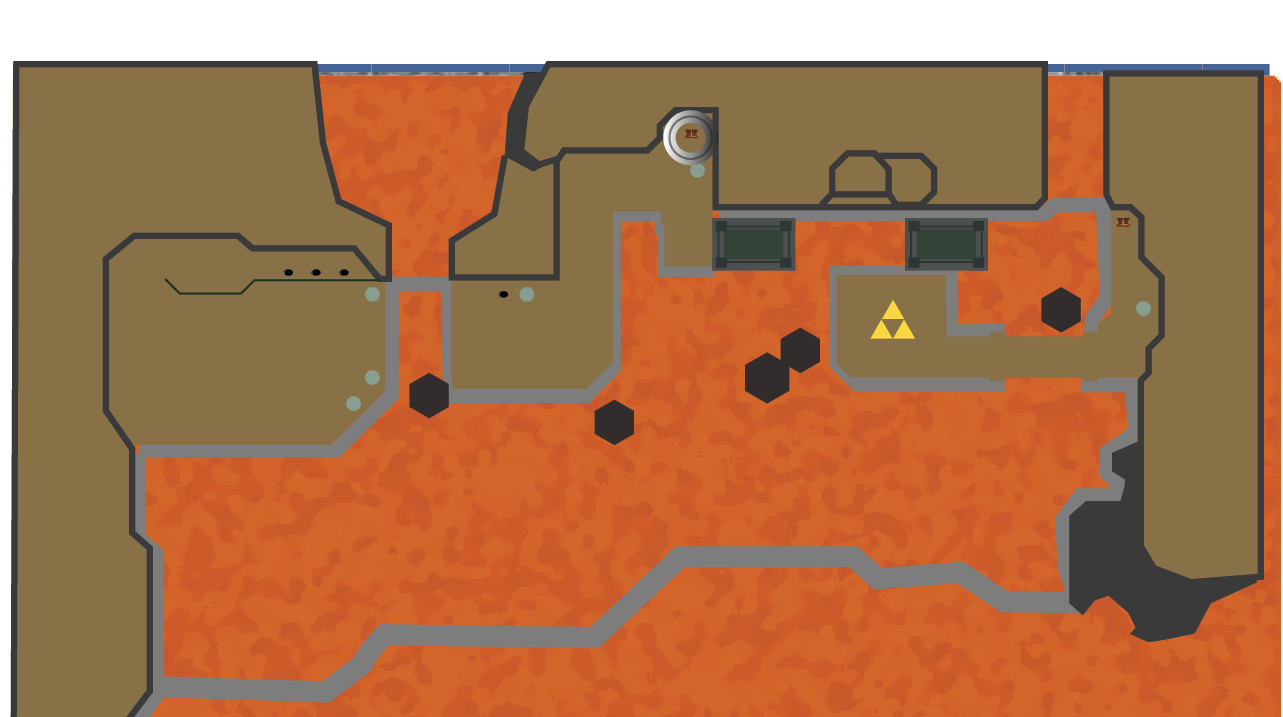
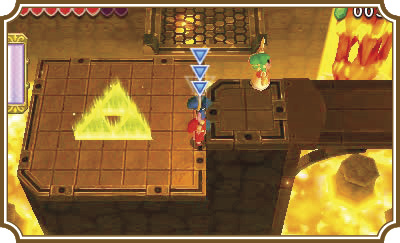
Get off of the swing when it swings to the platform the Triforce gateway is on. Before you step onto the Triforce gateway, however, you can make a three-Link Totem and throw the top Link on top of the platform on the bottom right corner of the Triforce platform. Make sure the Link you throw up is a Gust Jar Link. You can find a few treasures up here that make the trip worth the effort.
Room 2
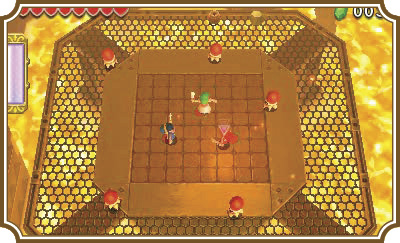
This is another combat room, but this time you’ll be facing flaming, red Hardhat Beetles. Like Fire Keese, if you hit these enemies with your sword, you’ll catch fire and begin racing around the room like, well, someone on fire. Instead, you can use your Gust Jar to blow out the Hardhat Beetles’ flames to make them normal ol’ Hardhat Beetles. You can also use the Gust Jar to blow the Beetles off the edge of the platform if you want to take them out quickly.
Once you take out the Hardhat Beetles, a bridge will extend to the right side of the platform you’re on. Head over the bridge and follow the path to reach the Triforce gateway.
Room 3
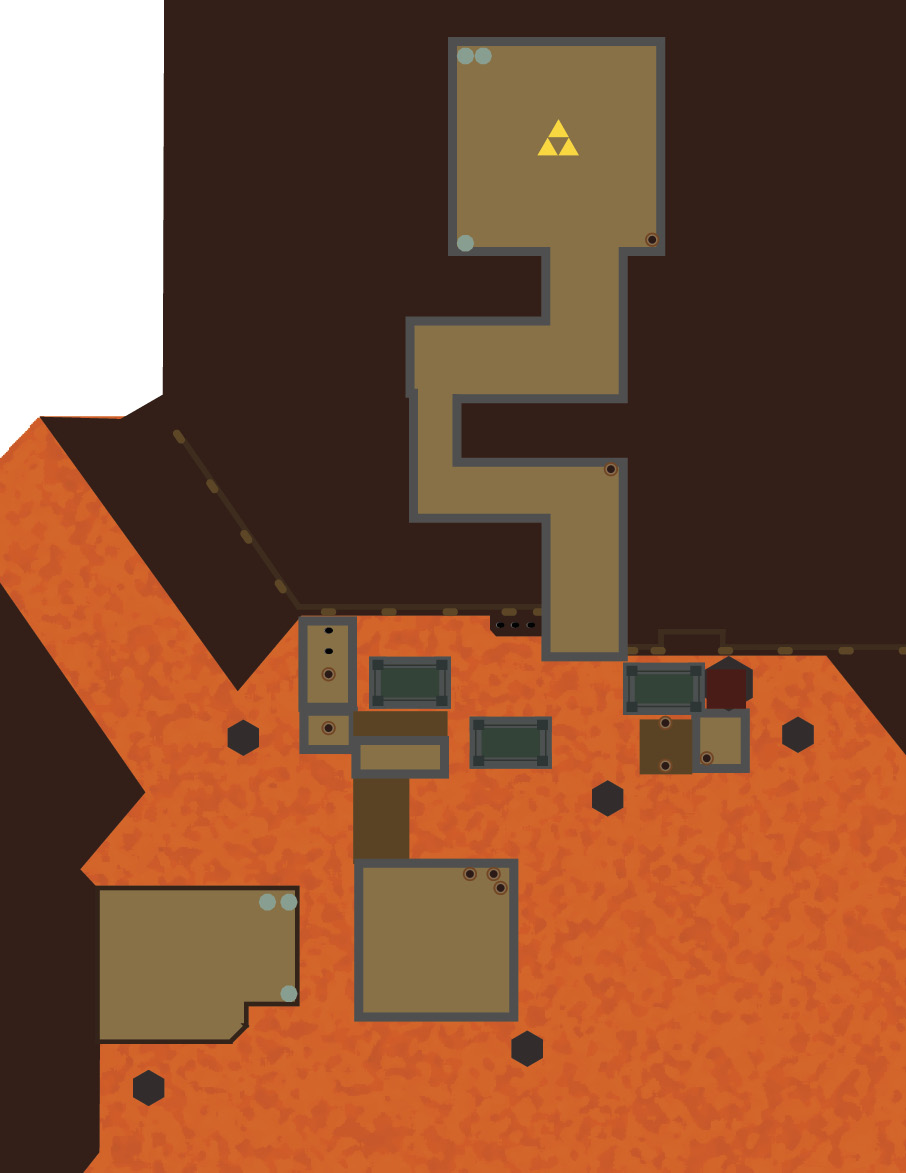
This area really benefits from the Goron Garb, as the room is loaded with flame rods. Approach the right side of the platform you started on and use the Gust Jar to blow two of the Links to the other side. If you don’t have the Goron Garb, you’ll need to time your shots in multiplayer to avoid launching your teammates directly into the flame rods. if you’re playing single-player, you don’t have to worry about it, since Doppels won’t take damage from the flames. Use the Boomerang Link to pull the lone Link over, then head north with all three Links.
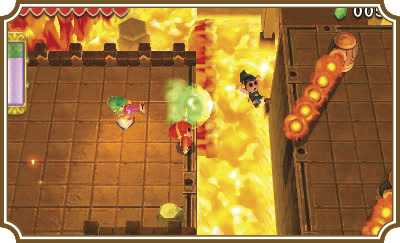
You’ll find another swinging platform here, which you can move faster and higher with the Gust Jar. If you want to reach the pots on the platform to your left, you’ll need to propel the swing higher with the Gust Jar, then move all three of your Links onto the platform. Make a two-Link Totem and throw the top Link onto the platform the highest pot is sitting on.
Get back on the swing and wait for it to swing to all the way to the right. A second swing is supposed to meet your swing in the middle, but the timing is off, as is your swing’s height. You can use the Gust Jar to delay the swing from swinging back to the left and push it higher.
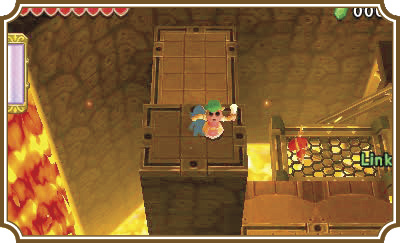
Once you’re on the second swing, ride it until it takes you to the platform on your right. Step on the brown lava rock slab just above and wait for the lava fountain to launch the platform up. Another swinging platform will swing near the brown slab of lava rock you’re currently on. When it reaches the lava rock slab, transfer onto the swing.
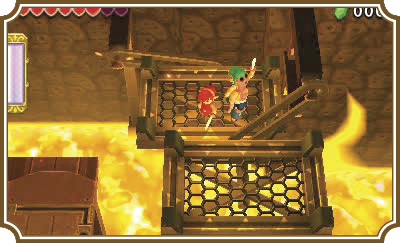
Use the Gust Jar to push the swing higher, then get off when it reaches the platform at the end of its path. Follow this path north, defeat the red Hardhat Beetles, and then continue on. There are three flame rods on this path, all moving at different speeds. If you have Goron Garb, this section will be no problem. If you don’t, you’re going to need to wait for an opening to get past the first two rods without getting hit.
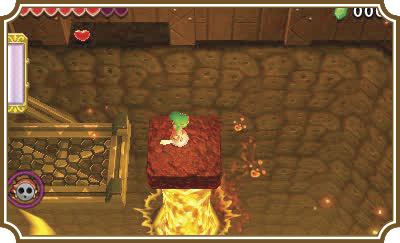
At the end of this path is a Triforce gateway and a Squiddy. Smash that Squiddy into delicious jelly, Rupees, and Hearts, then move on to the next room.
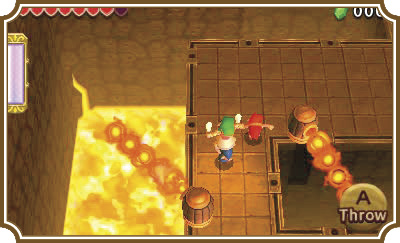
Room 4
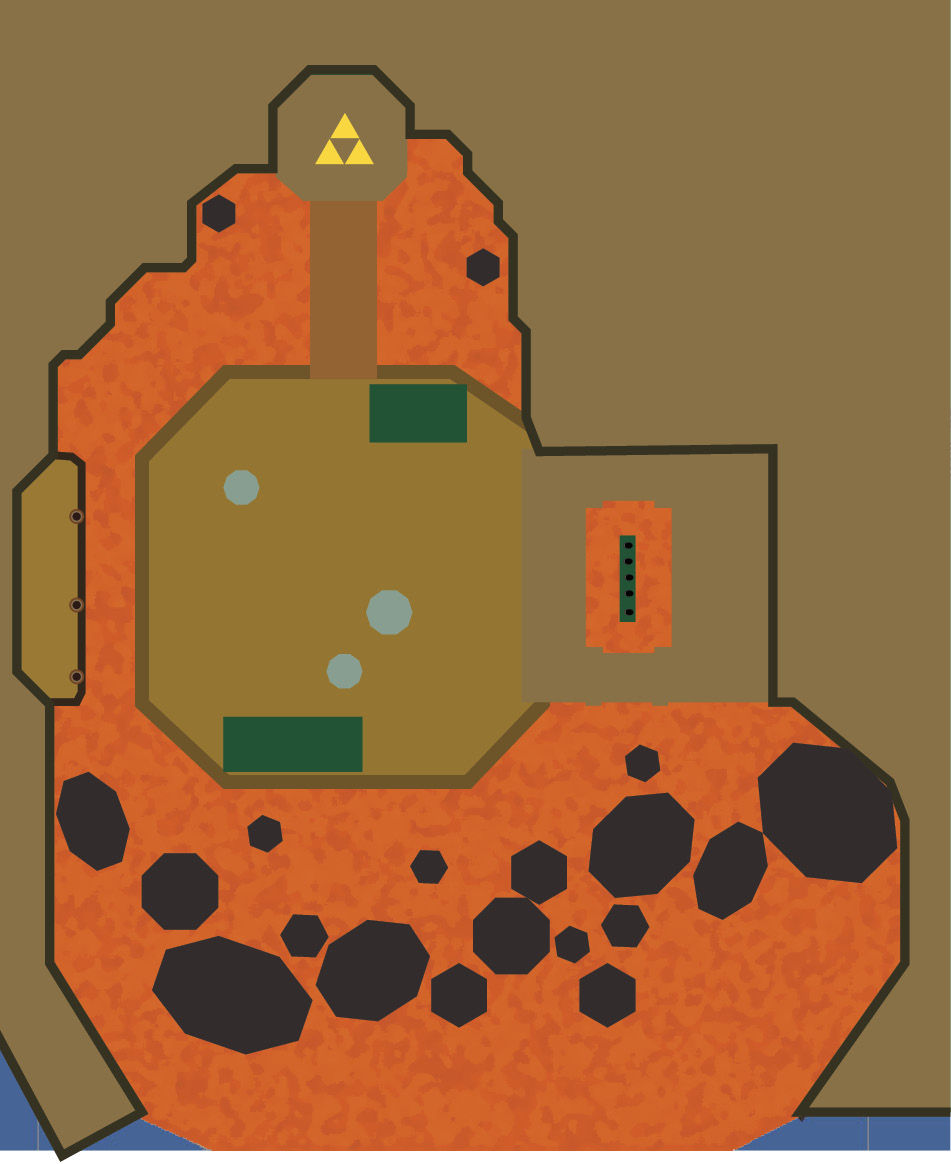
In order to complete this room, you’ll need to defeat all of the enemies in it. You’ll have to deal with red Hardhat Beetles and Fire Keeleons. Fire Keeleons are nearly identical to their Bomb-spewing counterparts, but instead of Bombs, they shoot arcing fireballs, and they themselves are also on fire. To reach them, you’ll need to make a three-Link Totem with a Gust Jar Link on top, and then use the Gust Jar to put out their fire. Once the fire is gone, swing away!
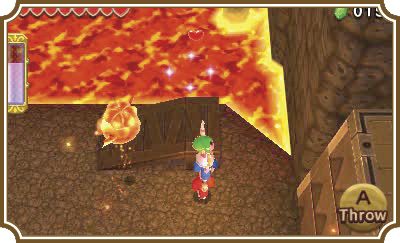
Once you clear out the first wave of Fire Keeleons, two more appear, as do four red Hardhat Beetles. Defeat them and a staircase will rise in the north part of the room, giving you access to the Triforce gateway.