The Legend of Zelda: Tri Force Heroes Guide Clothing Quest World 3: Volcano
Level 4: Fire Temple
ChallengesClear within the time limit Evade the Wallmaster Only Bombs—no swords Sub-Weapons
Materials
Recommended Outfits |




This level is significantly easier to tackle with the Goron Garb. If all three players in multiplayer have it, then you should absolutely use it. There is a lot of fire and lava to contend with here, and wearing the Goron Garb will make it almost funny. If you don’t have the Goron Garb, use the Big Bomb Outfit. If you don’t have that, the Kokiri Clothes will work for a few puzzles. But Goron Garb is definitely what you want to go for during this level.
Room 1
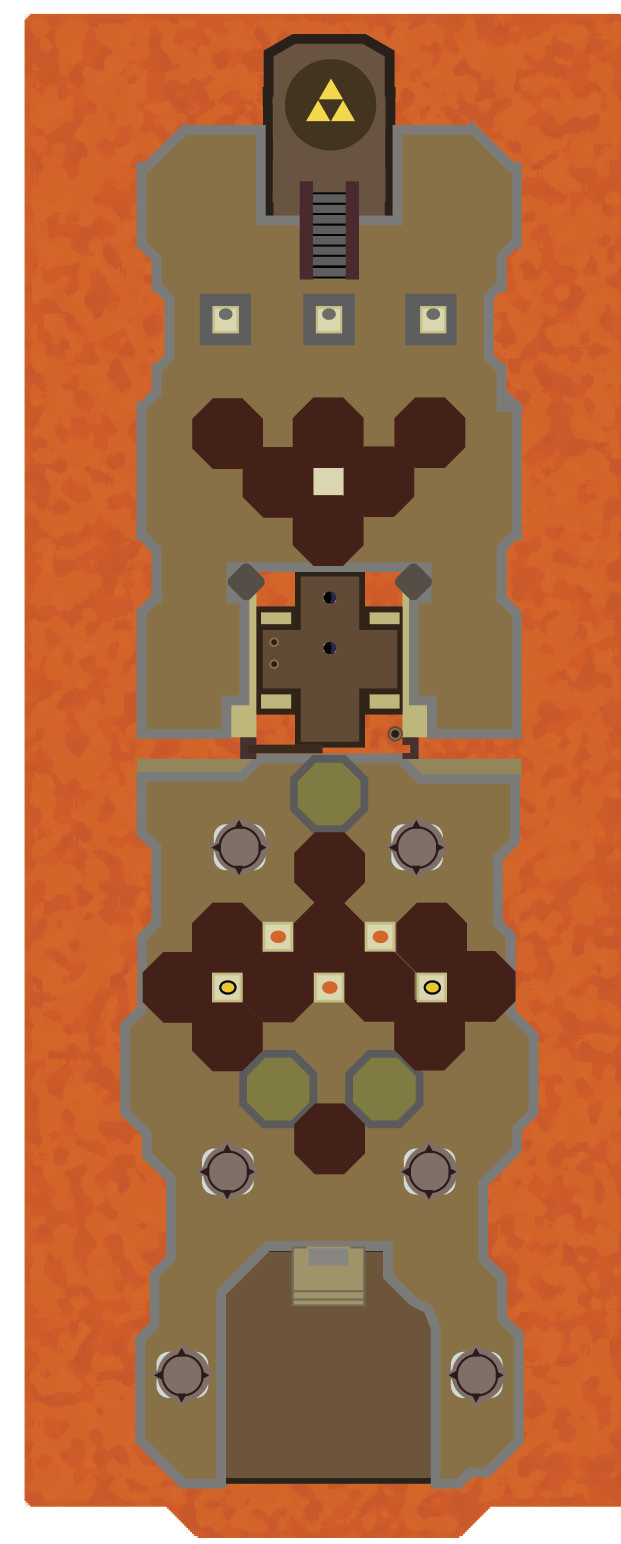
You’ll start with the Sub-Weapons ahead of you: a Bow, a Boomerang, and a Gust Jar are at your disposal. Any Link can pick any item, but if you have Kokiri Clothes on a Link, make sure to have that Link grab the Bow. The Big Bomb Outfit would work well with the Boomerang in this level too, but it’s not necessary.
To cross the gap on the north side of your starting platform you’ll need to use the Gust Jar. Line up the Links without the Gust Jar on the gray steel strip on the north side of the platform, then use the Gust Jar to blast them over to the other side. If you’re playing single-player, you’ll want to do this with one Link at a time. Once a Link has crossed the gap, switch to him immediately and then move him off of the dark brown lava rock slabs and onto stable ground. Then repeat this procedure with the second Link. Once two of the Links are on the other side of the lava, have the Boomerang Link come over and grab the Gust Jar Link.
Your Goron Garb will pay off in this section of the room. There are two flame rods spinning over two of three pressure switches. You’ll need to have all three switches pressed at the same time, which can be a little difficult with the flame rods around.
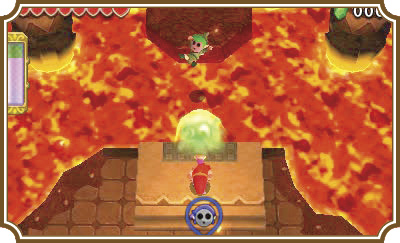
If you have the Goron Garb, however, the flames will just pass right through you without issue. Just stand on the switches at the same time and POW! No problems. If you don’t have the Goron Garb and you’re playing single-player, just throw your Doppels on the switches the flame rods swing over. They won’t take damage unless they are under your control.
If you’re playing multiplayer, you’ll need to coordinate with your teammates to hit the switches at the right time.
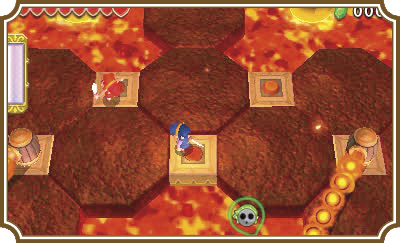
When all three switches are pressed, a gate will open just north of your position. Head north and deal with the two Hardhat Beetles. This next section is pretty challenging for single-player. At the ends of the brown lava rock slabs are three orb switches. You’ll need to hit all three within roughly five seconds. If you’re in multiplayer, you can just have you and your two friends each hit a switch with your Sub-Weapons. Single-player requires a bit more finesse.
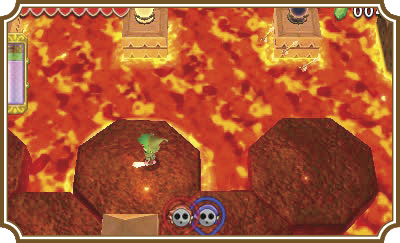
This puzzle is best solved by your Bow Link, while the other two Links stay on solid ground. You’ll need to be quick and accurate to hit all three switches in time, so don’t dawdle! Start by shooting either the left or right switch. Then immediately move to the middle switch and shoot it. Finally aim diagonally to the remaining switch and fire. This might take a few tries, but you’ll get it eventually.
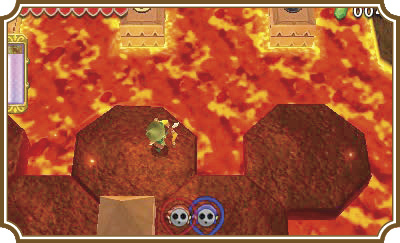
Once all three switches are hit, a staircase will appear, giving you access to the Triforce gateway.
Room 2
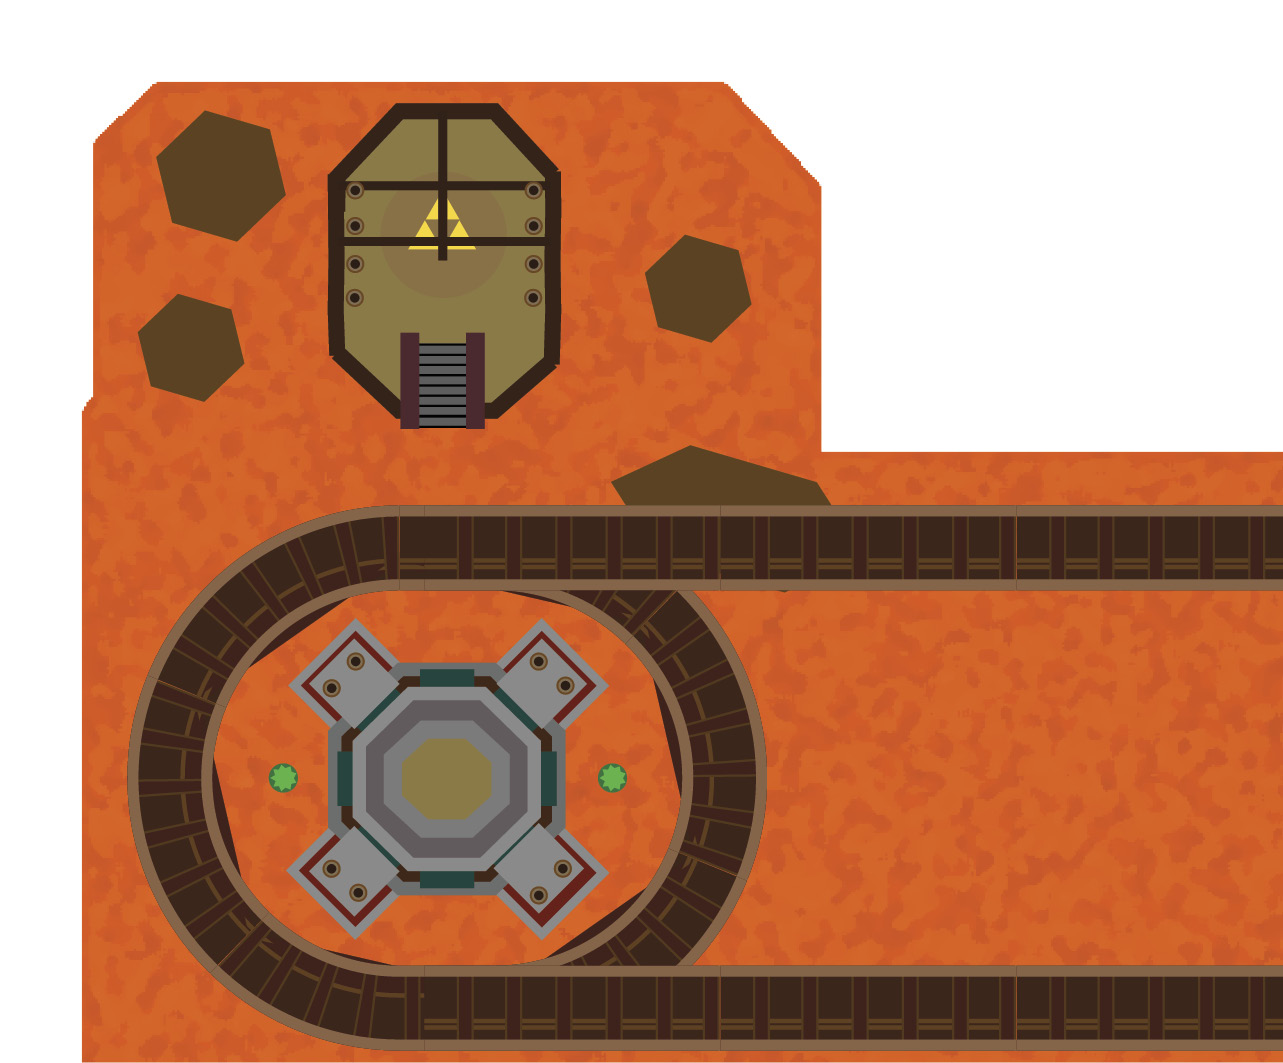
You’ll have to battle some minecart-riding Hinox again, but instead of battling them in a minecart, you have a large platform to roam around on. If you have a Big Bomb Outfit, this is the place where it comes in handy. If not, it’s okay; this is a much simpler fight since you’re not facing the true Hinox Brothers this time around.
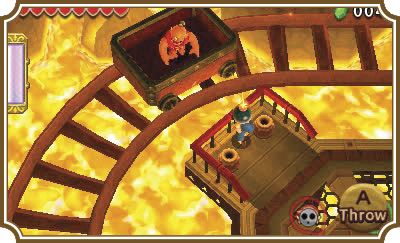
The fight will start in the same way it did last time. One Hinox throws Bombs, which will be followed up with two more Hinox to take the place of the first one. They’ll shower your platform with Bombs, but you just need to walk on any of the four corner platforms and throw the Bombs back as the Hinox drive by.
Once the Hinox are defeated, a staircase will appear on the north side of the platform. Climb the stairs to reach the Triforce gateway.
Room 3
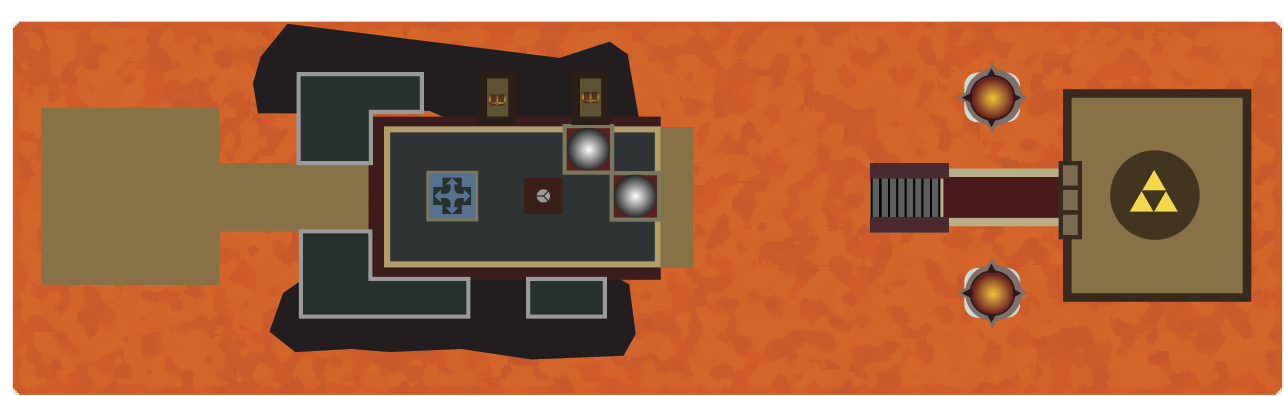
You’ll need to move a giant block onto grates that lava shoots through. Getting hit by the lava is pretty easy. With the Goron Garb you can actually stand on top of the lava if you wanted to and you wouldn’t take damage. It won’t help you much, but it’s definitely something you can do.
Head east and push the block off of the red-hot grate. You can position the block in front of the tower just northeast of the first grate, then throw two of your Links up onto the block to reach the treasure. Once you’re done, keep pushing the block east toward the next red-hot grate. Throw two Links on top of the box, wait for the lava fountain to lift the block, and then throw a Link onto the northern tower.
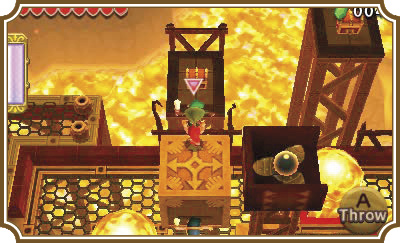
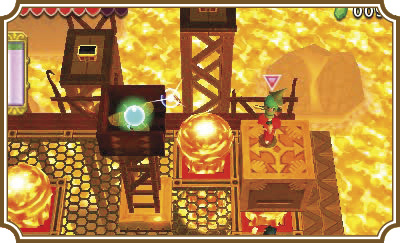
Move the block to the red-hot grate just south of where it currently is, throw your Bow Link on top of it, have him face west, and then shoot the the orb switch on top of the tower in the center of the platform.
This will lower a bridge from the east side of the room. Move over it and carefully defeat the Hardhat Beetles to reach the Triforce gateway and… Oh my! Is that…? It is! Another Squiddy! Take care of business, then move on to the next room.
Room 4
Boss Fight: Moldorm
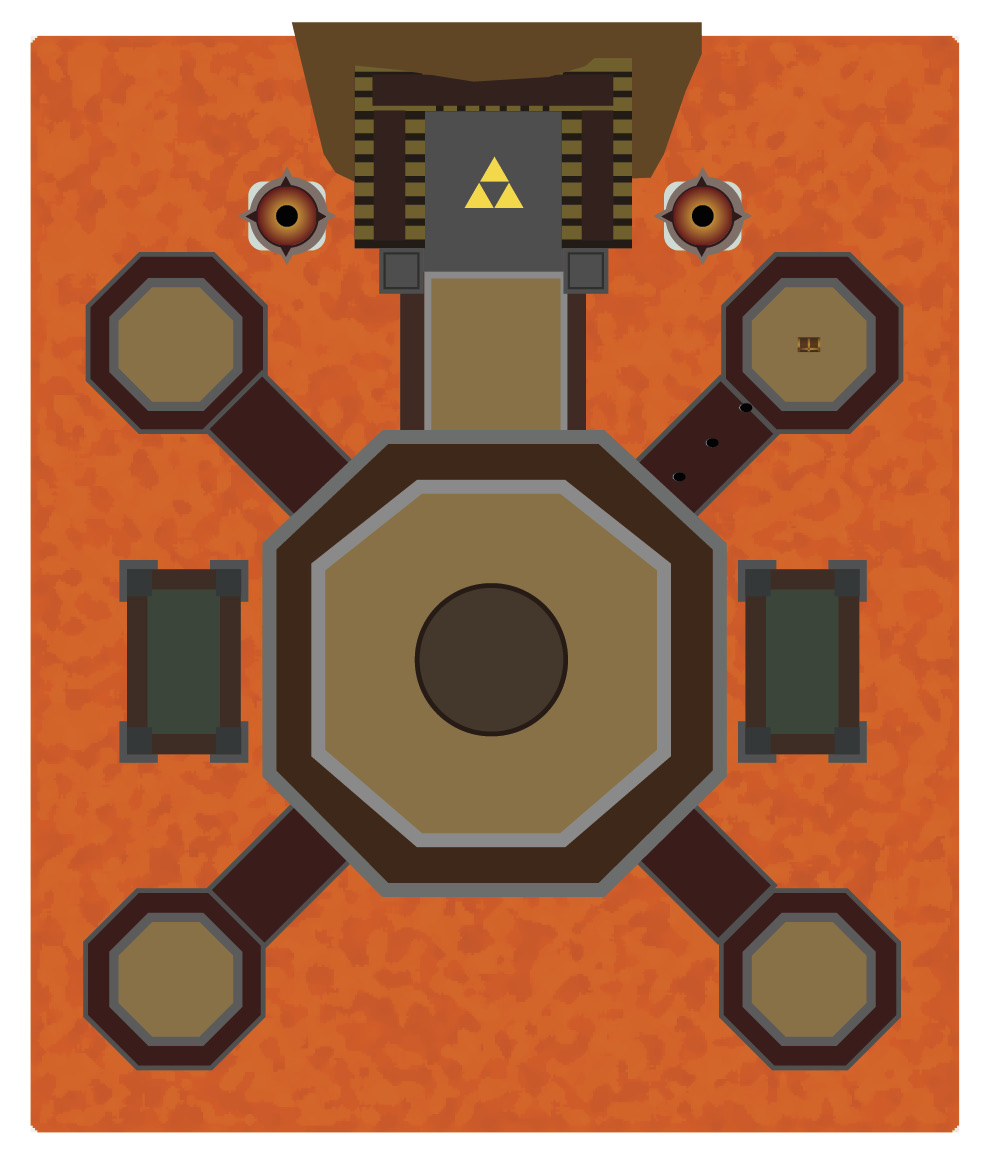
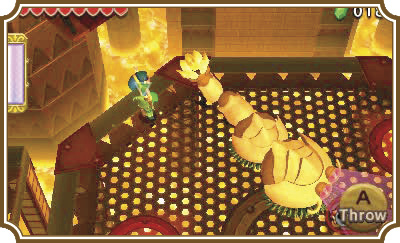
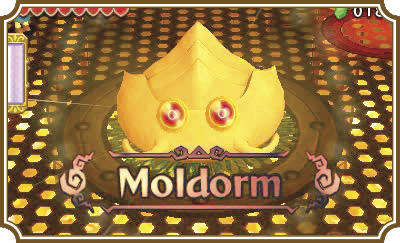
Each Link will start out on a different platform in this room. Move them all into the center and you’ll face the Volcano world’s boss and a Zelda staple, Moldorm.
This boss can be tricky if you don’t know what’s going on, but we’ll give you all the info you need to take it out with ease.
Moldorm will project light from its eyes in the color of the Link it’s going to attack. Then it will slowly make its way over there, leaving its backside exposed to the other Links. An orb on its tail marks its weak point, but its tail must be fully extended before the orb will appear.
If you’re playing single-player, put each Link on a corner of the platform and wait for Moldorm to try and attack. When you see Moldorm’s eyes change color, switch to a Link that isn’t targeted, and preferably the one positioned behind Moldorm. Then rush to its tail orb and strike. If the orb hasn’t appeared, stay near its tail and wait it out.

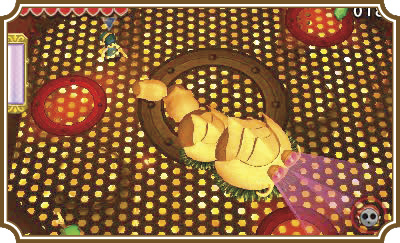
The best time to try and strike Moldorm is immediately after its eyes change color and its tail orb pops out. If you wait too long, Moldorm will reach your Doppel and change its focus to your currently controlled Link. If you’re not quick to hit Moldorm, it might even knock your Doppel into the lava below, dealing damage to you.
Hit Moldorm a few times and it’ll raise its tail orb off the ground. You’ll need a two-Link Totem to be able to reach the Moldorm, which limits how frequently you can attack it. If Moldorm’s eyes change to the color of one of your Links in the Totem, immediately switch to the lone Link and approach the Moldorm. As soon as it taps the Totem, it will go after your lone Link. Quickly move your lone Link back to the edge of the platform and switch to your Totem. Smack Moldorm’s tail and then repeat this process until Moldorm raises its tail again.
If you’re playing multiplayer, you’ll need to have the Link being chased keep the Moldorm busy while the other two Links make a Totem and attack the tail.
On Moldorm’s final phase, it’ll go completely nuts, bouncing around the platform erratically. Make a three-Link Totem, get behind it, and smack its tail one more time to finish it off.