
The Legend of Zelda: Tri Force Heroes Guide Clothing Quest World 8: Sky Realm
Level 2: Deception Castle
ChallengesClear within the time limit Don’t fall at all Don’t pop any balloons Sub-Weapons
Materials
Recommended Outfits |




This level is grueling. You’ll have to contend with more balancing platforms, but these are significantly tougher. That’s why we suggest you wear the Tingle Tights or the Legendary Dress. You’ll need all the Hearts you can get!
Room 1
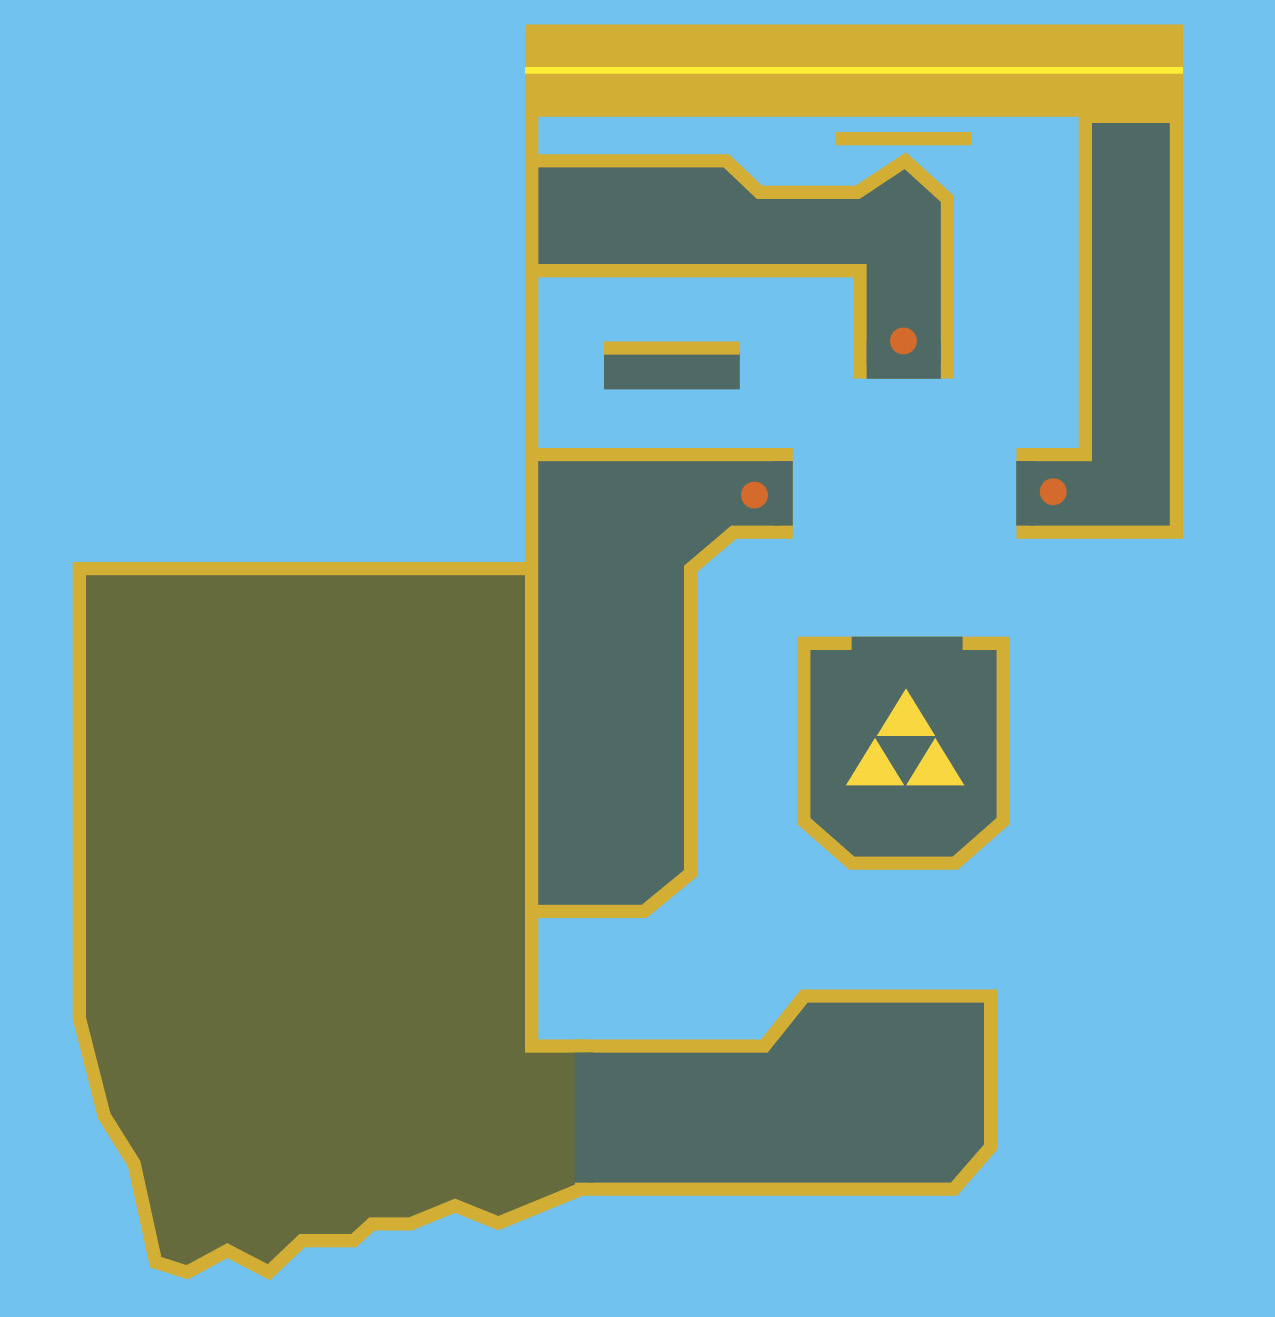
You’ll have to do some fighting with a couple of Totem Armos-riding Soldiers while standing in a giant wind tunnel. Yup, you read that correctly. Before you drop down, make a two-Link Totem—it’ll save you the hassle of trying to create one while in the wind tunnel. Now drop into the room on your left with your Totem and leave the other Link behind.
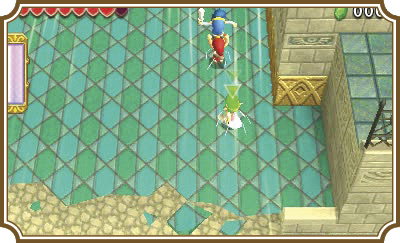
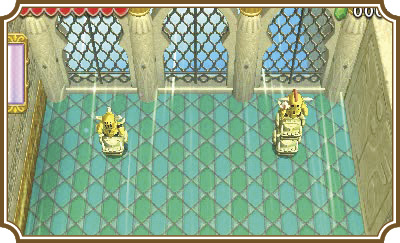
Immediately go for the shorter of the two Armos riders and defeat it swiftly. Now head to the top of the room, switch to your lone Link and have him race to the Totem Links and pick them up. Now attack the other Soldier to get the wind to stop blowing and to open a door on the upper-right corner of the room.
There are three pressure switches in this area, and all of them need a Link firmly planted on them. Have one of the two Gripshot Links shoot the fence ahead, then have the Gust Jar Link blast him to the pathway on the north side of the area.
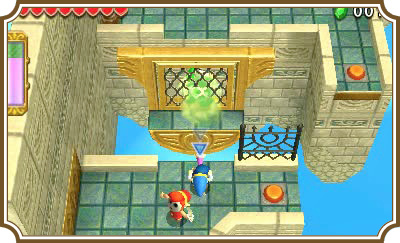
Repeat this process with the other Gripshot Link, then move the Gust Jar Link to stand on the pressure switch to his right. Make a two-Link Totem with the two Gripshot Links, then have the top Link Gripshot the moving fence north of you.
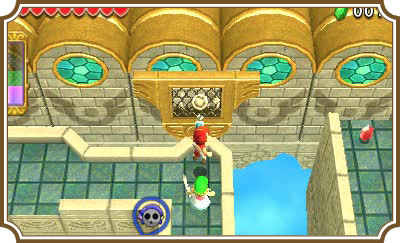
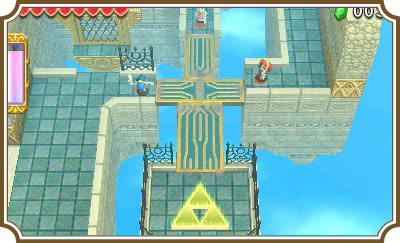
Next, drop that Gripshot Link off of the fence onto the landing to the right and move all three Links to stand on their respective pressure switches. Platforms will bridge the gaps between all three Links and give you access to the Triforce gateway.
Room 2

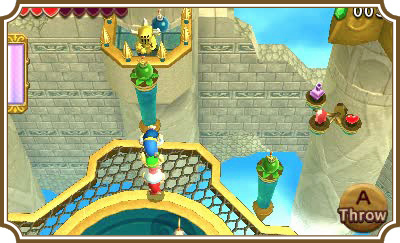
Head to the right, jump on the wind turbine, and float your way to the spinning platform ahead. Once all three Links are on the platform, three Soldiers will appear in the balconies on the north, east, and west sides of the room, while a Vulture flies around in the spinning platform in the center of the room.
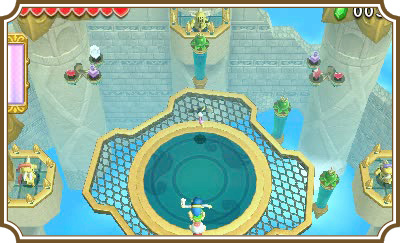
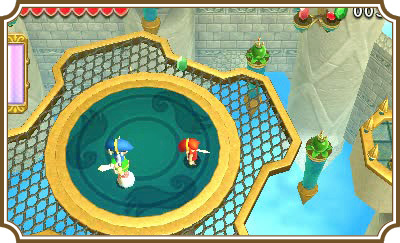
You’ll need to use the Bomb Flowers lining the room and get their Bombs onto each Soldier’s balcony. Your best bet is to focus on one Soldier at a time. Save the Soldier on the north side of the room for last and focus on the east and west Soldiers first.
If you decide to tackle the east Soldier first, only ever get close enough to it to throw a Bomb onto its balcony. It’s a Sky Ball & Chain Soldier, and it will gladly hit you with its weapon if you get too close. After it spins the ball and chain over its head a few times, it’ll try to throw it at you and pull it away twice. If you stand behind the dark outer ring of the spinning platform, the Soldier’s ball and chain won’t be able to reach you.
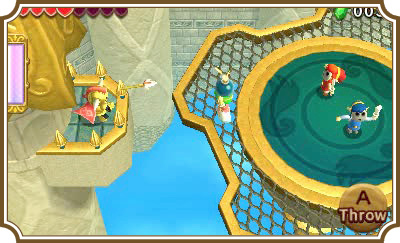
You can easily use the Gust Jar to blast the Bombs off of the Bomb Flower and into the Ball & Chain Soldier’s balcony. It’ll keep you much safer than trying to throw Bombs onto its balcony.
To take out the west Soldier, pick up the Bombs the north Soldier throws at you and then throw them at the west Soldier.
Once you’ve defeated the east and west Soldiers, make a three-Link Totem and either Gust Jar the Bomb Flower in front of the north Soldier into its balcony, or Gripshot the Bomb Flower and throw the Bomb next to it.
After defeating all three Soldiers, a Triforce gateway will appear in the center of the spinning platform.
Room 3
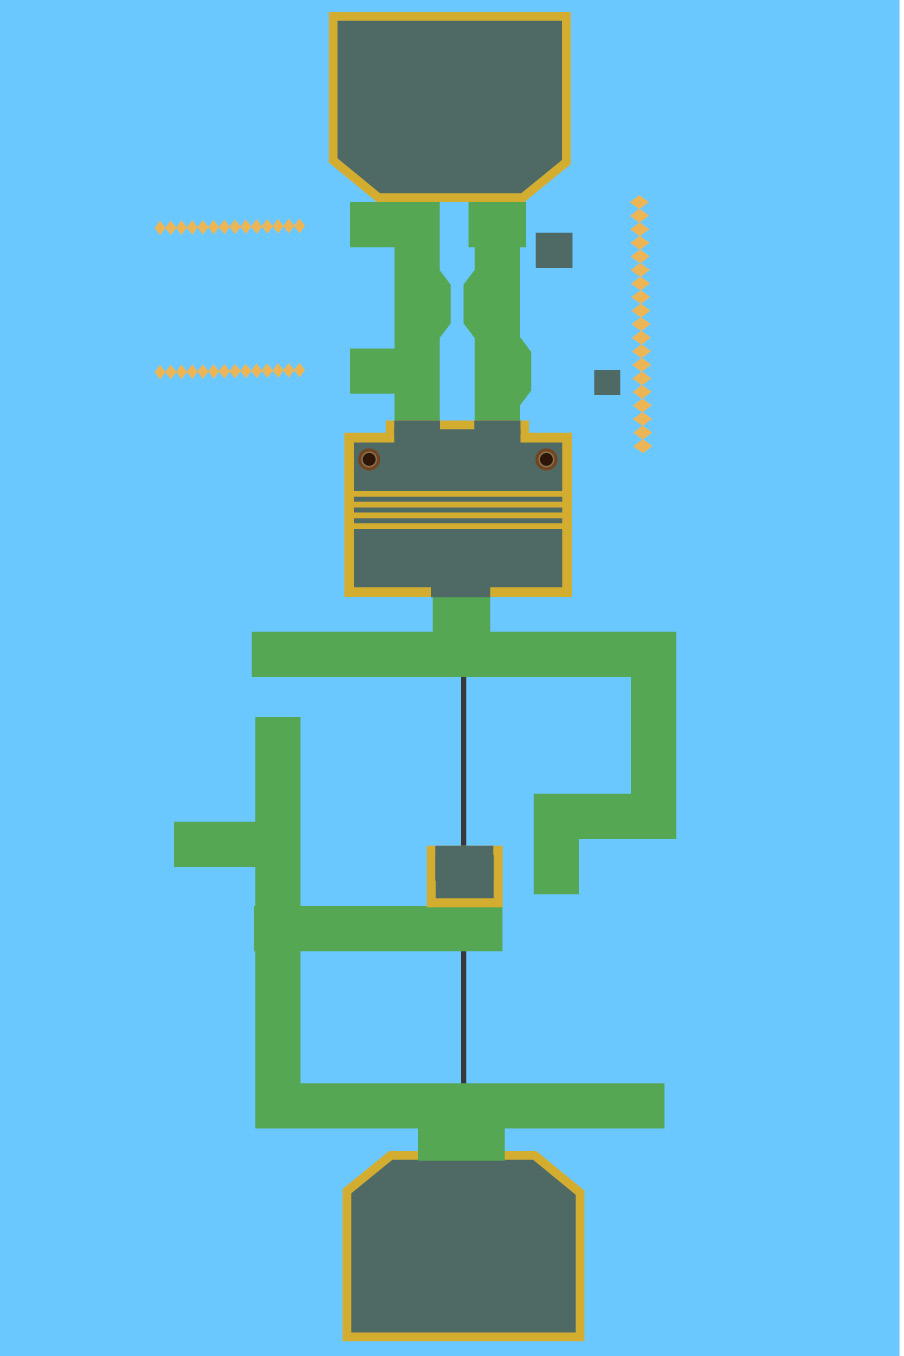
We’ve got bad news: This room has balancing platforms for you to walk across and they’re tougher than the ones you did in world 6. We weren’t joking when we said this world puts everything you’ve learned to practice. Don’t worry. We’re going to try and make this as painless as possible!
Have a Gripshot Link stand just below the balancing rod that is visible between the north and south sides of the platform.
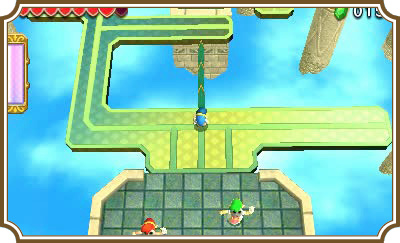
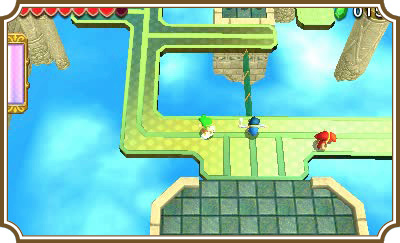
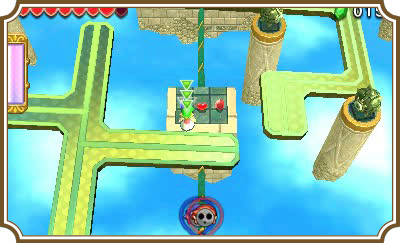
Now have the other two Links make a Totem, and be sure to have the remaining Gripshot Link on top. Quickly throw the top Link onto the right side of the platform while you move the bottom Link to the left.
That platform should remain balanced while the left Link makes his way north to the center landing.
Quickly have the Gripshot Link on the right side of the platform approach the center of the platform (where the other Gripshot Link is) and Gripshot the northern Link.
Now have the Gripshot Link that is standing below the balancing rod Gripshot north to rejoin his cohorts. This is where things get extra hairy.
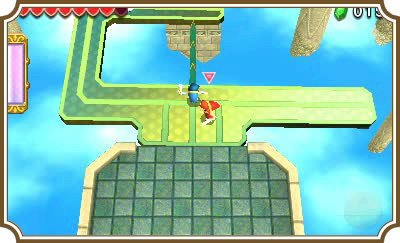
Have a Gripshot Link wait on the landing while you make a Totem with the Gust Jar Link on top. You’ll need to be very quick with this next part. Throw the Gust Jar Link onto the segmented part of the platform to your right, then immediately race to counterbalance the platform by setting the other Link on the lower left side of the platform.
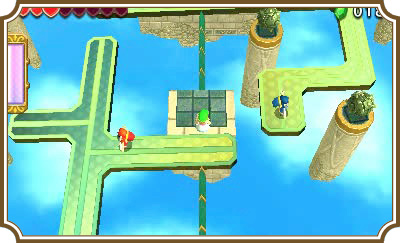
Quickly run the Gust Jar Link up to the north-center end of the platform, then switch to the Link on the left and have him make his way back to the center landing.
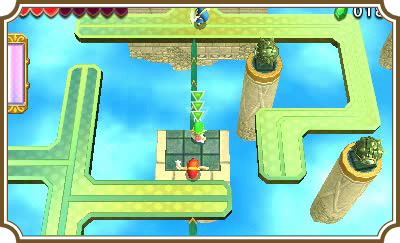
Have the two Gripshot Links hook onto the Gust Jar Link to get across to the other side. The worst is mostly over. You have one more balancing platform to contend with in this area, but it’s not as bad as the one you just crossed.
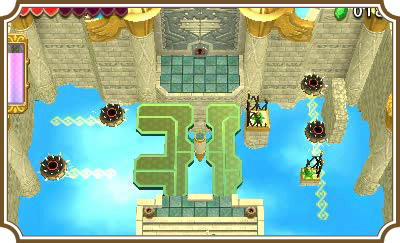
You’ll have to destroy four Mini-Margos scattered on the left and right sides of the room and you’ll have to do it without falling off of the balancing platform. Have the Gripshot Link grab the other Gripshot Link to make a Totem, then step on the right side of the platform and throw the top Link to the left side.
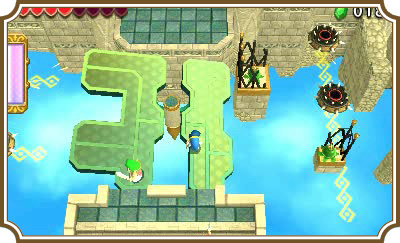
You’ll be able to make minor adjustments while on this platform by adjusting the Links on either side. For now, face the left Link to the left, then have the right Link Gripshot the Bomb Flower on the right.
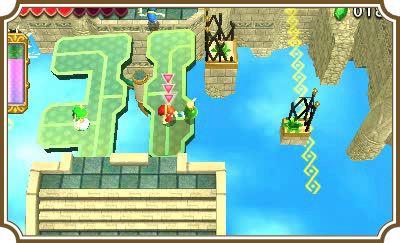
Now throw the Bomb over to the left Link and have the left Link throw the Bomb into the center of the Mini-Margo ahead. The Mini-Margo should be destroyed now, but there are still three left! Move your left Link north up the platform and have him face left toward the next Mini-Margo. Make sure to leave the right Link where he is.
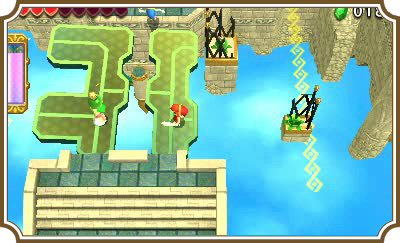
Have the right Link Gripshot a Bomb and throw it diagonally to the left Link. You can also have the right Link run up the platform and throw the Bomb to the Link that way, but you’ll reduce the amount of time you have before the Bomb explodes.
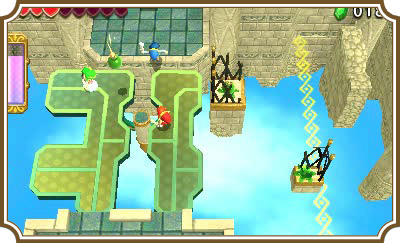
Have the left Link throw the Bomb into the Mini-Margo’s center, then have the left and right Links move back to the south.
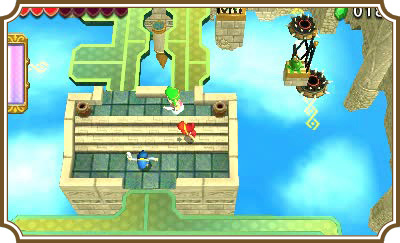
Now have the Gust Jar Link pick up another Link, walk onto the right side of the platform, and immediately throw the top Link to the left.
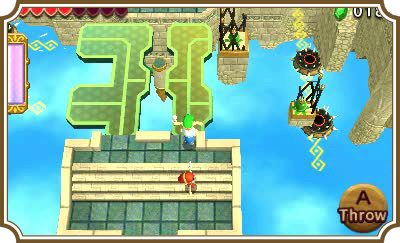
Move the Gust Jar Link north and line him up with the northern Bomb Flower. Have him blast the Bomb Flower with his Gust Jar into each Mini-Margo as it lines up with the Bomb Flower.
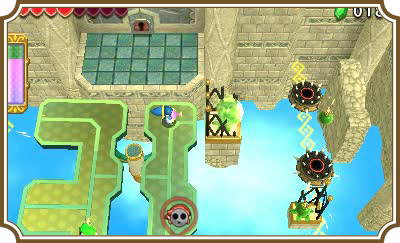
It might take a few tries, but keep at it! Both Mini-Margos can be destroyed with this Bomb Flower. When the last two Mini-Margos are destroyed, a key will fall onto the scale near the center of the balancing platform. Leave the key where it is! It’s important that you don’t Gripshot the key, or you’ll make this next part more challenging for yourself.
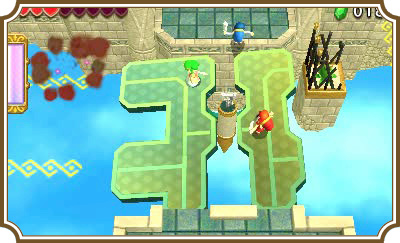
You’ll need to be quick with this next part. Have the Gripshot Link that is on the south landing Gripshot to the Gust Jar Link, then have the Gripshot Link throw the Gust Jar Link to the northern landing. Leave the Gust Jar Link where he is—you’ll need him in a moment.
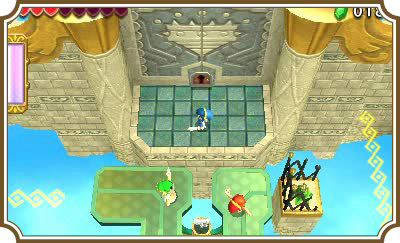
Have the left Gripshot Link hook onto the right Gripshot Link, pick him up, and throw him up with the Gust Jar Link. Immediately have the lone Link Gripshot hook onto either Link on the northern landing to get him to safety. All three Links should now safely be on the landing.
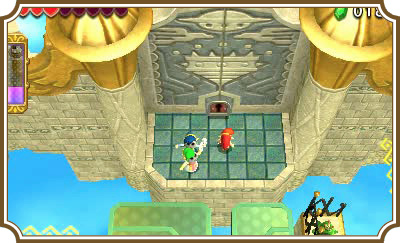
Gripshot the key to pull it up to you, then open the locked gate with it. The Triforce gateway is behind the gate.
Room 4
Boss Fight: Gigaleon
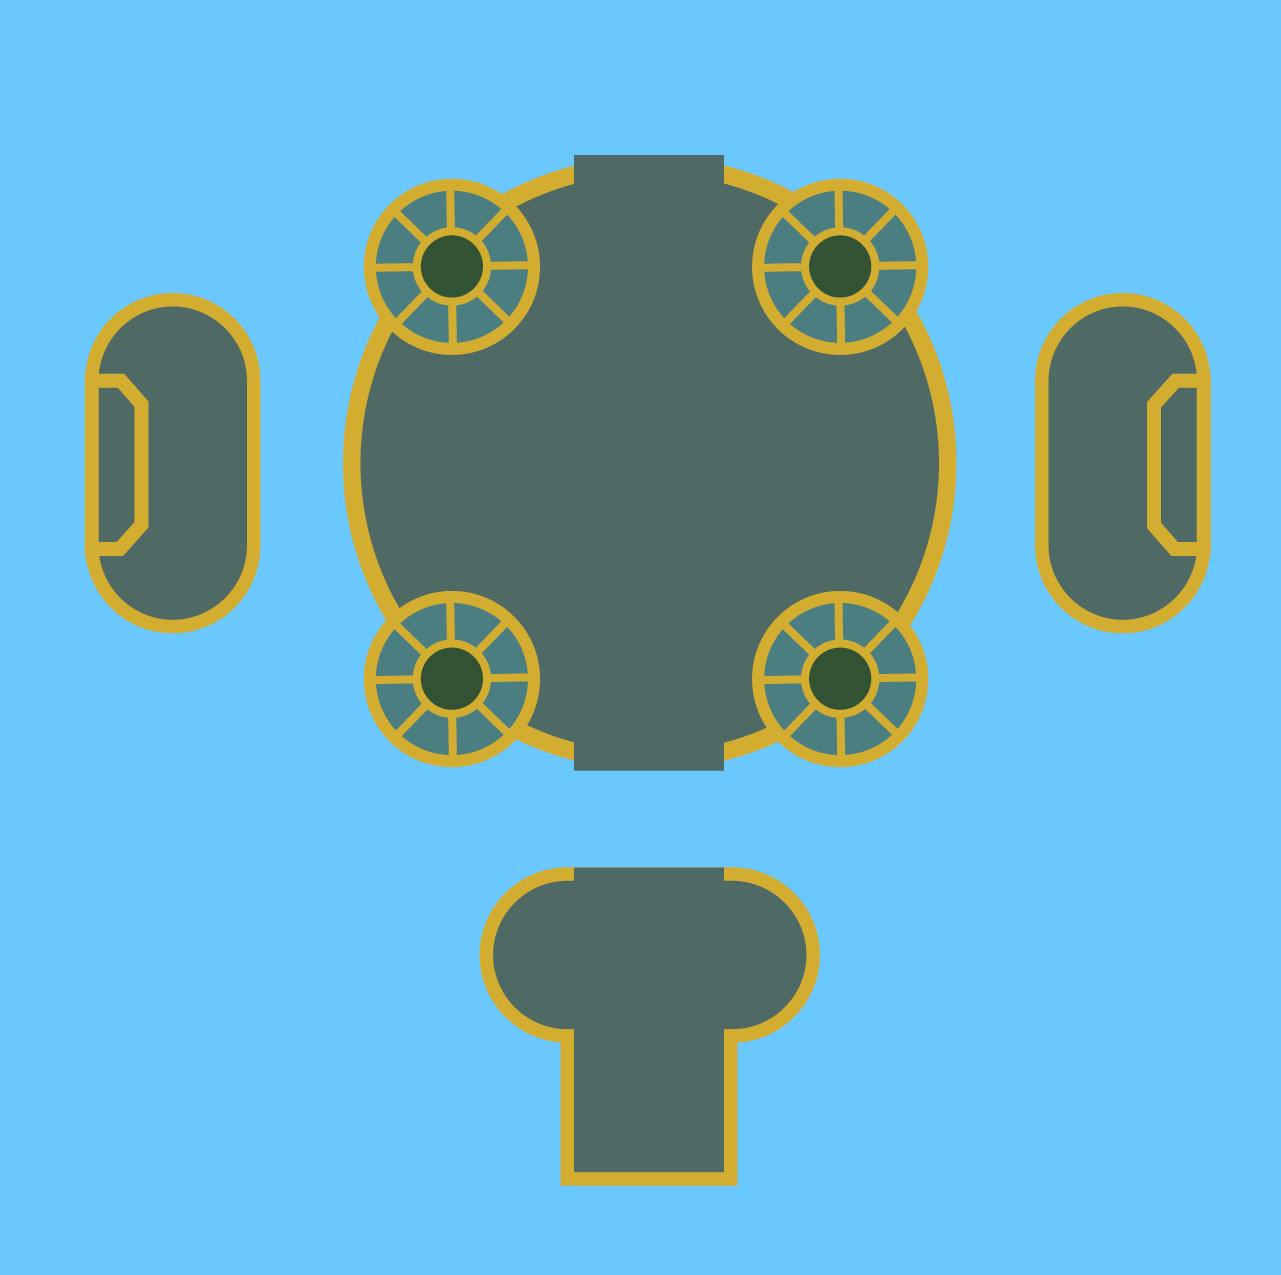
Break any pots you see to refill your health. As soon as all three Links enter the center of the room, the massive Keeleon, Gigaleon, will enter the room.
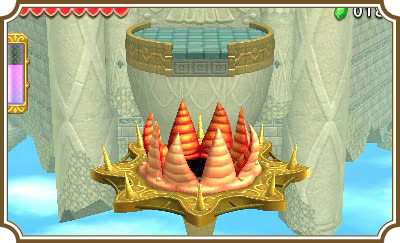
Gigaleon seems tough, but it’s actually pretty easy to beat. It’ll spit fire at you while it’s in the air, but the fire isn’t too hard to dodge.
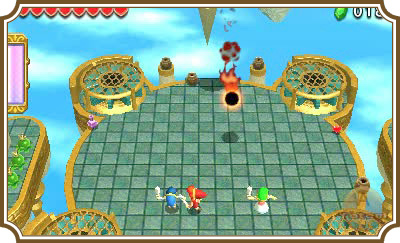
Use the Gust Jar Link on the turbines in the four corners of the room as Gigaleon passes them. If you activate one while Gigaleon is above it, it’ll stun the gigantic Keeleon.
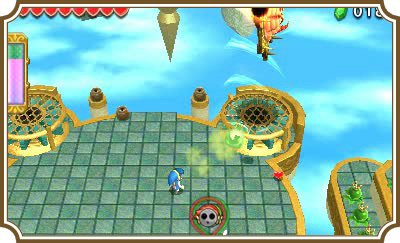
Now quickly switch to a Gripshot Link, Gripshot a Bomb from the Bomb Flowers nearest you, and then throw it onto the turbine. Repeat this process to move Gigaleon into its next phase.
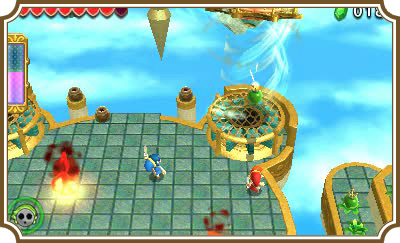
After throwing a few Bombs at Gigaleon, it’ll destroy the two platforms that the Bomb Flowers are on. You’ll have to do this the old-fashioned way: With your sword. Gigaleon will flip, exposing its eye. It’ll move faster now and shoot out a lot more fire, so be on your guard.
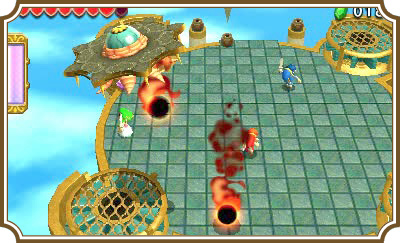
Switch back to your Gust Jar Link and activate the turbines as Gigaleon passes over them to stun it again. Now throw a Link onto the turbine and it will lift that Link on top of Gigaleon. Now slash away on Gigaleon’s eyeball to damage it.
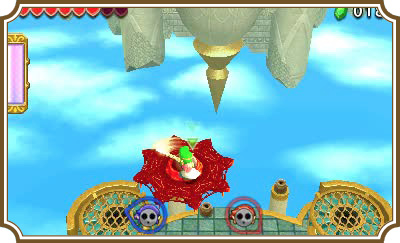
After repeating this process a few times, Gigaleon will fall to the ground. Hit it with your sword like you’re talking with Squiddy and you’ll ground Gigaleon for good.
A bridge of wind turbines will appear in the north side of the room. Cross it to reach the Triforce gateway.