The Legend of Zelda: Tri Force Heroes Guide Clothing Quest World 4: Ice Cavern
Level 2: Snowball Ravine
ChallengesAdventure in the Dark Fewer Heart Containers Transport the Orb Quickly Sub-Weapons
Materials
Recommended Outfits |


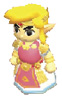

Like the last level, you won’t have access to any Outfits that would be particularly helpful on this stage. Stick to general Outfits like the Legendary Dress to help you get through.
There isn’t a whole lot of combat in this stage, but there is quite a bit of tricky platforming to deal with. You’ll need to be patient and pay attention to your surroundings to avoid getting knocked out.
Room 1
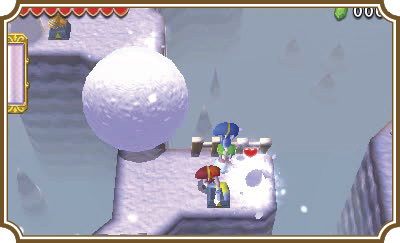
At the start of the level you will see a ramp on the north side of your platform. Wait before heading up it. This place is called “Snowball Ravine” for a reason, and if you wait for a second you’ll learn exactly what that reason is.
You’ll run into giant snowballs several times throughout this level and they’ll almost always be on narrow paths like the one ahead. Once the first snowball passes, head up the ramp until you reach a safe spot with a Boomerang. Grab the Boomerang, then wait for the next snowball to pass before heading up the ramp farther.
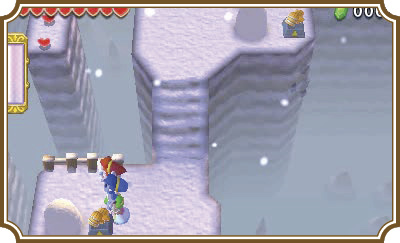
Head up the ramp until you reach another safe spot, this time on the left. You can destroy the snow mounds with your sword to give yourself and your teammates or Doppels more space to wait out the next snowball. Grab the Fire Gloves off the pedestal before moving on.
Fire Gloves are quite useful in taking out these monstrous snowballs. If you hold down the Y-Button instead of simply pressing it, Link will hold out a fireball. If you point that fireball at a snowball and walk toward it, the snowball will melt as soon as it makes contact with the flames. This means you don’t have to wait any longer. Or rather, you don’t have to wait if a boulder isn’t coming down the ramp.
After every two snowballs roll down, a giant, angry boulder will be next in line. Naturally, your Fire Gloves aren’t going to have any effect on the boulder, leaving you completely at its mercy if you made the mistake of challenging it. Try to keep the count of snowballs in your head as you traverse this level. If you count two snowballs, expect a boulder shortly thereafter. Likewise, if you see a boulder, it means you have two snowballs before you see the next one.
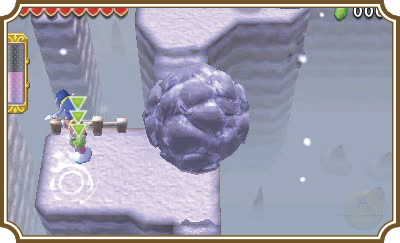
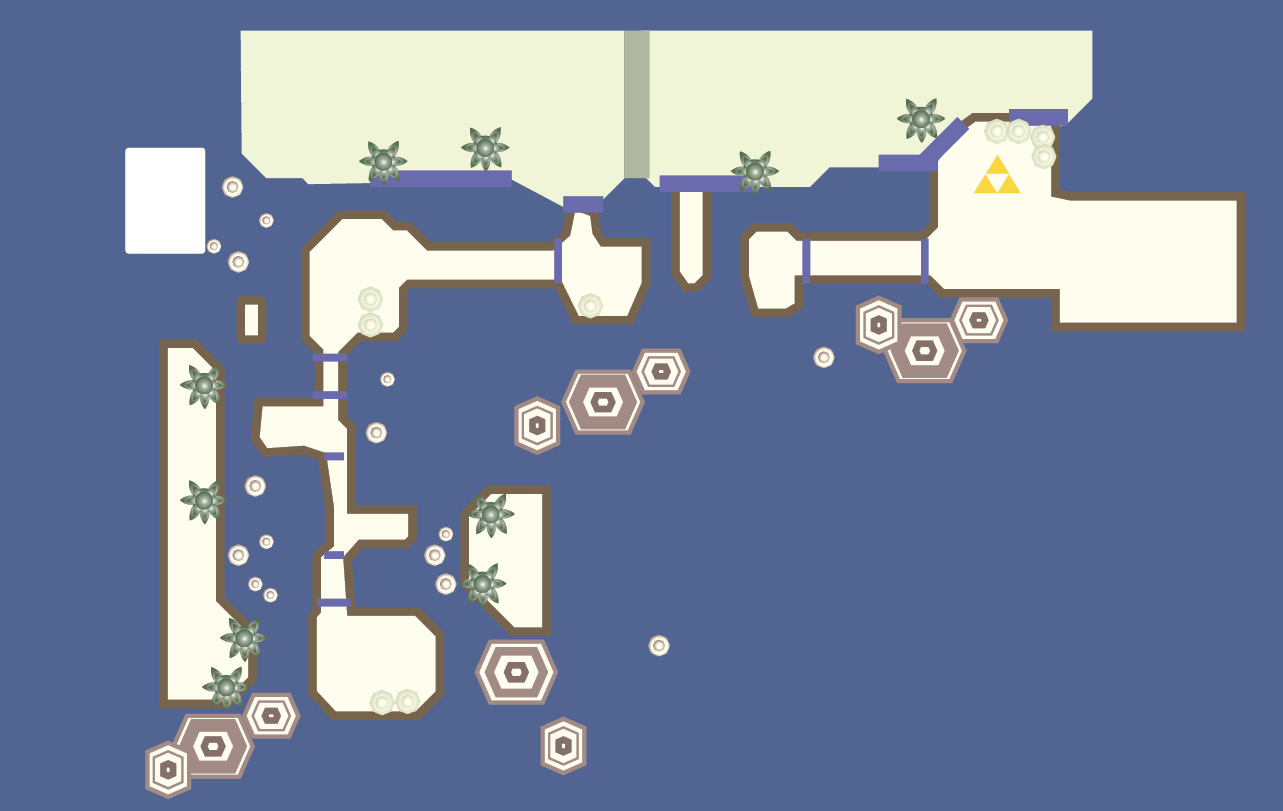
Head up the ramp until you reach the final pair of Fire Gloves. Then, when the coast is clear, head up the ramp to your right. You’ll reach a couple of gaps at the top of the ramp. You’ll need to make a three-Link Totem with the Boomerang Link on either the middle or top spot. Throw the top two Links onto the center path, taking care to watch out for snowballs and boulders. Make sure to leave the Boomerang Link on the center landing while you throw the other Fire Gloves Link over the right gap. Turn back toward the Link on the left landing and Boomerang him over. Have that Fire Gloves Link throw the Boomerang Link across the right gap, then have the Boomerang Link turn around and grab the Fire Gloves Link with the Boomerang. You should now have all three Links on the right landing. Head up the ramp to find the Triforce gateway.
Room 2
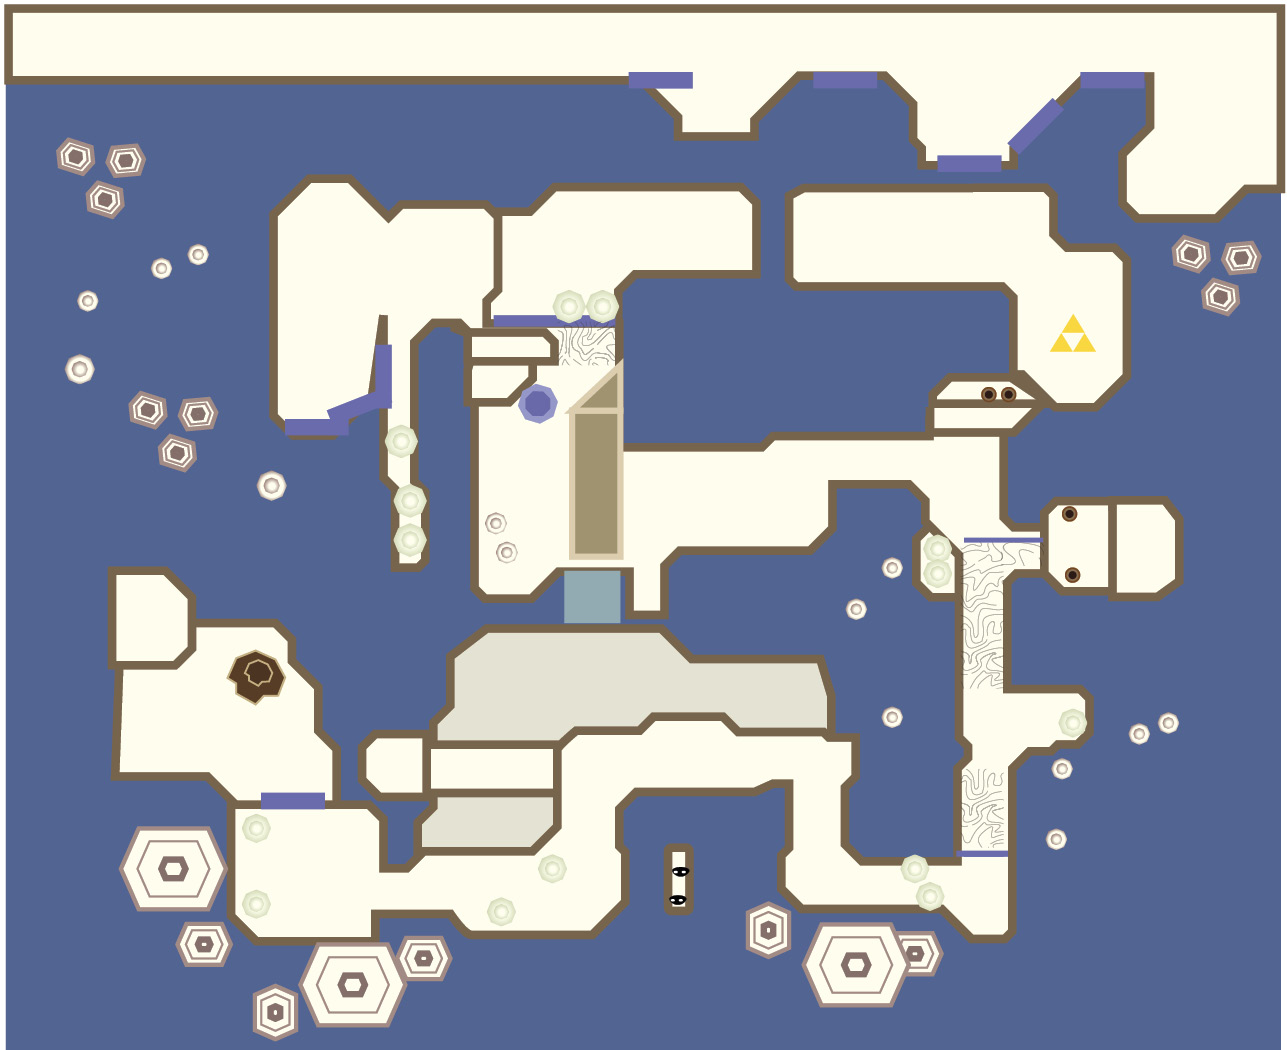
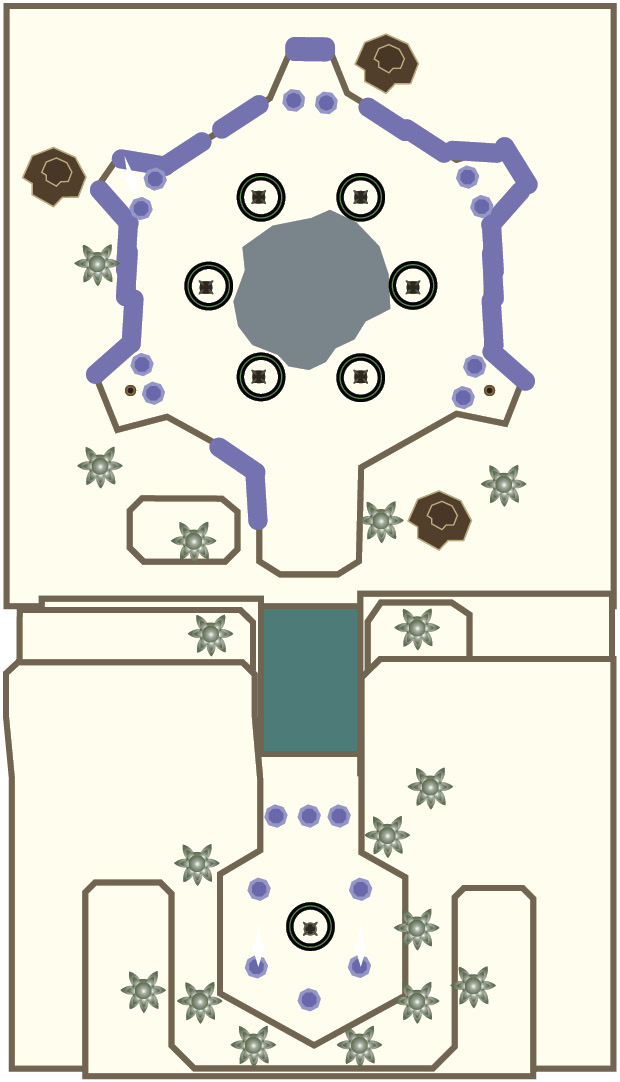
Head north until you reach two torches, one of them unlit. Light the unlit torch with your Fire Gloves and two platforms will rise next to the one ahead of you, which will create a path to the landing north of you. The platforms move erratically, so be careful while walking across them.
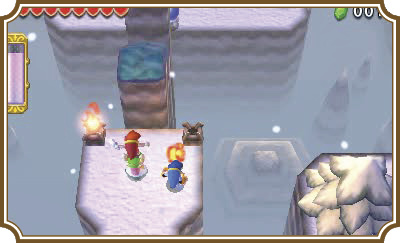
You’ll find two blue Hardhat Beetles on the other side of the moving platforms. Carefully dispatch them, keeping in mind that they will gladly bounce you off the cliffs and into the depths below. Once you’ve defeated them, continue north.
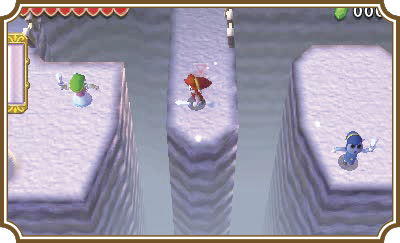
You’ll find a platform on either side of the platform you’re standing on. Both sides have puzzles that must be solved with all three Links, so choose a side and throw the Boomerang Link and a Fire Gloves Link over to it. Use the Boomerang Link to pull the remaining Fire Gloves Link over to join the other two and put all three Links together. We’re going to start with the right side, but you can do either side first.
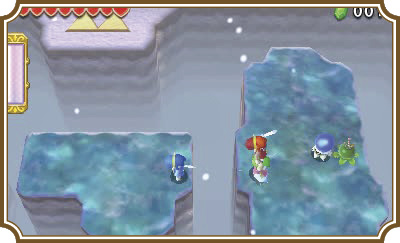
There is a cracked block on top of a spire on the right side of this platform. You’ll need to pick up the Bomb and throw it toward the block just before the Bomb explodes. The Bomb will explode in the air right next to the block and destroy it. The tricky part of all this is the timing.
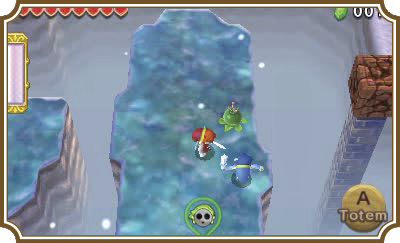
You’ll need to have a Link pick up the Bomb, then have another Link pick up the Bomb Link and, finally, have the remaining Link lift the other two Links up, making a three-Link Totem. You’ll need to immediately face the block, then have the top Link throw the Bomb mere moments before it explodes. The timing is very tight on this, so it might take you a few tries, but once you get it, the block will explode to reveal an unlit torch.
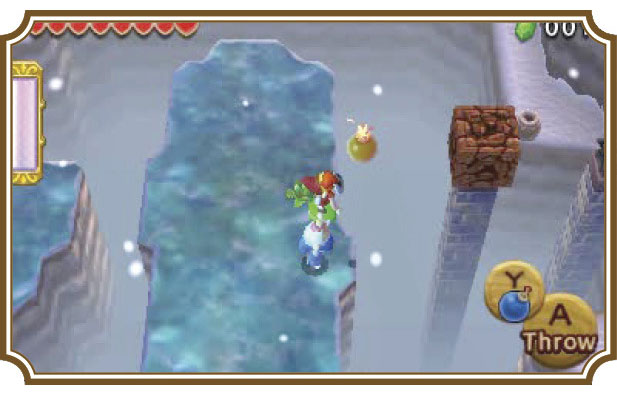
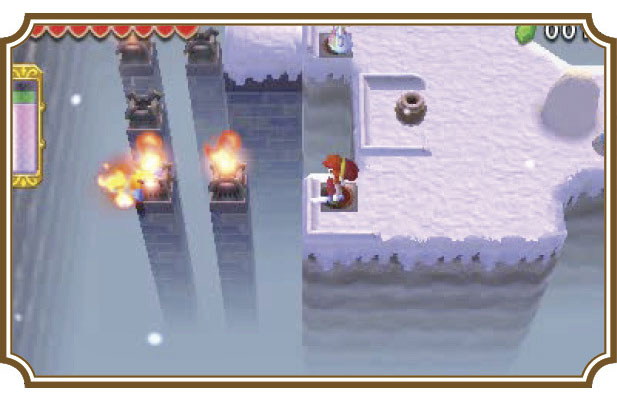
Make a three-Link Totem with a Fire Gloves Link at the top of it, light the torch and the one behind it by bouncing a fireball off of each one, and then head to the leftmost platform.
You’ll find two pressure switches on the west side of the leftmost platform. You need to have two Links stand on a pressure switch apiece and light the torches in front of them. A column will lower, giving the middle Link the ability to throw a fireball onto an unlit torch on the far left. Have him do just that.
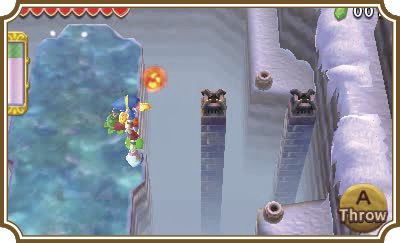
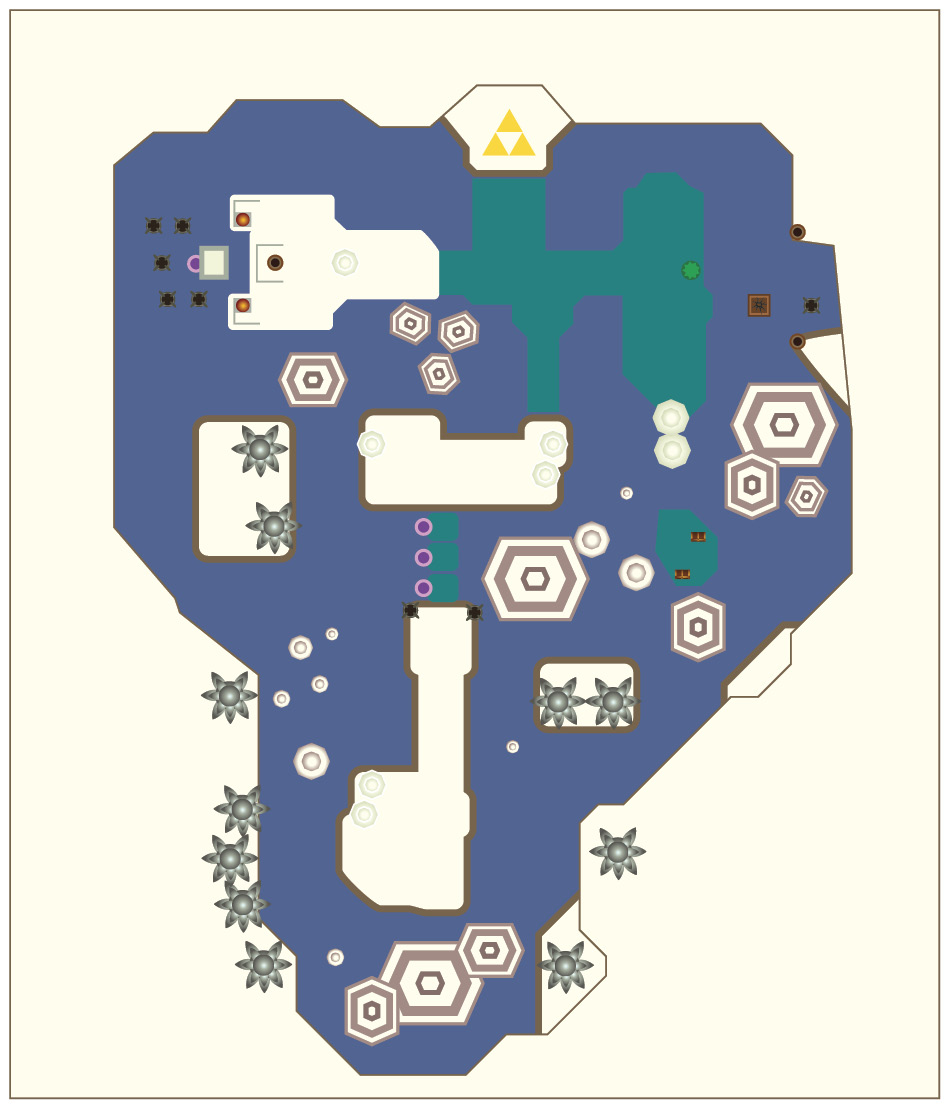
With all the torches in the area lit, platforms will bridge the gaps and grant you access to the Triforce gateway at the northern point of the map.
Room 3
Most of this room is straightforward. There are more snowballs and boulders here and a smattering of enemies. Avoid the snowballs, clear out the enemies, and then continue along the path until you reach a platform with a torch above it.
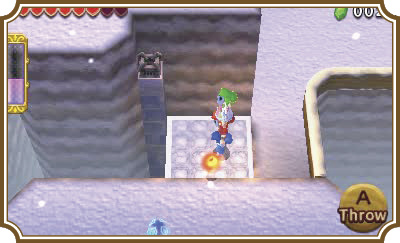
You can make a two- or three-Link Totem and throw your Links onto the south platform to beat the Squiddy into the great beyond. Once you’re done with that noble deed, make a three-Link Totem with a Fire Gloves Link on top, then light the torch. The platform will take you up to the landing above.
The rest of this room is much like the earlier half. Watch out for snowballs, defeat the enemies, and make your way to the end of the path to find the Triforce gateway.
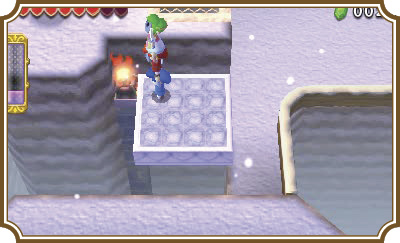
Room 4
Boss Fight: Freezlord
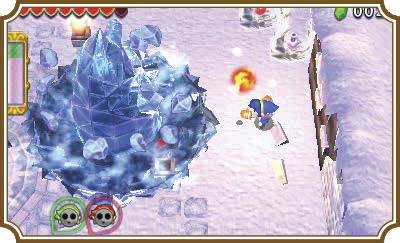
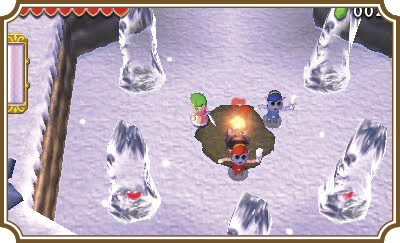
You’ll be surrounded by icicles at the start of this room, two of which contain Hearts. Melt the icicles with your Fire Gloves to get your health back to full, then head north.
When all three Links are near the center of the open area ahead, you’ll be face-to-face with the mighty Freezlord!
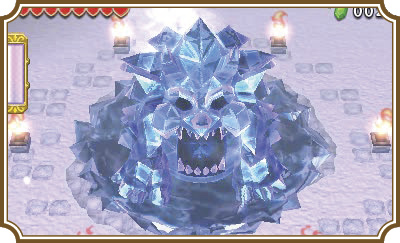
The Freezlord will stay in place for most of the fight, so you don’t have to worry about it chasing you down. For now. Your goal at the moment is to throw fireballs at the overgrown icicle. You can also throw the Boomerang through the lit torches to light the Boomerang on fire and damage the Freezlord (provided the fiery Boomerang hits the Freezlord, of course). You’ll see the body parts of the Freezlord flash white if you’ve damaged it. Hitting its mouth will do nothing unless you land your fireballs or flaming Boomering PRECISELY in its mouth, at which point, Freezlord will be stunned. It’s hard to land a hit in its mouth, so we suggest you focus on its back and arms. Keep attacking and you’ll begin to break off the Freezlord’s body parts one by one.
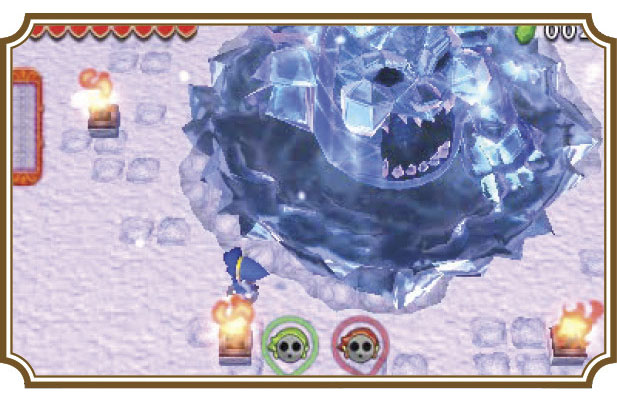
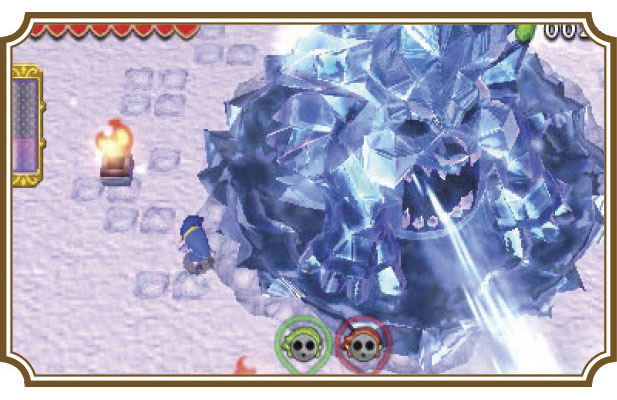
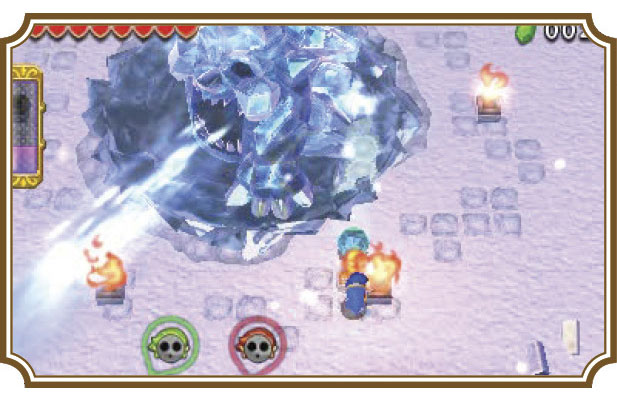
At the start of this fight, Freezlord’s main mode of offense and defense is its ice breath. Freezlord will spin in a circle, stop, and then begin breathing ice breath in the opposite direction it spun. (For example, if it spins clockwise, expect its freeze breath to follow you counterclockwise.) Avoid its mouth at all times to stay safely away from its freeze breath. Do not approach the pool around Freezlord if you want to avoid being damaged and frozen!
For every piece of Freezlord you break, it’ll spit out balls of ice that will slowly follow you around the room. If they touch you they’ll freeze and damage you, so don’t hold still if you want to avoid them. You can use the Fire Gloves to destroy them, but don’t go out of your way to do it unless they are making things too hard for you.
Once all of Freezlord’s parts have been destroyed, the icy pool below it will dry up and the Freezlord will begin to jump into the air and try to smash the nearest Link (or just you if you’re playing in single-player). When it slams down it will create an ice pool around it that will freeze any Link standing in it. It will slam down three times, then propel itself backwards with its freeze breath. Continue attacking it with your Fire Gloves and the Freezlord will melt with each hit, making it smaller and smaller as you attack.
If you wait until it has stopped breathing its ice breath, you can hurry up next to it and hold down the Y-Button to hold out a fireball. This will continuously damage the Freezlord, melting it so much faster than attacking with a single thrown fireball at a time.
Keep up the attack! You’ll soon defeat the Freezlord and complete the level.