The Legend of Zelda: Tri Force Heroes Guide Clothing Quest World 1: The Woodlands
Level 4: Forest Temple
ChallengesAdventure in the dark Clear within the time limit Fewer Heart Containers Sub-Weapons
Materials
Recommended Outfits |



Big Bomb Outfits are a near must for this level. You’ll be encountering enemies that can only be killed by Bombs, so you’ll get a lot out of using that particular Outfit. If you’re playing multiplayer, you can have the other Link wear what that player wants to wear. It’s not vital to have Kokiri Clothes this time around, but it doesn’t hurt if your third player doesn’t have anything else to wear.
Room 1
The Sub-Weapons for this level are directly in front the level’s starting point. Have your Big Bomb Link pick up the Bombs and then distribute the other items to your remaining two Links.
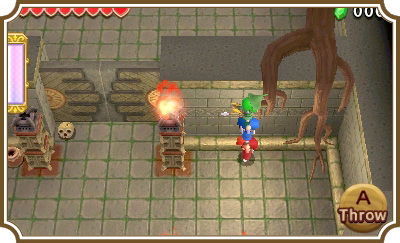
In the center of this area is a row of four torches, one of which is unlit. Have the Bow-wielding Link head to the right side of the far-right torch, then have him face left and fire an arrow. The arrow will catch on fire and light the unlit torch.
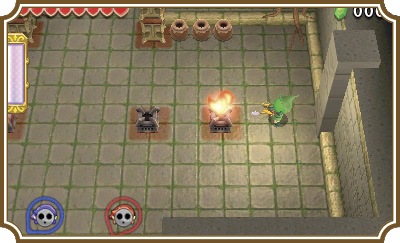
Now clear out the pots to the right of the tall torch on the right side of the gate. Make a three-Link Totem on the right side of the torch, face left, and fire another arrow. This will light the second and final unlit torch, which will open the gate to the next room.
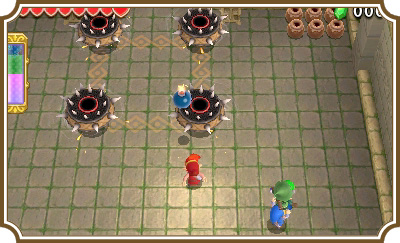
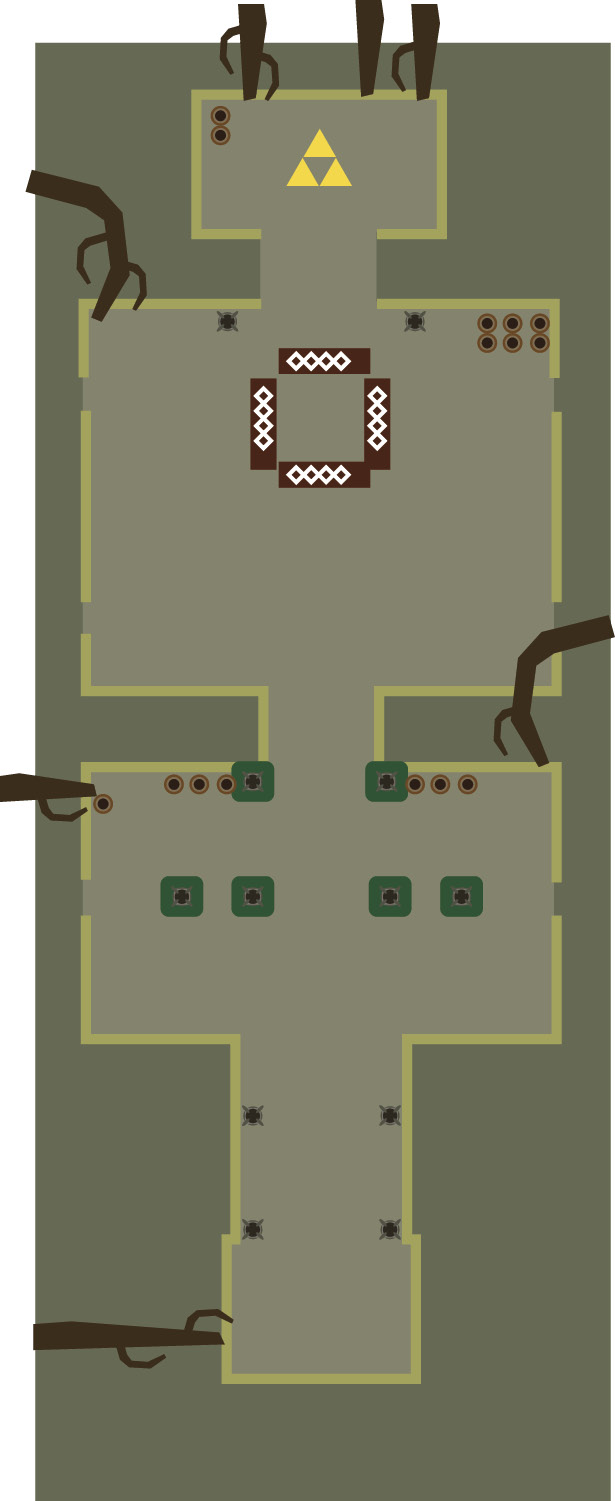
You’ll meet a new type of enemy once you’re in the next area—a bladed, spinning Mini-Margo. In order to defeat it, you’ll need to throw a Bomb into its center. It only takes one to take it out, but you’ll have to time it right if you want to hit the bullseye. Spinning Mini-Margos almost always follow along paths shown on the ground below them, so predicting their movements is quite easy. Whenever ever a Mini-Margo reaches a corner on its path, it will come to a brief stop. That’s your chance to strike!
Once all four of the traps have been destroyed, a key to the locked gate on the north side of the room will drop. Open the gate to gain access to the Triforce gateway. Before you go, make sure to explode the Squiddy to get Hearts and Rupees.
Room 2
This room starts out empty, with nothing but a three-man switch in the center. Before you activate the switch, have one of your Bomb Links destroy the cracked blocks on the northeast and northwest corners of the room. This will make things a little easier once you hit the switch.
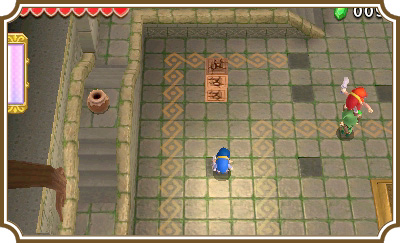
Now have all three Links stand on the three-man switch in the center of the room and prepare for battle! Pillars will rise from the floor and spinning Mini-Margos and Tektites will appear in the room. The pillars give the one-eyed Tektites something to stand on, meaning you’ll have to make a two-Link Totem to hit them—or rather, you would if you didn’t destroy those cracked blocks. Now the Tektites will jump on the pillars near you and eventually land where the cracked blocks used to be, giving you the chance to defeat them without having to create a Totem to do so.
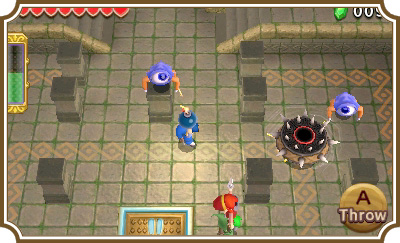
Watch out for the spinning Mini-Margos that follow along the electric path on the floor. Once you’ve dealt with the Tektites, destroy the Mini-Margos. Remember, they stop whenever they reach corners and they’ll also stop briefly when they reach the end of their path.
Once you’ve defeated the Mini-Margos and Tektites, the north door will open and you’ll be free to move on to room 3.
Room 3
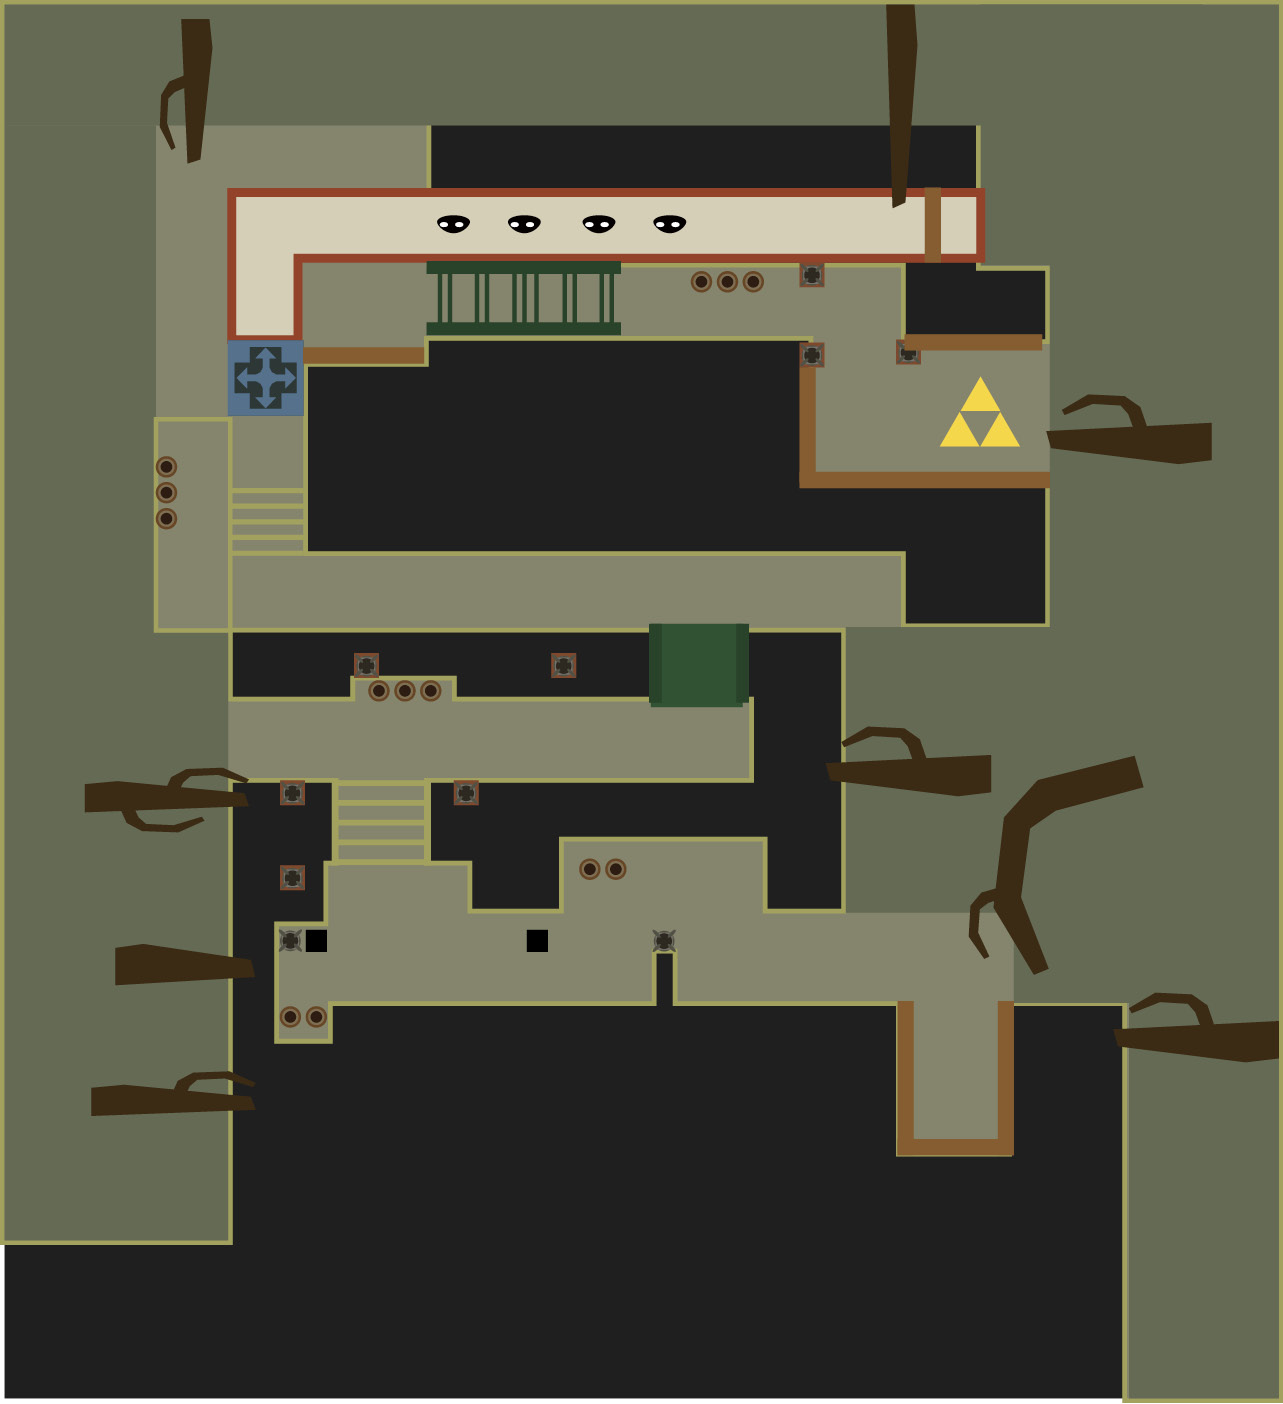
Now here’s a tricky room! On the path directly ahead of you you’ll see arrows firing out of the wall. You’ll need to squeeze in between shots and make your way to the west side of the room. Getting in between the arrows isn’t terribly hard if you’re only trying to get in front of one of the three firing arrows. As soon as the bottom arrow fires, follow behind it and slowly and carefully move your way up.
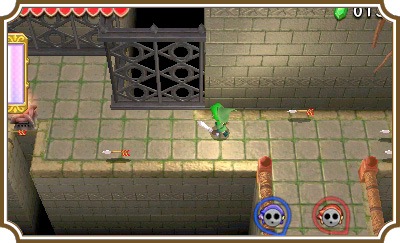
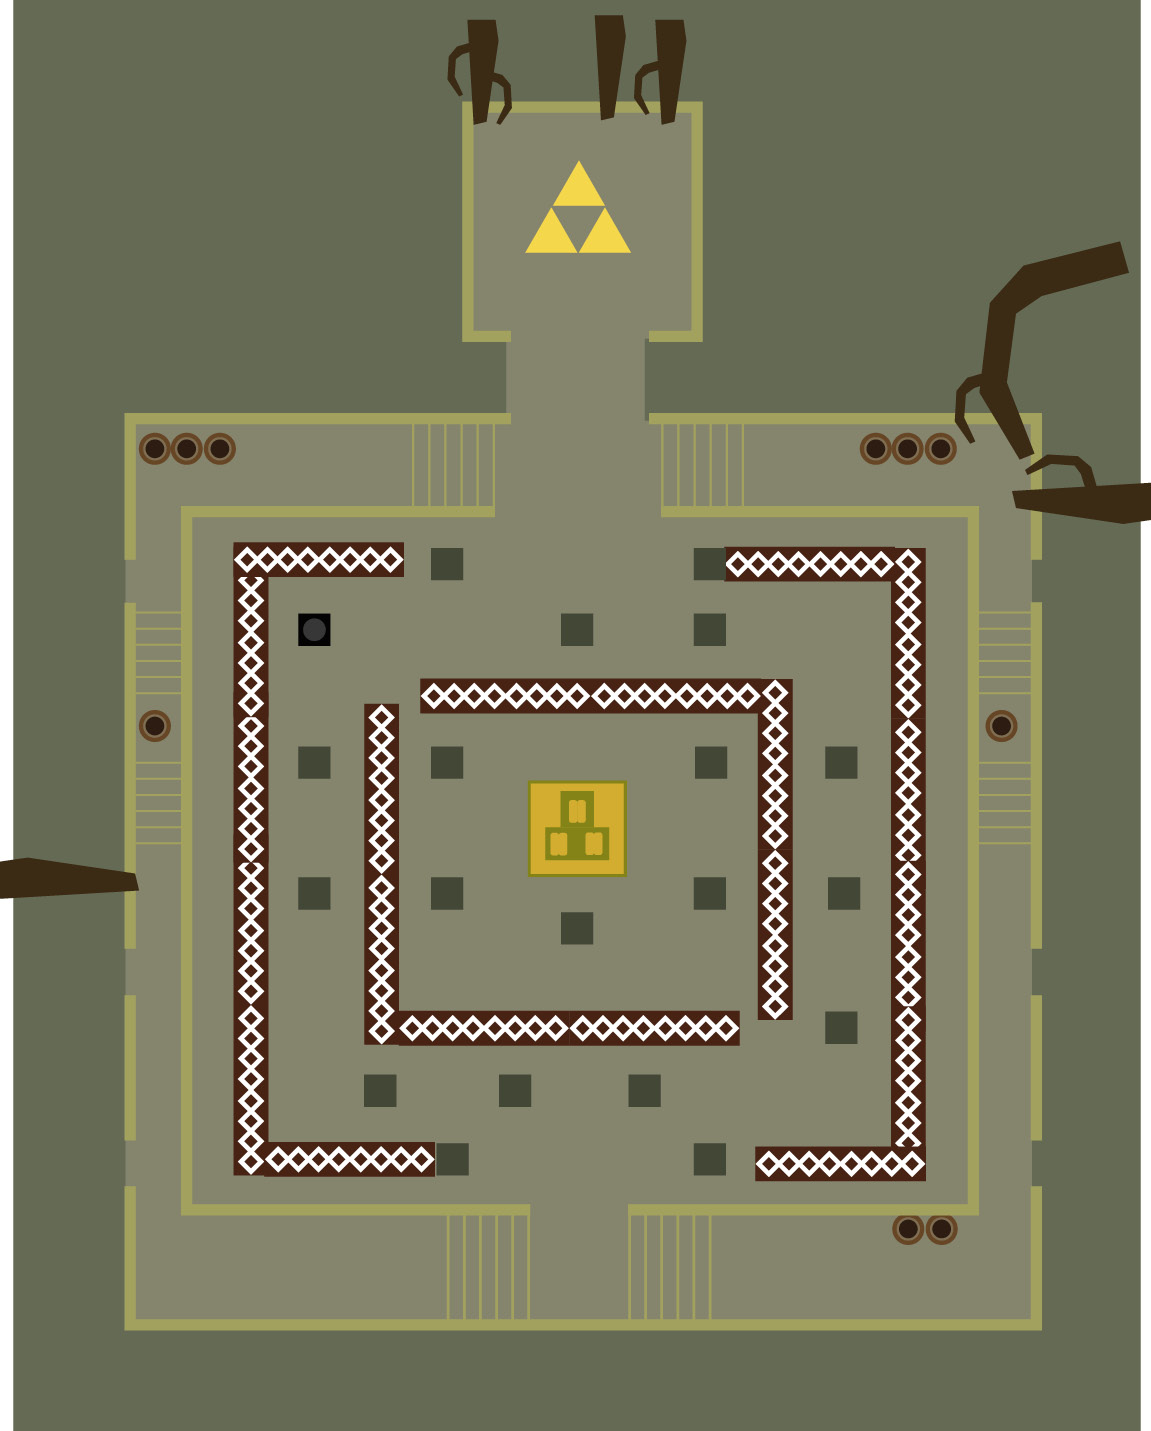
After a short walk you’ll reach a safe part of the path. You can stand and take a breather or keep moving to the end of the path. Once you’re at the end of the path you’ll see two cracked blocks. Use your Bombs to destroy the one on the left first, then destroy the one on the right. This will allow the top arrow from the arrow trap to reach the unlit torch to your left while on fire, lighting the first of three torches.
Your next step is to position your Bow-wielding Link below the newly-lit torch where the pots are. (Just make sure to destroy the pots first.) Line up the Bow Link with the flaming torch and have him fire. The arrow will start on fire and light the two remaining torches. Once the torches are lit, a set of stairs will rise from the depths to allow you to ascend to the path north of you. (Sounds pretty intense, huh?)
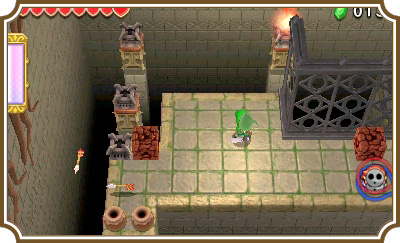
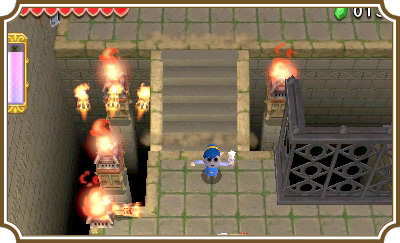
You’ll have to deal with another arrow trap here, but this time there are only two of them, so they are much easier to avoid. Wait for the arrows to fire, then follow behind them until you reach another flight of stairs.
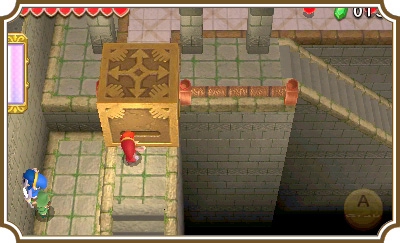
Wouldn’t you know it? Another arrow trap! Don’t worry, you’re getting close! Wait for the arrows to fire on this new trap and follow behind them until you reach another set of stairs, some pots, and a giant steel box.
Make sure to check the pots for Hearts to refill any empty Heart Containers, then head up to the giant box. If you’re playing multiplayer, you’ll need all three Links to be pushing this box at the same time. If you’re in single-player, however, just one Link will do the trick.
Push the box along the pinkish path on the ground. Another arrow trap waits for you at the east end of this long path, but don’t worry. Now’s your chance for revenge! Push the box to the east toward the arrow traps to create a safe path for you and your Links to get through.
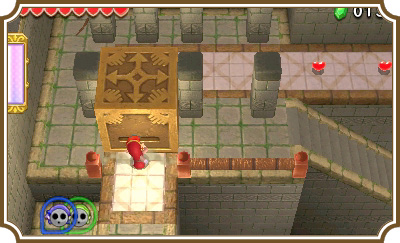
Once you reach the end of the path, you’ll be right next to the Triforce gateway, but a Mini-Margo will be bouncing over it chaotically and without a path to follow. Use expert timing to land a Bomb in this wild one. Once it’s defeated you’re free to move on to room 4.
Room 4
Boss Fight: Margoma
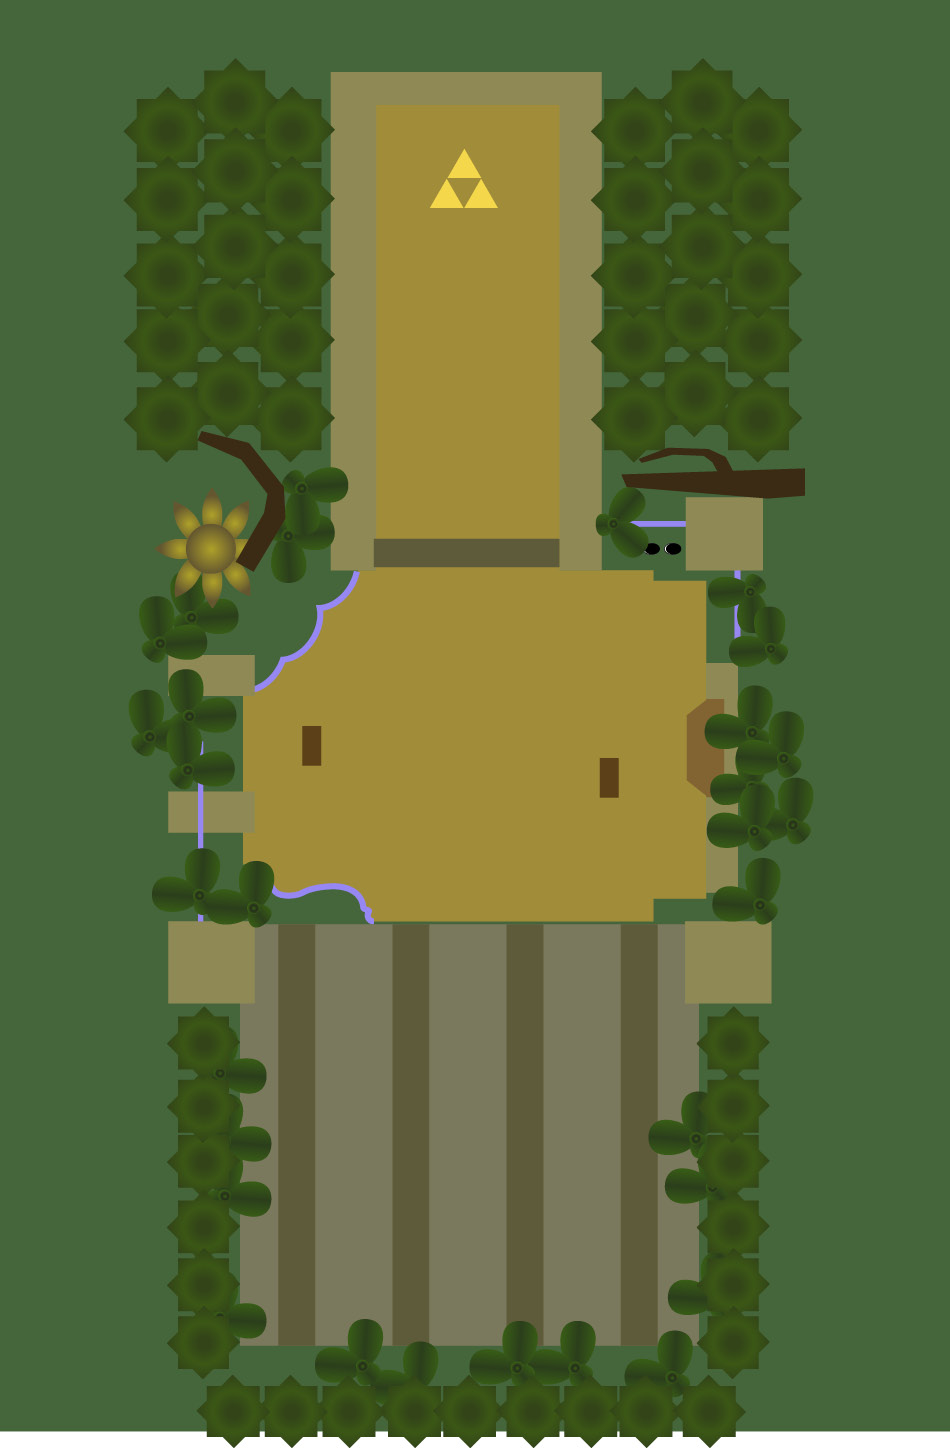
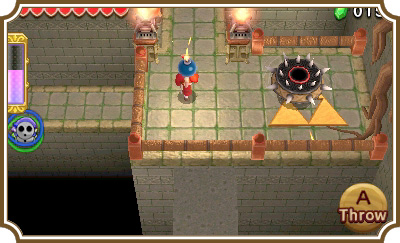
Each Link will start out in different parts of this room. Have them all slide down into the lower level of the room. Welcome to your first true boss fight.
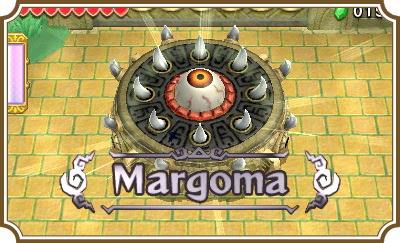
This one-eyed, giant, spinning Mini-Margo takes a good bit of coordination in both single-player and multiplayer. The fight is nearly identical in both single-player and multiplayer, so you can use this strategy for either mode.
Margoma has a very simple moveset: It spins towards you until it hits something. That’s all. If you stay on the ramps on the east and west sides of the room, it won’t be able to hit you at all. Defeating it is an entirely different story.
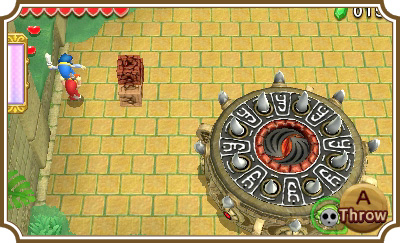
On the east and west sides of the room, near the ramps, you’ll see cracked boxes. DO NOT DESTROY THEM. These are excellent barriers between you and Margoma. You can hide behind them and remain safe, at least until it charges at you.
In order to damage Margoma, you’ll need to get to its eye, but those spikes surrounding it are pretty nasty. So what do you do? You need to get it to charge into something. When Margoma stops in place and begins spinning its blades rapidly, that means it’s about to charge at you. Get close to a wall, behind the cracked boxes, or up the ramp. When Margoma slams into one of those things, the hole in its center will open up, giving you a chance to throw a Bomb in it. Make a two-Link Totem and throw a Bomb in there.
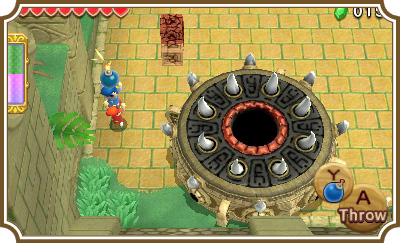
After successfully landing a Bomb inside Margoma, its eye will pop out, it’ll retract its spikes, and it will get dizzy. This is your chance. To reach Margoma’s eye, walk your two-Link Totem over to Margoma and throw the top Link onto Margoma. Now have that top Link slash away. After a short time the hole will close back up and it’ll begin to shake. That’s your cue to get off of Margoma ASAP.
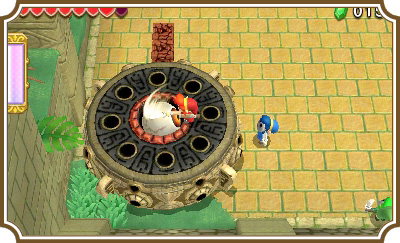
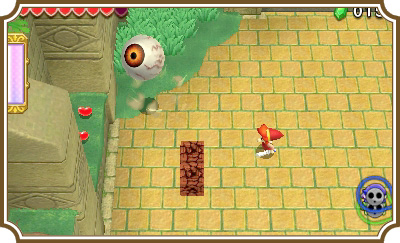
Repeat these steps two or three times and Margoma will grow, meaning you need to as well. The rules are still the same, but you now need to make a three-Link Totem to throw Bombs into the open hatch and to get on top of it. Repeat this two or three more times and Margoma’s eye will bounce out of the Mini-Margo and begin to bounce around the room. Chase it down and slash it until it explodes.
Congratulations! You just defeated your first boss! With that level completed, you’ll unlock new worlds and the ability to do level challenges for all of world 1’s levels.
The King’s Summons
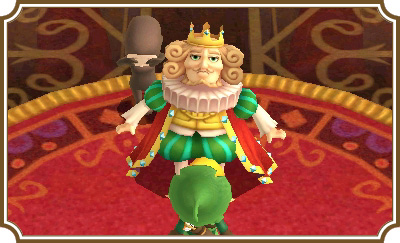
Beating the first world in the Drablands has given the people of Hytopia hope, especially King Tuft! Head out of the lobby and Sir Combsly will inform you that the King wishes to speak to Link. Head up the stairs on the left side of the castle foyer to reach the king. King Tuft will better explain the curse The Lady has placed on the kingdom and he will also explain level challenges.
Once you’re done speaking with him, make sure to speak with Madame Couture and check out her new supply of Outfits. She’ll go into detail about The Lady’s Glasses Material you found at the end of the Forest Temple and also explain how to break Princess Styla’s curse!
Once you’re done, feel free to head back to the lobby and move on to your next world.