
The Legend of Zelda: Tri Force Heroes Guide Clothing Quest World 6: The Dunes
Level 2: Stone Corridors
This is one of the most challenging levels in the game. There are several rocking platforms that you’ll need to try and balance in order to progress. If you can’t keep them balanced, they’ll drop you in the abyss below the clouds.
You can bring the Boomeranger Outfit, since the Boomerang gets a lot of play in this level. It’s more of a convenience item during this level, but if you’re not an excellent shot with the Boomerang, this will more than make up for it.
Room 1
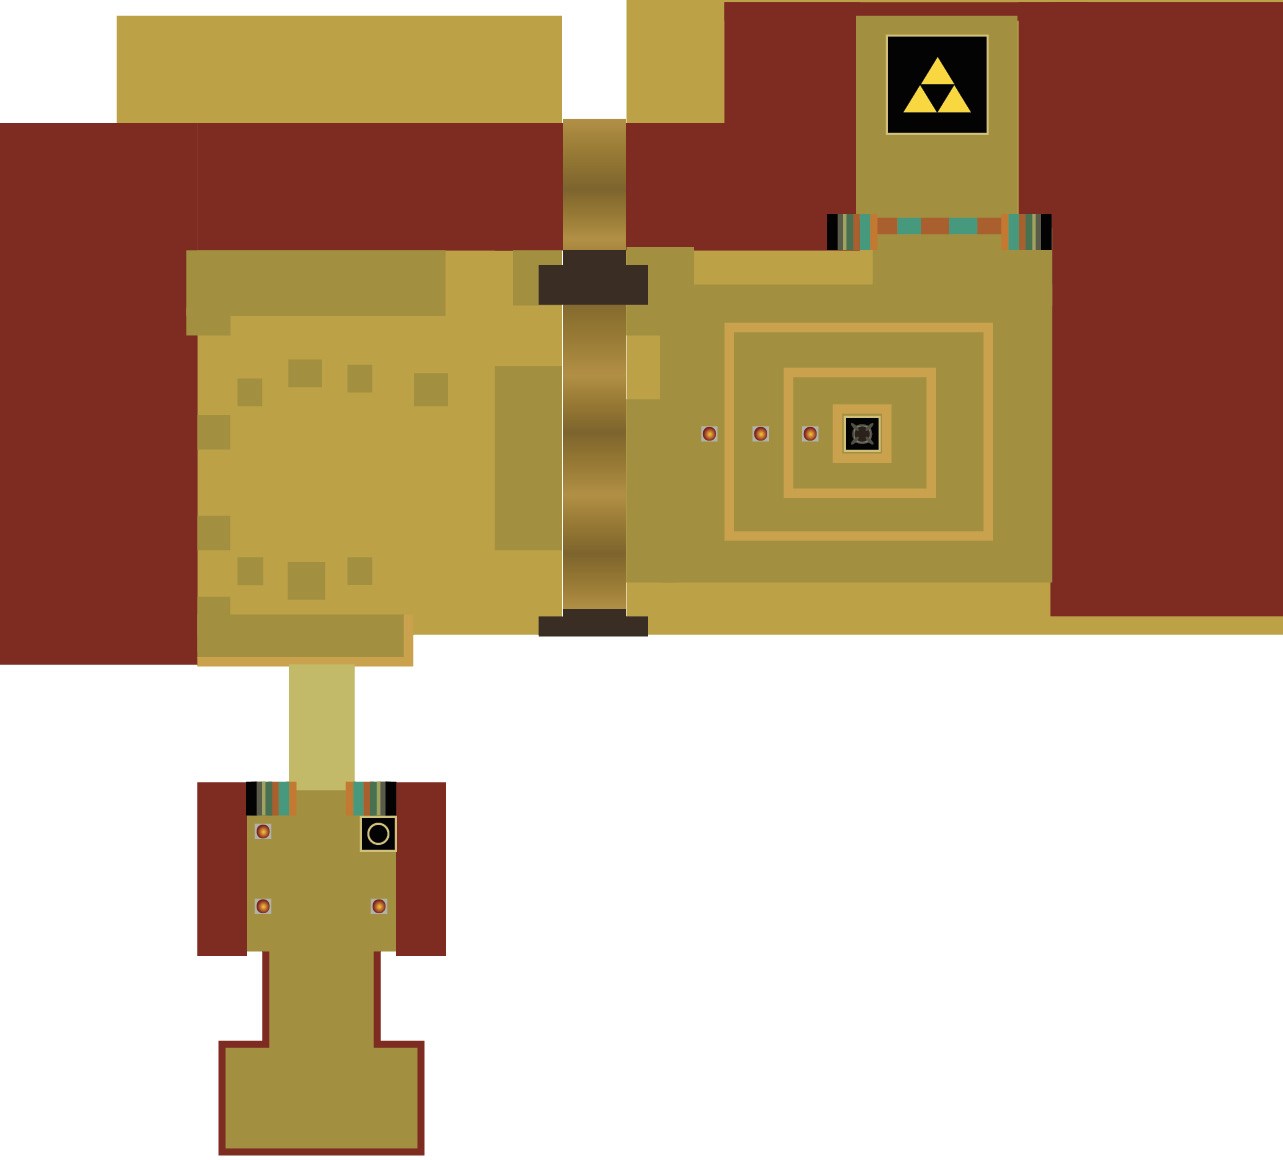
Grab the Sub-Weapons in front of you, then head north. You’ll find three switches, a very tall mound of sand, and a strange pedestal in the top-right corner of the room. Use the Gust Jar to blow the sand mound away and reveal a cat-like statue. You’ll need to pick up the statue, place it on the pedestal, and then stand on all three switches.
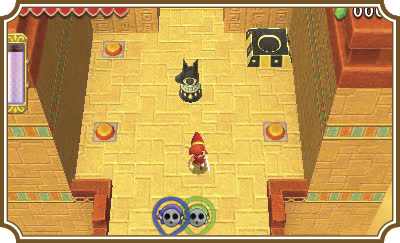
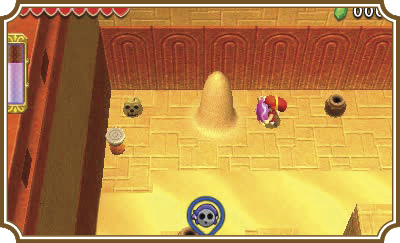
Once you’ve done all of that, a bridge will rise and fill the gap between the area you’re in and area to the north. Cross the bridge and head directly to the north end of the room, taking care not to stand still in the quicksand or get attacked by the Sandfish. In the northwestern corner of the room, you’ll find another giant sand mound. Use the Gust Jar to blow the sand away and reveal another statue.
Grab the statue and have all of your Links head right along the northern wall until you reach a river of sand. You’ll need to have all three Links cross and also get the statue to the other side with you.
Use the Gust Jar Link to blow the statue and the other two Links across the sand river, then use the Boomerang Link to grab the Gust Jar Link. Make a three-Link Totem, and then head slightly south to the pyramid-like structure near you.
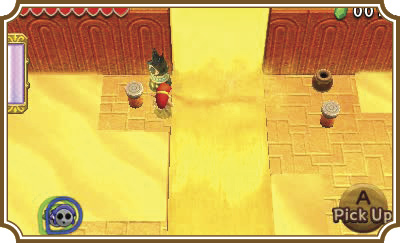
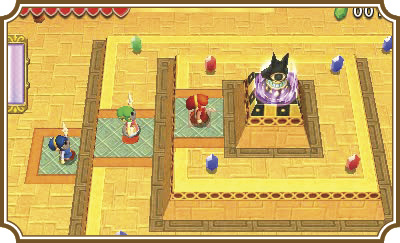
Step on the switch on the left side of the pyramid, turn to the right, and throw each of your Links up, one by one, until all three are standing on the switches. Now throw the statue into the pedestal at the tip of the pyramid.
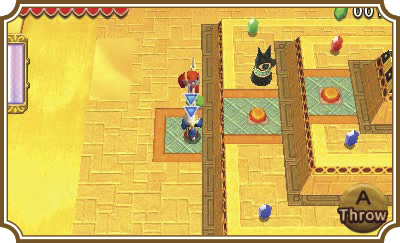
With the switches pressed and the statue in its pedestal, a door north of you will open, revealing the Triforce gateway for this room.
Room 2
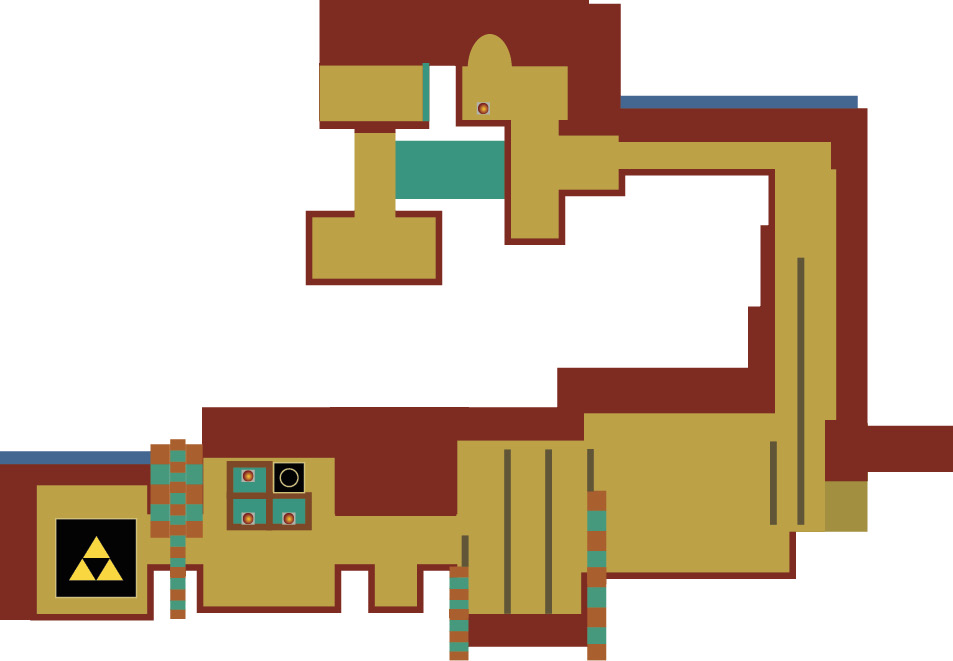
Head north, then make a three-Link Totem with the Gripshot Link on top. Use the Gripshot on the revolving frame of the fence to pull the Gripshot Link through to the other side.
Use the Gripshot to grab the cat-like statue on the other side of the gap to your right, then step on the pressure switch. The switch will raise a set of stairs below you, allowing your other Links to rejoin your Gripshot Link.
Unfortunately, this will also activate a nearby arrow trap. Pick up the cat statue and throw it against the wall in front of the arrows.
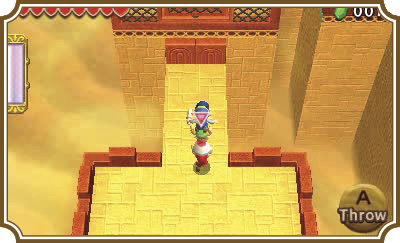
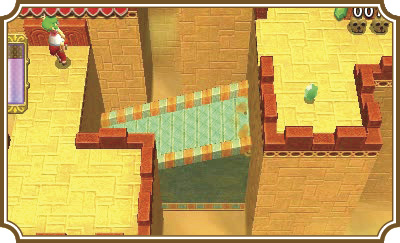
Now use the Gust Jar Link to blast the statue forward until you reach the source of the arrows. Get all of your Links together below the arrow trap, then grab the statue and head south.
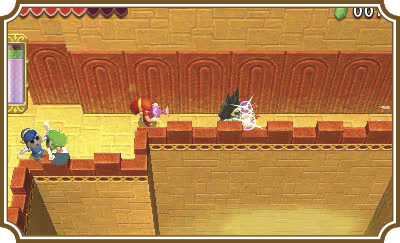
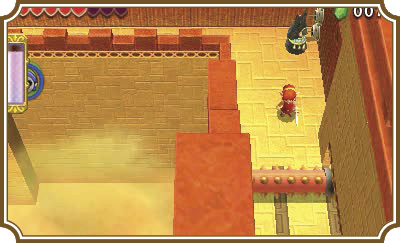
You’ll need to be careful here. A spiked log is rolling back and forth in this corridor and the only way to pass it is to wait until it reaches the south end of its track, then you can slide into the room on your left.
You can use the Gust Jar on the giant sand mounds to uncover some Rupees. Once you’re ready, stand in the doorway in front of the next spiked log and wait. This thing is moving way too fast for you to pass safely, so you’ll have to be clever. Wait for the log to roll south, then throw the cat statue south in front of it. The log will bounce off of the statue, allowing you to pass safely.
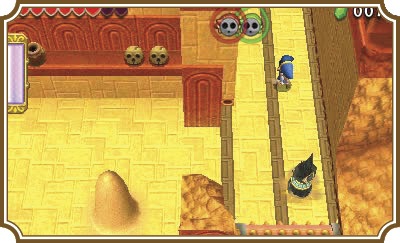
You’ll want to try and position the statue in line with the southwest exit of the room. After you make your way out of the room through that exit, you can use the Boomerang to grab the statue and continue on.
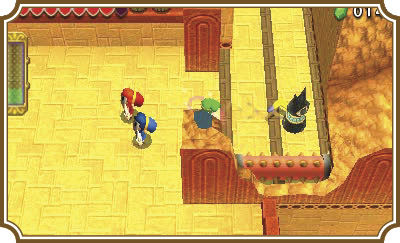
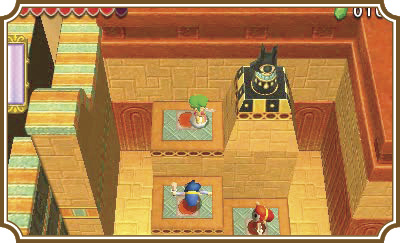
Make a three-Link Totem with the Link carrying the cat statue on top, then throw each Link up to the tiered platforms and put the cat statue on the pedestal at the top of the platforms. A gate will open on the west side of the room, giving you access to the Triforce gateway.
Room 3
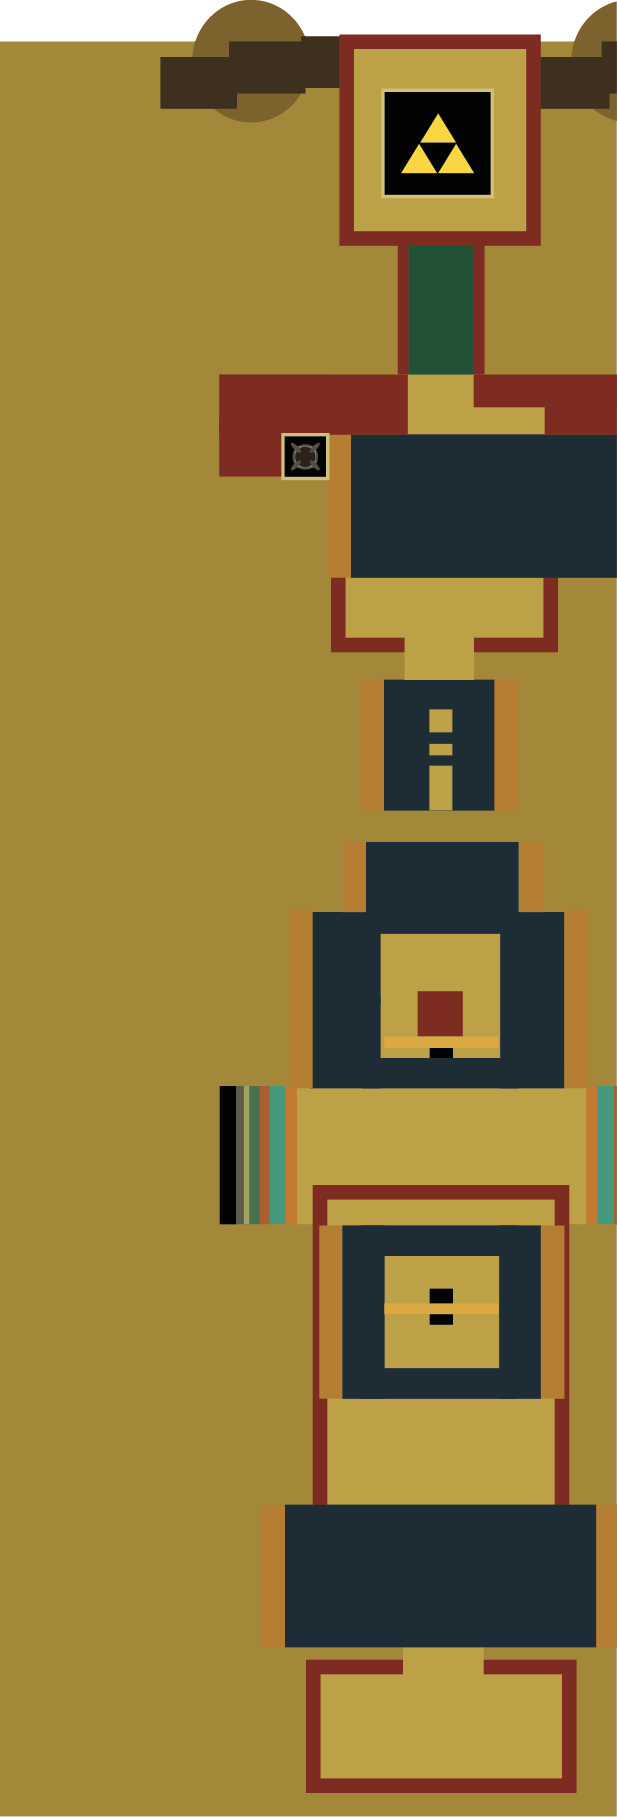
You’ll have to be very careful in this part of the level. Most of the platforms will rock back and forth depending on how weight is distributed on them. Have too many Links on one side and the platform will turn in that direction, dumping everyone off the edge.
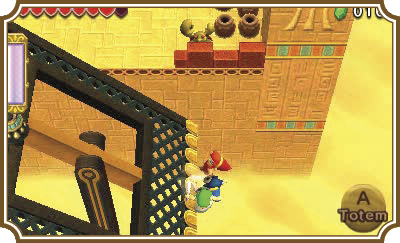
You can safely run up the center of this platform if you’re just looking to get across to the other side. But if you’re looking to grab Rupees, you can rock the platforms back and forth by going back and forth on both sides of the platform. Use your Boomerang Link to nab up the Rupees when the platform is on the same level as it.
After you pass the first rocking platform, you’ll find another cat statue. You can use the cat statue as a counterweight on the platforms. Pick up the statue with a Link, then make a two-Link Totem with the remaining Links. Now have one pair walk onto one side of the platform and immediately have the other pair step on the opposite side. You should be perfectly balanced at this point. Just move each pair up to the end of their side of the platform, very quickly walk one pair onto the landing ahead, and then switch to the other pair and move them onto the landing as well. If you are quick enough, everyone should come out unscathed.
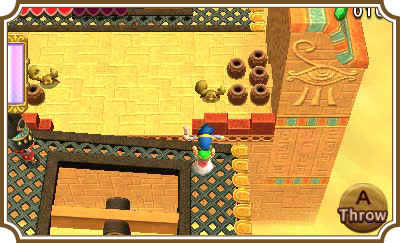
Your best bet for most of these platforms is to try and stay in the middle section of the platform as much as possible. Staying in the middle will keep the platform from tipping. You can even have a three-Link Totem with the cat statue on top and the platform won’t drop you.
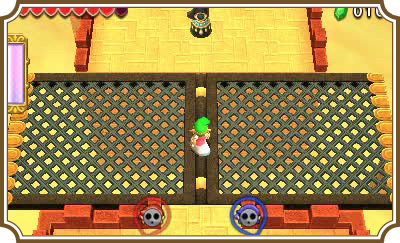
For this next platform, grab the cat statue with the Gust Jar Link, then have another Link pick up the Gust Jar Link. Throw the statue-holding Gust Jar Link onto the red landing in the opening at the center of the balancing platform.
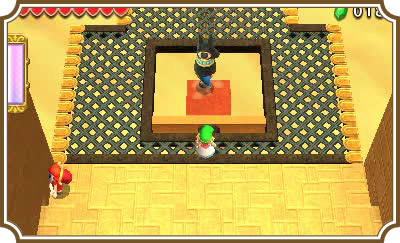
Now place one of the two remaining Links on one side of the platform while you rush the last Link to the opposite side of the platform. You should be completely balanced. Have both Links make their way up to the north side of the platform. Move both Links onto the balancing platform’s center line. The platform should have no trouble balancing if both Links are standing in the center. Have the Link on the red landing throw the cat statue up to the other two Links.
Have the Boomerang Link grab the Link on the red landing. You should have two Totems now: One with a Link holding a cat statue and one with a Link holding another Link. Move both Totems away from the center line so that they are lined up with the left and right sides of the platform ahead. Now quickly throw the cat statue on one side and the top Link of the other Totem on the other side of the platform ahead. Both platforms should be balanced if you were quick enough.
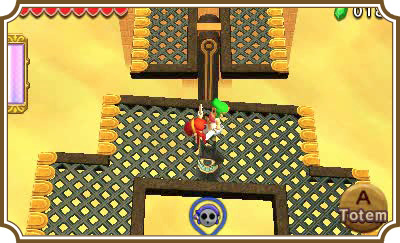
Move the Links on the lower platform back to its center line and make a two-Link Totem with the Boomerang Link on top. Now move the Link on the upper platform to that platform’s north end, but don’t step off of it yet! Face the two-Link Totem to the side of the platform the other Link just moved up, then, very quickly, throw the Boomerang Link onto the upper platform and immediately have the northern Link step onto the landing ahead.
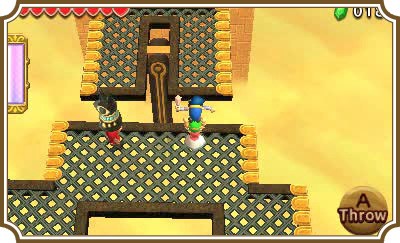
Now move the Boomerang Link to the north end of the platform, turn diagonally toward the cat statue, Boomerang it, and then quickly walk to the landing ahead. Safely place the cat statue down on the landing, then have the Boomerang Link head back to the platform’s center line.
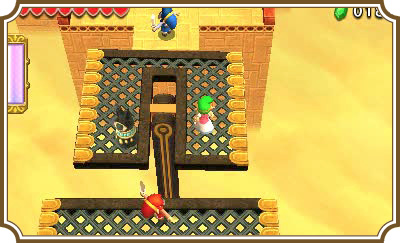
Make sure the Link on the lower platform is as close to the edge as possible. Now have the Boomerang Link grab the lower Link and bring him to the northern landing.
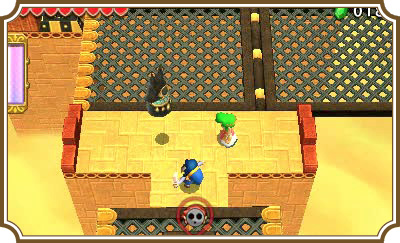
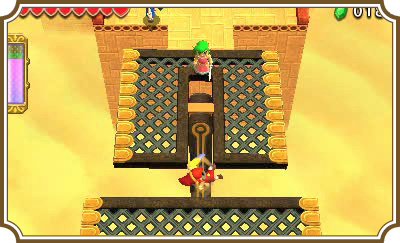
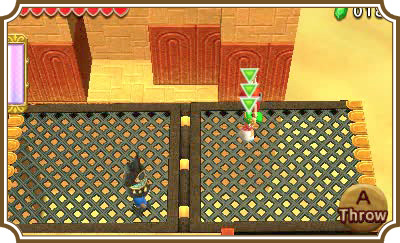
Take a deep breath: This is your last platform for this room. You’ll need to deposit the cat statue into its pedestal on the top-left corner of the platform. Make two Totems again, one holding the cat statue and one holding another Link. Walk both Links up the center line of the platform, then, very quickly, have the Totem with the cat statue move to the left side of the platform while the Link-holding Totem moves to the right side. You should be balanced right now.
Now quickly run the cat statue toward its pedestal and throw it in. A door will open, allowing you access to the Triforce gateway, but you’re not done yet! Race that lone Link to the northern landing, then have the Totem Links join him. If you were fast enough, everyone should be on the north landing, safe and sound. If not, well, you’ll take a Heart or two of damage, but the worst is over.
Head to the Triforce gateway to move on to the next room.
Room 4
Boss Fight: Vulture Vizier
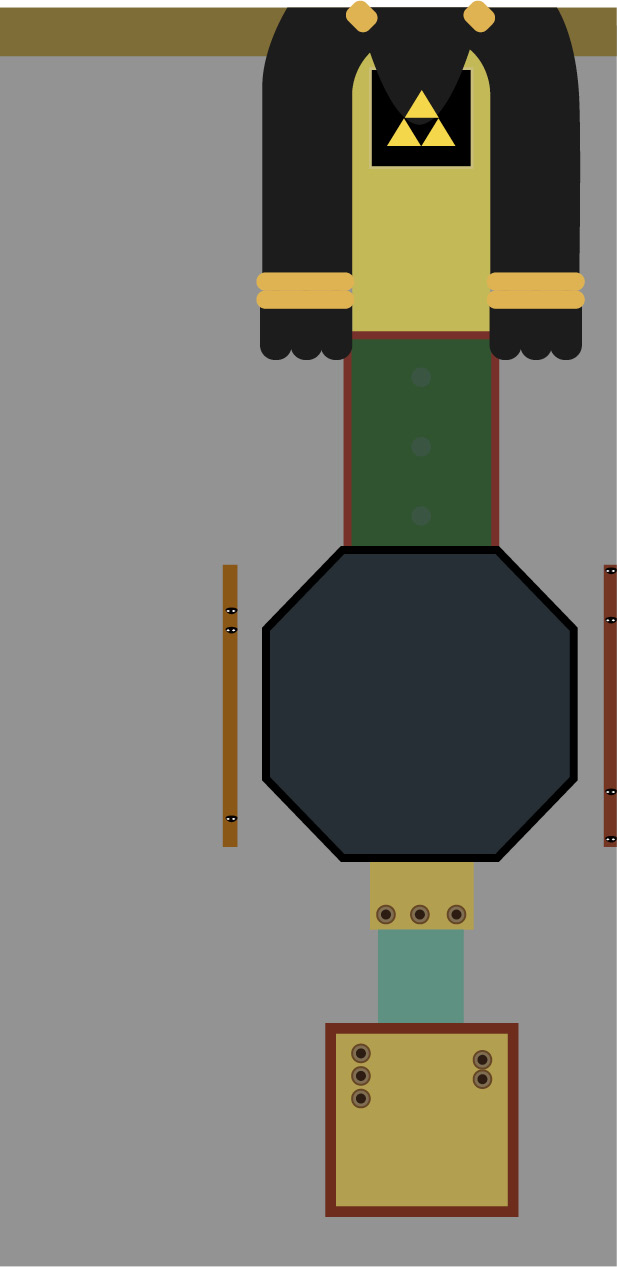
Unfortunately, your platforming antics aren’t over yet. In fact, you’ll have to take everything you’ve learned and apply it to this room, because you’re about to fight a boss on one of these platforms.
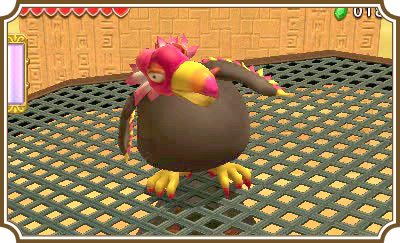
There isn’t a lot to this fight, but that’s probably because the agonizing act of balancing on this platform is more than enough to make the fight a challenge.
Vulture Vizier will perch on one of the perches on the left or right side of the room. The left side is lower and the right side is higher, so you’ll need to rock the platform lower or higher based on where the boss currently is.
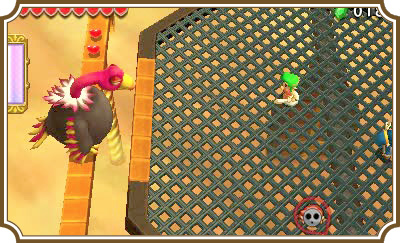
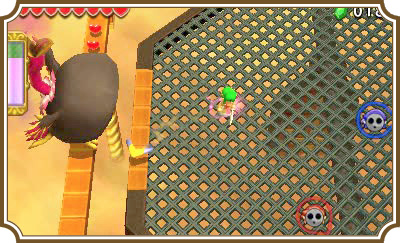
Vulture Vizier will sometimes take a massive breath and then begin spitting bursts of air out onto the platform. Needless to say, if you get hit by one you’ll be blasted backwards, potentially unbalancing the platform. Vulture Vizier will also, on occasion, smack the edge of the platform with its beak, which will rock the platform violently back and forth.
This fight is best done with only two Links; the third Link unbalances the platform, making it so everyone can fall pretty easily. If you’re playing multiplayer, just have the second Link do everything we’re about to describe by himself.
The Boomerang Link should be in charge for pretty much the entire fight. Pick up one of the other Links, then walk up the center of the platform. Now throw the Link to the side opposite of where Vulture Vizier is. So if Vulture Vizier is left, throw the Link right and vice versa.
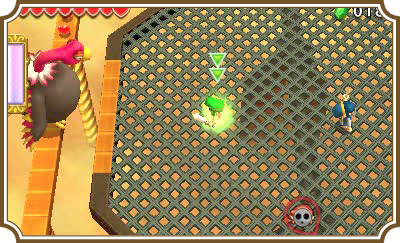
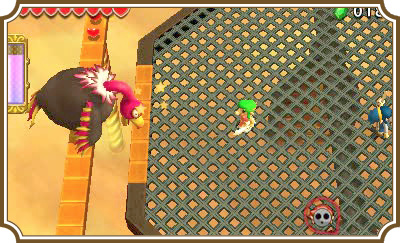
Have the Boomerang Link walk back and forth on his side of the platform to get it to rock and then, when the platform is low or high enough, throw the Boomerang at Vulture Vizier. If you land the hit, Vulture Vizier will lower its head, leaving it open for you to hit. Keep rocking the platform back and forth to be able to reach it.
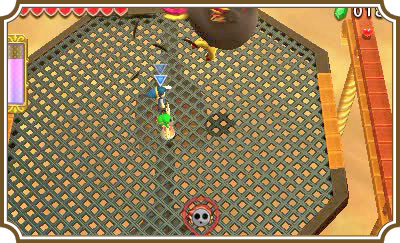
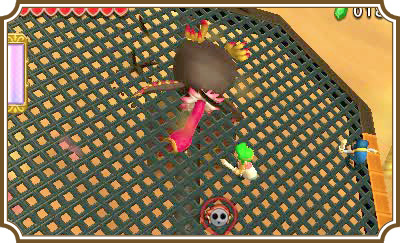
When Vulture Vizier leaves its perch and starts flying over the platform, immediately race over, Boomerang the Doppel Link, and then wait on the solid platform on the south side of the room. Sometimes Vulture Vizier will drop cat statues, which will unbalance the platform and drop one or both Links into the clouds below.
Repeat this process several times until Vulture Vizier starts violently flashing red. Vulture Vizier will fly over the platform and fall directly onto its center. Hit it with your sword about five times and the fight will be over.