
The Legend of Zelda: Tri Force Heroes Guide Clothing Quest World 4: Ice Cavern
Level 3: Silver Shrine
ChallengesWin without using a sword Halved attack and defense Evade the Wallmaster Sub-Weapons
Materials
Recommended Outfits |



You’ll get to use a new Sub-Weapon in this level: The enemy-pounding, peg-smashing Magic Hammer. This Sub-Weapon is mostly used to smash down spring pads or pegs, but it can also be a pretty effective method of attacking.
If you took the time to get the Cozy Parka from Madame Couture’s, equip it. If not, you can stick to general Outfits like the Legendary Dress to get you through the stage.
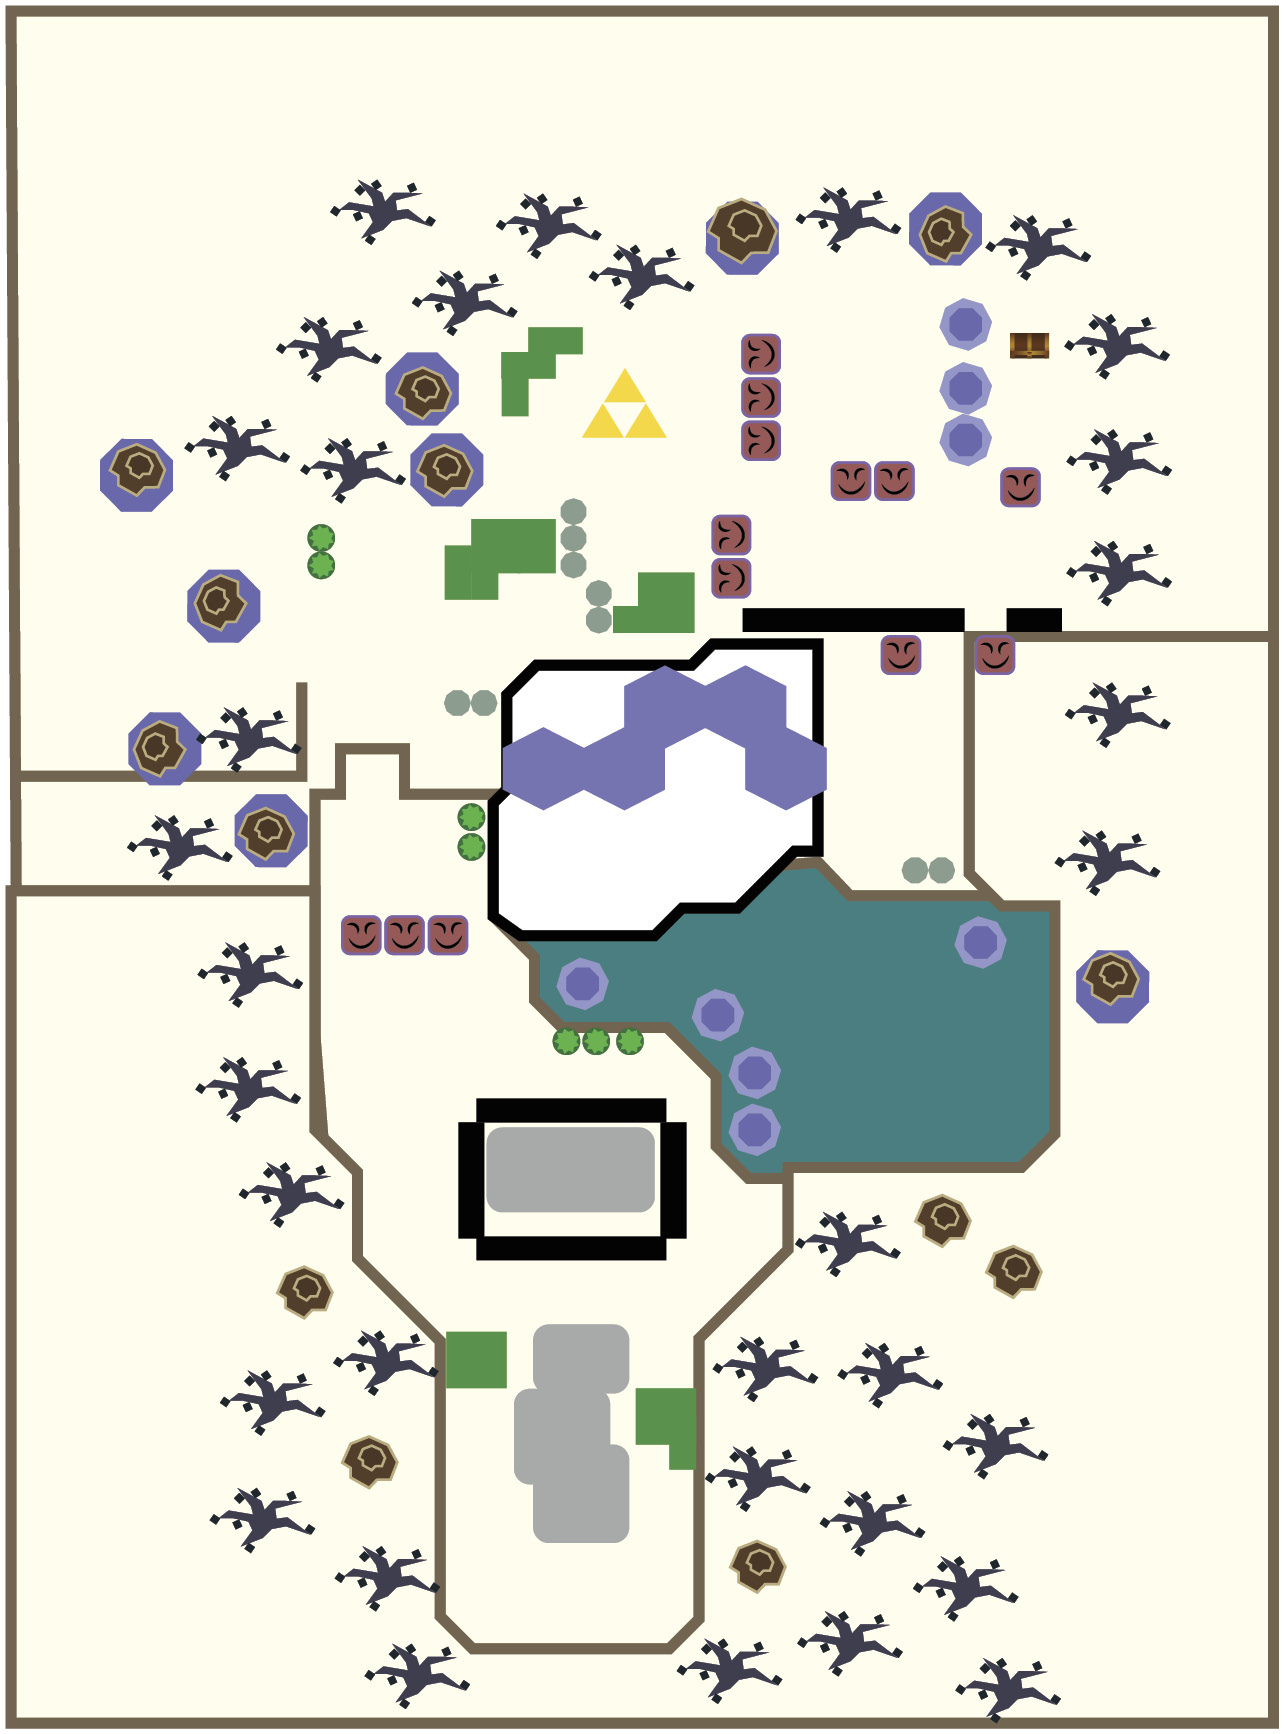
Room 1
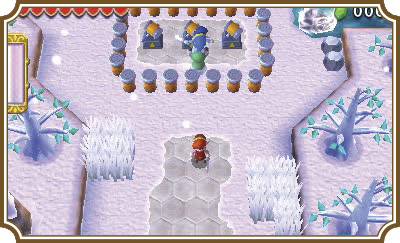
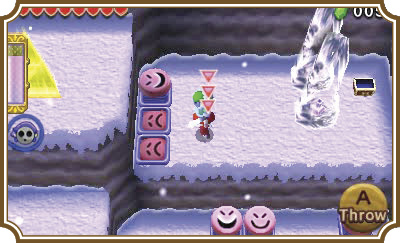
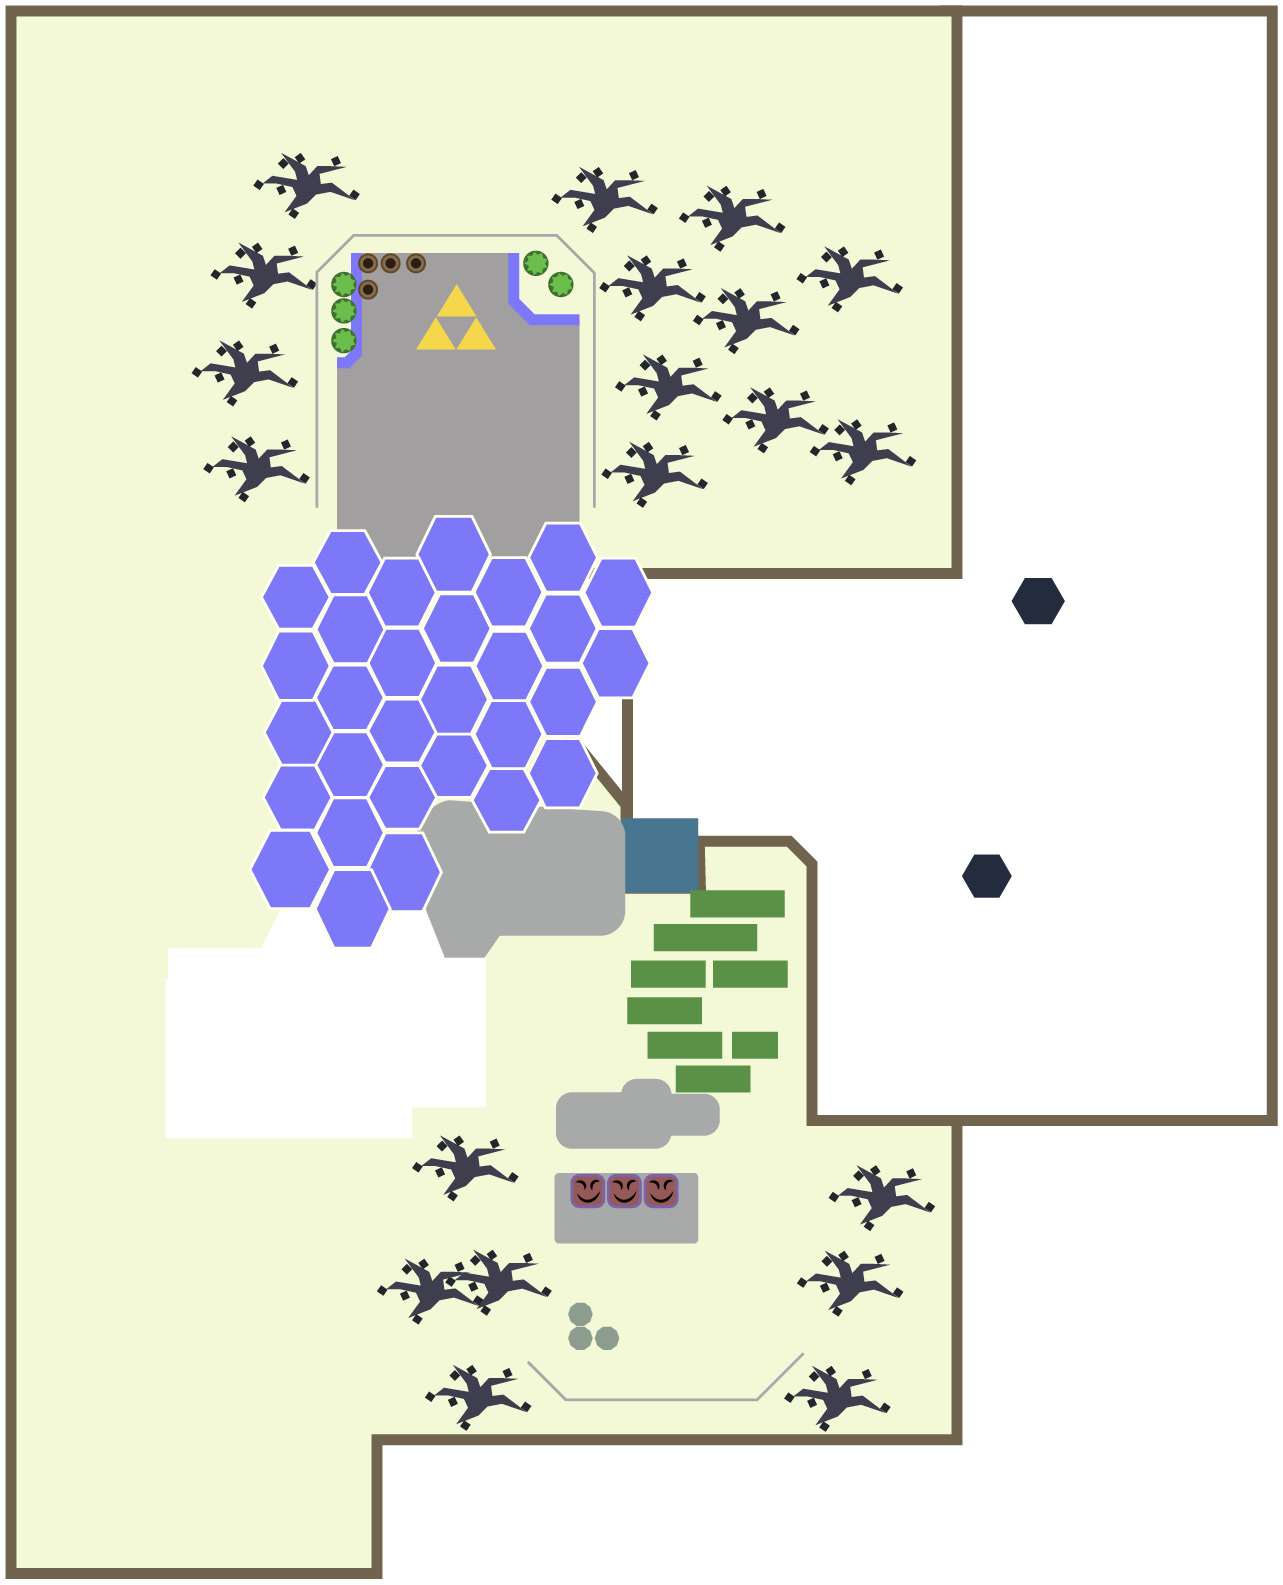
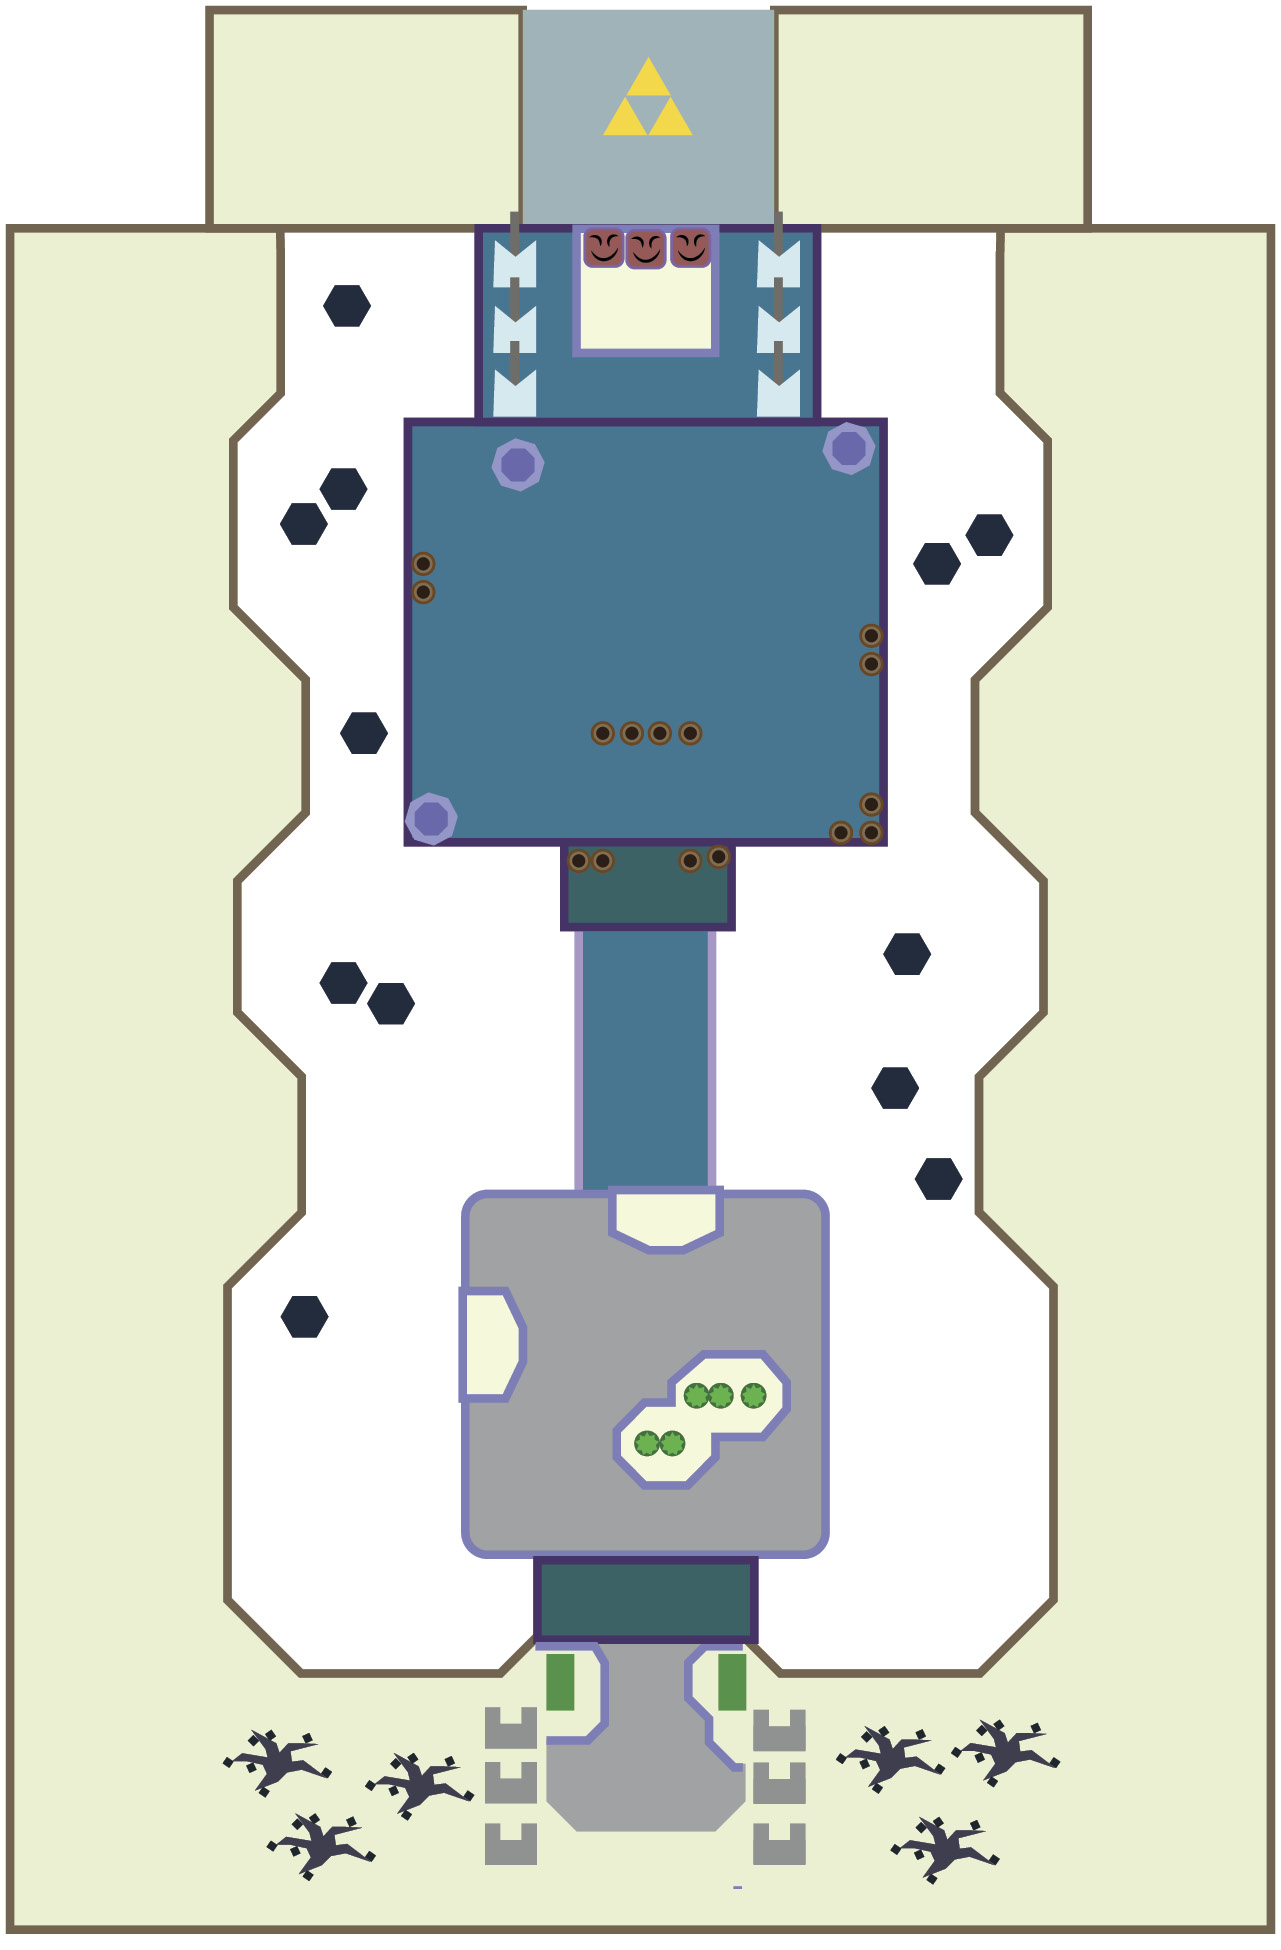
Head north from your starting position to find three Magic Hammer Sub-Weapons surrounded by a fence of pegs. Pick up your Links and throw them over to the Magic Hammers, then have the Hammer Links smash the pegs to let your third Link get his hands on the Sub-Weapon.
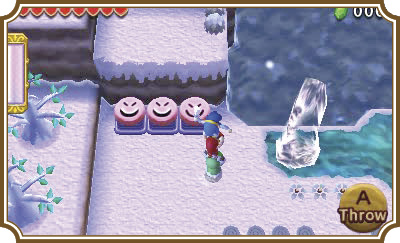
The Magic Hammer can destroy icicles and, as you already saw, flatten pegs. It can also be used to smash down the smiling spring platforms you’ll see littered all over the room.
Speaking of which, your next destination is the spring pads in the northwest corner of the room, but if you head east, past the icicles, you’ll find a Squiddy. Wring that gelatinous treasure trove free of all of its Rupees, then head to the spring pads.
The spring pads work by smashing them down with the Magic Hammer, then standing on top of them. After a moment, the spring pad will launch you into the air, almost always to a landing above you. Unfortunately, these are only for one person at a time, so either Totem up or have each Link stand on his own spring pad.
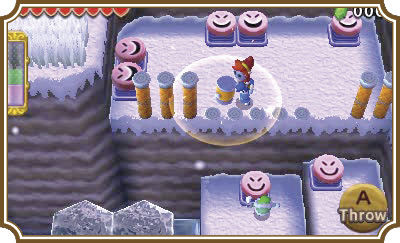
Walk across the ice sheets to reach the east side of the room. You’ll find two spring pads at two separate heights. Only one of them will launch your Links onto the landing above right now, but not all of your Links can reach it at the moment. Make a three-Link Totem and throw the top two Links onto the upper platform. Have both Links use the spring pad to reach the landing above, then have them make a two-Link Totem. Now have the top Link hammer down the pegs directly above the lower spring pad. Your remaining Link can now rejoin his pals.
This area is worth exploring a bit to find treasure. When you’re done, use the northern spring pads, then jump onto the set of spring pads on the left side of the landing to reach the Triforce gateway.
Room 2
Have all the Links use the spring pads at the start of this room. As soon as all three Links are on the next landing, seven Terrorpins, crimson-shelled turtles, will appear. The only way to defeat these enemies is to flip them over by smashing your Magic Hammer down next to them. The Hammer’s shockwave will flip them on their backs, leaving their vulnerable bottom half exposed. Slash them with your sword and you’ll make short work of them.
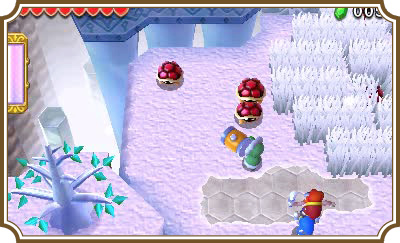
When all seven Terrorpins have been defeated, the platform with the diamond symbol will lower and become an elevator for you and your Doppels or teammates. Eight more Terrorpins will appear on the ice sheets on the north side of the level. Ride the platform to reach them.
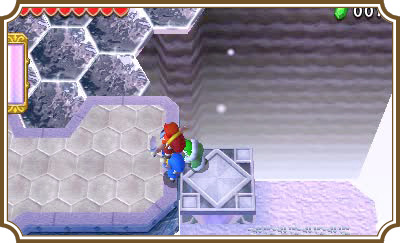
You’ll need to be very careful while fighting the Terrorpins on the ice sheets. The ice sheets can take a couple of hits with the Hammer and still hold, but any more than that and they’ll shatter. To make matters worse, the Hammer’s shockwave can hit more than one ice sheet at a time, so if you go crazy with the Hammer, you can run out of ice sheets swiftly. Only swing the Hammer when you absolutely need to in order to avoid taking fall damage.
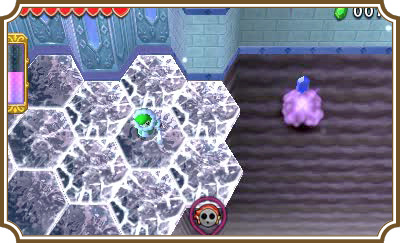
Once all the Terrorpins have been defeated, a wall to the north will lower, revealing more smiling spring pads. Use them to reach the Triforce gateway out of this room.
Room 3
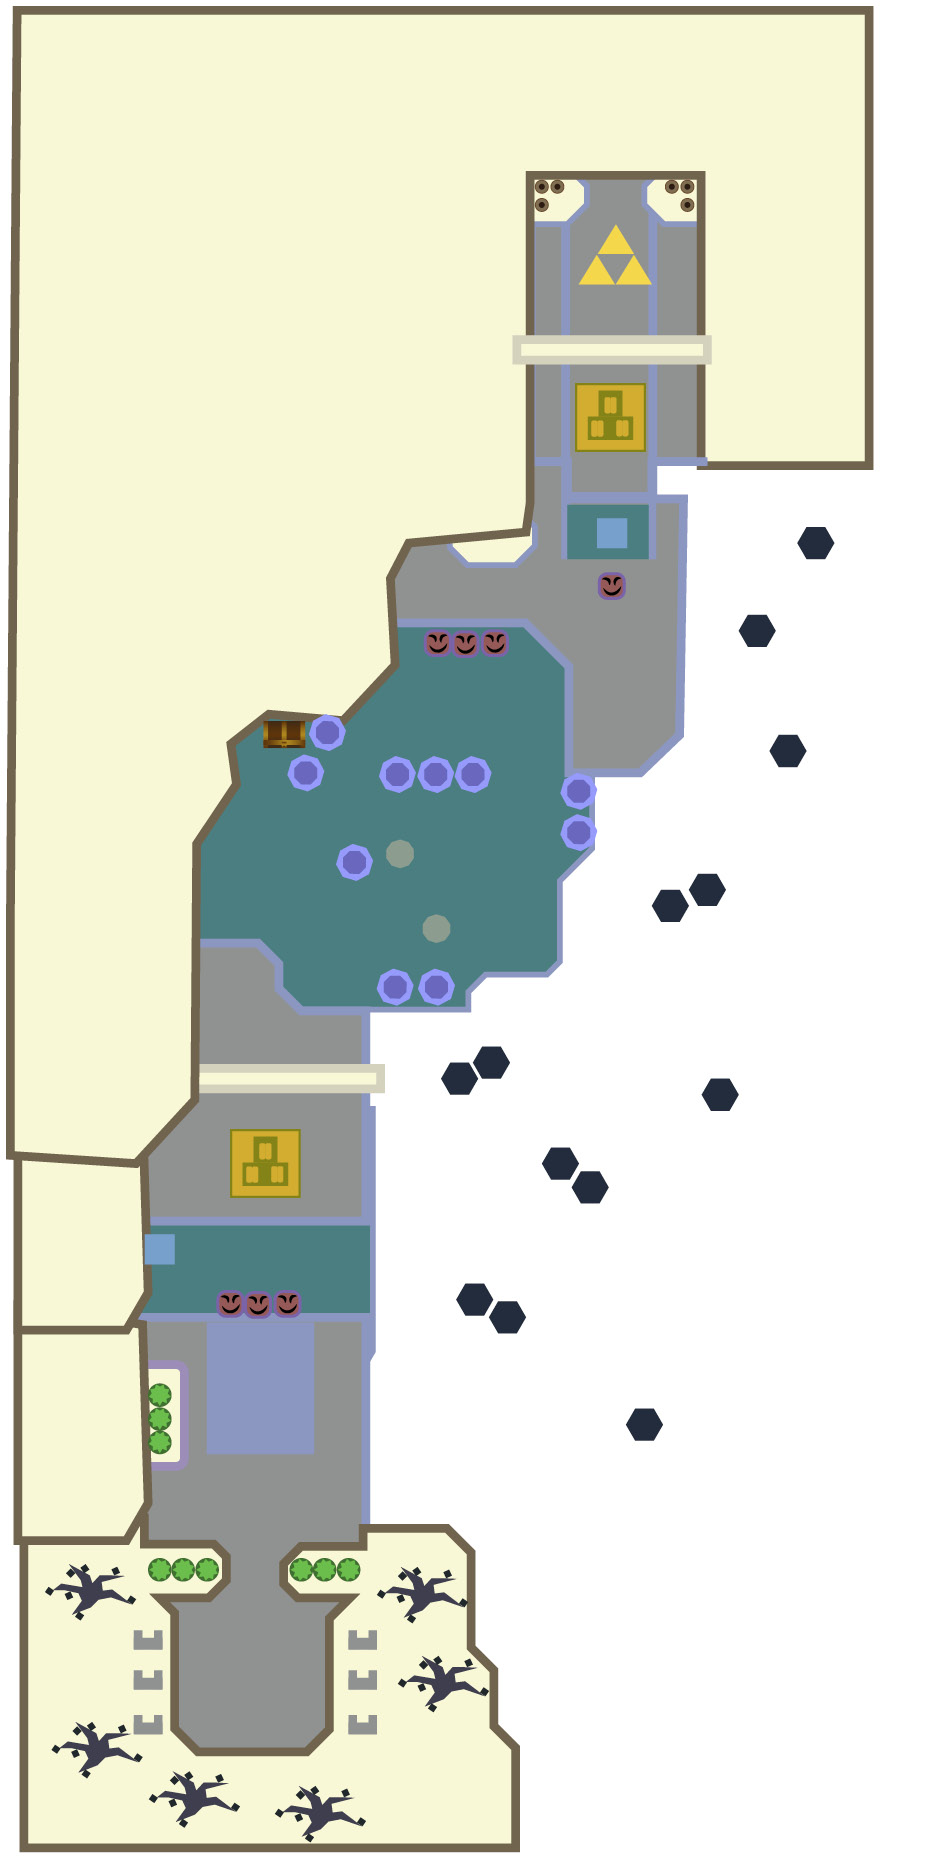
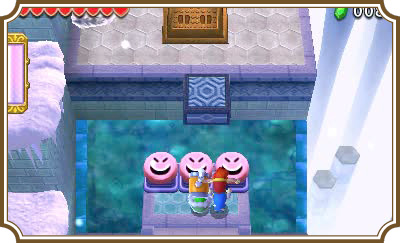
Head north until you reach another set of spring pads, taking out the two Terrorpins on the way. You’ll see a moving platform just above the spring pads. You need to time when you smash the spring pad down so that it will launch right as the platform passes. The easiest way to do this is to smash the middle spring pad right as the platform passes it. As the platform comes back, you should launch into the air and land right on it.
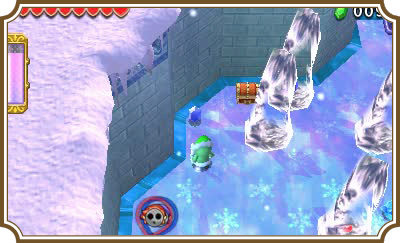
Have all three Links stand on the three-man pressure switch to open the gate ahead. The Cozy Parka will make this part of the room a lot simpler. Most of this area’s lower level is covered in ice. You’ll find a few enemies, but there are plenty of little treasures littering the area in the icicles that are worth grabbing. You can use your Magic Hammer to break the icicles and grab the items, then use the spring pads on the northeast side of the area.
You’ll encounter an extra tall spring pad and an orb switch on the landing above. In order to hit both items, you’ll need to make a two-Link Totem. If you use your Hammer between both items you’ll activate the orb switch and smash the spring pad down. The orb switch causes a platform to appear, giving you something to land on when the spring pad launches.
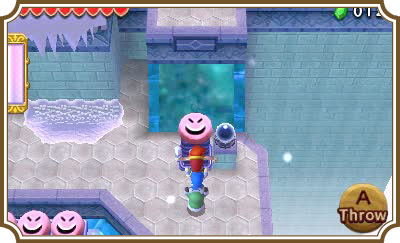
As soon as you hit the switch and the pad, have your lone Link pick up the two-Link Totem to make a three-Link Totem, then stand on the spring pad. Make a point to smash the spring pad down before hitting the orb switch. It’ll make it a lot easier to reach the top than hitting the orb switch first, or hitting them at the same time. Stand on the three-man pressure switch at the top of the room to open a gate and reveal the Triforce gateway.
Room 4
Head north down the ice ramp ahead. Once all three Links are on this lower platform, new enemies called Deadrocks will appear. These speedy lizards will turn into statues any time you hit them. The only way to defeat them is to smash them with your Magic Hammer while they’re in their statue form; you can also knock them off of the platform to defeat them if you’re feeling particularly malicious. The timing on this is really tight, so the second the Deadrocks become statues you’ll need to be on your way to smashing them.
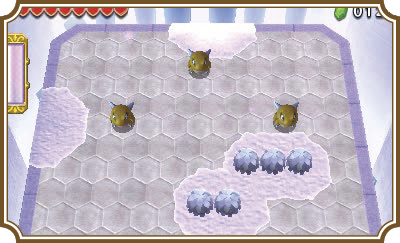
Once you’ve defeated the Deadrocks, a bridge will extend and give you access to the north side of the room.
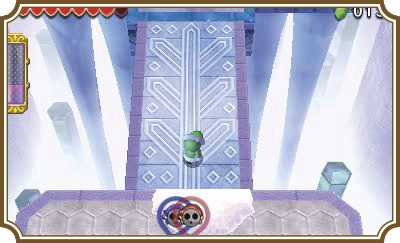
Continue north until you reach an ice platform. You’ll have to fight three more Deadrocks, which is easier said than done on this slippery ice. You’ll have to try even harder to get to the Deadrocks before they switch out of their statue form while you’re on this ice. As if this fight wasn’t tough enough, hitting the Deadrocks with your sword while they’re in statue form will send you flying backwards. If you happen to be anywhere near a ledge, you’ll unquestionably fall off of it and take damage. This is where the Cozy Parka helps the most. You won’t slip or slide while on the ice, meaning this fight against the Deadrocks is more or less the same as the last one.
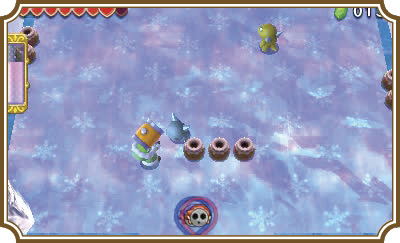
Once you’ve defeated the Deadrocks, the northern wall will lower and you’ll be able to reach the Triforce gateway on the north point of the room.