
The Legend of Zelda: Tri Force Heroes Guide Clothing Quest World 8: Sky Realm
Level 3: Dragon Citadel
ChallengesAvoid the volcanic rocks Halved attack and defense Don’t fall at alla Sub-Weapons
Materials
Recommended Outfits |




This is likely the longest level in the game, and it’s quite a challenge. There are plenty of tough enemies in it, which is why we suggest Hammerwear, at least for whichever Link grabs the Hammer. The Magic Hammer in the hands of a Hammerwear-wearing Link is a force of nature. Very few enemies can survive a direct hit from a Hammerwear Link’s giant Hammer.
The other Links can either wear the Sword Suit for added damage or Tingle Tights if you struggle with narrow platforms and wind tunnels. It also wouldn’t be a bad idea to bring the Legendary Dress along to keep your Heart Containers full. Whatever you choose, be ready for one of the toughest levels in the game.
Room 1
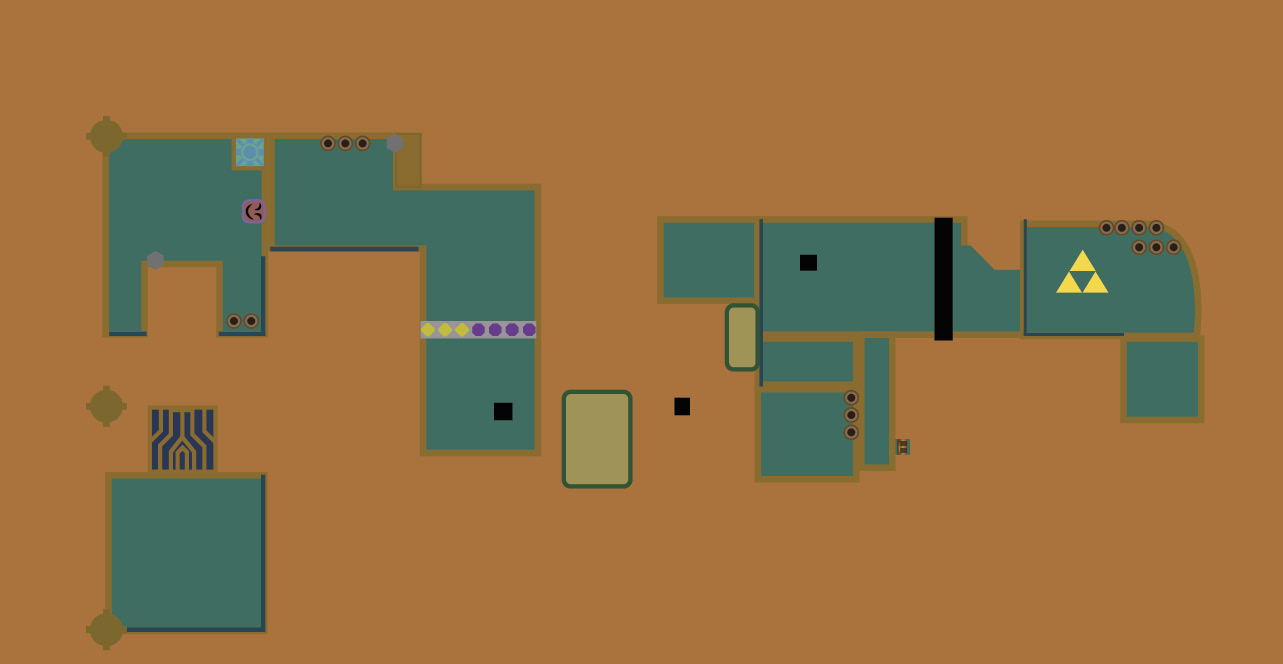
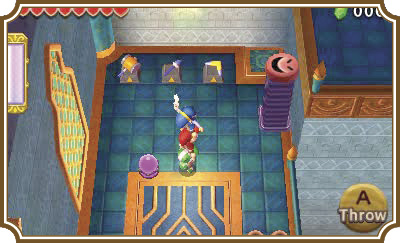
Have all three Links stand on the blue platform ahead, then slash the orb switch to activate the platform. The platform will take you up to the Sub-Weapons for this level.
Grab the Sub-Weapons, make a three-Link Totem with the Hammer Link on top, and then smash the spring platform to your right. Have the Totem walk onto the spring platform and wait for it to launch you up to the upper landing. Now hit the switch in the upper-right corner of the landing to open the gold gate on your right.
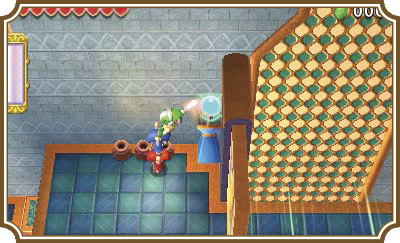
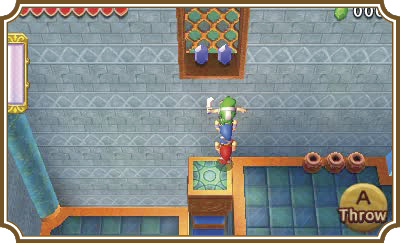
This will also activate a moving platform to your left, which will allow you to reach the blue Rupees on the ledge above.
Step into the wind tunnel to your right and let it push you against the yellow wall. Throw the top two Links north so that the wind pushes them back against the yellow wall.
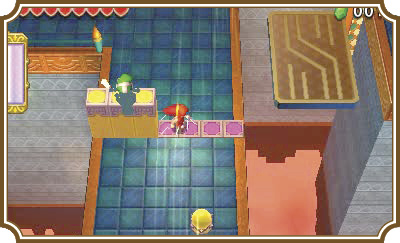
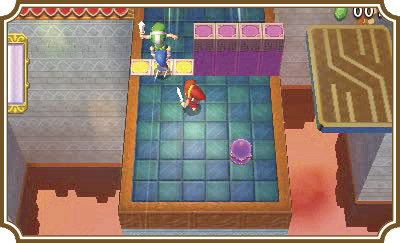
Have the lone Link hit the color orb below you to raise the purple wall, then grab your Totem as it slides south.
Throw the top two Links onto the golden moving platform to your right (making sure that your Boomerang is one of the top two Links), then use the Boomerang Link to pull the lone Link onto the golden platform as well.
Use the Boomerang Link to hit one of the color orbs on your left or right to raise the yellow wall again. This will block a wind tunnel to your right, which will allow you safely throw Links onto the landing on your right.
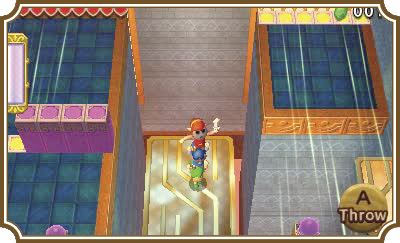
Make a three-Link Totem with the Boomerang Link in either the middle or the top position, then throw the top two Links onto the upper-right landing. Boomerang the lone Link off of the golden platform.
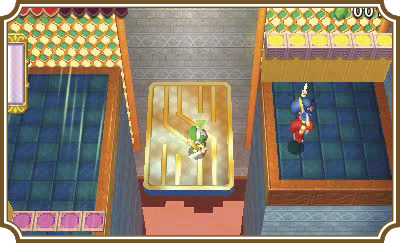
Make another three-Link Totem, this time with the Hammer Link on top, walk onto the small golden platform south of you, and ride the platform to the south landing.
Have your Boomerang Link hit the color orb on your left again. This will raise another colored wall at the top of the north set of landings, which will make it easier to climb.
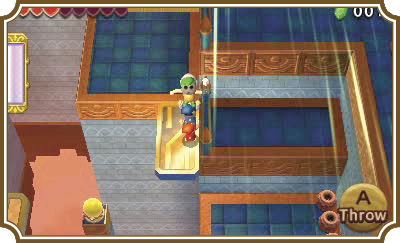
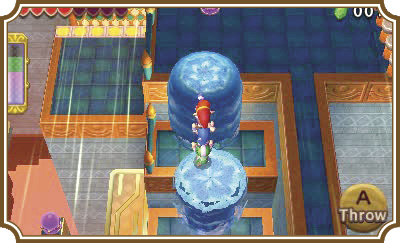
Make another three-Link Totem, but this time have the Water Rod Link on top. Have the Water Rod Link create water pillars up the landings until you reach the top.
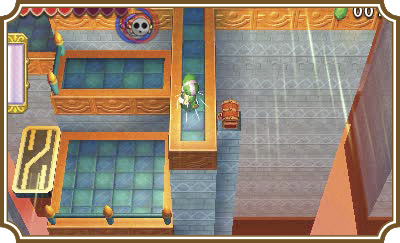
You can reach a treasure chest near the south end of this landing. Just have a Link slide down via wind power to the south tip of the landing and grab the treasure chest.
Take the Hammer Link to the right and smash down the pegs. Have all three Links cross the broken pathway on your right to reach a three-man pressure switch. Activate the switch to reach the Triforce gateway.
Room 2
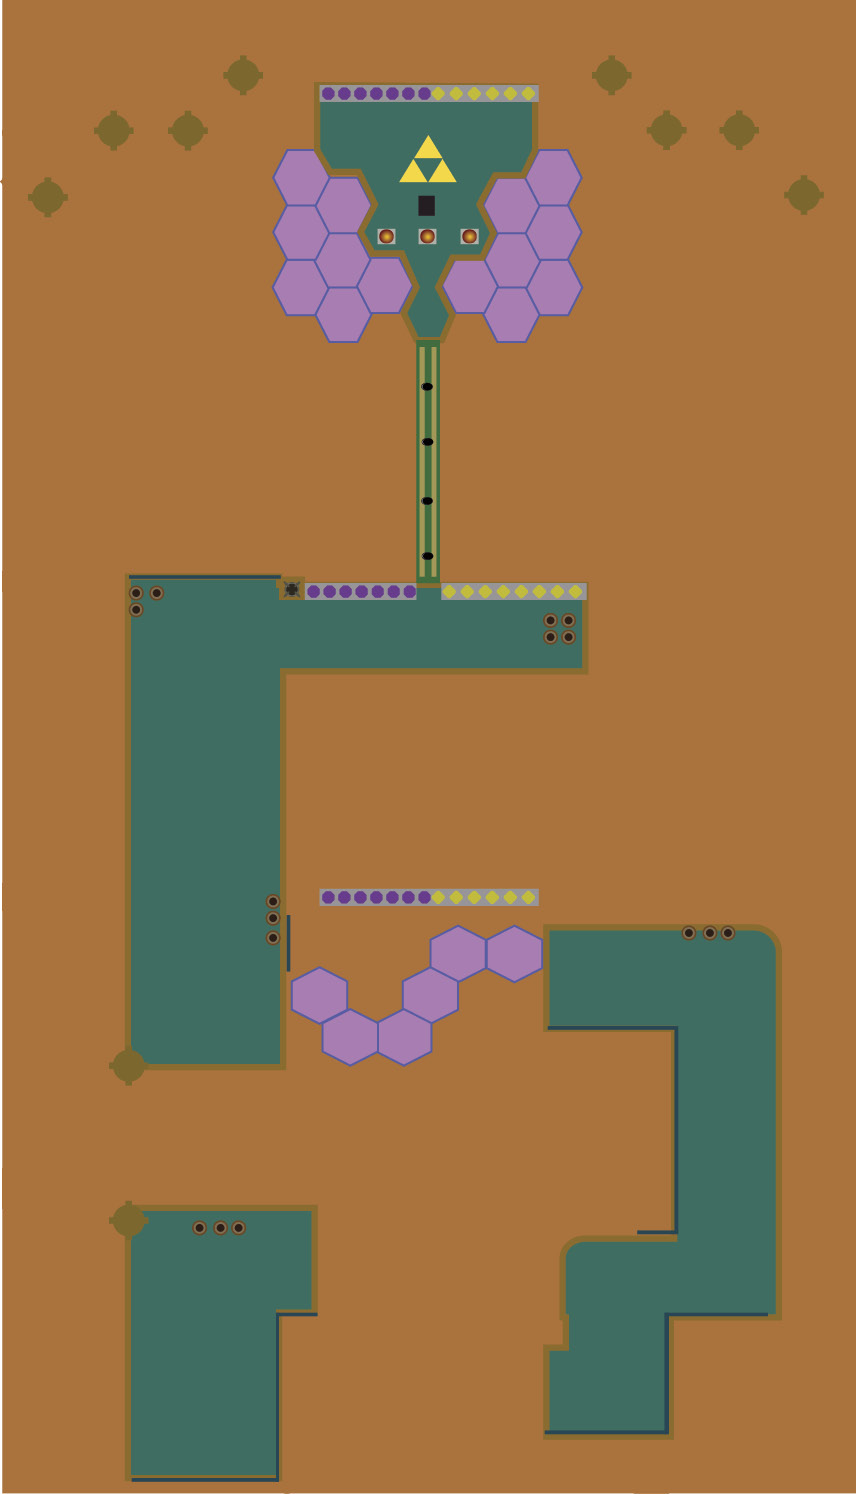
Unfortunately, this next area has disappearing platforms AND a wind tunnel blowing over it. It’s not as difficult as it sounds though. It’s like every wind tunnel you’ve done up to this point—you just need to wait until the platforms are reappearing on your side of the area before trying to cross them.
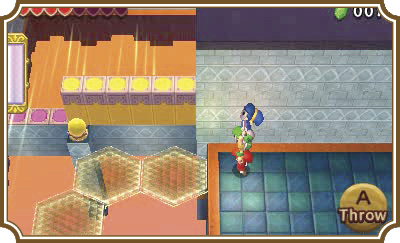
If you’re feeling confident, you can make a three-Link Totem and cross with all three Links at the same time. If you’re nervous about falling, however, you can just take it one Link at a time.
Once you’re on solid ground again, head north and defeat the Soldier ahead. This next part can get a bit tricky. You have to walk along platforms that look an awful lot like ice sheets while a wind tunnel tries to push you off of them. If you stand on these sheets for too long, they’ll break beneath your feet.
This is about as difficult as crossing the invisible platforms a moment ago. There’s a color orb switch that you can use to change where the wind is blowing, but don’t hit it! It’ll make things a lot harder if the wind is blowing on the first half of the platforms rather than the second half.
Either make a three-Link Totem and cross the platforms like you did with the invisible platforms, or take it one Link at a time. Once you reach the other side, you’ll find our good friend Squiddy. Extort Squiddy for all it’s worth, then head north.
You’ll find two more Soldiers on the north end of the corridor. Defeat them, then hit the color orb to switch it to purple. Make a three-Link Totem and head up the narrow pathway to your right.
There are three pressure switches and another wind tunnel here. This may seem tricky at first glance, but it’s pretty simple. Just have two Links stand on the two pressure switches that are not in the wind tunnel, then have the third Link step on the final switch.
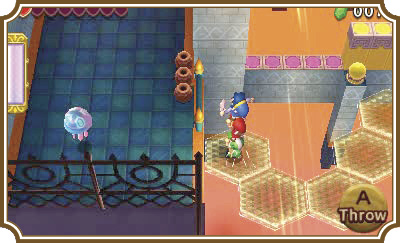
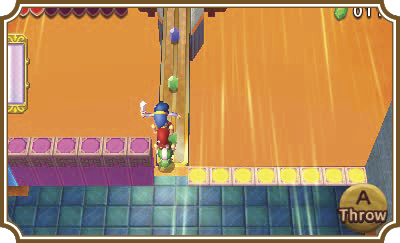
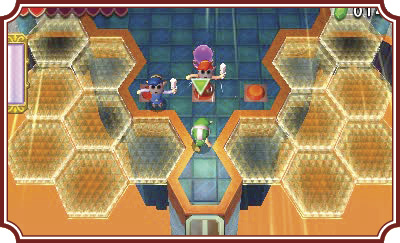
As soon as you hit all three switches, four Ice Wizzrobes will appear. This fight can get pretty mean if you’re not extremely careful. You’ll need to use the color orb to switch where the wind is blowing, but you’ll also need to keep track of where your other Links are. If you hit the color orb while your other Links are behind the wall that lowers, they’ll get blown off the edge and you’ll take damage. You’ll also have to be extremely careful not to get frozen by the ice waves from the Wizzrobes. Depending on where you are on the platform, you’ll likely be pushed off a ledge by the wind while frozen, meaning you take two Hearts of damage for every one ice wave that hits you.
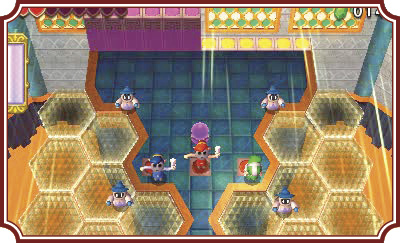
You can make this a lot easier on yourself by positioning the two Links you’re not controlling directly in front of the color orb. They’ll be safe from the wind’s effects here, meaning you won’t have to worry about them getting blown off the edge.
Once you defeat the four Wizzrobes, a Triforce gateway will appear on the north side of the platform.
Room 3
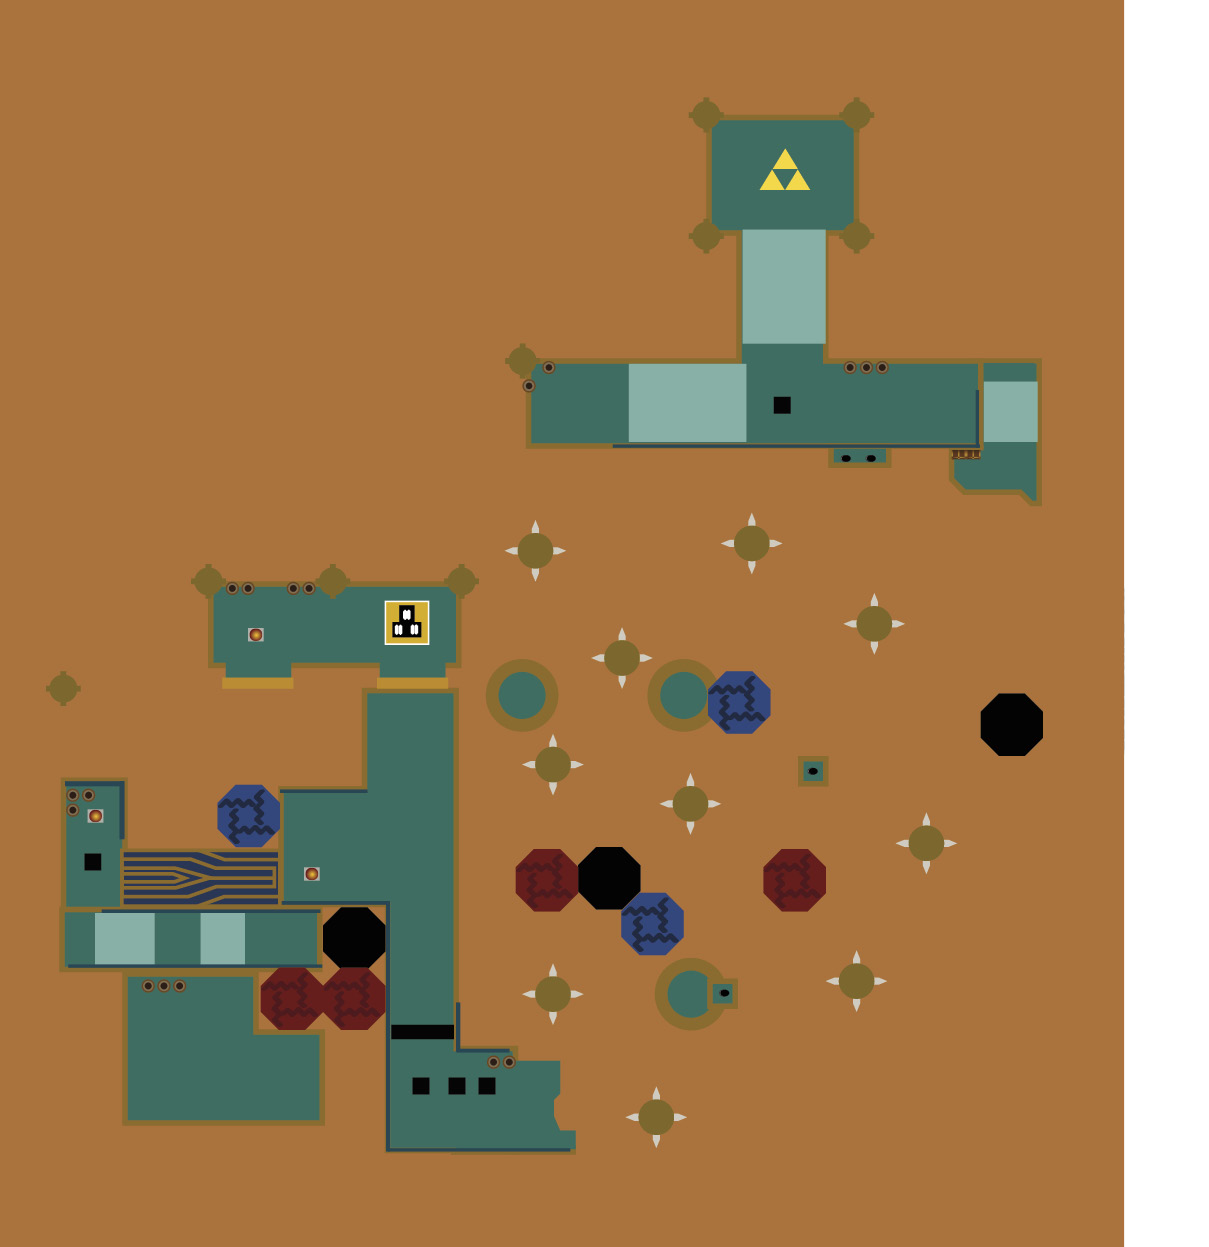
The platforms ahead are colored platforms, so don’t accidentally walk onto them with the wrong Link if you want to avoid taking damage. Make a three-Link Totem with the red Link on the bottom and the green Link in the middle. As soon as the red platform meets the green platform, throw the green Link onto the green platform. Now have the green Link pick up the Totem and carry all three Links onto the landing to the left of the green platform.
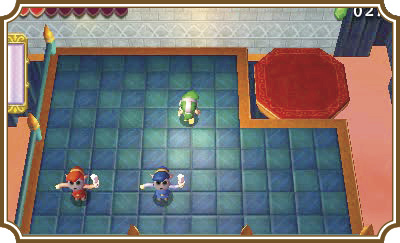
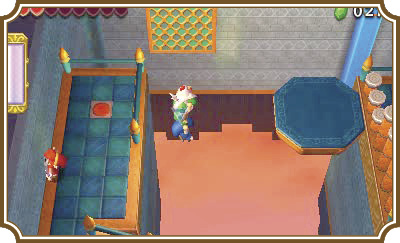
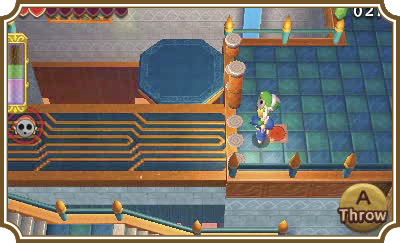
Head up the stairs and hit the pressure switch at the end of the path. A blue-colored platform will appear. You’ll need to get the Hammer Link to the other side of the gap. To do that, if your Hammer Link doesn’t match the color of the platform, you’ll need to have the Hammer Link grab the nearby Cucco, then have the blue Link pick up the Hammer Link and jump off the ledge toward the blue platform.
Throw the Hammer Link over the short pegs on your right, or if the Hammer Link is blue, have him smash the pegs right then and there. Now hit the pressure switch just below you to create a bridge across the gap. Make a two-Link Totem with the Hammer Link on top and smash down the tall pegs to let all three Links pass unimpeded.
Defeat the Soldiers in the area, then switch to the Boomerang Link and target the orb switch on the north wall ahead.
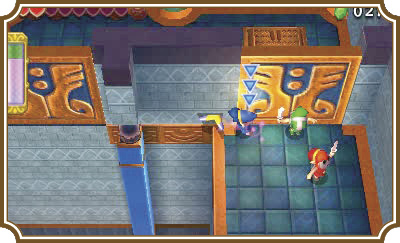
Switch to the Hammer Link, head south, smash the pegs, grab a Cucco, and go back to your other Links. Jump off the ledge to your left and fly through the passage on the north wall. Stand on the pressure switch to open the door on the right. Now have all three Links stand on the three-man pressure switch to activate the wind turbines on the east side of the room.
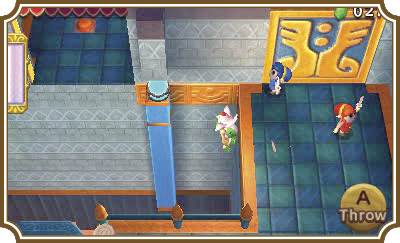
Head south back to the Cuccos. This next part is a bit tricky. You’ll need to grab a Cucco, then jump off the ledge and use the wind turbines to propel yourself higher into the air. That part is actually pretty straightforward. If you take your time to look ahead and figure out where the next wind turbines and platforms are, you shouldn’t have too much trouble with it. The challenge comes from the platforms you need to land on. They are colored, meaning only specific Links can land on each one.
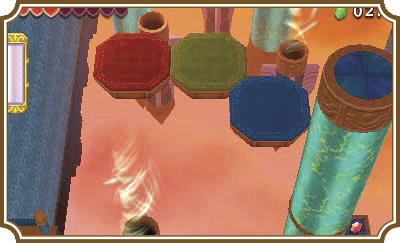
Your goal is to head to the north side of the area. There are Rupees scattered around the area, but you’d be better off ignoring them. Trying to go for the Rupees is what will do the most damage to you. Take it one Link at a time and just go straight for the north side of the room.
Hop off the landing toward the first wind turbine.
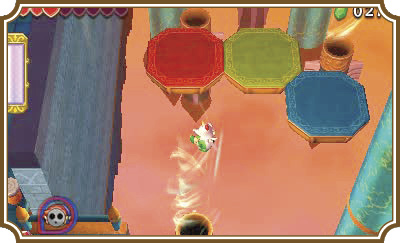
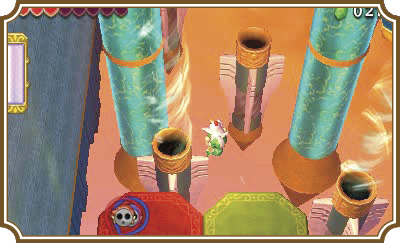
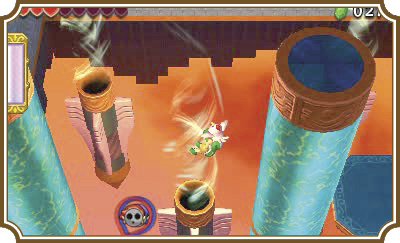
Now float over to one of the platforms ahead, taking care to only land on one that matches your current Link’s color. Now float to the wind turbine directly north of you.
Float to the turbine slightly northeast of you, then float to the turbine slightly northwest.
Now float to the landing north of you. You can head to the east side of the landing to find a couple of treasure chests. Once you’re ready, head through the north passage to reach the Triforce gateway.
Room 4
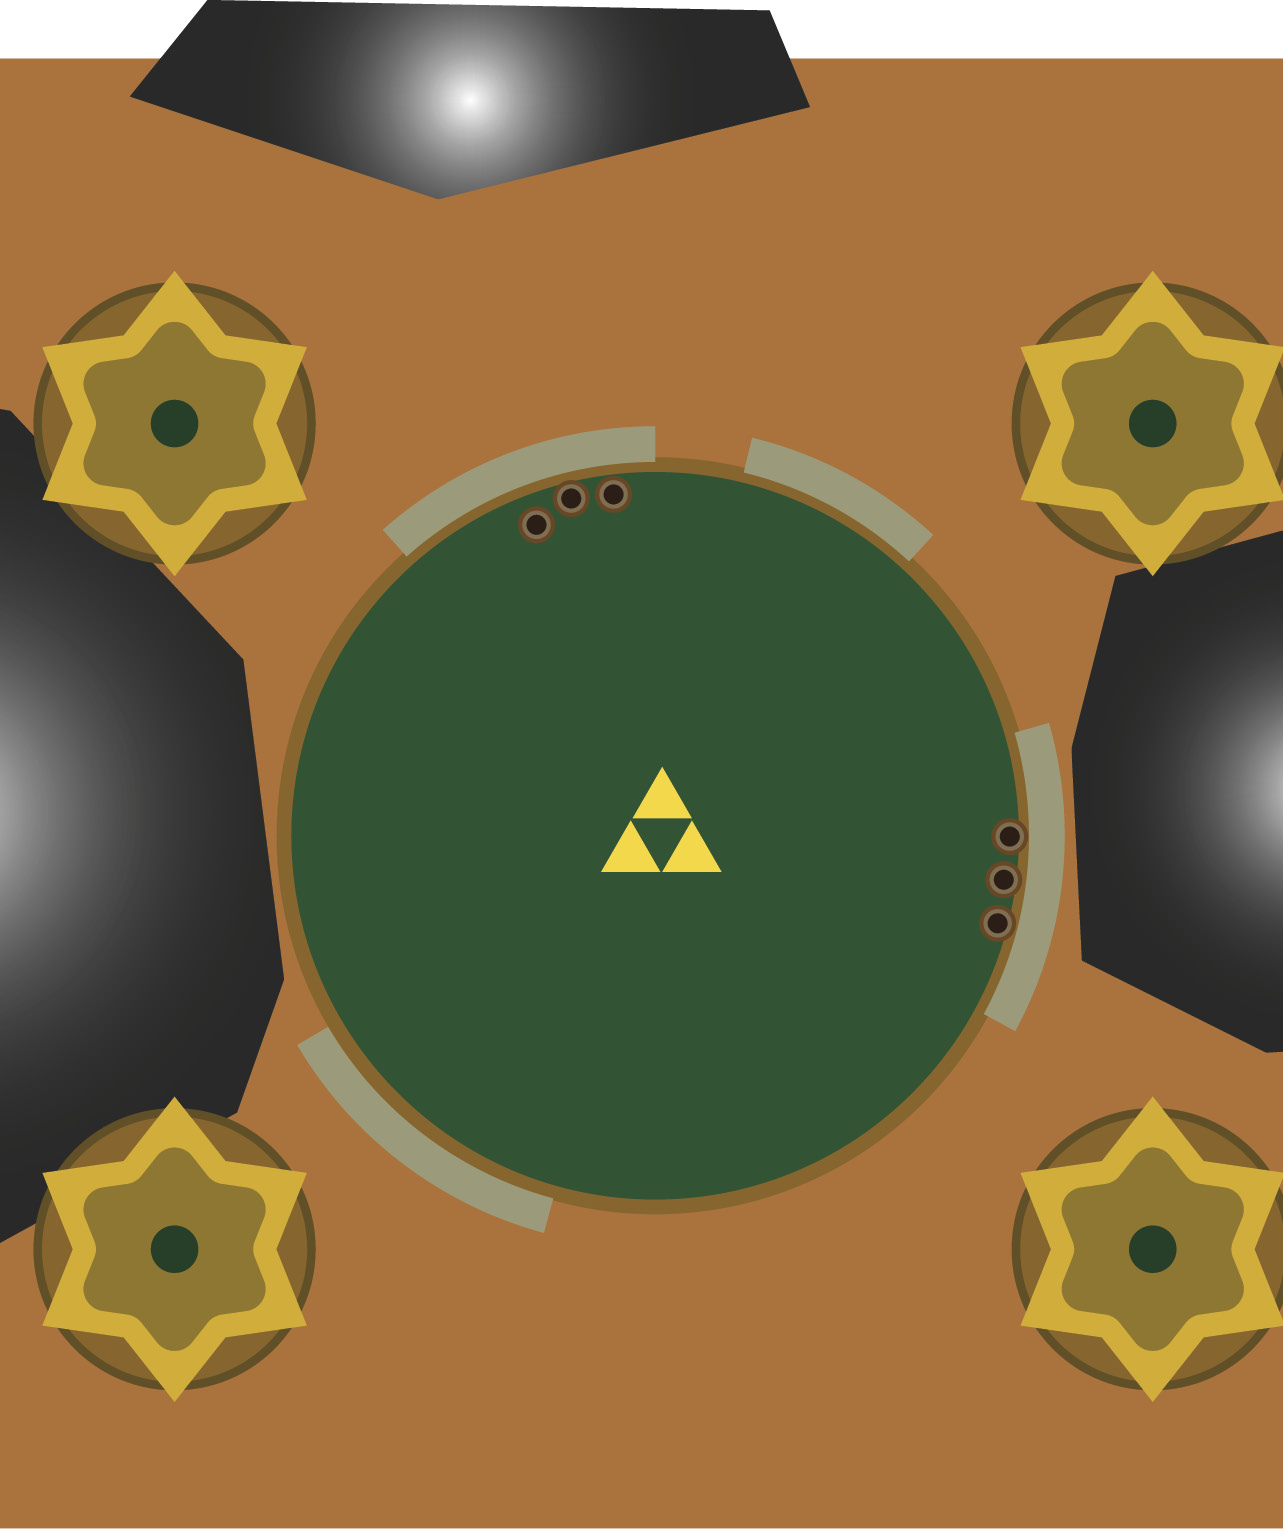
You’ll have to battle a new enemy here called an Aeralfos and they’re incredibly tough. They will flap their wings to create two mini-tornadoes that will zigzag across the room. They will also dive at you, then immediately fly back into the air. The attack you want them to do is a dive, followed by a three-swing sword combo. This is when you’ll have your opportunity to strike. You can either hit the Aeralfos with your Boomerang Link to stun it and then hit it once with your sword or, if you’re wearing the Hammerwear, you can Hammer the Aeralfos while it’s in the middle of its combo. Just watch out for its third swing in the combo—it’s a spin attack not unlike Link’s and it will definitely hit you if you’re near the Aeralfos when it performs this attack.
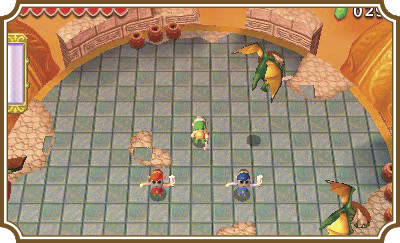
Once you defeat all of the Aeralfos in the room, the Triforce gateway will appear and you will have finished one of the toughest stages in the game. Congratulations!