
The Legend of Zelda: Tri Force Heroes Guide Clothing Quest World 1: The Woodlands
Level 3: Moblin Base
ChallengesPop all balloons Defeat all foes without a sword Transport the orb quickly Sub-Weapons
Materials
Recommended Outfits |




There are two Bows and a Bomb Sub-Weapon in this level, which is why we suggest using both the Kokiri Clothes and Big Bomb Outfit. You only need one Big Bomb Outfit, as the Outfit’s effects will only work on the one wearing the outfit. If you’re playing multiplayer, choose one player to wear the Big Bomb Outfit and have the other two pick the Kokiri Clothes. If you’re playing single-player, you’ll want to bring the Kokiri Clothes instead of the Big Bomb Outfit: They’ll help you solve a challenging puzzle near the end of the level a lot easier.
Room 1
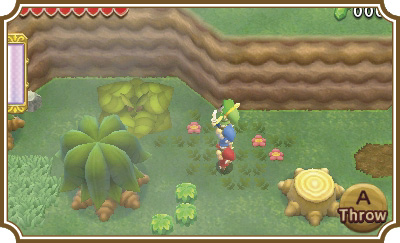
At the start of the level, you can head to either the northeast or northwest corners of the area to find giant leaves that will carry you to this level’s Sub-Weapons. Have each Link grab a Sub-Weapon, keeping in mind that only the Links wearing Kokiri Clothes should pick up Bows, while the Big Bomb Outfit-wearing Link should grab the Bombs.
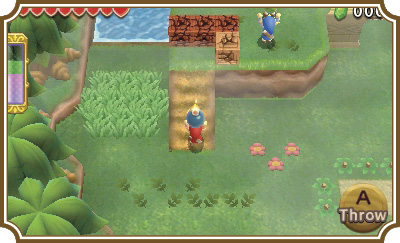
Just northwest of where you grabbed your Sub-Weapons, you’ll find four cracked blocks. Use your Bombs to destroy the blocks, then have all three Links meet on top of this plateau.
There are two orb switches, one on either side of the giant statues in the center of the river. You’ll need a two-Link Totem with a Bow user on top to hit these orbs. First pick up one of the Bow-using Links and throw him across the gap to the right of the statues. Have that Link line up with and face the switch on his side, taking extra care to have him stand on the platform directly in front of the switch. Now, as the Bomb-using Link, pick up the remaining Bow Link and point him at the first switch.
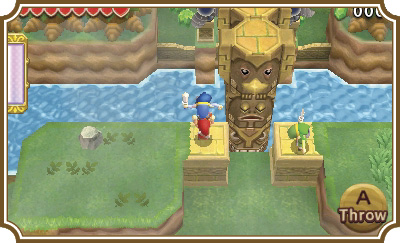
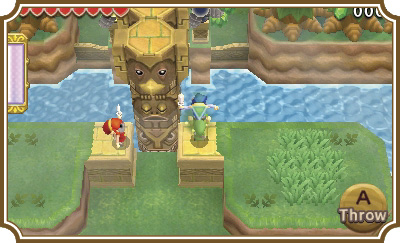
As soon as you have the top Link fire his Bow, turn and immediately throw him over to the Link across the gap. Have either Link make a two-Link Totem, face the second switch, and fire. If you timed it right, the statues will lower and you’ll be clear to head to the north side of the room.
Room 2
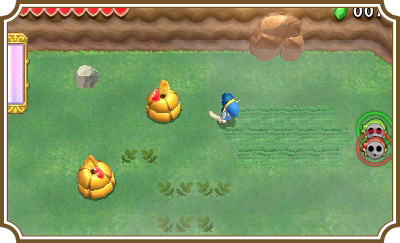
This room just requires you to defeat all the enemies in it in order to progress. You’ll find three Totem Dekus on the east side of the room.
On the north end you’ll find a couple of cracked walls that conceal treasure chests, a Buzz Blob, and a new enemy type: The Life Like. Life Likes are one of the most devastating enemies in the game when playing multiplayer, and a complete pain in single-player. The best way to defeat these glorified leeches is by using your Bombs. If you can land a Bomb inside a Life Like’s mouth, it’ll blow up like a squishy Dodongo. If your Bomb Link is too far away, just use your Bow and keep your distance. If this monster cheese puff gets its grubby little sucker on you, it’ll start eating you, draining your health in the process. If you’re on multiplayer and your teammates aren’t around, you’re in a whole lot of trouble. If you’re in single-player you can just swap to one of your Doppels to stop being damaged, but that doesn’t stop this guy from being a real pain. Take care whenever you see a Life Like or a Heart sitting on the ground inexplicably.
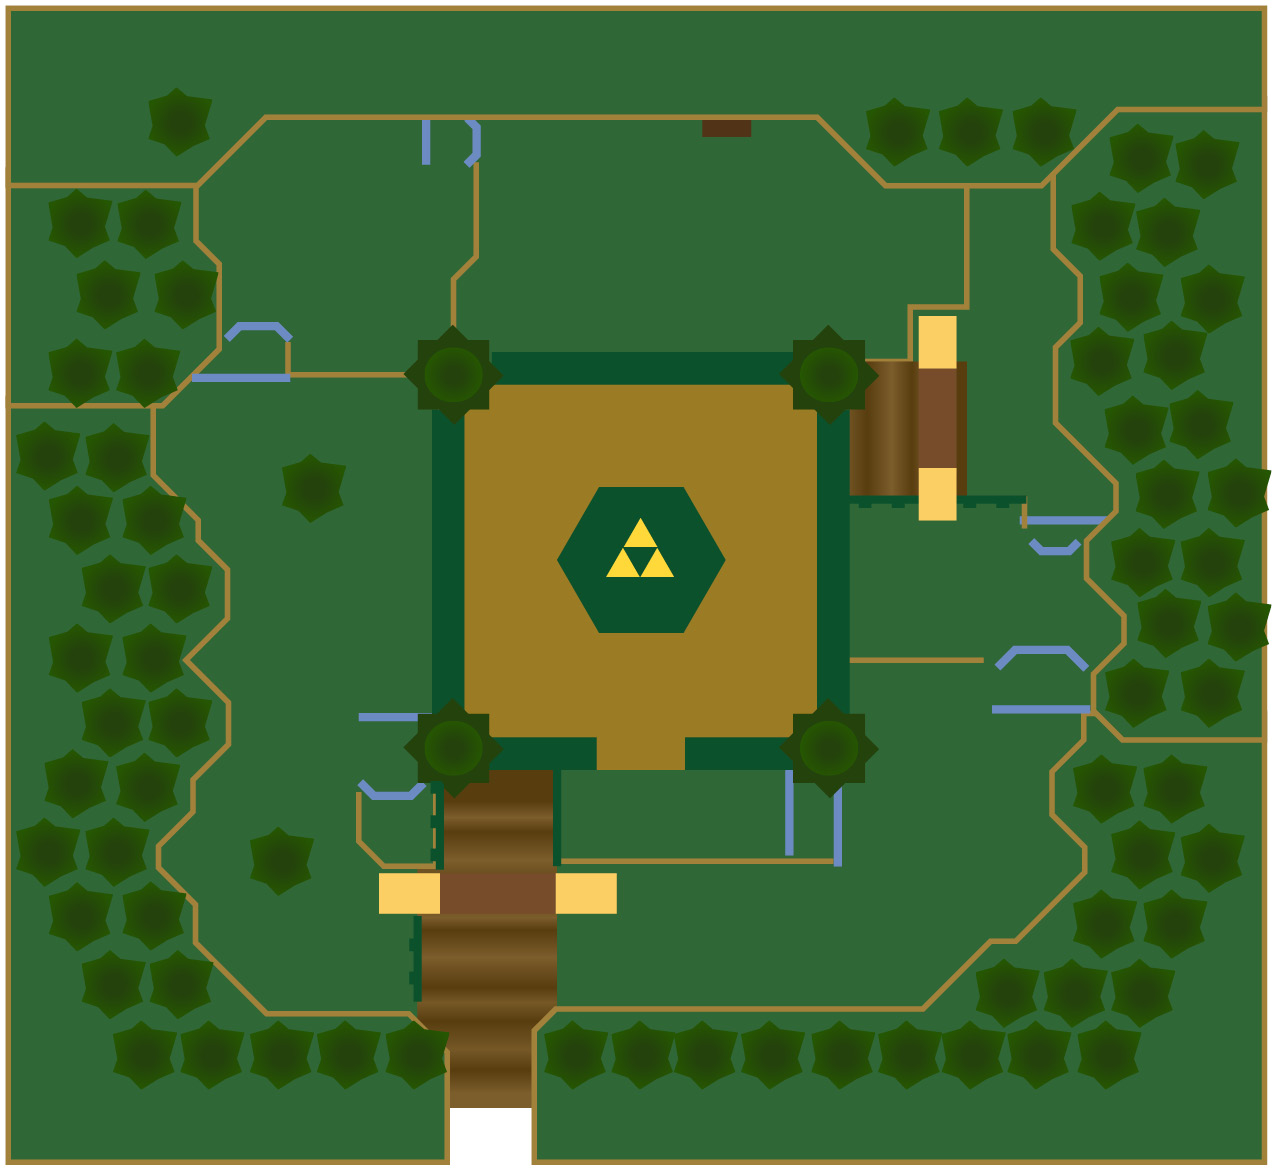
After defeating the Life Likes, head to the west side of the room and clear out the Buzz Blobs to reveal the Triforce gateway at the center of the map. The gates surrounding the fortress-like structure at the room’s center will open, allowing you to reach the Triforce gateway and another Squiddy.
Room 3
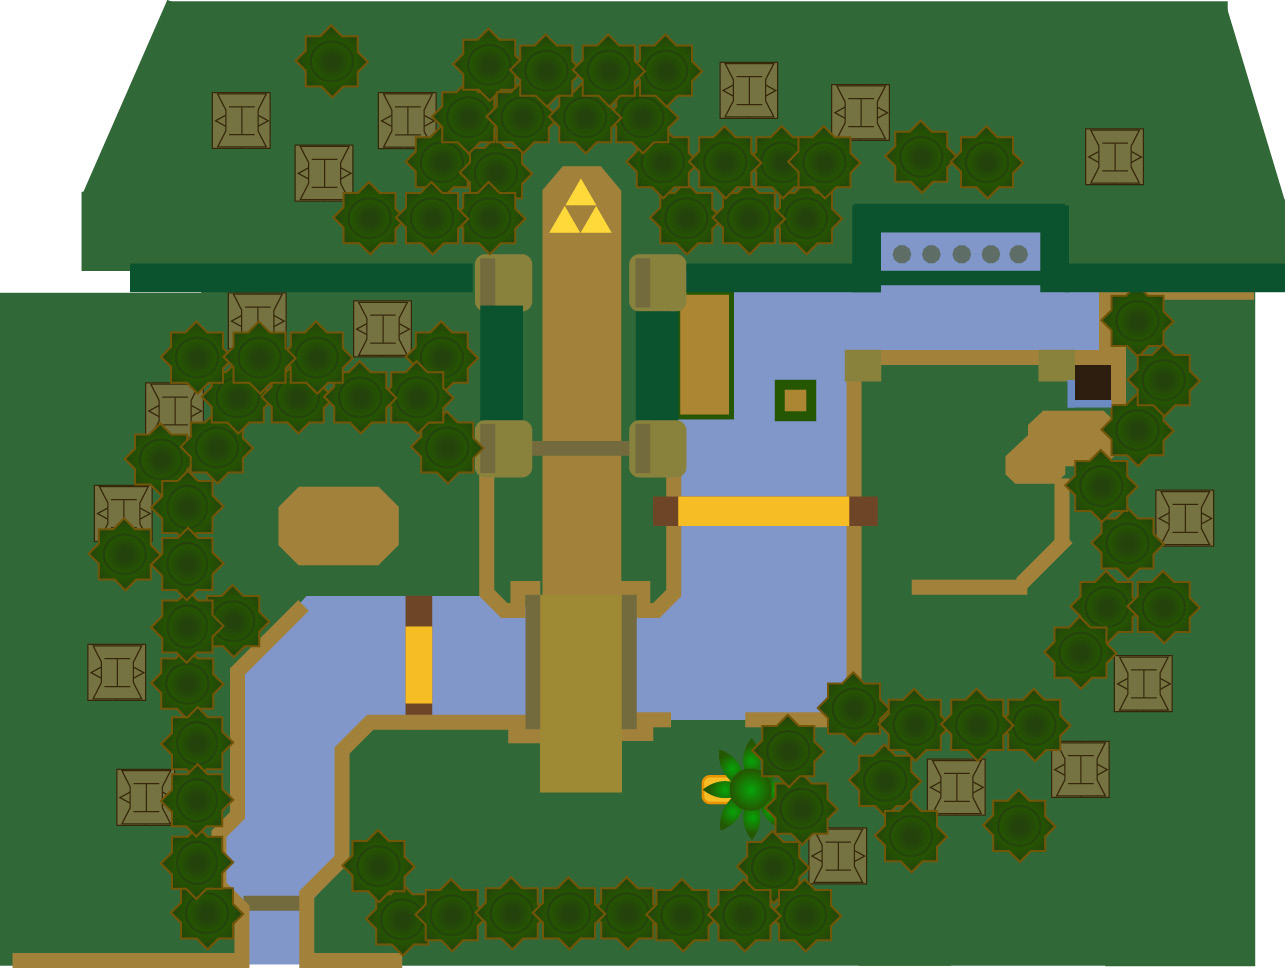
You’ll find two Blobs right as you enter the room. Take them out and head across the log to the south side of the room.
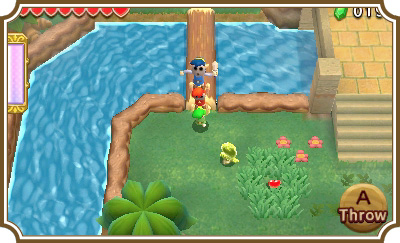
At the end of the log you’ll run into a Buzz Blob and a Heart conspicuously sitting in the center of some tall grass. Defeat the Buzz Blob and then quickly approach the Heart, stopping just short of picking it up, then walk away. If you did it right another Life Like will pop up out of the ground. It was trying to bait you into its spongy maw with a Heart! Defeat the Life Like in the same fashion you dispatched the last two, then head right.
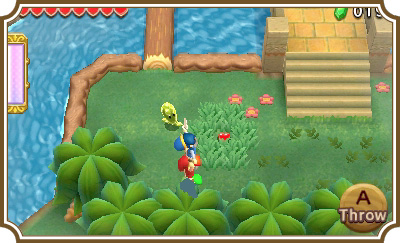
You’ll find another Totem Deku on the right side of this plateau. Defeat it, then cross the bridge.
On the other side of the log is a gate with a lock on it and a new enemy—the Spear-Throwing Moblin. These guys are cowards: If you keep marching toward this cowardly swine, they’ll back away from you and try to throw spears. The spears are pretty easy to dodge and the Moblins don’t move particularly fast. You can use your Bow to take them out at a distance or turn them into bacon strips with your sword.
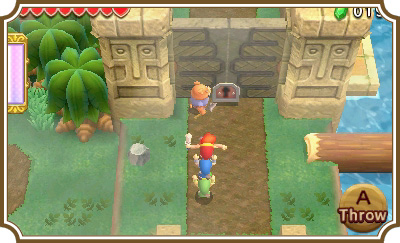
Take out the second Moblin on the log bridge to your right, then cross that very bridge.
Remember when we mentioned a challenging puzzle near the end of this level? Well, here you go! There is a large gate blocking five orb switches and an orb switch under a grate to the right of the gate. Have your Bomb Link throw a Bomb on top of the grate to hit the switch.
Once the switch has been hit, the gate will open to reveal the switches. This puzzle is pretty simple if you have the Kokiri Clothes on at least one of the Bow Links. In single-player, have the two Bow Links make a Totem, with the Link wearing the Kokiri Clothes (if you have them) on top. If you have the Kokiri Clothes, you’ll want to aim at the center switch. If you don’t, start with the far left or far right switch. Fire at each of the higher switches, throw the Link off the top of the Totem, and use the bottom Link to hit the lower switches.
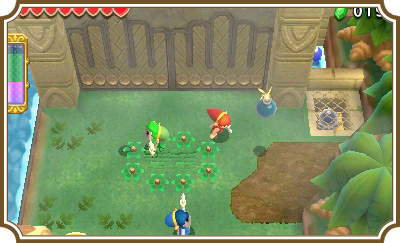
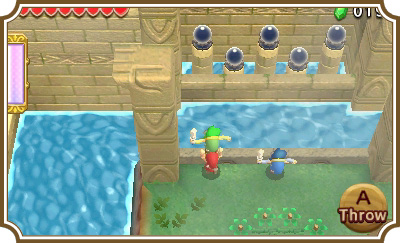
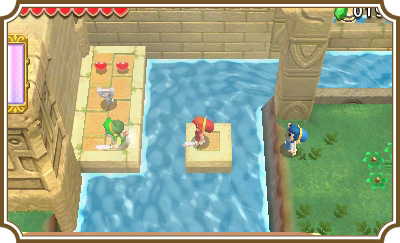
If you did it fast enough a key will appear across the river to your left. Now make a three-Link Totem, approach the edge of the river, just in front of the platform sitting in the middle of the river, and have the bottom Link throw the top two Links onto that river platform. Have the bottom Link of the smaller Totem throw the top Link to the platform with the key on it. Good work! The hardest parts are done.
Take the key and throw it to the Link on the river platform, then have that Link throw it to the Link back on dry land. March the key to the lock on the gate in the center of the room, open it, and stand on the Triforce gateway to head to the next room.
Room 4
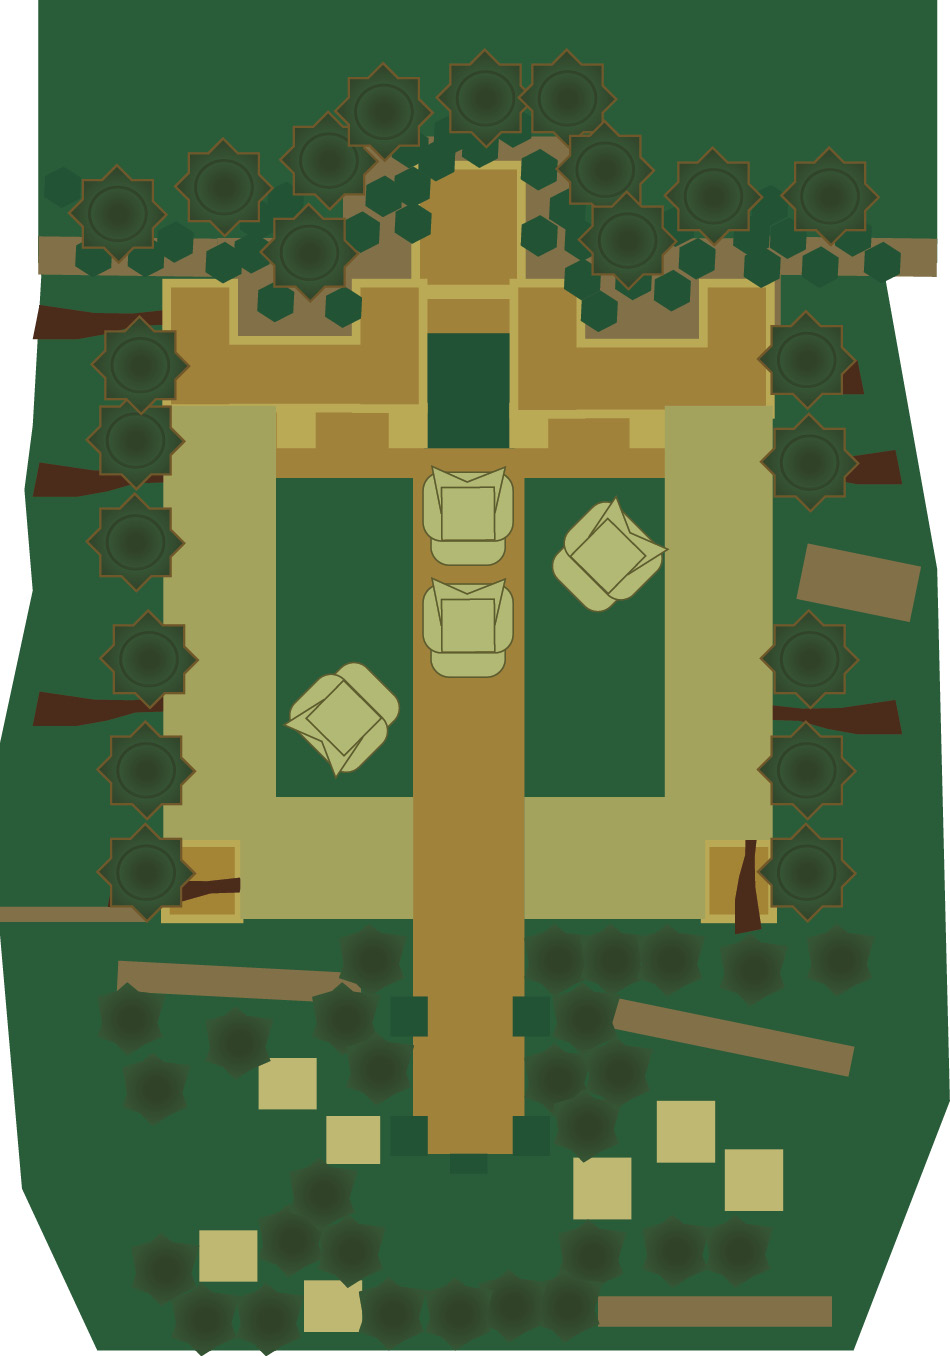
This is another combat-heavy room that requires you to defeat every enemy in it to get the Triforce gateway to appear. On the east and west sides of the room are towers that house Moblins. Ignore them for now; if you keep your distance from them you won’t have to worry about their attacks.
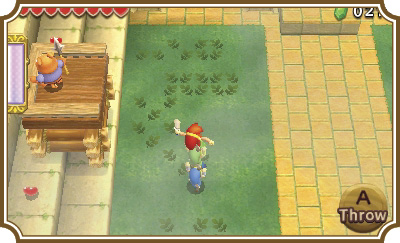
The enemies you have to watch out for are the Totem Armos-riding Moblins. These enemies work like Totem Dekus in that you need to make a Totem to defeat them. What makes them different is that they will march toward you while throwing spears, and when you defeat the pilot of the statue, the statue will spin toward you, exploding after a few seconds.
You can make this fight a lot easier by trying to take out any of the Moblins without Totem Armos before taking on the ones that have them. Just don’t linger in front of the towers for too long and you’ll be fine.
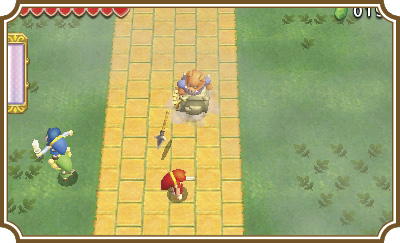
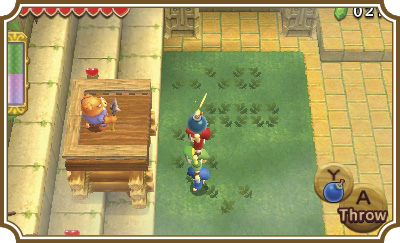
Once you’ve cleared the first set of enemies on the ground, another set will appear, including more statue riders. Defeat them and a final wave will appear. Take them out, then make a three-Link Totem and head toward one of the towers. There are a few ways you can deal with this: If you’re playing single-player, you can just throw your top Link onto each tower, switch to him, and defeat the Moblins. Doppels don’t take damage (unless they fall off of a cliff) and they can also be used as a throwable weapon if they land on an enemy. Switch to that Link and dice up the porkers to open the door to the Triforce gateway.
You can either throw the top Link onto the towers (which is risky and can easily get that Link knocked back to the ground), or you can put the Bomb Link on top of the Totem and have him throw Bombs onto each tower to make short work of the enemies.
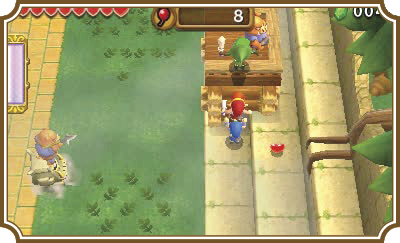
No matter what method you choose, when all of the Moblins have been eliminated, the door will open and the level will be complete. Head to room 5 and claim your prize.
Open for Business!
The Street Merchant will open up shop to the left of Madame Couture’s boutique. The Street Merchant has new Materials for sale every day, but the one to look out for is the Frilly Fabric. The only way to obtain the Frilly Fabric is by purchasing it from the Street Merchant and you need three of them if you want to purchase the newly unlocked Cheer Outfit from Madame Couture. Make sure to save up some Rupees and purchase these Materials whenever possible!