
The Legend of Zelda: Tri Force Heroes Guide Clothing Quest World 8: Sky Realm
Level 1: Floating Garden
ChallengesWin without using a sword Evade the Wallmaster Don’t fall at all Sub-Weapons
Materials
Recommended Outfits |




This level, and every other level in this world, is very challenging. Everything you’ve learned up to this point will be put to the test and you’ll even have plenty of new challenges thrown your way.
The Tingle Tights will help a lot in this level, because there are plenty of places to fall from and plenty of puzzles that have you dangling over pits and endless drops. There are also plenty of really challenging enemies to face in this level, so the Sword Suit is quite handy. To round it off, the Legendary Dress will keep your health as full as possible when everything else is trying to deplete it.
Room 1
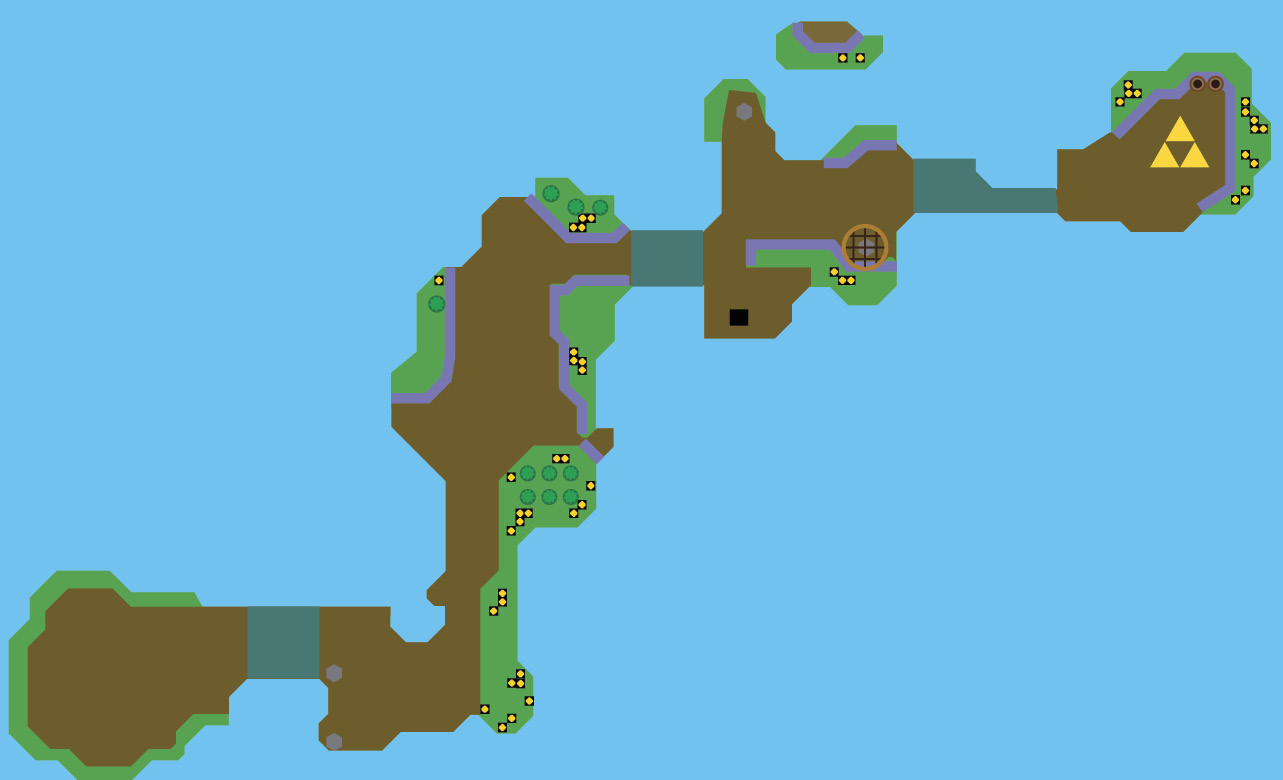
You’ll have to contend with strong winds in this level. The winds will gladly try to blow you off of any surface you’re standing on if you get in their path.
You’ll need to hit the two orb switches across the gap ahead in order to reach the landing on the other side. You need to shoot both switches with the Bow, but the wind will make your arrows fly at a curve. To hit both switches, stand in the positions illustrated in the following screenshots, then fire.
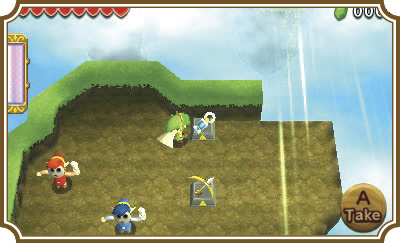
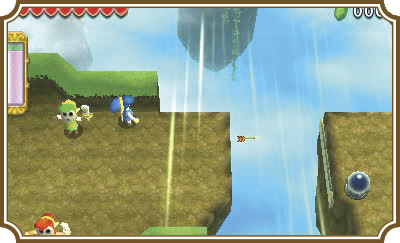
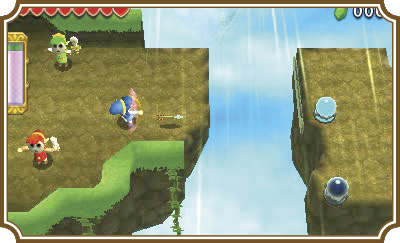
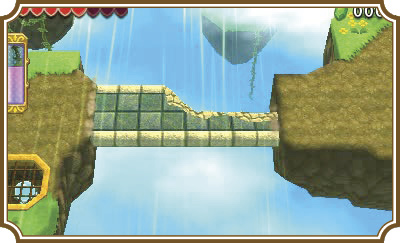
When both switches have been hit, a bridge will extend from the right landing and you’ll be able to cross. Just be careful while you do. The wind will knock you off that bridge faster than you can say, “I should’ve worn Tingle Tights!”
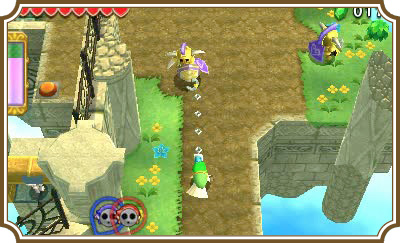
Head up the path and defeat the two Soldiers ahead. Throwing the Bomb Link on the elevated landing to your right and having him throw Bombs at the Soldiers is a slow, but easy way of taking them out without any real hassle. You can also use the Gripshot to rip the Soldiers’ shields away, making it harder for them to deflect your attacks.
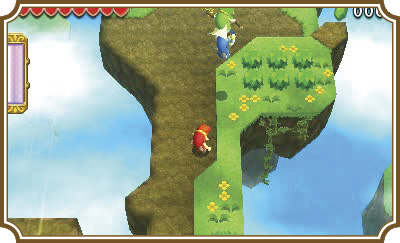
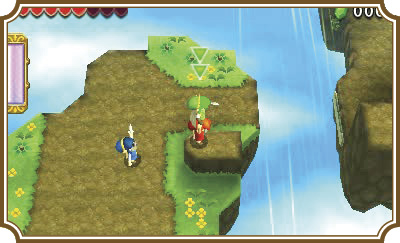
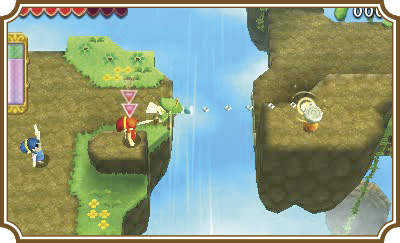
Once the Soldiers have been defeated, make a three-Link Totem with the Gripshot Link on top. Throw the top two Links onto the elevated platform to the right.
Now have the Gripshot Link hook onto the peg to your right to pull himself to the island on your right.
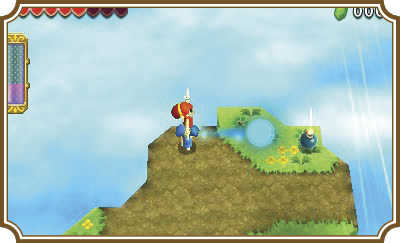
You’ll need to position your Gripshot Link near the orb switch on the top-left corner of the island. Now switch to your Bomb Link and have him throw a Bomb near the edge of his island. Quickly switch back to the Gripshot Link, grab the Bomb, and throw it near the orb switch on the top-left corner of the island to extend a bridge for the other Links to cross.
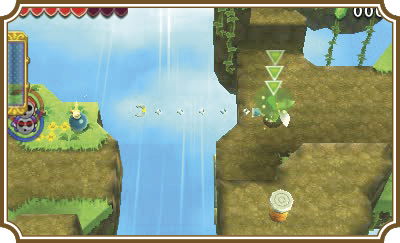
Move the other Links across the bridge onto the island on the right. You’ll need to activate the orb switch under the grate on the lower-right side of the island, but strong winds blowing over the grate will push your Bombs off the island. You’ll have to throw your Bomb above the grate and let the wind slide it over the grate. You can also wait for the Bomb to nearly explode, then throw the Bomb toward the grate and activate it that way, but you’re more likely to blow yourself up in the process. Regardless, the choice on how to handle the switch is yours.
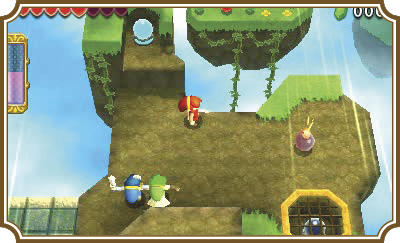
Once you activate the orb switch, a bridge will extend from the island on the right to your island. You now can reach the Triforce gateway on the other island.
Room 2
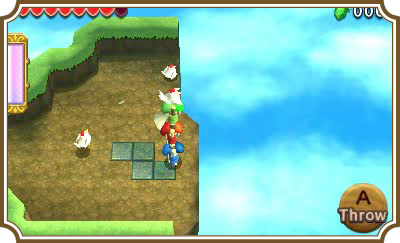
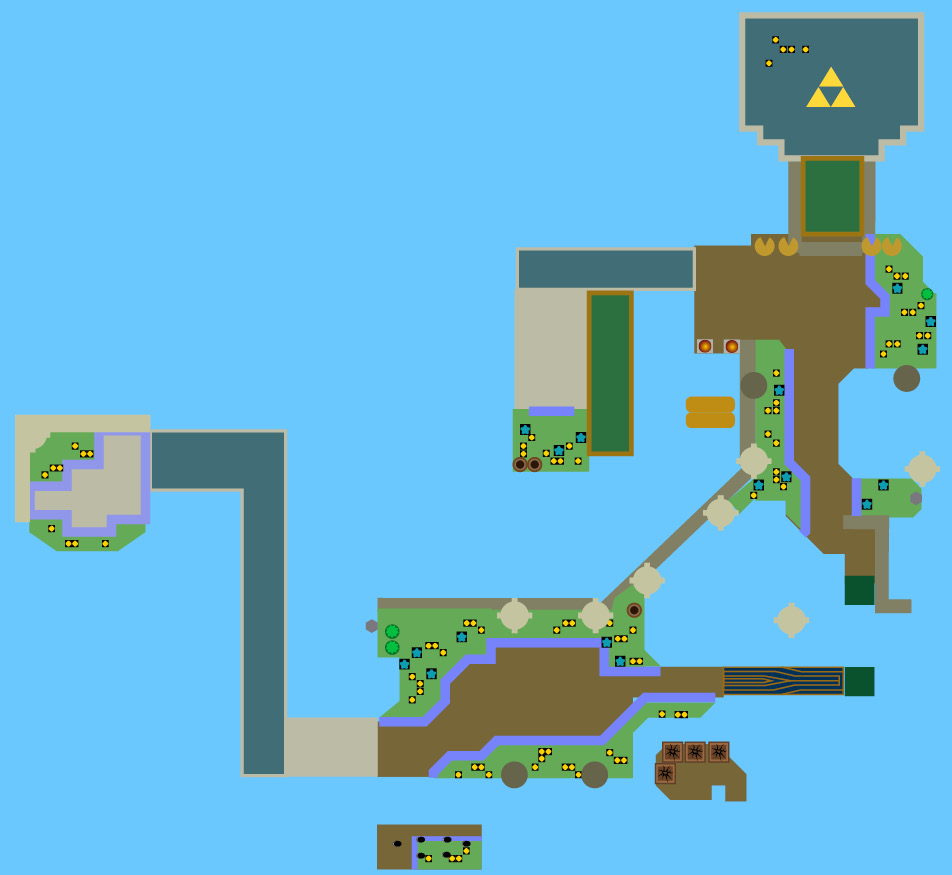
This room is a blast. You’ll need to pick up one of the chicken-like Cuccos, make a three-Link Totem with the Cucco-holding Link on top, and then jump off the right side of the island.
Jump from island to island until you land on the large island with the stone structures.
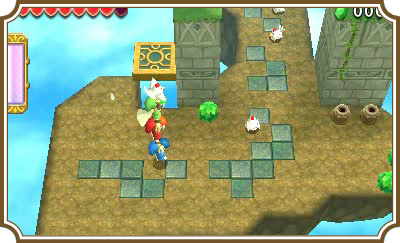
Ride up the gold platform to reach the top-left structure, then jump to the right to reach the other structure. Head to the northern tip of the structure, then jump north.
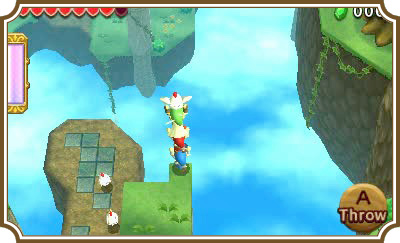
If you angle your flight path slightly to the left, you can land on a pillar on the northern island that has a treasure chest on top of it.
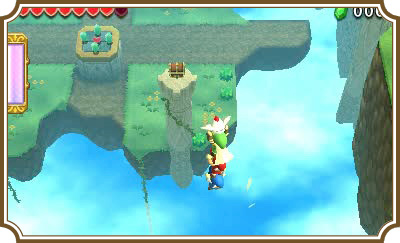
When all three Links land on the northern island, new enemies called Helmasaurs will appear. These enemies are rough. The helmets on their heads will defeat any slash with your sword and they’ll chase you for a good long while. You’ll need to slash them from behind, throw Bombs at them from a distance, or, the easiest method, Gripshot their helmets off. Once the helmet has been removed, you can attack any part of their body without bouncing off.
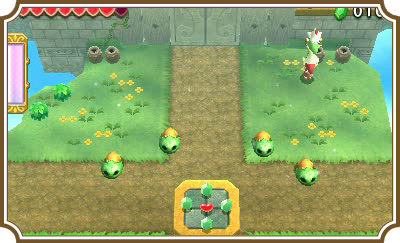
Once you defeat all of the Helmasaurs, the doors on the north side of the room will open and you’ll be able to reach the Triforce gateway.
Room 3
You’ll have to shoot another arrow through a wind tunnel and hit an orb switch here. This one is far trickier than the first two. Make a two-Link Totem with the Bow Link on top. Walk out onto the pathway the wind is blowing on and fire your Bow to the right, just as you reach the line between the third and fourth gold tiles on the pathway. (Use the following screenshot to see where to position yourself.)
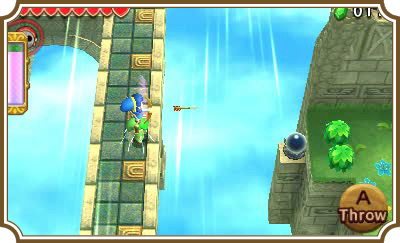
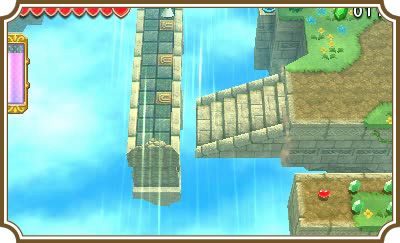
After you hit the switch, a stairway appears on the southern side of the pathway. Cross it to reach the island on your right and Squiddy: The magical, floating piggy bank!
Head to the right side of the island and you’ll see a group of cracked blocks and a couple of Cuccos south of you. Use the Bomb Link to blow up the cracked blocks, then throw a Link up to the Cuccos. Have that Link grab one of them, then approach the right edge of the landing he’s standing on.
You need to time your jump so that you can land on the gold platform to the northeast while it’s at the south end of its path. If you try to fly to the northern island outright, you’ll fall for sure.
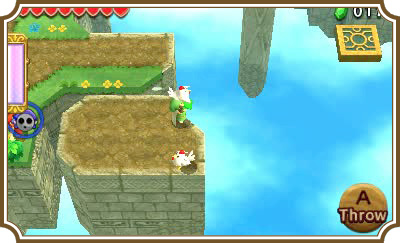
Once you land on the gold platform, let it take you to the northern island. When you reach the northern island, hit the orb switch ahead to create a bridge that will allow your other Links to reach the gold platform.
You’ll have to take out two more Sky Shield Soldiers up ahead. Use Bombs or pull away their shields with the Gripshot to make this fight as painless as possible.
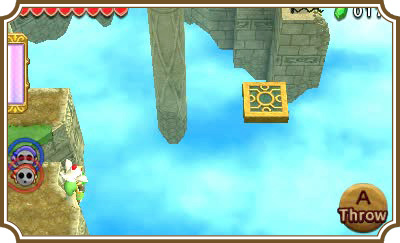
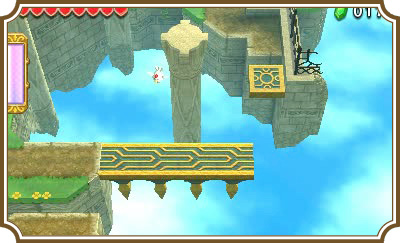
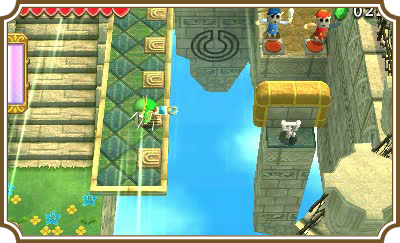
This next part is tough. Really tough! You’ll need to have the Bow and Bomb Links stand on the pressure switches on the left. This will extend out a bridge and retract the housing surrounding the key you need to open the northern gate.
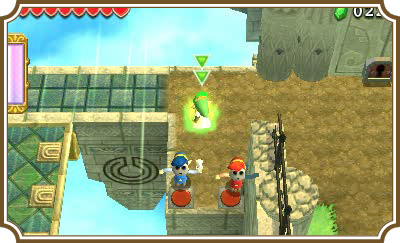
Now have the Gripshot Link stand in the wind tunnel and face right. As soon as you reach the second-to-last gold tile on the platform, fire your Gripshot to the right, then immediately hold Up on the Analog Stick. If your timing was right, you’ll have the key in hand. If not, try and try again. This is a very challenging room, so don’t lose heart if you struggle to get the key.
Once you have the key, walk it back to the northern gate to open it and reach the Triforce gateway.
Room 4
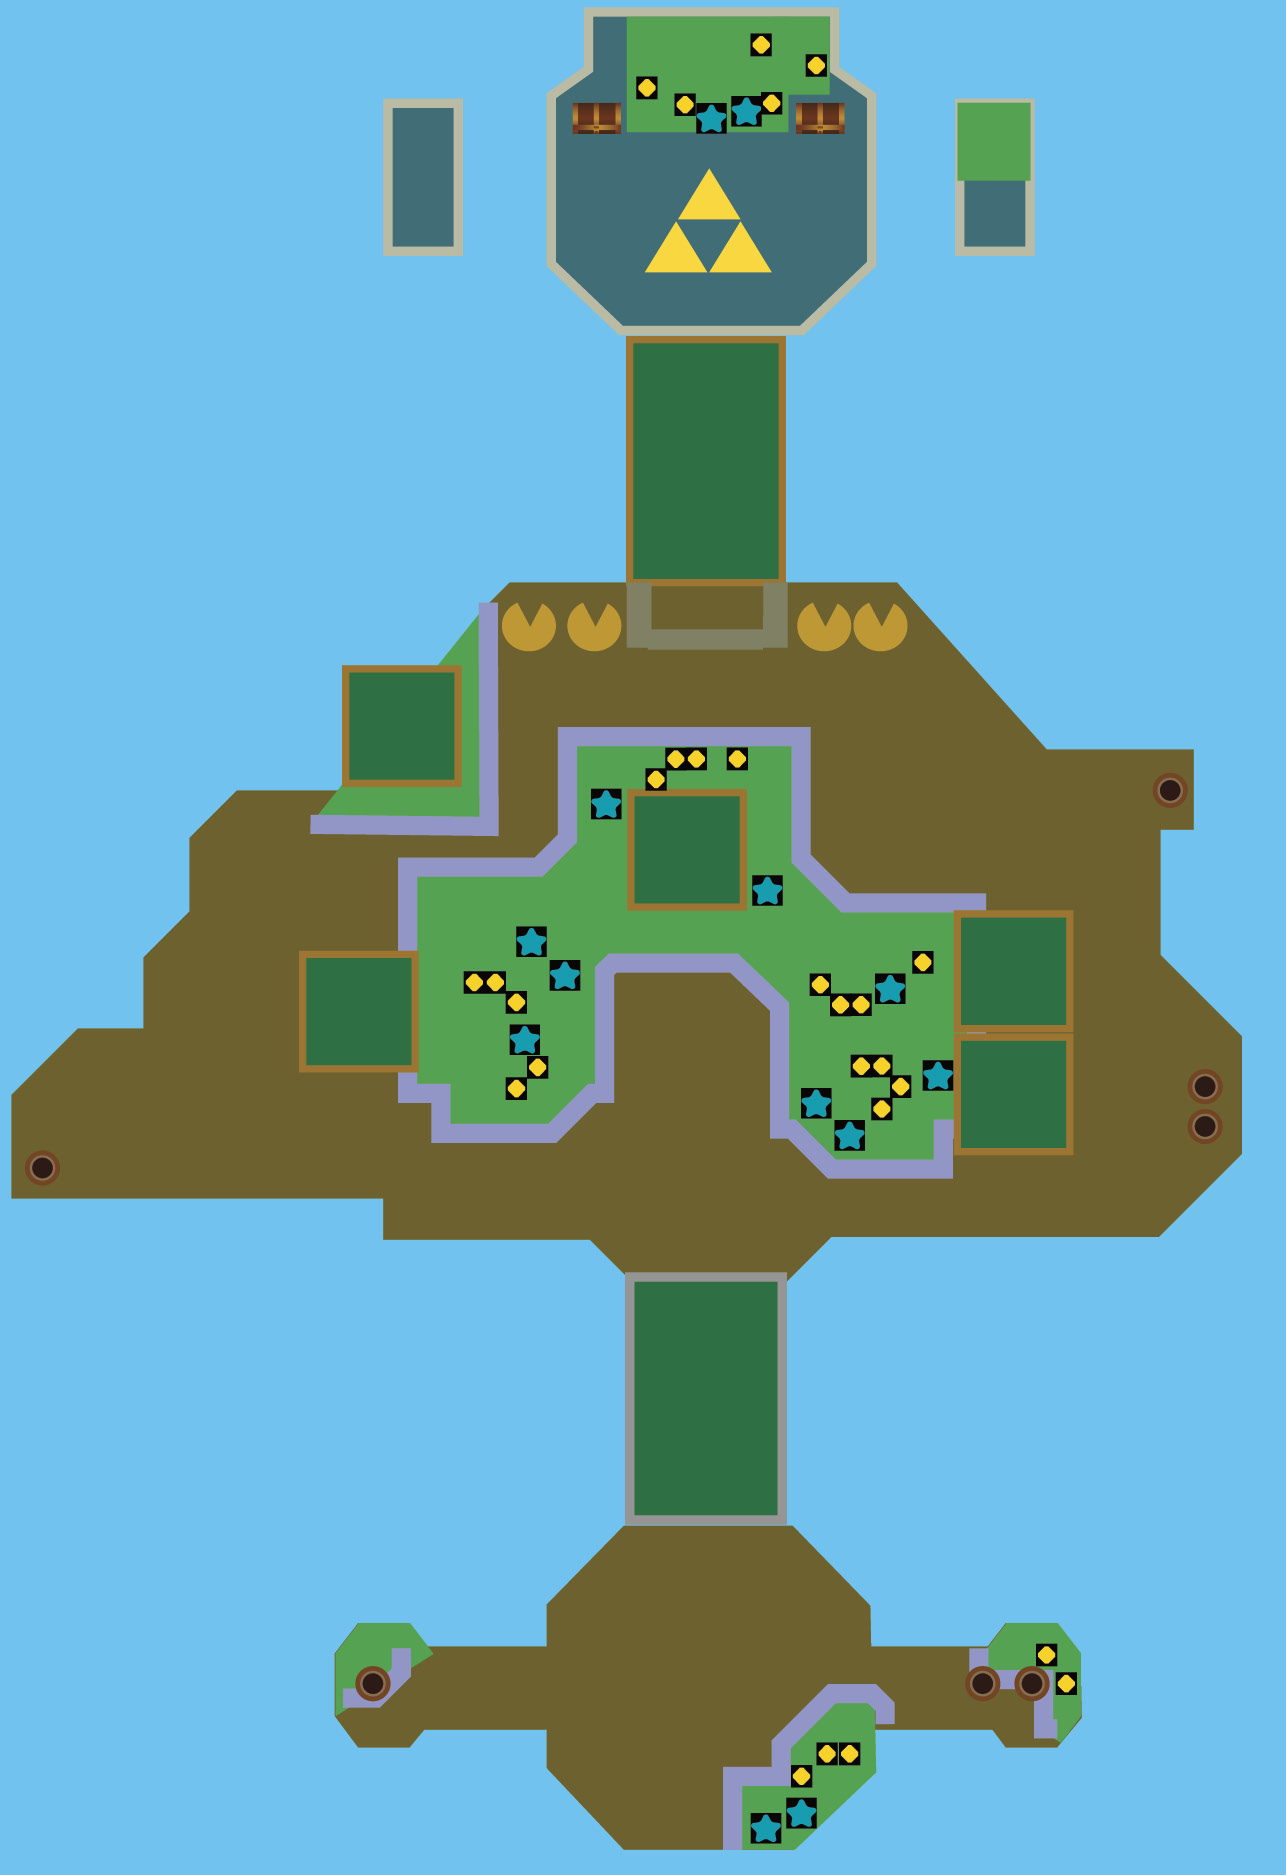
This is another combat room—a particularly challenging one, if we do say so ourselves. You’ll have to defeat Helmasaurs and Fire Keeleons, which is no small task. Your best bet is to lure the Helmasaurs away from the Fire Keeleons, then pull their helmets off and defeat them one at a time. Things can get pretty hectic with the Helmasaurs charging at you and the Fire Keeleon spitting fireballs in your direction.
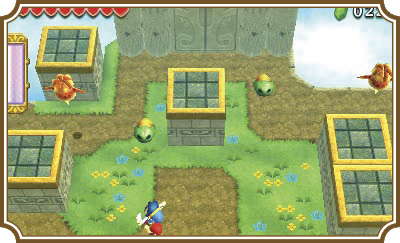
You’ll need to use your Bow to take out the Fire Keeleons since you don’t have a Gust Jar to put their flames out. Just keep your distance, make a Totem, and shoot them with your Bow to take them out.
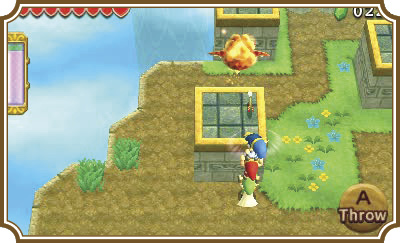
Unfortunately, once you take out the first wave of Helmasaurs and Keeleons, another wave will appear and, to make matters worse, all of the elevated platforms will lower until they fall off the island entirely.
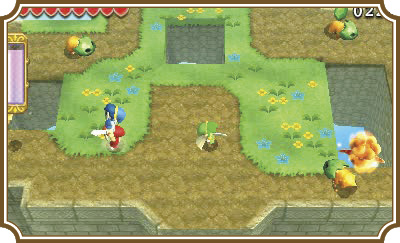
Use the same strategies you just used to defeat this wave of enemies. Once you defeat them, the northern doors will open and you’ll be able to reach some treasure and the Triforce gateway.