The Legend of Zelda: Tri Force Heroes Guide Clothing Quest World 3: Volcano
Level 1: Blazing Trail
ChallengesPop all balloons Evade the Wallmaster Transport the orb quickly Sub-Weapons
Materials
Recommended Outfits |



This level is one of the more challenging levels in the game. There’s lava, Fire Keese, and flaming boulders that rain down from the sky; the Blazing Trail will try anything and everything to burn your Hearts away. Cautious play and the Legendary Dress will be excellent boons to you here. You can come back with the Goron Garb later to nab up some previously unreachable treasures as well, so keep that in mind on any subsequent playthroughs.
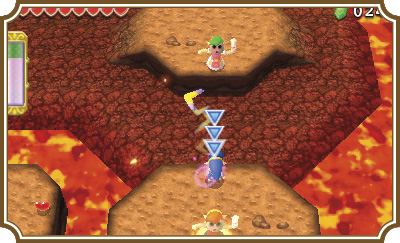
You’ll be using a Zelda staple for most of this level: The Boomerang. This curved stun stick works the same way as it does in other titles, but this time you can use it to pick up your teammates or Doppels. Throw the Boomerang at an enemy and it will be stunned or defeated. Throw it at a teammate and you’ll pick them up and bring them back to you, automatically creating a two-Link Totem in the process. Most of this level requires you to think outside the box with how you can use the Boomerang, so be open to experimentation and you’ll go far.
Room 1
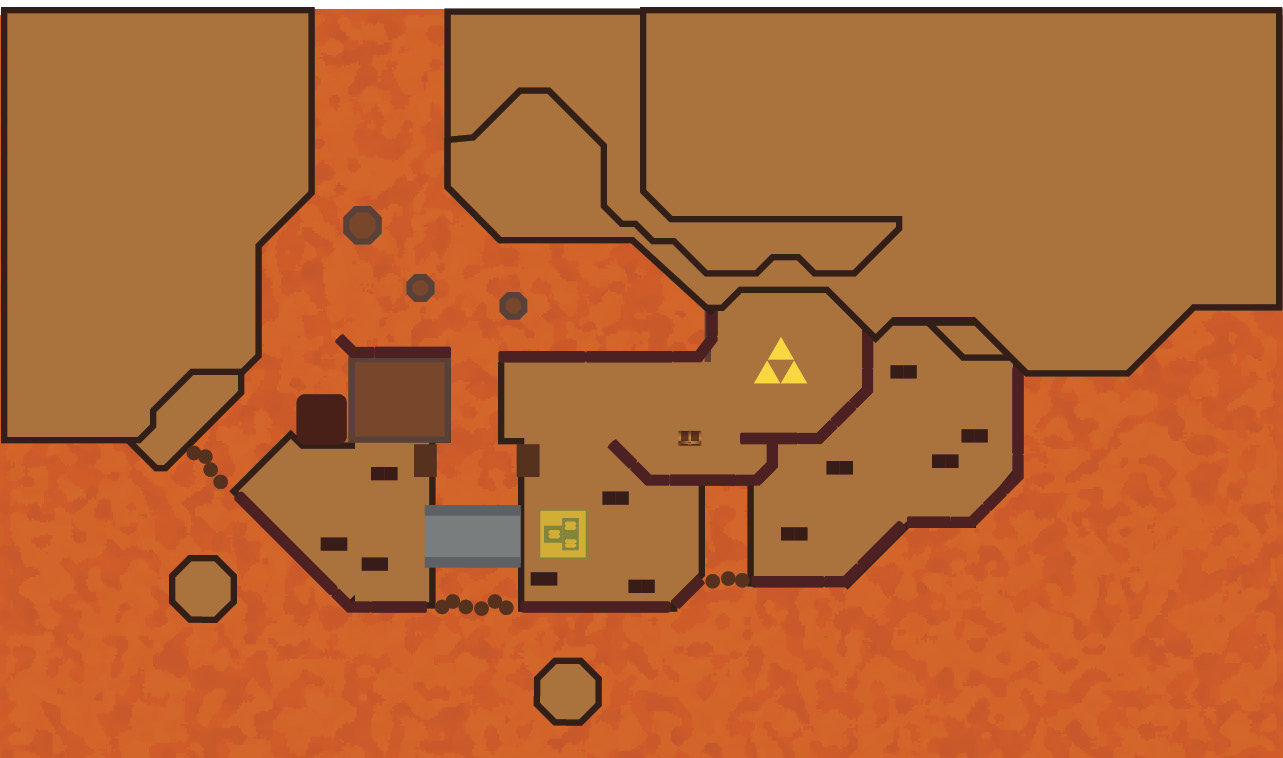
From the start, head west until you reach a lava creek. Make a three-Link Totem and throw the top two Links to the other side of the creek—this is where you’ll find the Boomerangs. Use the Boomerang to grab the lone Link, then stand on the three-man pressure switch to raise a bridge. Make sure to have each Link grab a Boomerang to reveal the Triforce gateway at the top of the map.
You’ll run into a new enemy called a Hardhat Beetle on the other side of the bridge. These enemies are incredibly easy to defeat, or they would be if they were in a level that wasn’t engulfed in lava. Hitting a Hardhat Beetle, or being touched by it, will bounce you backwards. Not much of a defense mechanism, except when there is lava behind you. These bouncy bugs specialize in bouncing you into lava or off of cliffs, so take extreme care not to attack them whenever you have one of those two hazards behind you.
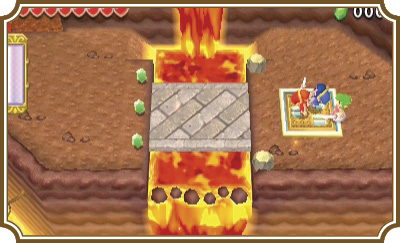
After defeating the Hardhat Beetle, stand on the brown lava rock slab north of you. A lava fountain will shoot the platform up to the next level, allowing you to reach new heights. If you’re playing single-player, you should only send up one Link for now. There’s another Hardhat Beetle waiting to knock you off of the platform if you let it. Having more than one Link on the platform when the Hardhat Beetle approaches could spell disaster.
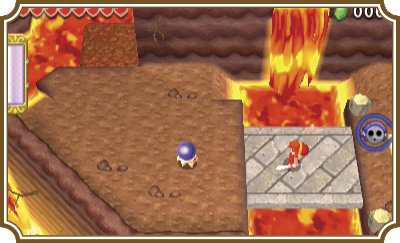
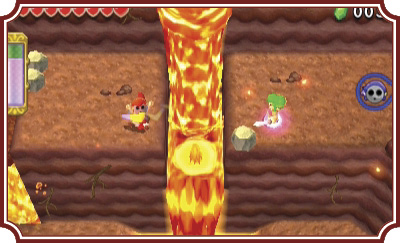
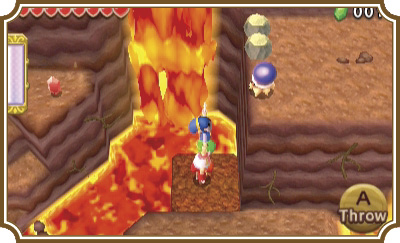
Once all three Links are on the next level, make a two-Link Totem and approach the lava creek ahead. Wait a minute before throwing any of the Links over. Two lava fountains will spew out of this creek at fixed intervals, so waiting for them to lower before throwing your Links is a wise plan. Once both Links are over, defeat the Hardhat Beetle and grab the lone Link from the other side of the creek.
Room 2
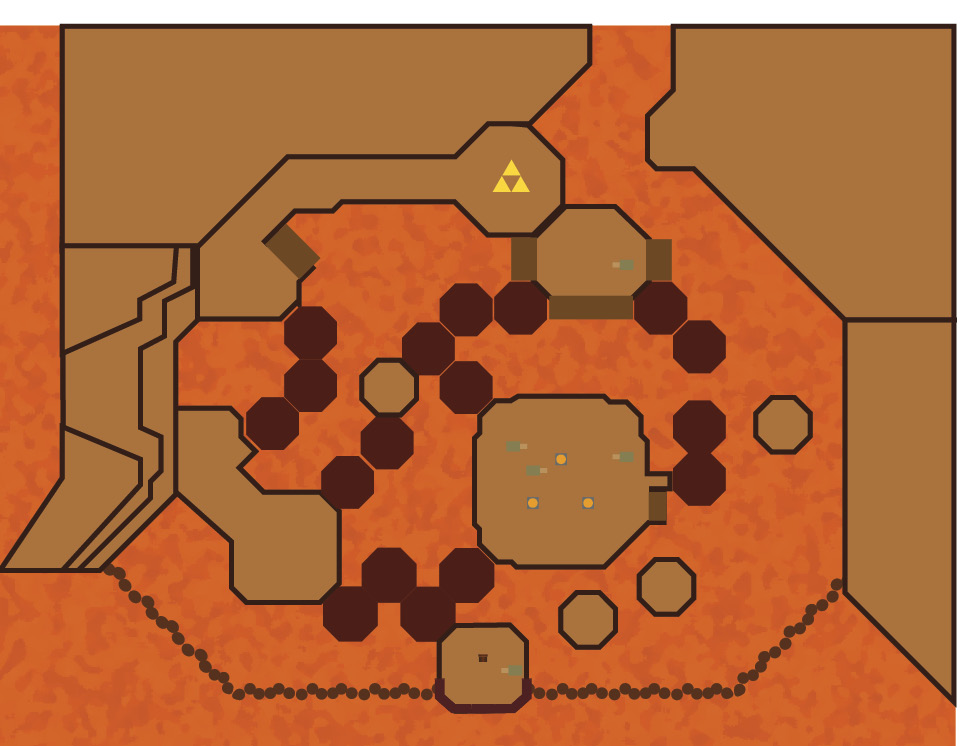
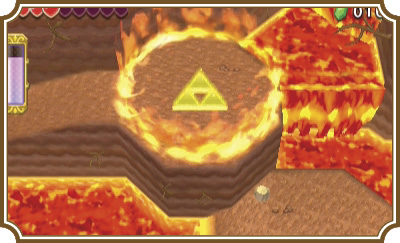
You start on the west side of this lava-filled room. If you head north along the wall, you’ll reach a ring of fire surrounding the Triforce gateway. Your goal is to shut that bad boy down so you can advance to the next room, but doing that is easier said than done.
The dark brown rock slabs sitting on the lava can only support your weight for a few seconds before sinking. That means anything you do while on those platforms you’ll have to do quick. This room can get very tricky on your first try, but we’ll make sure to make it as painless as possible.
There are three sets of brown, sinking platforms near where you start in this room. Your goal is to get everyone to the center of the room, but two of the three sets of brown lava rock slabs require you to throw your Links onto them, leaving one Link behind. To solve this, throw two of your Links onto the middle path of brown lava rock slabs and have them move up until they reach a stable dirt platform, two platforms up the path.
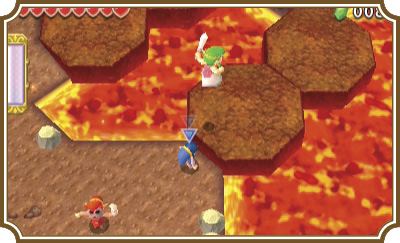
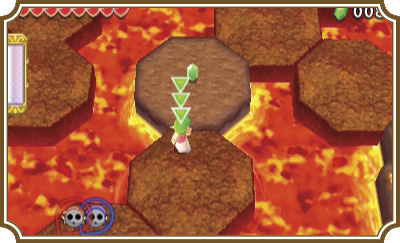
Have those two Links wait on the stable platform, then have the remaining Link move up the northern-most path of brown lava rock slabs.
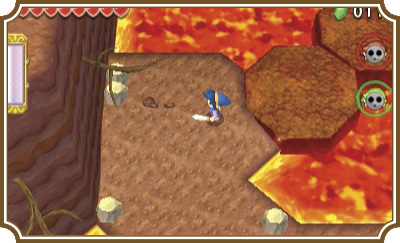
You’ll need to be quick with this next part. Move the lone Link onto the brown lava rock slab parallel to the platform your other Links are on, then immediately switch or have one of your other two Links throw a Boomerang at the lone Link to pull him over. If you were quick enough, all three Links should be together, unburnt by the fiery lava below.
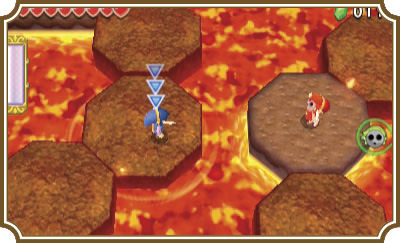
Now make a three-Link Totem and follow the path of platforms north as it rounds to the other side of the room.
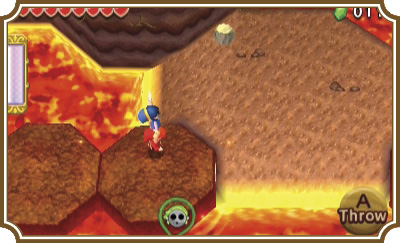
Walk your Totem until you reach a gap in the path on the east side of the room, then throw your top two Links to the other side of the gap.
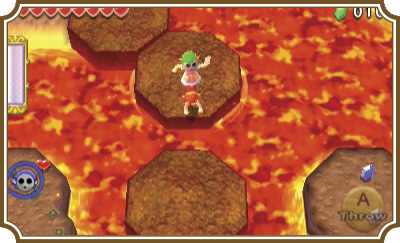
Have those two Links continue on the path until they are on the island in the center of the map, surrounded by flames. Then switch back to the lone Link quickly and move him to the island in the middle of the brown lava rock slab path you are on.
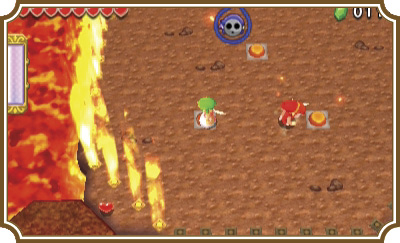
Now have one of the two Links on the island head to the island’s northwest corner and wait there.
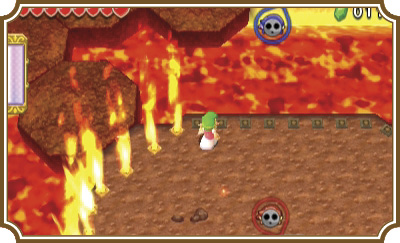
You’ll need to do this next part quickly, so stay on your toes! Have the lone Link stand on the platform on the left side of the island he is currently on, then quickly switch to the Link on the northwest side of the island in the center of the room and Boomerang the lone Link.
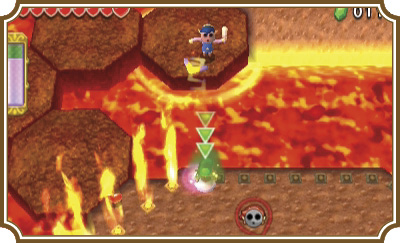
With all three Links now on the center island, the worst is over! Sort of. Have all three Links stand on the pressure switches in the center of the island and get ready for a fight! As soon as you hit all three switches, the flame wall extends around the center island and enemies fill the area. You’ll have to deal with three Fire Keese and two brutish Hinox before you escape this scorching prison. DO NOT attack the Fire Keese with your sword! A single touch from these flaming, flying rodents will set you on fire and send you racing around the room. Instead, hit them with your Boomerang to defeat them at a distance. The Hinox will gladly lob Bombs at you with reckless abandon. To prevent this, hit them with the Boomerang to stun them, then swing away! It takes several hits with your sword to defeat these lumbering behemoths, but if you continue to stun them with your Boomerang every time they come to, you can keep them in a perpetual standstill, making them a piece of cake!
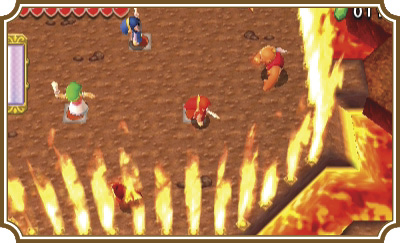
Once you’ve defeated all five enemies, the flame wall will drop, as will the ring of fire surrounding the Triforce gateway on the north side of the room. Proceed back to the starting area, then head onto the northern brown lava rock slab path to reach the Triforce gateway and leave the room.
Room 3
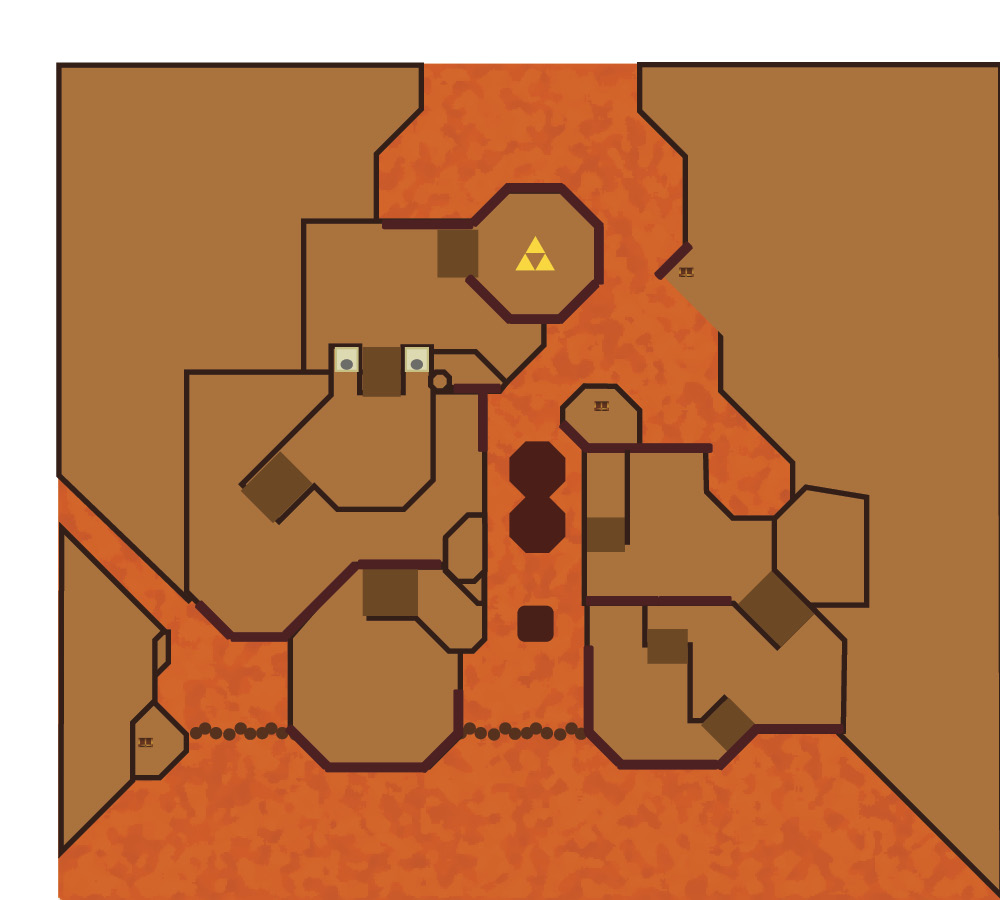
This room doesn’t have any terribly devious puzzles, but boy is it challenging! Flaming rocks rain down from on high, delivering divine judgment on unobservant Links. In single-player, you’ll have a much easier time, because there is only ever one Link to damage at a time, but multiplayer is a completely different story. Regardless of how many players are playing, tread lightly, walk slowly, and pay close attention to the shadows that appear on the ground. These are indicators that a flaming rock is about to smash into that location. You’ll take damage if you’re under it when it does.
Head north up the ramp directly ahead of you. At the top of the ramp is a lava waterfall and a brown lava rock slab that moves up and down on a lava fountain. Make a three-Link Totem and throw your top two Links onto the platform, then have the bottom of the now two-Link Totem throw the top Link to the other side of the waterfall.
Next, have the Link on the middle platform turn around and Boomerang the Link on the left side of the lava waterfall to pull him onto the platform. Throw that Link to the right side of the lava waterfall, then have one of the two other Links Boomerang the Link off of the brown lava rock slab.
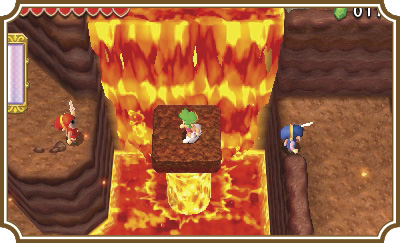
Head up the eastern path, following the wall north. Take out the Fire Keese with your Boomerangs and don’t slash the blue Hardhat Beetle while you have lava behind you, or you’ll risk being knocked in.
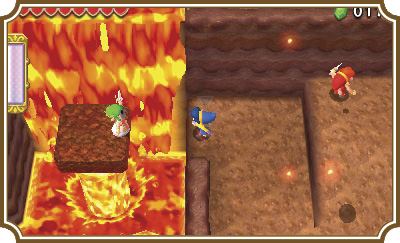
Proceed west and you’ll find the top of the lava waterfall you crossed earlier. You can nab some Hearts sitting on the edge of the waterfall if your health isn’t looking too great. This next part can be a little tricky and will require some quick movement, so get ready!
Have two of the Links line up at the top of the ramp, then throw the third Link onto the brown lava rock slabs in the center of the lava river. That Link is going to have to pace back and forth from one platform, to the next, and then back again to avoid having the platforms sink.
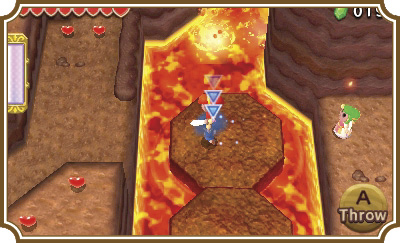
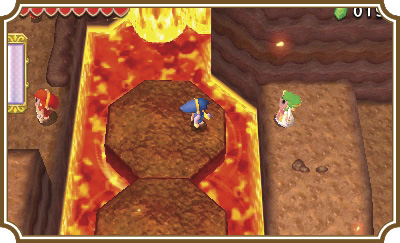
Have the Link on the brown lava rock slabs Boomerang the other two Links, one at a time, then throw them to the left side of the lava river. Once the two Links are safely on the other side, have one of them Boomerang the remaining Link onto the other side of the river as well.
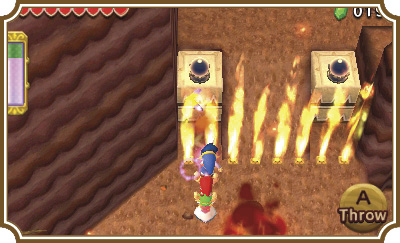
Take out two more Fire Keese, then head up the northern ramp to reach another wall of fire. Make a Totem that is three Links tall and quickly hit the orb switches on the left and right side of the fire wall. This will drop the fire wall and give you access to the Triforce gateway at the top of the mountain.
Room 4
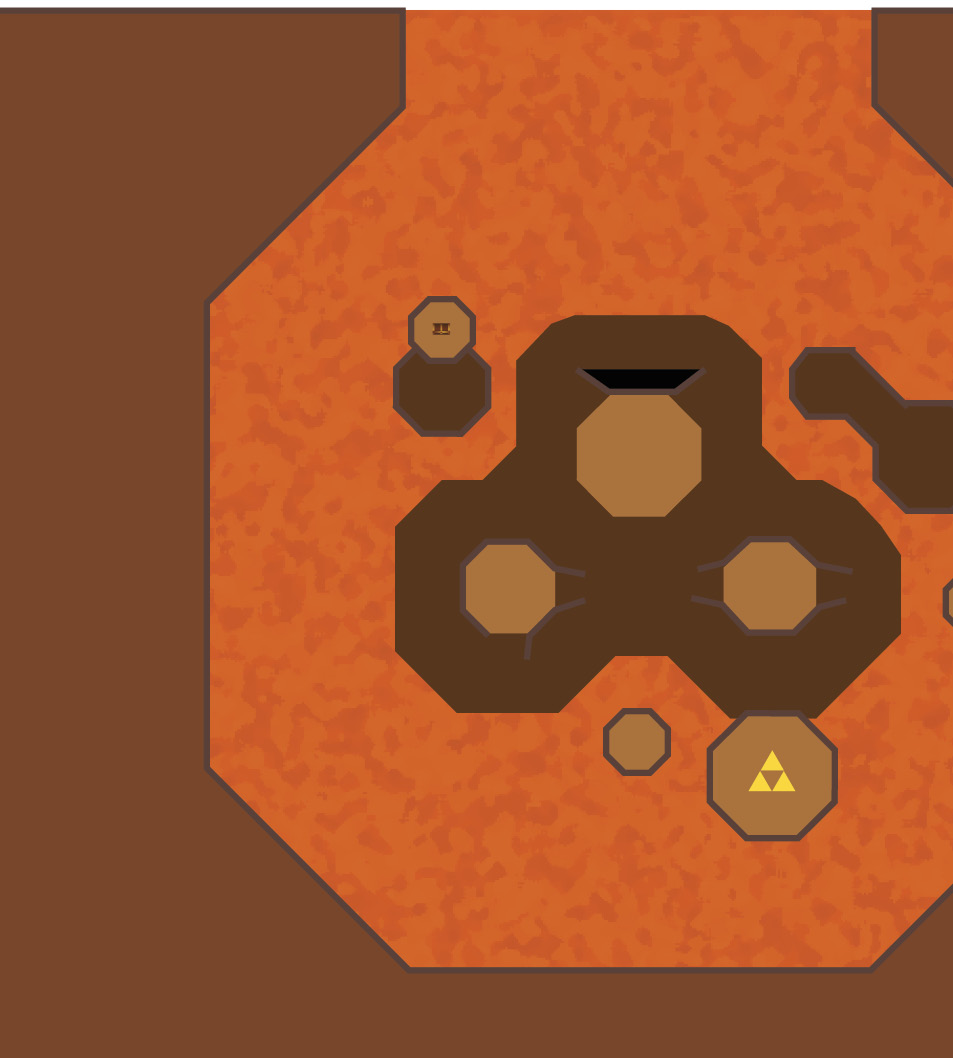
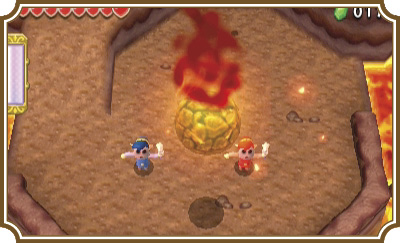
As scary as this room looks, it’s actually quite simple if you play cautiously. The lava will rise and lower periodically and monsters will appear continuously until you’ve defeated them all. You’ll have to deal with Fire Keese and fire-breathing Kodongos. Deal with the Fire Keese in the same way you’ve been defeating them up to this point. The Kodongos can become a problem if they’re allowed to breathe fire, but they only shoot in a straight line. If you stand above or below where they’re facing, they’ll miss you outright.
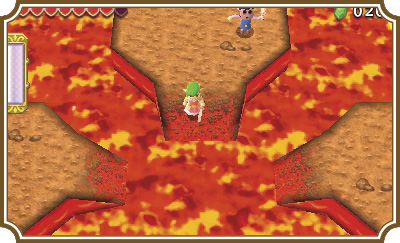
Don’t push your luck by staying on the dark brown lava rock for too long. At any point you can safely walk back onto the lighter platforms and wait safely for the lava to rise and fall again, so there’s no reason to risk taking damage when the lava rises. You can lose a lot of health here easily, so being patient and cautious is absolutely in your favor.
Once you’ve defeated all of the enemies in the room, the lava level will lower permantently and the Triforce gateway will appear on the southeast corner of the room. Make a three-Link Totem and throw the top two Links onto the platform with the Triforce gateway. Have the remaining Link stand on the platform directly north of the Triforce gateway, then have one of the other two Links Boomerang him over.