
The Legend of Zelda: Tri Force Heroes Guide Clothing Quest World 5: Fortress
Level 4: The Lady's Lair
ChallengesEvade the Wallmaster Fewer Heart Containers Only Bombs—no swords Sub-Weapons
Materials
Recommended Outfits |




None of the Outfits recommended for this level are going to help tremendously, but if you have to pick one, you should pick the Sword Suit. There are plenty of enemies in the level and the Sword Suit will make them easier to deal with.
You can also bring the Big Bomb Outfit to make the boss easier, or you can grab the Boomeranger Outfit for the Link that uses the Boomerang. The Sword Suit would be the best of these choices, but these two Outfits are here if you don’t have access to it yet.
Room 1
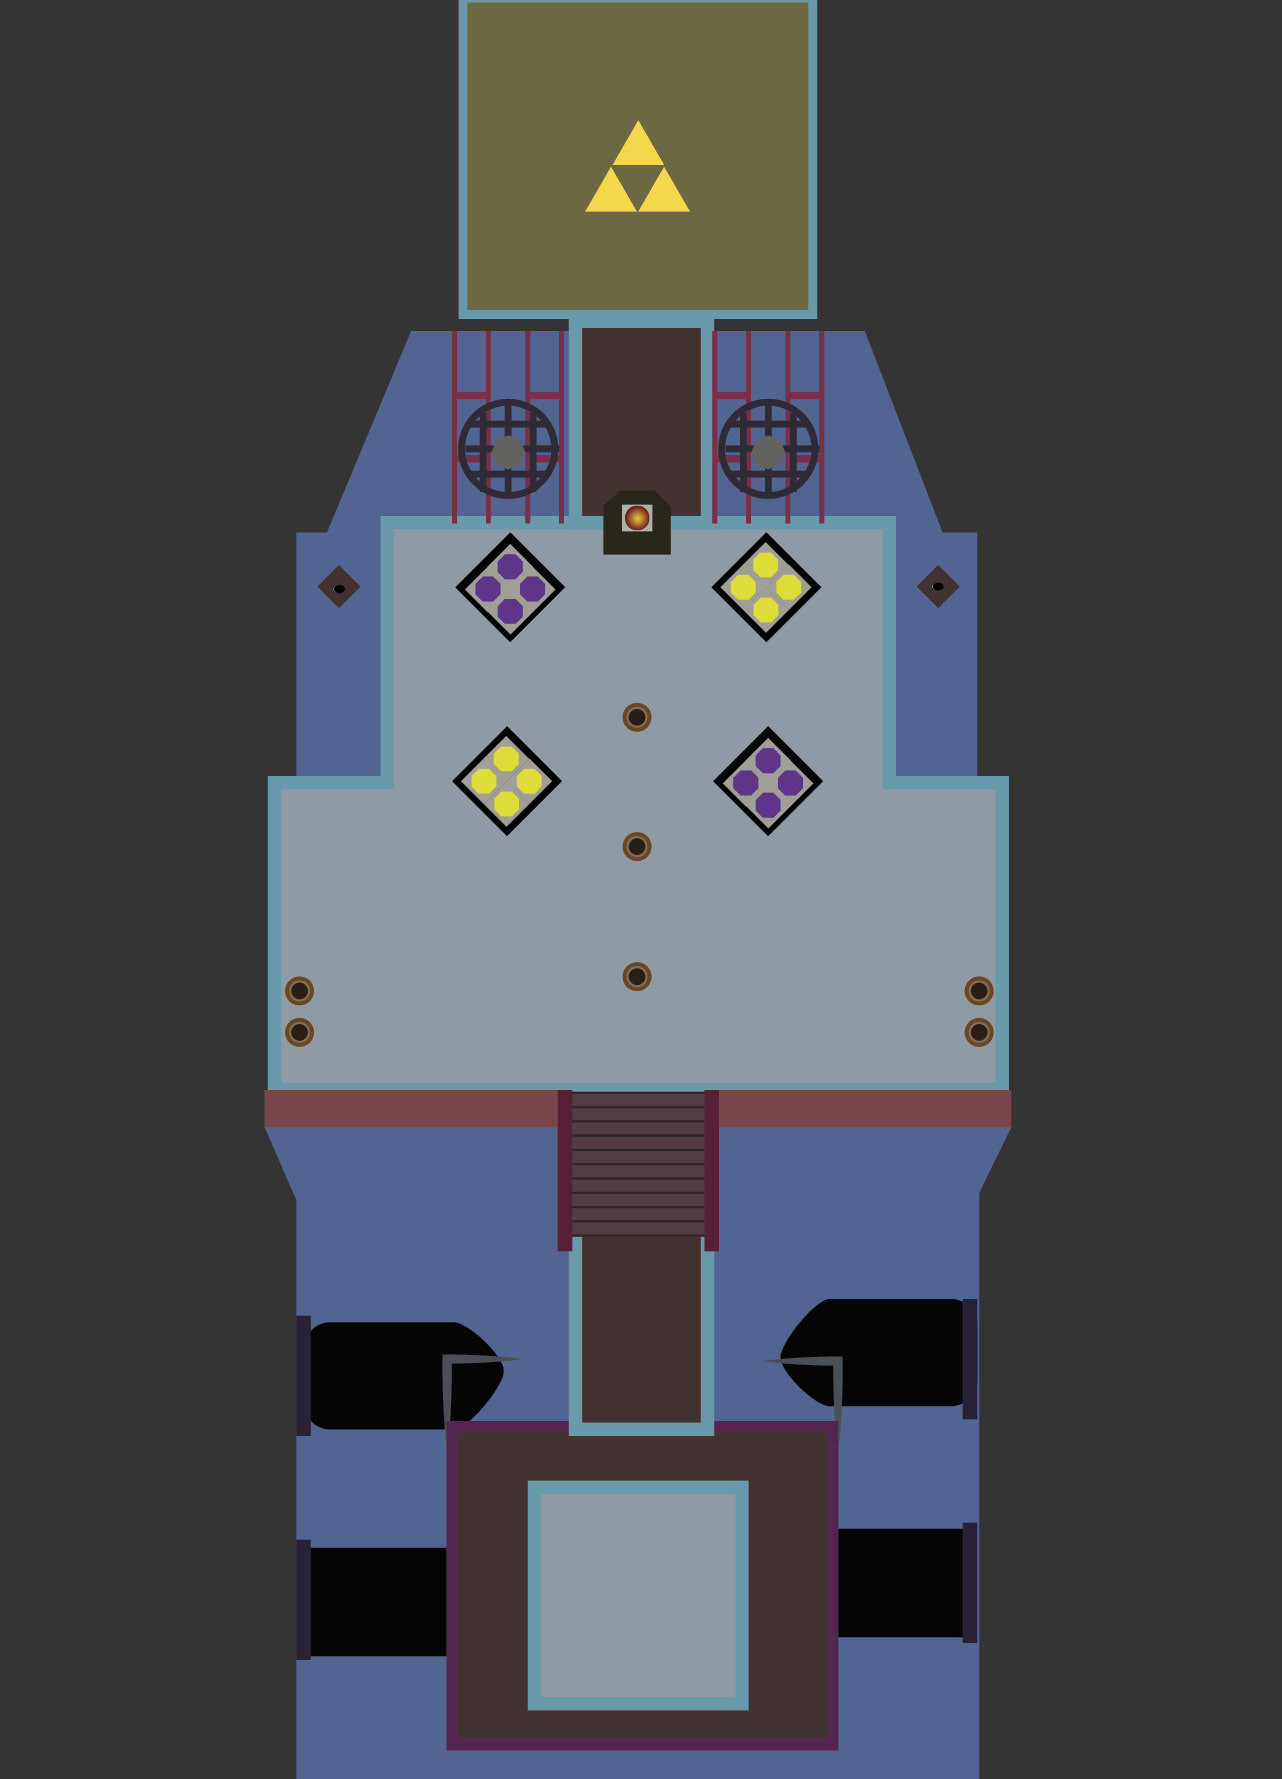
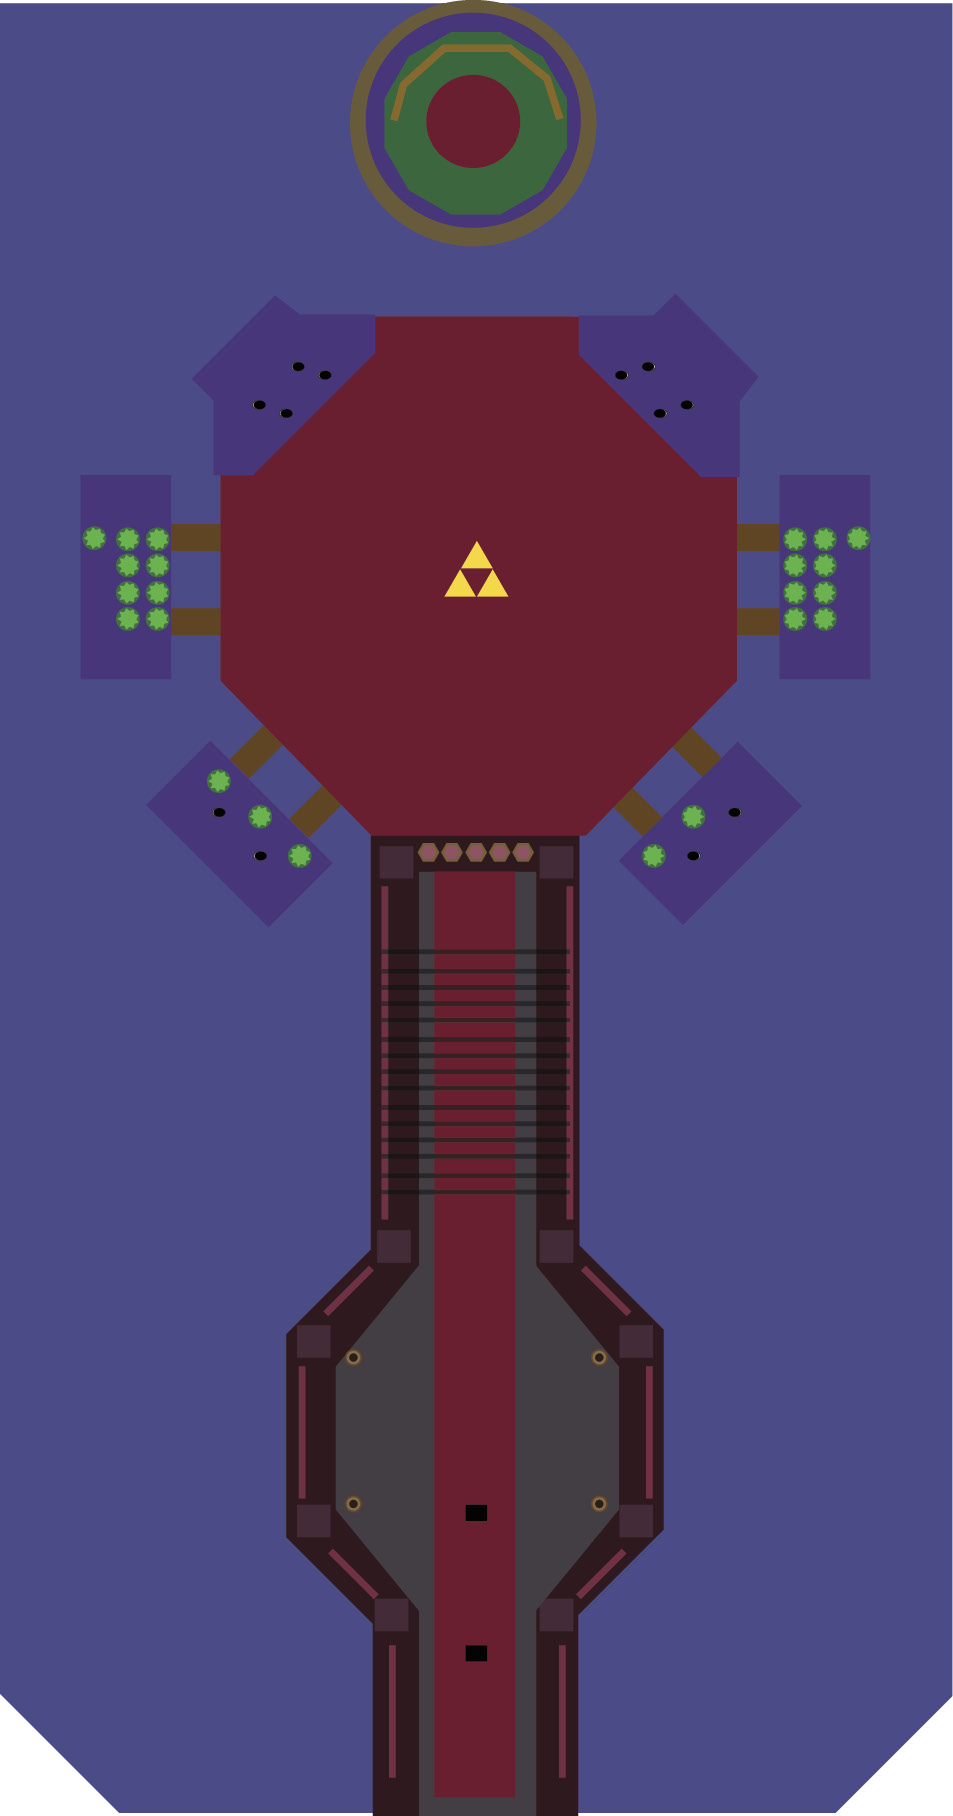
Head up the stairs to the north, then continue on to the north end of the area while avoiding the giant steel balls that are rolling south from tunnels on the north side of the room. Have a Link stand in front of the color orb across the northern gap, then make a Totem with the other two Links.
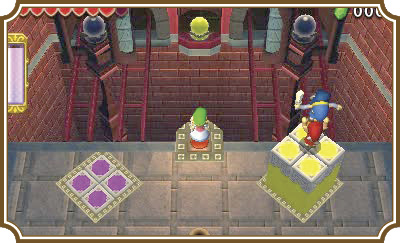
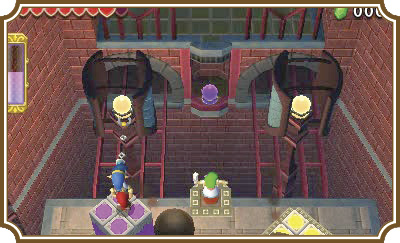
Now have the Totem Links stand on one of the lowered colored platforms, and then let your lone Link hit the color orb. The colored platform will lift the Totem Links up within range of an orb switch. Hit the switch, then immediately head over to the colored platform on the opposite side of the room. Have your lone Link hit the color orb again to raise the other platform the Totem Links are on, then have the Totem Links hit the second switch. The time limit is pretty generous here, so you should plenty of time to hit both switches.
A bridge will lower in front of the lone Link, allowing you to cross to the other side.
Room 2
You’ll have to fight Soldiers in a sort of Ferris wheel on the north end of the room. They’ll throw spears and Bombs at you and you should return the favor by throwing Bombs of your own inside their compartments. To make this easier, make sure to throw the Bombs at the bottom of the steel slabs (the ones that line the north side of the landing you’re currently on), instead of directly on top of them. The closer you are to the edge of the landing, the harder it is to land the Bombs inside the Soldiers’ compartments.
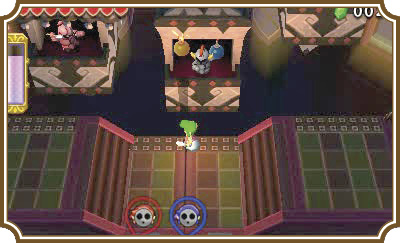
If you defeat the Bomb thrower before the other Soldiers, you can grab Bombs from the Bomb Flowers on the left and right sides of the room.
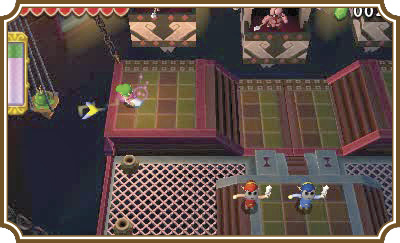
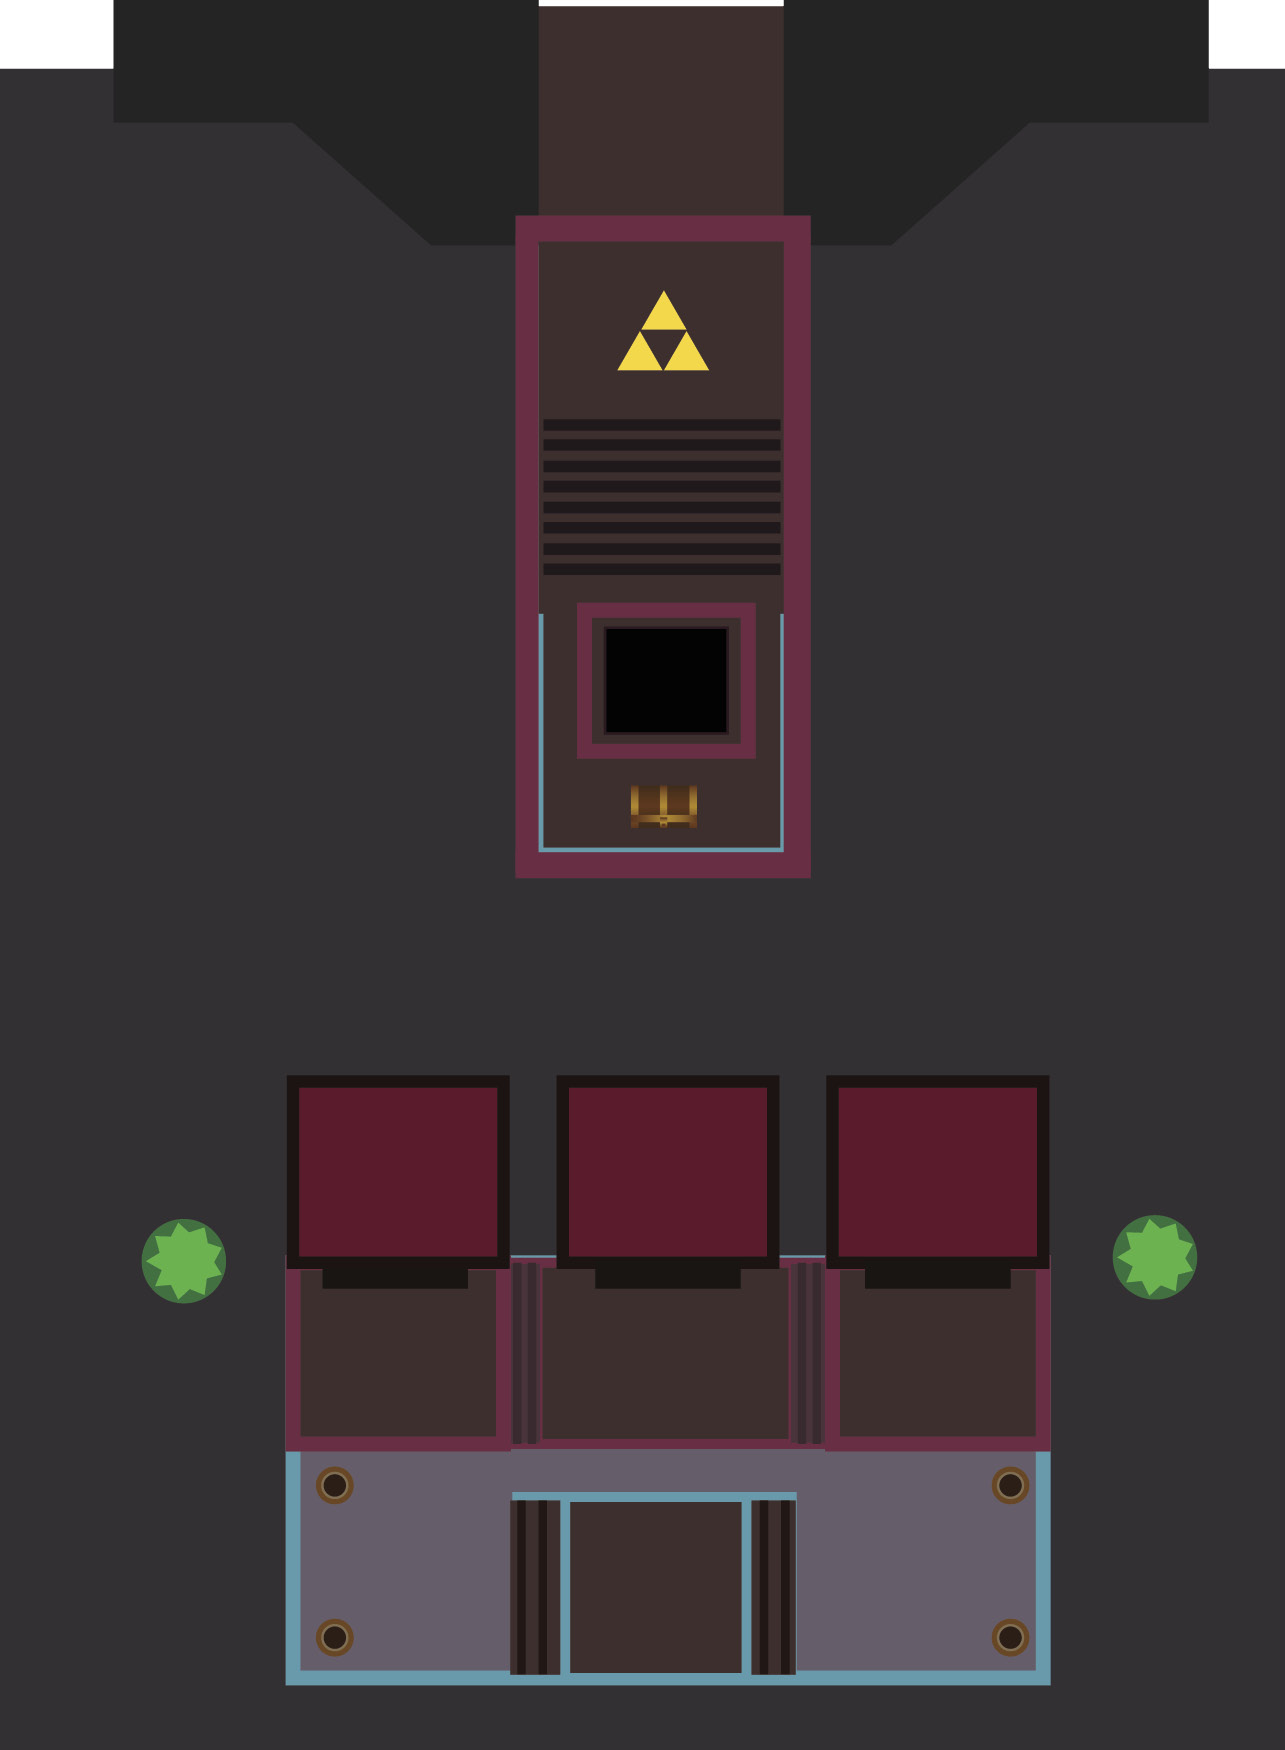
After you defeat all of the enemies, a three-man pressure switch will appear. Have all three Links stand on the pressure switch to activate it. The platform the pressure switch is on will lift you to the upper levels of the room where the Triforce gateway is.
Room 3
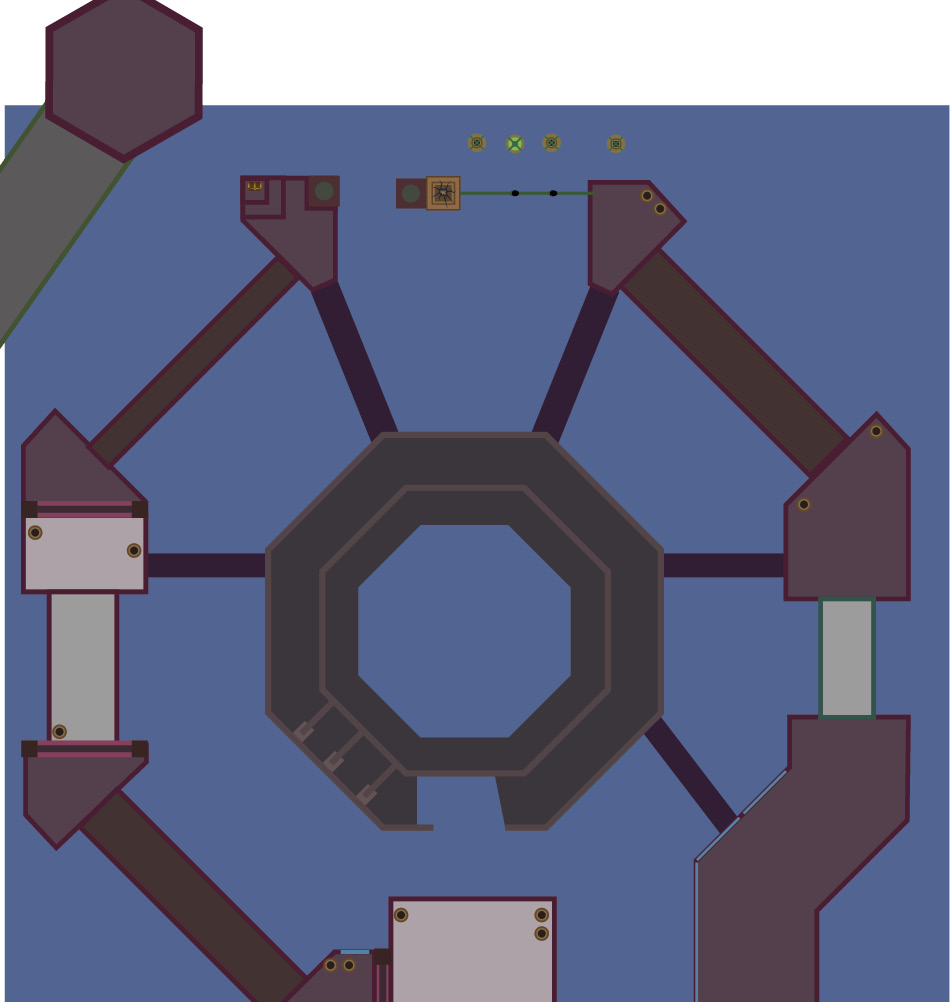
This room is very big, but it is also quite simple. You’ll have plenty of enemies to fight, but nothing you haven’t had to deal with before.
Head up the path until you reach a tightrope. Walk onto the tightrope with a single Link to goad the Crows into swooping at you so you can take them out. If you were in a Totem, the Crows would swoop too low for you to hit and your Links would plummet into the darkness below. Now make a three-Link Totem with the Gripshot or Boomerang Link on top and begin to slowly walk along the tightrope.
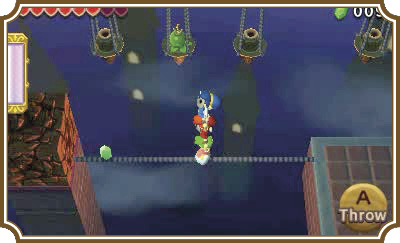
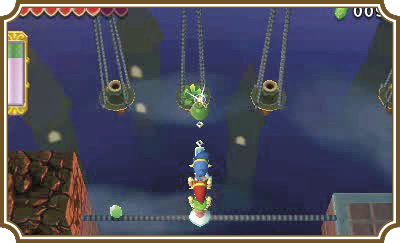
When you are parallel with the Bomb Flower in the hanging sconce, turn and use the Boomerang or Gripshot to pull it out of the sconce, then throw it on the cracked block ahead.
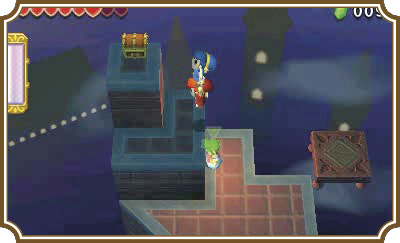
Slowly walk across the tightrope to the pressure switch that was under the block and press it. The pressure switch will activate a moving platform that you can use to get to the left side of the room. Once you’re over there, you can throw your Links onto the tiered tower to grab the treasure chest.
Head up the stairs and onto the bridge. When all three Links are standing on the bridge, the gates on both ends will close and three blue Hardhat Beetles and a blue Sword Soldier will appear. Defeat them to lower the gates, then continue south.
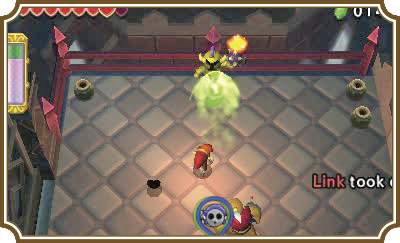
Head up the next flight of stairs and enter the checkered room. As soon as all three Links are in this room, the gate behind you will close and two Hinox and a Gold Ball & Chain Soldier will appear. The Hinox you know, but the Gold Ball & Chain Soldier comes with a twist: its ball and chain are engulfed in flames, making it a particularly dangerous foe.
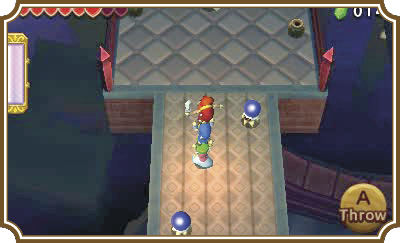
Use your Boomerang Link to continuously stun the Soldier while you slowly make your way toward it. When you are near it, hit it toward a wall and keep up the pressure. Every time you hit the Soldier, it will restart its swinging attack. If you keep hitting it rapidly, it’ll continuously restart its attack, keeping you from getting hit by it.
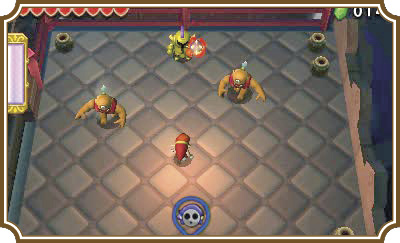
Once all the enemies in the room have been defeated, the Triforce gateway will appear in the center of the area.
Room 4
Boss Fight: The Lady’s Pets
You’ll meet the wicked witch herself as soon as you enter this room: The Lady! She’s the one who cursed poor Styla with that awful set of black tights! If you defeat The Lady, you’ll save Styla and Hytopia!

The Lady isn’t about to let you defeat her easily! She’s keen to your three-player game and she’s eager to play one of her one. Enter, The Lady’s Pets!
The Lady’s Pets aren’t anything you haven’t seen before. Literally! You’ll be fighting fancier, faster versions of Margoma, Moldorm, and Arrghus. Thestrategies for those bosses still apply here, but if you need a refresher, we’ve got you covered.
The first of The Lady’s Pets is a Margoma wearing a tablecloth. It looks fancier, sure, but that doesn’t mean it’s got any real new tricks. It can now spin around in place and create wind that blows your Links back instead of charging toward you, and it will also be a lot more mobile, but everything else is pretty much the fight you remember.
Use the Bomb Flowers on the left and right sides of the room and drop Bombs in the hatch at the center of Margoma’s head. To do this, grab a Bomb with the Gripshot or Boomerang, then toss it in. Margoma will retract the spikes on its head, a red orb will pop out of its head, and it will be temporarily stunned. Throw a Link on top of the glorified table and smack its eyeball.
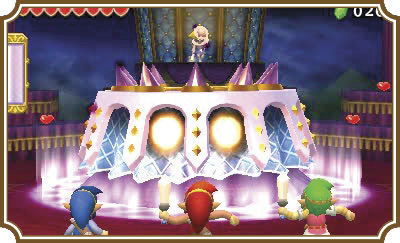
Get on Margoma’s head two or three times and beat the ever-loving fashion out of it to defeat it.
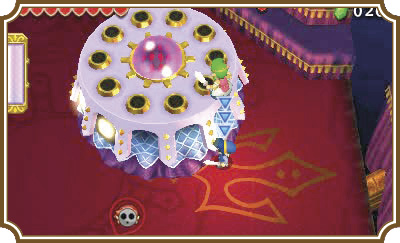
After Margoma has been defeated, Moldorm tries its hand at the Links. There are some key differences. There is fire in front of Moldorm’s face. Its tail starts higher up than your first fight. But it’s easier to get behind it, even while it’s chasing you.
Make a two-Link Totem and chase after the orb at the end of its tail. After a few hits, Moldorm will go completely nuts and start bouncing around the room at a rapid pace. Its tail will also rise, so you’ll have to turn your two-Link Totem into a three-Link Totem to hit it. A few more hits and Moldorm will be squashed.
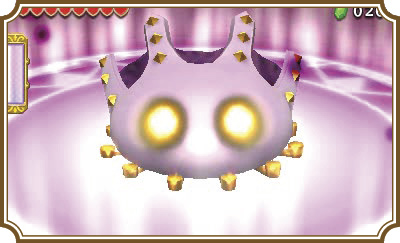
You’ll now have one last boss to fight: Arrghus. The nine-eyed octopode has gone under the most significant changes of all three bosses—namely, it no longer has nine eyes (or any eyes at all for that matter). Not real ones anyway!
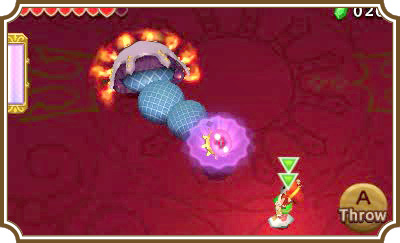
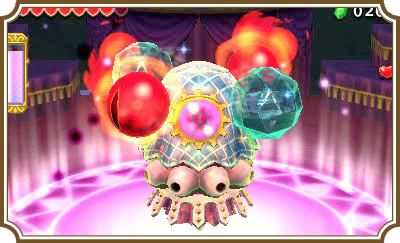
Arrghus’s “eyes” come in two flavors: Fire and Ice. You can use the Gripshot on Arrghus’s main red-jeweled eye at any point, but you run the risk of grabbing the fire and ice eyes. Your best bet is to try and take out the eyes before going for its main eye. You can use the Bombs on the left or right sides of the room, wait until they’re about to blow, and then throw them up at Arrghus to destroy its eyes. You can also blow the ice eyes off of the platform if you the opportunity presents itself.
The fire eyes can be destroyed after you put them out with the Gust Jar. Arrghus is pretty keen on throwing its eyes at you, so sooner or later the fire eyes will be in front of you, which is the perfect time to put them out and start slashing them.
Once all of Arrghus’s eyes have been cleared out, make a three-Link Totem and hit Arrghus’s red-jeweled eye with a Bomb or a Sub-Weapon to stun it, then throw your top Link down and have him slash away at the squirrely squid. If you get too close to Arrghus, it’ll close its eye, so try and maintain your distance while still being in reach of his eye. You’ll have to watch out for its dark beam attack, but from this point on the worst is over. You can also use Bombs to stun Arrghus in place for a few seconds. It will keep its eye open during this time, so it’s the perfect time to hit it.
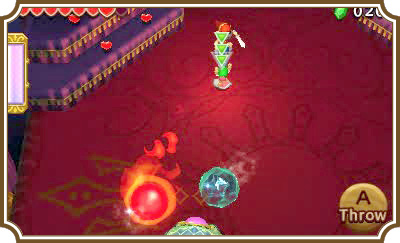
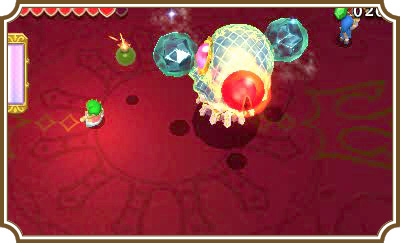
After knocking it down two or three times and giving it a fantastic sword slapping, Arrghus will perish once more and the fight will be over.
Naturally, The Lady escaped, but you’ll find The Lady’s Collar in the treasure chest in room 5. You’re only one Material away from creating The Lady’s Ensemble!
You’ll unlock worlds 6 and 7 and a slew of new Outfits after completing this world. Make sure to head to Madame Couture’s to check them out!