
The Legend of Zelda: Tri Force Heroes Guide Clothing Quest World 5: Fortress
Level 2: Bomb Storage
ChallengesWin without using a sword Transport the orb quickly Don’t fall at all Sub-Weapons
Materials
Recommended Outfits |




This stage is full of puzzles and platforming that will drain your Heart Containers pretty quickly. The Legendary Dress will help to keep your health up during the more challenging areas. The Big Bomb Outfit has limited use in this level, but enough to warrant wearing it if you have it.
Room 1
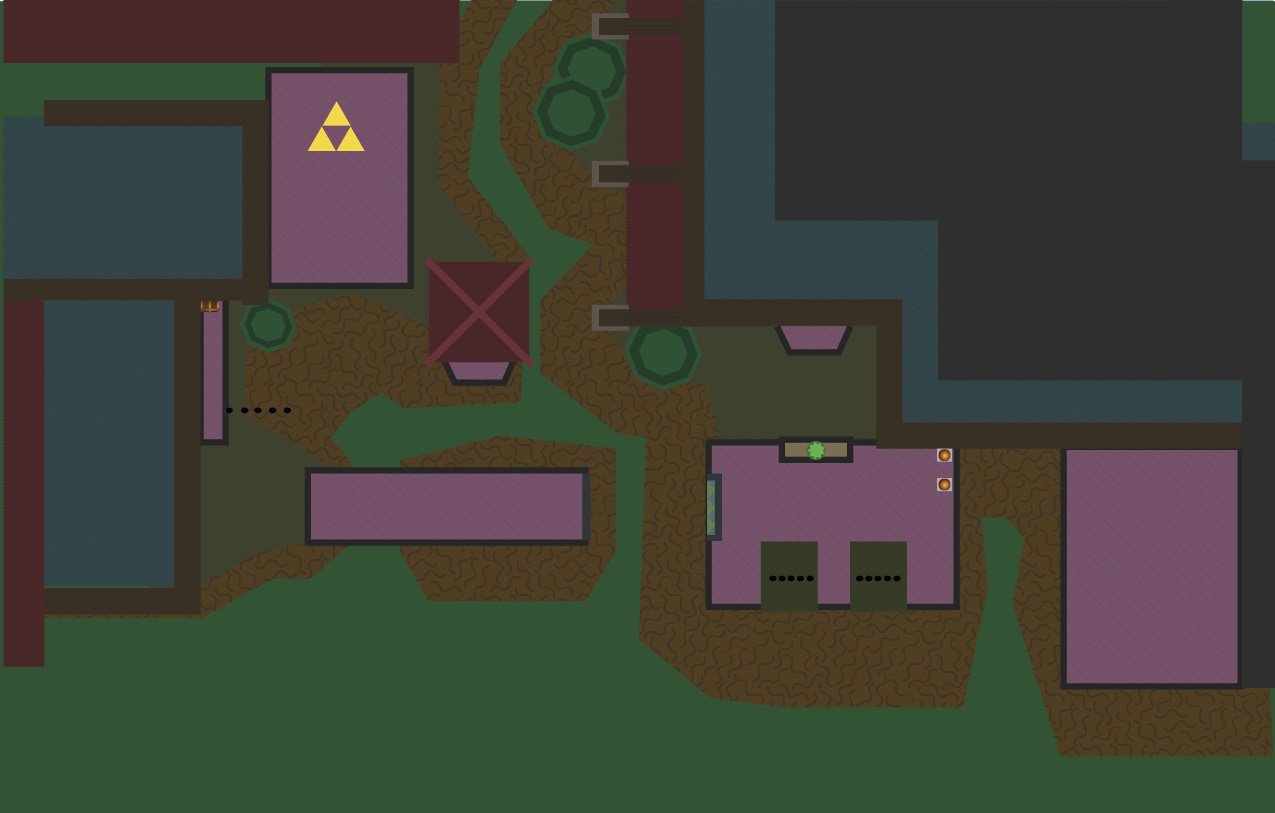
Grab the Sub-Weapons ahead of you, then line up the Bomb Link and a Gust Jar Link on the northwest side of the landing. Use the remaining Gust Jar Link to blast the other two Links over the gap. Have those two Links stand on the two pressure switches on the other side of the gap to extend a bridge to the remaining Link.
You’ll find an elevated bridge on the left side of the room and a cracked window slightly northeast of that. You’ll need to break the northern window and hit the orb switch behind it to lower the bridge. To accomplish this, have a Gust Jar Link blast the Bomb from the Bomb Flower across the gap and onto the balcony below the window. The window will break and reveal the orb switch. Shoot another Bomb over to the balcony and it will activate the orb switch, which lowers the bridge.
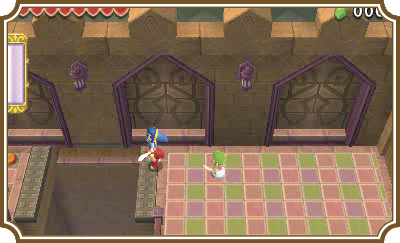
Clear out the two Hardhat Beetles on the other side of the bridge, then stand just below the cracked window. This can get a little tricky: Have your Bomb Link stand to either the left or the right and then have him throw a Bomb onto the steel slab just below the cracked window.
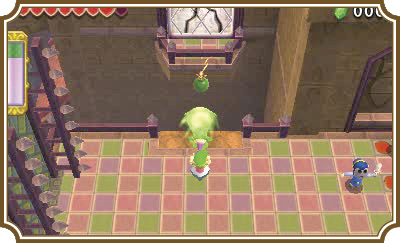
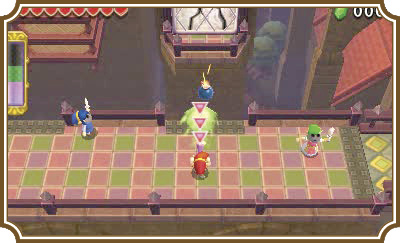
Now have a Gust Jar Link blast the Bomb across the gap and onto the balcony in front of the window. (The Bomb Link will have to be pressing up against the railing to make this work properly.) The window will break and reveal another orb switch. Repeat the process to activate the orb switch and create a bridge on the left side of the platform.
Continue north to find the Triforce gateway.
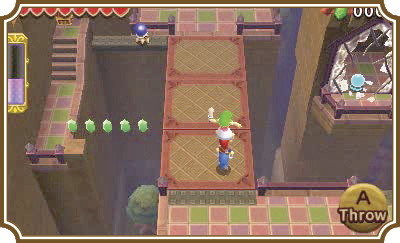
Room 2
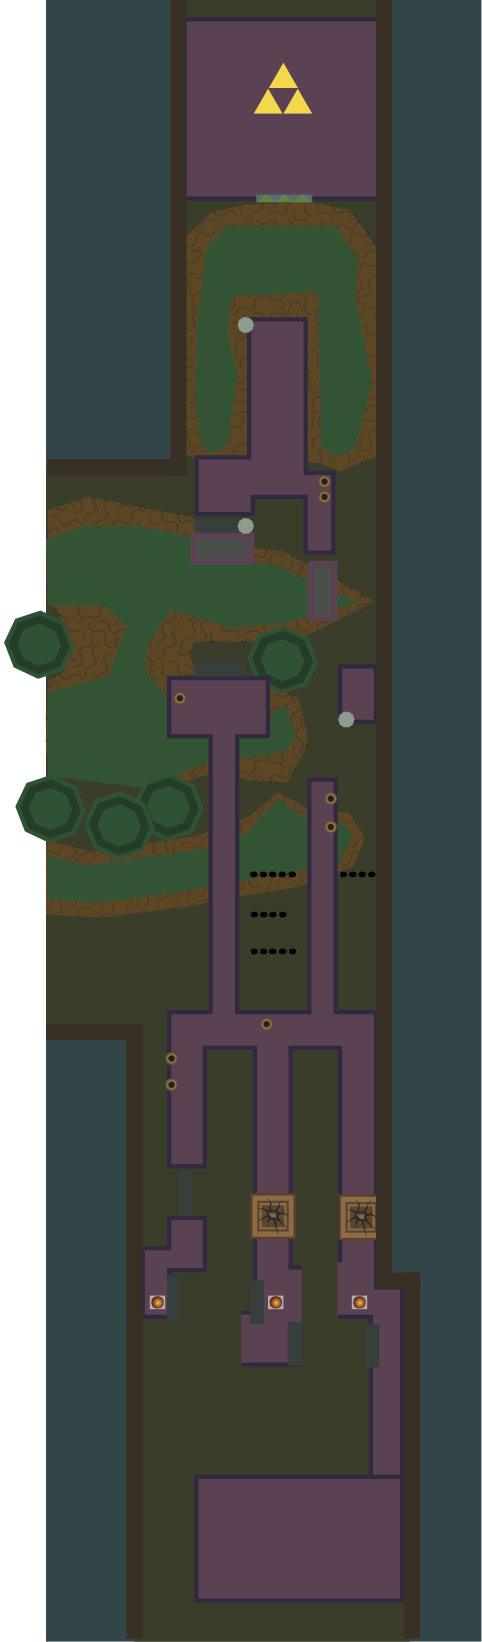
Head north until you reach a set of platforms with pressure switches and steel slabs. Use one of the Gust Jar Links to blast the other Gust Jar and the Bomb Links across the gap on the left.
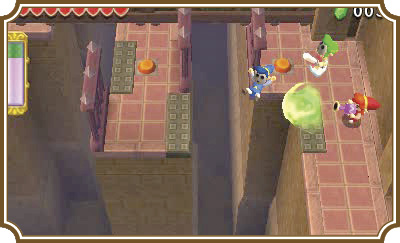
Now have the Gust Jar Link you just blasted over blast the Bomb Link across the gap on the left side of the center platform. Next, have all three Links stand on their respective pressure switches. The northern wall will retract and each Link will have to traverse their own path.
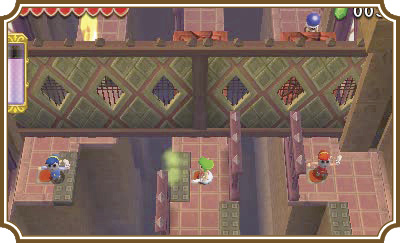
The Links on the center and right paths both have cracked blocks. Have the Bomb Link throw a Bomb to the center path to destroy the center block, then have him throw another, but this time have the center Gust Jar Link throw the Bomb to the right path to destroy the cracked block there.
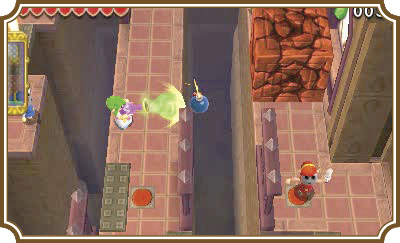
Have the center Link use his Gust Jar to put out the flames on the left Link’s path. Now all three Links can move forward. Carefully defeat the Hardhat Beetles on each path, then move on.
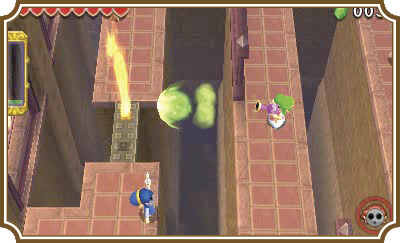
Eventually the two Gust Jar Links’ paths will merge, then come to an abrupt end. The Bomb Link will have to give them a hand by throwing a Bomb next to the orb switch ahead of the Gust Jar Links’ path.
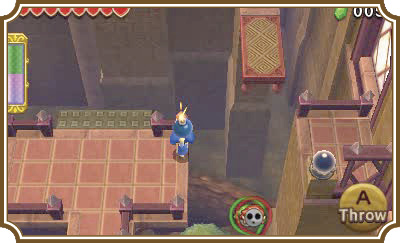
A moving platform will allow the Gust Jar Links to head north across the gap, while the Bomb Link has to stay behind and wait patiently.
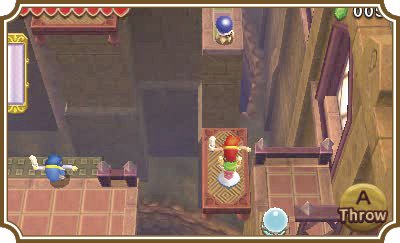
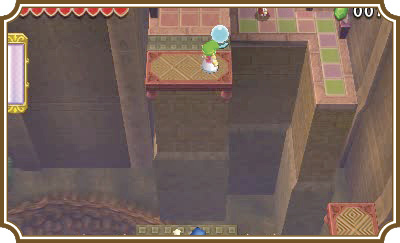
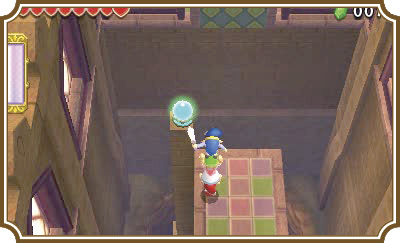
You’ll find a couple of Hardhat Beetles and orb switches on the other side of the gap. Defeat the Hardhat Beetles carefully, then make a two-Link Totem and throw the top Link onto the platform with the orb switch on it. Hitting that orb switch will activate another moving platform, which will allow the Bomb Link to rejoin his pals.
With all three Links together again, make a three-Link Totem and hit the orb switch at the end of the path. A bridge will lower, giving you access to the Triforce gateway.
Room 3
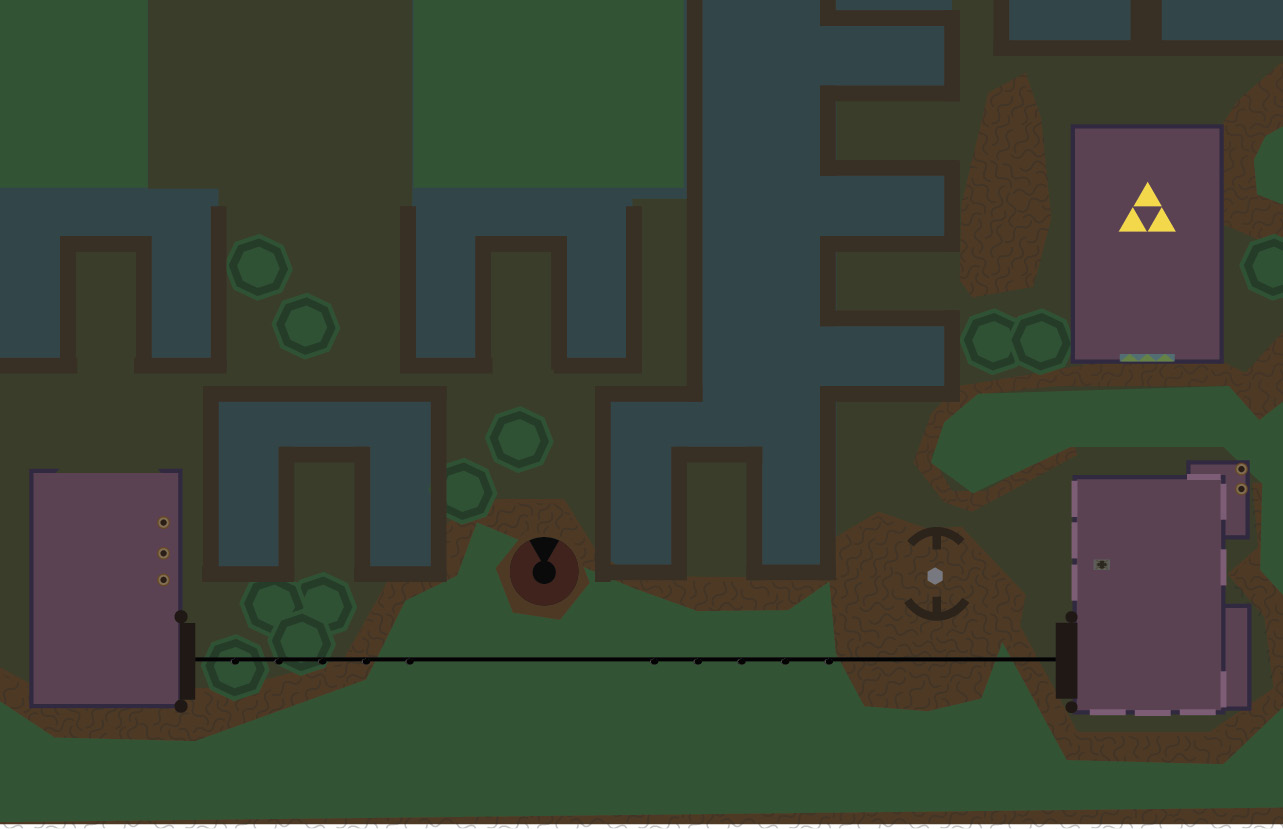
When you appear in this room you’ll see a tram car hanging from its track. To move the car you need to have one of the Gust Jar Links point at the tram car’s left end, and then fire an air blast. You’ll have to continue using the Gust Jar to keep the car moving.
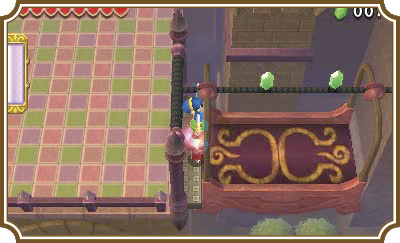
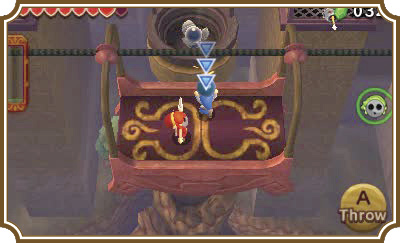
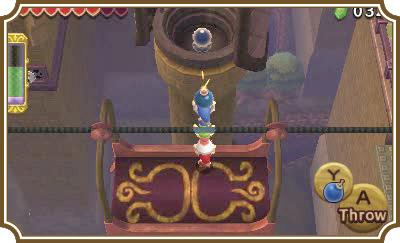
Around the center of the track, you’ll find a shy orb switch. Have your Bomb Link lob a Bomb next to the switch, then stand to the south end of the car to activate it. A tower will shift and reveal another orb switch a bit farther down the track.
You’ll need to have the Bomb Link throw a Bomb into this tower. The problem is the tower’s exterior is rotating. You’ll need to time your Bomb tosses carefully in order to land a Bomb inside the tower. Make a three-Link Totem with the Bomb Link on top and throw a Bomb into the tower when you get a clear shot. Once you’ve activated the switch, a bridge will lower on the northeast corner of the room, giving you access to the Triforce gateway.
Make sure to give a Squiddy a quick shakedown on your way out of the room.
Room 4
Boss Fight: The Hinox Brothers
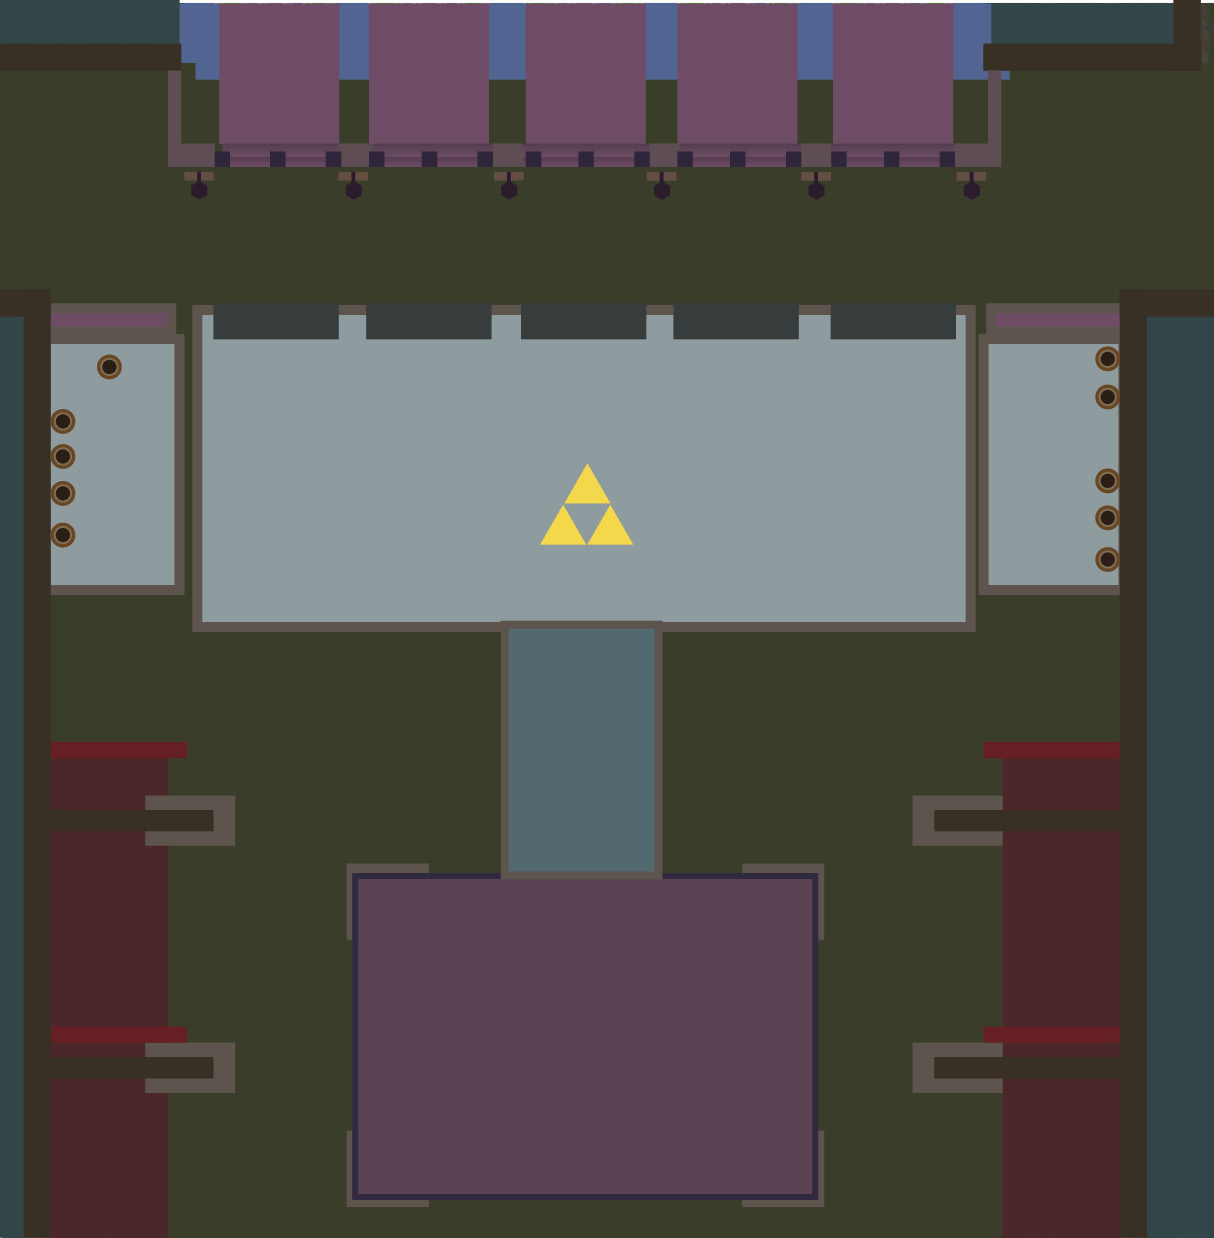
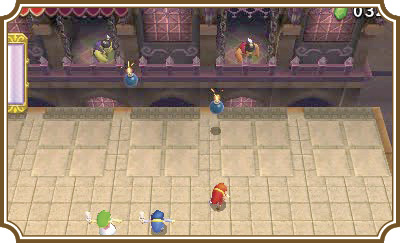
Everybody’s favorite Bomb-throwing crew is back! It’s the Hinox Brothers, ready and willing to pelt you with Bombs. Luckily they aren’t on a minecart this time, so it’s significantly easier to dodge their Bombs.
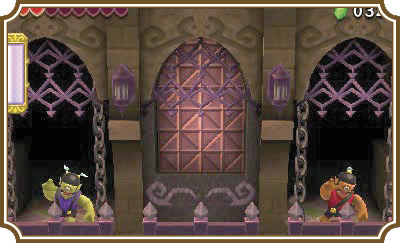
Hinox the Eldest and Hinox the Elder will pop out of the second and fourth windows of the northern building and begin tossing Bombs your way. Simply picking the Bombs up and throwing them back won’t work this time—you’ll have to get crafty. To stamp a big ol’ “Return to Sender” on the Hinox Brothers’ Bombs, use the Gust Jar to blast the Bombs back at them.
To speed this fight up, you can have the Bomb Link stand on the steel slabs to the left or right of each Hinox Brother and then throw a Bomb onto the slab in front of them. Have a Gust Jar Link blast the Bomb Link’s Bombs back at the Hinox Brothers to make short work of them.
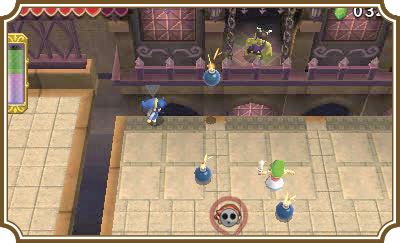
Once the Elder and Eldest Hinox brothers have been defeated, Li’l Hinox steps in to get some very explosive revenge. Li’l Hinox is a bit of an overachiever. He throws Bombs at you, just like his brothers, but they are mondo, massive, behemoth Bombs that put even your Big Bomb Outfit Bombs to shame. You’ll need to air blast these Bombs several times to get them to move toward Li’l Hinox. Right as they are about to detonate, air blast them off the edge toward Li’l Hinox to damage him.
If you’re struggling to hit Li’l Hinox with his own Bombs, you can switch back the method you used on the elder two Hinox Brothers. You’ll need to be a bit more observant to figure out where Li’l Hinox is going to appear, but the strategy works just as well as before.
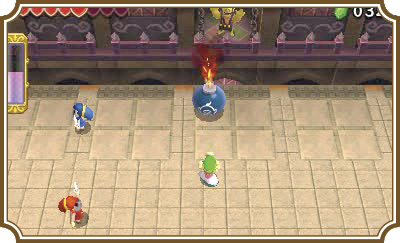
You’ll have to watch out for Hardhat Beetles during this phase of the fight. They’ll start appearing on the far left and right sides of the platform, making it difficult to blow Li’l Hinox’s Bombs back at it.
After hitting Li’l Hinox with Bombs a handful of times, he’ll be defeated and the Triforce gateway letting you out of this room will appear.