The Legend of Zelda: Tri Force Heroes Guide Clothing Quest World 3: Volcano
Level 2: Hinox Mine
ChallengesClear within the time limit Pop all balloons Don’t pop any balloons Sub-Weapons
Materials
Recommended Outfits |


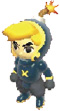
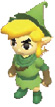
The Big Bomb Outfit will help you tremendously in this stage, so make sure to choose it above anything else. There is a lot of Bomb throwing that happens in this level and the Big Bomb Outfit’s Big Bombs will make it so much easier and quicker. The Kokiri Clothes can be worn by whichever Link decides to fire the Bow to make some of the puzzles easier and quicker.
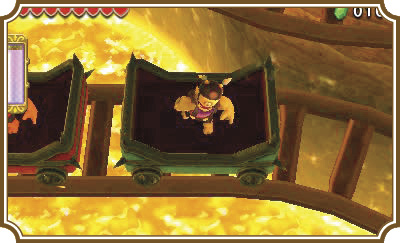
Most of this level is spent on a minecart, so there aren’t a lot of puzzles to deal with. The combat can get pretty intense, however, so stay alert!
Room 1
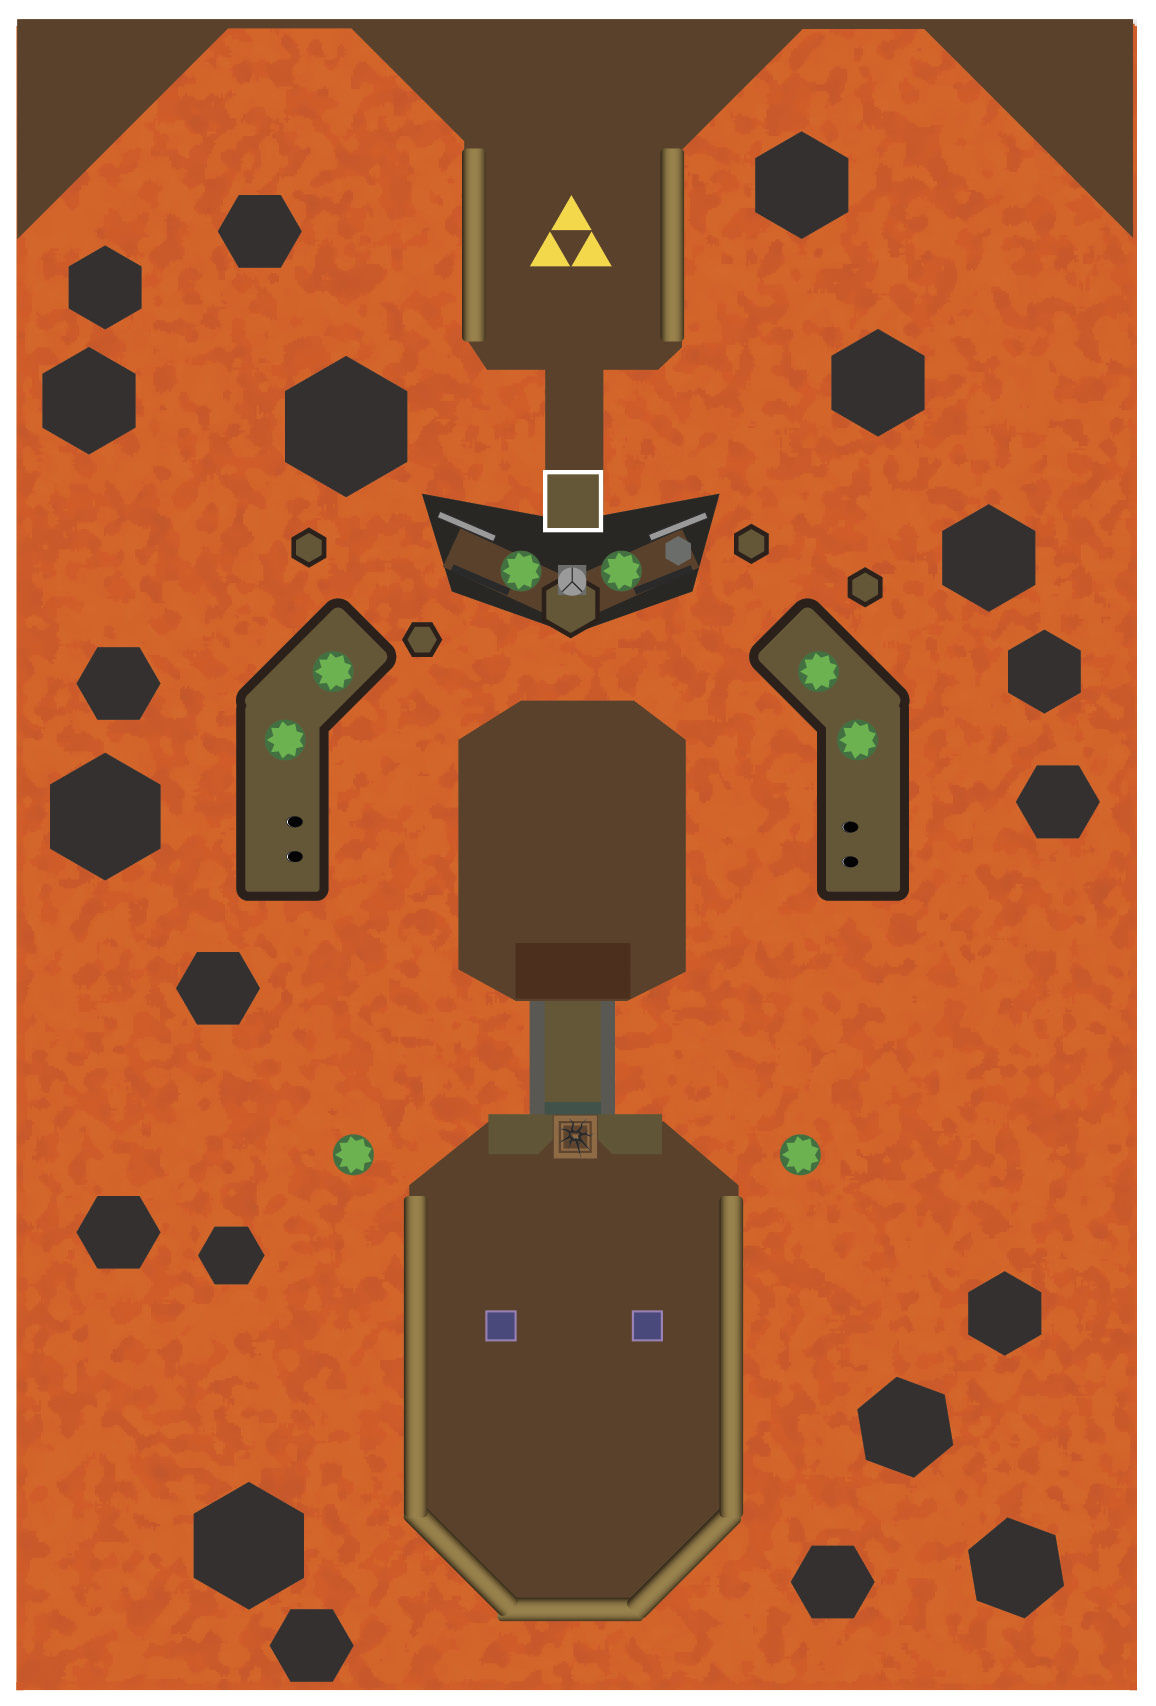
This level’s Sub-Weapons will be right in front of you from the start. If you have a Link wearing the Kokiri Clothes, make sure they grab the Bow, then divide the Boomerangs amongst the remaining Links. Whatever you do, don’t pick up the Bow with the Big Bomb Outfit Link.
Head farther north and you’ll come to a cracked block and a Bomb Flower on either side. Use your Boomerang Links to grab either Bomb and throw it at the cracked block. Do this once more to destroy the block entirely.
Now hit the orb switch lodged into the wall of the platform ahead to make a staircase rise.
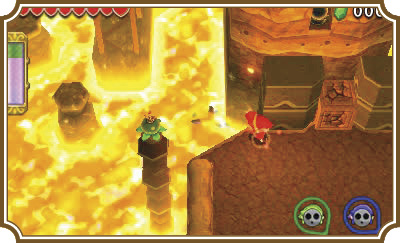
Head up the stairs to the end of the path and you’ll find more Bomb Flowers and orb switches. This is where either the Kokiri Clothes or the Big Bomb Outfit will come in handy. If you’re using the Big Bomb Outfit, make a two-Link Totem with the Links not wearing the Big Bomb Outfit, then use the Big Bomb Outfit Link to Boomerang a Bomb from one of the Bomb Flowers on the left or right side of the room. Immediately throw the Bomb as close as you can to the center of the orb switch platform, then grab the two-Link Totem, making it a three-Link Totem. Aim for the center orb switch and throw your Boomerang or fire your Bow. If you timed it right, or if your Bomb-throwing aim was spot on, all three switches should be activated at roughly the same time and an elevator will come down to pick you up.
If you’re wearing the Kokiri Clothes, you can make a two-Link Totem with the Boomerang Links and position them near the edge of the platform you’re currently on. Switch to your Kokiri Clothes Link, get as close to the edge of the platform as you can while centering yourself with the gray platform in between the two Bomb Flowers, and then fire your Bow. The two side arrows should hit the two Bomb Flowers, triggering the left and right orb switches. Immediately pick up the two-Link Totem and hit the upper switch to cause the elevator to come down.
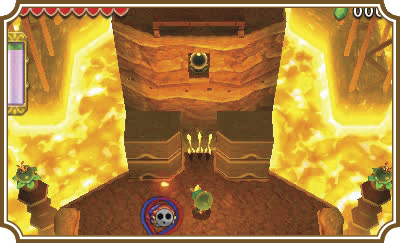
Keep your three-Link Totem, hop on the elevator, and head to the Triforce gateway at the top of the room.
Room 2
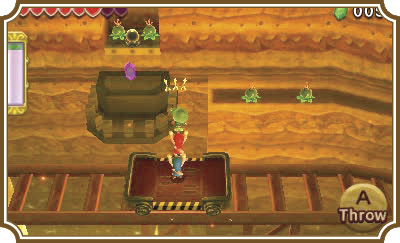
Hop down the hole in the grated platform you start this room in to land on a minecart. Face your Big Bomb Outfit Link toward the north side of the room at all times. You’ll see two red Rupees lining the north wall. Immediately after that are a couple of Bomb Flowers and a giant cracked block. Use your Boomerang to grab a Bomb, then throw it onto the platform with the cracked block. If you have the Big Bomb Outfit Link throw the Bomb, the cracked block will blow up with one Bomb, but it will take two Bombs otherwise.
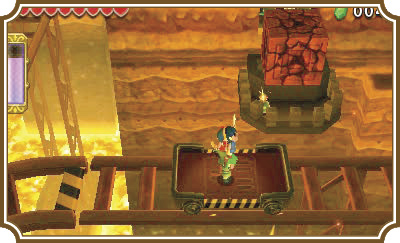
Once the block is destroyed, an orb switch will be revealed. You won’t be able to hit it this time around the track, but that’s okay, because you have some preparing to do. Make a three-Link Totem with the Bow Link on the top and face the north wall at all times. When you pass the Bomb Flowers again, shoot as many arrows as you can at the orb switch. If you did it right, the track will switch and you’ll be taken to the Triforce gateway. Don’t forget to smack Squiddy on your way out!
Room 3
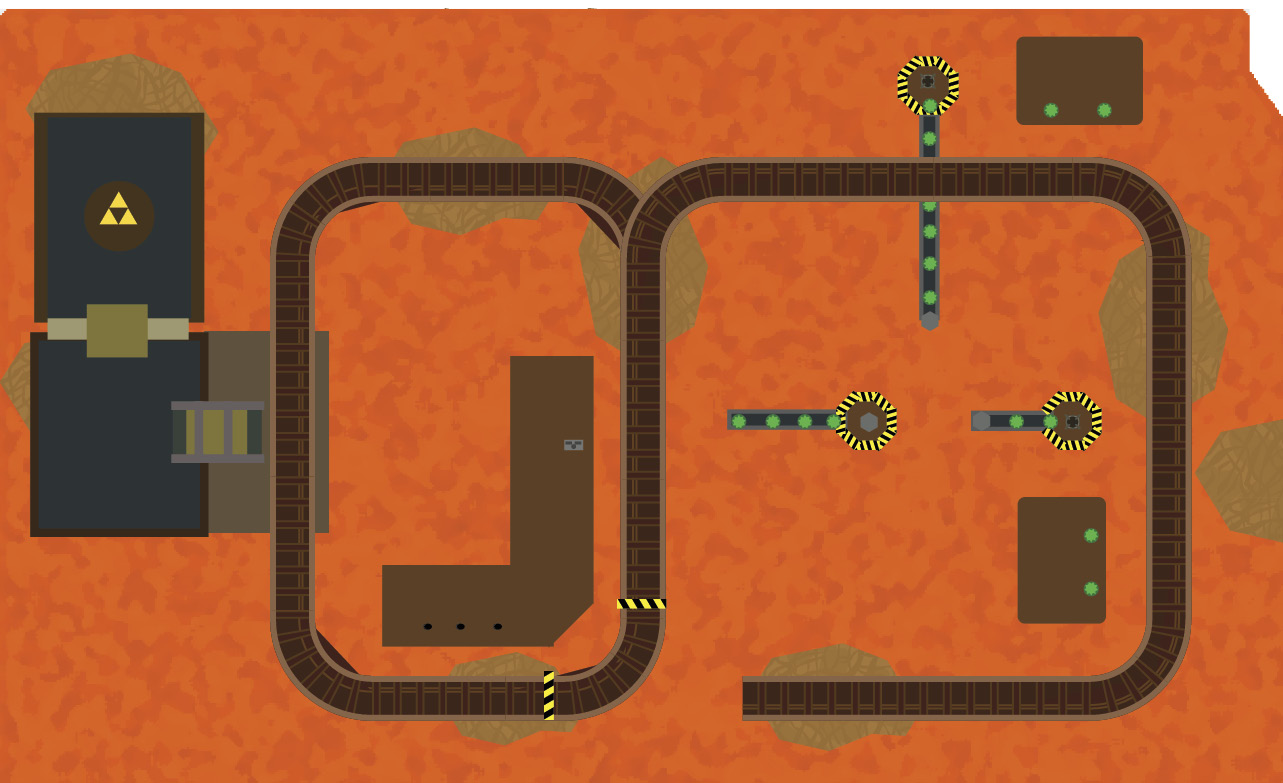
If you have the Kokiri Clothes for this area it’s going to pay dividends. If not, the same strategies work, but you’ll need more precise aiming.
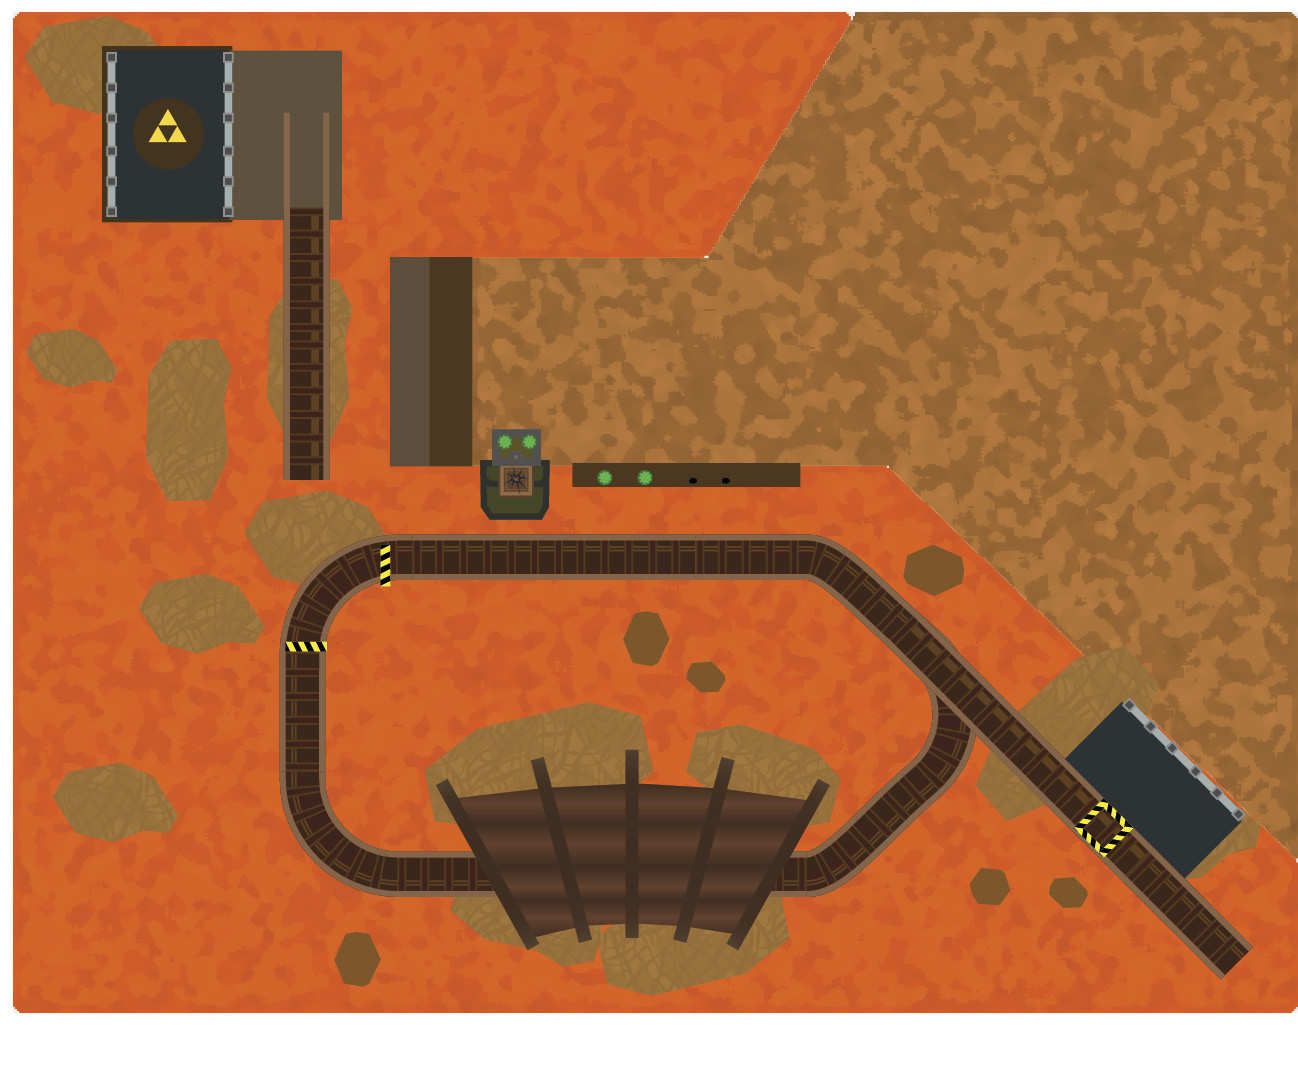
Hop into the minecart will all three Links and switch to the Bow Link. As soon as you step into the minecart, have the Bow Link face the cart’s right side and DON’T MOVE HIM. This area has two tracks and you need to hit a switch to transfer the minecart to the second track. Keep your Bow aimed and ready. When the cart moves around the second turn, your Bow Link will be facing left. Shortly after that turn you’ll find a switch with a blue handle. You need to shoot that switch to transfer to a separate track.
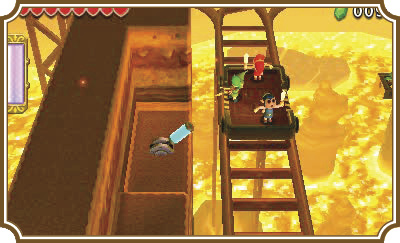
There are three orb switches in this next area: one north, one east, and one west. You are supposed to use your Boomerang on some Bomb Flowers and throw them on the platforms with the east and north switches, but if you have the Kokiri Clothes, you can fire your Bow toward those two switches and hit them reliably.
To hit the east orb switch, fire diagonally to the right as you reach the bottom-left corner of the track. This may take a couple tries without the Kokiri Clothes, but keep at it and you’ll get it eventually.
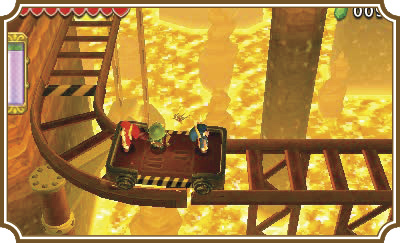
You can reach the northern switch by firing your Bow off the right side of your platform just before it reaches the top-left corner of the track.
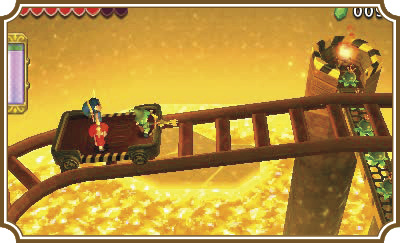
To hit the west orb switch, you’ll need to make a three-Link Totem with the Bow Link on top and fire at the switch as you roll down the west side of the track.
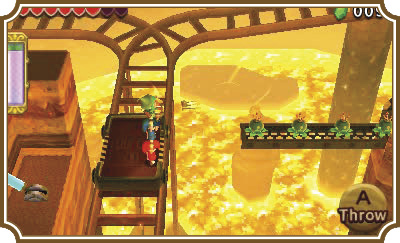
If you’re struggling to hit the north and east orb switches, you can use the Boomerang to nab up one of the Bomb Flowers just before both switches, then throw a Bomb onto the platforms with the switches. You’ll still need to use the Bow and a three-Link Totem to hit the western switch, however.
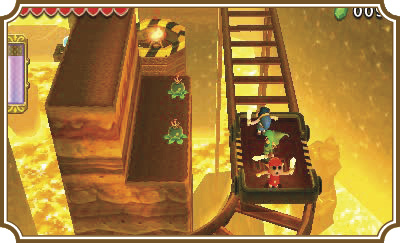
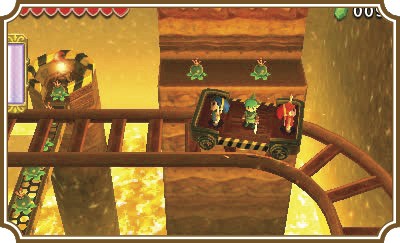
Once you’ve hit all three switches, you’ll need to hit the blue-handled switch again to change the track back to its original position. The track will take you back to the start of the area, where a gate that concealed the Triforce gateway is now open.
Room 4
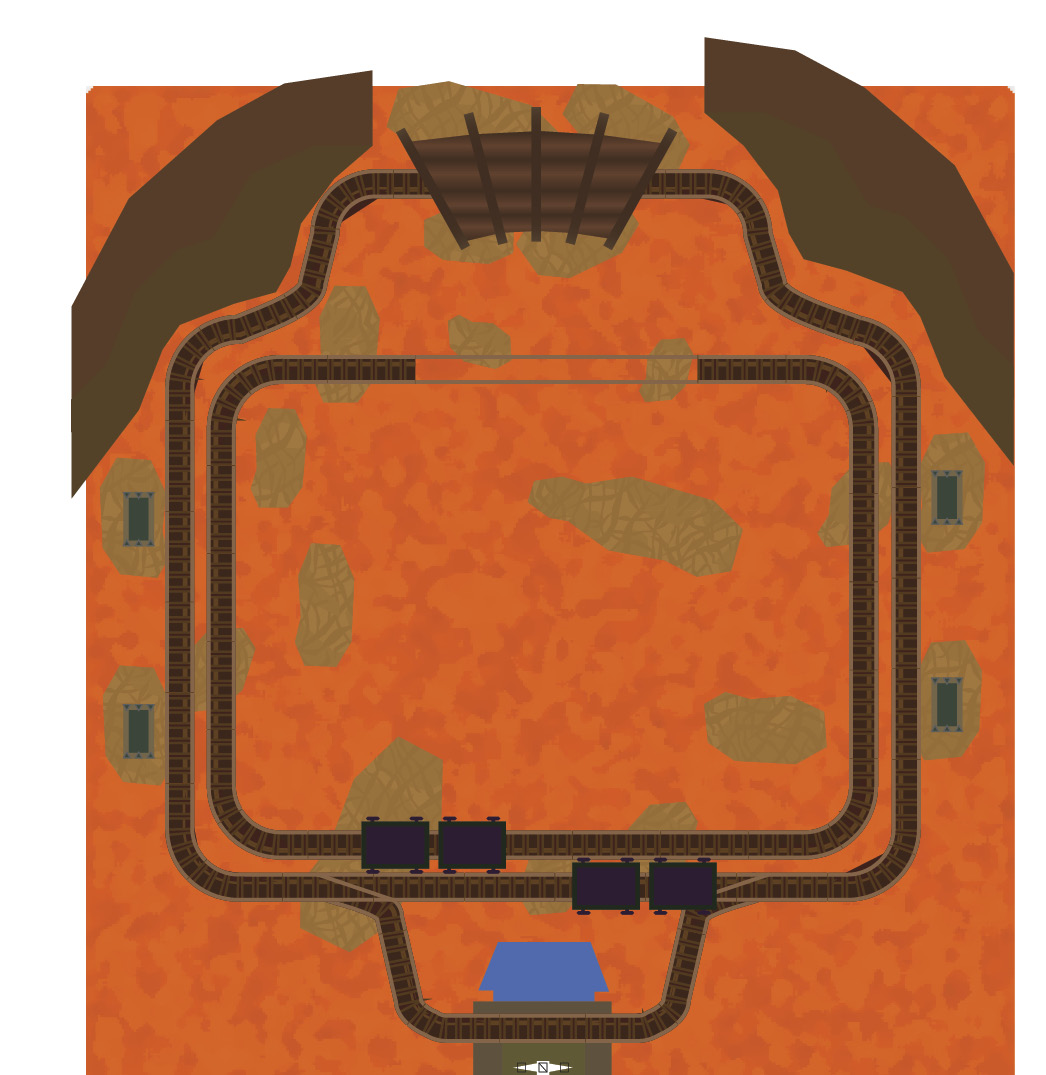
This room has two minecarts linked together on a track ahead of you. Before you step on the cart, you’ll need to do some preparation. Once you step on the cart you’ll have to do battle with two of the Hinox Brothers. If you remember the Hinox from the last level, you’ll know all too well that they love throwing Bombs. If you have a Big Bomb Outfit Link with you it’s really going to pay off here.
If you’re playing single-player, make a two-Link Totem with the Links not wearing the Big Bomb Outfit. (If you didn’t bring the Big Bomb Outfit, put the Bow Link and a Boomerang Link in a Totem, leaving one Boomerang Link for the fight.) When the Links are stacked, throw them as close to the left or right edge as possible. You can also put a Link on the back corner of each side of the cart. You’ll be throwing a lot of Bombs during this fight, so you want to keep your Doppels as far out of the way as possible.
If you’re playing multiplayer, have each Link stand as far apart as possible. That means you’ll have one Link near the left edge of the cart, one Link on the right edge, and one Link standing in the middle. Designate zones for each Link in which that Link must stay in during the fight. As we said earlier, you’ll be throwing a lot of Bombs and it’s all too easy to throw your own teammates into the lava by mistake.

When all three Links are on the minecart, it will begin to move and the first Hinox Brother will appear. Hinox the Eldest will begin throwing Bombs onto your cart, which you’ll want to take care to remove as quickly as possible. Pick them up and throw them right back at Hinox the Eldest. If you have the Big Bomb Outfit, every Bomb you pick up will turn into a giant Bomb that does double damage, making this fight much easier than without the Big Bomb Outfit.
If you’re in multiplayer, make sure to stay in your designated spot and only grab Bombs from your side. If you’re in single-player, stick to one side of the cart until you miss a few Bombs that start flashing, then head to the other side of the cart and repeat.
After doing enough damage to Hinox the Eldest, its brother, Hinox the Elder will join the fight. The fight is the same, but with twice as many Bombs. Use the same strategies you’ve used and focus on taking out one of the Hinox Brothers as soon as possible to decrease the flow of Bombs.
Once you’ve taken out both Hinox Brothers, you’ll be taken back to the room’s start where a Triforce gateway has appeared.