The Legend of Zelda: Tri Force Heroes Guide Clothing Quest World 1: The Woodlands
Level 1: Deku Forest
ChallengesFewer Heart Containers Clear within the time limit Guard the orb Sub-Weapons
Materials
Recommended Outfits |


This level is about as simple as it gets in Tri Force Heroes. It is an excellent way to get the hang of the game’s mechanics and working with Doppels or your teammates.
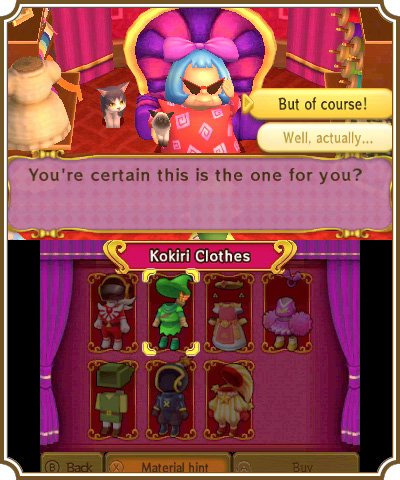
You won’t have access to any Outfits besides the Bear Minimum and Hero’s Tunic at the start, so go ahead and choose the Hero’s Tunic for your first time through this level. When you are able to get more Outfits, the best one for this stage is the Kokiri Clothes, which we’ll talk about later.
Room 1
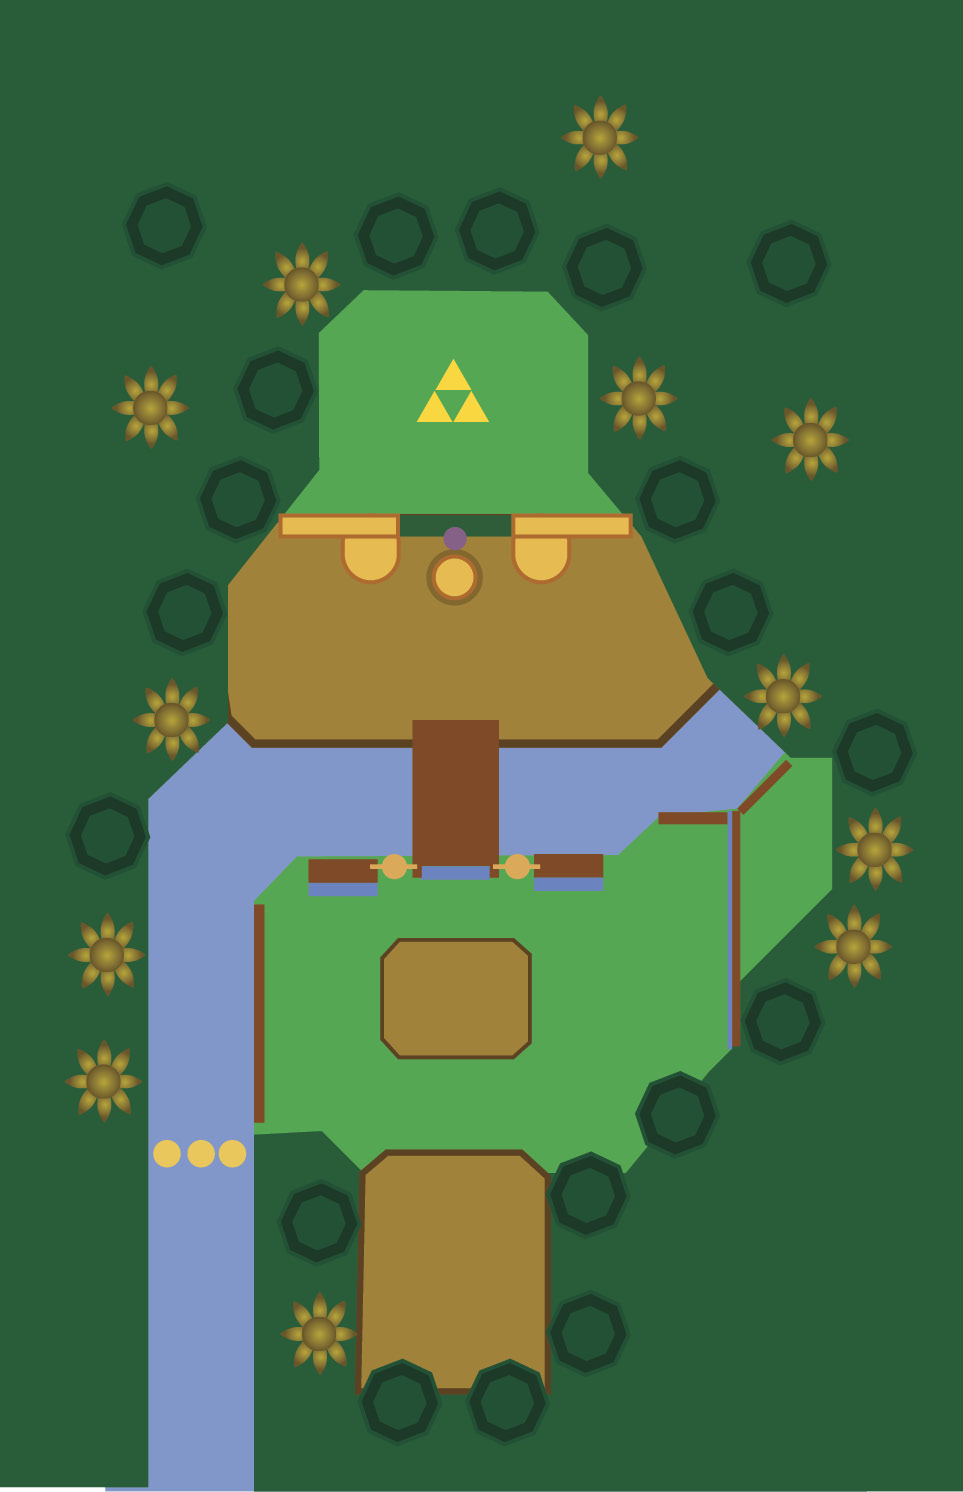
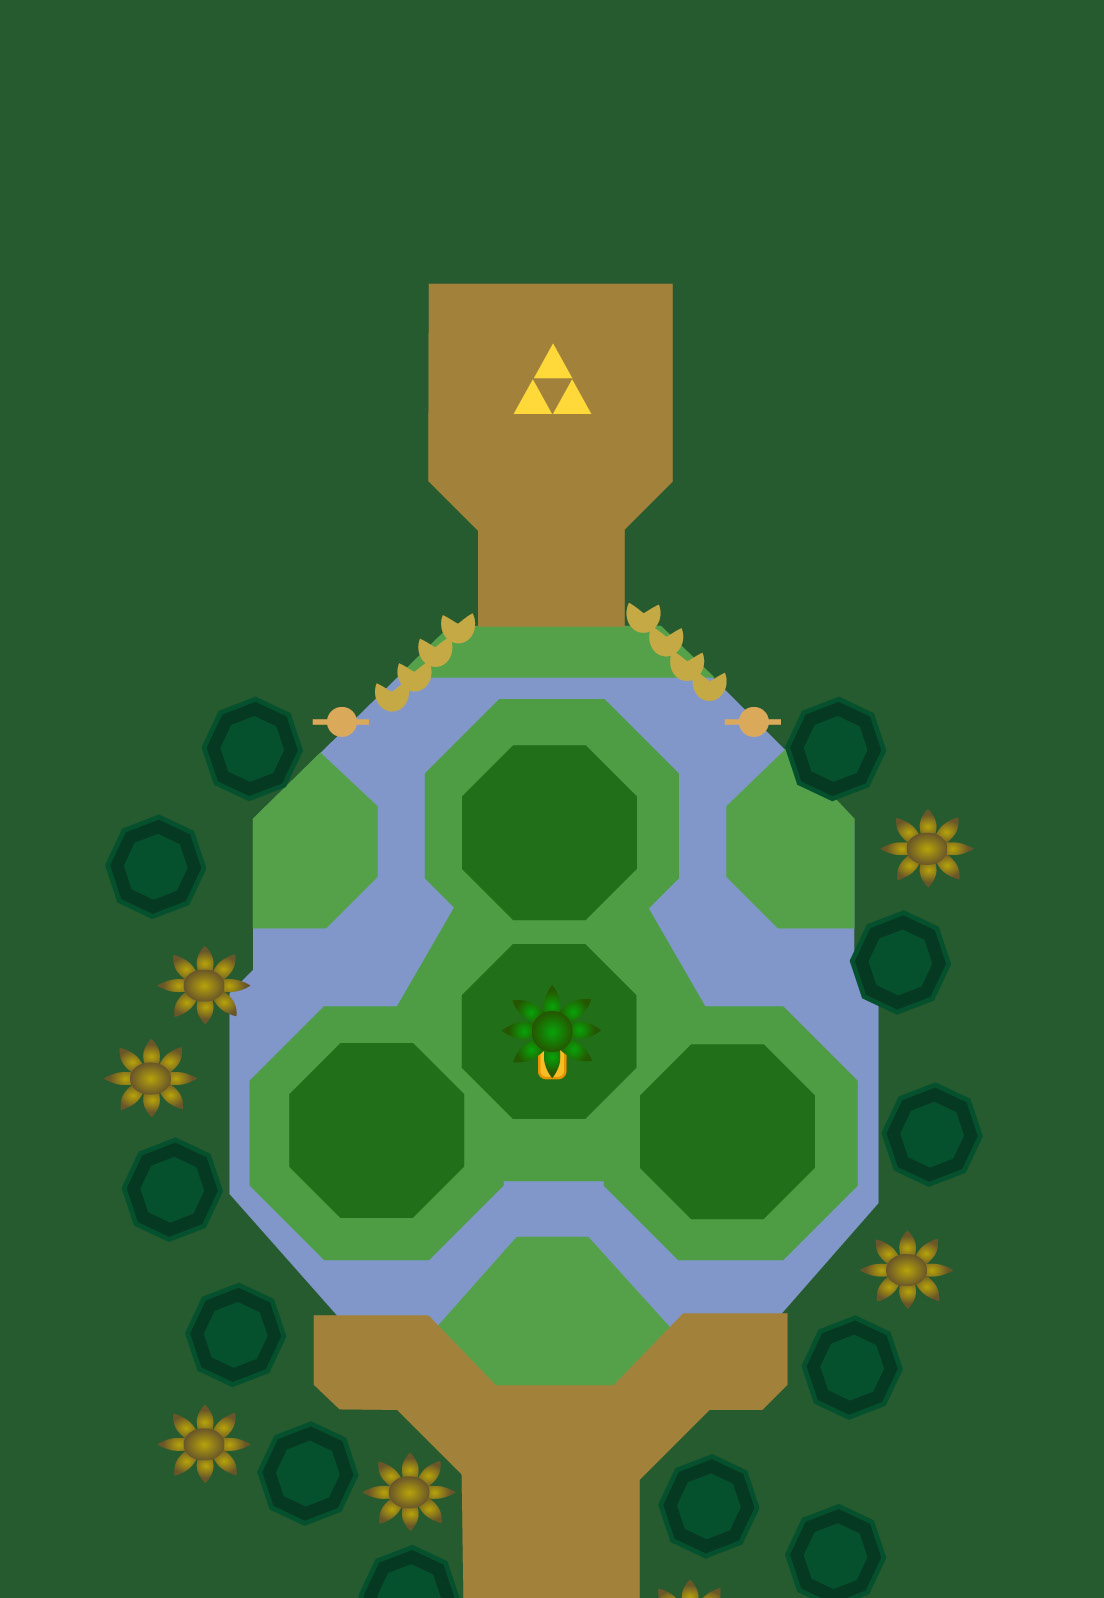
You start on an elevated plateau. In the area just north of you, you’ll find three Bows sitting on pedestals. In order to exit the room, you need to have each Link pick up a Bow.
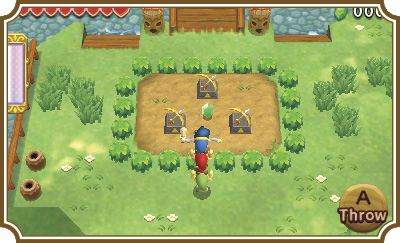
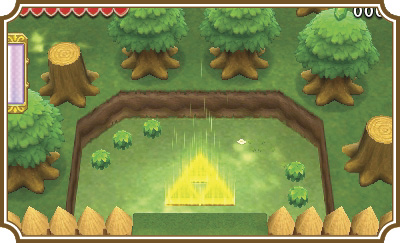
Once you pick up all three Bows, a Triforce gateway will appear at the north end of this room. Having all three Links each stand on a piece of that Triforce gateway will send you to the next area. There is more you’ll have to do before you can exit the room, but always remember that the Triforce gateway is your key out of every room in the main quest of Tri Force Heroes.
With all three Links equipped with Bows, head north. You can find Rupees in the water on the west side of the room inside the creek and on a ledge on the east side of the room. You’ll also see blue Rupees on top of the two totem poles in front of the bridge leading to the north half of the room. Blue Rupees are worth a whopping five Rupees each. Remember, every little bit counts! To get the blue Rupees you’ll need to stack all three Links and have the Link in the middle of the stack throw the Link on top or over each of the totem poles.
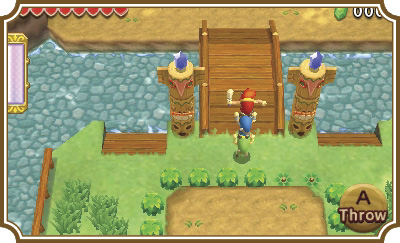
After crossing the bridge you’ll reach a closed gate and three switches on three separate platforms. You’ll need to make a Totem with all three Links and then have the middle Link throw the top Link on top of the tallest platform first. Now have the bottom Link throw the remaining Link onto the second highest platform. All three Links need to stand on the switches at the same time to open the gate.
Once the gate is open, head in and have all three Links each stand on a piece of the Triforce symbol to be teleported to the next room.
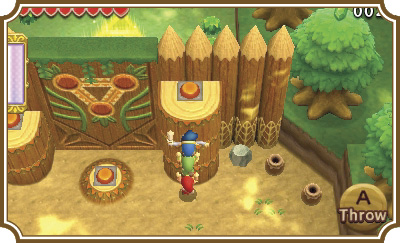
Room 2
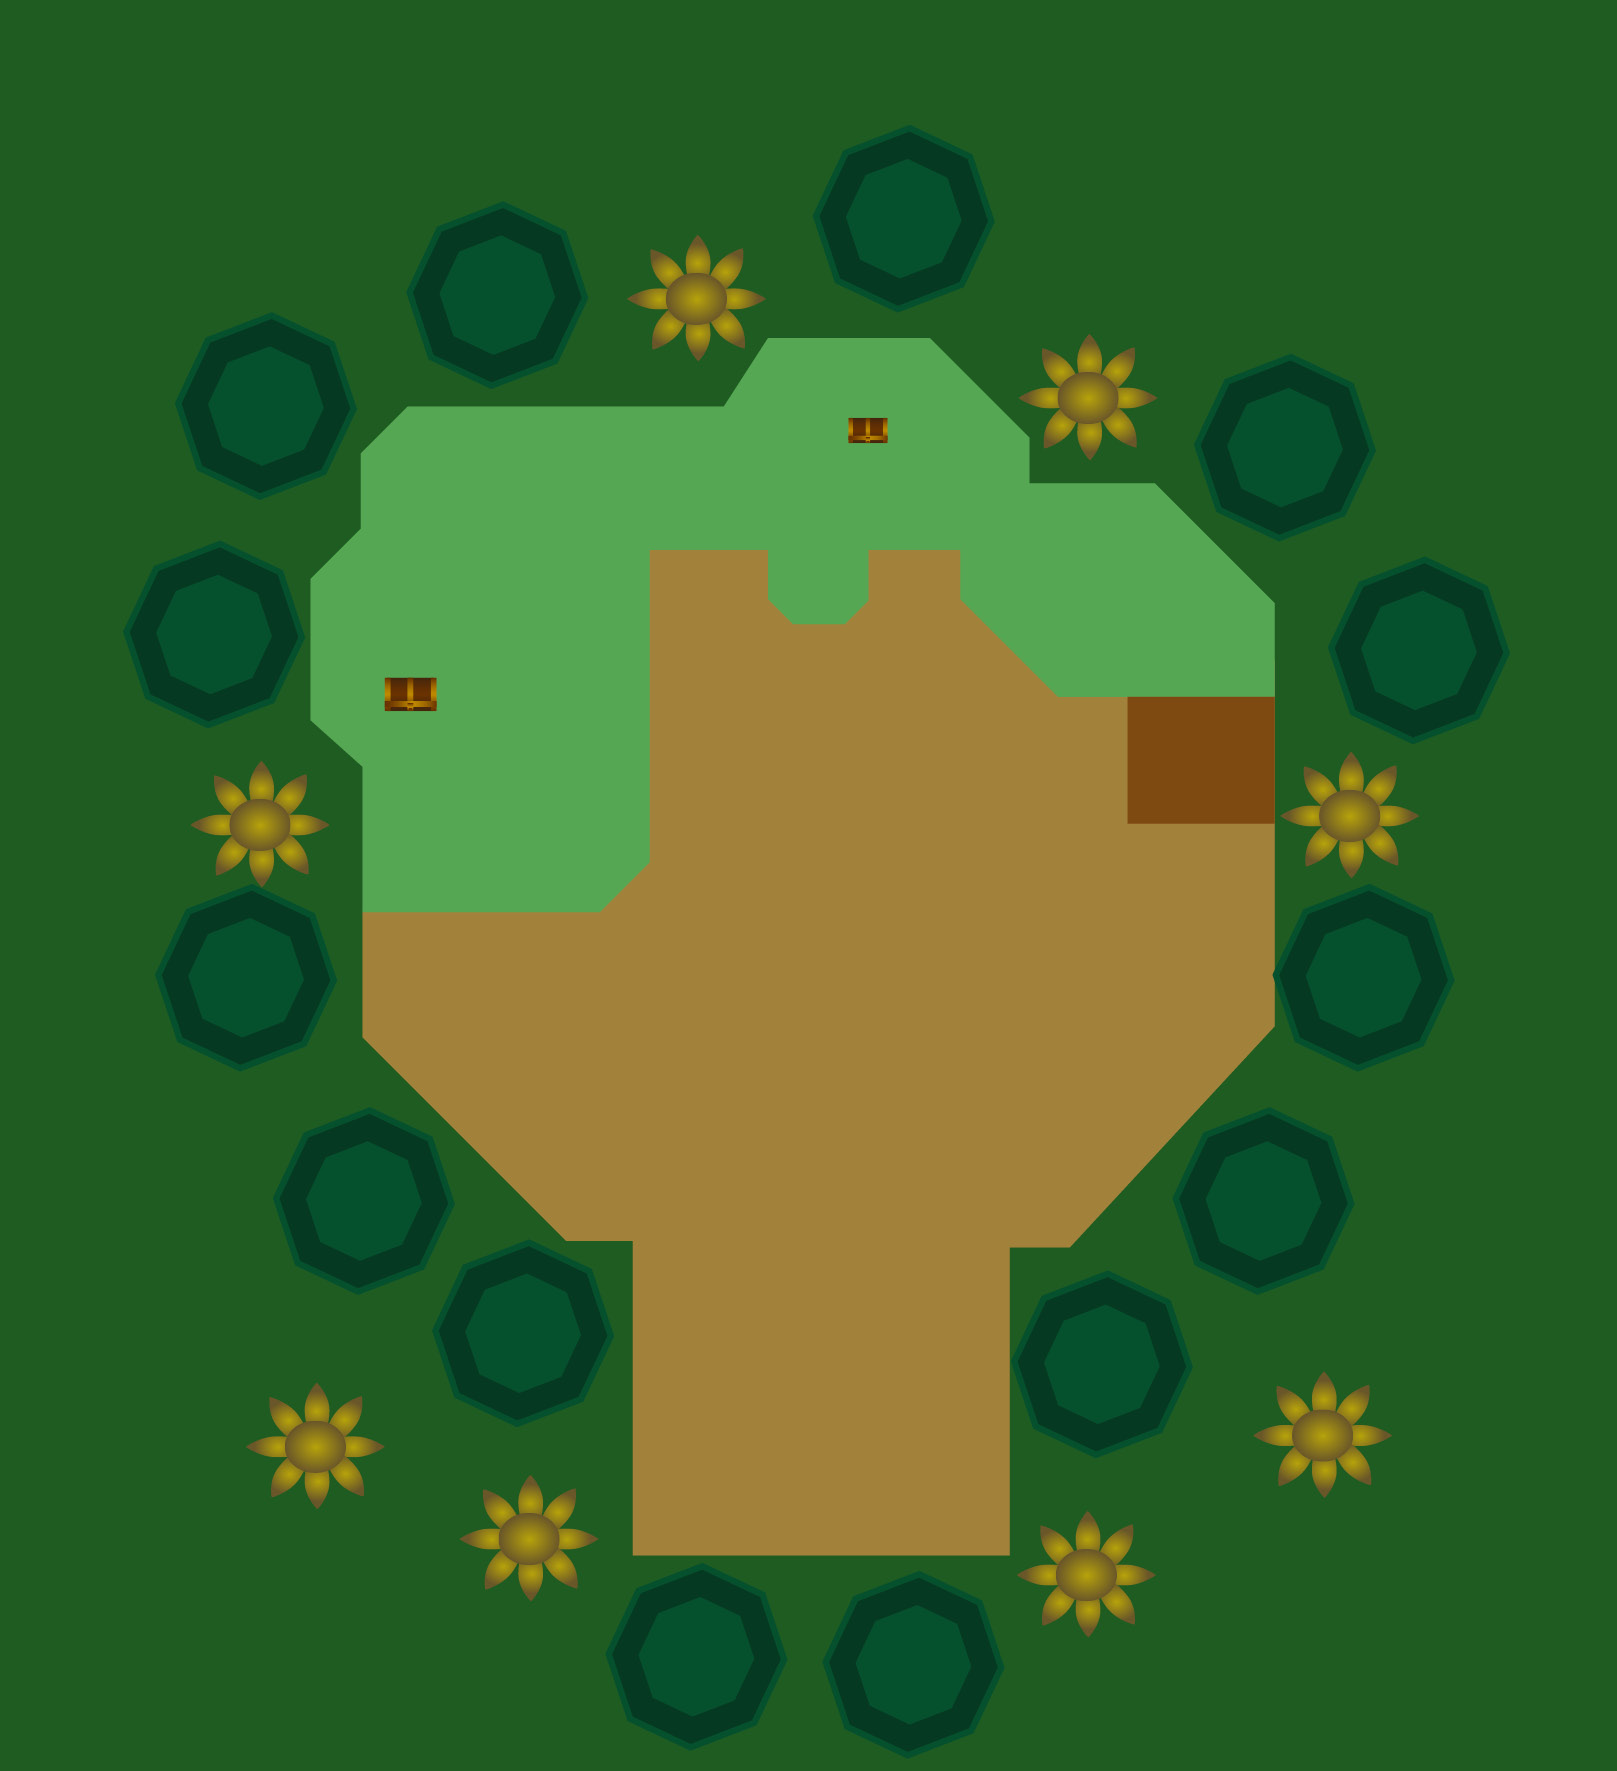
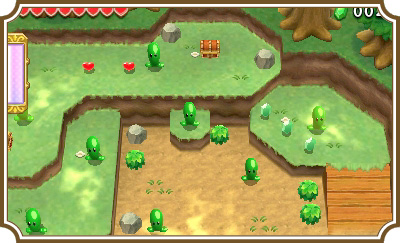
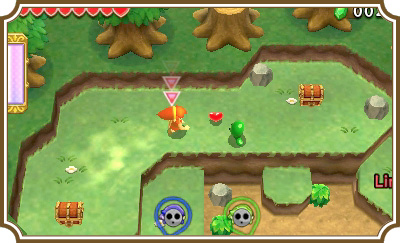
There aren’t any puzzles to solve in this room. You’ll need to defeat eight Blobs in order to make the Triforce gateway appear. Make a Totem and throw your Links up to each tier of the room to reach all eight Blobs.
Make sure to grab the treasure chests on the north side of the room before moving on to the next room.
Room 3
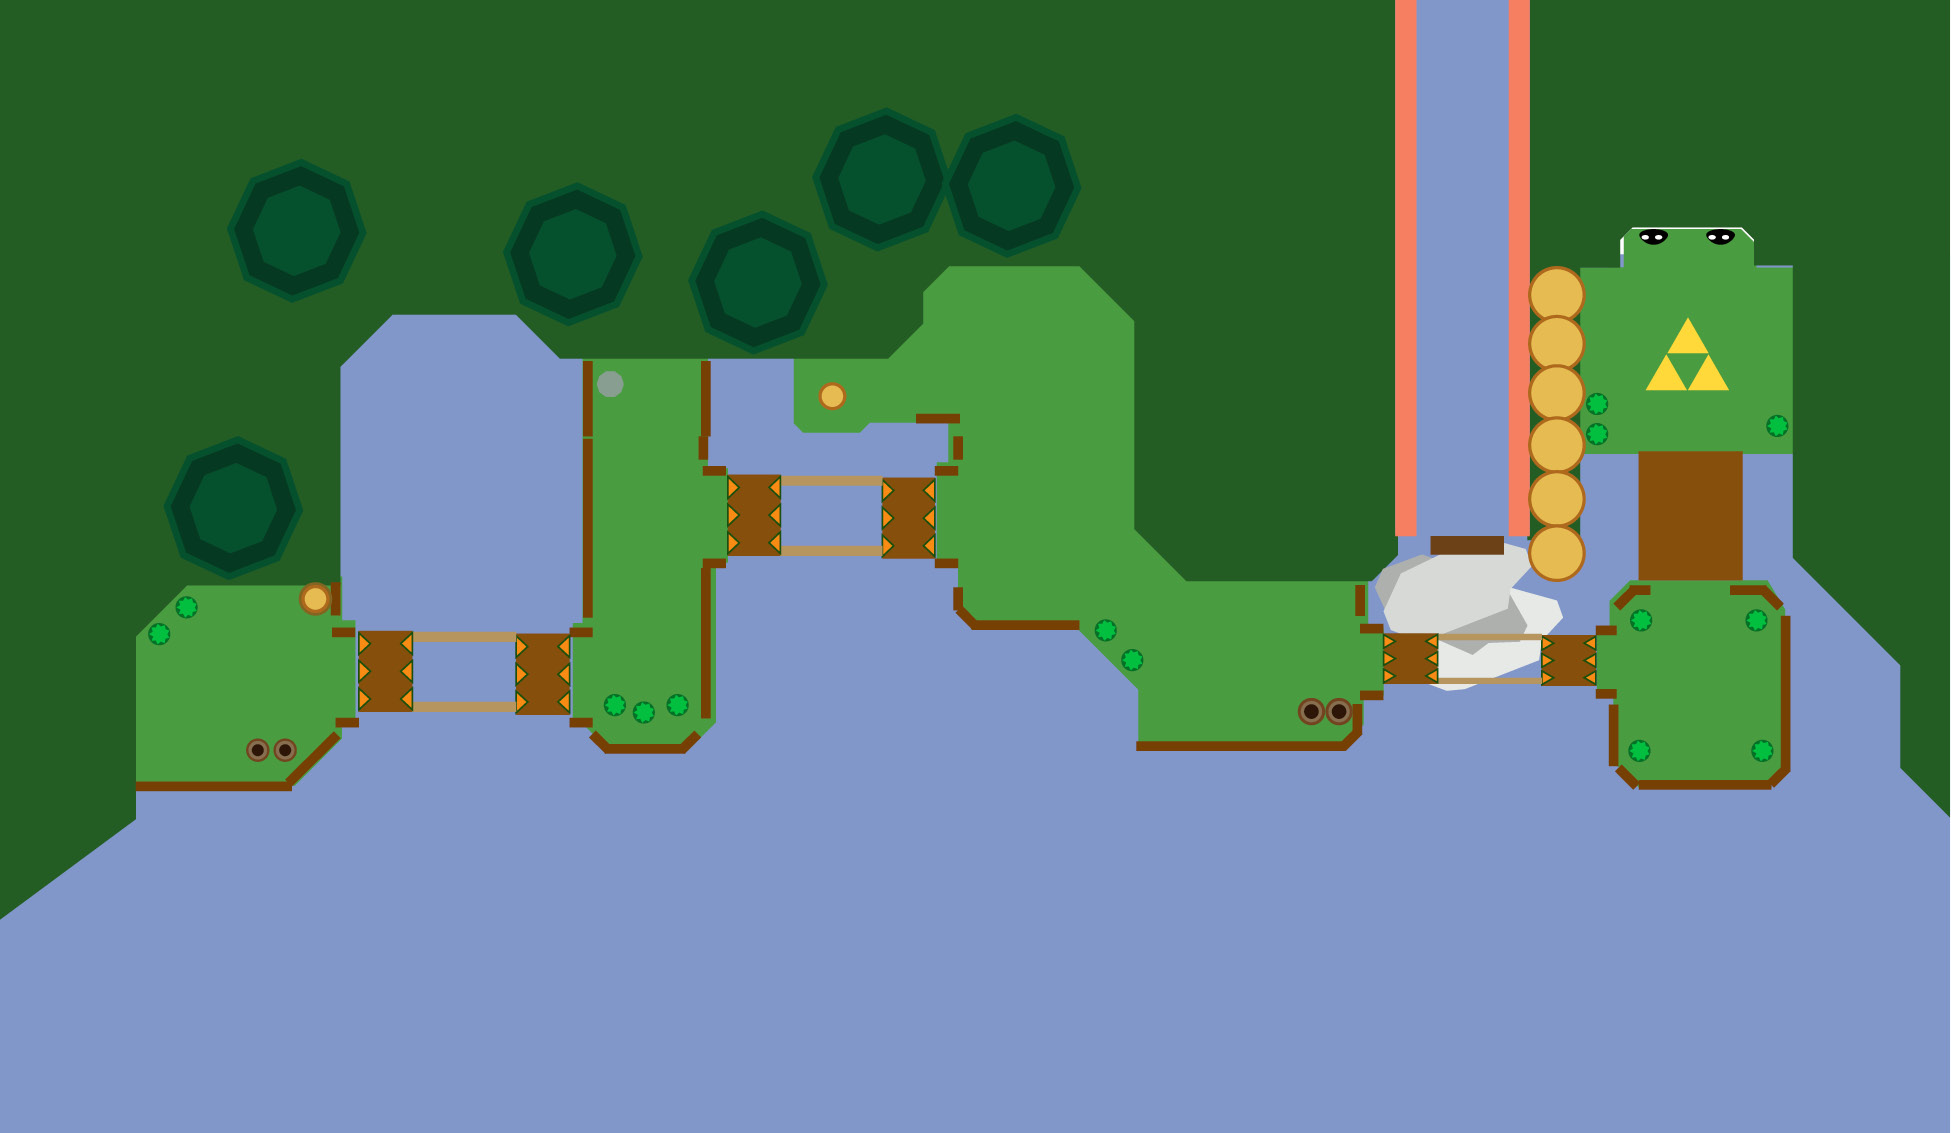
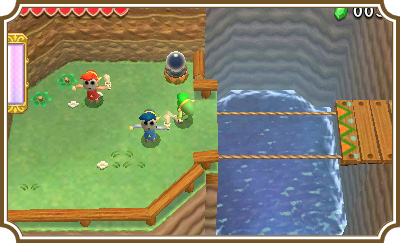
This room can be a bit tricky. Start by making a two-Link Totem, then switch to your remaining Link and hit the orb switch above you. This makes the platform to your right begin moving to the left and right, allowing you to cross the gap. You can make a Totem if you’re playing alone to get all of the Links onto the platform together.
Once across, throw one of the Links up to the elevated area on the north side of this plateau to destroy the grass and rock. Once you’re done, make a three-Link Totem and point it to the orb switch in the top-right corner of the screen. Fire an arrow from your Bow to hit it. This will activate another platform, which will travel back and forth over the gap. Cross using the platform to reach the next plateau.
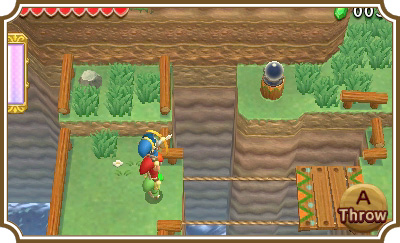
A Blob and a treasure chest can be found on the lower-right side of the plateau, while another Blob and treasure chest can be found on the plateau’s north side. You’ll need to throw your Links up to reach the treasure chest, but a simple two-Link Totem will allow you to shoot the Blob, if you’re feeling particularly malicious.
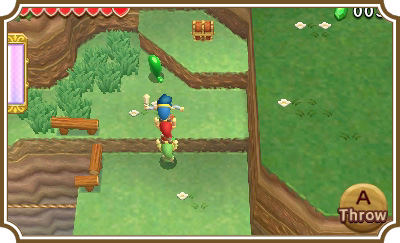
Now head to the bottom-right and you’ll find another platform, but this time it’s already moving. Make a three-Link Totem, walk onto the platform, and face north. Shoot the switch in the waterfall to raise the bridge leading to the Triforce gateway. Getting the timing right can be a bit of a challenge without the Kokiri Clothes, but a couple of tries should be enough to hit the switch.
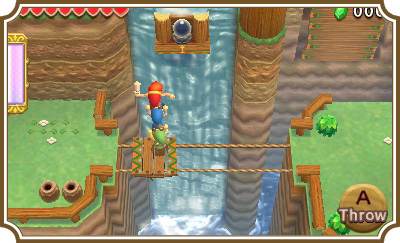
Before you cross the bridge you’ll encounter a Squiddy. Hitting this creature will yield Hearts and Rupees. The more you hit it, the more Hearts and Rupees it will drop until it explodes in a shower of health and cash. You’ll have a hard time getting the Squiddy to explode without being able to bounce it off of a wall in most stages, but you can hit him north up the bridge, which will give you plenty of space to work with. A Squiddy is always worth trying to defeat.
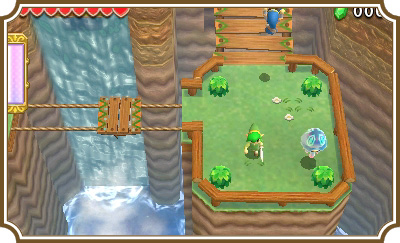
Once you’ve finished with the Squiddy, head up the bridge and onto the Triforce gateway to move on to the next room.
Room 4
This room requires excellent coordination from your teammates if you’re playing multiplayer, but single-player only requires the right amount of Links in a Totem to win. You’ll be dealing with four different stacked Totem Dekus. You’ll need to make a Totem of Links equal to the number of the Totem Deku’s roots plus its head. If a Totem Deku has one brown, round root, you’ll need two Links to reach it.
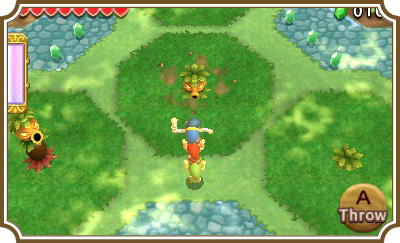
Don’t stand still during this battle to avoid the Deku Nuts the Totem Dekus fire. You’ll need to stand just outside of the dark green grass patches around each Totem Deku to keep them from hiding in the ground. Hit each Totem Deku with one arrow apiece to defeat them and open the path to the Triforce gateway.
Have each Link stand on the Triforce gateway to enter the final room of this level.
Room 5
Room 5 marks the end of every level in Tri Force Heroes. At the end of this room are three large treasure chests. You’ll only ever be able to open one chest per level, and what you find inside can be one of two items: Two chests contain a common Material and one of them will contain a rarer Material.
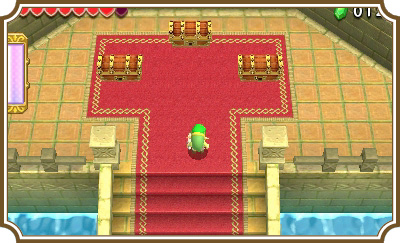
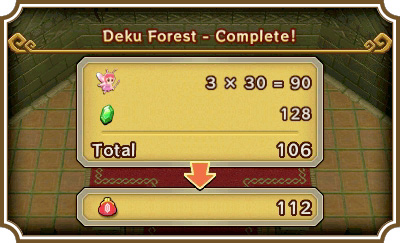
Choose your treasure to finish the level and be sent to the results screen. You’ll earn thirty Rupees for each Fairy you kept by avoiding death throughout that level, so be extra careful if you want to rack up some sweet cash. If you’re playing multiplayer, you and your friends don’t split Rupees—you all get the same amount, so there’s no need to fight over them. All for one and for all, as they say!
Most Outfits have unique benefits or disadvantages that can make the game harder or easier depending on your choices. For instance, the Kokiri Clothes allow you to fire three arrows from your Bow at a time, instead of the usual one. This makes hitting enemies and solving some puzzles a lot easier. You do not need Outfits to beat the game, but they will make the game significantly easier, especially in the later levels. Make a point to head to Madame Couture’s and see what Outfits she has to offer regularly. If the levels you have access to have the Materials she needs for an Outfit, make a point to gather them up and get that Outfit made ASAP!