The Legend of Zelda: Tri Force Heroes Guide Clothing Quest World 6: The Dunes
Level 3: Gibdo Mausoleum
ChallengesClear within the time limit Avoid falling and quicksand Only Bombs—no swords Sub-Weapons
Materials
Recommended Outfits |


Room 1
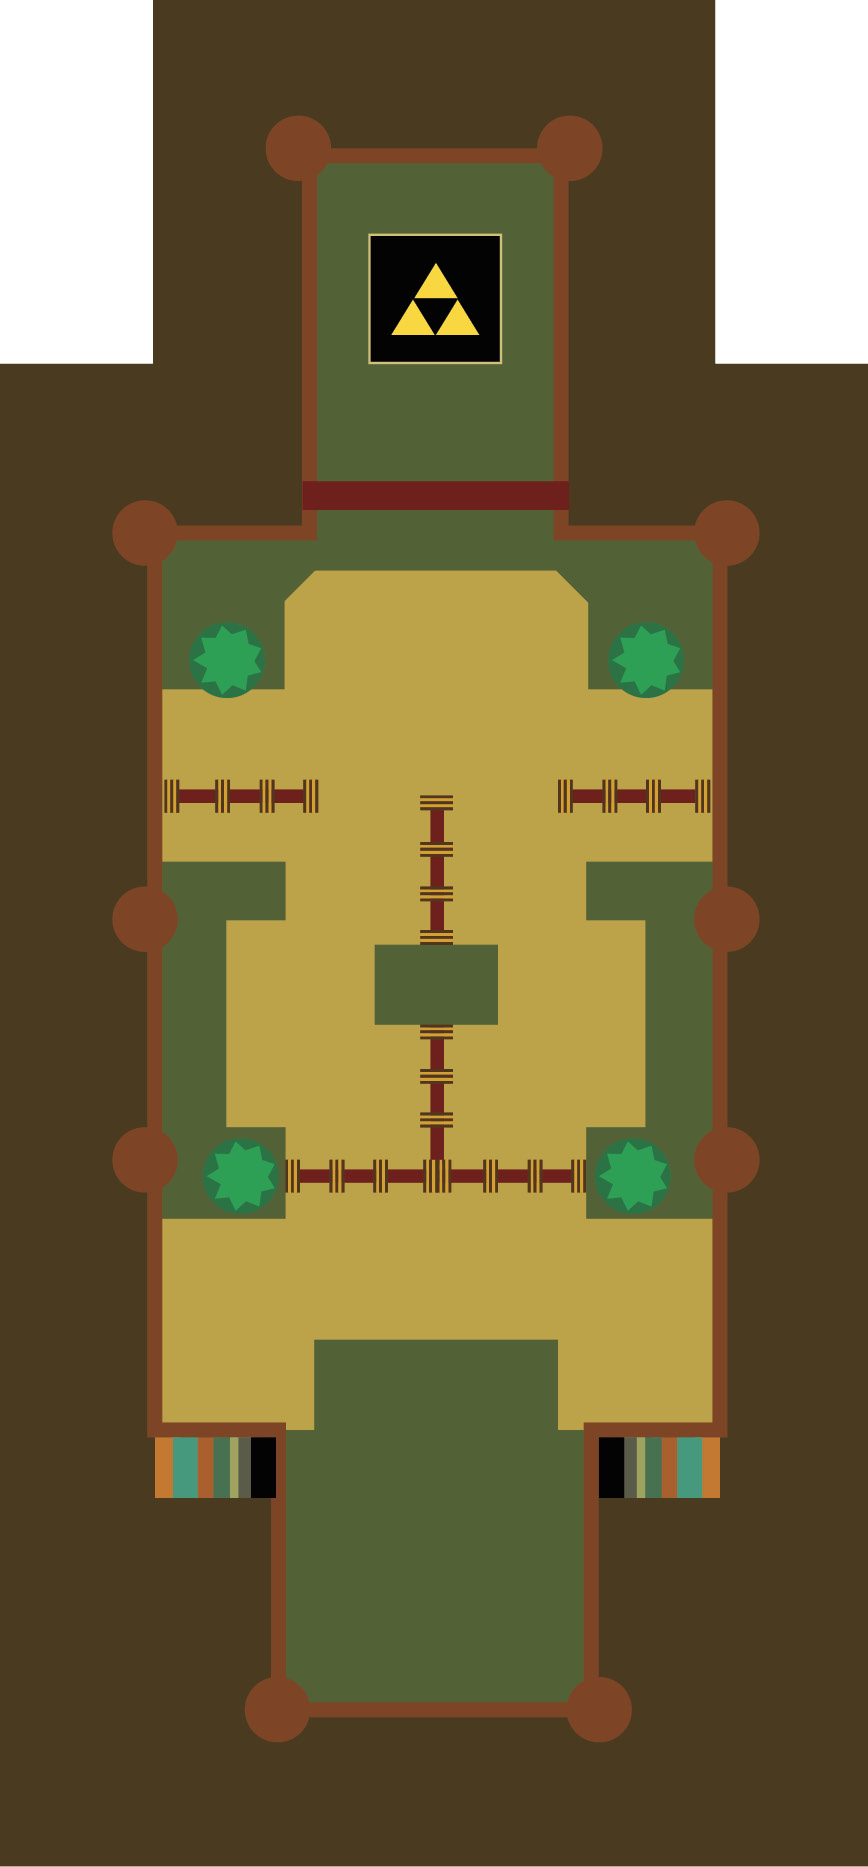
To make up for how rough the last level was, Tri Force Heroes gave you a much easier level as a way of apologizing. Awww, isn’t that nice? This stage will pose little difficulty to you, but if you want to wear an Outfit that will truly help, wear the Sword Suit. There are plenty of enemies to fight in this stage, so wearing the Sword Suit will make those fights significantly easier.
As soon as you grab all three Sub-Weapons, a key will drop from the ceiling. Karat Crabs covered in Sand Dunes will quickly snatch up the key. Use the Gust Jar and the Bomb Flowers to remove the Sand Dunes from on top of the Karat Crabs, then defeat them. One of the Karat Crabs will have the key on top of its head. Defeat that one, grab the key, and head to the lock on the north end of the room to move on to the next one. Just make sure to watch out for the spikey balls called Morths. They’ll slow any Link that they cling to. You’ll need to have a friend hit them off, or switch to another Doppel.
Room 2
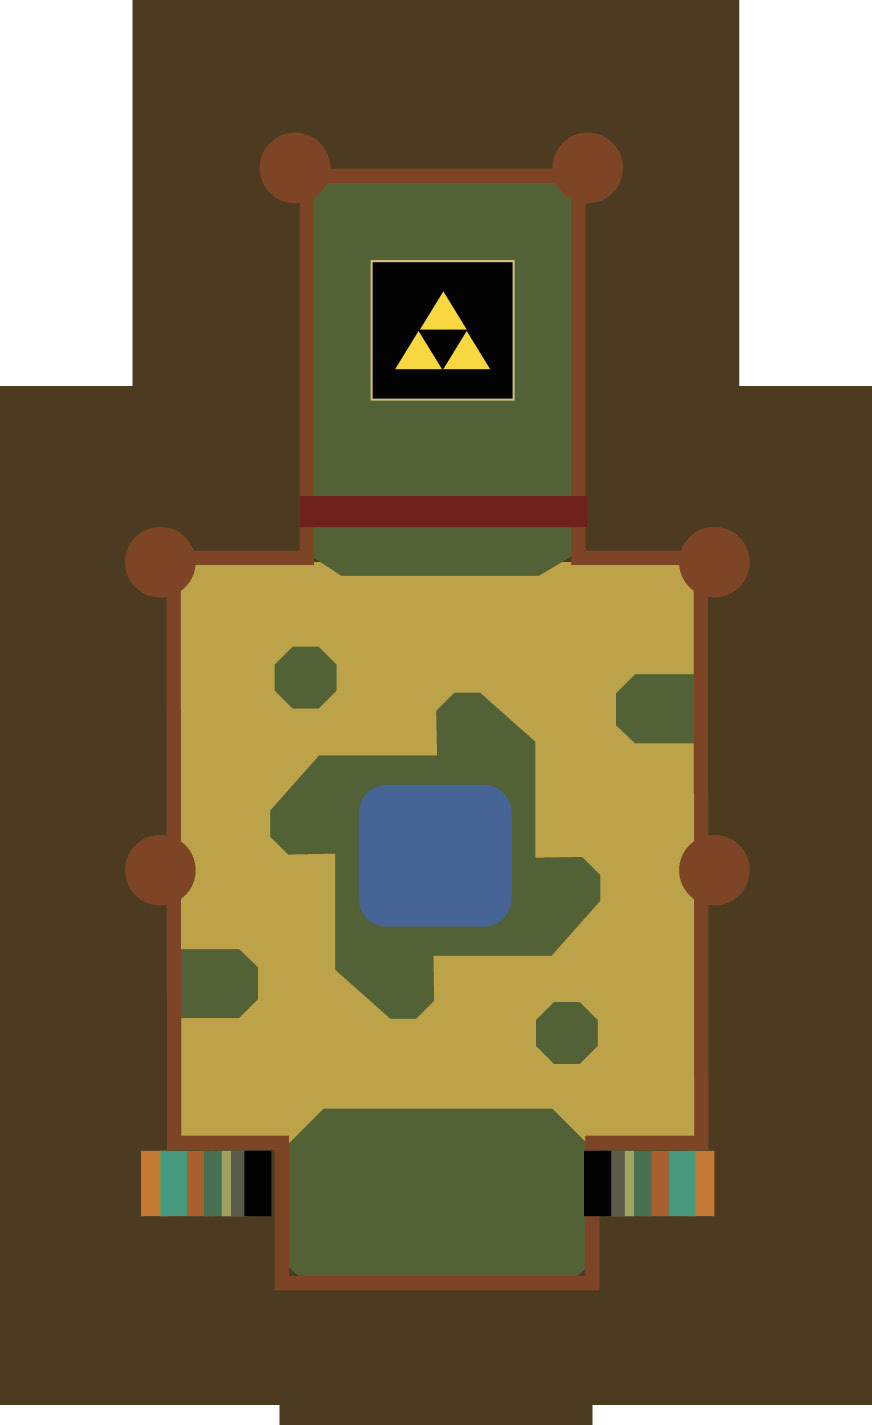
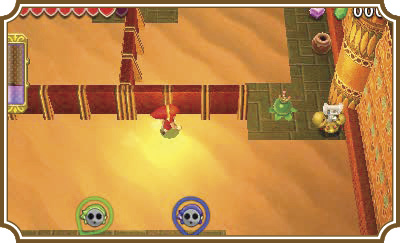
You only need to defeat all the enemies in this room to move on to the next one. You’ll have to fight a Fire Keeleon, more Morths, Skullropes (snakes with skulls on their heads), and Stalfos (skeleton monsters).
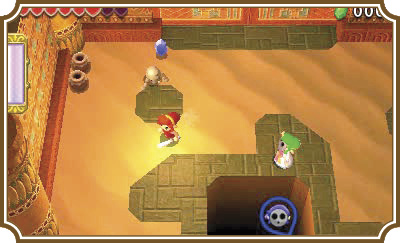
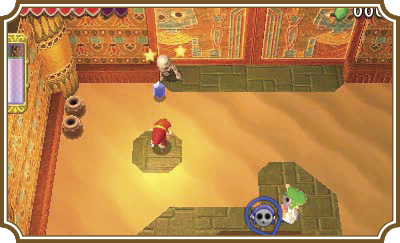
Stalfos can be a particular pain, because they jump backwards every time you swing at them. Sometimes they’ll add insult to injury and throw a bone at you after they jump. Using your Sub-Weapons to stun them is the best way to take them out.
After you’ve cleared the room of enemies, the northern doors will open up and you’ll have access to the Triforce gateway.
Room 3
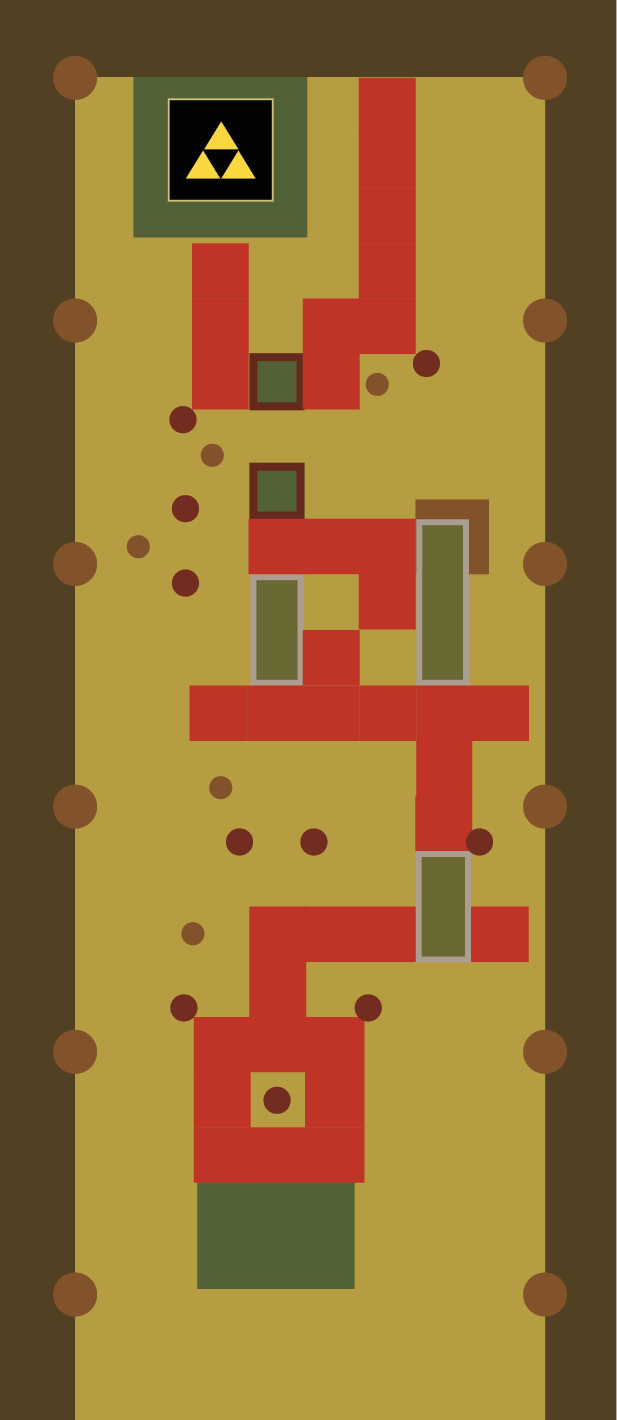
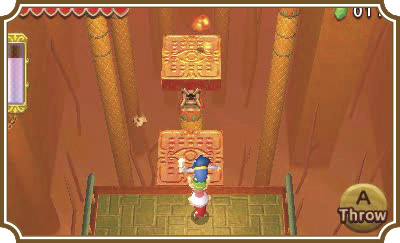
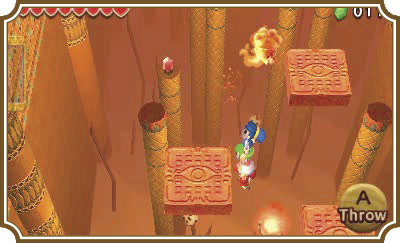
This room looks trickier than it actually is. As you start the room, you’ll notice a severe lack of flooring. The floors are actually there—they’re just invisible. The trick to figuring out where it’s safe to walk is to use your Fire Gloves. Throw a fireball ahead of you and if there’s a platform to walk on, it will light up and become visible temporarily.
From there, all you need to do is make your way to the northern part of the room, where you’ll find a moving platform that will take you to the Triforce gateway. Truly, the hardest part of this room is the Fire Keeleons that litter the area. Use your Gust Jar to put their fire out, then slash away. Just don’t let them start you on fire or you’ll fall for sure.
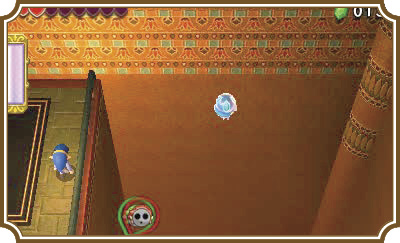
There’s a Squiddy off to the right of the Triforce gateway, but (and we can’t believe we’re saying this) it’s not worth it to try and hit it. The Squiddy is almost guaranteed to fall into the pit below, and even if you defeat it, half of the Rupees would fall. Sigh… Just let this one go, friends. There will always be another…
Room 4
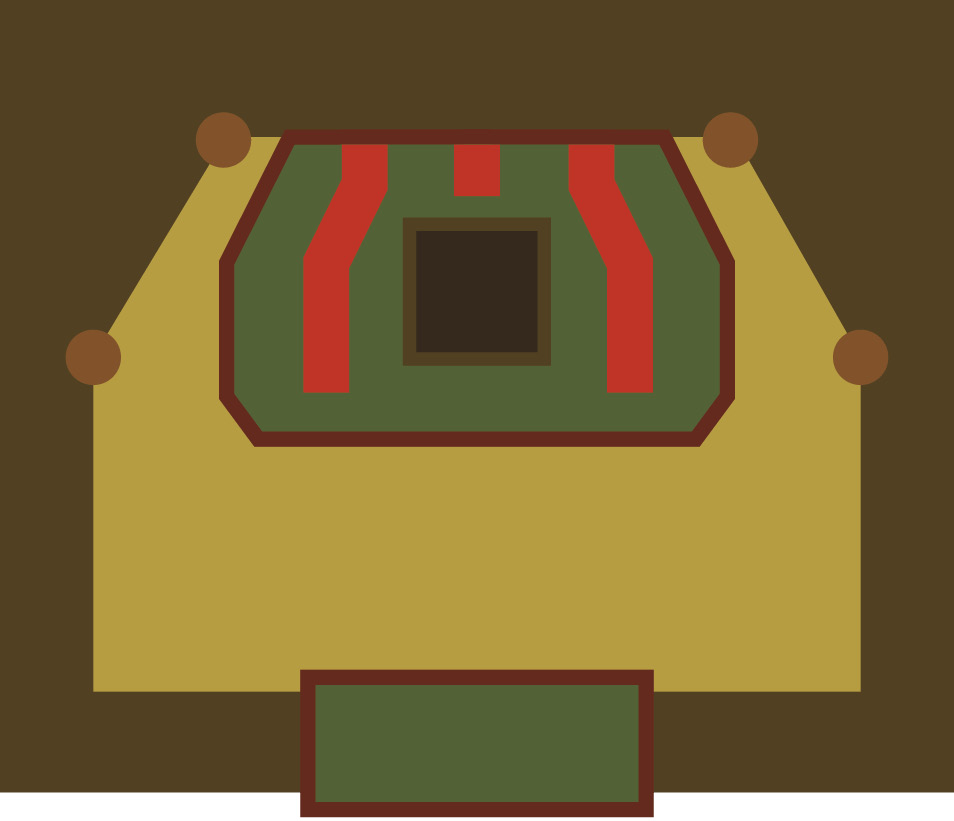
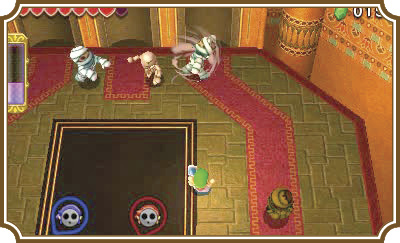
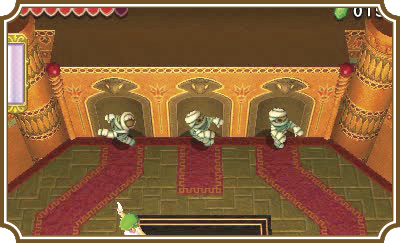
Defeat the enemies in this room to complete it and the level. You’ll face off with a new enemy here called a Gibdo. These bumbling mummies have been around the Zelda series since the first game and their erratic movements have not changed much since.
Keep your distance from them and use either your Fire Gloves or Gripshot to remove their bandages and reveal the much weaker Stalfos hiding in each of them.
Once you defeat two of the three Gibdos, two more will join in on the fun. Defeat the remaining Gibdos and a Triforce gateway will appear, meaning you’ve pretty much completed the level.