
The Legend of Zelda: Tri Force Heroes Guide Clothing Quest World 2: Riverside
Level 4: Water Temple
ChallengesFewer Heart Containers Clear with halved energy Transport the orb quickly Sub-Weapons
Materials
Recommended Outfits |



If you took the time to make the Torrent Robe, make sure to have it equipped on the Link that is going to be using the Water Rod. This level will be made a good deal easier with that Outfit—plus, making giant water pillars is a blast! If you’re in multiplayer, have the other players wear Zora Costumes to make traversing the water a breeze.
Hearing the name “Water Temple” may cause groans for some, but in this game those groans are misplaced. That doesn’t mean that this temple isn’t going to give you a run for your money, though. Get ready for some challenging puzzles and a challenging boss!
Room 1
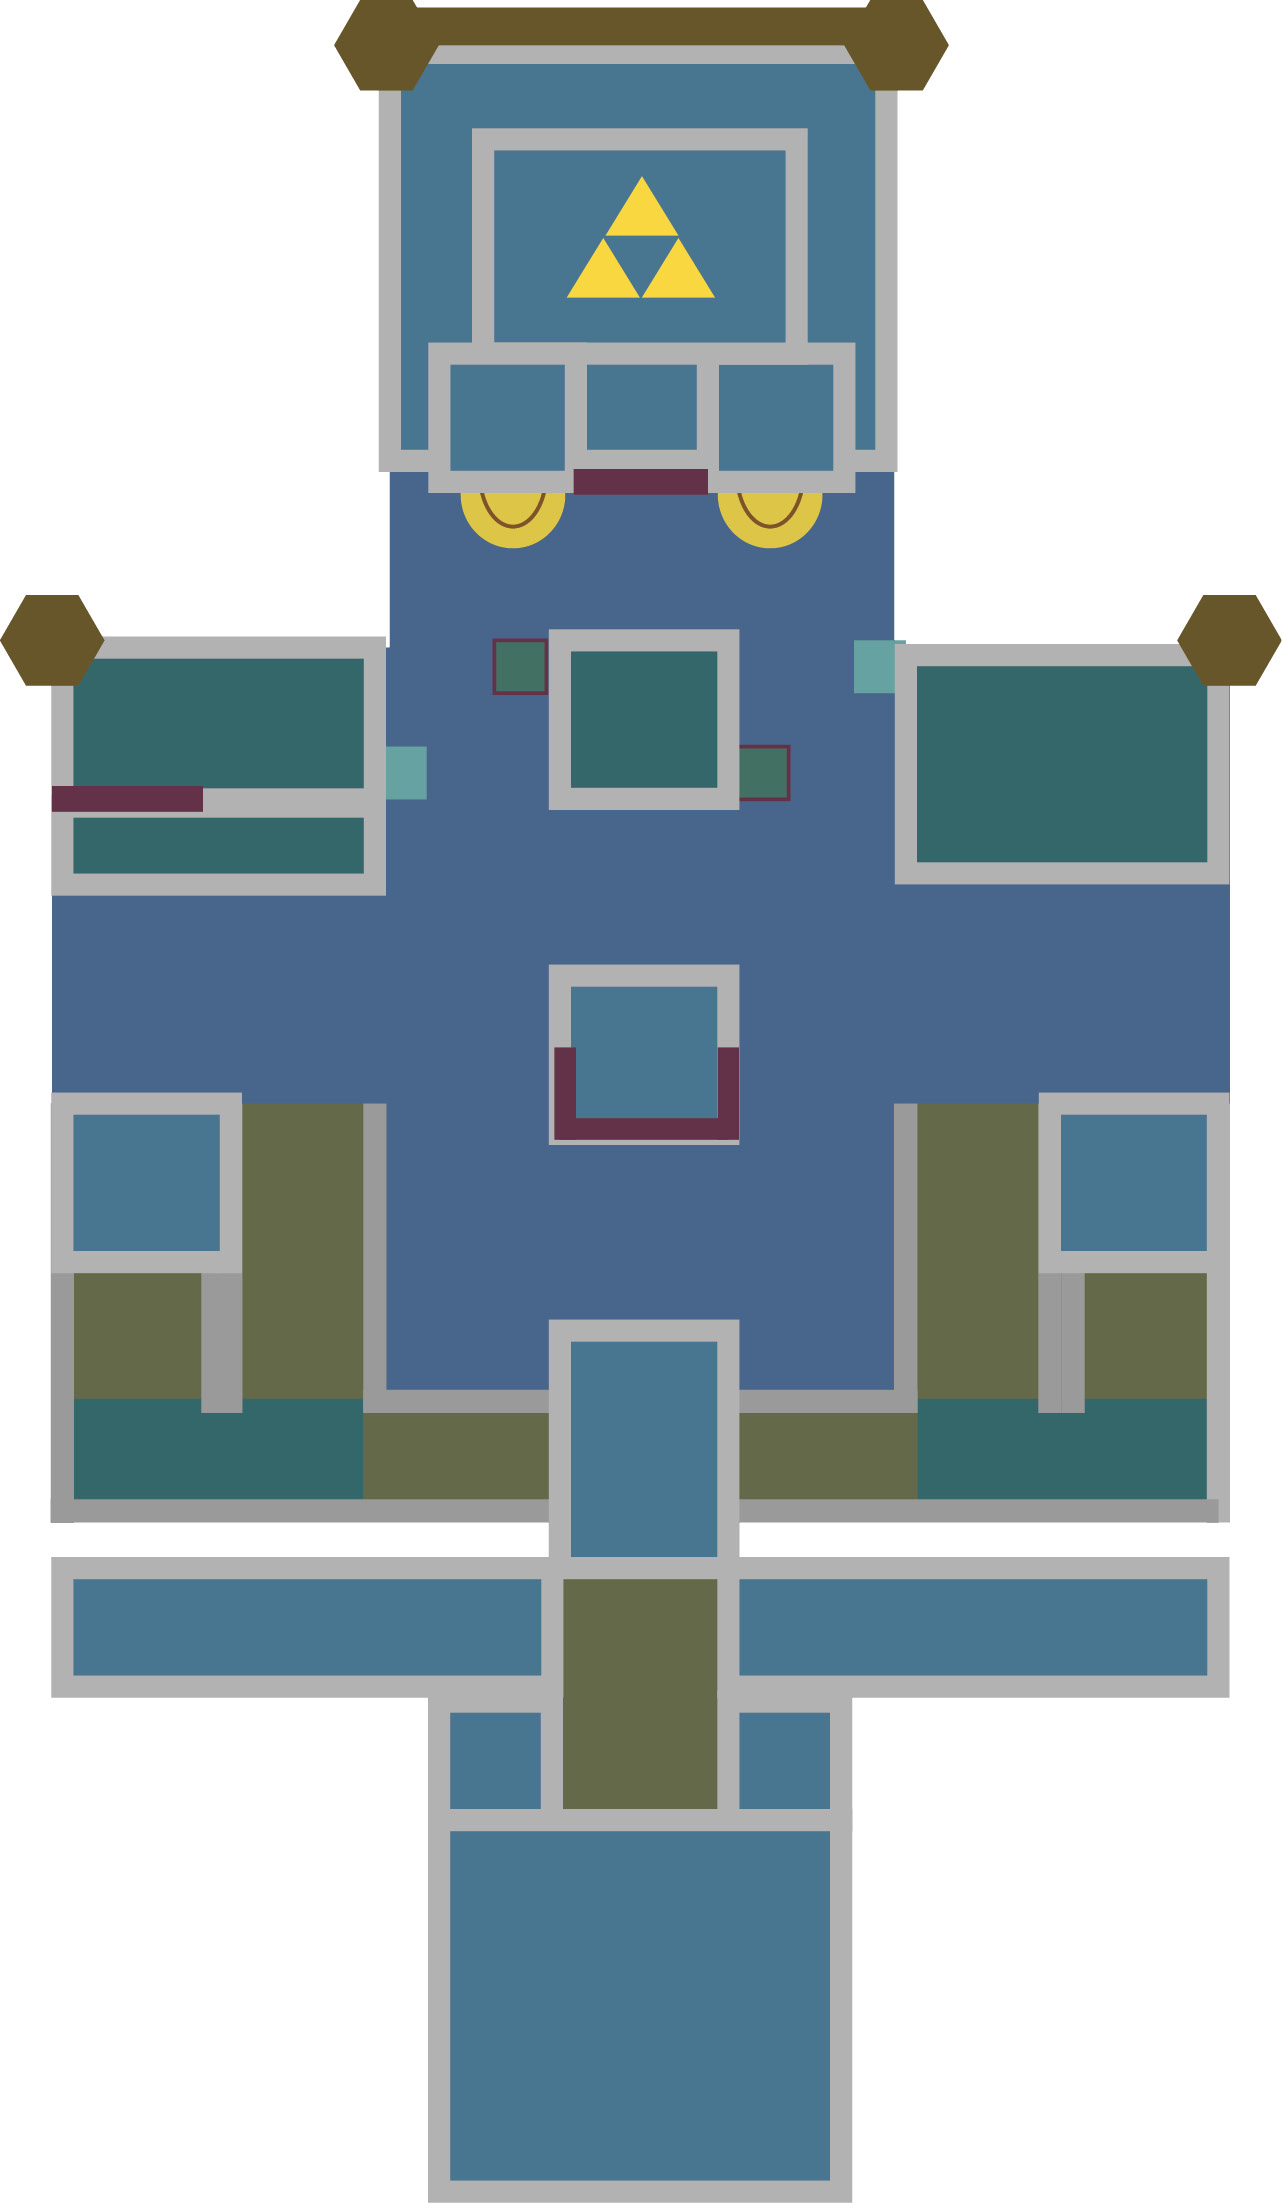
On the left and right sides of the room are Gripshots ripe for the taking. You’ll need two Links to each grab one and then use them to travel onto the islands north of where the Gripshots were placed. The eastern island can be reached with just one Link. Have the Link over there shoot the fence on the island and he’ll be pulled over to it with ease. Have that Link wait patiently on that island while you and the other Link work on getting onto the western island.
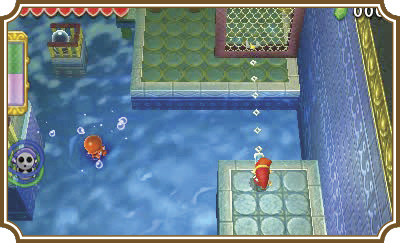
The western island requires two people to get the remaining Gripshot Link in position. What’s the position? Be patient my friend! We’ll tell you why we’re doing this shortly. We promise! Have the remaining Gripshot Link and the Sub-Weapon-less Link swim to the lower ledge of the western island.
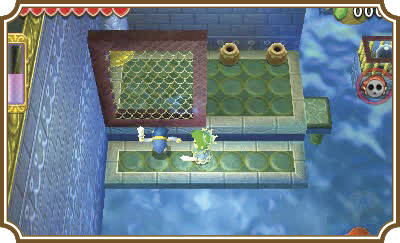
Have the Sub-Weapon-less Link throw the Gripshot Link onto the upper area of the island, then have both Gripshot Links stand on the small, protruding platforms sticking out of the ends of their respective islands. Your goal is to hit the two orb switches at roughly the same time, and to do that both Gripshot Links need to be standing on the protruding platform facing toward the center of the room.
If you’re playing multiplayer, count down from three and then have both Gripshot Links fire their Gripshots at the same time. If you’re in single-player, fire one Gripshot at one of the orb switches, then immediately switch to the other Gripshot Link and fire at the remaining orb. If you timed it right, a platform will rise in between the two orb switches.
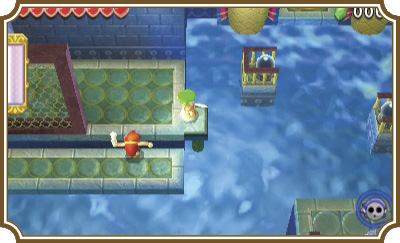
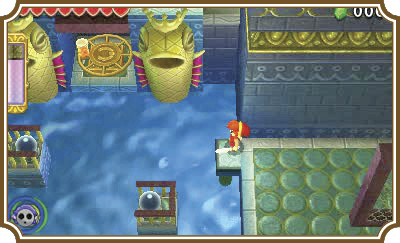
Now have one of the Gripshot Links head onto the platform and shoot at the crank on the north side of the room, aiming specifically at the handle on its left side.
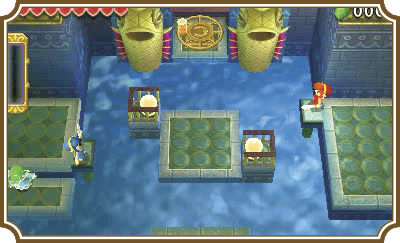
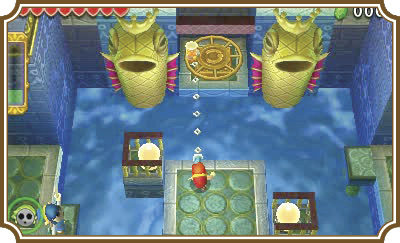
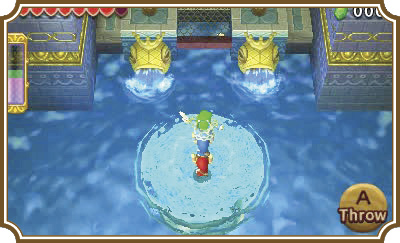
That crank raises the water level in the room, allowing you to get to the Water Rod in the room’s center. Have the Link wearing the Torrent Robe pick the Water Rod up. Once the last Sub-Weapon has been obtained, the Triforce gateway will appear on the north side of the room. Use the Water Rod Link to create a water bridge to the room’s north side to reach the Triforce gateway.
Room 2
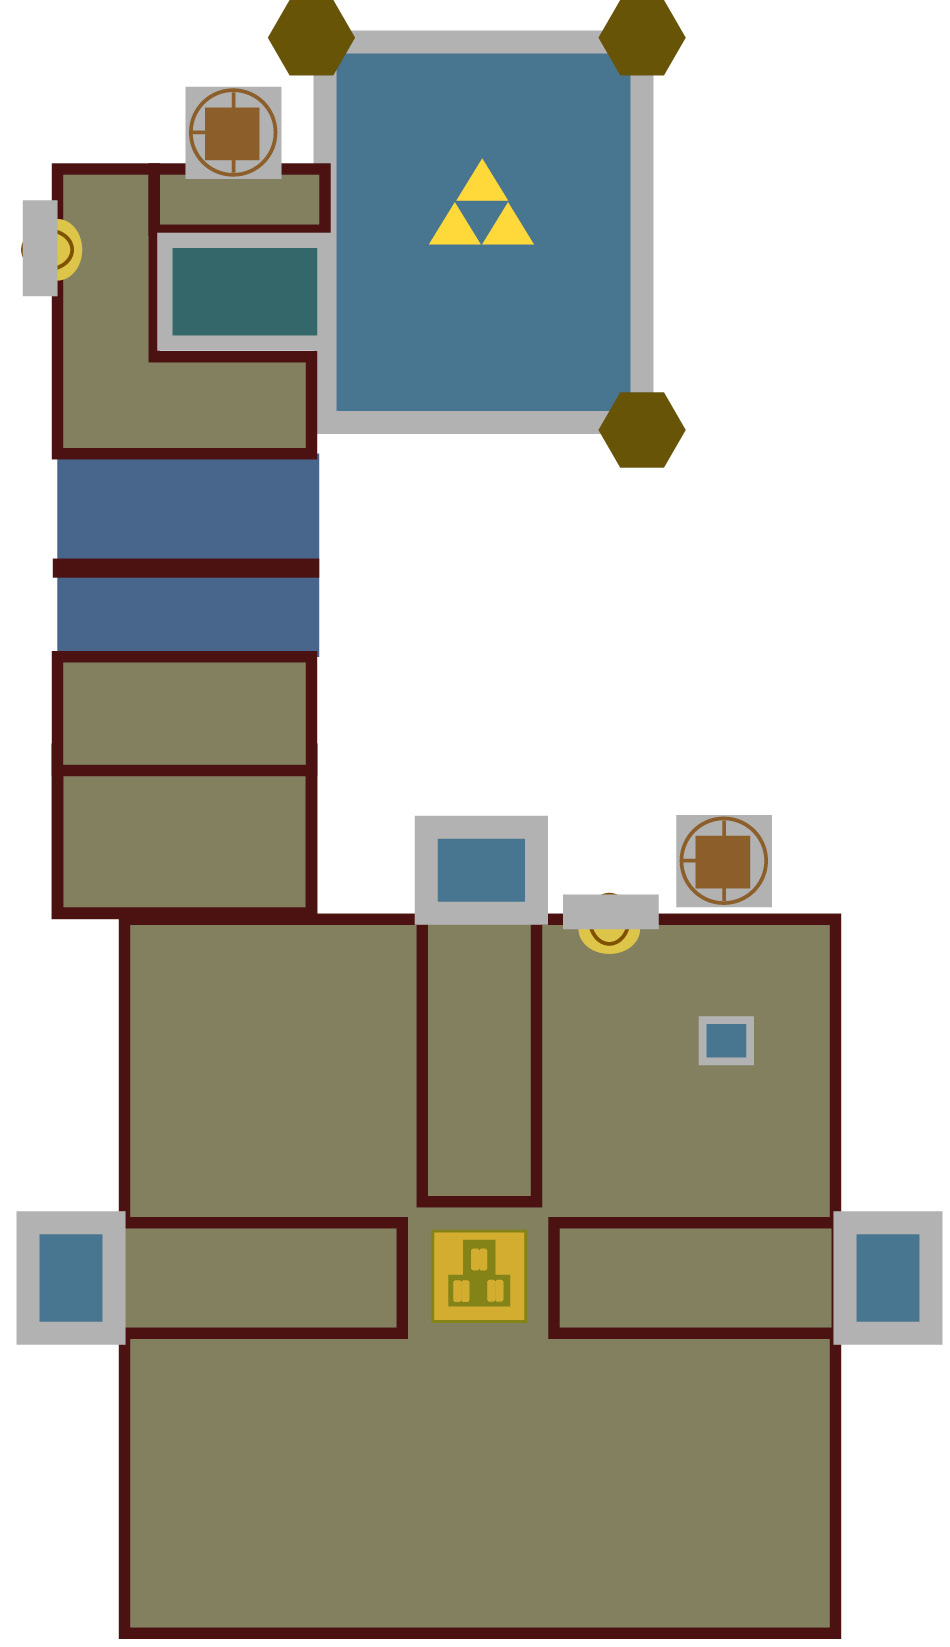
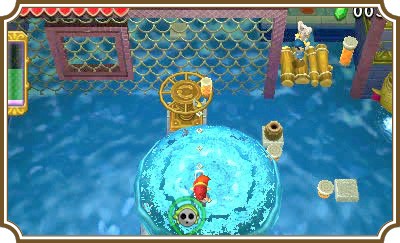
This is another combat room, very similar to the one in the last level, but this room has significantly less land to stand on. You’ll only be given two tiny squares on the north side of the room to stand on, and they are incredibly easy to get knocked off of. Have all three Links stand on the three-man switch in the center of the room to start the battle.
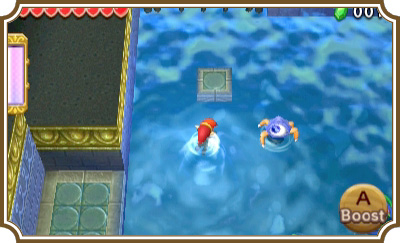
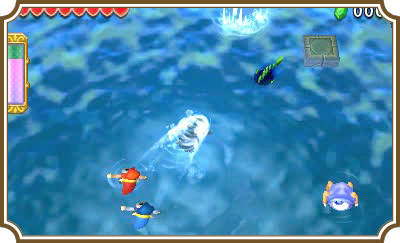
You’ll face off with Tektites, Water Tektites, and a new enemy called a Skullfish. These nasty-looking aquatic beasts own the waters and will gladly throw themselves on land to flop around and attack you. You’d normally be able to avoid them if you had more land to work with, but you’re very likely going to get hit by them during this fight. Your best bet is to attack them like crazy to keep them from jumping back in the water.
You can end this room very quickly by rushing with your Water Rod Link and a Gripshot Link to the platform in the top-right corner of the room. Quickly have the Water Rod Link create a water pillar, then have the Gripshot Link shoot at the crank ahead. This will lower the water level and make all of the enemies pretty effortless to defeat.
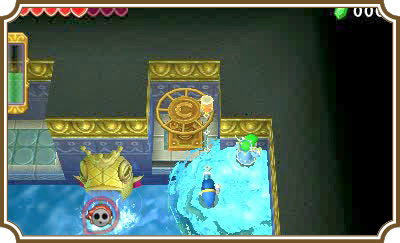
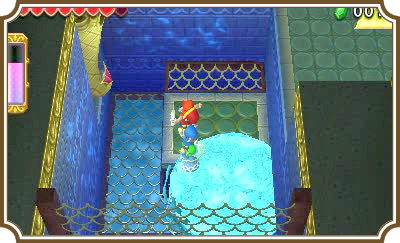
Defeating all of the enemies in the room will open the gate in the room’s northwest corner. Once that happens, swim under the fence and stand on the grated platform ahead. Have the Water Rod Link create a water pillar to get all three Links onto the landing above.
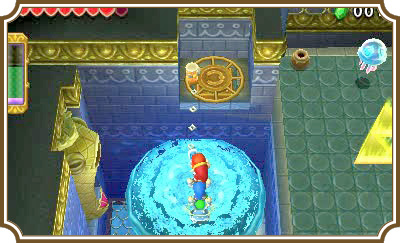
Once on the platform, have the two Gripshot Links make a Totem while the Water Rod Link stands on the south edge of the platform. Have the Water Rod Link face north, create a water pillar, and then pick up the two-Link Totem to make it a three-Link Totem.
Aim at the handle on the left side of the crank ahead and fire the Gripshot. The water level will rise again and you’ll be given access to the Triforce gateway and everyone’s favorite Rupee-giving octopode, Squiddy! Smack Squiddy like it’s a national holiday and then head to the next room.
Room 3
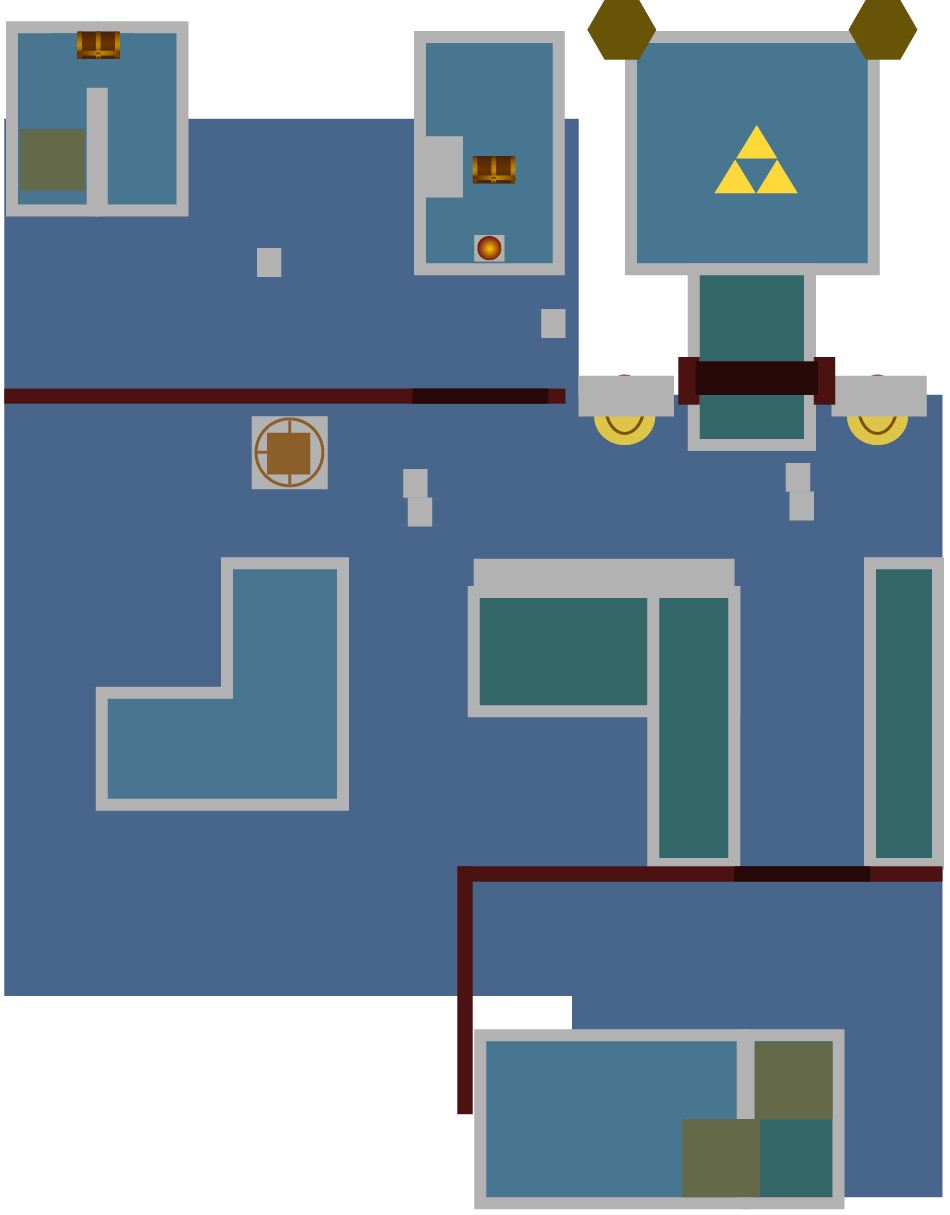
On the fence directly ahead of your starting point is a piece of fence that seems to be framed. Shoot this square with your Gripshot Links and you’ll flip to the other side of the fence. Have the Water Rod Link pull the Water Octorok with a water pillar and then defeat it. Have your Gripshot Links stand on the two pressure switches on the other side of the fence to open the gate.
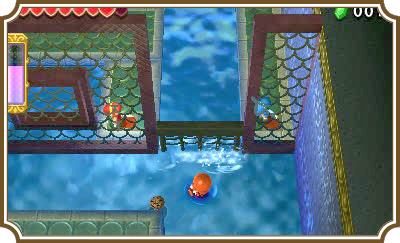
With the gate open, your Water Rod Link can swim through to the other side. Head west and have the Water Rod Link create a platform up to the raised island on the west side of the room. Now have a Gripshot Link pull the crank at the end of the island to raise the water level.
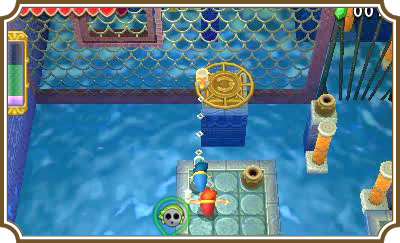
On the northwest corner of the room, just right of the crank, you’ll find another one of those flipping fence segments. Have the Water Rod Link create a platform in front of the segment, then have a Gripshot Link shoot it.
You can find a treasure chest in both corners of the area. Have your Gripshot Link pull the raft with the peg embedded in the platform on the right side of the room. Use the fence to pull the raft south, then use the peg on the far right to pull it to the right corner of this area.
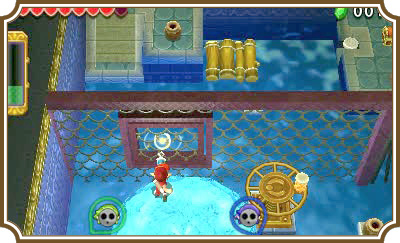
Your goal is to pull the raft in this area out of this area, but to do that you’ll need to get the second Gripshot Link behind the fence too. Once you have the second Gripshot Link, have him climb on the raft and pick up the first Link. Throw the first Link onto the platform and have him stand on the pressure switch. That will open the gate. Have the Link that just hit the switch open the treasure chest. Inside is a key that you’ll need to bring to a locked gate to the right of your current location. Have that Link hang on to the key and jump on the raft.
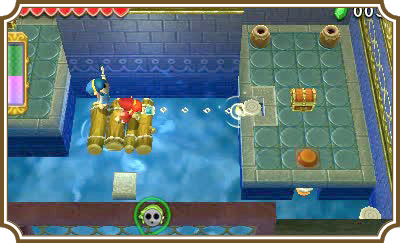
You’ll need to lower the water by pulling the crank again. As the water level is raised, you can just swim onto that platform in front of the crank. Have the Water Rod Link and the Gripshot Link that isn’t holding the key head over to that platform. Have the Water Rod Link create a water pillar, move your Gripshot Link on top of it, and then pull the crank to lower the water level.
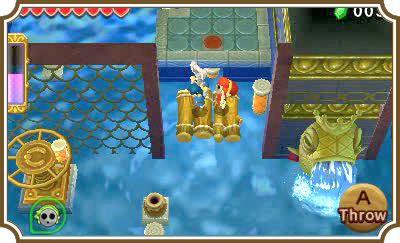
Have the Gripshot Link swim back to the raft and shoot his Gripshot at the peg south of the raft. Now turn to the right and Gripshot the peg ahead. This will pull you in front of the locked door, allowing you to open it and reach the Triforce gateway. Use the Water Rod Link to create a platform up to the Triforce gateway and move all the Links onto it.
Room 4
Boss Fight: Arrghus
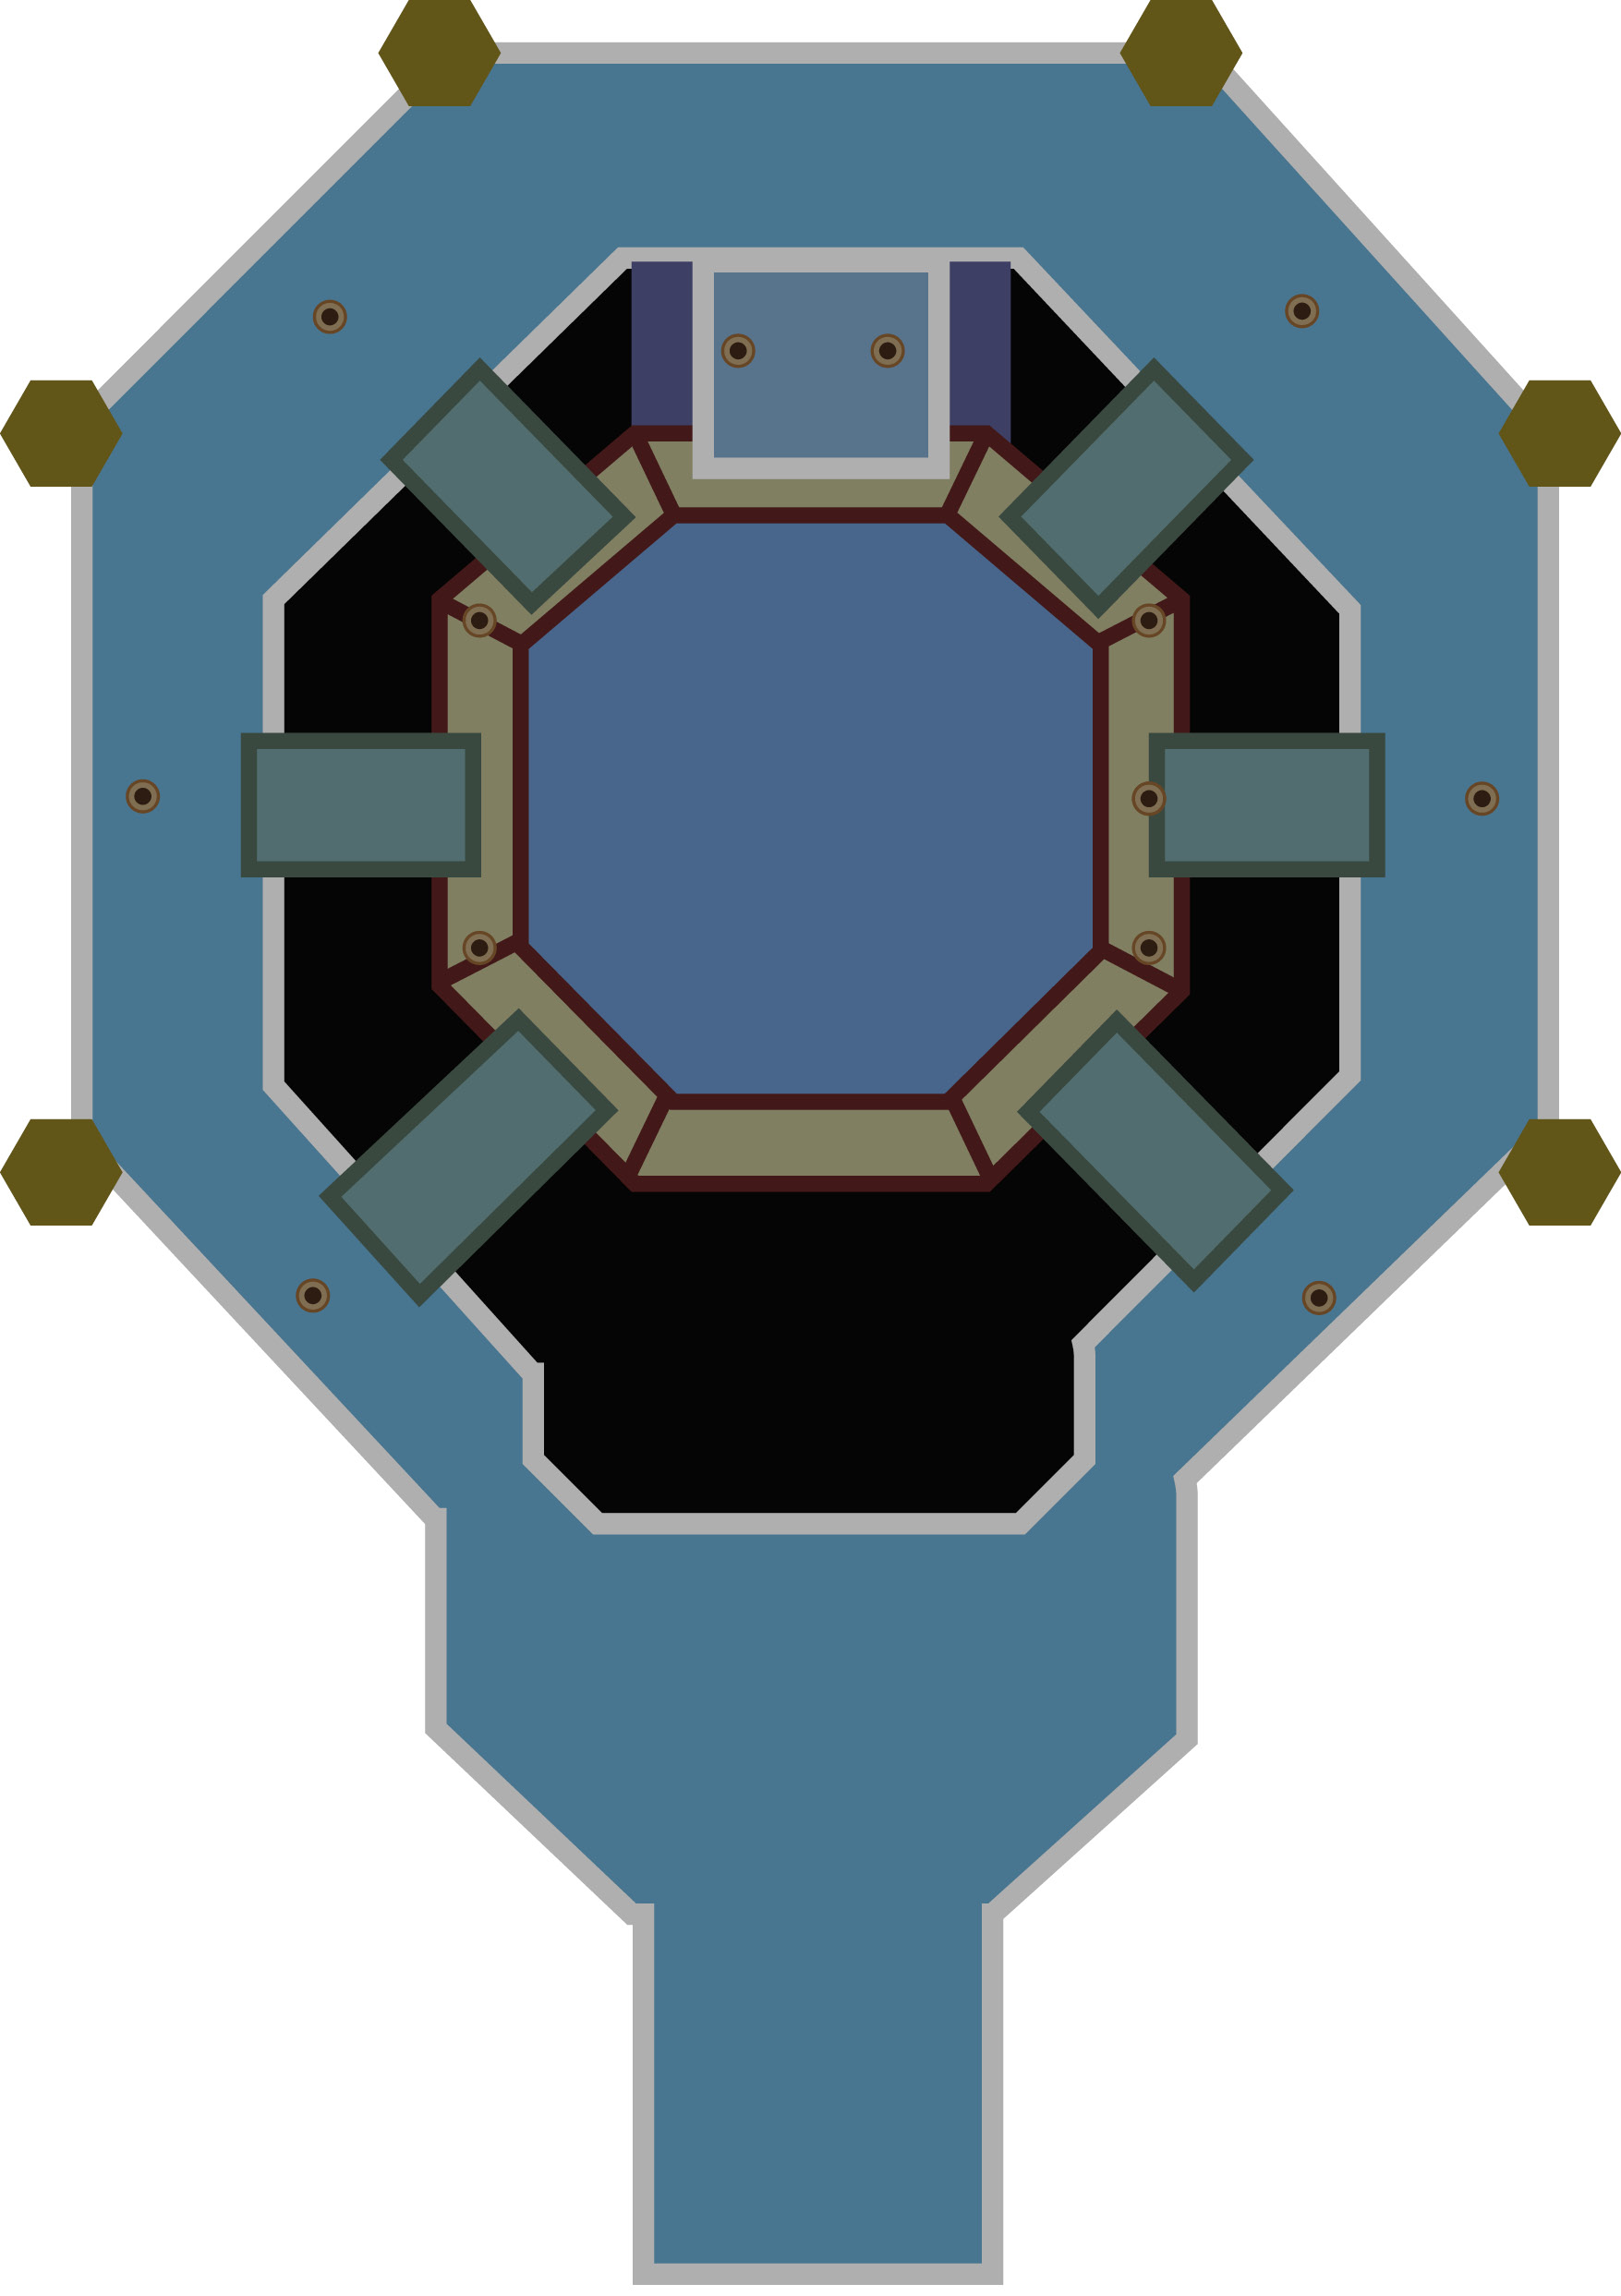
This room is an octagonal shape with platforms jutting out of a deep pool of water. Pots line the walls, potentially holding Hearts—remember that for later. For now, get ready to face the Riverside boss!
This eight-eyed squid monster is going to test your ability to swap between Links and coordinate with your friends. It has three phases, the first of which has it sitting in the center of that pool and shooting its eyeballs at you. Position all three Links on different platforms, preferably in a triangle pattern.
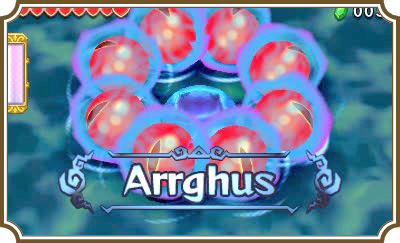
The two Gripshot Links should try to shoot at Arrghus’s eyes to pull them close and then give them a good slashing. It takes two slashes per eye to destroy them, but they’ll likely slide away before you can destroy them the first time you pull them to you. This is where your Water Rod Link comes in.
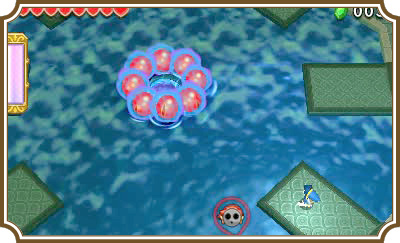
The eyes will dive underwater and begin circling Arrghus, moving closer and closer to its owner before reattaching. Have the Water Rod Link pull the eyes out of the water as they pass him and then give them another slash to destroy them.
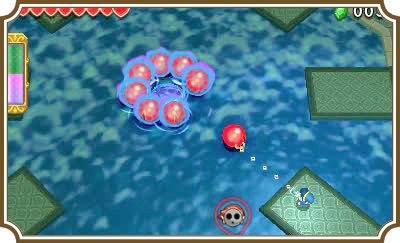
Repeat this process while avoiding Arrghus’s eye attacks to complete this phase. Once you’ve destroyed all the eyes, Arrghus will lower the water level and retract the platforms you’re standing on.
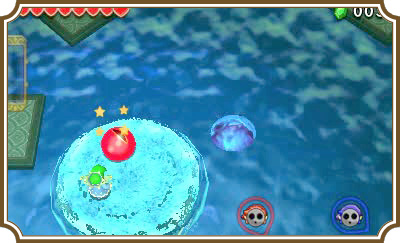
In this phase, Arrghus will circle the room and shoot its eyeballs at you. When this happens you can either Gripshot the eyeballs and attack them or put up a water pillar with the Water Rod to stun them and make them free for you to attack. Trying to attack them directly without doing either of the above will result in you taking damage, so make sure to stun them first. If you keep destroying eyes until Arrghus runs out, you’ll start its third phase.
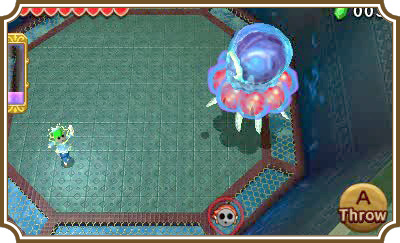
For this phase, Arrghus will open its own eye and move around the room faster. Its main attack creates eight dark rings, which spin across the floor. If you hear a charging sound, move away from Arrghus immediately. Getting hit by this attack will not only make you lose Hearts, it will also temporarily disable the Sub-Weapon of the Link that was hit.
In order to damage Arrghus in this phase, you’ll need to make a three-Link Totem with a Gripshot Link on top. Every time you’re in line with its eye and its eye is opened, shoot the Gripshot into it and Arrghus will fall to the ground stunned. This is your chance to strike! Attack it while it’s down to damage it directly. After a handful of strikes, Arrghus will get back up and begin floating around the room again.
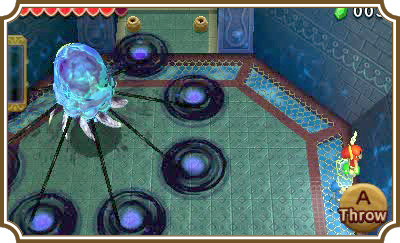
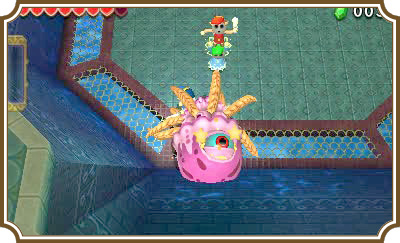
Continue to Gripshot Arrghus’s eye and slash it while it’s down in order to defeat it. After being knocked down three times and slashed to ribbons, this eight-armed, nine-eyed freak will be finished!