
Sleeping Dogs Guide Walkthrough A Little Money on the Side
Favors
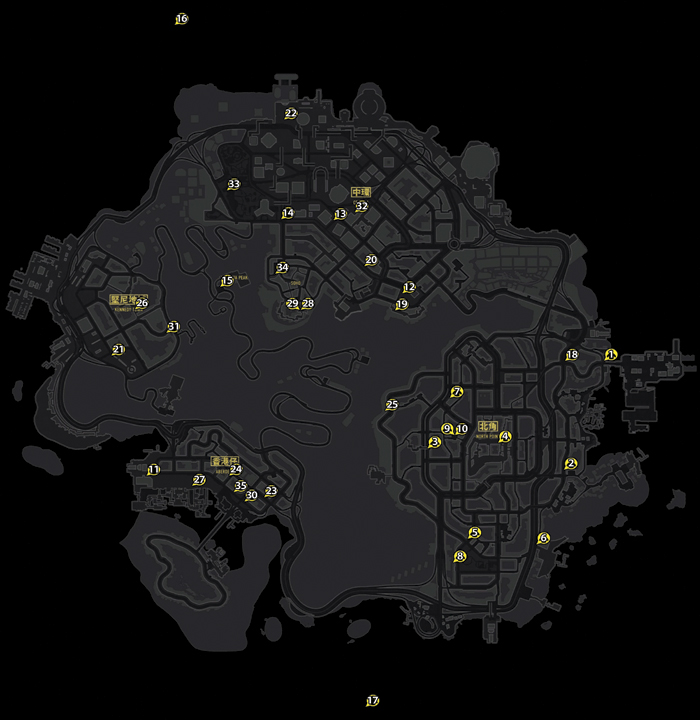
Favors become available in batches after certain story missions. Most favors are not very complex, but a few are definitely more involved than others.
1. Cheaters Never Prosper
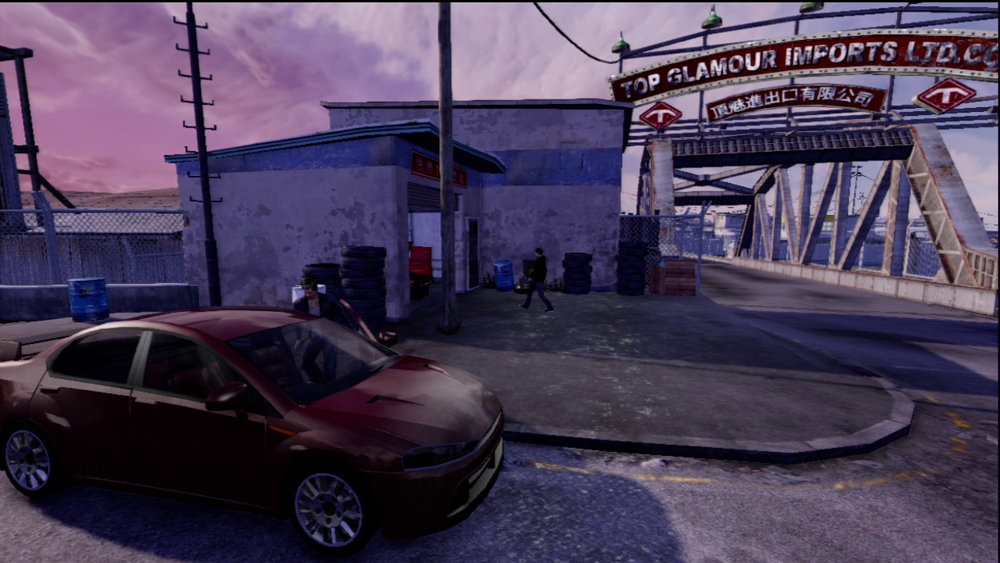
You’ve got two minutes to get over to Tommy’s race car to deal out some street justice. Fortunately, he’s not very far; just follow the GPS to the marked location on the map. You can use a car parked near Loo in case you started the mission on foot.
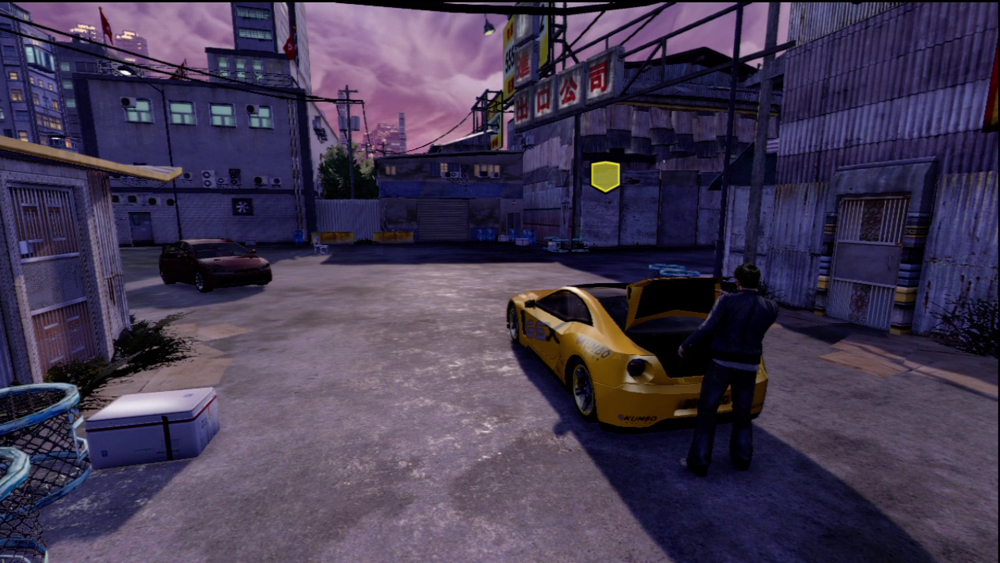
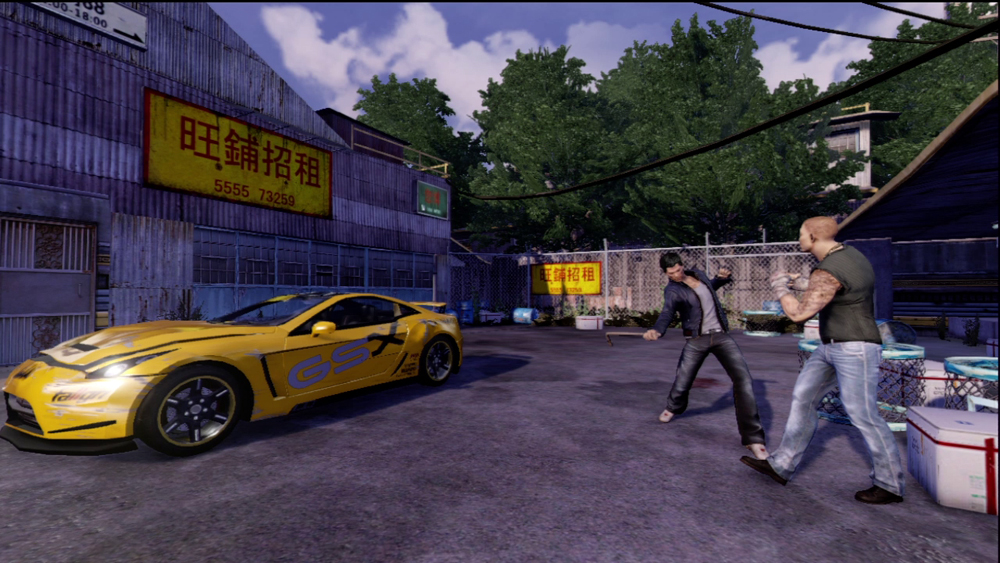
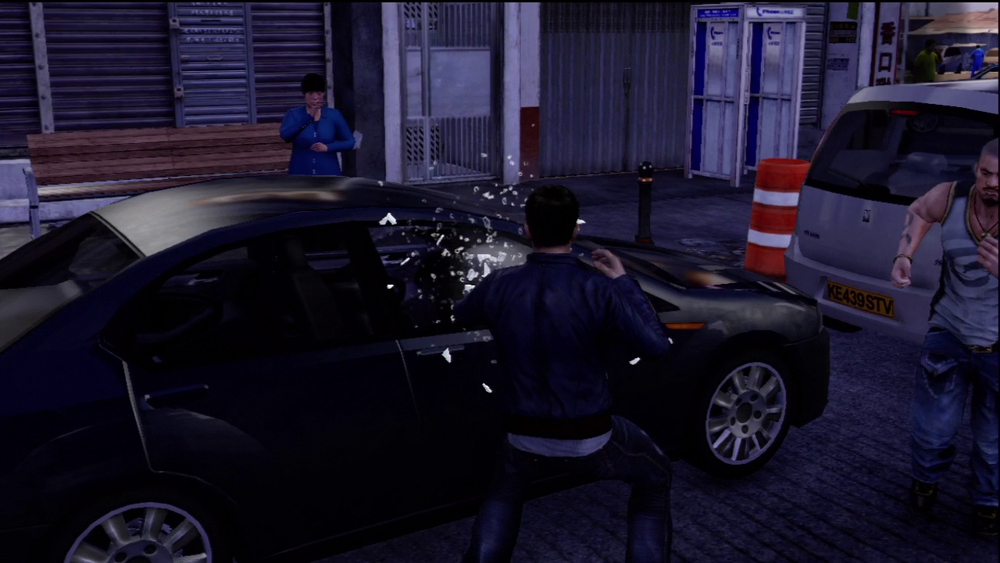
Once you get to the racer, go around to the trunk to find a tire iron, and then make Tommy regret not locking the trunk by bashing up his car. Eventually, Tommy will come running out to see what is going on, and you can introduce his chin to the tire iron. Knocking him out completes the favor to Loo.
2. A Quiet Drive
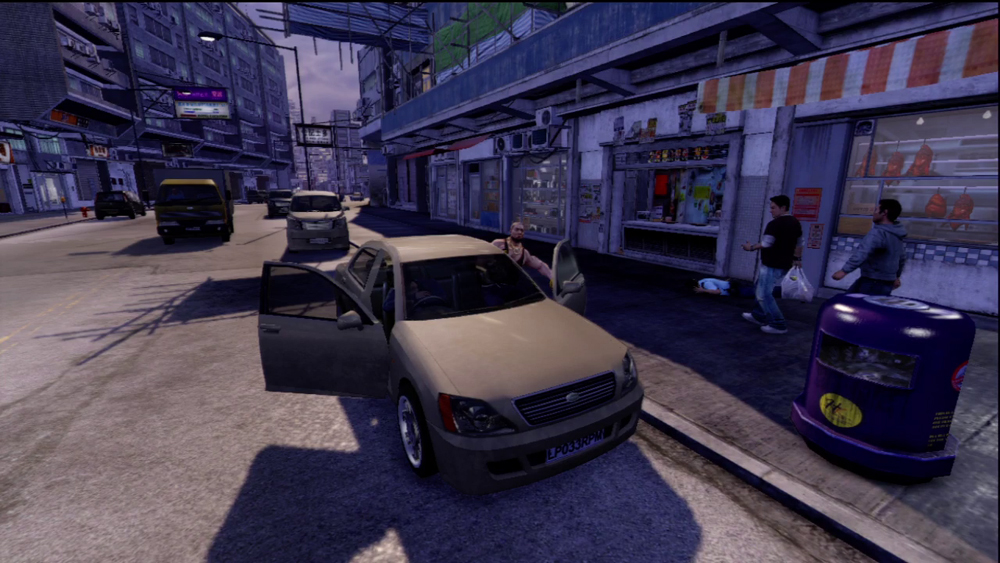
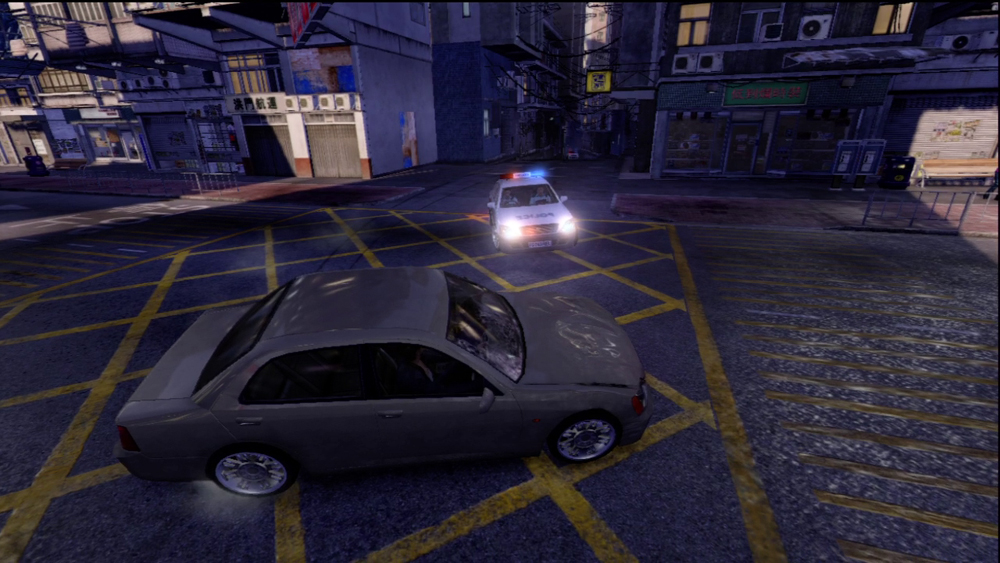
It’s not a hard dragnet to evade, only a level 2 Heat rating, but it can drag on if you’re not using the HKPD’s inability to drive well in tight spaces to your advantage. Lead the pursuit cars into an alley, and try to double back on the cops. If you’re fast enough, they’ll be unable to keep up with you, and you’ll escape them in short order.
3. Fashion Advice
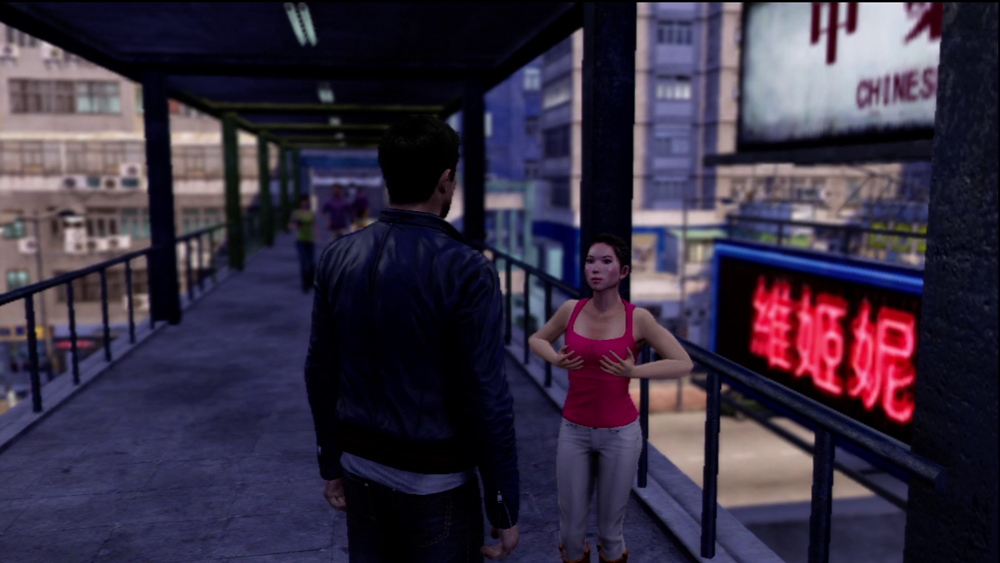
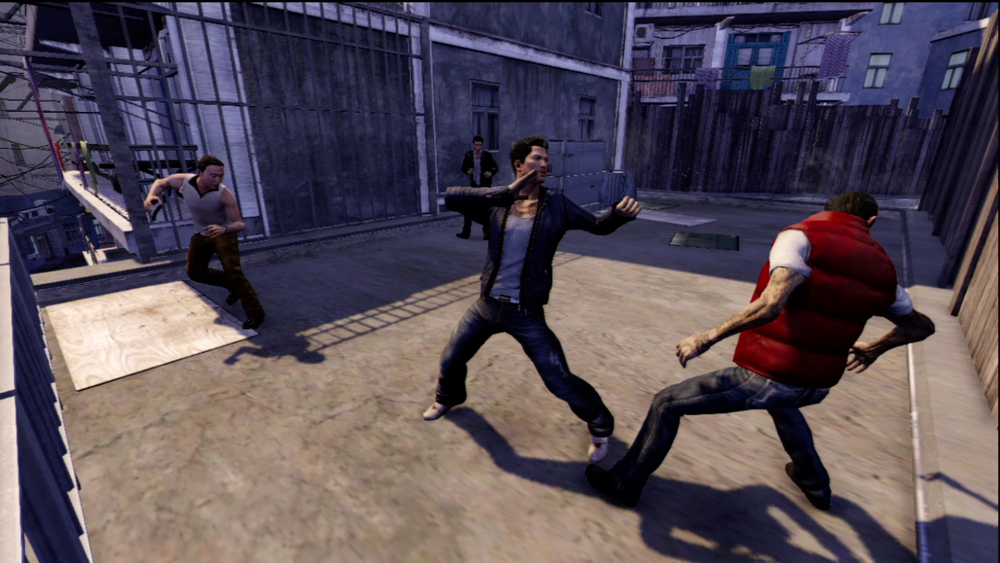
The mugger runs across the bridge and onto the nearby rooftops. Chase him down as best you can until the mugger reaches a dead end and is joined by two more thugs. None of these three guys is much trouble, and once they’ve been relieved of consciousness, Wei gets his money back.
4. Pay Hospital Bills
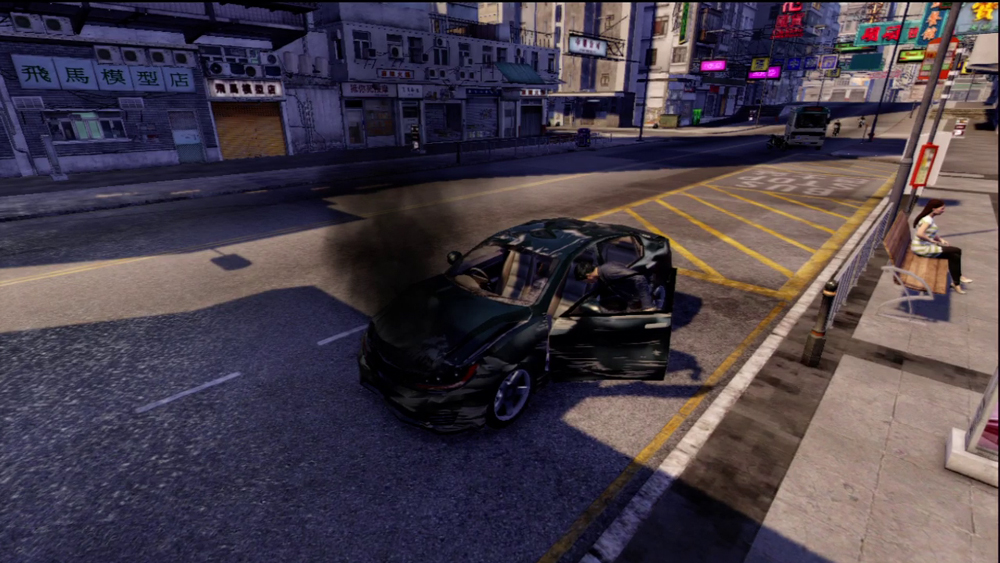
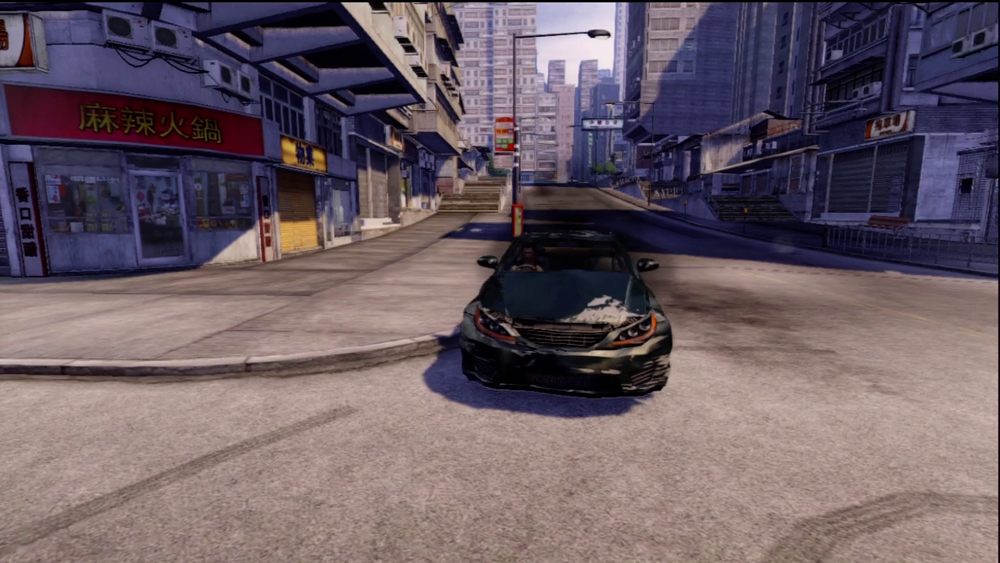
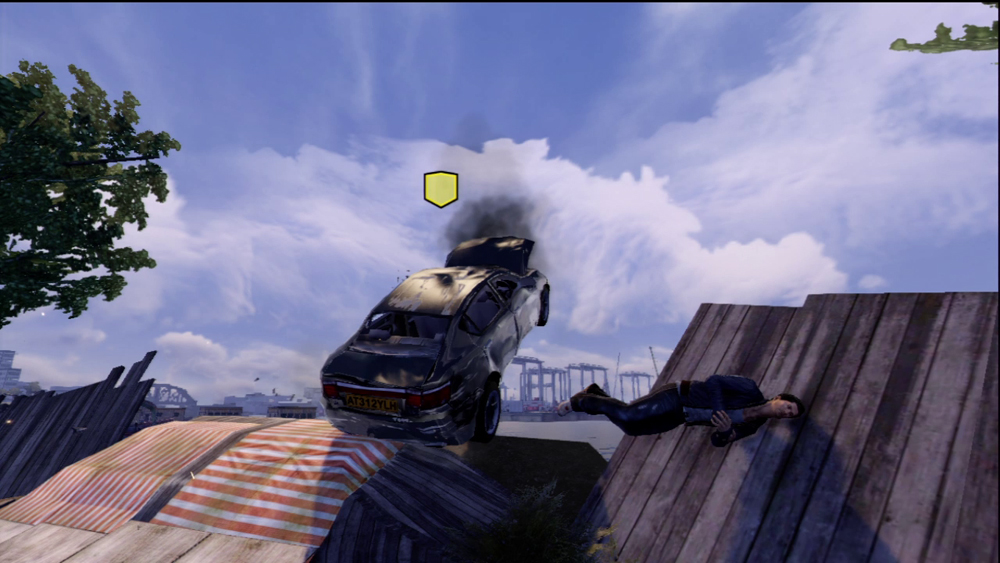
Michelle’s car is in sad shape when you reach it, which makes the drive to the designated ramp a bit perilous. It simply will not survive many impacts with other cars and obstacles. That said, the biggest obstacles on the drive to your launch ramp should be traffic itself for much of the route. At the ramp proper, get some good speed and enjoy the short trip into the water.
5. Ting’s T-Shirt
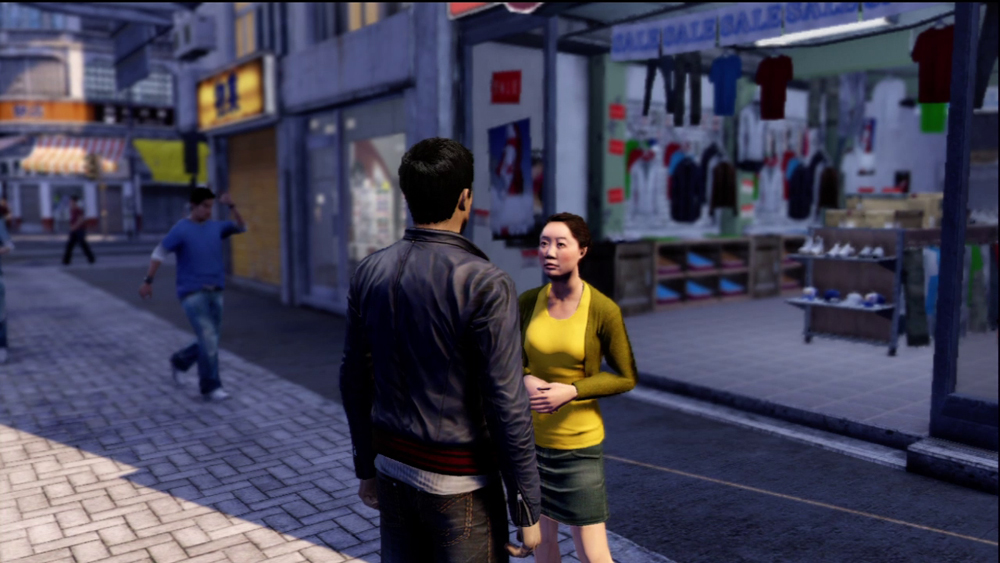
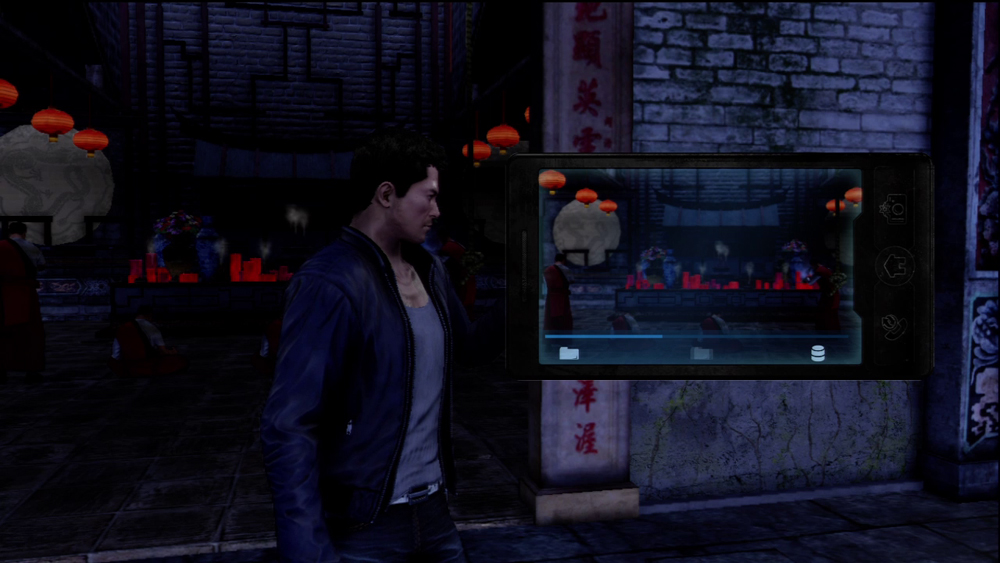
After the chat with Ting, your first goal is to head out to the old temple and take a picture of its inner shrine.
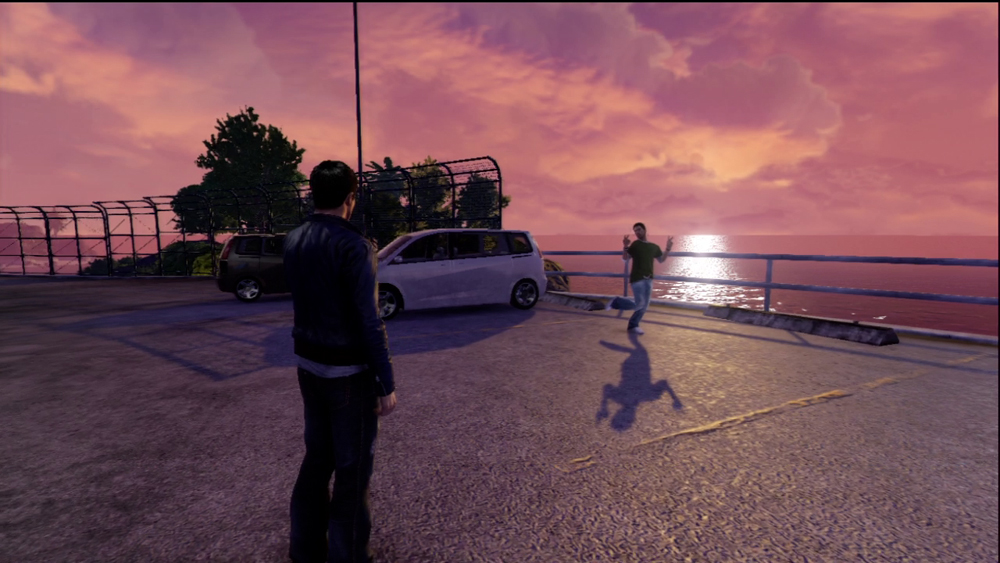
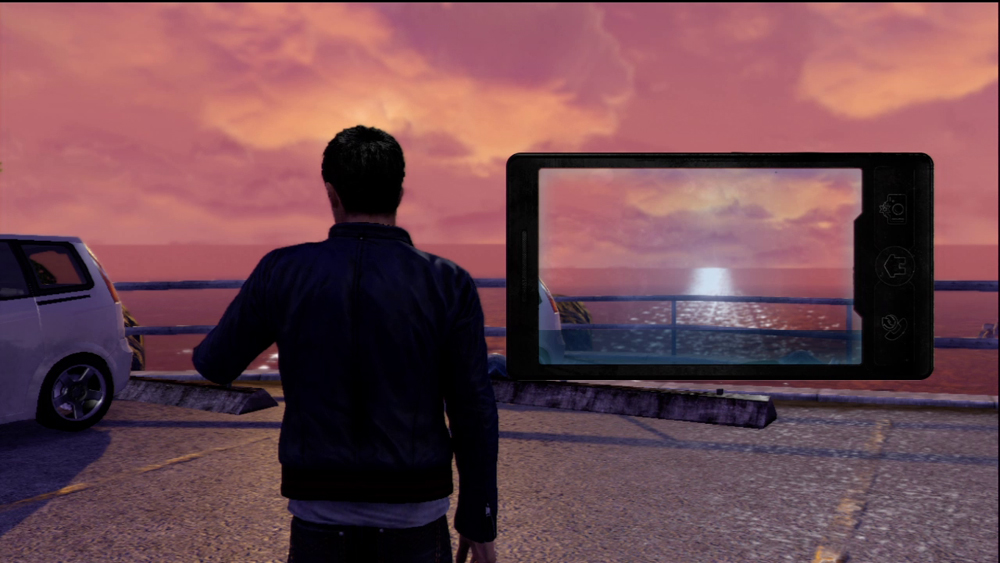
Next, you need to drive out to the freeway to get a good picture of the famous Hong Kong sunset. Don’t worry about coming to this location at the wrong time. Wei is such a dedicated photographer that he will wait for the sunset to appear once again.
A drunk tries to get in the way of the photo, so help him off to the side and take the picture. After uploading the images to Ting, the favor is completed.
6. Quick Fix
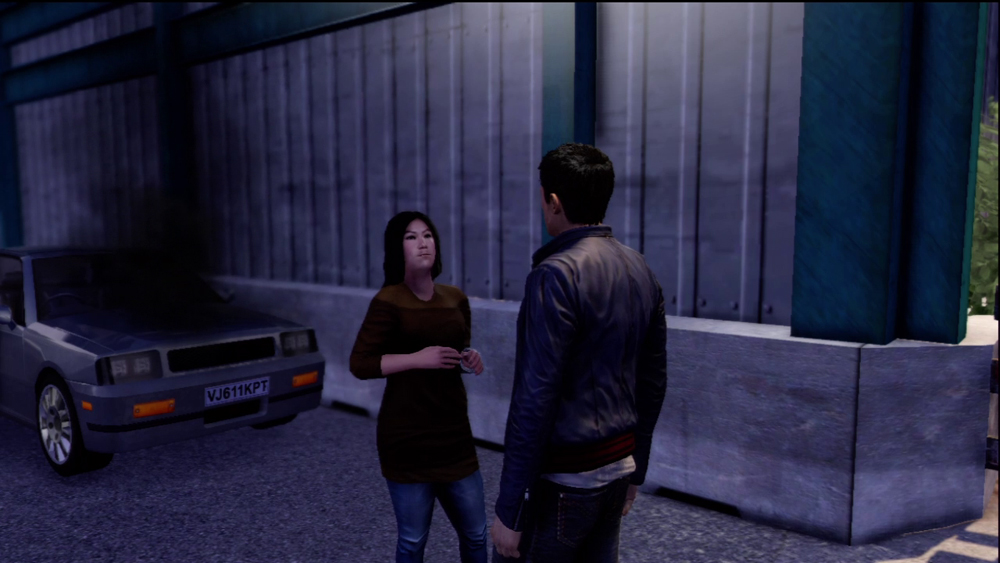
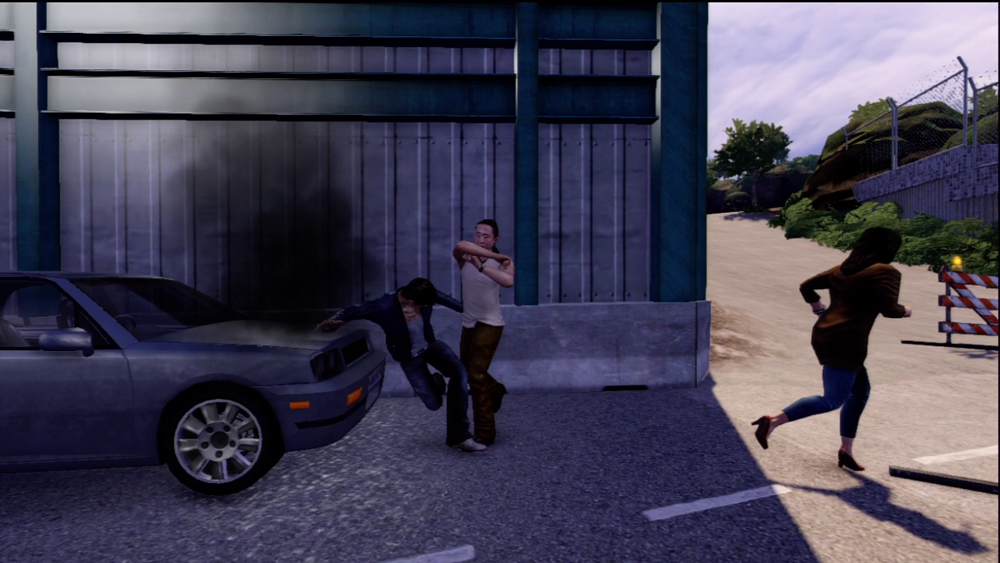
Jenny’s accomplice immediately books it towards the docks, and you need to give chase. He’s quite fast, and any stumbles on your part can lead to his escape. Be cautious when you reach the actual docks themselves. It’s easy to bump into other pedestrians and fall into the water, so try to find a clear path around them well before you get close.
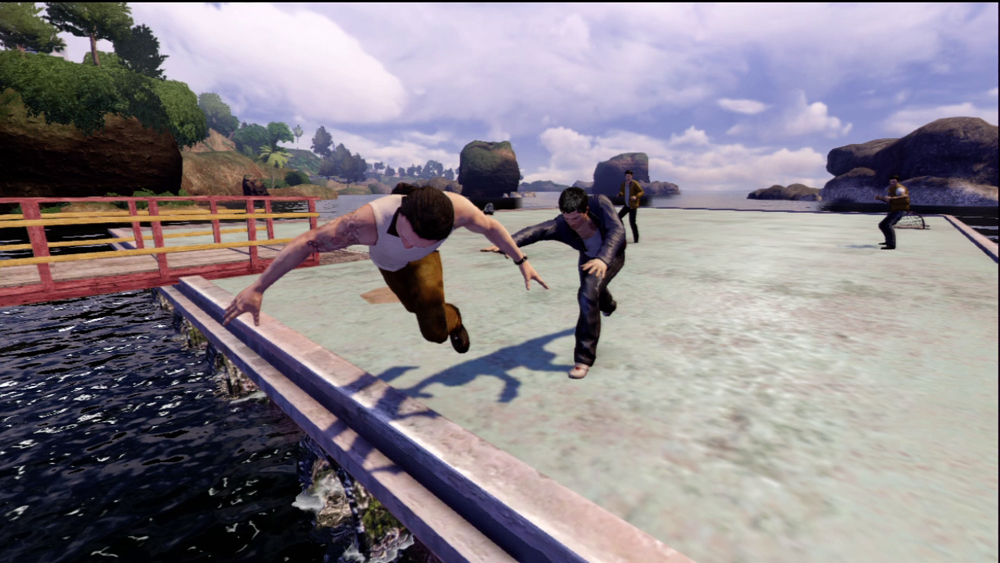
If you’ve maintained your pursuit, the thief will run himself to the end of the docks and have no other place to go. He’s got two goons waiting for him as backup, but he’s genuinely terrified of the consequences you’re about to inflict upon him. Inflict away, and get your cash back.
7. Tiffany’s Song
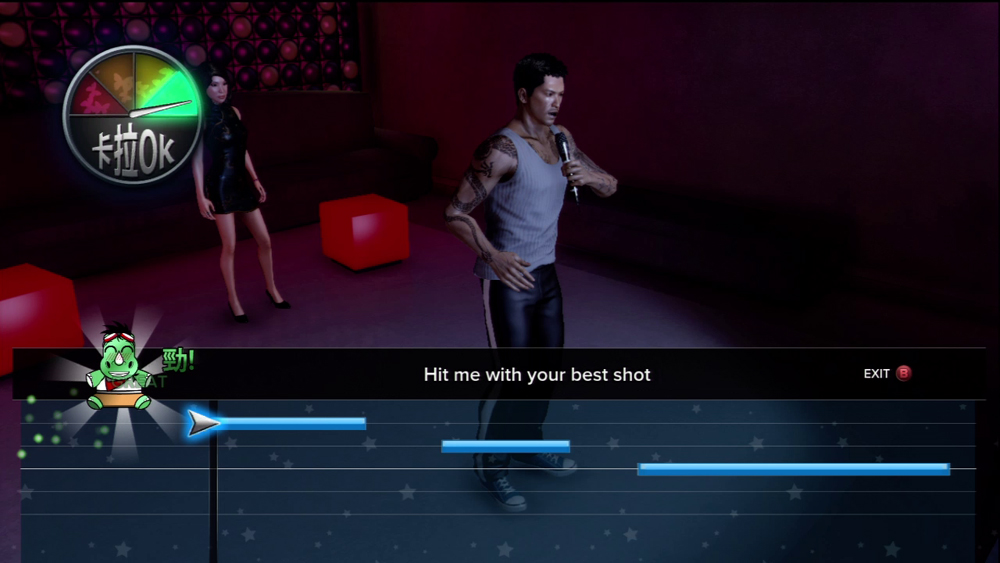

After the events following Winston sending Wei over to Club Bam Bam to establish new ownership, you earn Tiffany’s phone number. Call her to set up a date as soon as possible, and meet her in the club itself. Once there, she’ll ask you to sing karaoke for her. Sing well, and Tiffany will be impressed by your talent. After the date, you unlock the ability to see where all Jade Statues are located on the map.
8. Impress "Not-Ping"
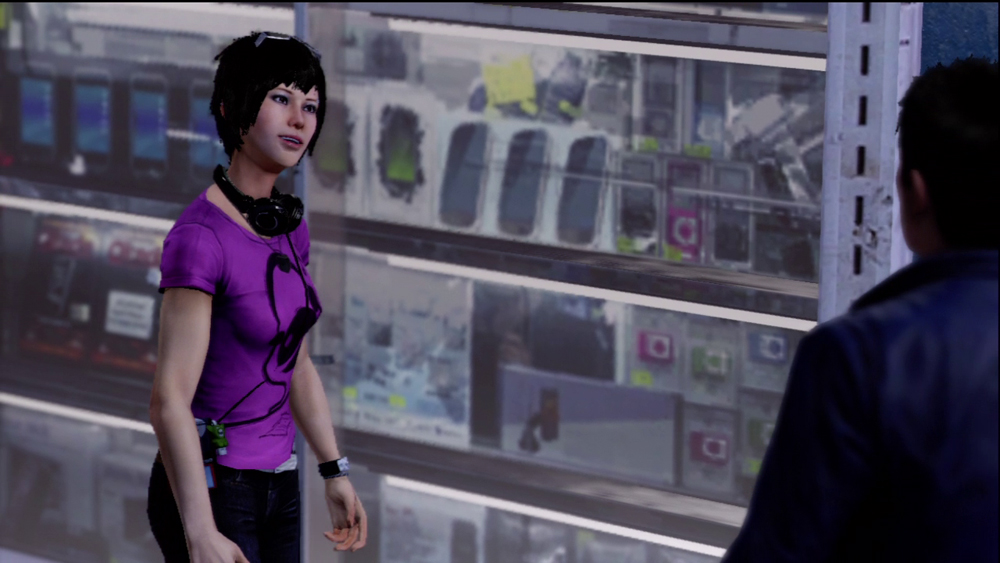
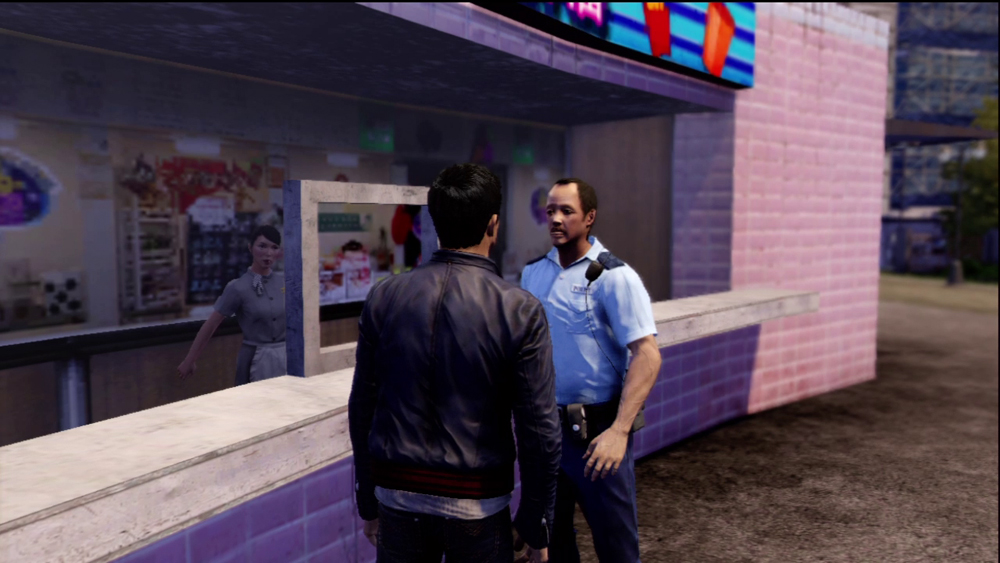
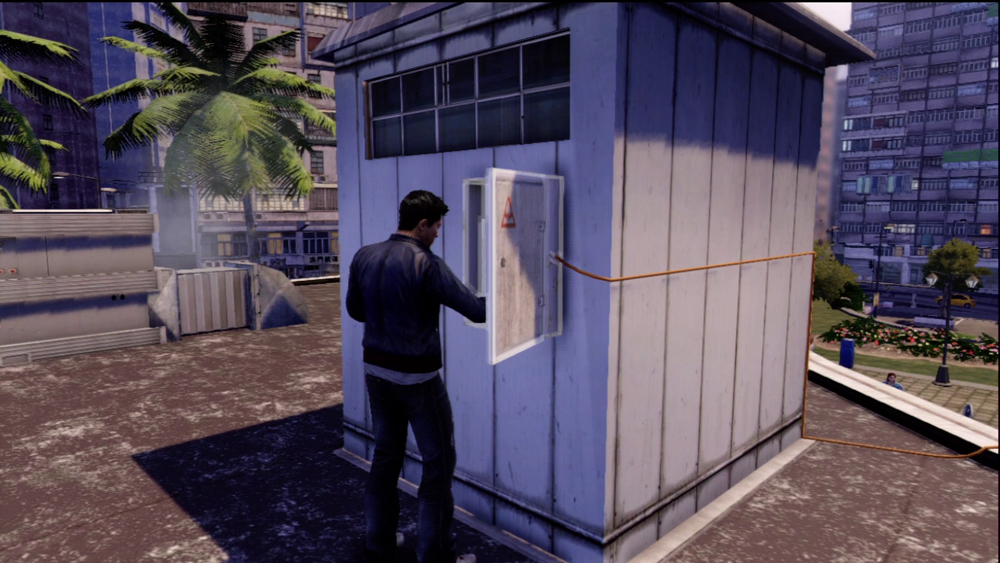
A date for “Not-Ping” is exciting if it involves some form of hacking, and Wei is well equipped for the task. She takes you to the nearby park. To get to the camera, you first need to distract the officer by talking to him. Next, talk to “Not-Ping”. She wants to see Wei’s technique in action. She’ll keep an eye out for the officer to return while you hack the camera. You have one minute to guess the password to the camera system, so work fast! Afterwards, “Not-Ping” is impressed enough to invite you back to the store for some time alone, and you unlock the ability to see Spy Cameras on the mini-map.
9. Red-Handed Tiffany
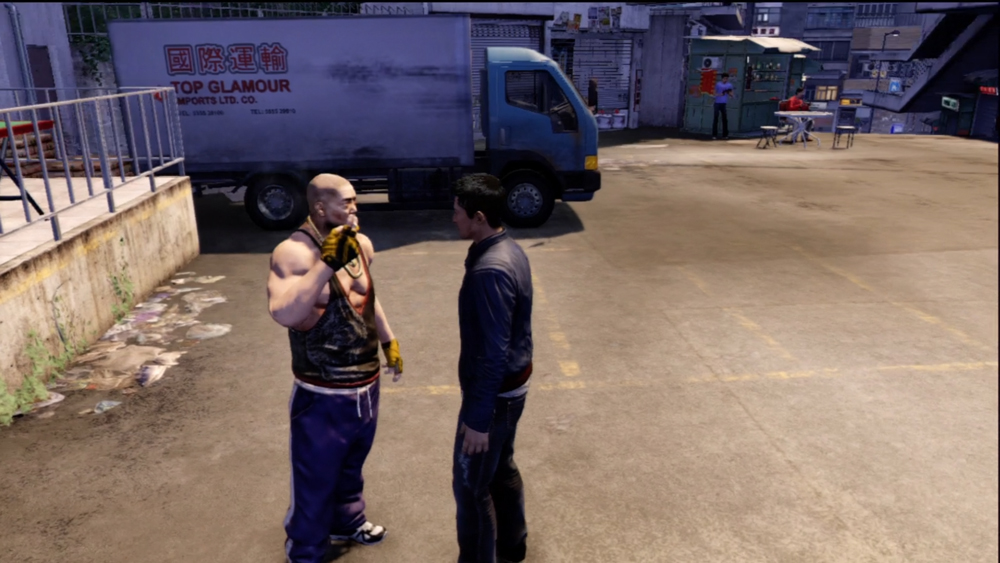
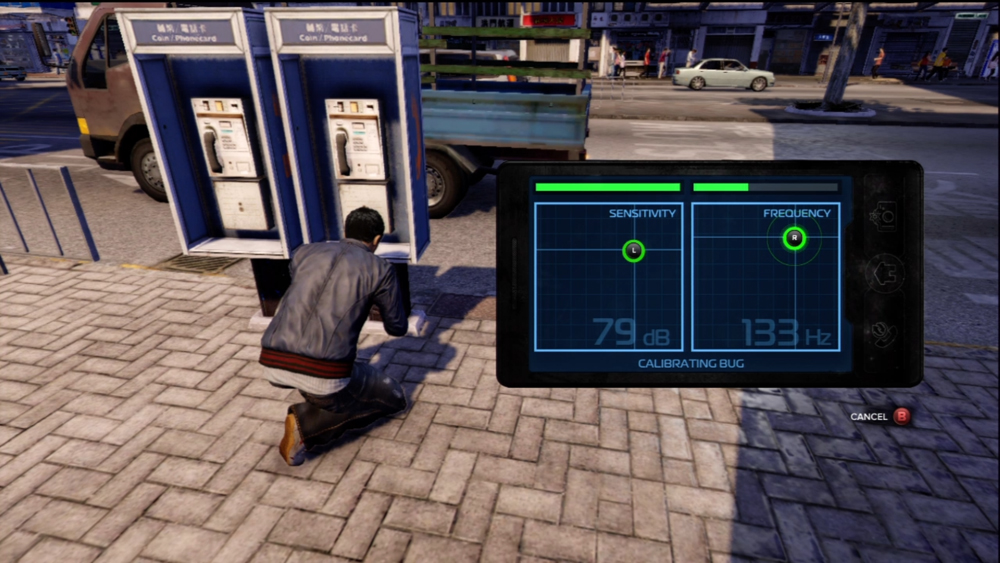
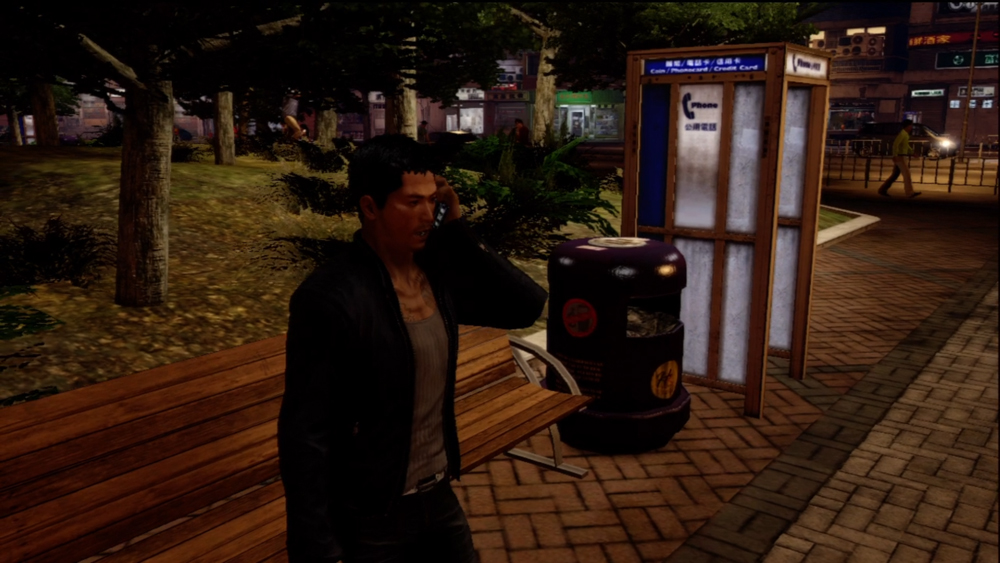
Tiffany is apparently seeing Longfinger Chau behind Wei’s back, to which Wei responds with disbelief. Calvin insists that it’s the truth, saying he overheard her talking on a public payphone outside of her apartment. Drive out to the payphone, and plant a bug under it. Afterwards, Wei will stake out the payphone like a totally not-obsessed stalker until Tiffany walks out and makes a call, which confirms Calvin’s information. Calling up Calvin, Wei wants him to keep an eye out for Tiffany and this Longfinger Chau to meet so he can confront them.
10. Following Tiffany
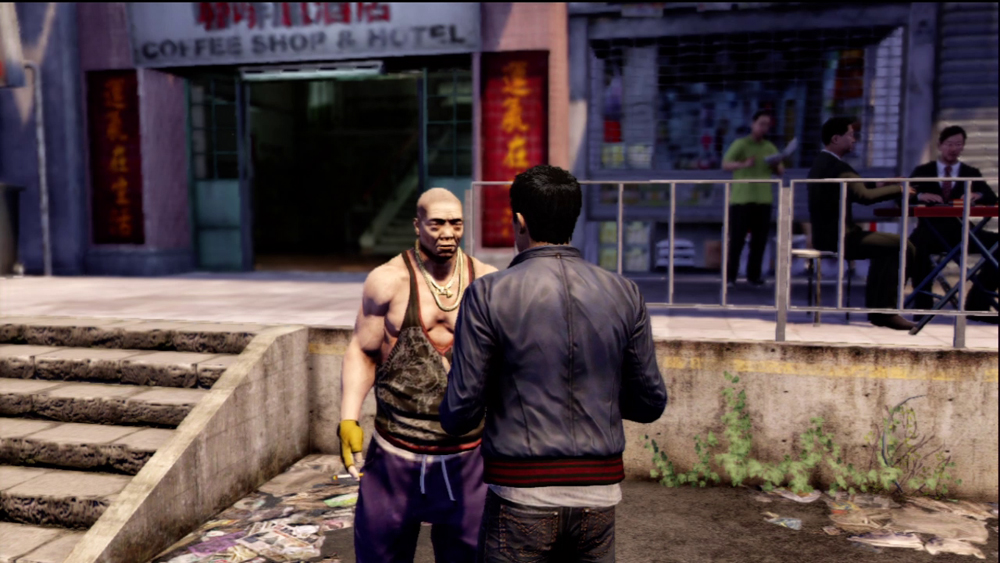
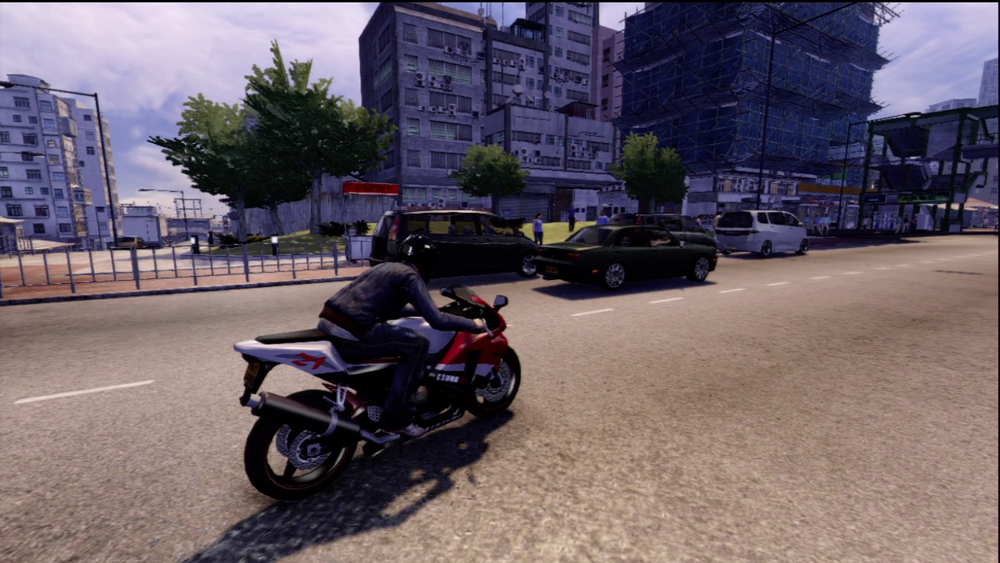
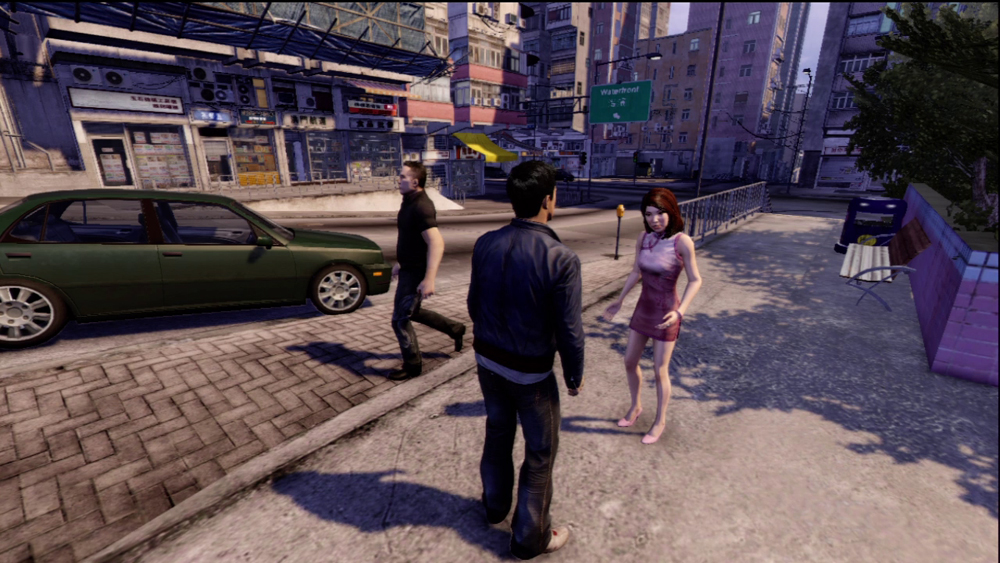
Drive out to Tiffany’s place and wait for her to leave in her car. As with other missions that involve tailing a target, make sure you don’t get too close or break too many traffic laws while following her, as her suspicion meter jumps up quickly. She will eventually stop off at a park, where Chau awaits, and the snogging begins. Run up to the pair to confront them.
It comes out that Tiffany knows about “Not-Ping”, and it quite upset that Wei has been doing some sleeping around of his own. Wei is genuinely apologetic, but Tiffany is already through with him, and stalks off. Take the time to read the surveillance report on Tiffany in the aftermath of the breakup to learn some interesting information about her personal life.
11. Truck Recovery
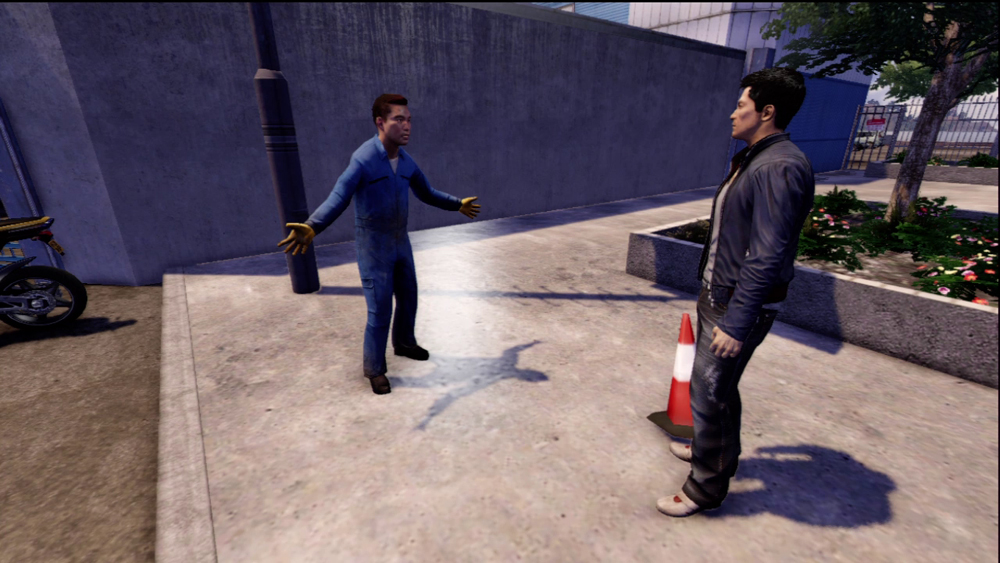
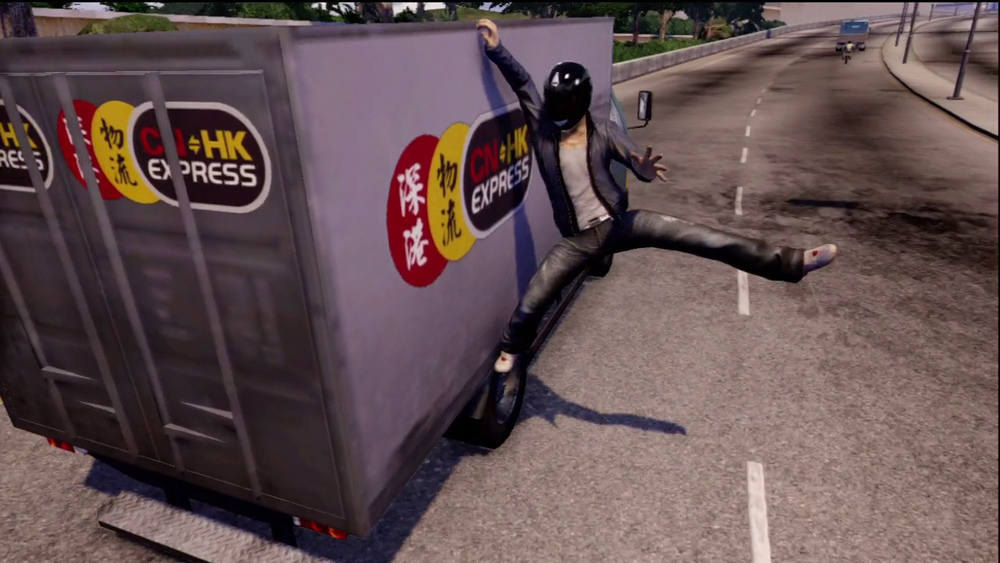
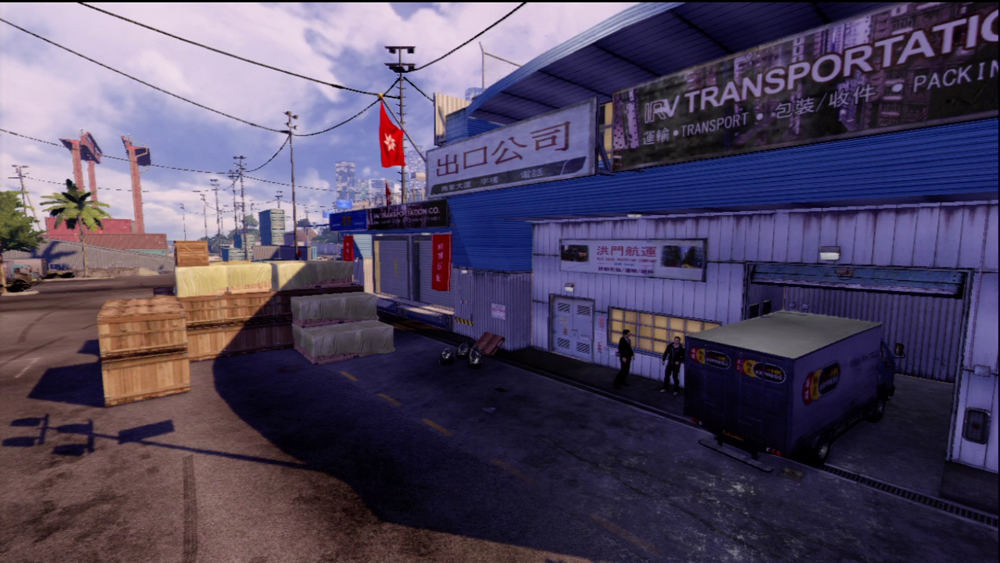
You’ve got three minutes to catch up to the truck from where Jimmy is standing, but the bike sitting near him is a bullet on wheels. Follow your GPS to catch up to the truck, and then use an Action Hijack to leap from the bike onto the truck. You’ll have to survive a QTE or two while you climb along the side of the truck to the driver’s cab. After taking over the truck, you’ll have to evade a Heat level 1 cop pursuit before you can take the truck to its garage at the Kennedy Town docks.
12. Cheaters Never Prosper, Part Two
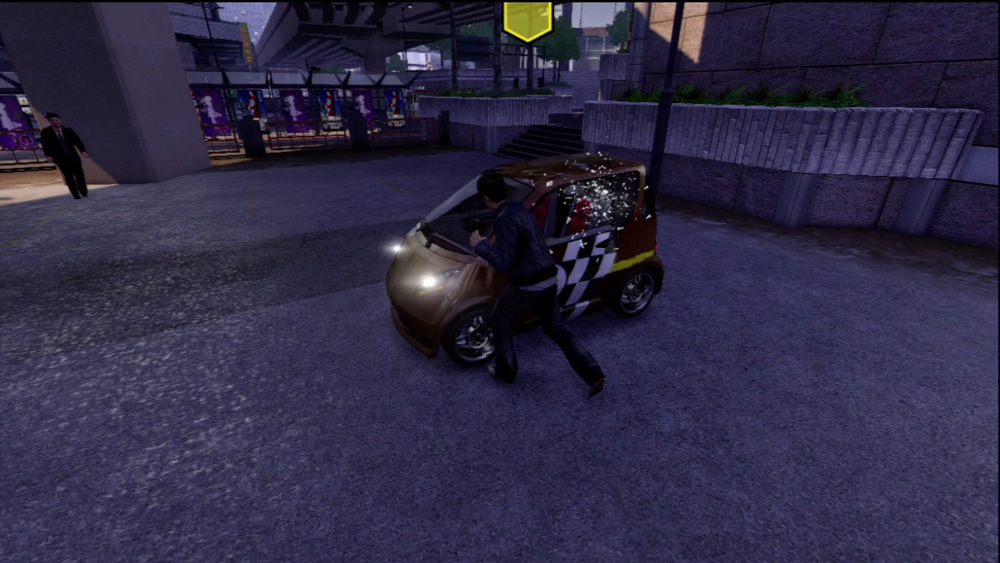
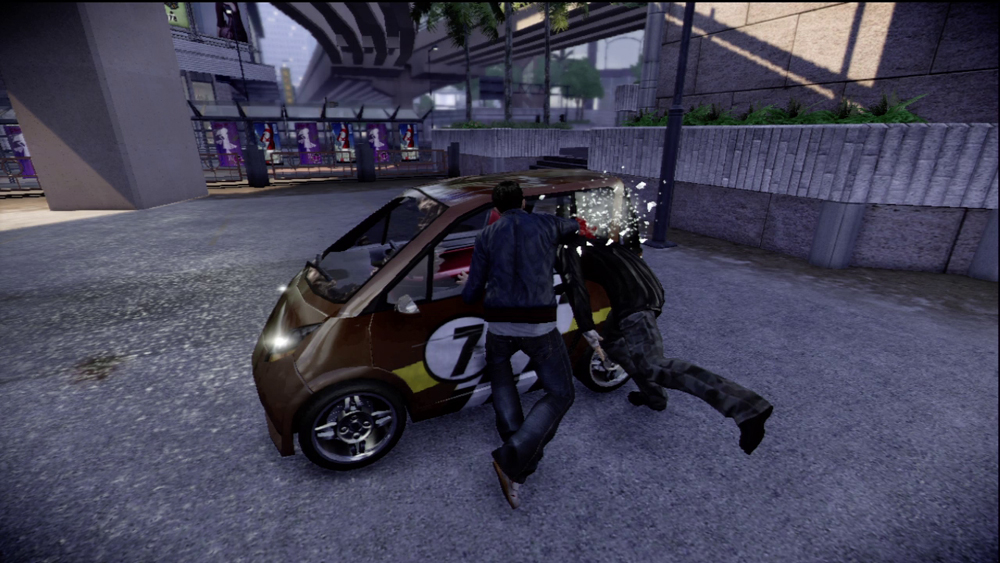
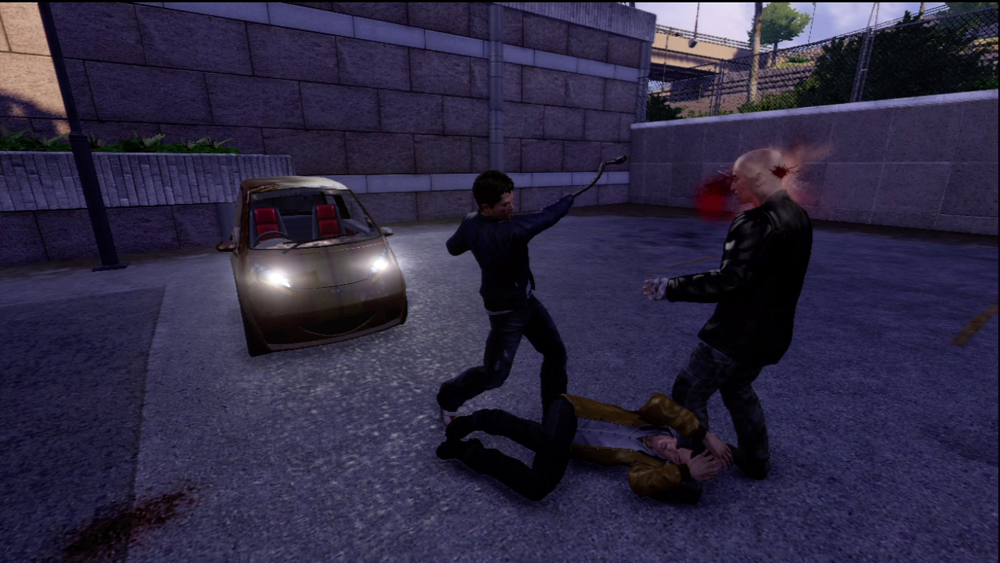
The car Loo lost to is parked under an overpass not too far from the Impound Lot. You’ve got a little under two-and-a-half minutes to ride over to Chang’s car before you miss your chance. When you reach the racer, take a tire iron from its trunk and go to work on the car until Chang and a buddy come running out. It seems they know about Wei’s handling of Tommy Lan’s car, and are ready for revenge. What they aren’t ready for is a tire iron to the face. Knock them out to complete the favor.
13. Just a Little Driving
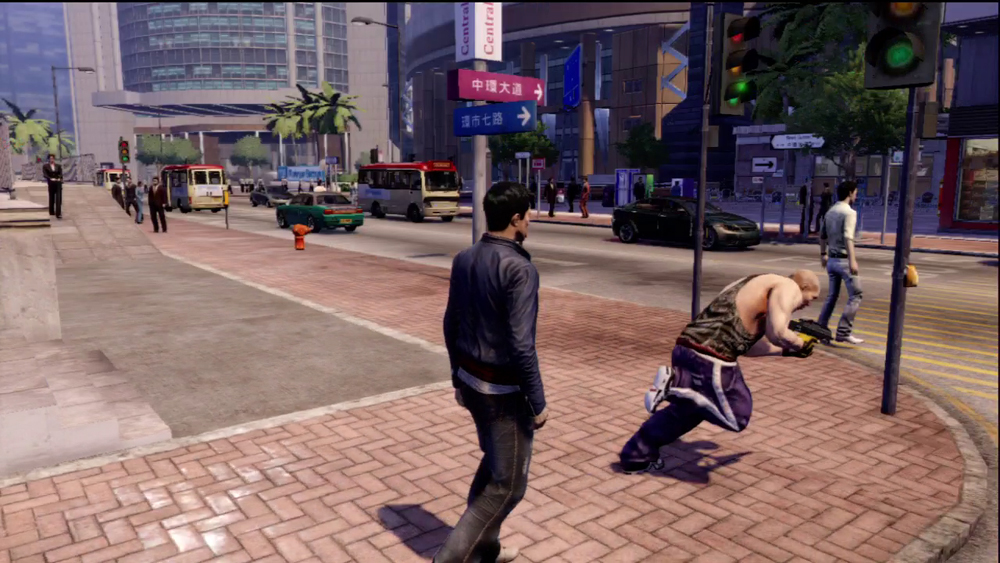
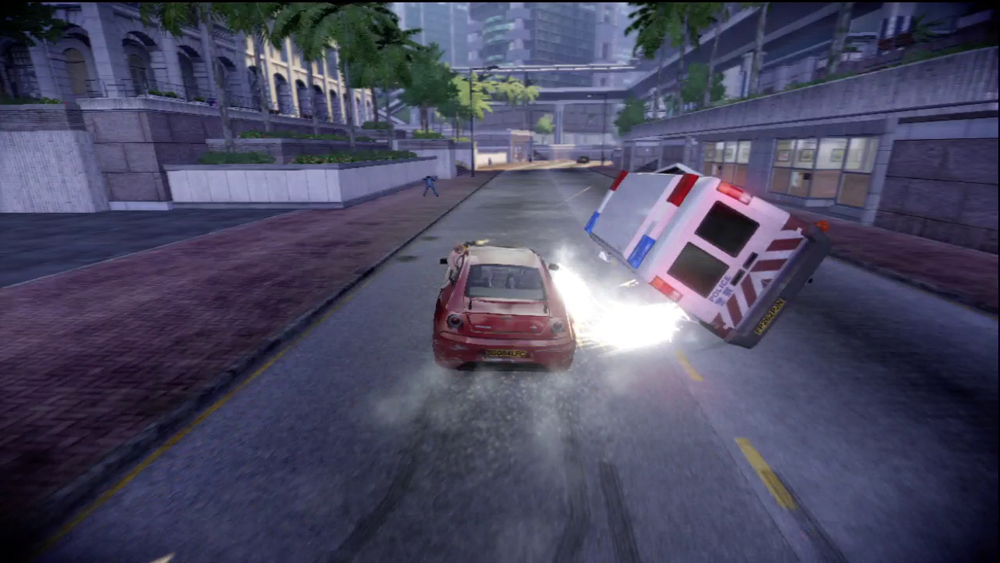
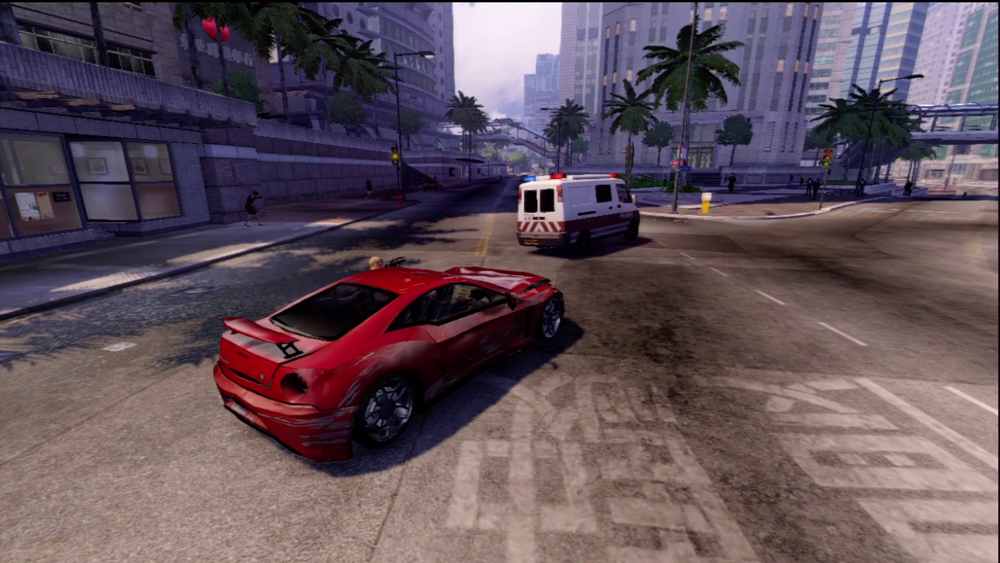
It’s another chase with Calvin riding shotgun. This time, the Heat is at level 3, and is a bit harder to evade. Calvin further complicates things by opening fire on the cops throughout the chase, which only attracts more attention, convinces them to shoot back, and makes it harder to outrun them. However, once you manage to evade the cops, Calvin isn’t picky and can be dropped off anywhere you decide to stop.
14. Turn Losers Into Winners
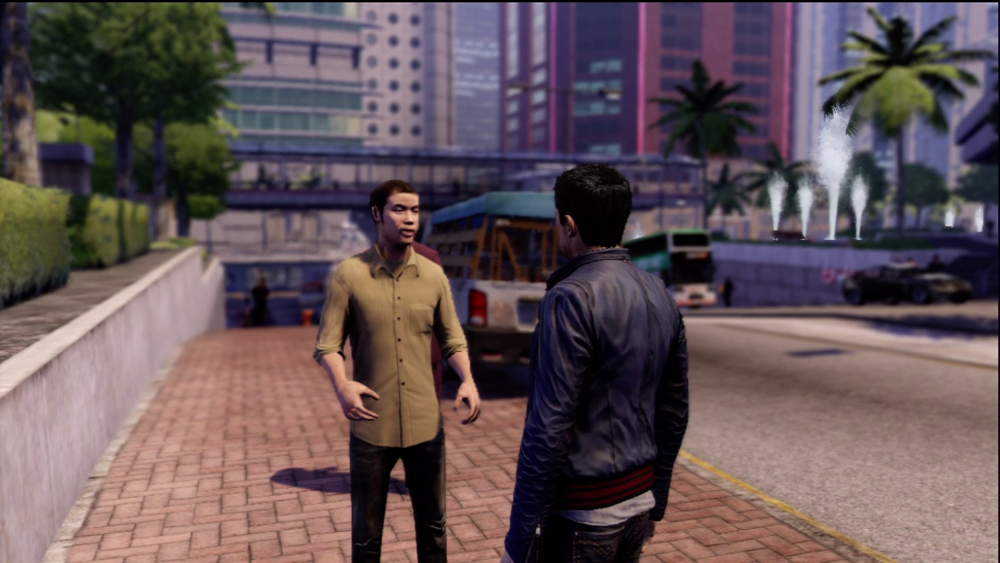
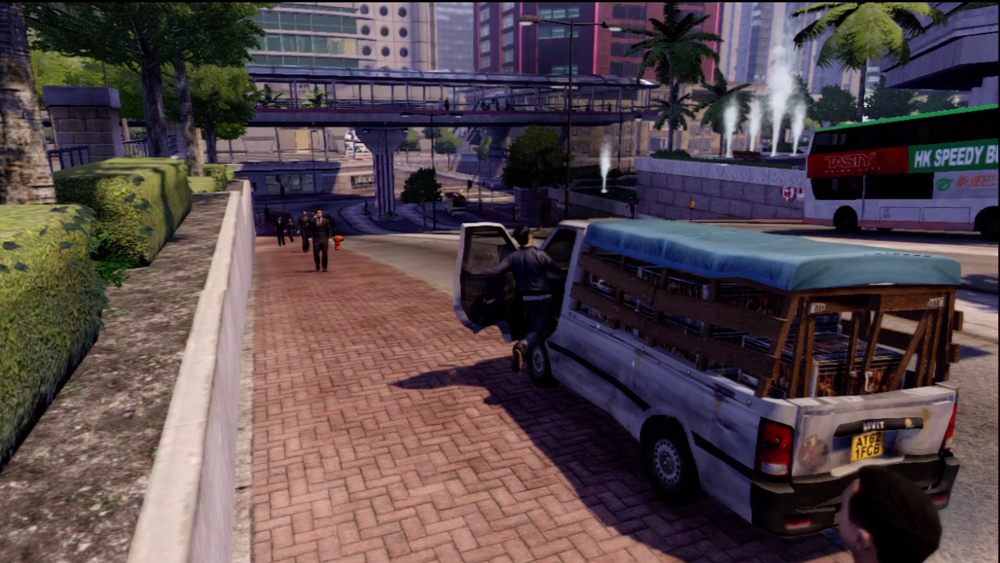
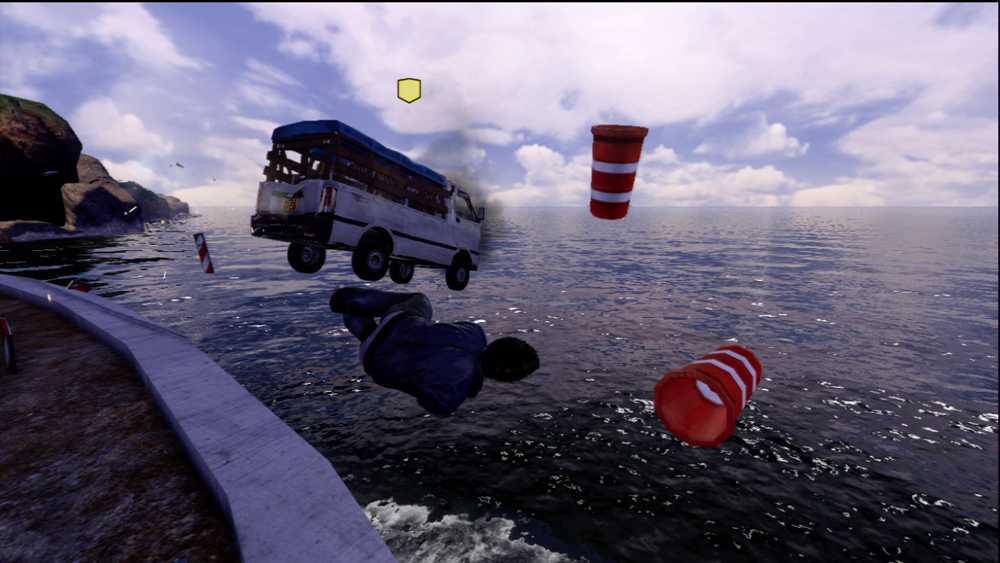
As with the previous insurance scam you pulled, the vehicle you need to drive starts off in bad shape and will not survive many accidents. Drive with some caution and you’ll eventually arrive at the launch ramp that will dump the birds and trunk into the water.
15. Photograph Amanda
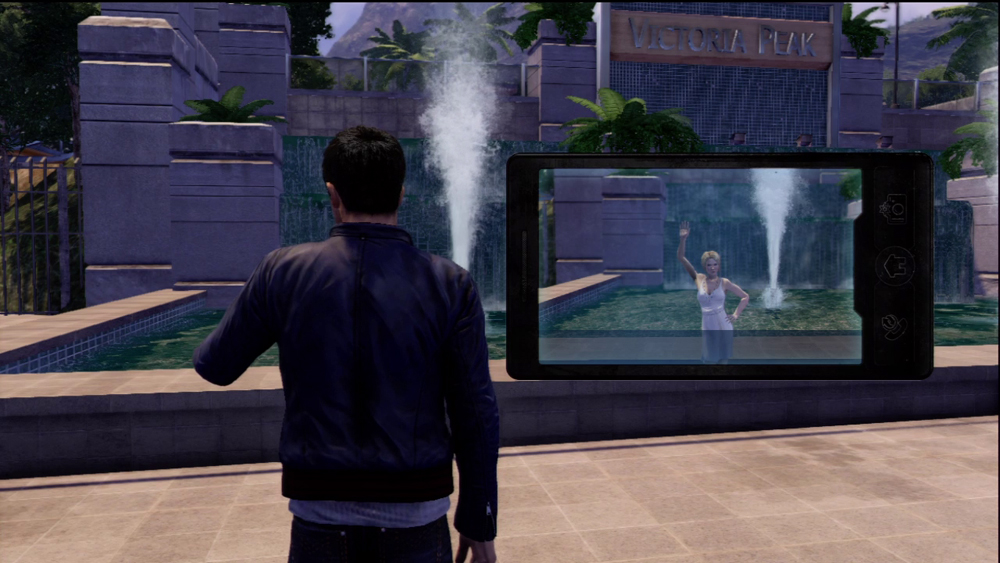
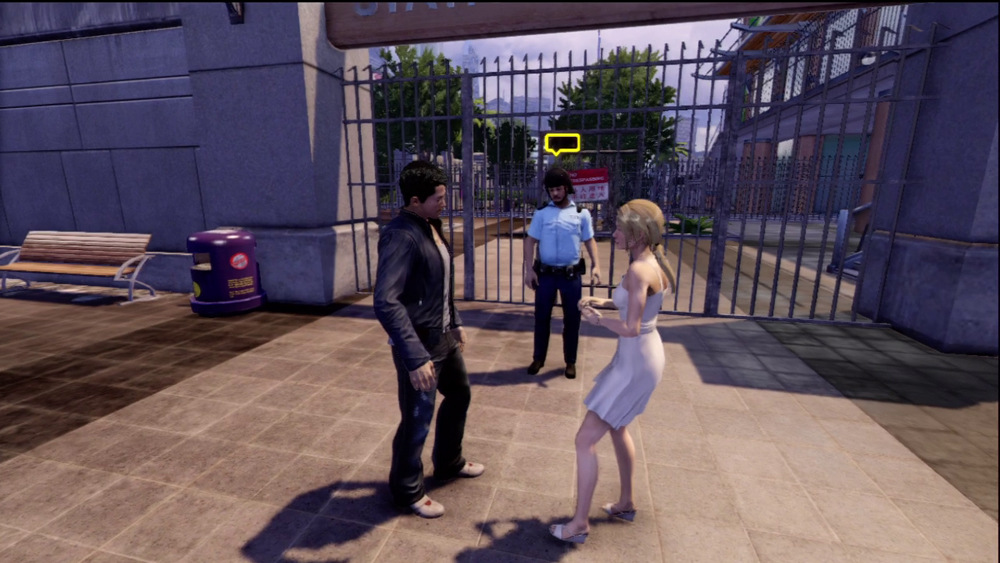
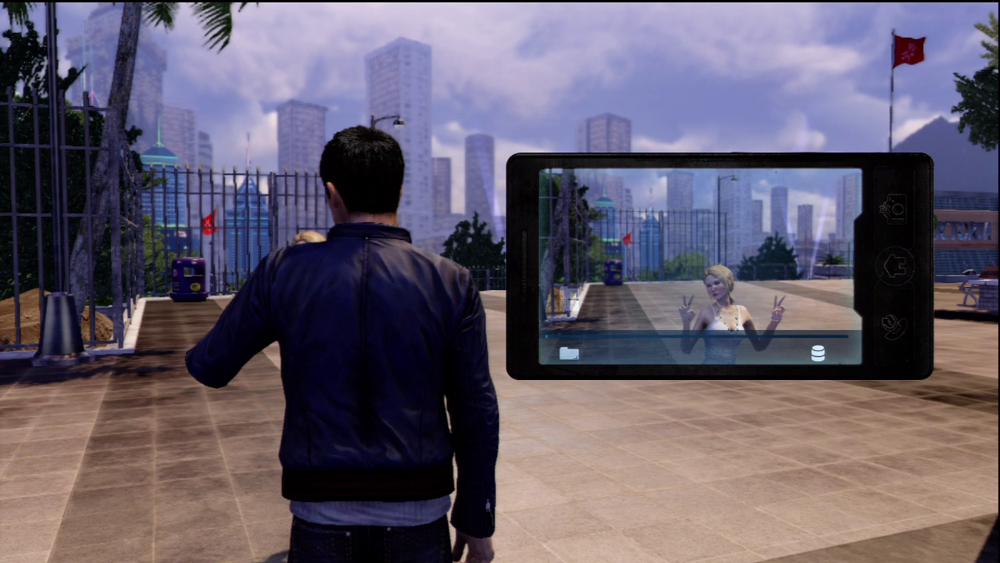
The date is off to a bad start, as the park is closed. Amanda really wants to go in the park to take some pictures for her blog, so Wei offers to see about getting them past the guard at the gates. As you walk with Amanda toward the gate, she will stop and pose for a picture. Use your smartphone to take a photo of her, then make your way to the gate with her. The guard can be easily bribed aside, and you’ll then have access to the park.
Follow Amanda around the park, and whenever she stops to strike a pose, take her picture. After several pictures, she’s satisfied, and you can leave. The two share a private moment with each other after the photo shoot is completed. More importantly, her research on the locations of every Health Shrine makes them all appear on your mini-map!
16. Riffraff Disposal
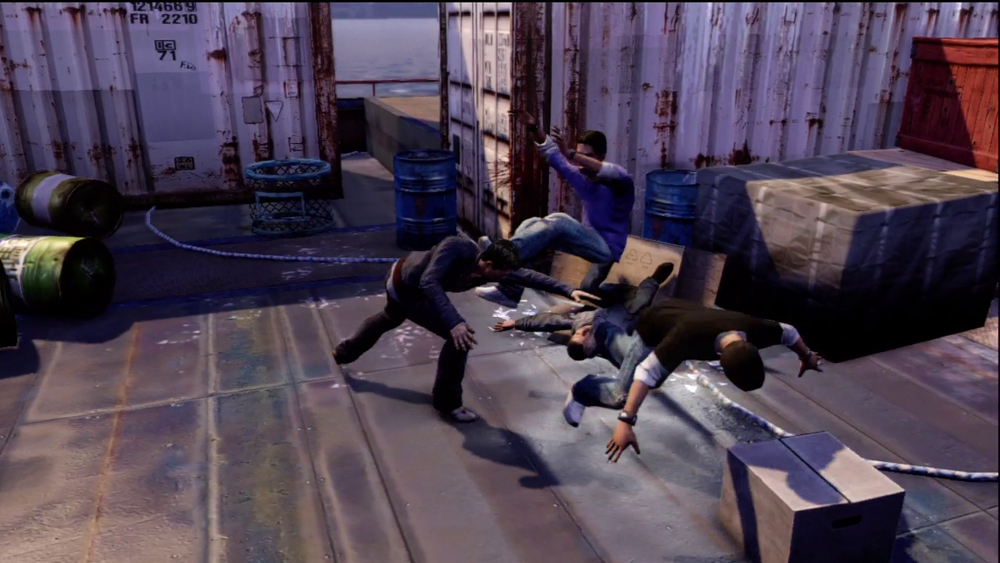
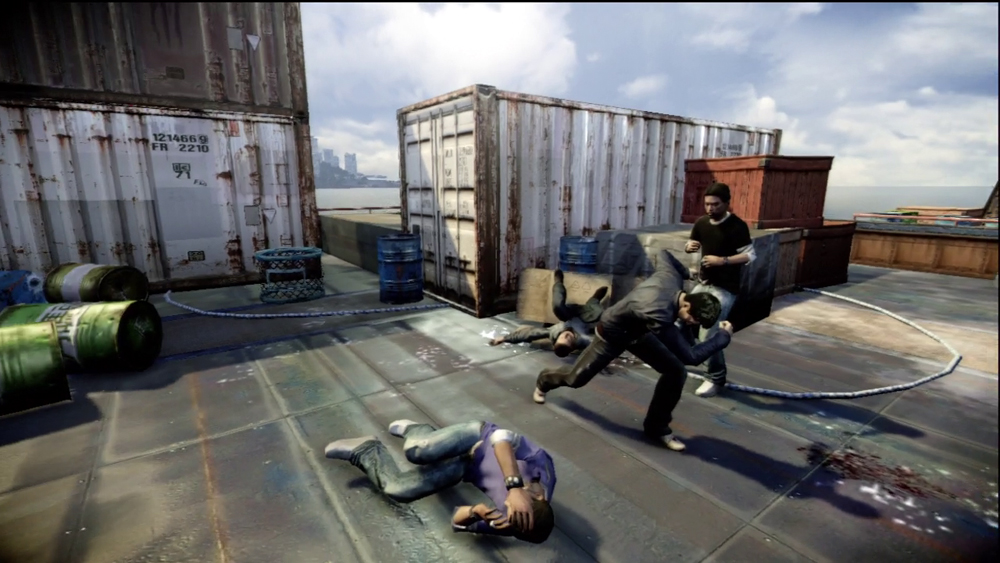
This favor is a simple brawl. Many of the gamblers split after Wei tries to intimidate them, but four of the goons stick around to try and fight him. Not a good call on their part. You’re on a boat, and there’s lots of convenient places to throw these people overboard. After the deck is cleared of riffraff, Shirwin allows you entry into the gambling den as a way of saying thanks.
17. Drunk Disposal
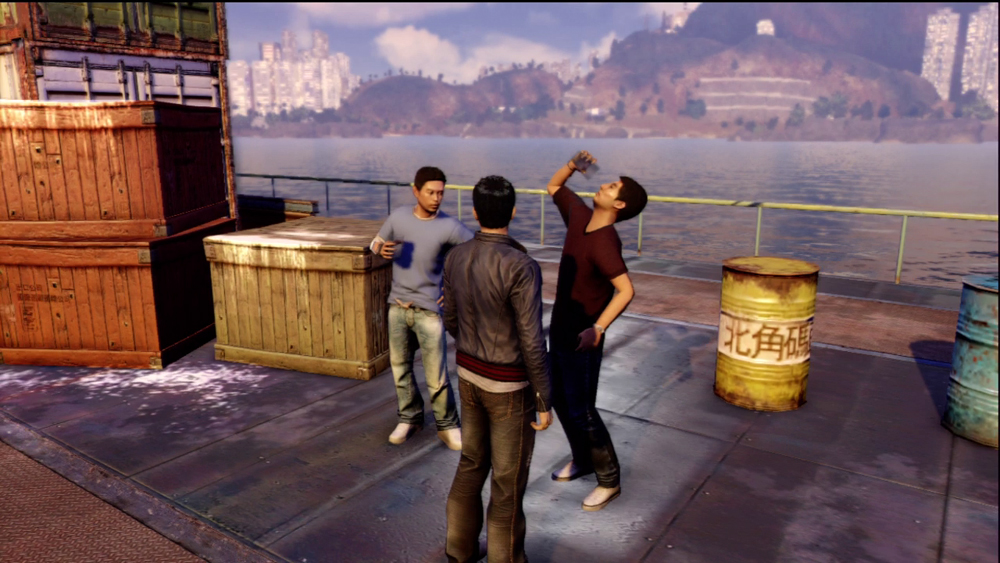
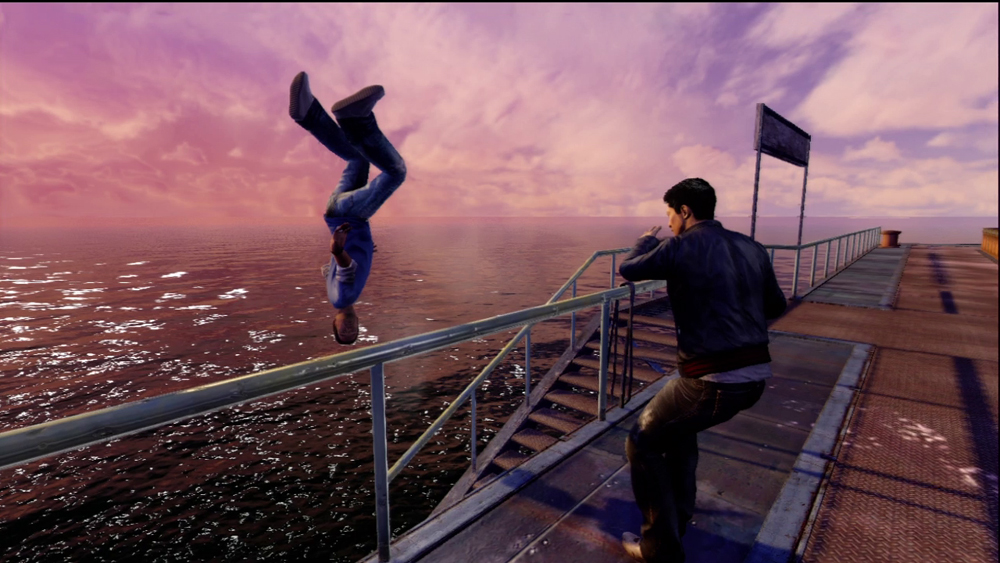
You’re not supposed to kill these guys. You only need to throw them overboard. There’s only two, and they don’t resist so much as they beg for mercy or try to run away. Once the deed is done, Carmichael grants you access to the gambling den.
18. Escort an Ally
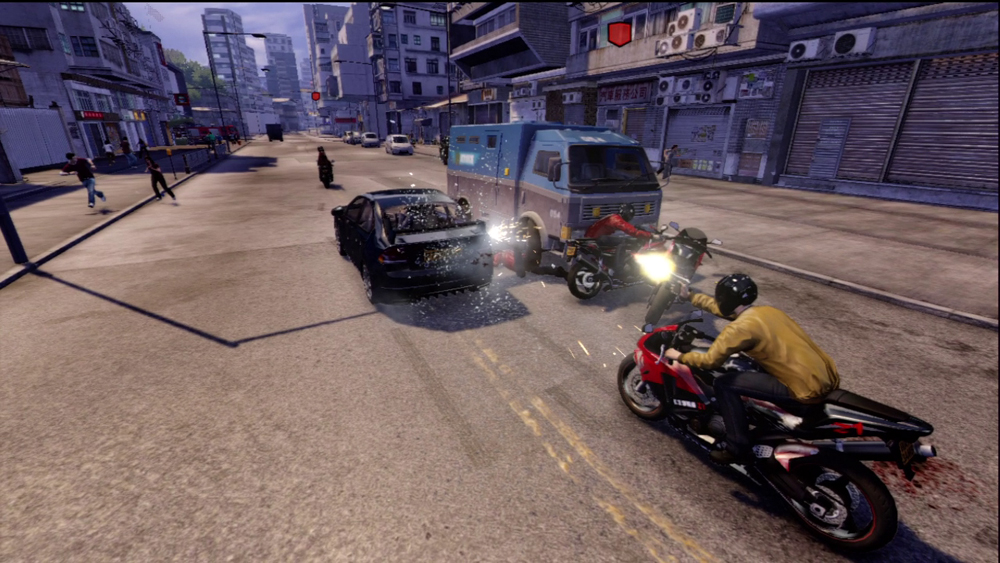
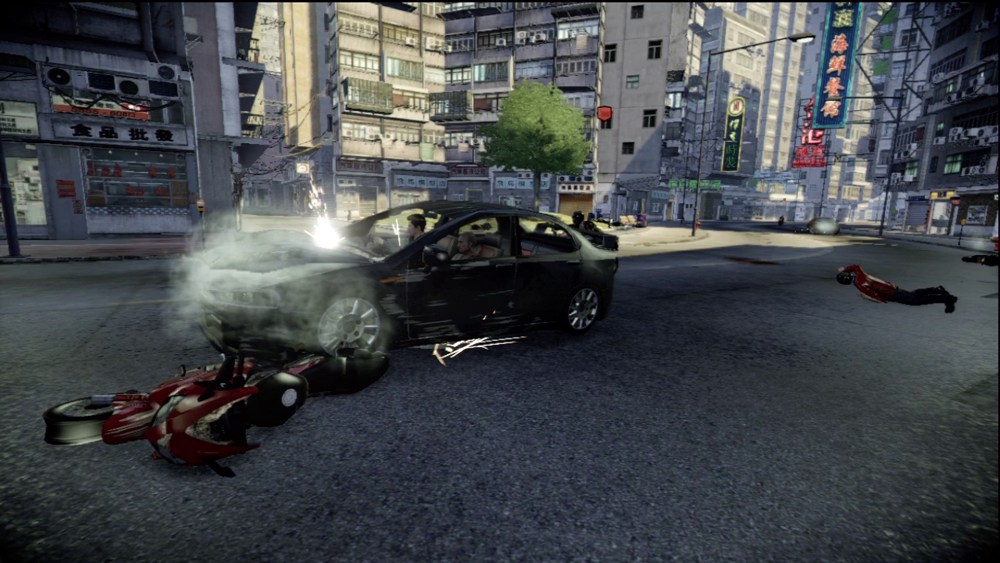
The first order of business is to find a ride that can take you out of 18k territory. As soon as you find your ticket to safety, Duke’s crashed car explodes, which heralds the arrival of a large group of 18k cars and motorcycles, all driven by thugs intent on bringing you down. You’re given a pistol at the start of the drive, so use it to wipe out your pursuers while driving away from their territory. Check the mini-map to see how close you are to leaving their area, and plan your course accordingly. Once you escape the 18k, Duke is happy to be dropped off just about anywhere.
19. Distract the Cops
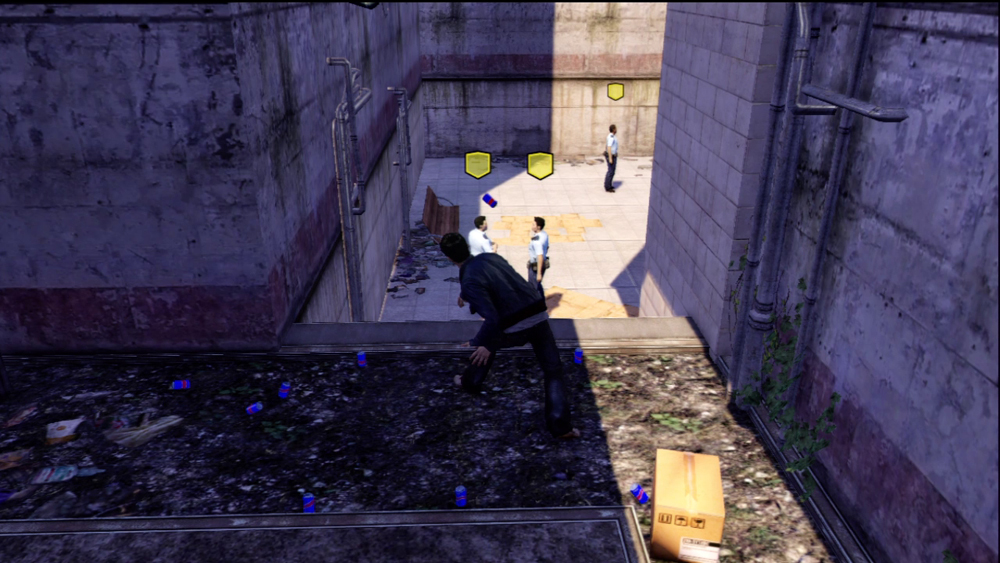
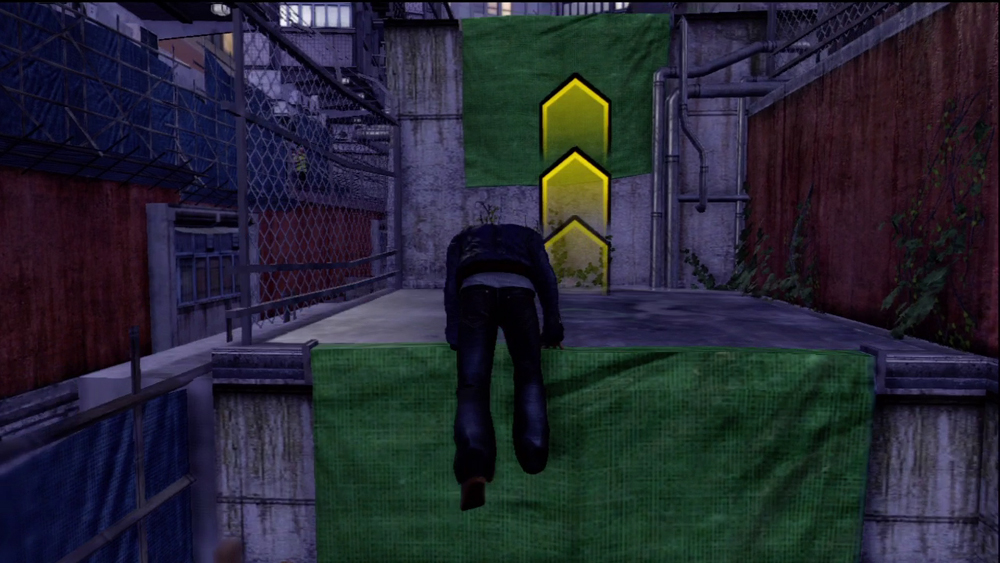
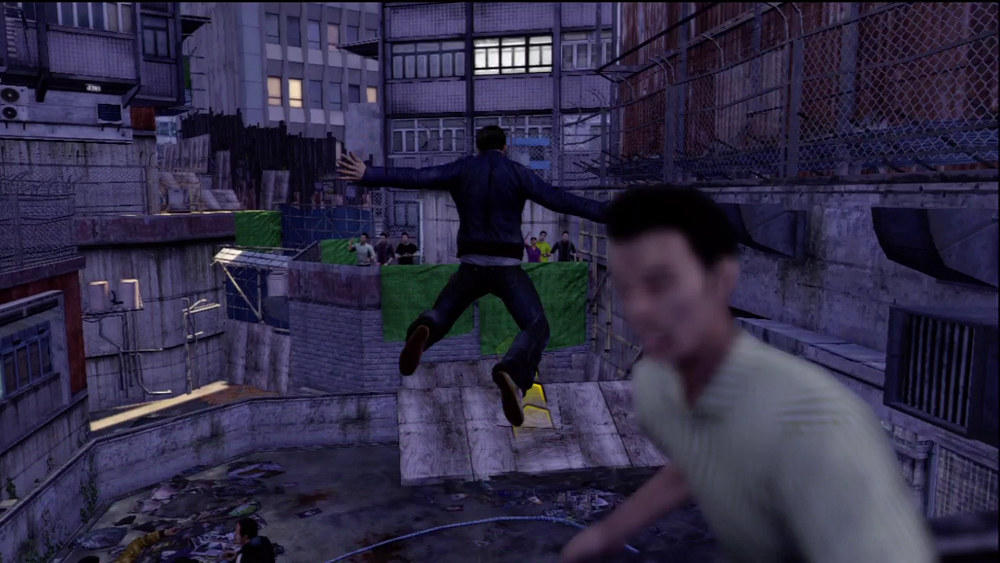
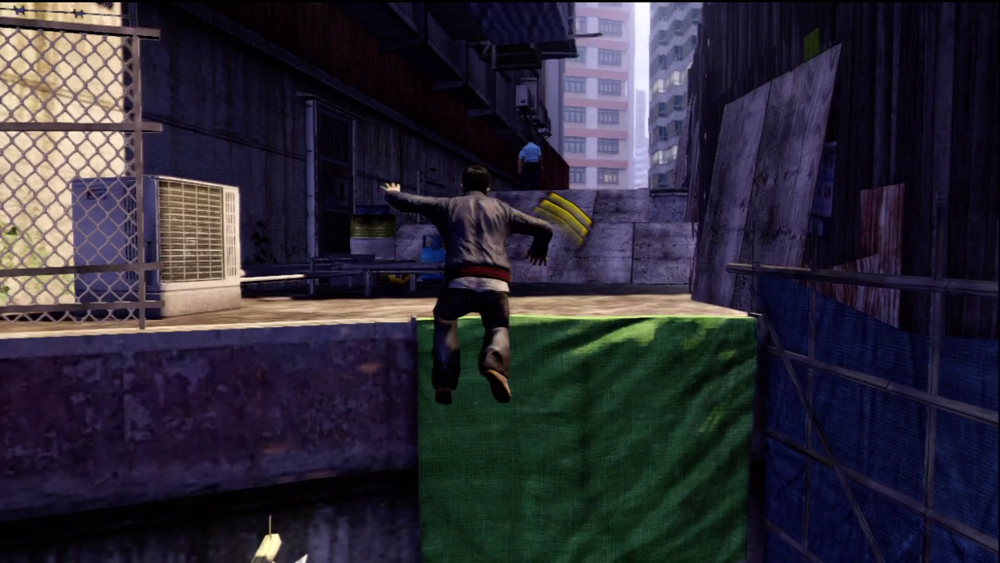
In order to get the attention of the cops, go to the pile of cans lying on the ground and start chucking them on the officers. They quickly grow tired of your antics and they climb up to the rooftops to give chase. Run through the martial arts club gathering and keep climbing up the rooftops until you eventually reach the back entrance to the Galleria Mall, where the cops lose track of you. By then, Shao will have been able to collect the money, and the mission is complete.
20. Pied Piper
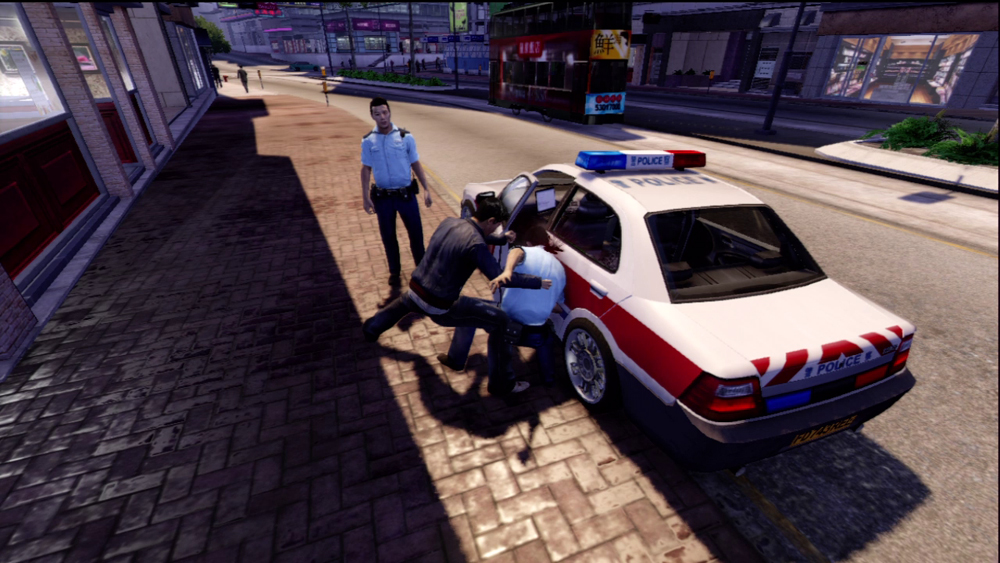
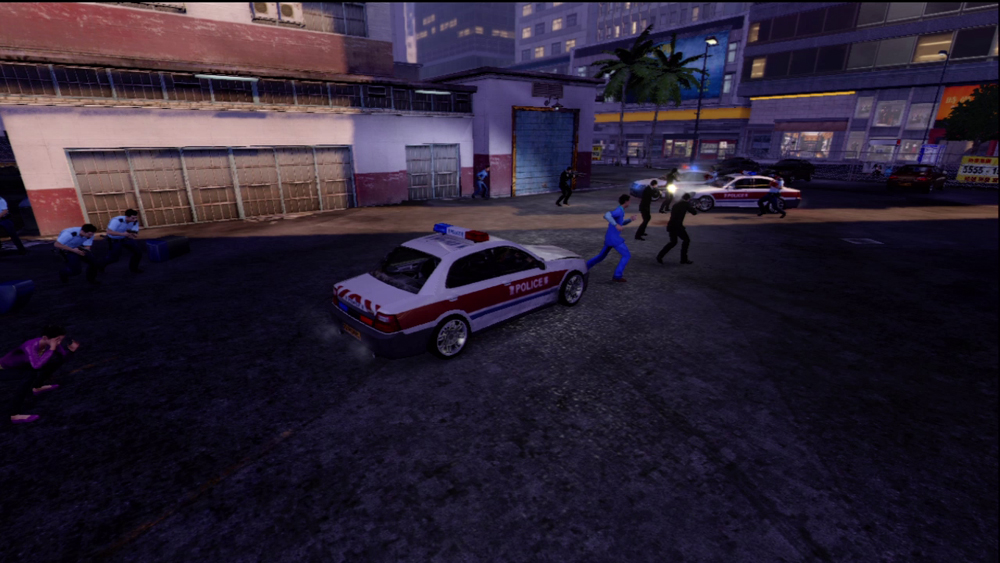
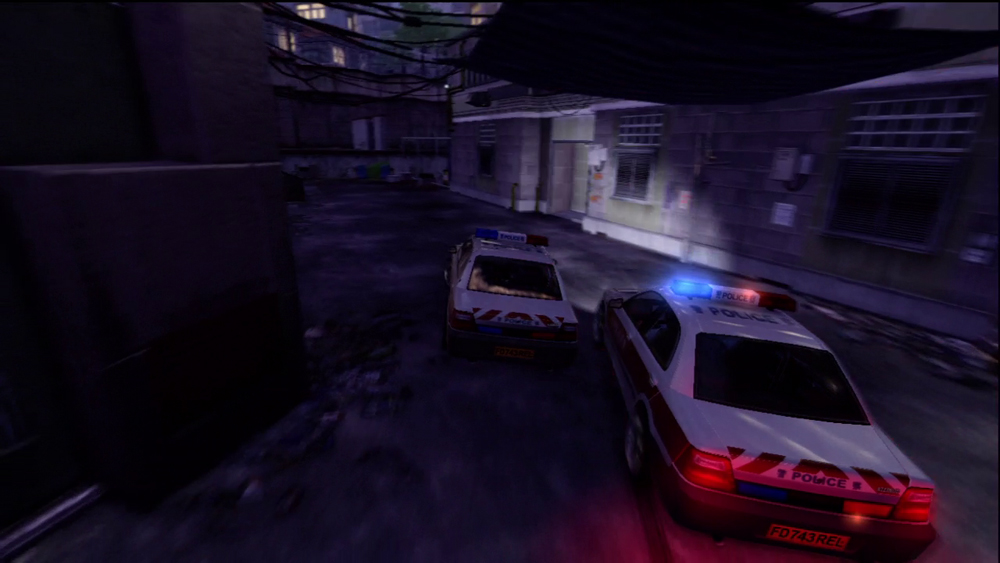
At the start of the favor, you’ve got three minutes to get the cops on your tail and then lead them to the Repo Yard where Kang’s nemesis is doing business. Fortunately, there’s a convenient pair of cops close by that you can run up to and attack to get their attention. With the pursuit started, lead them to the Repo Yard, where a firefight breaks out between the HKPD and the Triad members. Having successfully done your part to get Kang’s enemy put away, you need to evade the cops yourself. When that’s done, the favor is complete.
That is easier said than done. A level 3 Heat rating is nothing to sneeze at. Don’t be surprised if you need to switch vehicles, as the incoming fire from the cops can make escape difficult.
21. Cheaters Never Prosper, Part Three
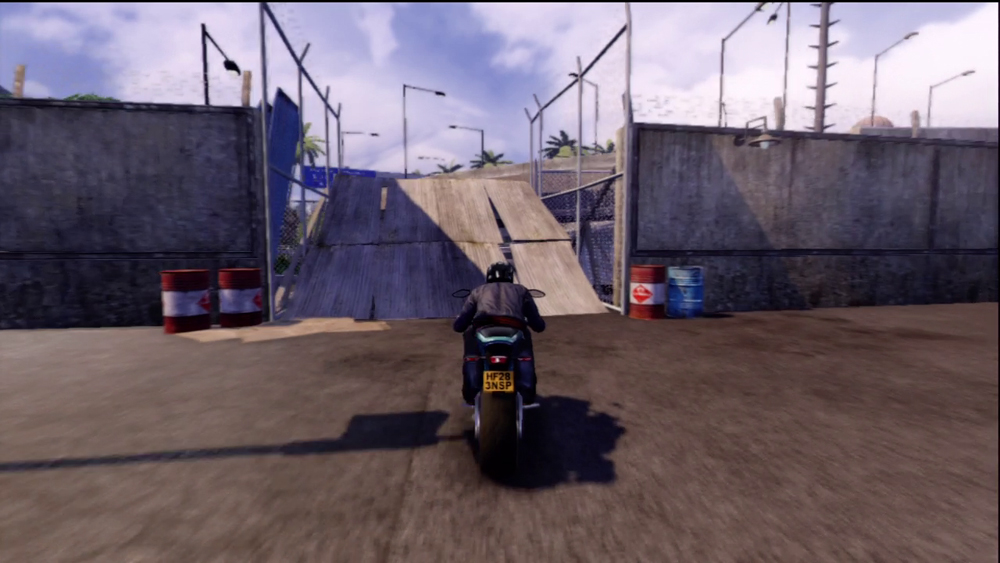
No Brake Cho’s car is all the way in Aberdeen, which is a short ride away from Kennedy Town. There’s a really fast bike close to Loo, and you need to take it if you want to have any chance of getting to the car within the two minutes and forty seconds you’re given. An essential shortcut can be taken with this bike: a big ramp that leads directly to the freeway you have to take to get to the car. The bike starts off facing this ramp, so it is hard to miss.
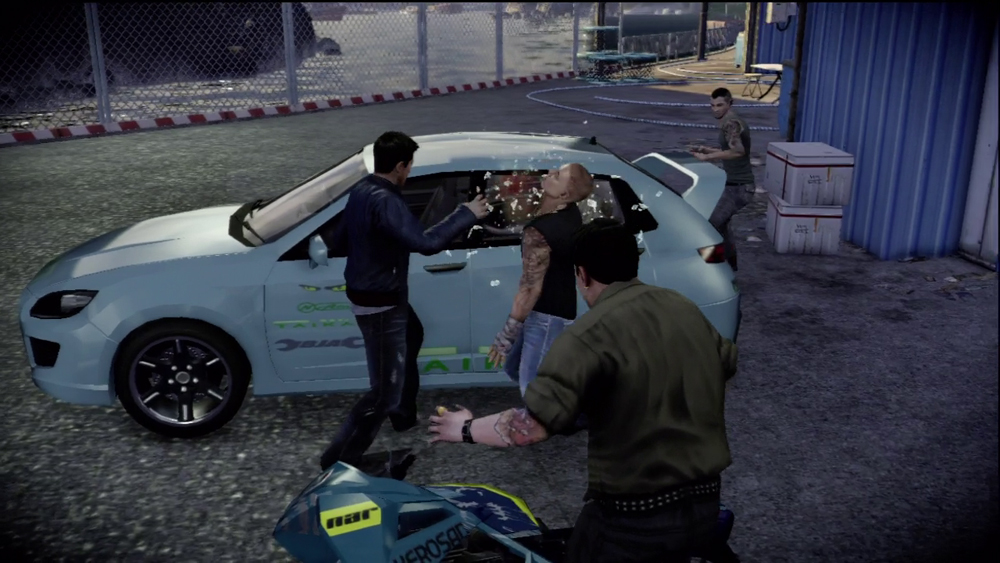
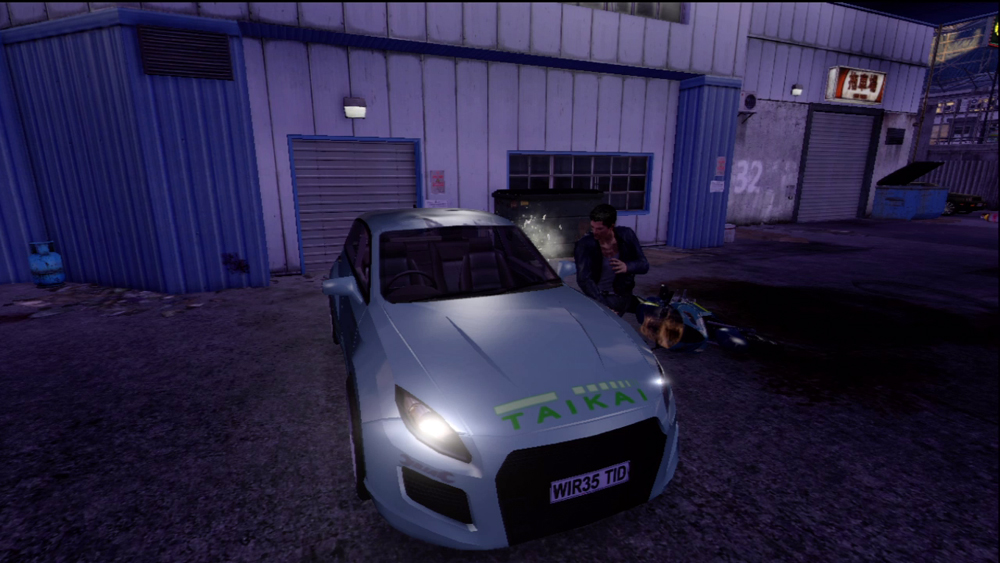
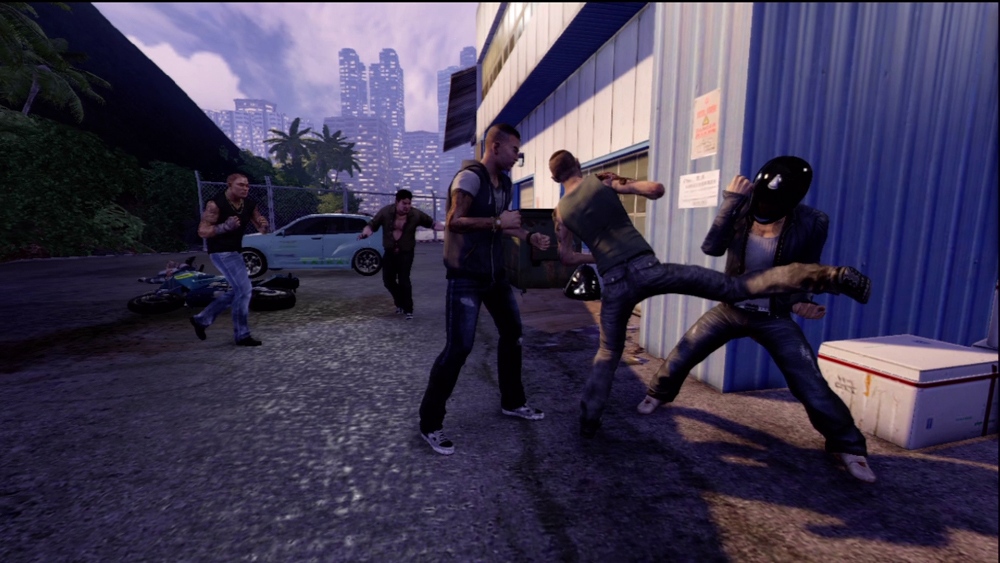
Once you get to the car, you’ll find that all of the racers you’ve beaten up for Loo are all waiting to greet you, and they’re ready to defend Cho’s car. It’s five on one, but if you’ve been following all the favors up to this point, these are odds that could hardly be considered long by any standard. Once you’ve taken out the trash, pull a tire iron from Cho’s car and go to work until the favor is complete.
22. Convoy Intercept
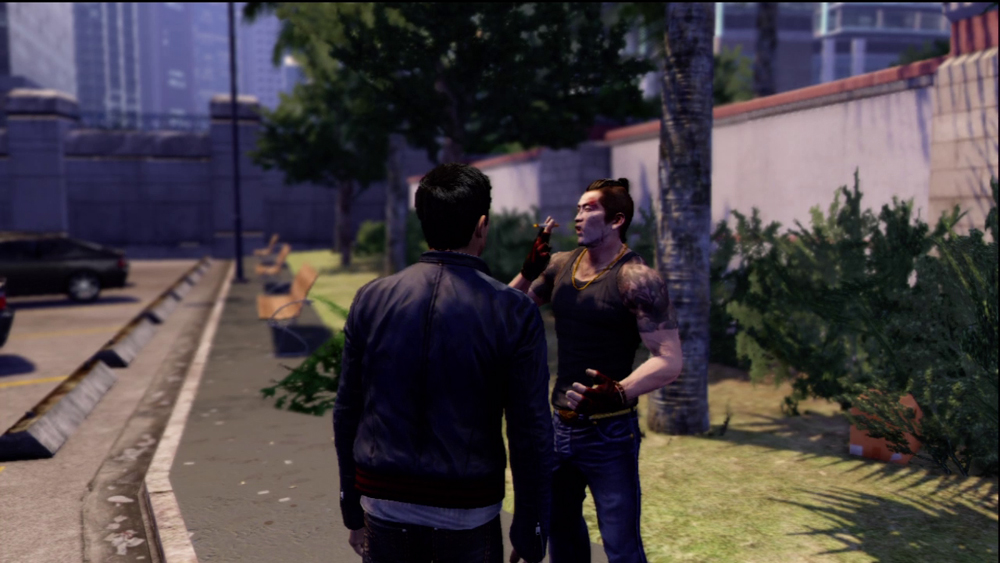
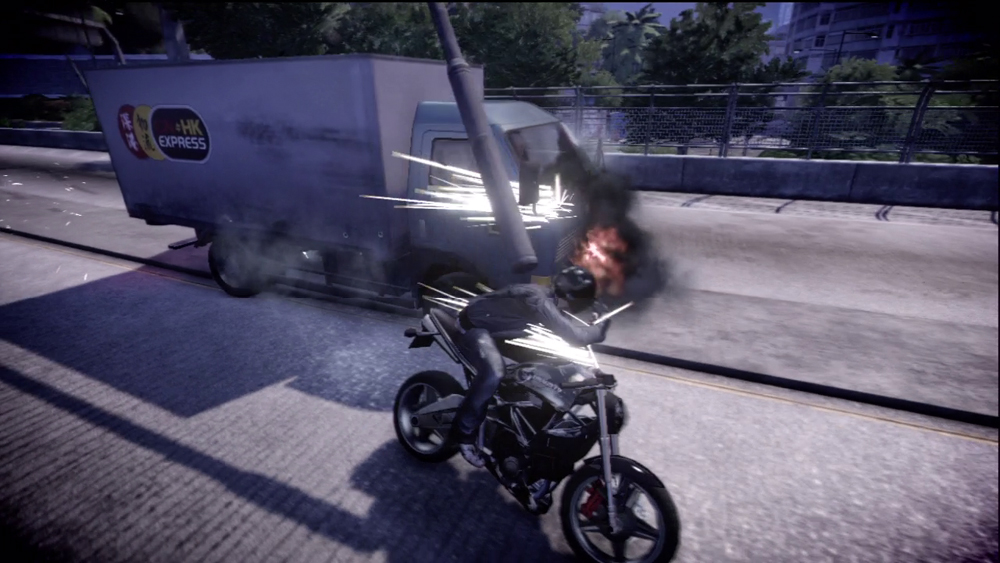
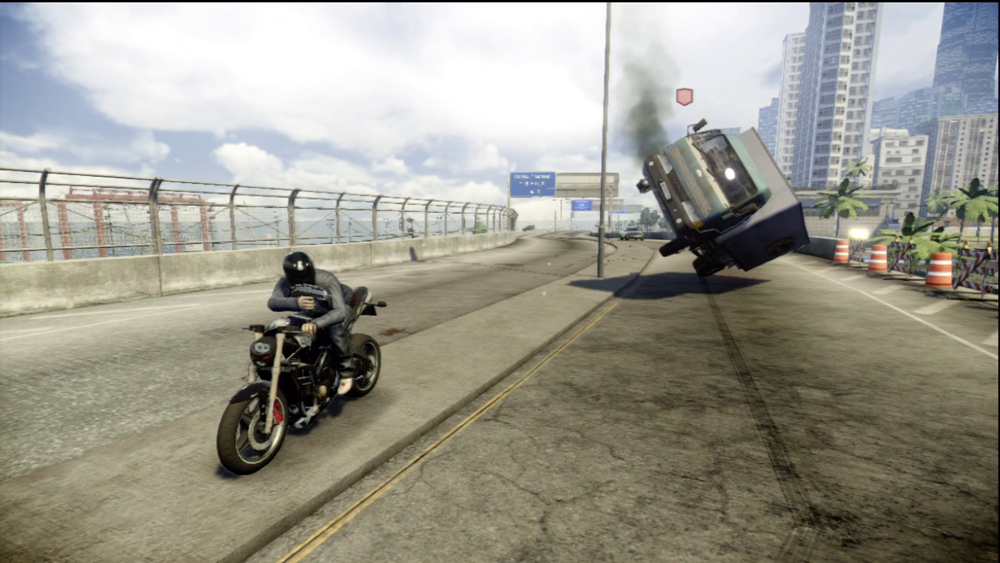
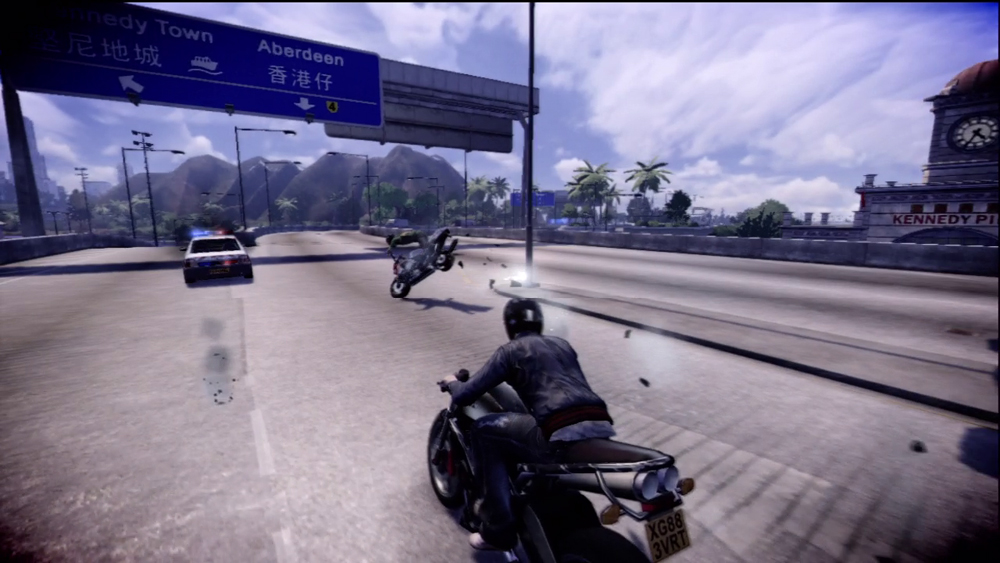
This is a fun mission. At the start, you have one minute to get to the freeway the convoy is travelling on, but once you’re there, you have pretty much all the time in the world to wipe out the four moving vans. The 18k will not take this lying down, though. They’ve got gunners in the backs of the vans, and guards are swarming the area on motorcycles. The vans themselves are incredibly resilient to gunfire, and disabling them means you’ll have to shoot out more than one tire. Make sure to take time to wipe out some enemy motorcyclists during the chase! Left alone for too long, they can become a real nuisance.
The HKPD may get involved during this chase. Do your best to avoid making them casualties, as this will only call down more Heat and make your life incredibly difficult. Once you’ve taken out the four vans, the mission is complete.
23. Safe Delivery
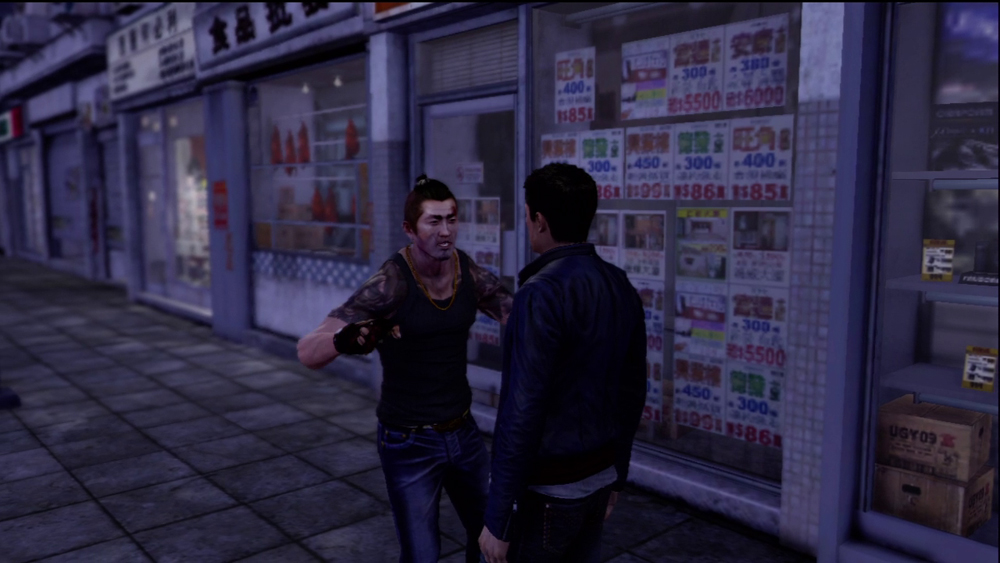
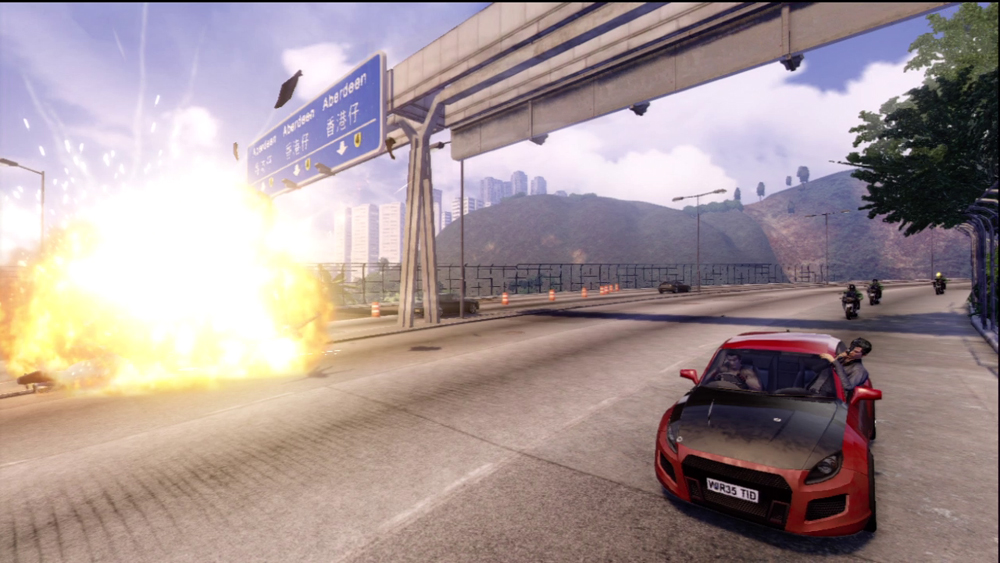
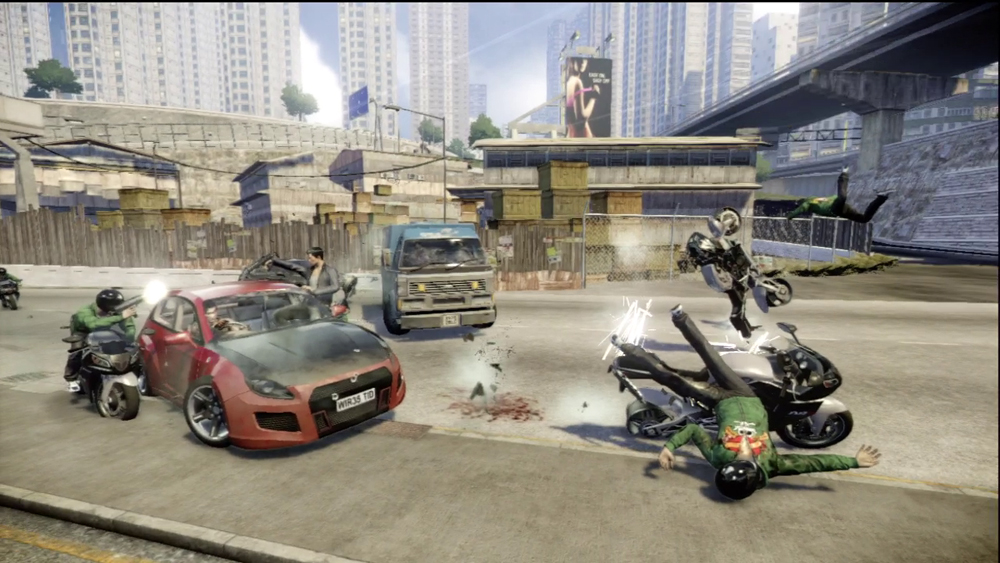
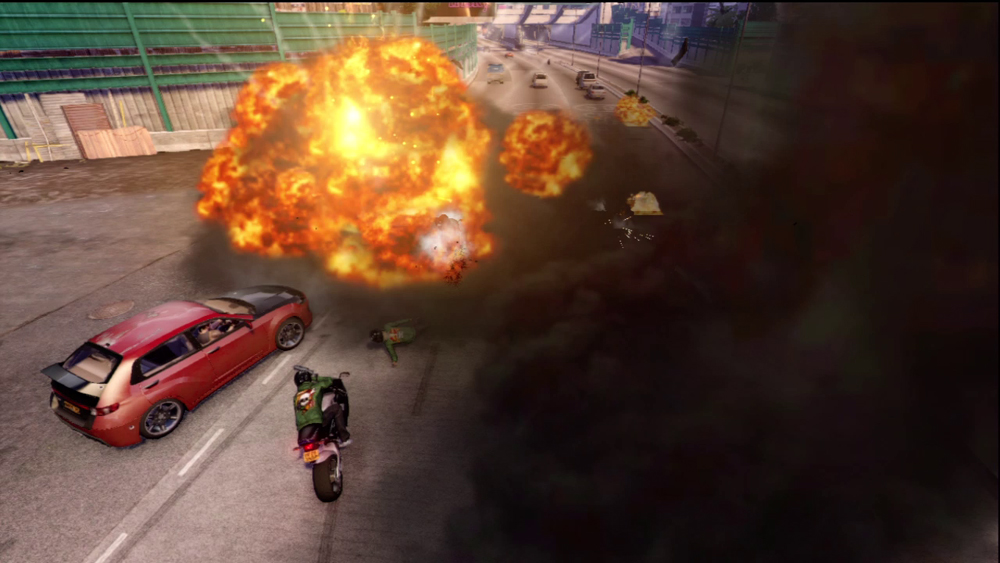
This favor is not as easy as Convoy Intercept. You’re limited entirely to a defensive role, and as a passenger you don’t enjoy the same bullet time benefits of aiming while driving. The 18k send what appears to be half the city of gangsters after you on cars and motorcycles. It’s a shooting gallery, except the targets here shoot back and try to avoid getting shot, while you can’t avoid getting shot yourself.
Big Eddie’s car is tough, but it’s far from invincible, and its health is tracked by a meter that helps give you an idea of how well you’re doing. You must destroy the gangsters quickly before they can settle into a good firing position on the car. Further complicating things is the fact that Big Eddie doesn’t drive with the sort of urgency you might be shouting for under such heavy incoming fire. Perhaps if he were driving embittered old ladies around the countryside it’d be understandable.
Eventually, Big Eddie will drop you off once you’ve reached safe territory and the mission is complete.
24. Pied Piper Redux
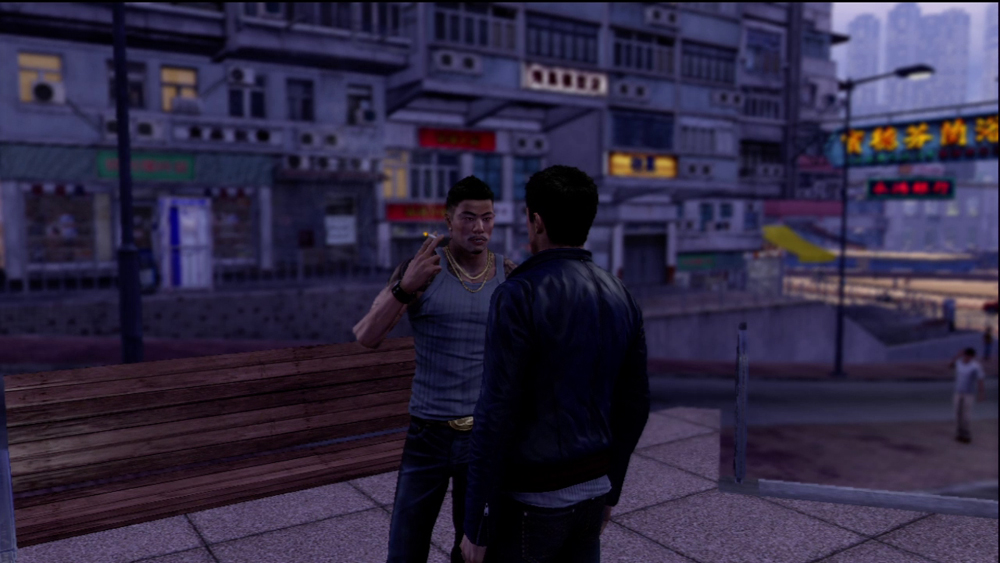
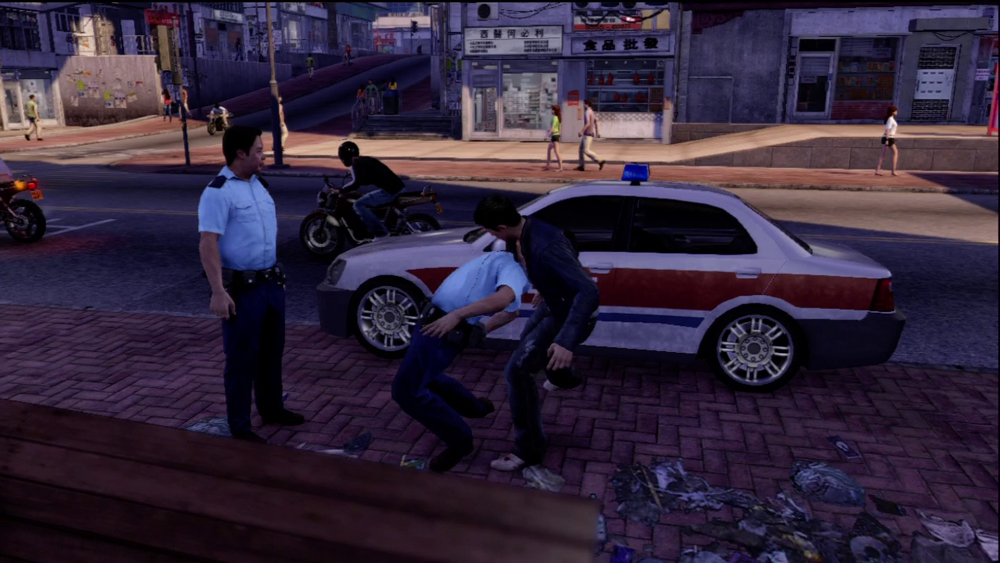
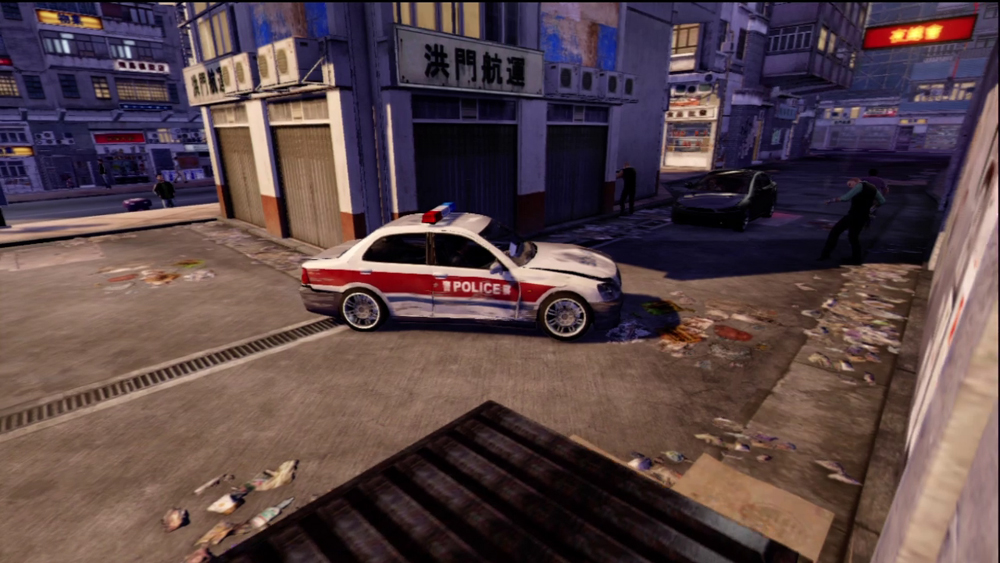
You’ve got three minutes after talking to Conroy to get some police attention, and then drag them over to the hostile dealer’s location. There are some cops nearby whose attention can be grabbed very easily, and the dealer himself is actually quite close to Conroy’s position. The real trick will be escaping the police dragnet, which starts at a level 3 Heat rating. Aberdeen is typically full of higher-end cars and motorcycles, so figure that in your strategy. A fast enough bike or car can absolutely dust the HKPD pursuit cars, even on the straightaways.
25. Escort an Ally Redux
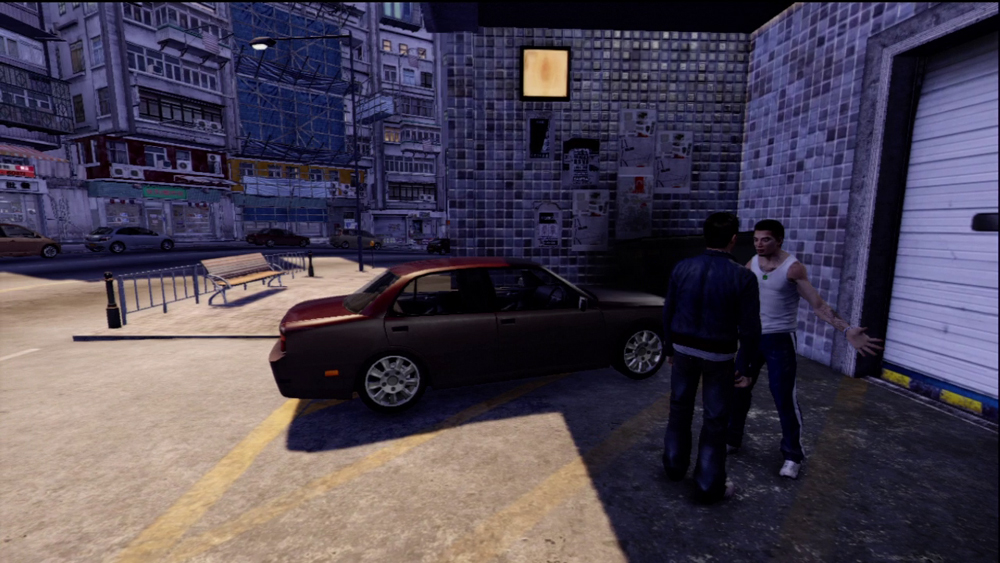
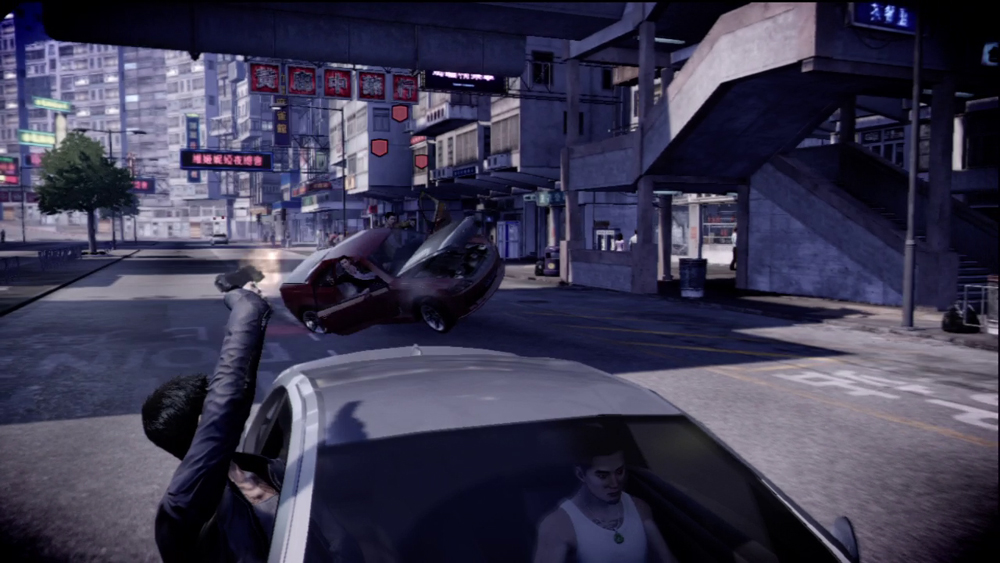
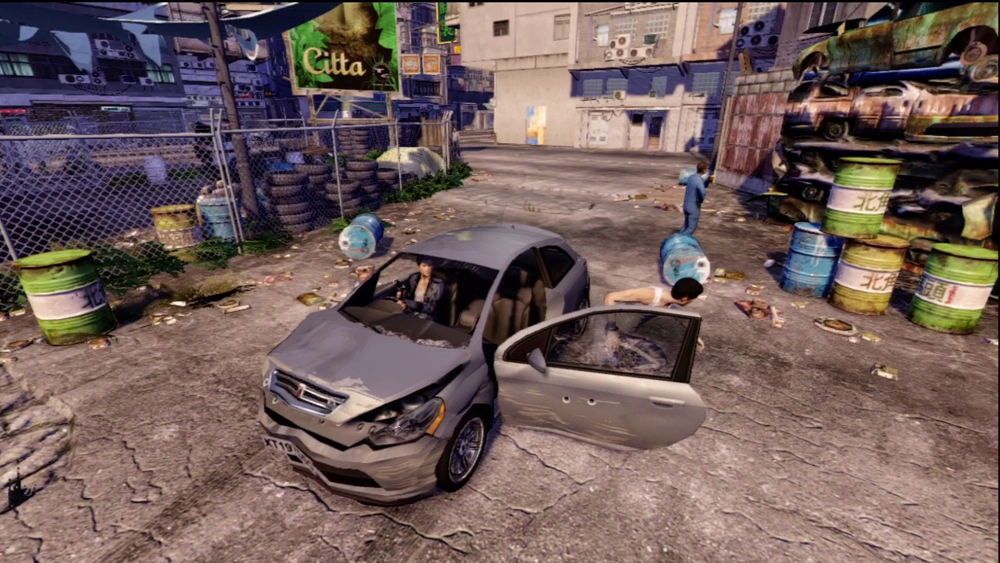
Similar to the previous escort mission for Duke, you need to find a quick ride out of hostile territory. Once you find a car to use, the 18k come out in force. Drive hard and fast, and use the pistol you’re given to thin out the herd as you make the escape. However, this time they don’t give up once you exit their territory, sending out one last wave to try and take you down. Once they’re finished, you can drop a grateful Red off anywhere.
26. Show What You’ve Got
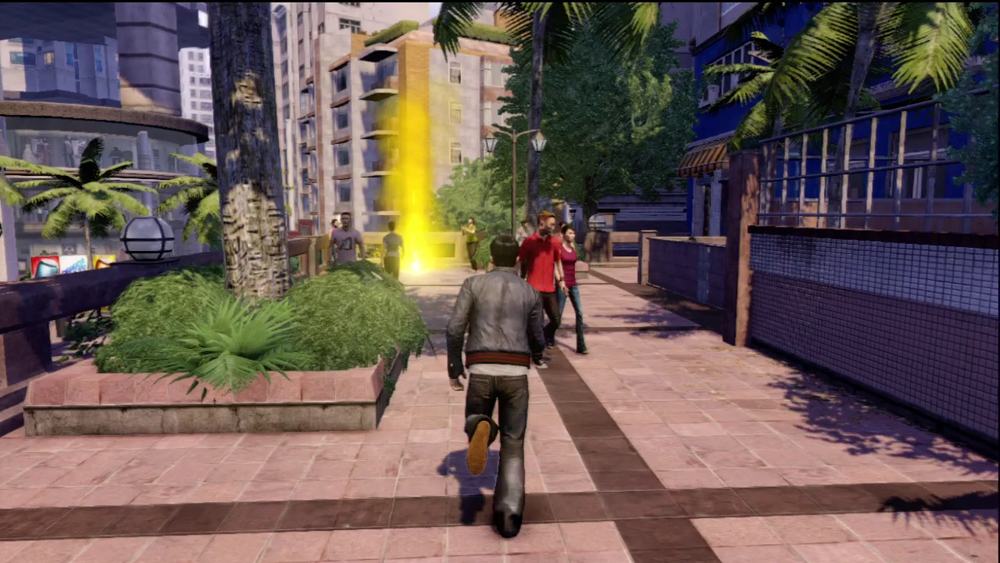
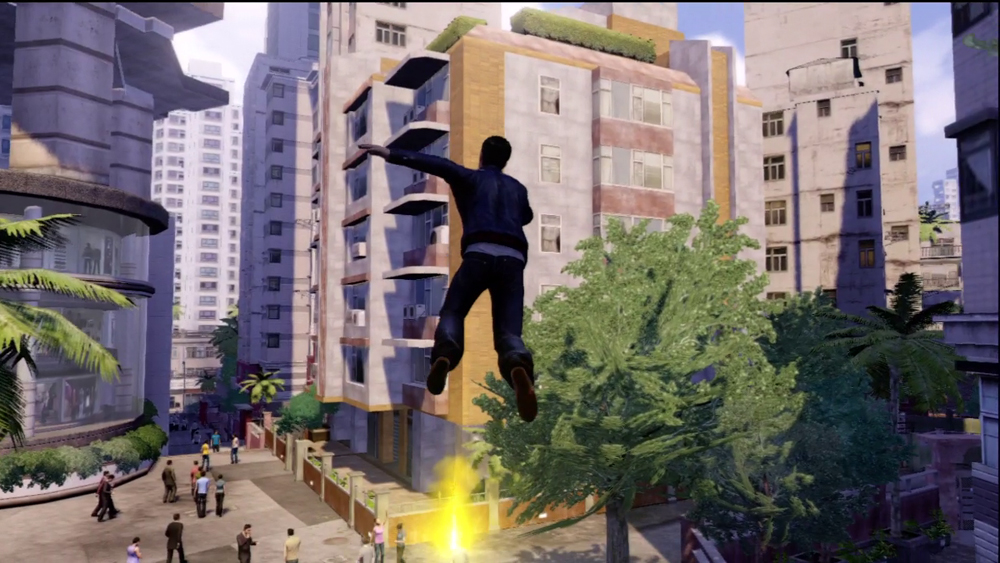
This is a quick and straightforward run. Use all of your freerunning moves to quickly pass over and around all obstacles, and follow the trail of yellow flares to the goal, marked by a blue flare. You’ve got thirty-five seconds to make it once you start, which is more than enough time if you avoid stumbling on obstacles and people.
27. Show What You’ve Got Again
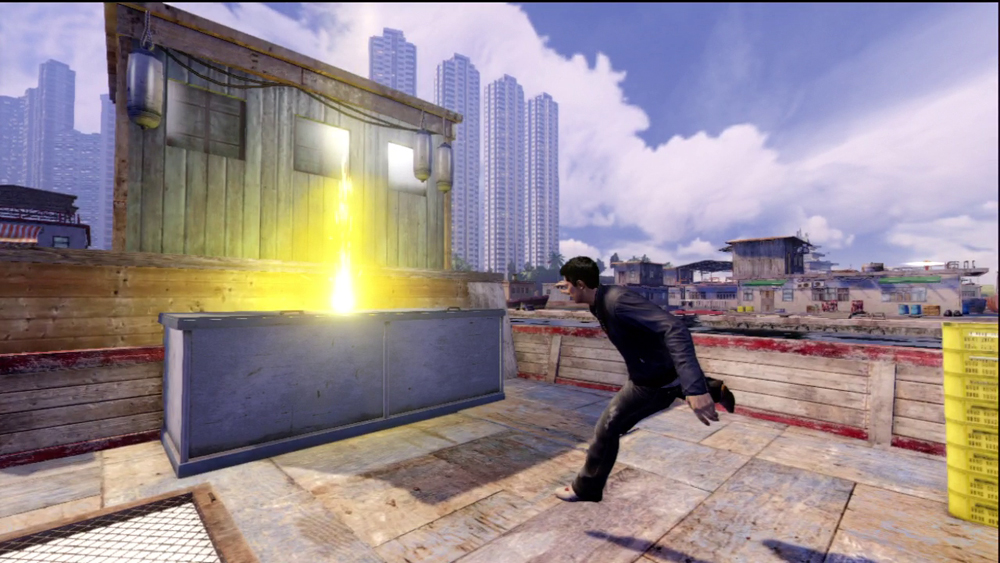
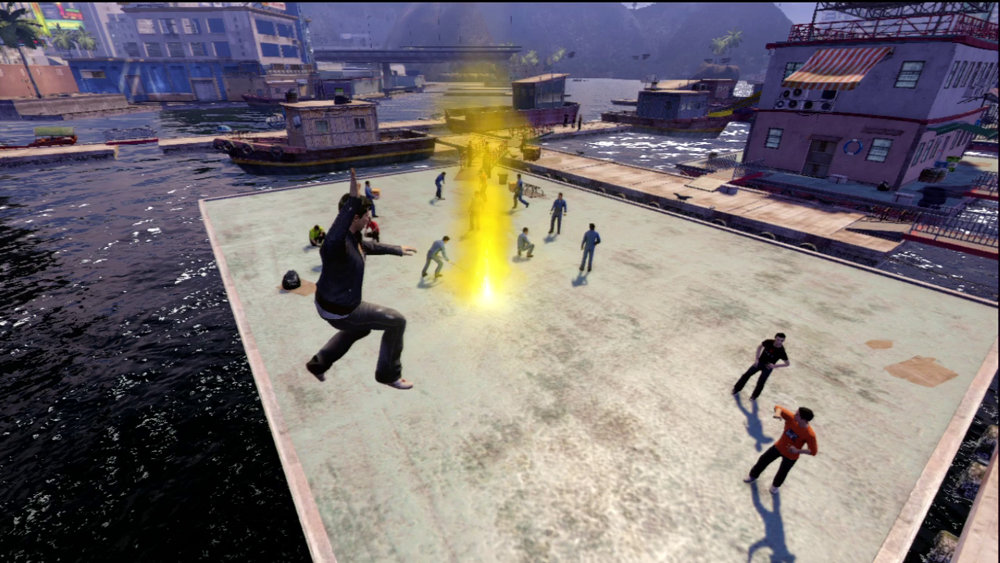
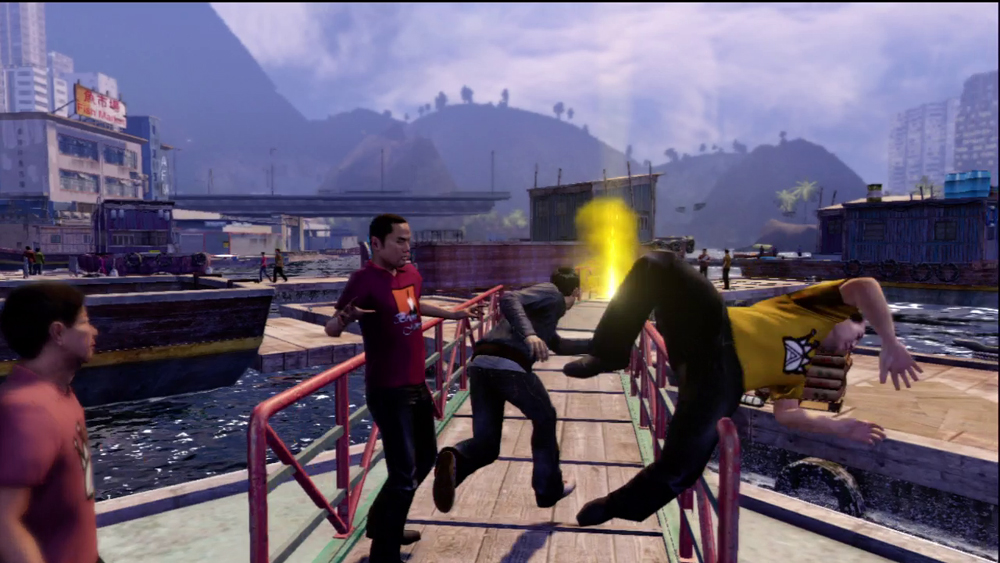
Another quick run to make, you still have thirty-five seconds to reach the goal flare, but the course you’re expected to run is a bit more complex this time, and there are a lot more people in the way. As long as you’re on point with your freerunning moves, any slowdown caused by pedestrians shouldn’t be enough to prevent you from reaching the goal on time.
28. Make Ilyana Sweat
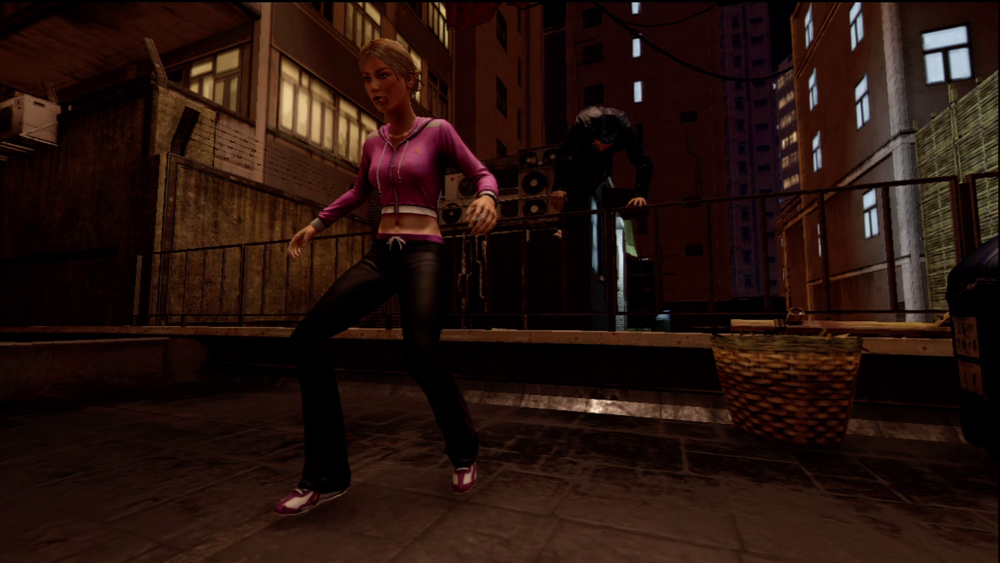
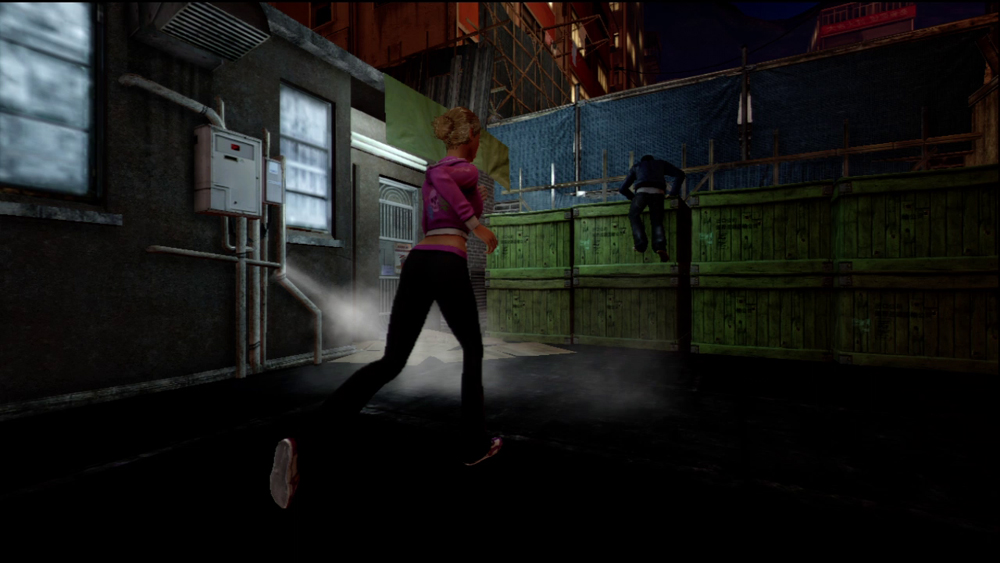
Ilyana’s idea for a date is a freerunning race across the rooftops behind the K-Bar. It’s a simple race—just follow the directional arrows to guide you along the right route and use the Action button to clear obstacles quickly. You should be able to beat Ilyana to the finish line. Making her sweat on the rooftops gives Wei the ability to see Lock Boxes on the mini-map.
29. Real Men Don’t Karaoke
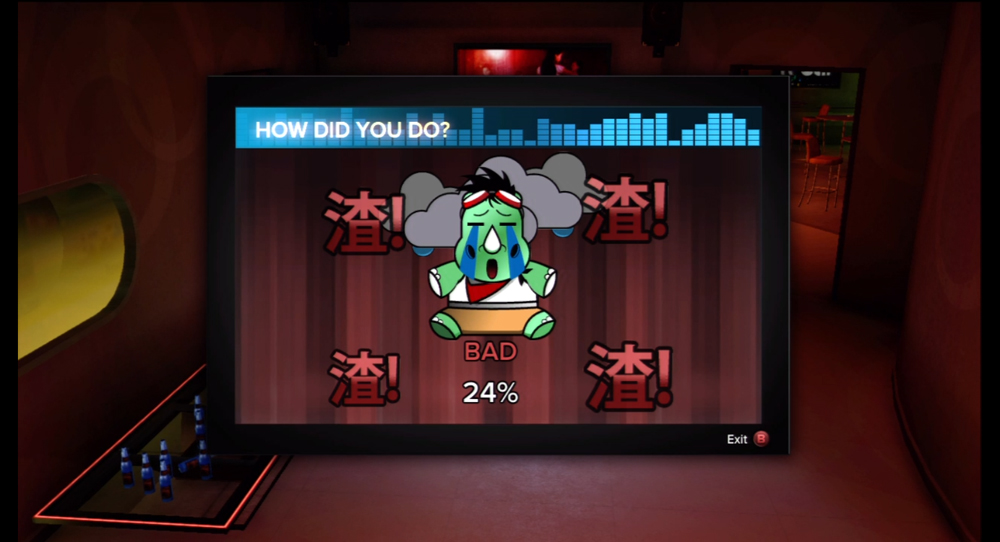
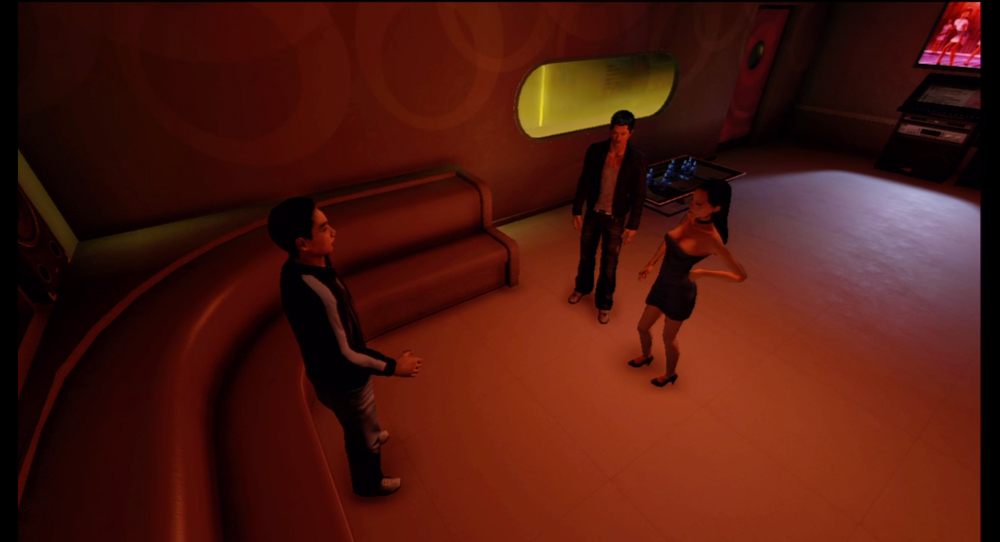
This is as simple as favors get. Pick any song, and do your worst. After you turn in a heart-wrenching performance of your favorite track, Jack’s girlfriend realizes that he’s not all that bad, and you get some pocket change (and possibly some laughs) for your efforts.
30. Fast and Hot Sandra
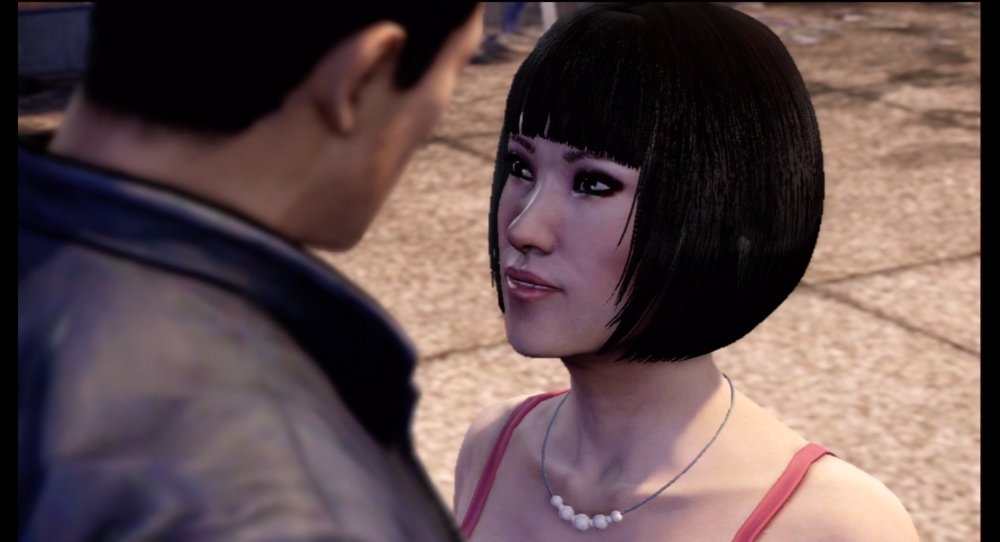
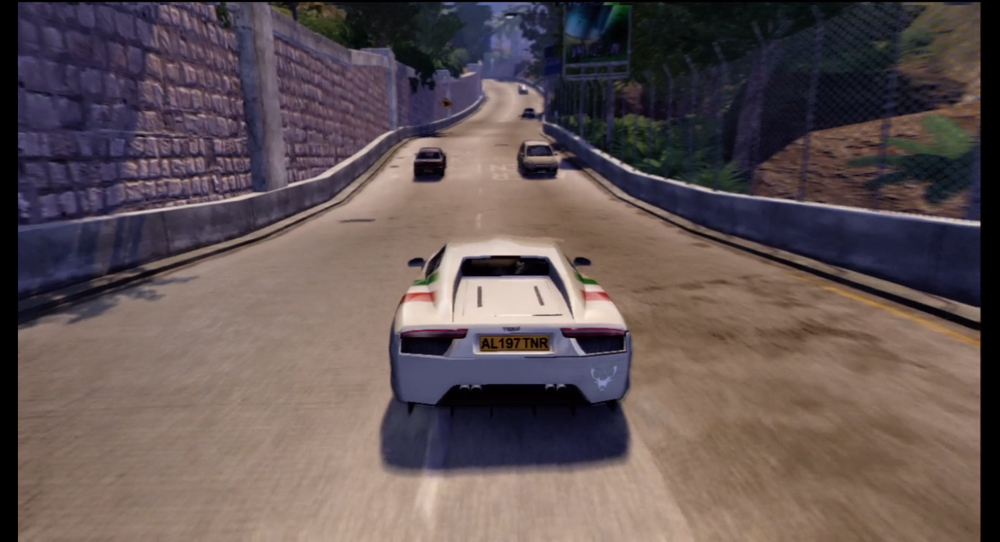
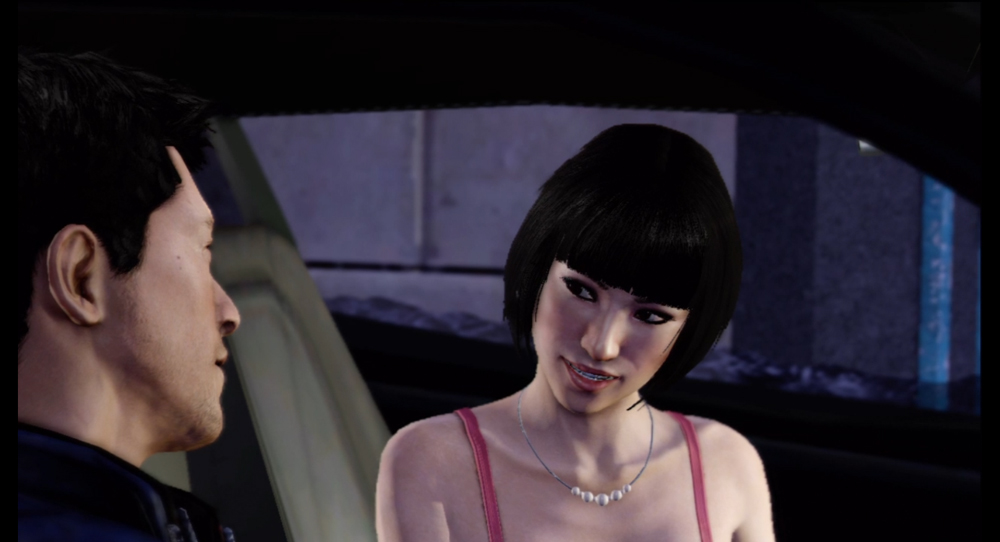
To satisfy Sandra, you need to race at full bore for a full minute. No letting off the gas, no hitting the brakes. The solution should be obvious: Plot a course to a nearby freeway, and hold down the accelerator once you’re there. The curves here are easy to take at full speed, and the car you’re using is incredibly maneuverable, allowing you slip through traffic with ease.
After a minute of pure speed, Sandra requests to be taken back to her apartment. After they spend some quality time together, Wei earns some cash and access to races on Victoria Peak.
31. Tang’s Toy
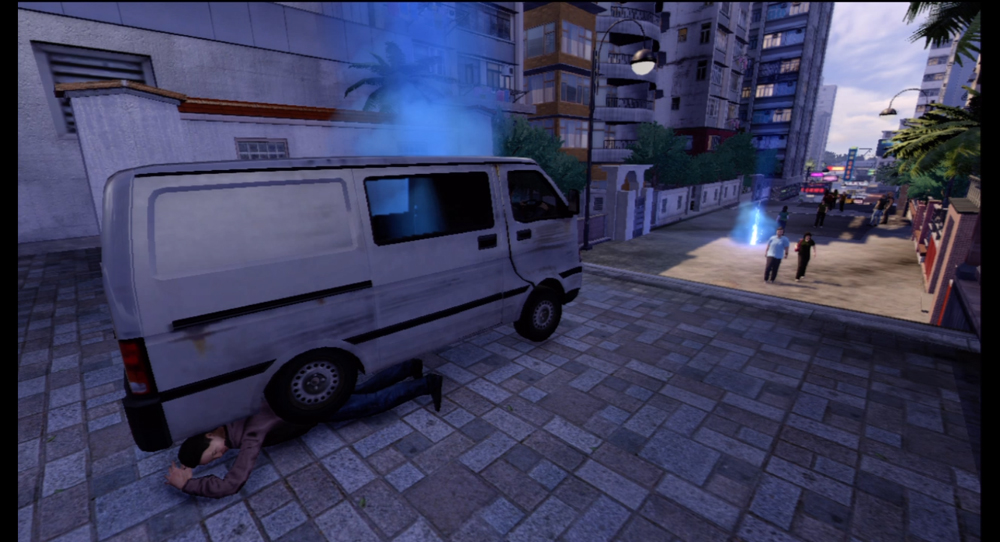
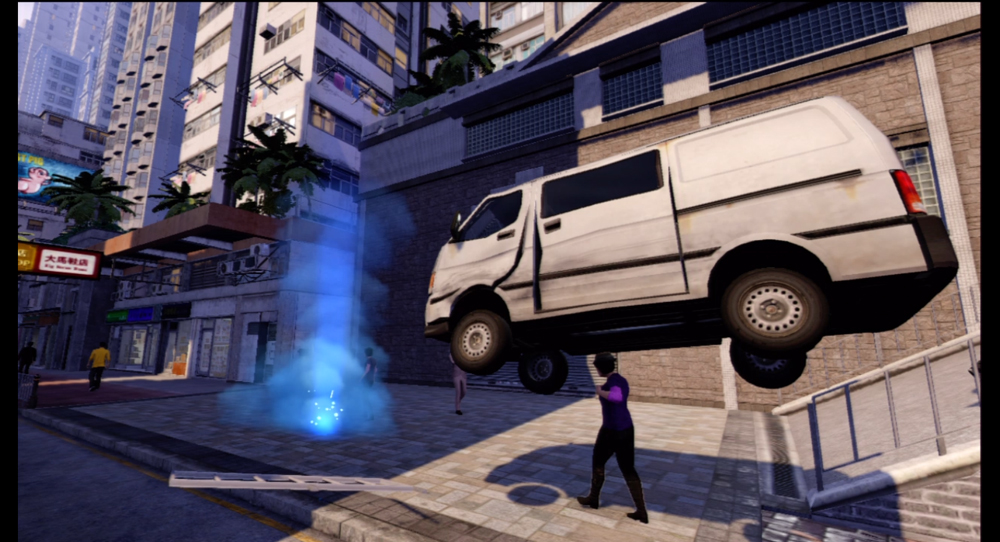
The tricky part is in how Tang wants you to test the device. It’s currently flowing through the sewers, and in order to track it, you need to drive after it in his test van. This will take you on a complex, winding path throughout much of Central, following blue flares as they appear on the ground. The flares disappear on their own, indicating that the tracker has moved on. If you fall too far behind, you’ll fail the favor.
It’s a good thing that Cop points are not on the line during this mission. You can expect some serious collateral damage, and much of the path you’re expected to drive takes you through areas filled with heavy foot traffic. This, in turn, can get the cops to start chasing you.
32. Tang’s New Toy
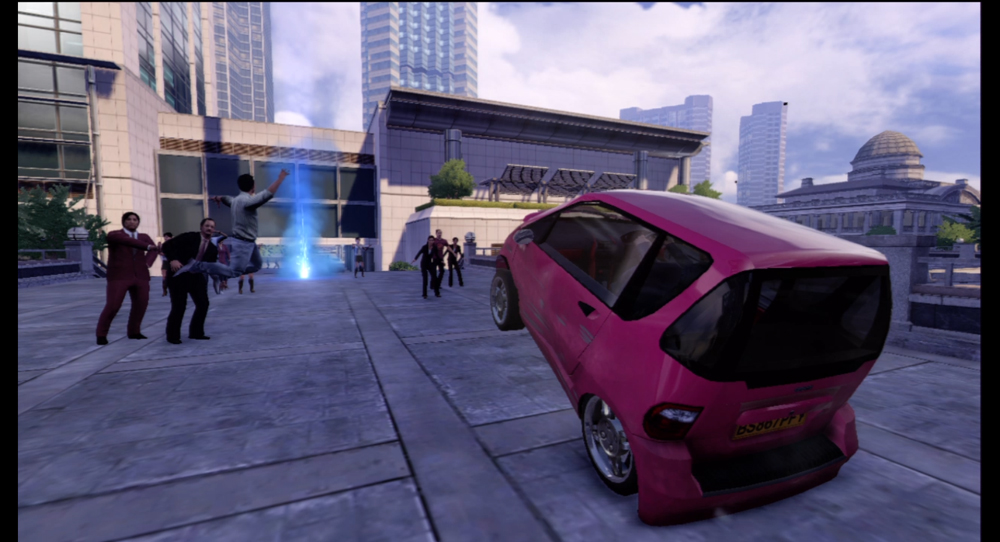
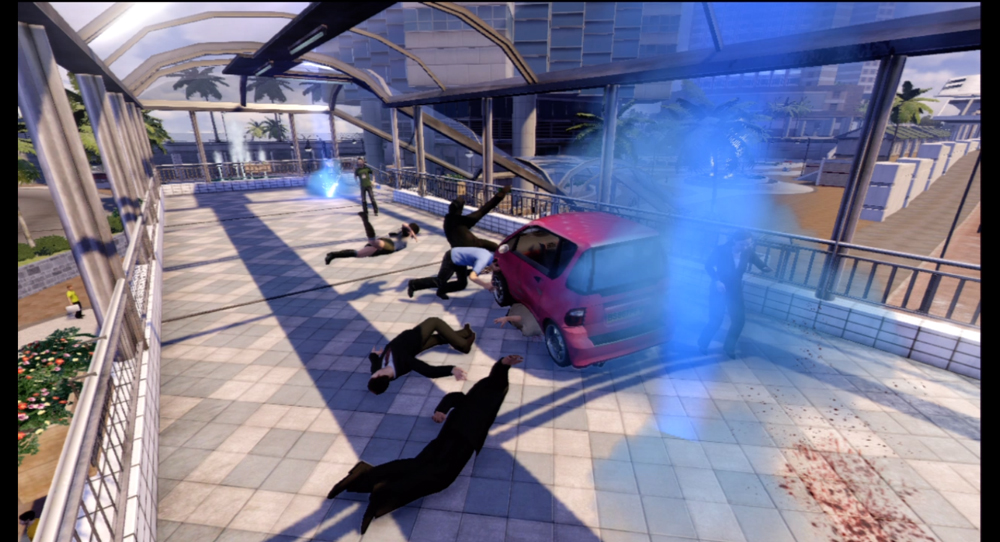
It’s another wild drive through Central in pursuit of a package you haven’t even seen for yourself. The car Tang has set up for this favor is much smaller than the van from before, which means you can expect to be taken though some tighter spaces for the chase. The flares disappear much faster this time, so mistakes in your driving can prove more costly.
33. Tang’s Newer Toy
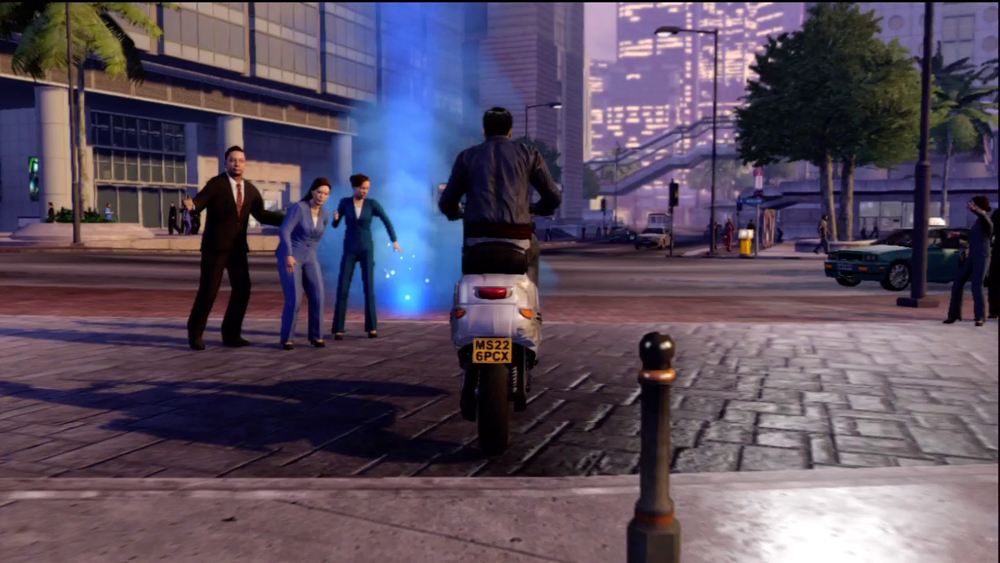
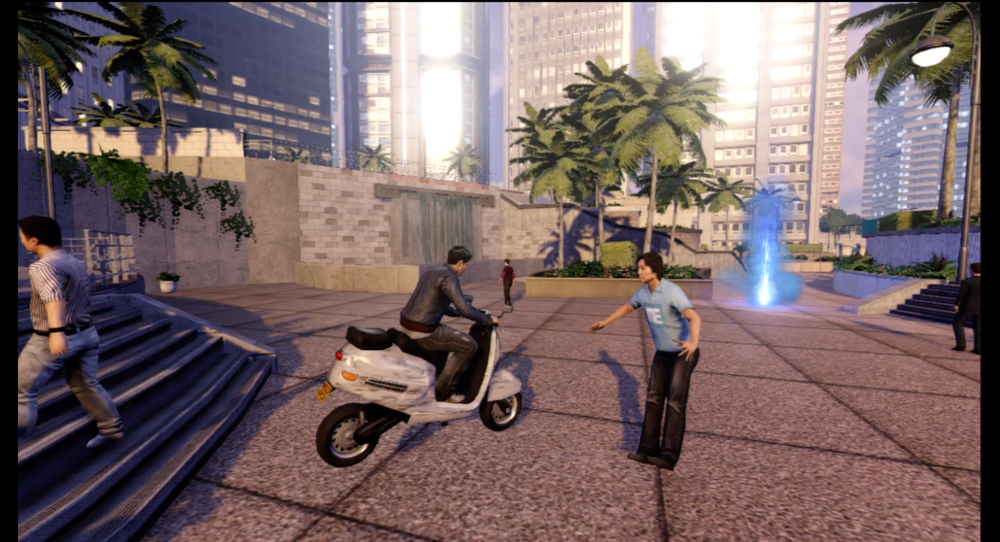
This drive is shorter than the others, but still fairly tough if you’re trying to avoid civilian casualties. The scooter loses speed for hitting pedestrians, and the flares vanish even quicker. Happy driving!
34. Beat the Heat
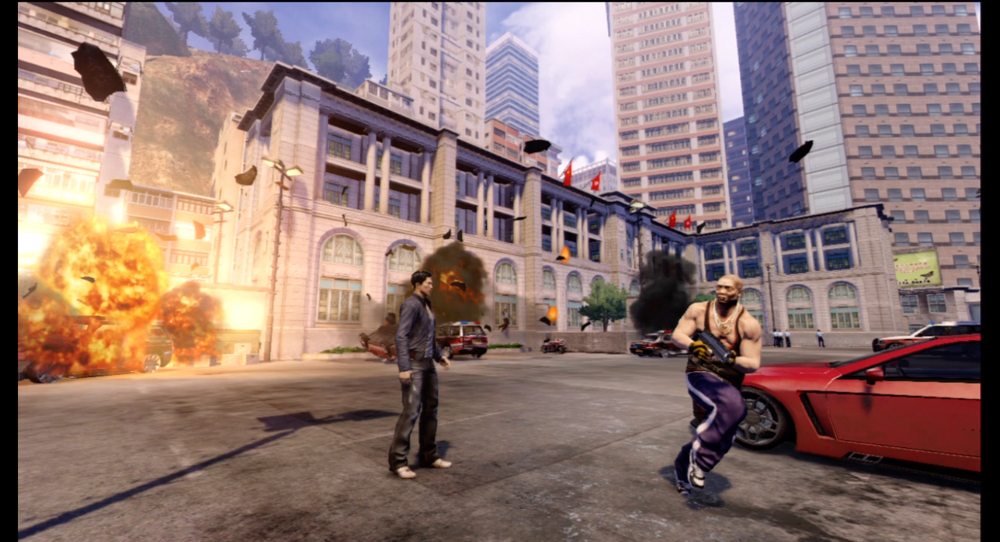
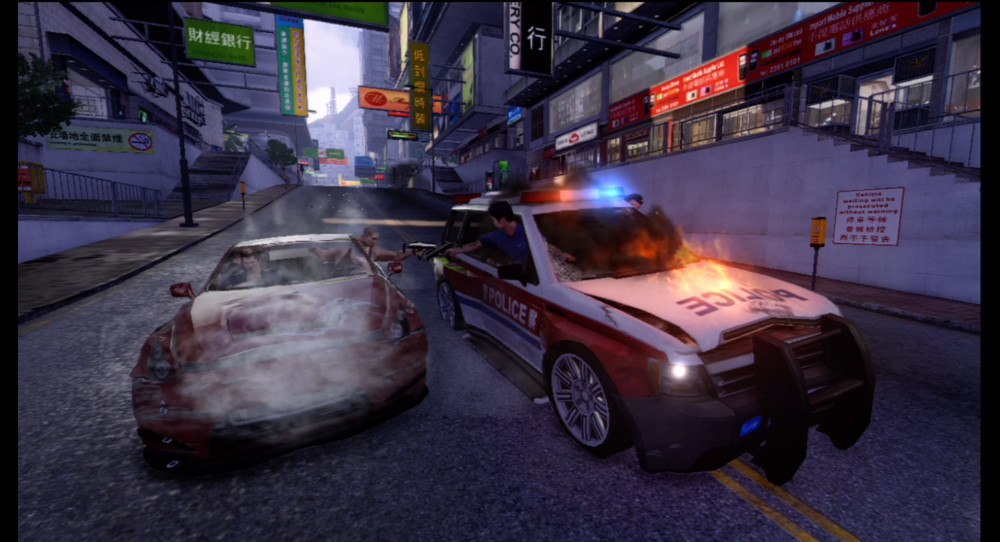
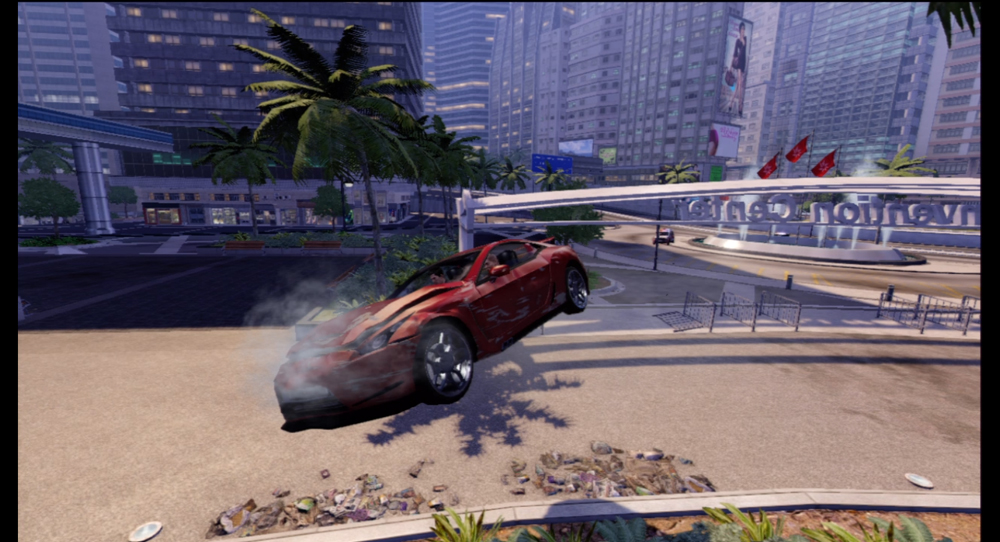
You can’t fault Calvin for his ambition. As soon as you climb into the getaway car, the Heat level shoots up to 4. You have to lose these cops fast. The amount of gunfire they’ll be pouring at you will destroy your ride very quickly. Taking large jumps can help shake the cops quicker, so look for opportunities to take flight. Large stairwells can also act as sufficient ramps to help launch your car while evading the Heat, particularly near the dining hall the wedding took place in and the surrounding park area.
Once the police give up the chase, stop to drop Calvin off anywhere you please.
35. Broken Parts
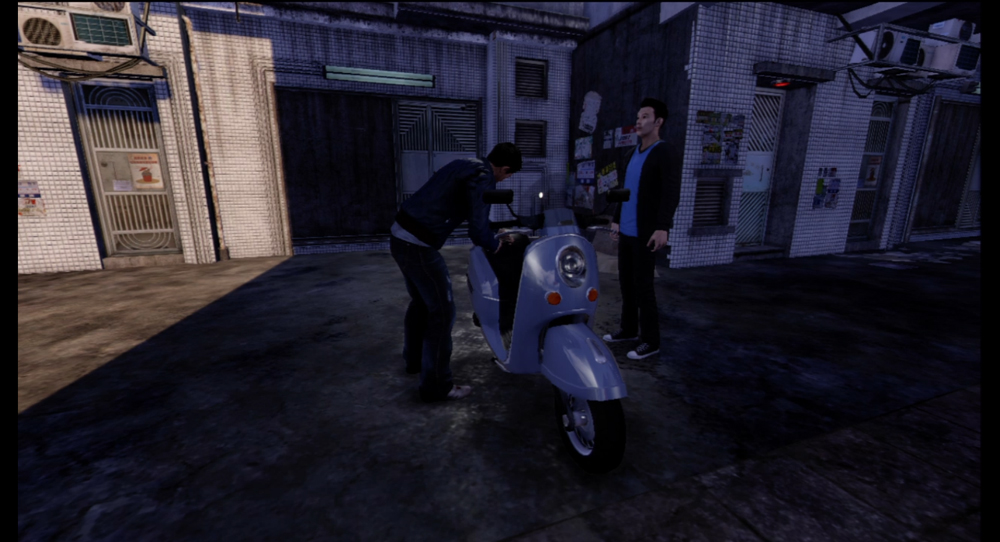
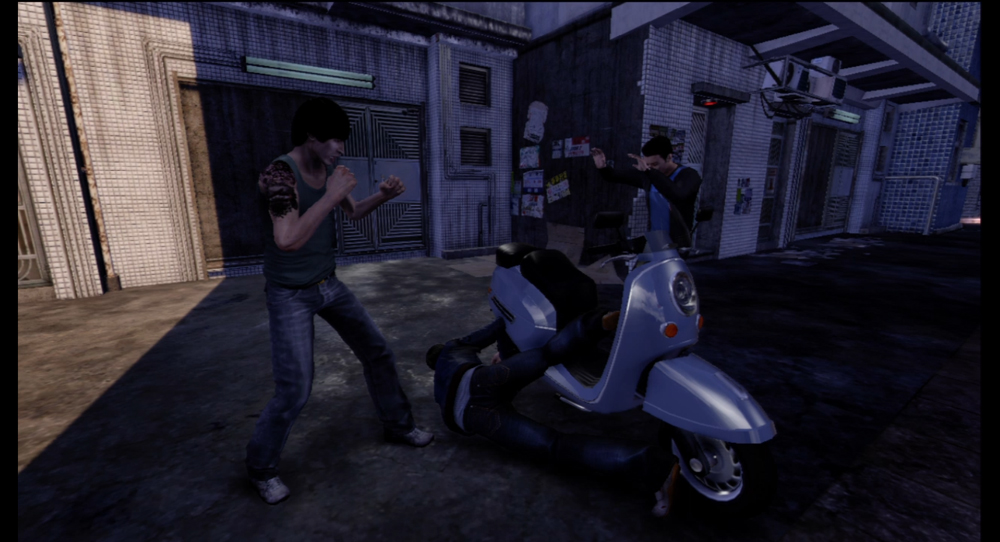
Yes, it’s a trap. A mugger comes running up while you inspect the bike, clocks you in the back of the head, and runs off with a chunk of your cash. Chase him across the street, where the thief makes an epic leap off the ledge in hopes of escaping you—
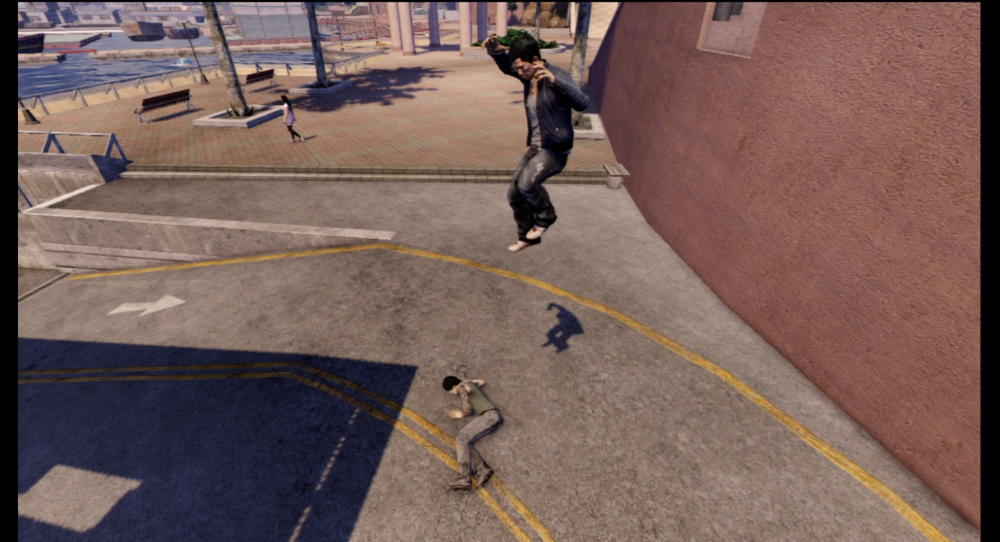
—only to break his leg on the landing. If it weren’t for that whole “punching you in the back of the head” thing, one might feel inclined to show some sympathy to the poor idiot. Finish him off to get your money back.