
Sleeping Dogs Guide Walkthrough A Little Money on the Side
Events
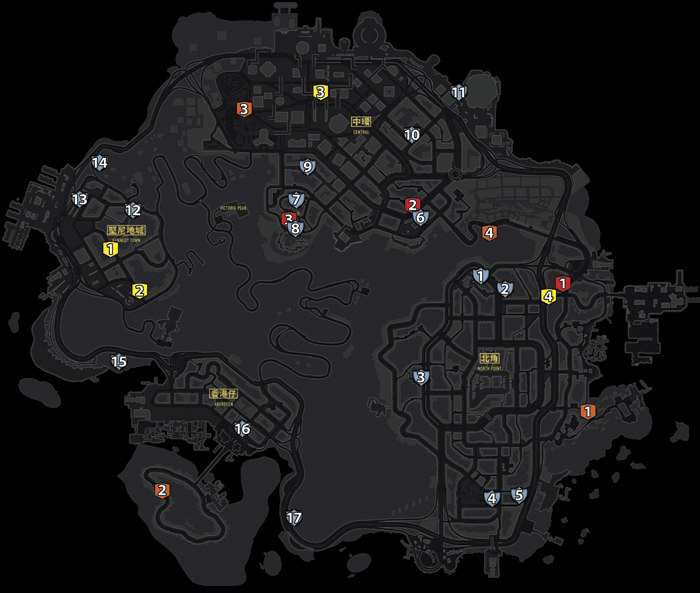
There are four types of events that become available at different points during the main story missions. Each event provides a cash reward along with a Face point bonus.
Drug Busts
There are seventeen Drug Bust missions that open up after the second lead in the “Popstar” Case, and all Drug Busts follow the same three steps.
Step 1: Go to the location held by Triad members and loosen a few teeth, break a few bones, or add a few bullet holes in them until the thugs all run off. Once you meet the required defeated thugs count, any others still standing will immediately try to break away, and there is no need to chase them down. You earn HK $2000 for your trouble.
If the HKPD becomes involved in the fighting, any thugs they cuff or kill count as defeated, which is a nice bonus, but then you’ll have to flee the area to lose the cops before you can return for step 2. In these instances, avoid attacking or killing the police officers if at all possible. Harming the HKPD will raise the Heat rating and make your life that much more difficult when it’s time to escape.
Step 2: Hack the Spy Camera in the area. Hacking cameras involves locating their control box that has a wire running from it directly to the camera itself. You can also spot these boxes from a distance by their flashing green light indicator. The minigame is the same across all camera hacks, but the passwords are randomized. Failing to guess the password in six attempts causes the system to reset and form a new password.
Step 3: Go back to your safehouse in North Point, or the Aberdeen Boathouse (once it is unlocked), which contain flat screen televisions that are connected to the HKPD surveillance network. You can access the cameras you’ve hacked to then identify the leader of the drug-dealing ring you just beat down. They will be called out by a shield icon over their heads. After marking the suspect, the HKPD will then move in to make the arrest, and you’ll receive Cop points and a cash reward.
Some Drug Bust locations require either a boat or some swimming to reach. Those will be indicated in their short description.
1. Drug Bust: Lu Mei Alley
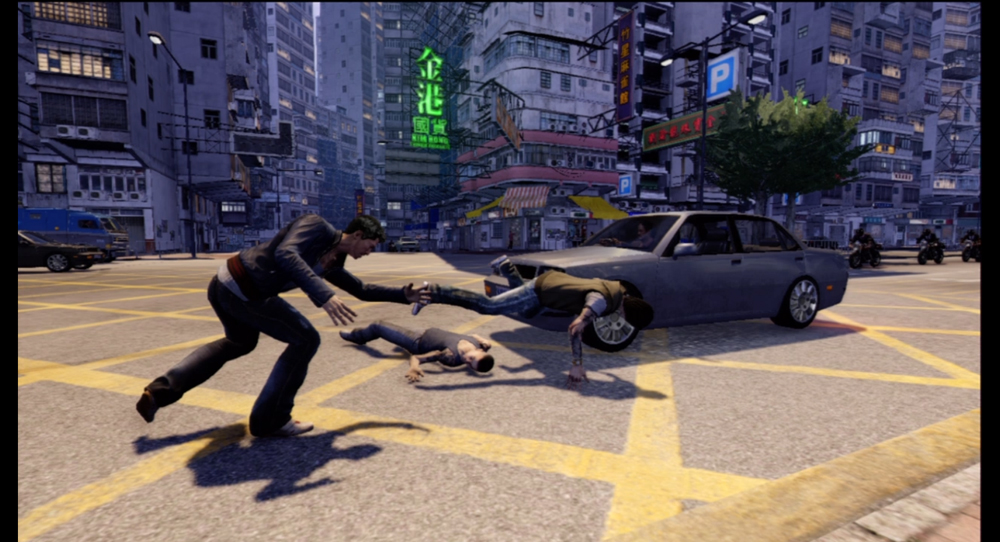
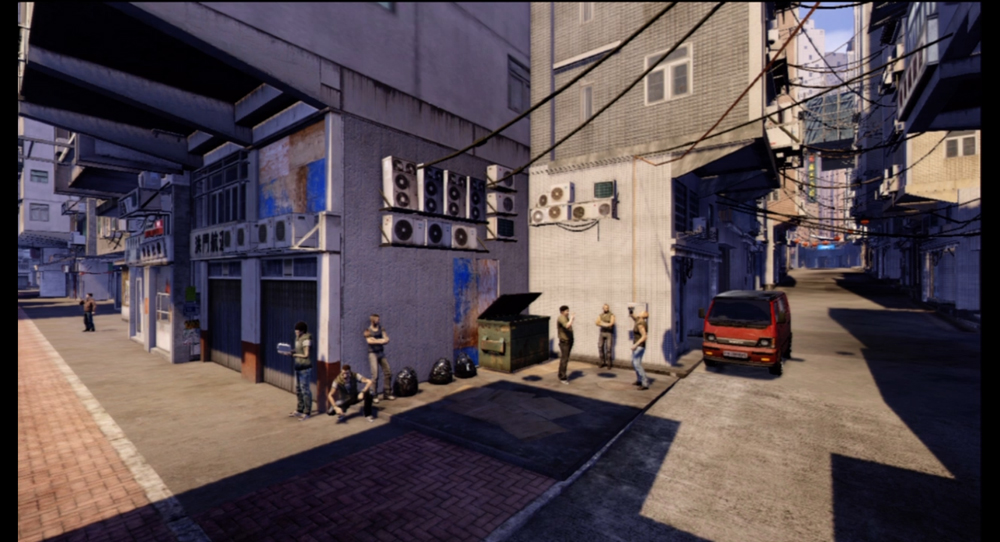
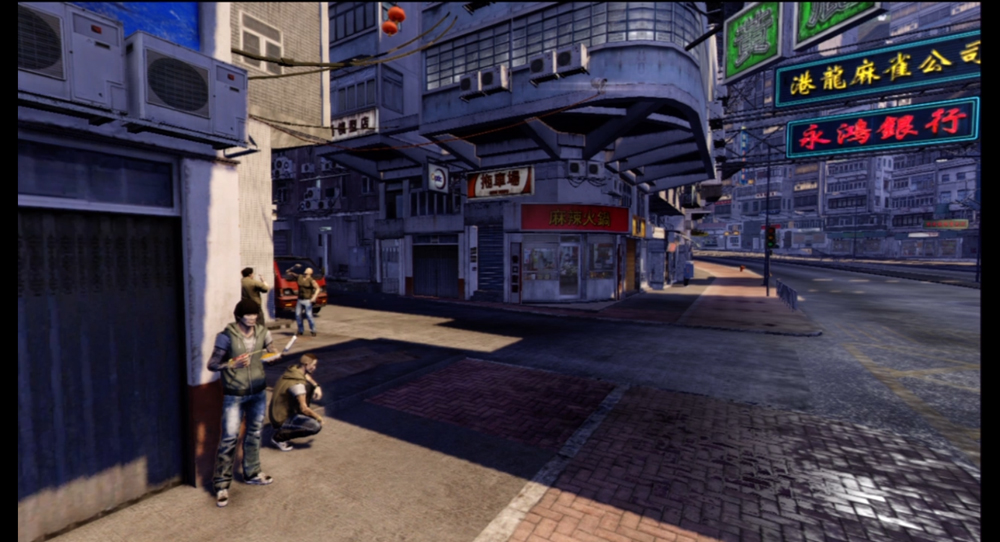
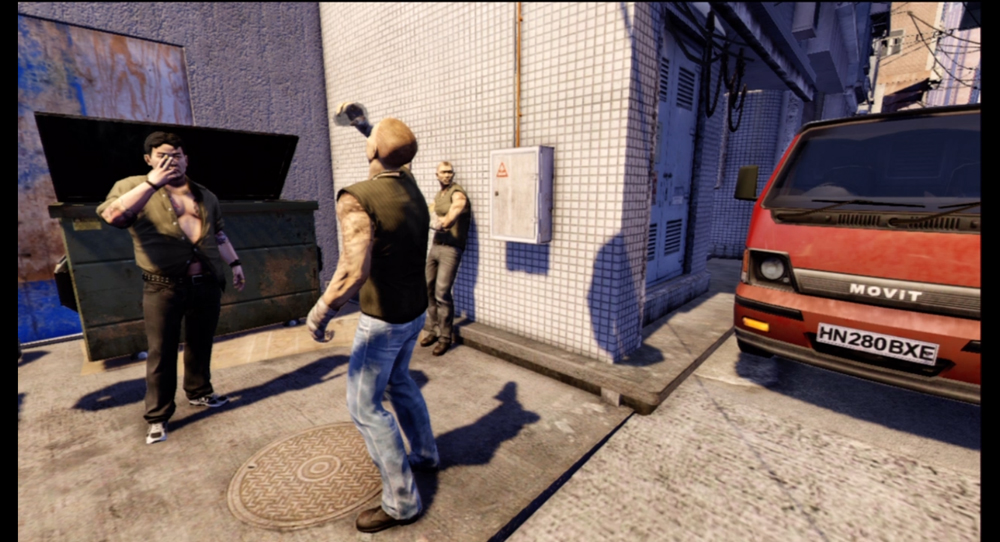
Though it’s called an alley, the hangout for the thugs is right up against the street, which gives you plenty of moving environmental hazards to throw them into if you’re so inclined.
2. Drug Bust: Kam Chuk Overpass
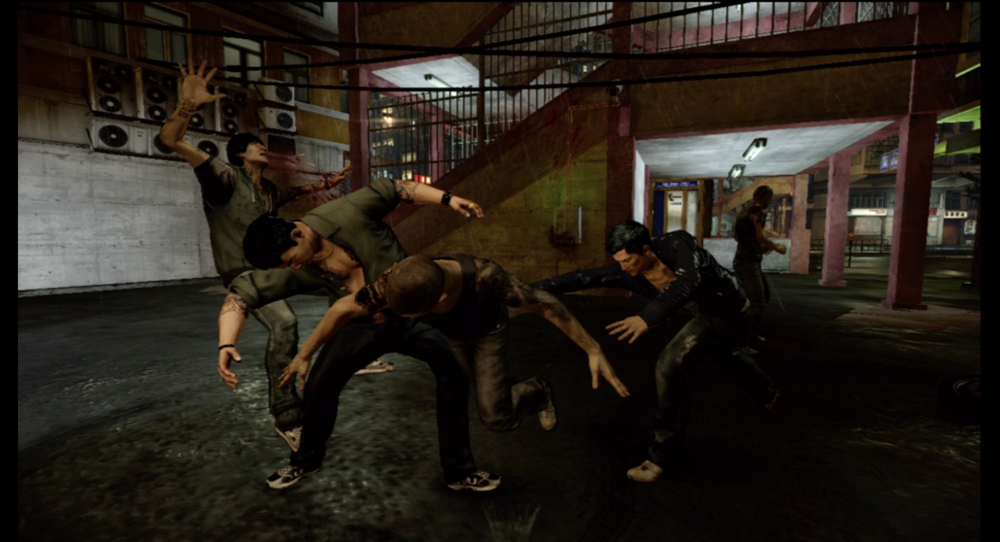
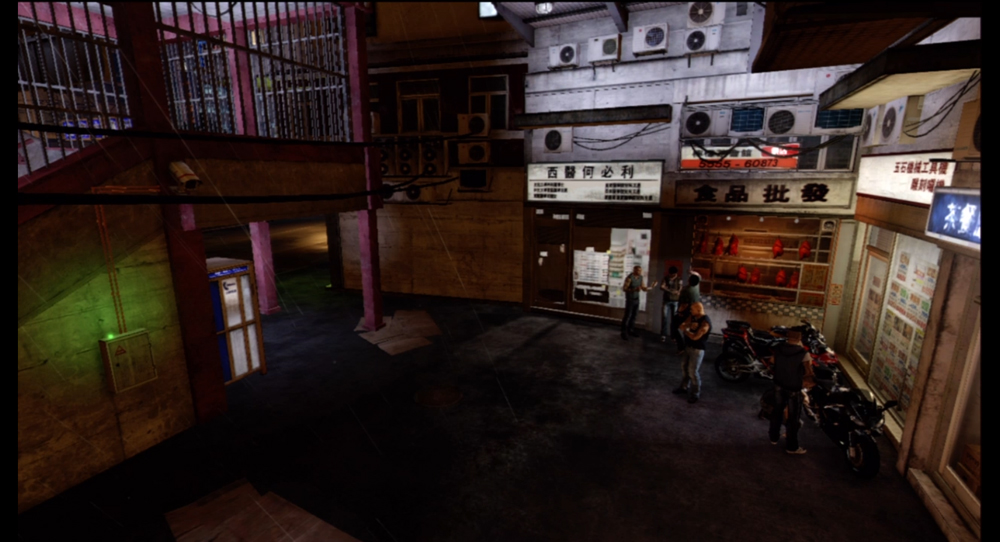
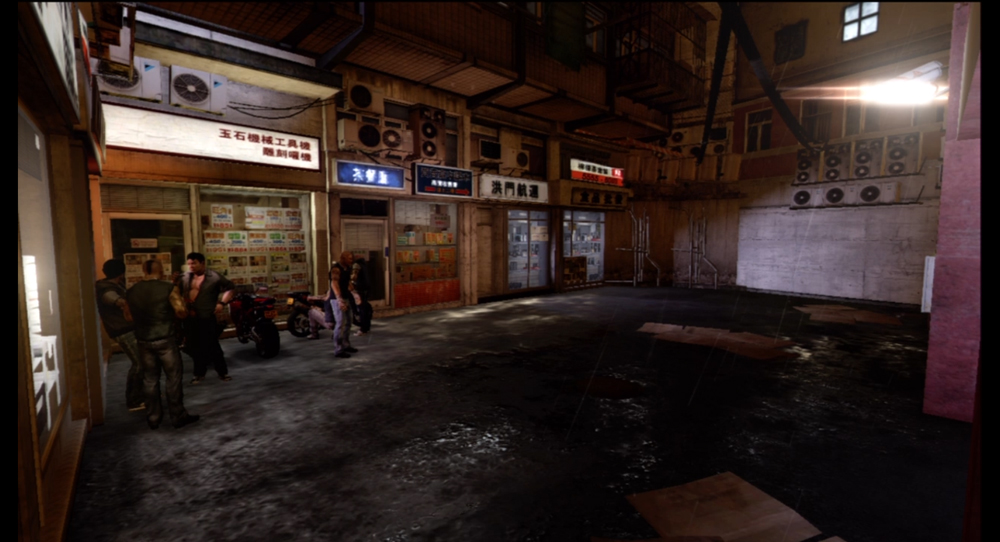
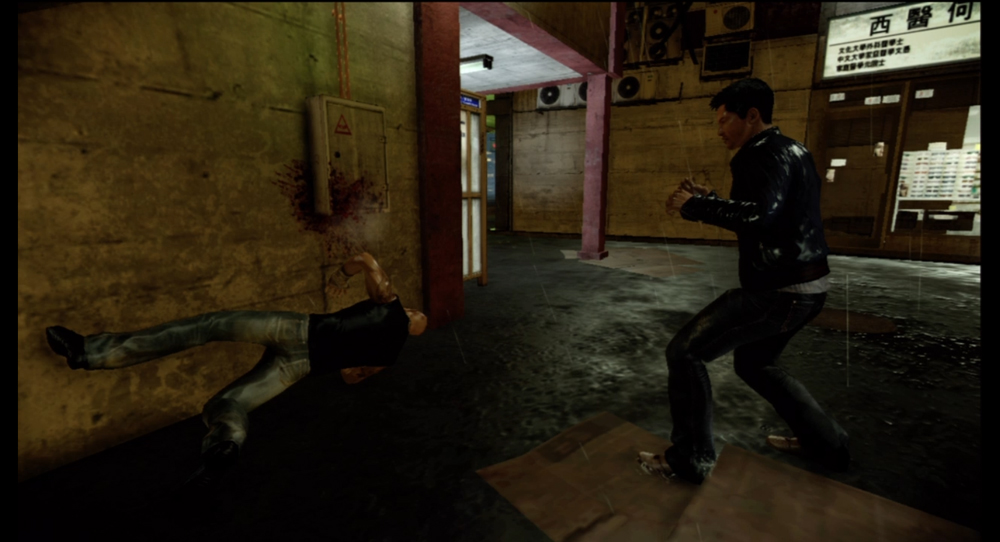
The little space near the stairs up to the overpass is somewhat restrictive, but you have direct access to the streets to throw thugs into traffic, and there are a few phone booths you can use to take out thugs quickly.
3. Drug Bust: Foo Long Overpass
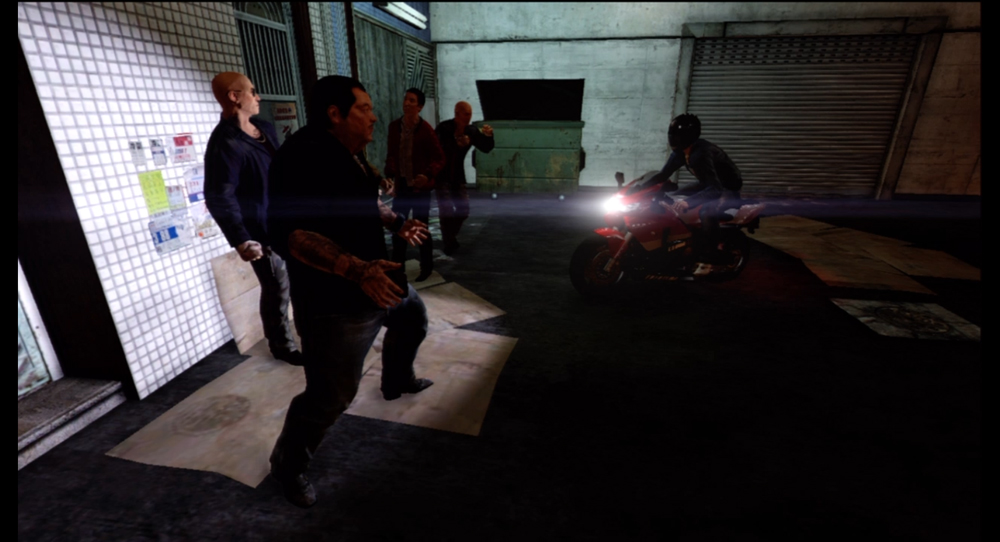
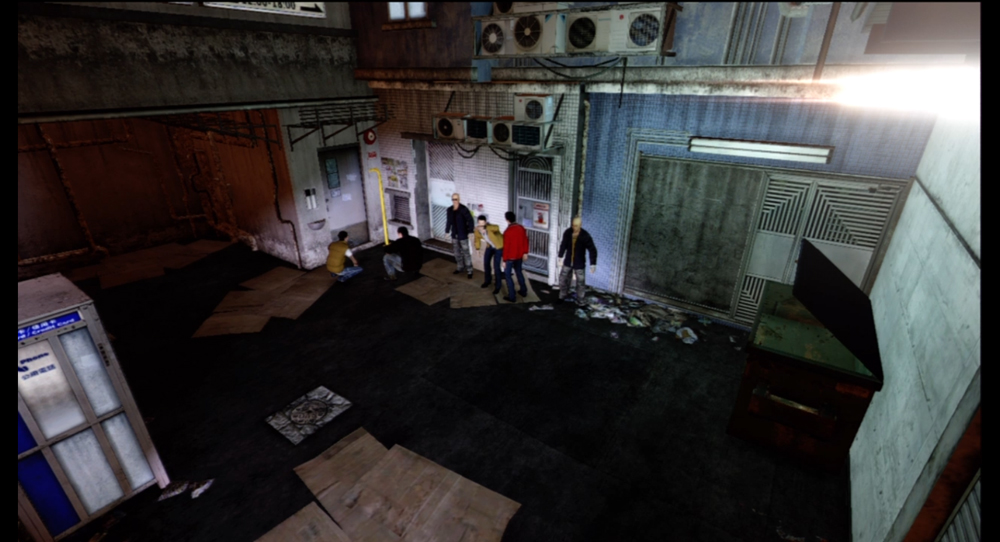
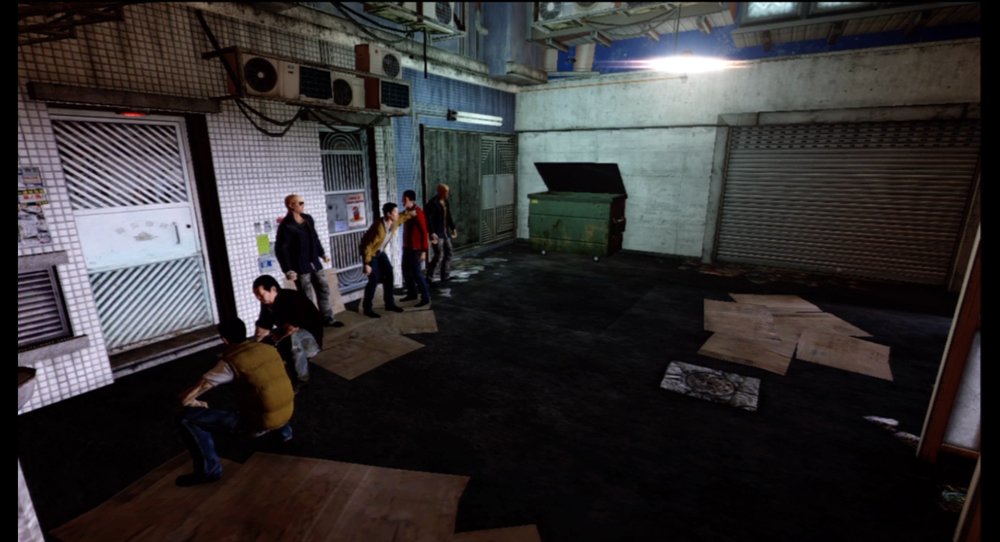
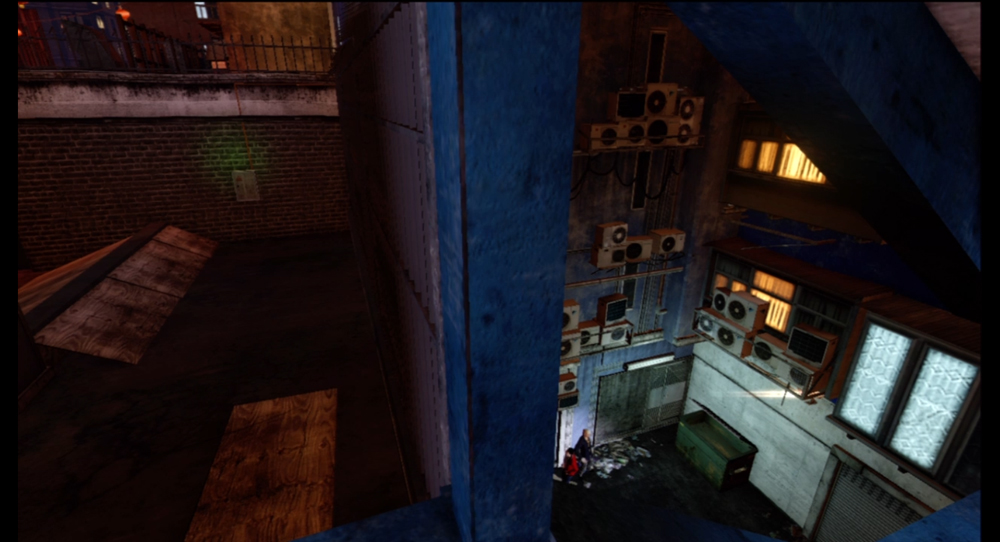
A very similar layout to the Kam Chuk Overpass hangout, you’ve got plenty of environmental hazards to thin out the lowlife population quickly. However, the control box for the camera will require you to climb up the stairs to the overpass and cross the bridge over the street to reach it.
4. Drug Bust: Yau Ling Courts
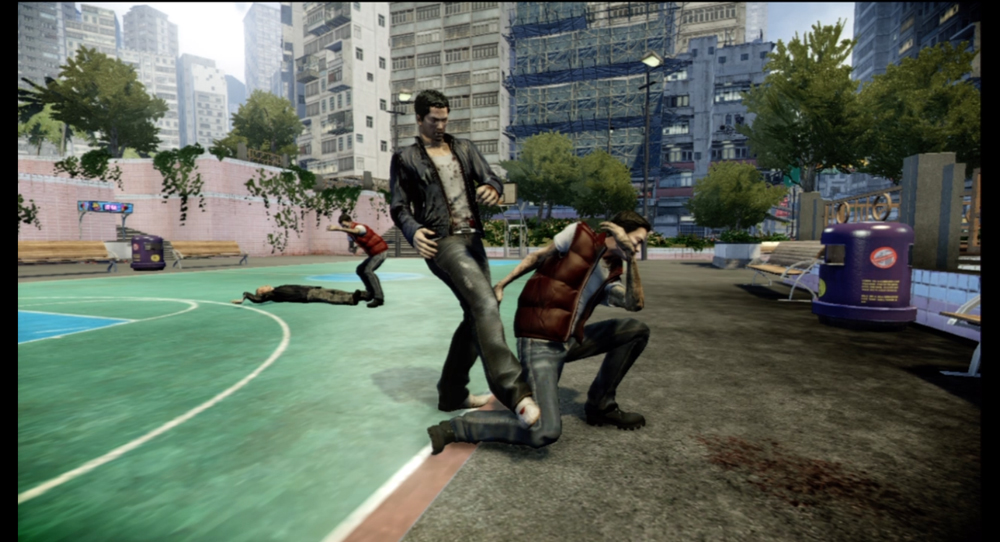
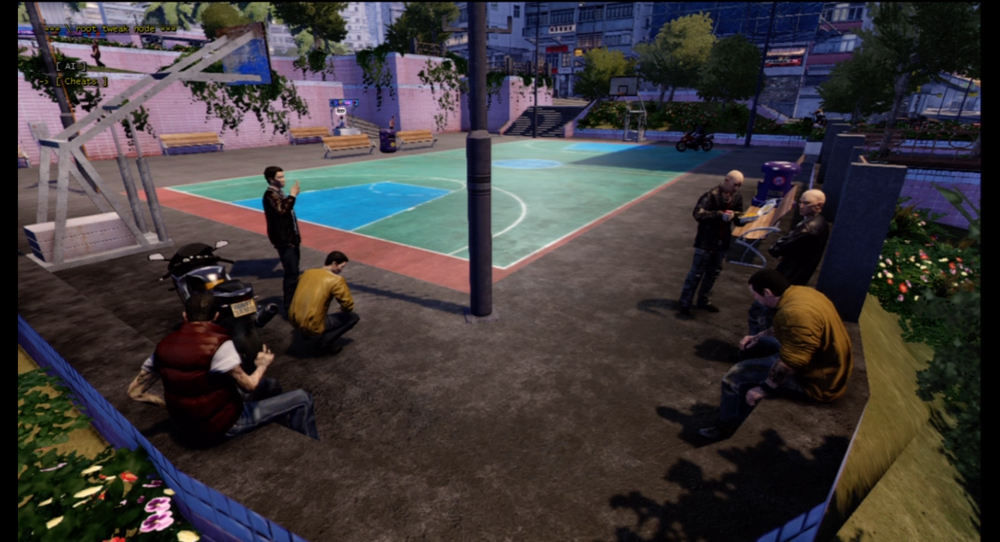
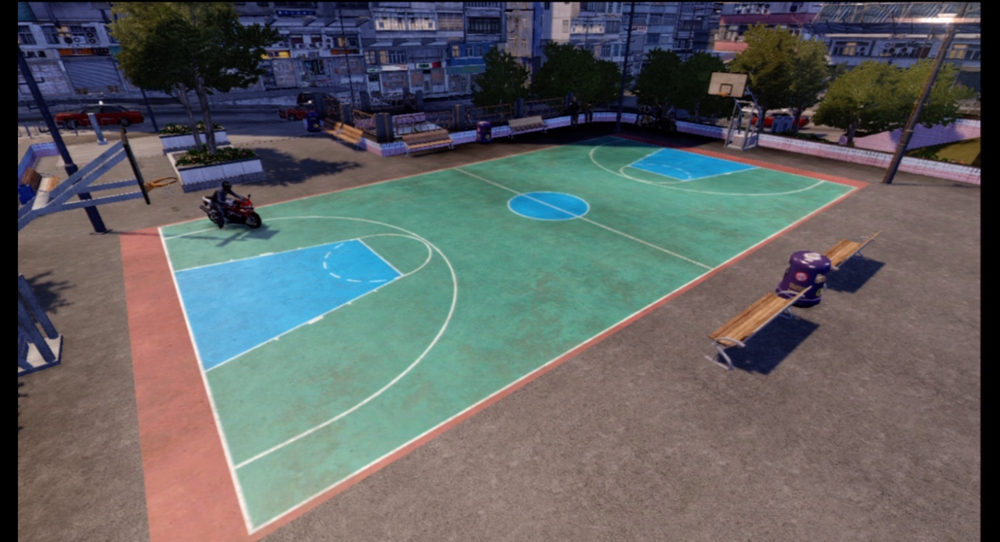
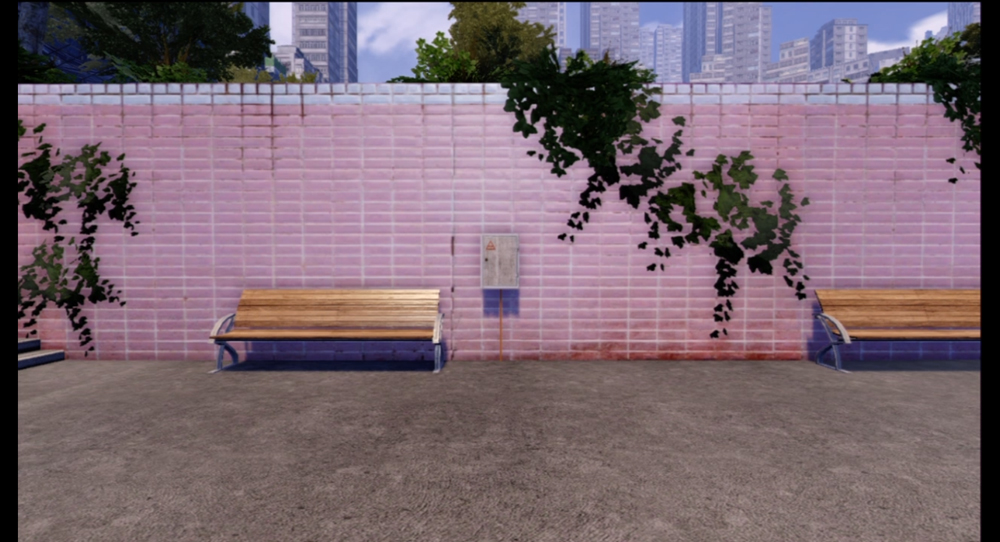
The basketball court hangout is a wide, open area, lacking handy environmental hazards that can easily take out a goon. You’ll have to rely on good ol’ fisticuffs and the occasional head slammed into park bench.
5. Drug Bust: Denlau Alley
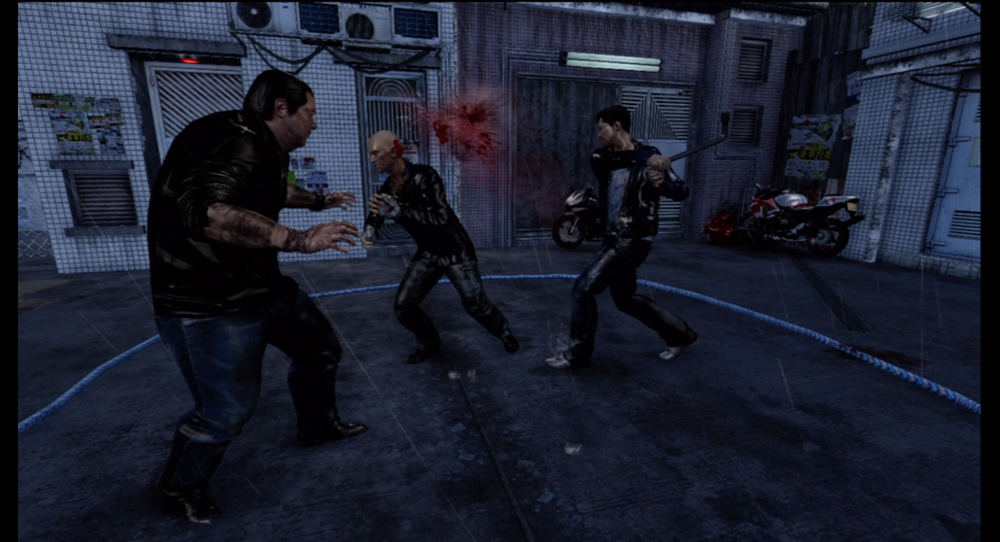
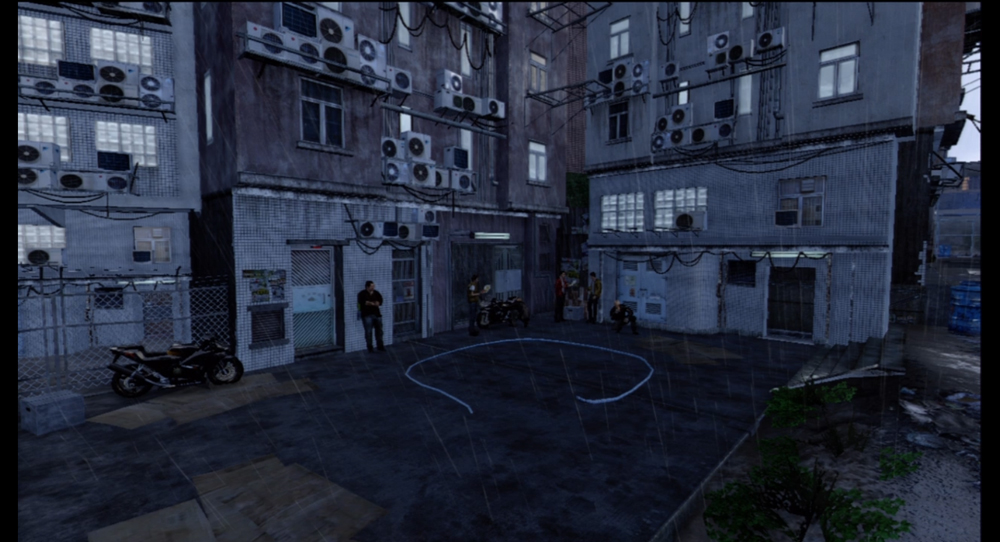
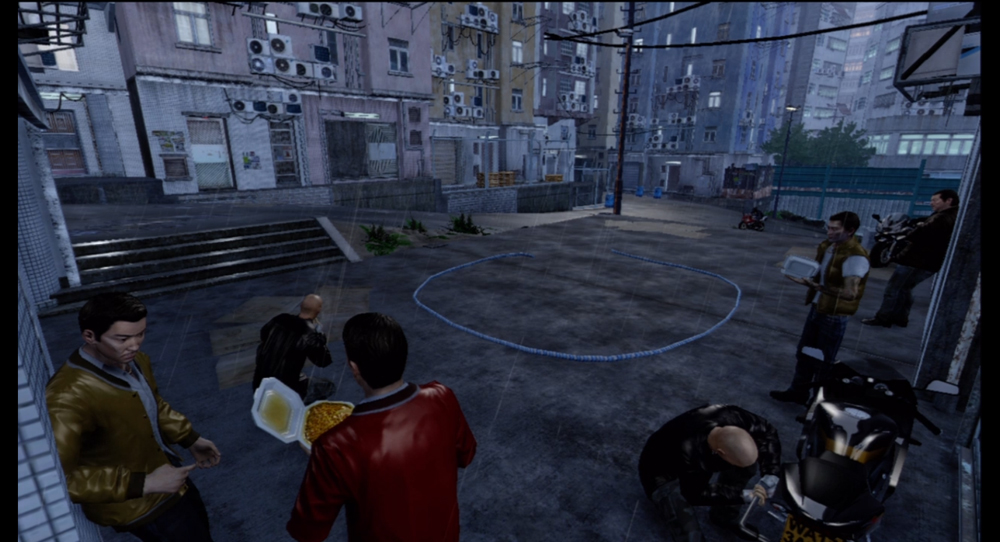
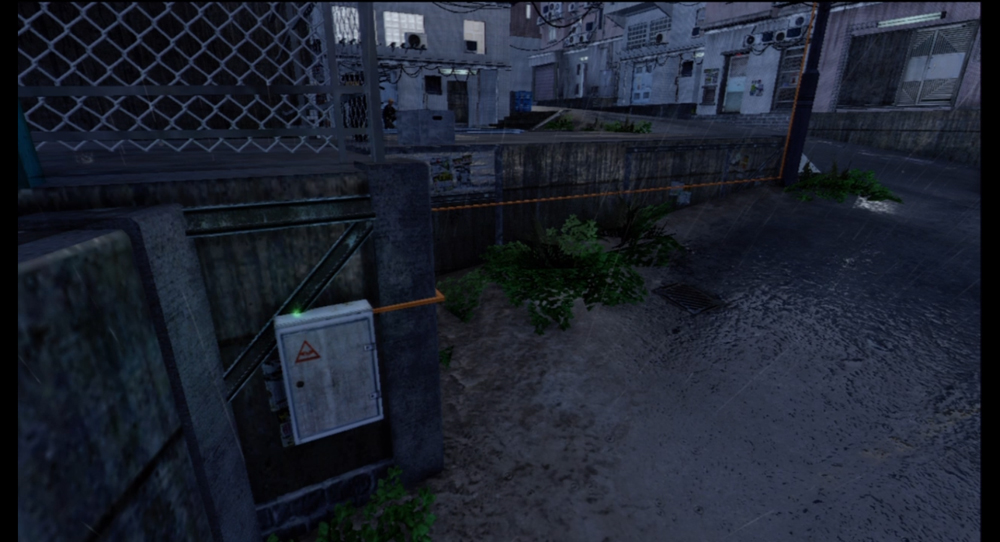
Another hangout with an unfortunate lack of environmental hazards. It is still possible to seriously harm or knock out a thug by throwing them off of the raised area where the gang all starts off. If you’re sneaky, you can approach the hangout from the streets and hack the camera first, but you still need to beat up the gang to complete the Drug Bust.
6. Drug Bust: Sui Shan Alley
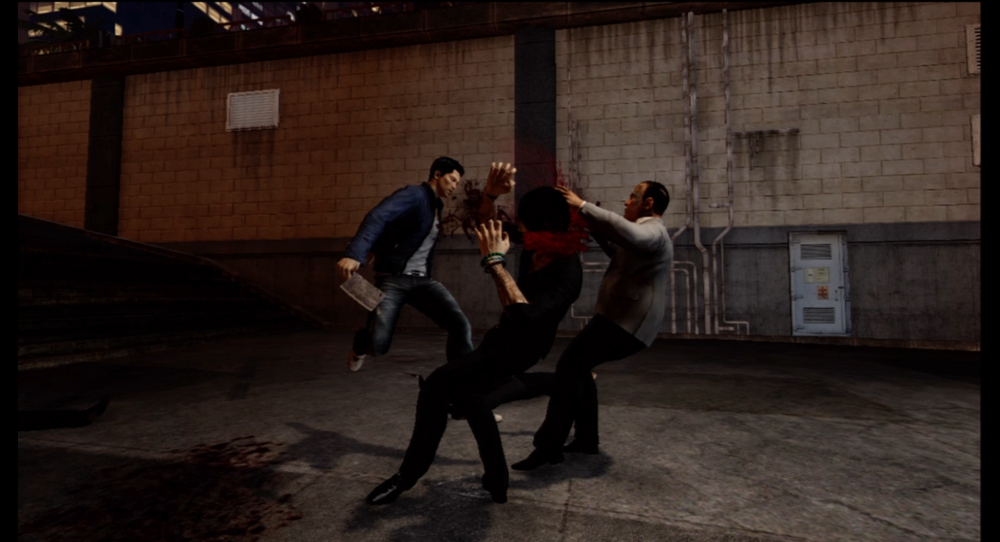
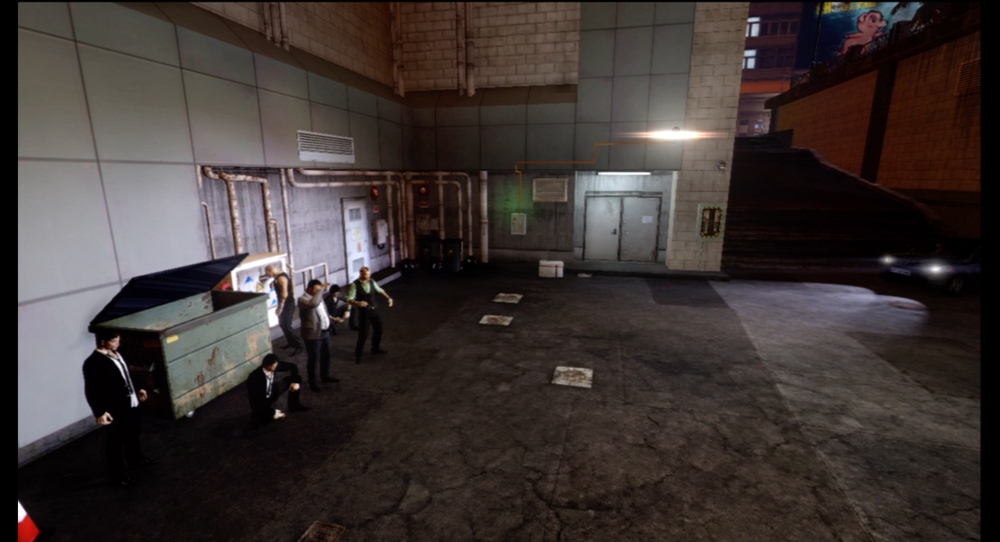
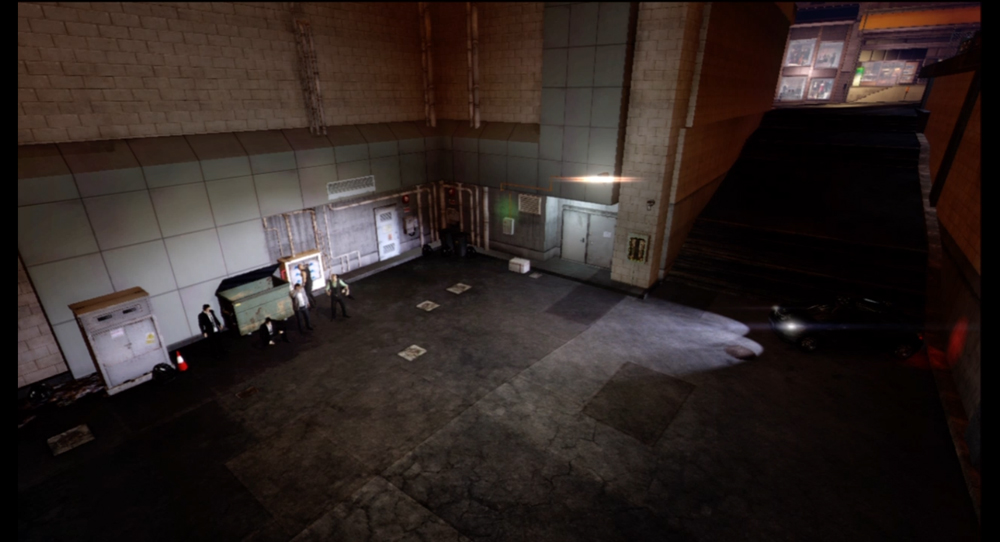
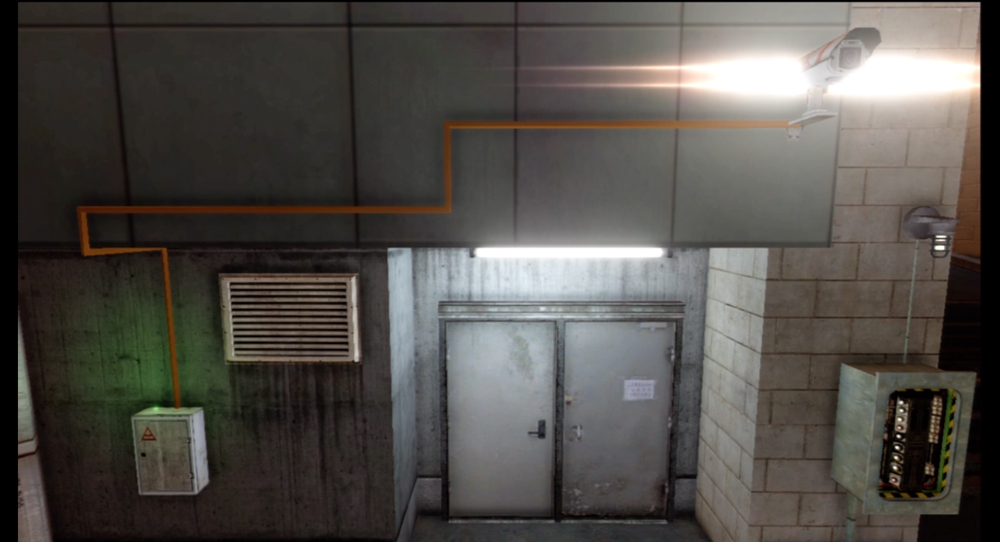
Things start to escalate with this Drug Bust. The goons are starting to come more often armed with knives, cleavers, and tire irons, which will make Grappling more difficult. There’s a dumpster and a fuse box you can use on the enemies here.
7. Drug Bust: Tsim Shan Shan Alley
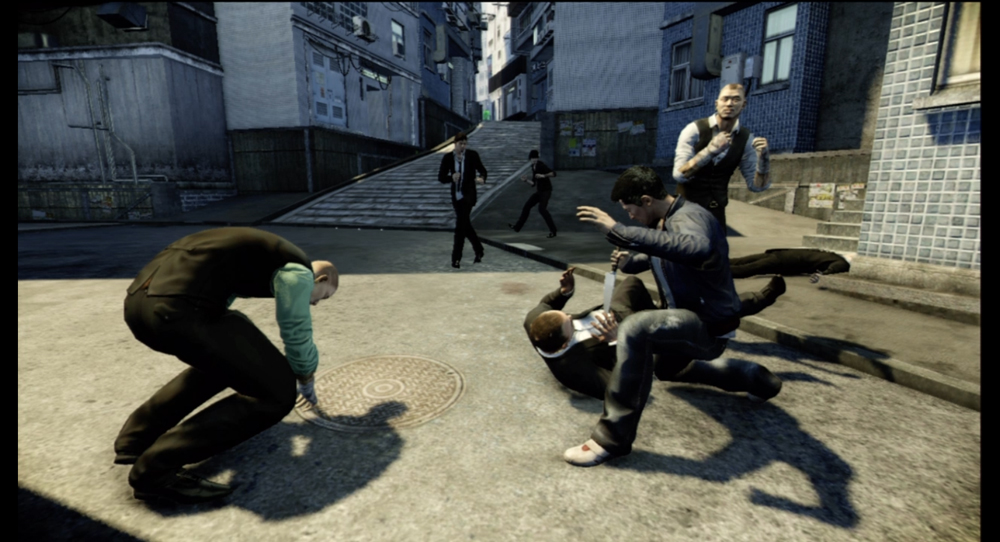
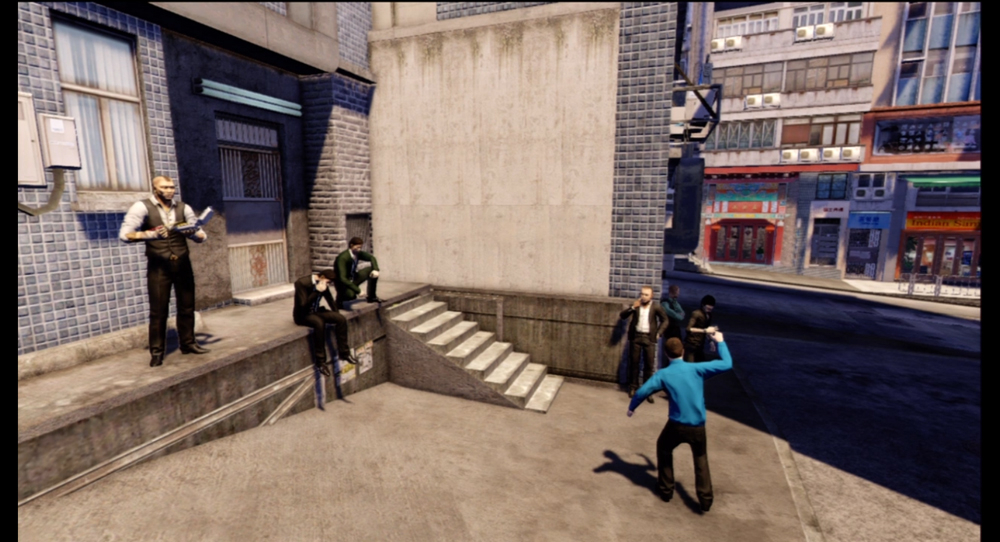
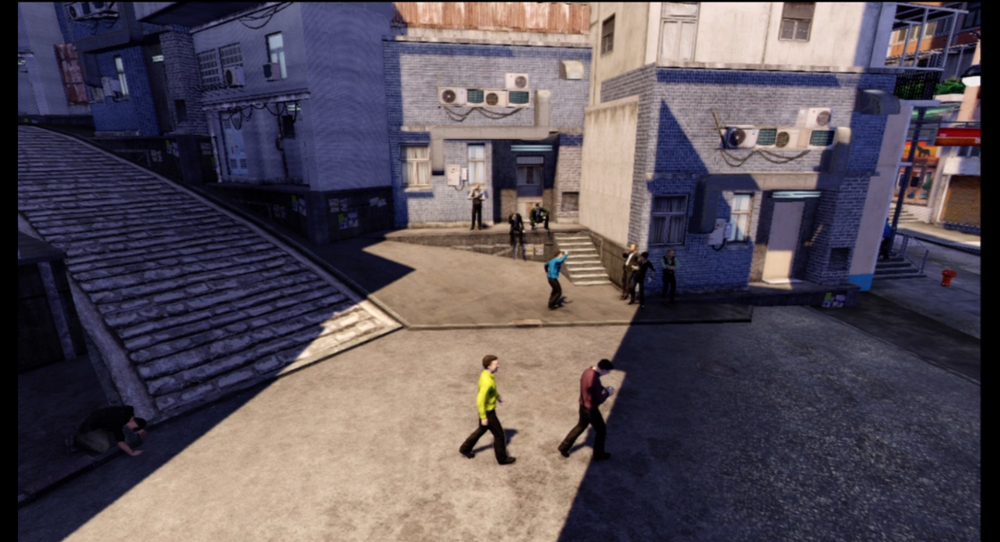
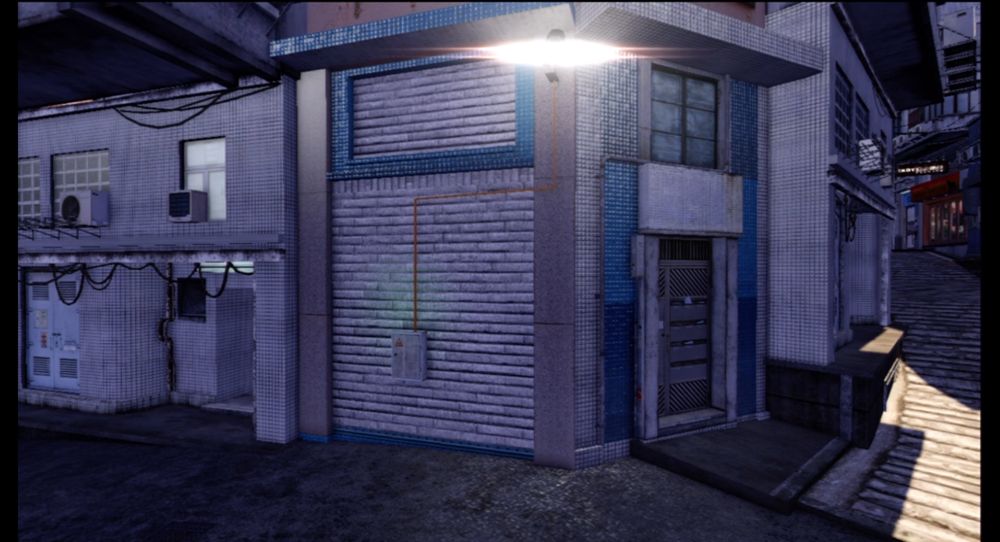
This is an interesting location, as civilian vagrants can become involved in the fighting. Be careful where you throw your melee weapons. They can kill a pedestrian in one shot and quickly alert the police.
8. Drug Bust: Wang Fu Parking
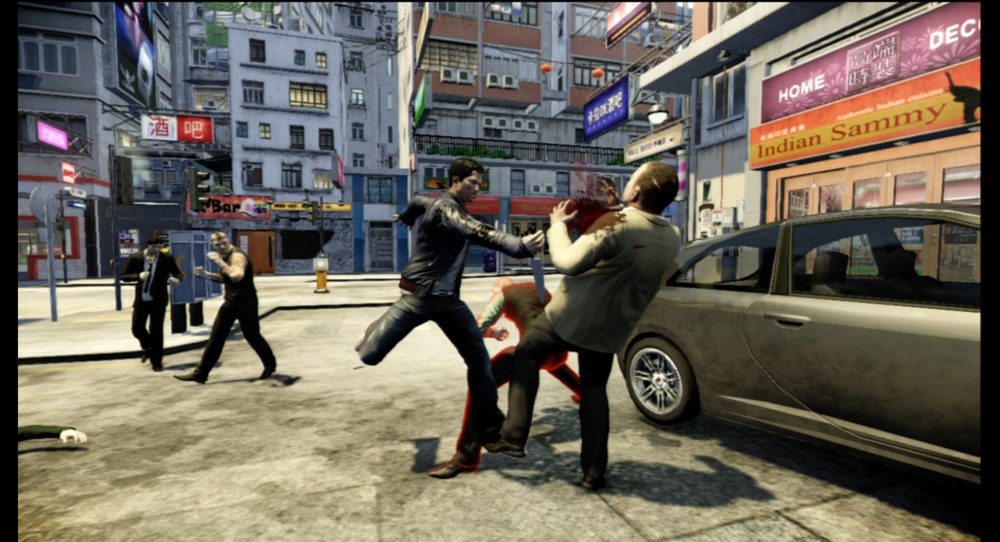
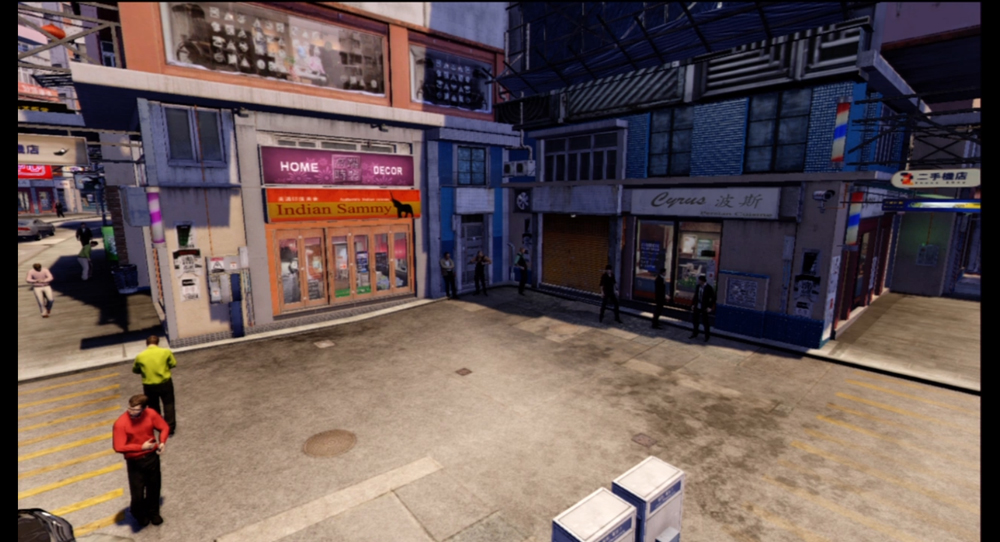
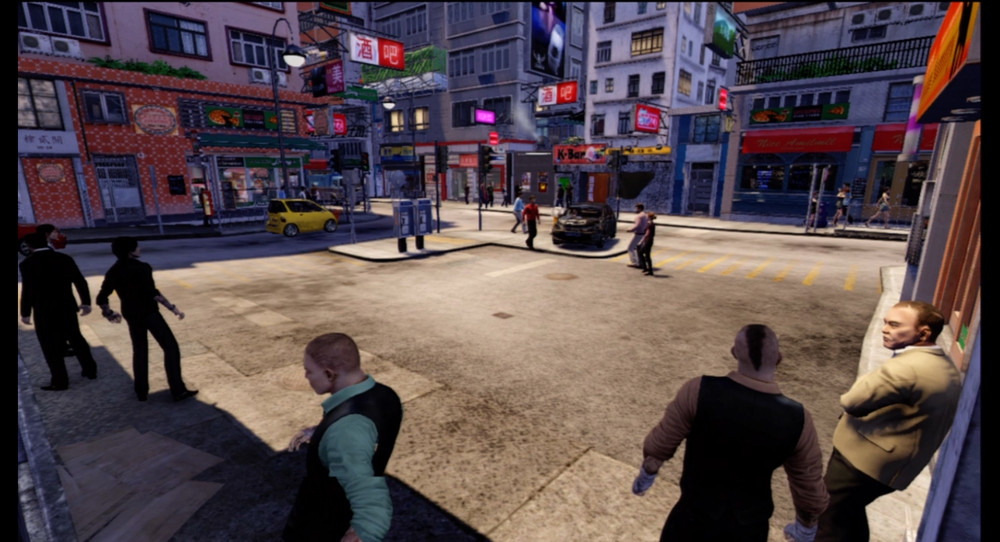
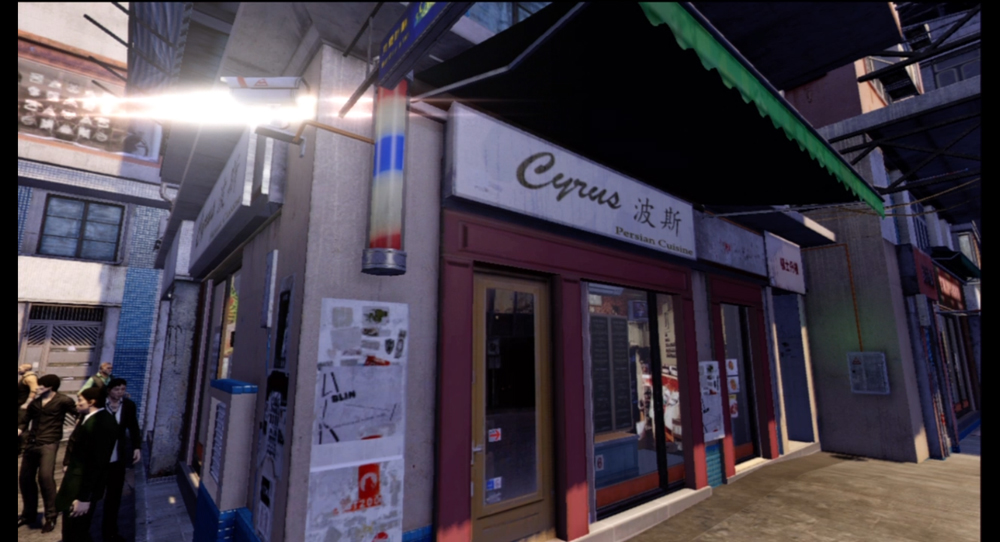
The lot across the street from the K-Bar is the setting here, and there’s a number of phone booths, air conditioner units, and even a fuse box at your disposal. This is another high-traffic area that can get civilians caught in the fighting, so watch where you swing. Don��t forget that you can also use parked cars as improvised weapons!
9. Drug Bust: Mong Memorial Overpass
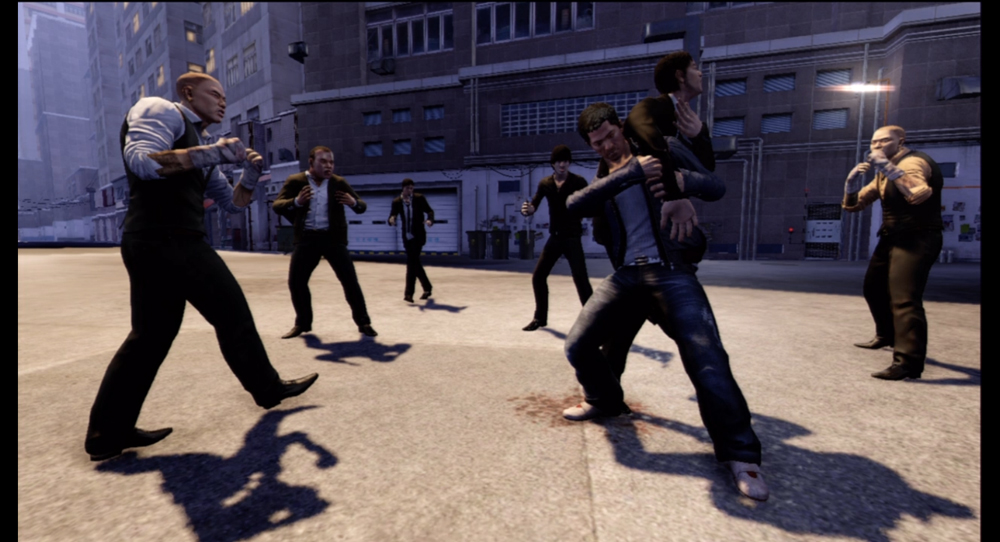
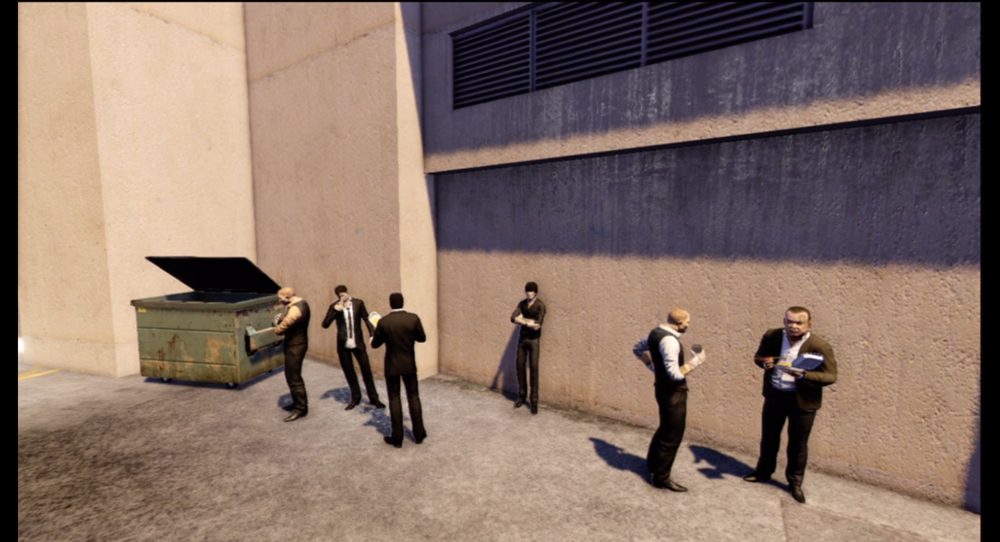
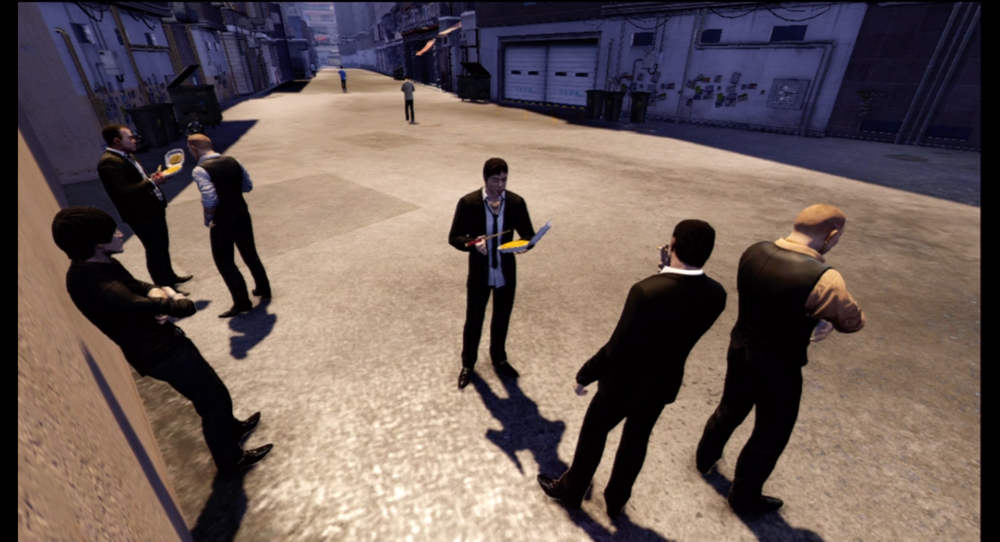
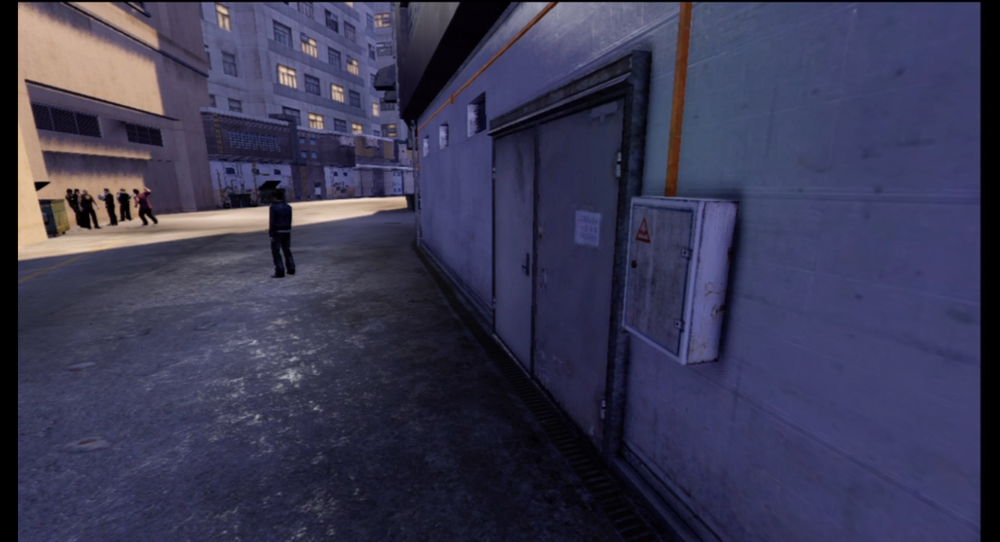
The hangout is isolated from the streets, which makes cop or civilian involvement less of an issue. The alley is wide enough that if you want to mix things up a bit, you can take a car into the area and run down the gangsters before hacking the camera.
10. Drug Bust: Wah Fi Storage
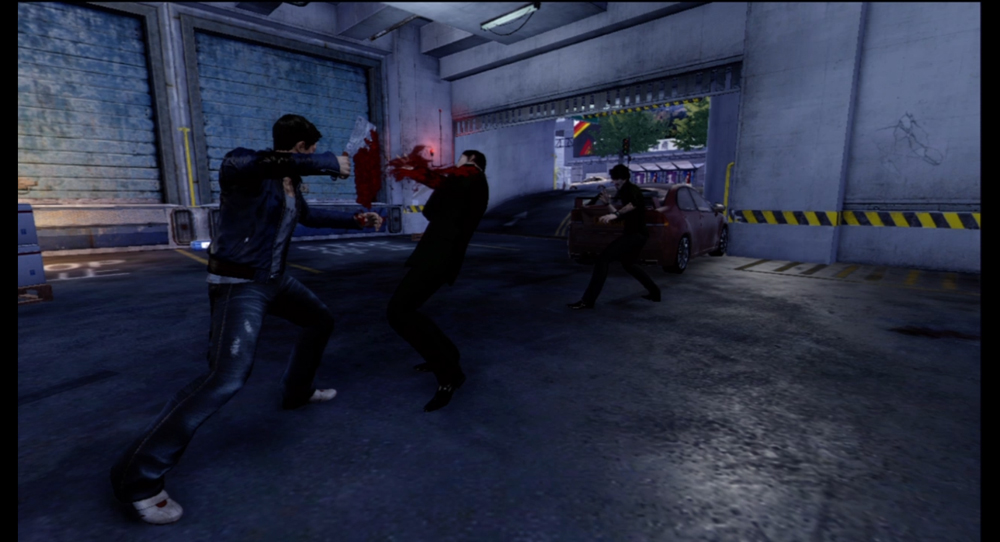
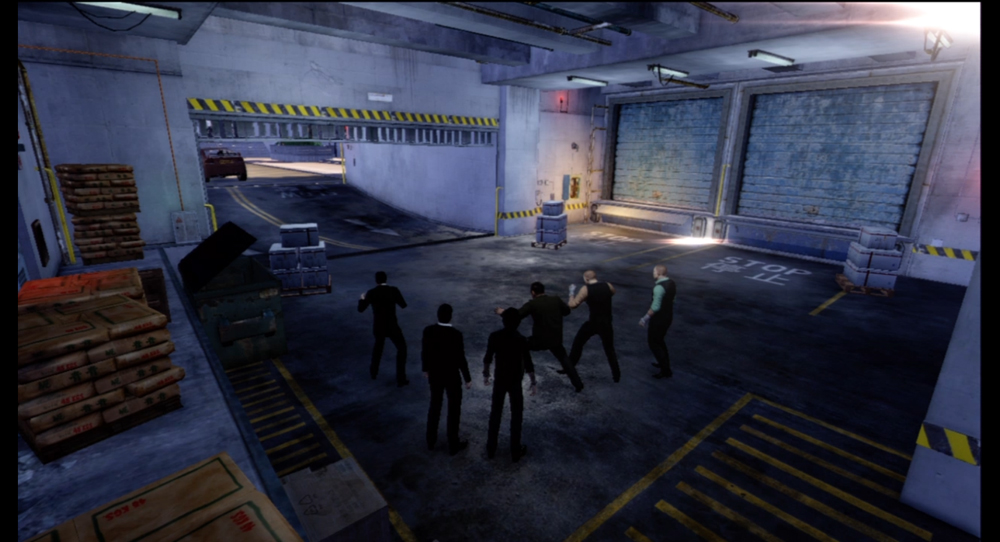
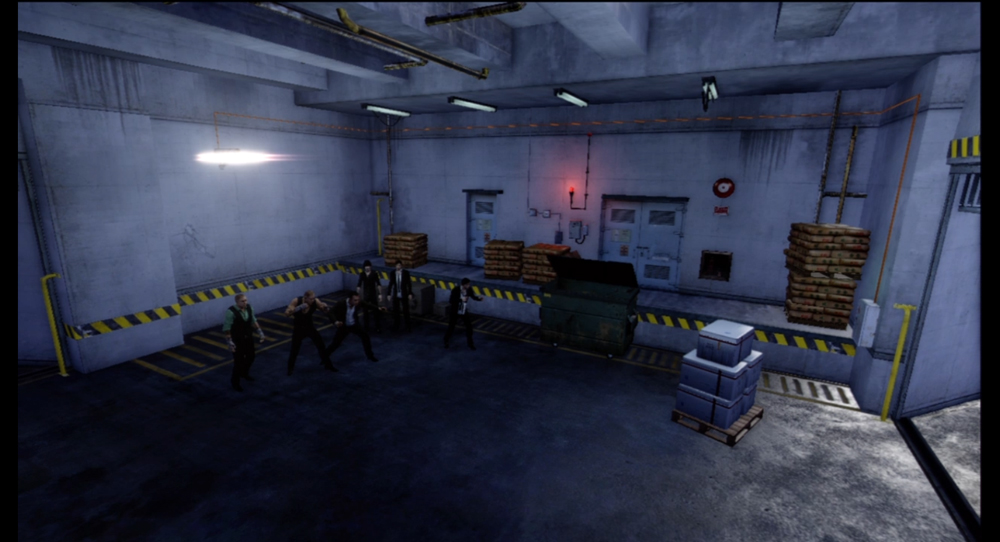
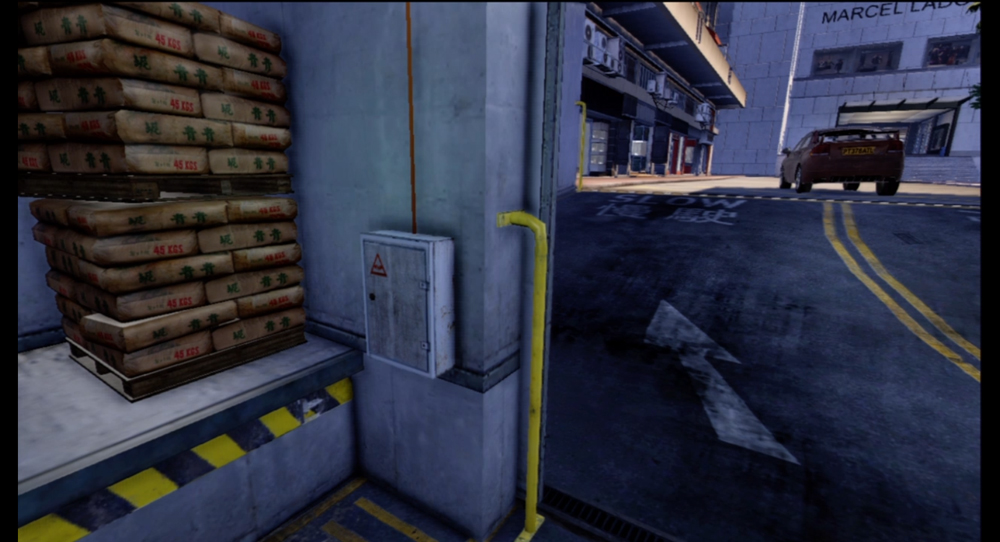
This underground storage garage packs the enemies close enough that the melee weapons they come armed with are easily exploitable against the initial group. The tight space means you will not need to run very far with Grappled enemies to slam them into walls for extra damage.
11. Drug Bust: Central Sewage Outpoint
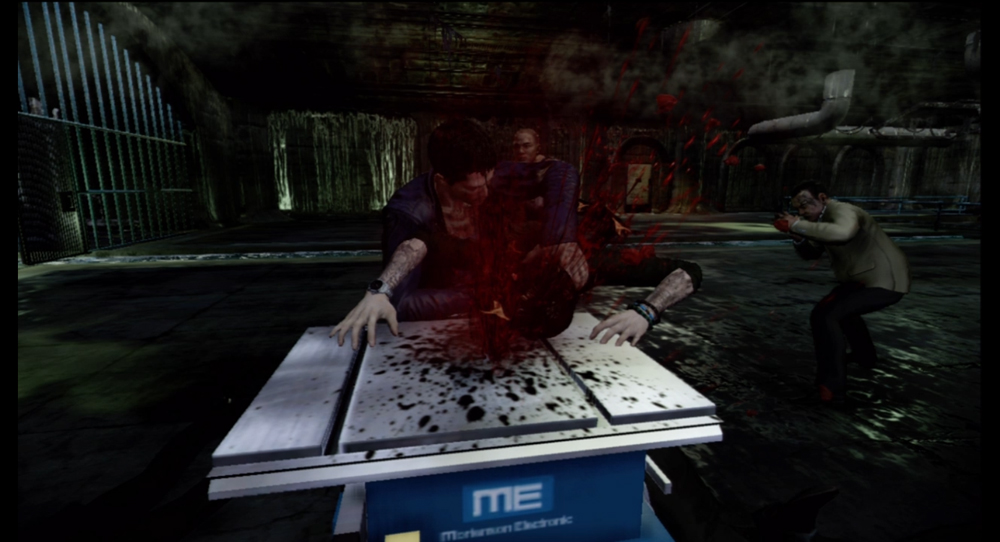
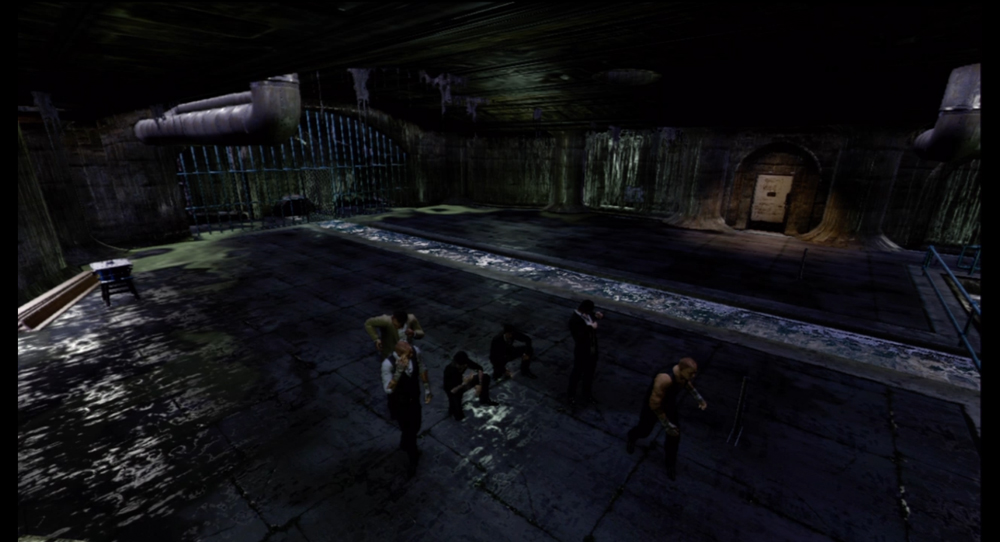
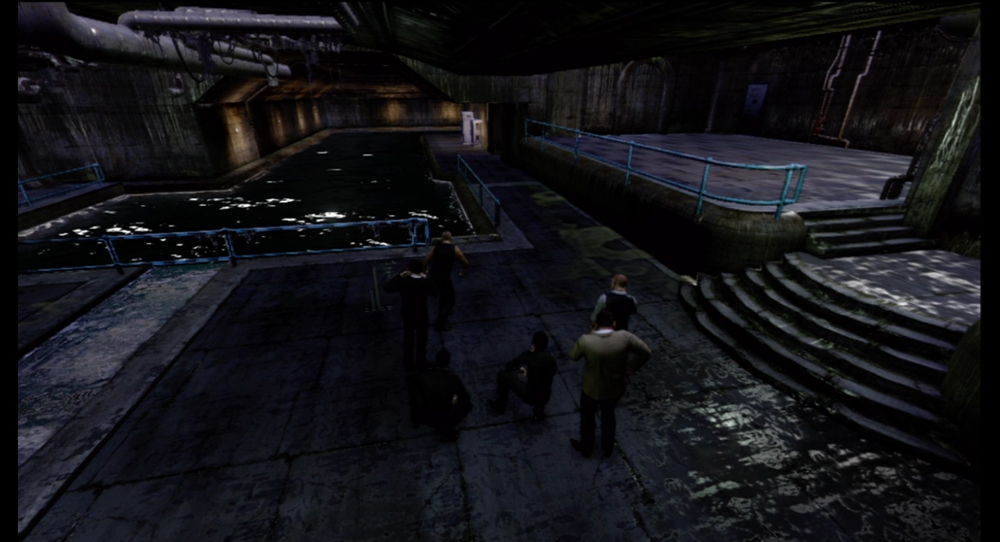
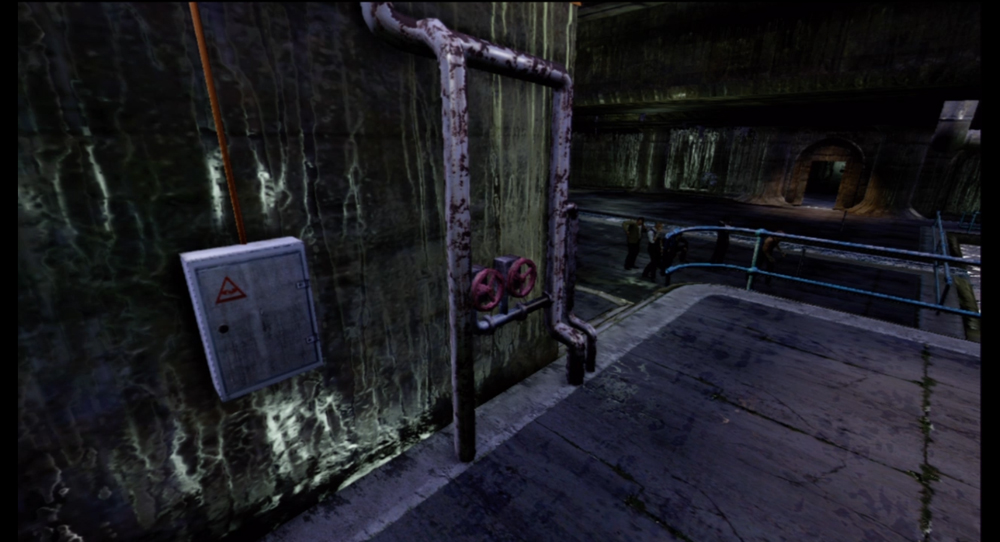
The first of the sewer-based Drug Busts! You’ll need to either swim or find a boat to access this location. One of the side passages contains a pistol, which will come in handy here, as every thug is packing heat. To get to this location, you’ll have to use a boat, or swim through the entrance from the sea. Be careful if you’re taking this on early in the story, as you may not have much in the way of health. Make sure you come with a health regeneration buff at the very least!
12. Drug Bust: Sun Yat Sun Housing Complex
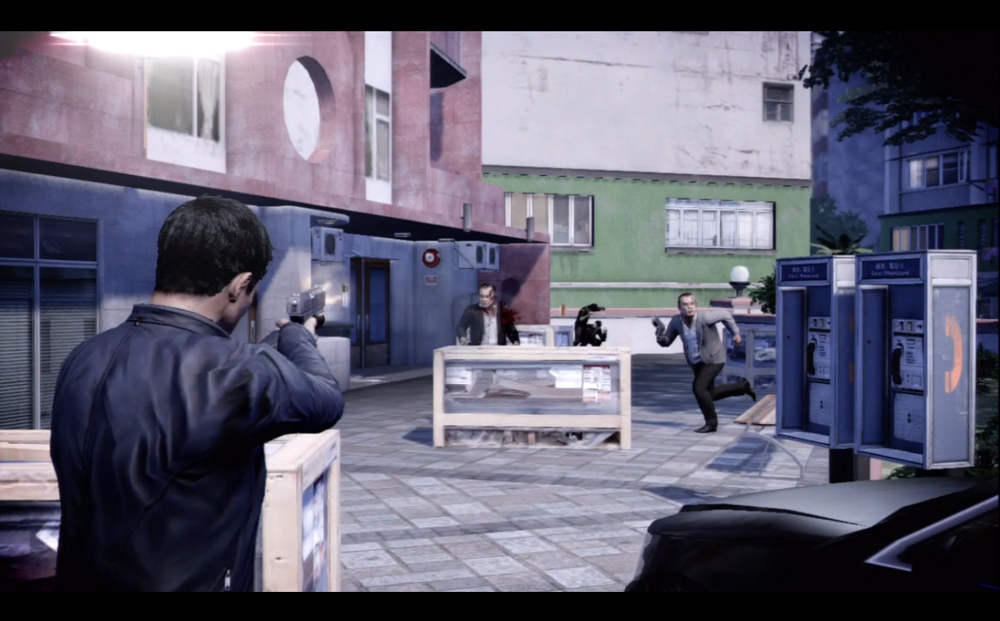
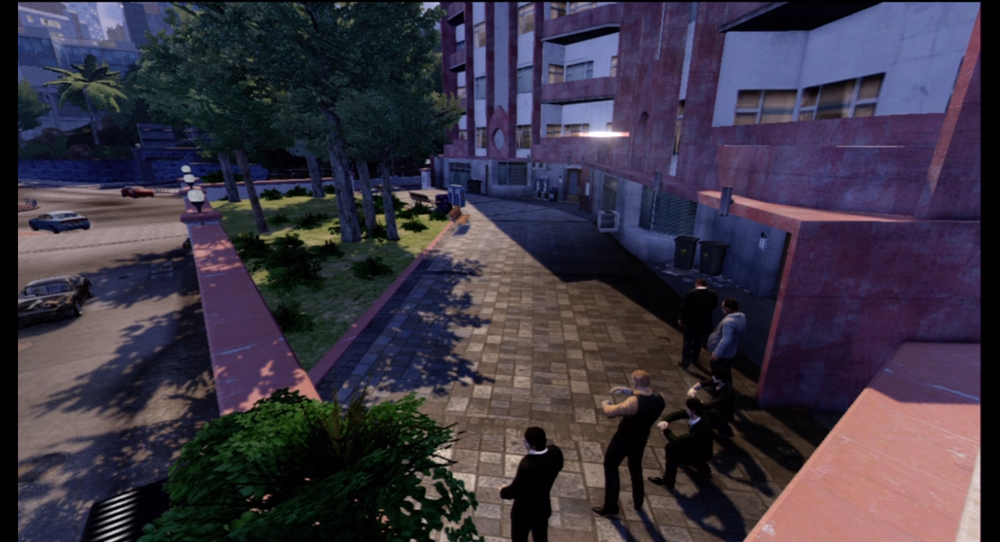
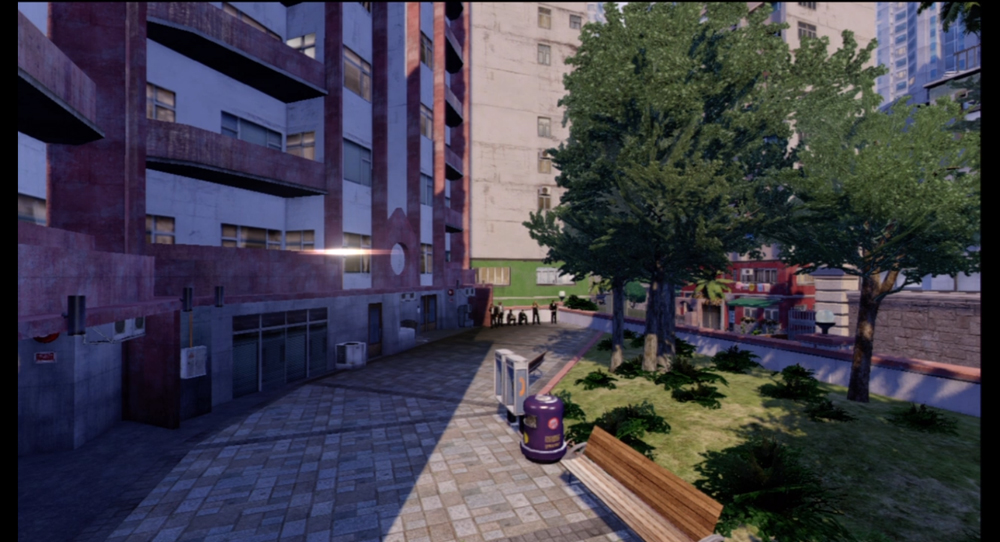
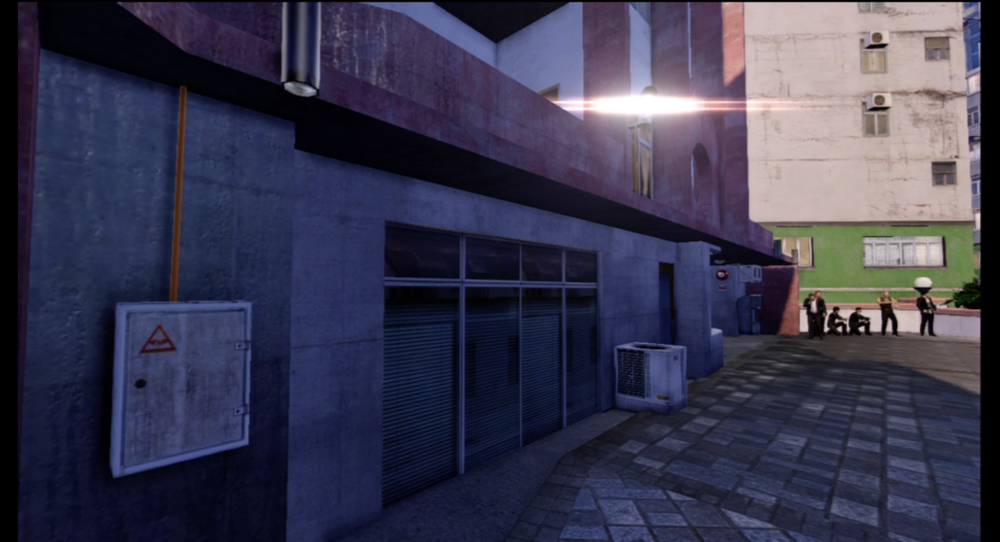
The small park in front of the housing complex is raised up from the street, which will hopefully keep civilians uninvolved in the ensuing gun battle. Make sure you prepare for reinforcements to flood in from the streets. You’ll want to have as many bullet time upgrades as you can muster, which will help you eliminate more targets that much faster. Complicating things is the fact that the HKPD will get involved very quickly, which means you’ll have to escape them once you’ve cleared the area, then come back to actually complete the hack.
13. Drug Bust: Wong’s Parking
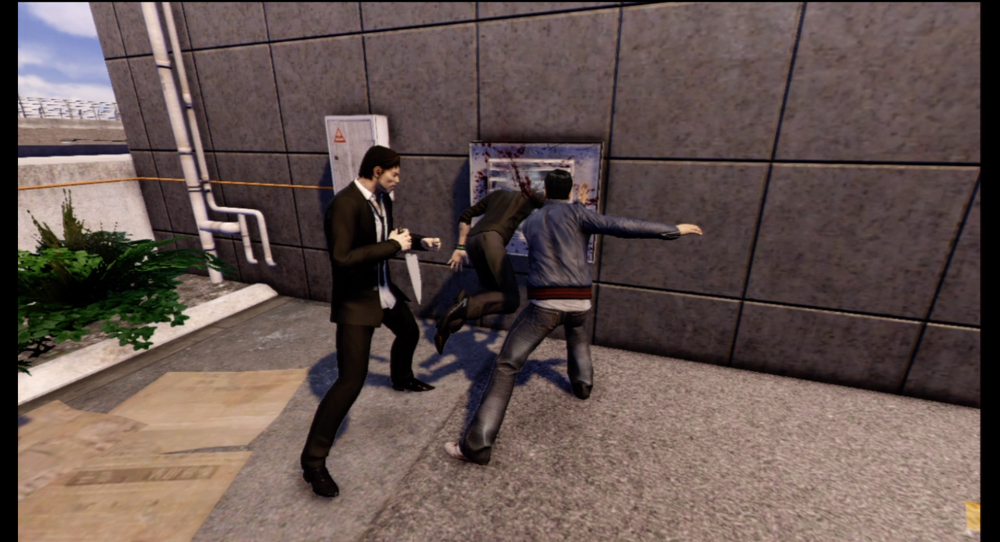
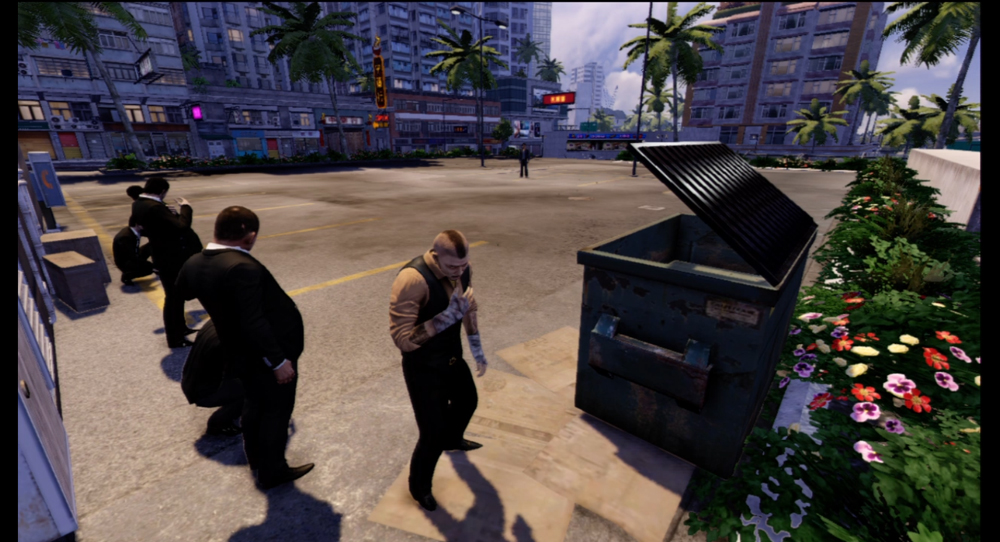
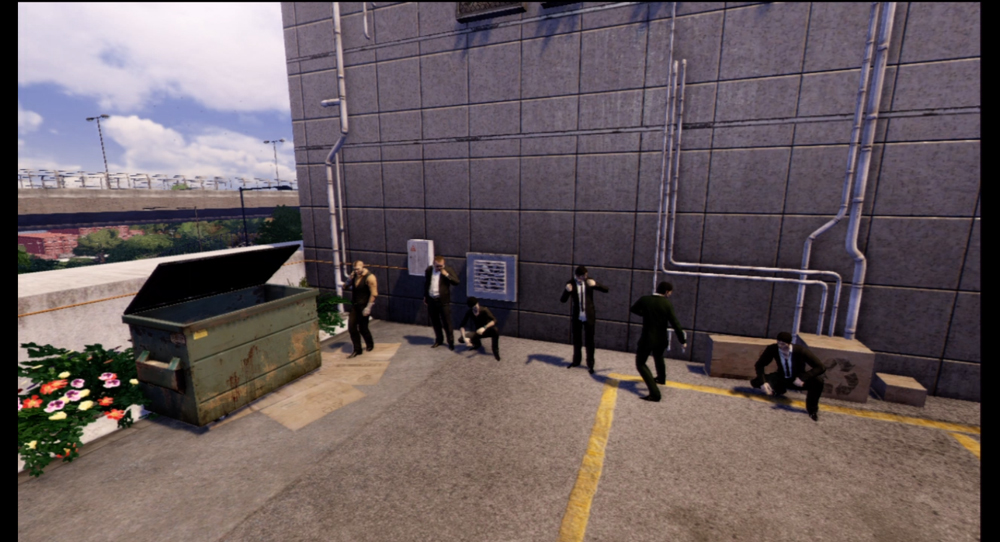
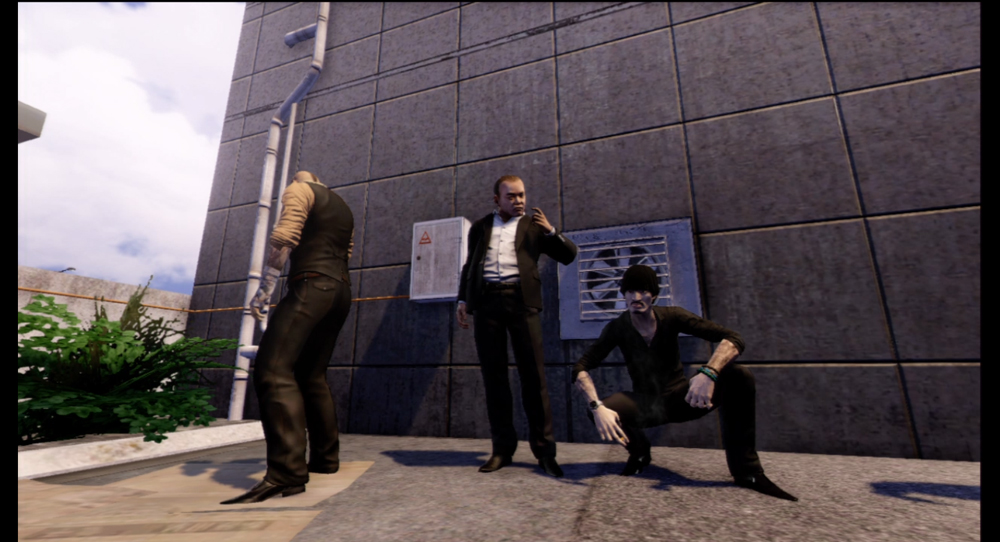
Much of the lot is clear of obstacles, but the thugs all start close to a variety of environmental hazards. If you can pick out the unarmed standard goons from the crowd, you can eliminate quite a few opponents before you get to work on the Brawlers and Grapplers. The big worry here is the sheer number of thugs you’ve got to put down before the area is considered clear, and the fact that nearly every thug, including Grapplers and Brawlers, is likely to be carrying some type of melee weapon. This extreme test of your skills may be a bit much to handle early in the game, but it is totally possible to slug your way through the fights if you effectively use your Counters.
14. Drug Bust: Water Pollution Control Center
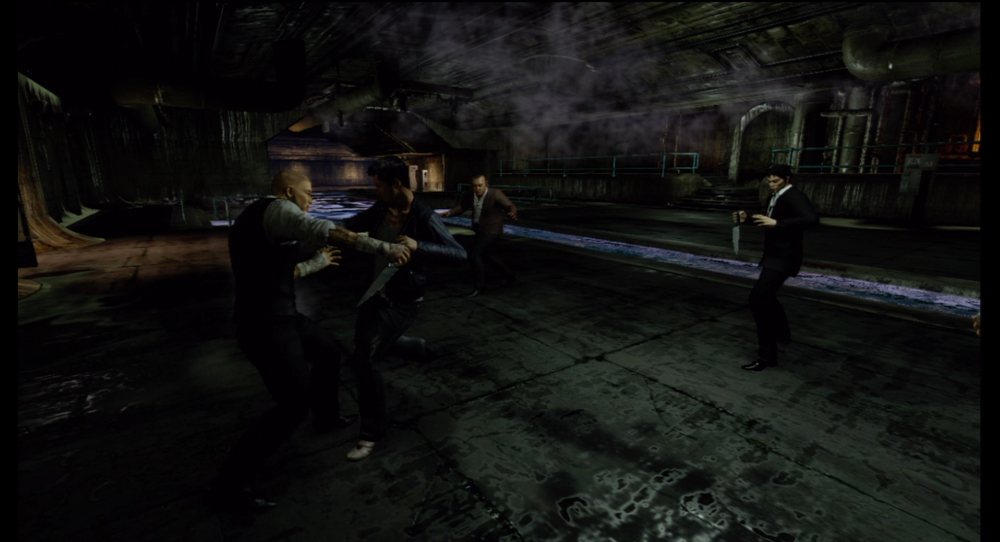
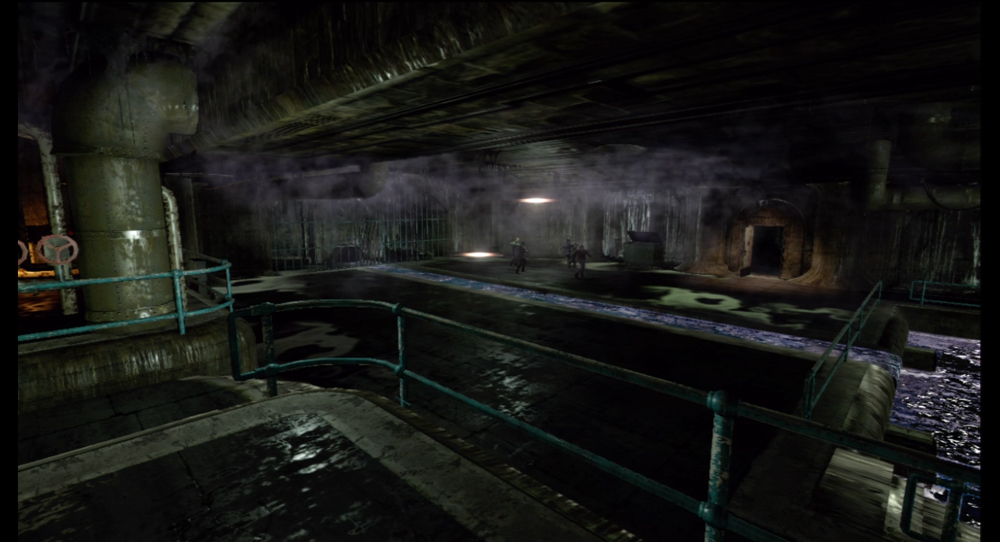
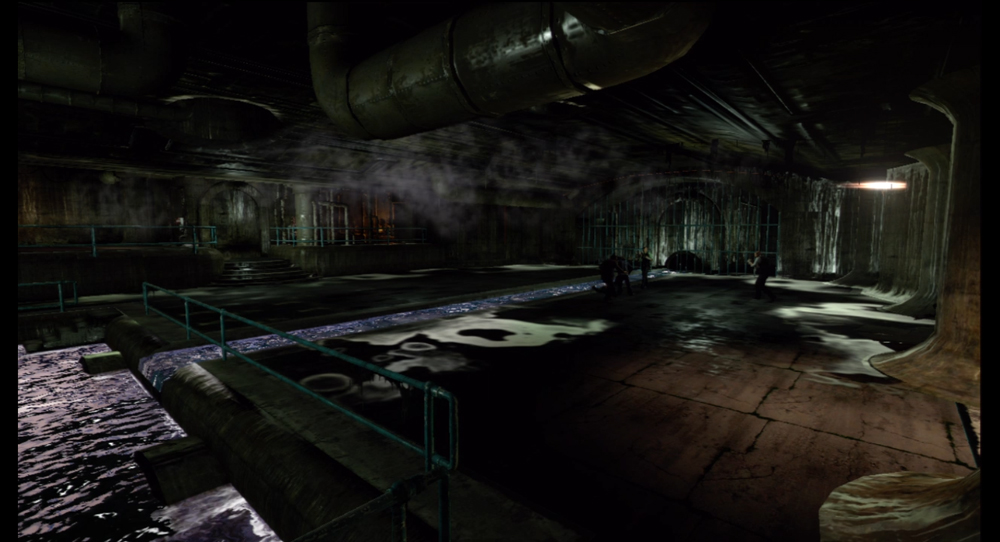
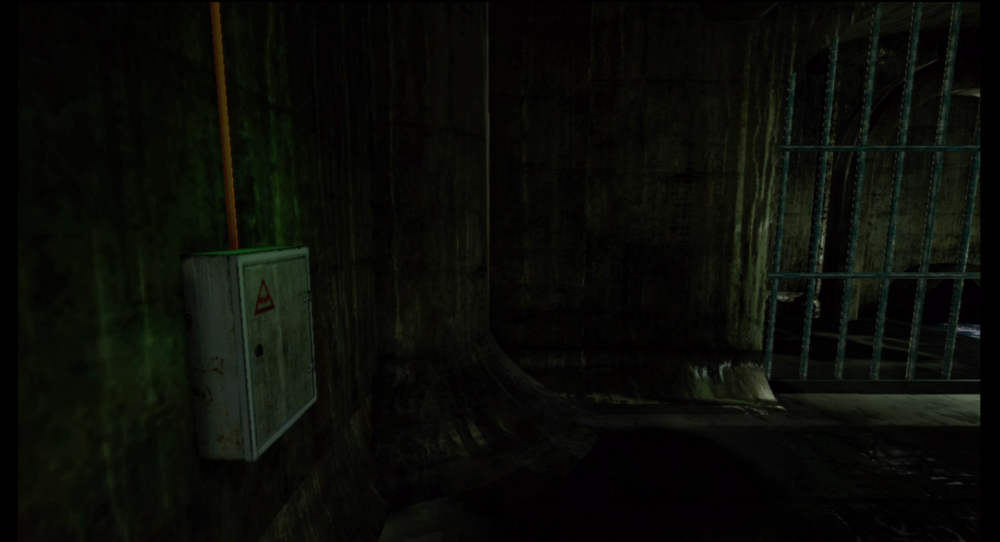
Another sewer hangout, there’s not as many environmental hazards to use here, so you’ll have to rely more on Wei’s skills. Watch for opportunities to knock thugs into the water.
15. Drug Bust: Chiang Mai Sewer Interchange
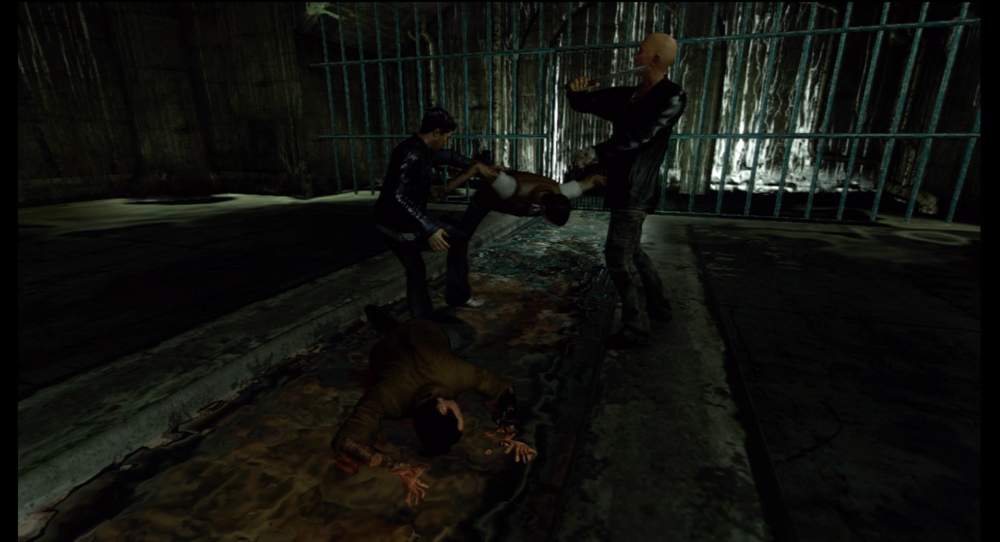
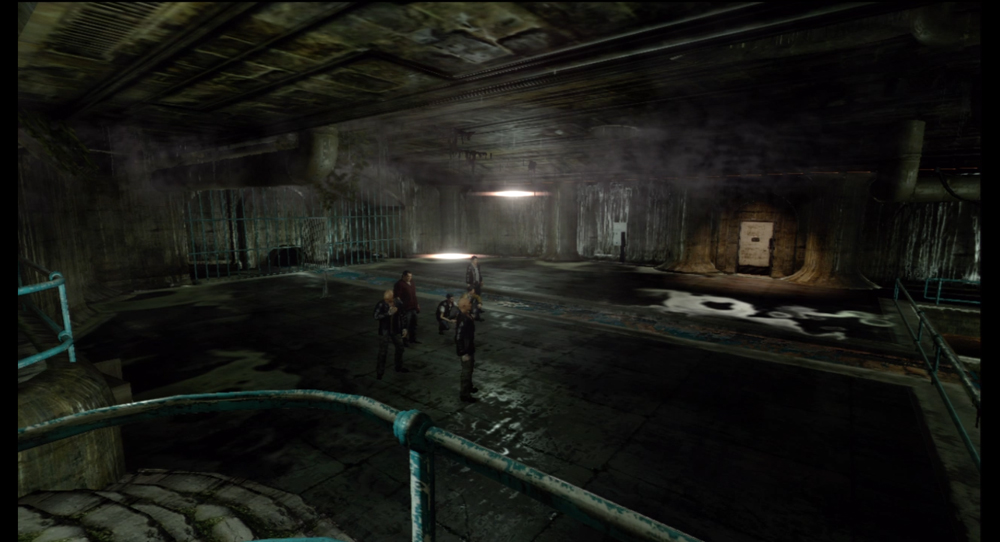
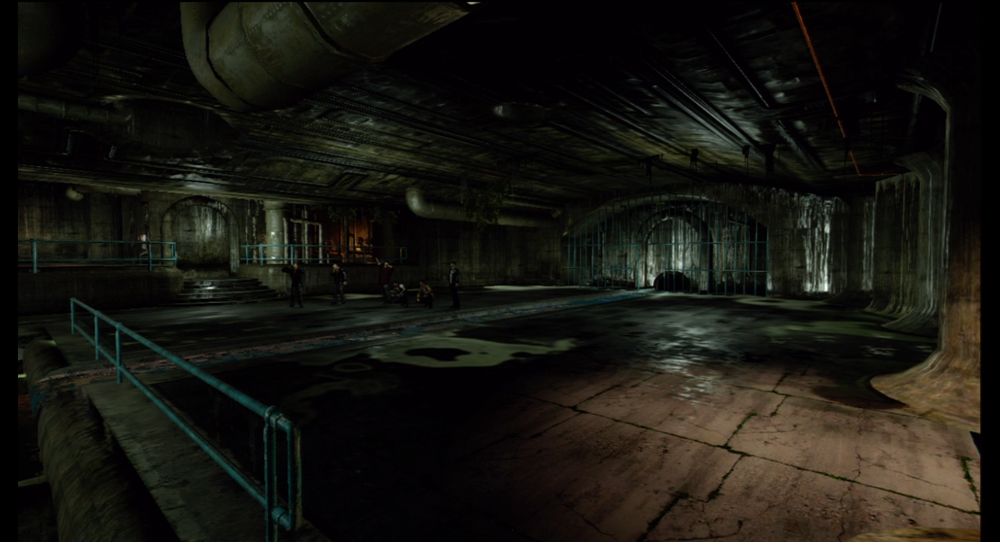
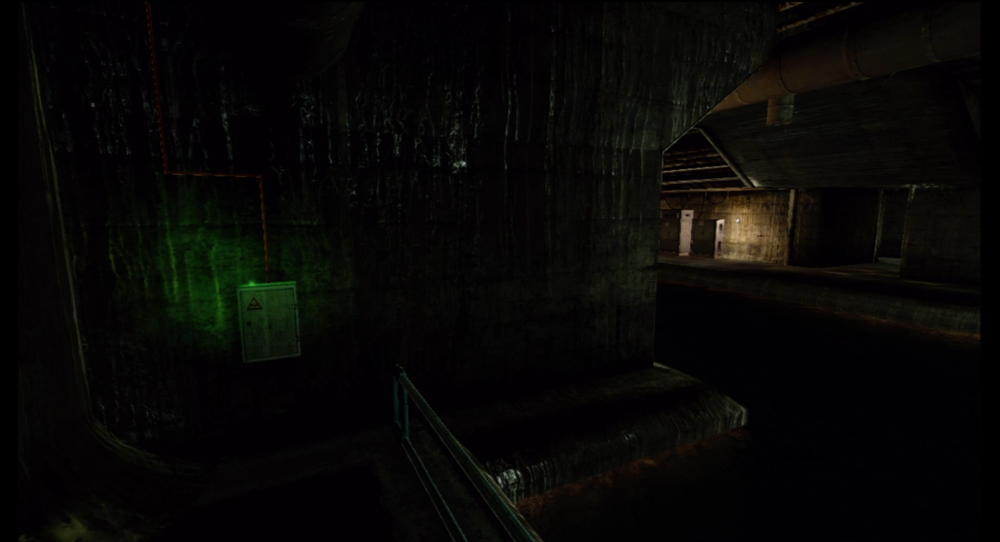
Similar to the Central Sewage Outpoint bust, you’ve got another gun battle against a determined squad of thugs here. As always, come to a firefight buffed up. There’s not as much cover here as there was with the other sewer firefight, so you’ll have to make your bullet time Action Vaults count and eliminate as many targets as possible with each attack.
16. Drug Bust: Yen Yen Foo Long Underpass
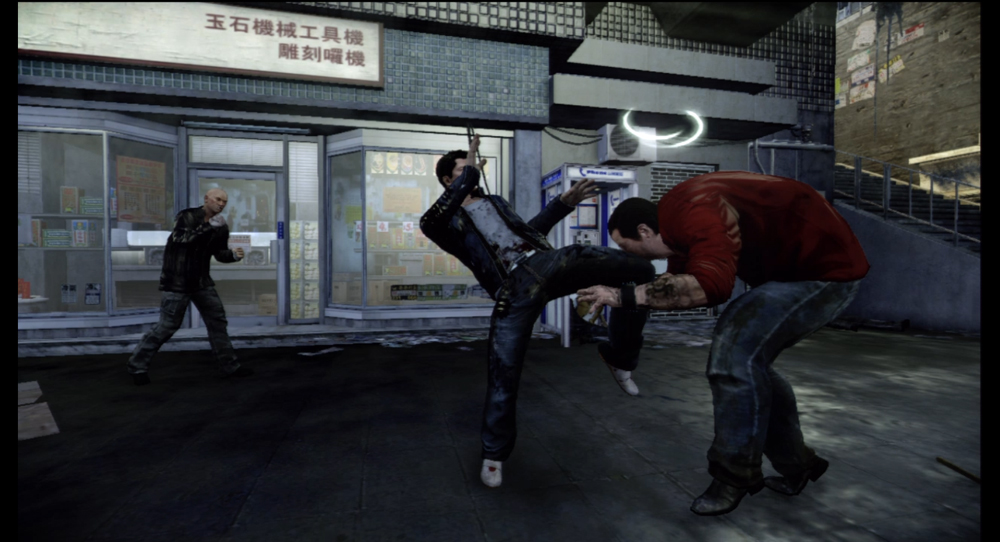
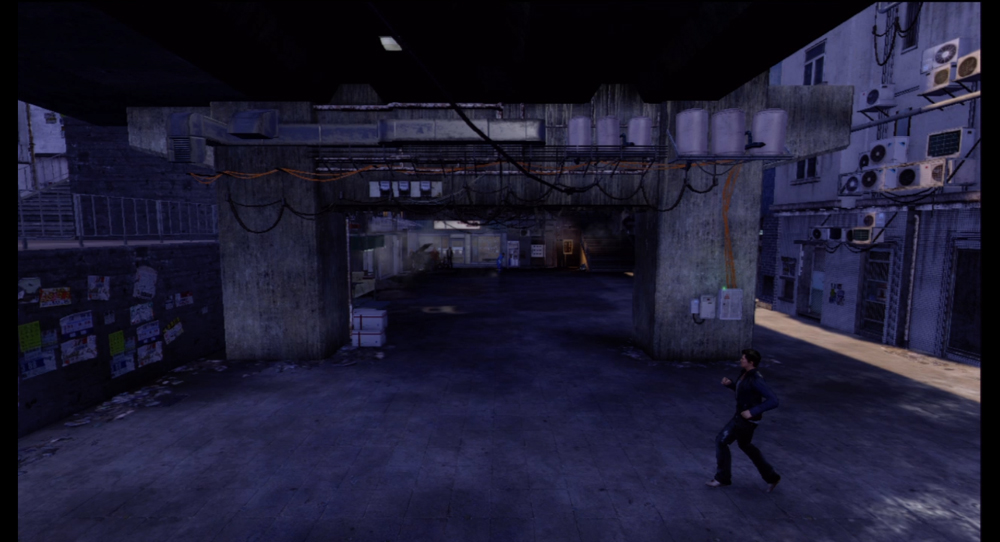
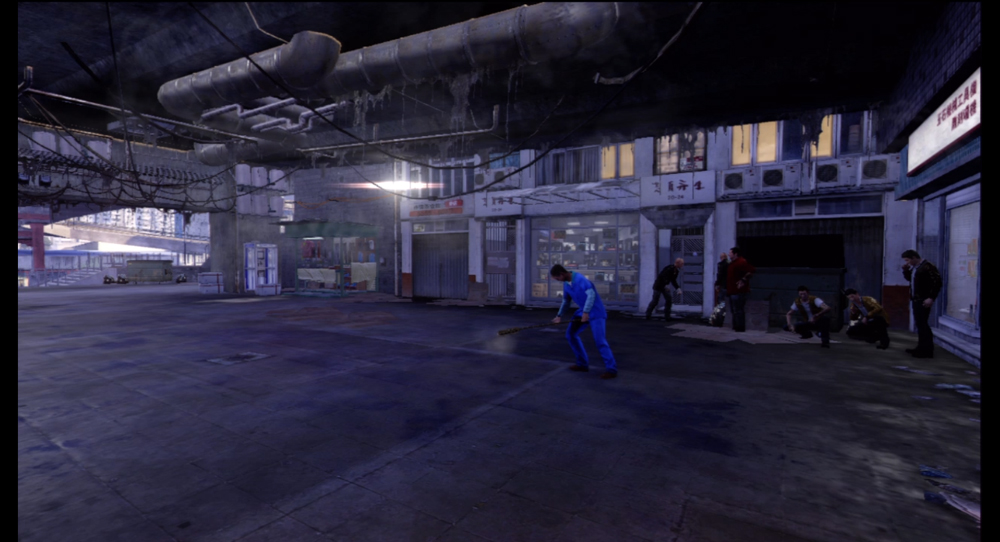
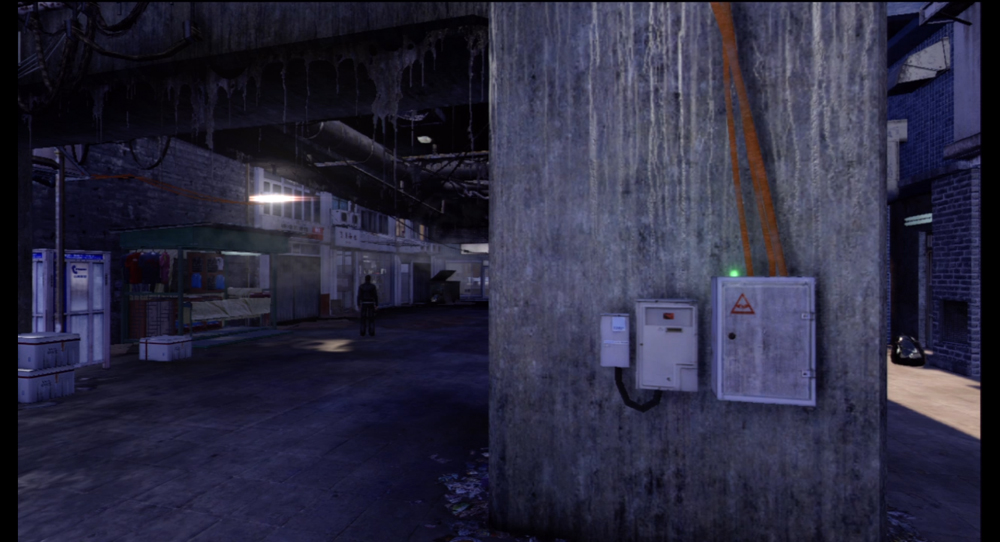
The underpass hangout typically has a civilian janitor doing his best to dust the dirty floors near the thugs, so watch how you jump into the fray. The control box for the camera is placed on a pillar away from the initial starting location of the thugs, facing out towards the street, so it can be easy to miss if you’re in a hurry.
17. Drug Bust: Aberdeen Sewage Outflow
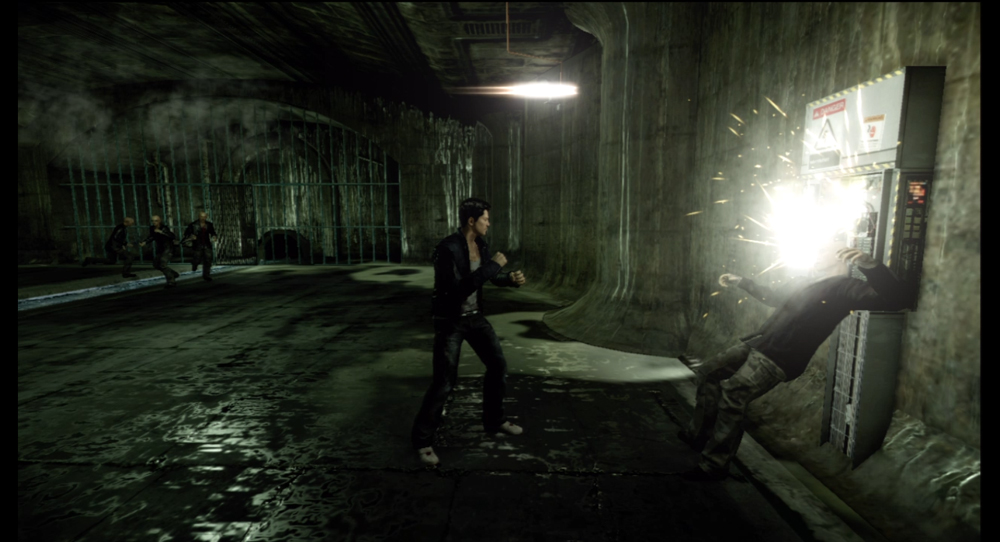
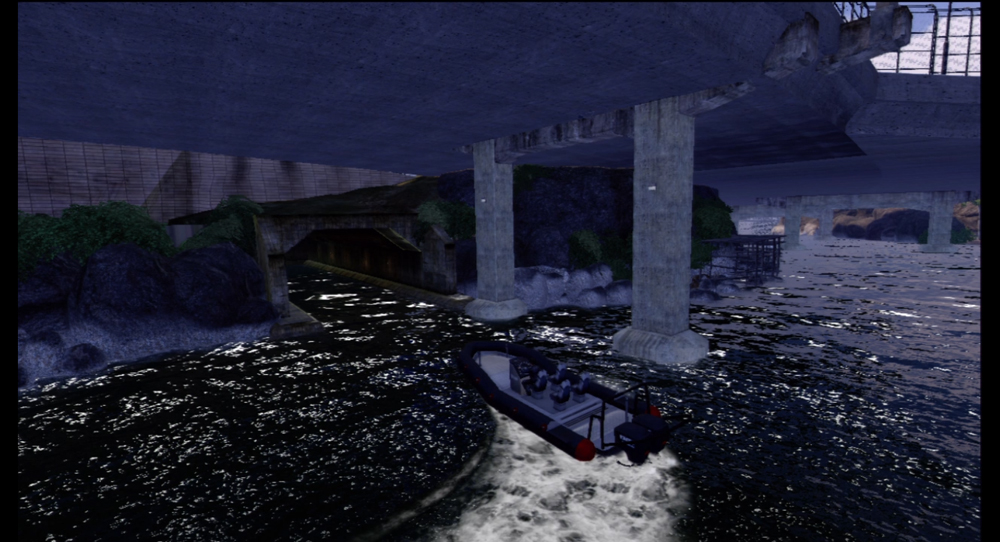
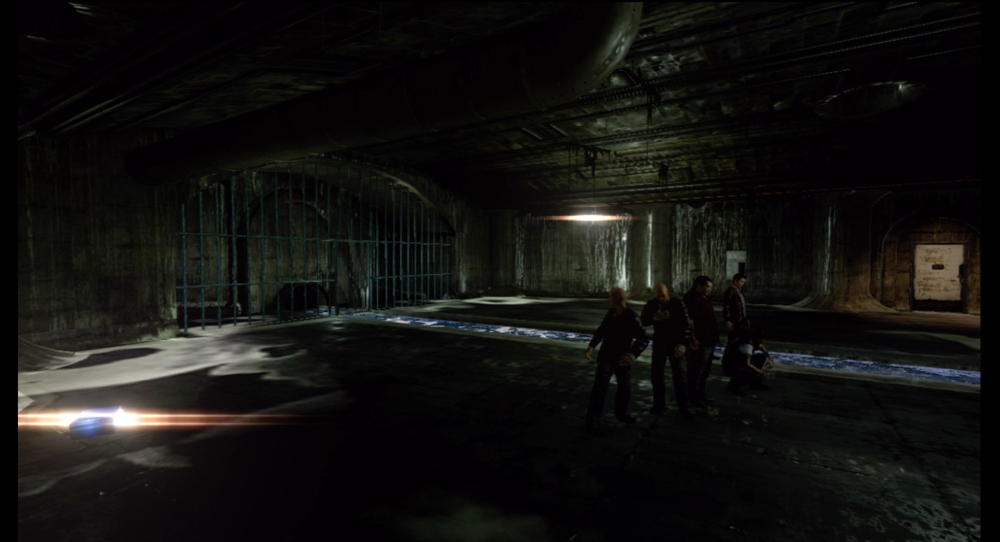
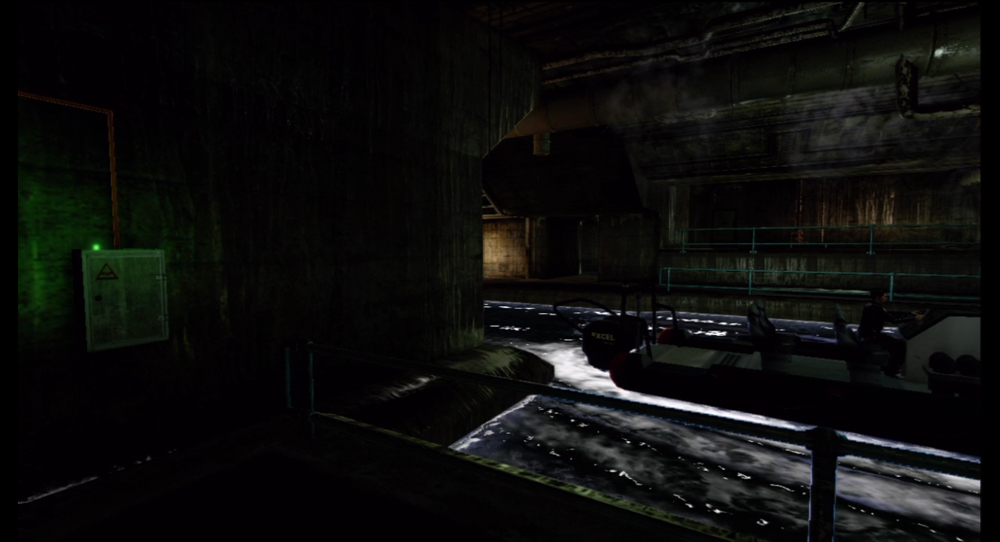
As with the Chiang Mai Sewer Interchange, you can expect a firefight under very similar circumstances. The best cover to use for bullet time Action Vaults is limited, so you’ll have to make each vault count. Keep an eye on your mini-map during this fight to avoid getting flanked by the thugs.
Shoplifter
Four Shoplifter events become available as you complete the Payback Main Story mission. These events, like all others, do not appear on the in-game maps unless you draw close enough to trigger them. Without knowing where to look, it can be tough to track down events to complete them.
Shoplifter missions are easy to resolve, and they all involve some form of removing a rowdy customer from the premises of a legitimate business establishment.
1. MQ Mart Drunk
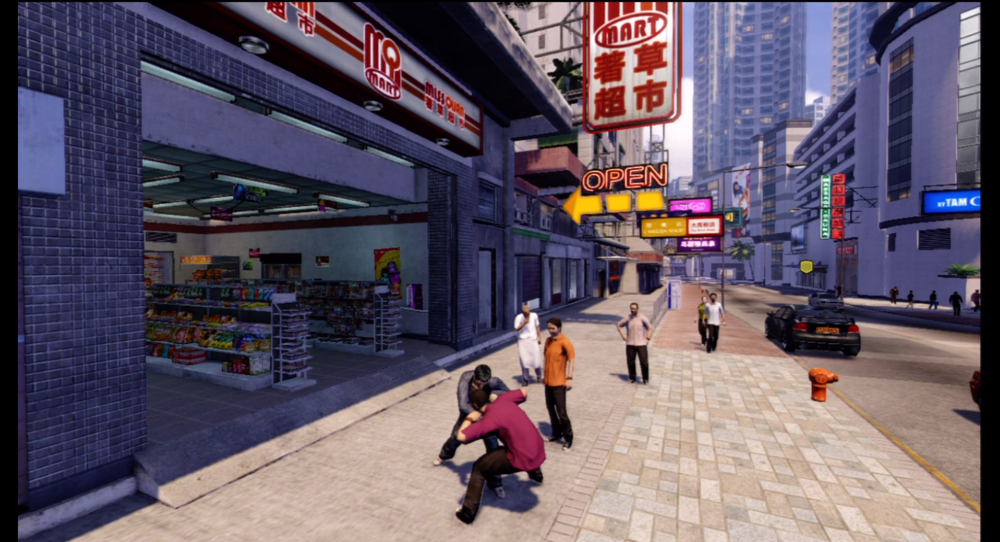
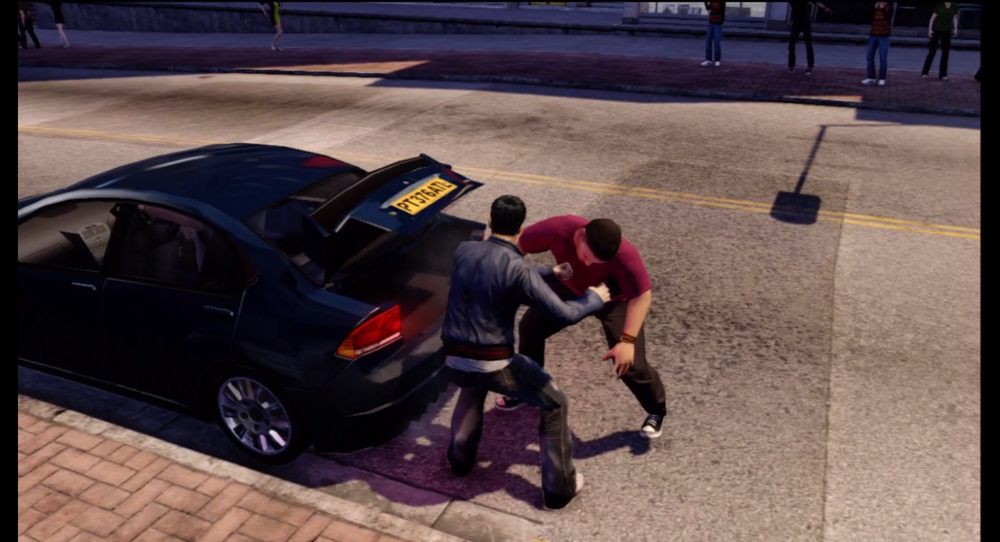
The MQ Mart is harassed by a drunk who is destroying all of the sunglasses on display. Drag this guy to the indicated car and throw him into the trunk. The driver takes him off to points unknown.
2. MQ Mart Loitering
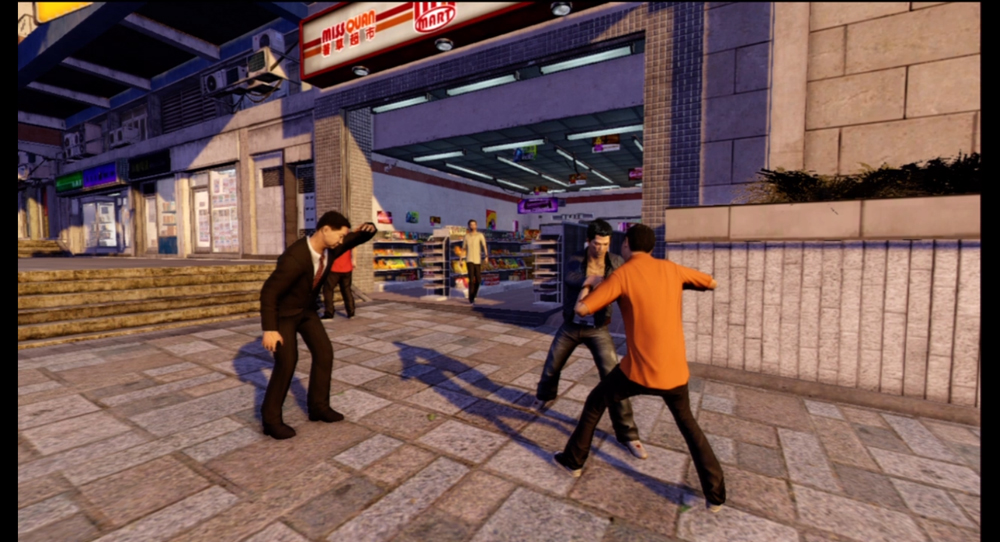
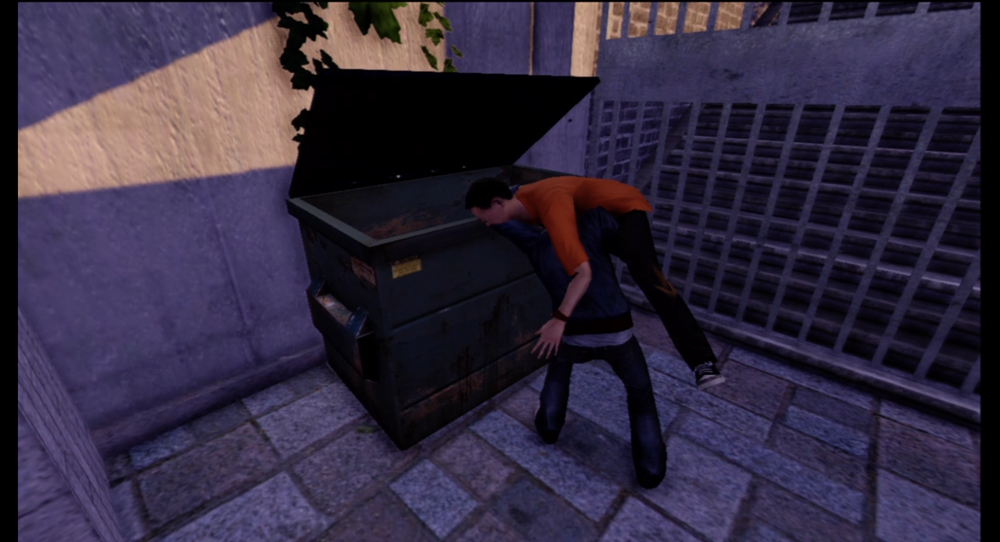
Literally down the street north from the MQ Mart Drunk incident location, a rowdy customer is harassing another MQ Mart in the southern portion of Kennedy Town. This time around, you need to take the offending individual to a nearby dumpster and throw him into it.
3. Mall Loitering
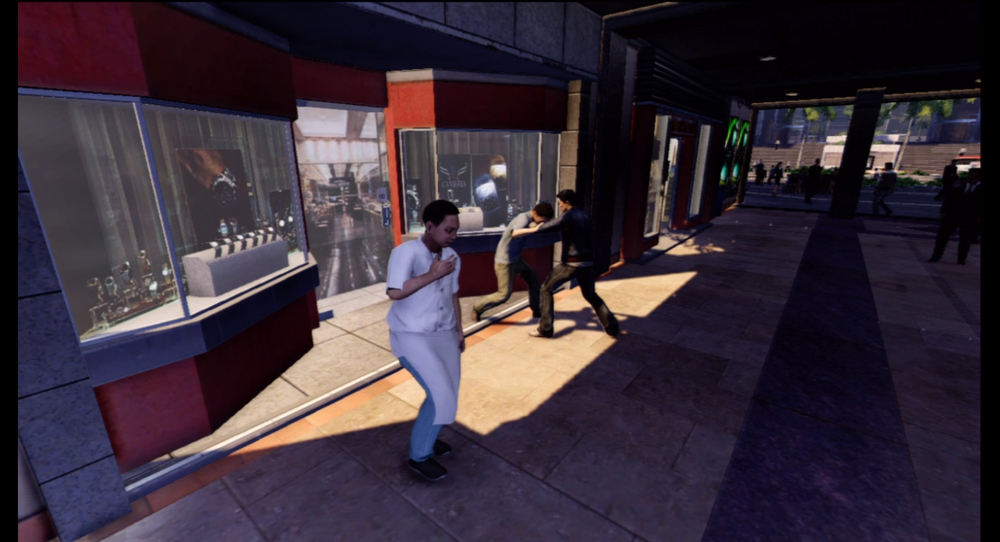
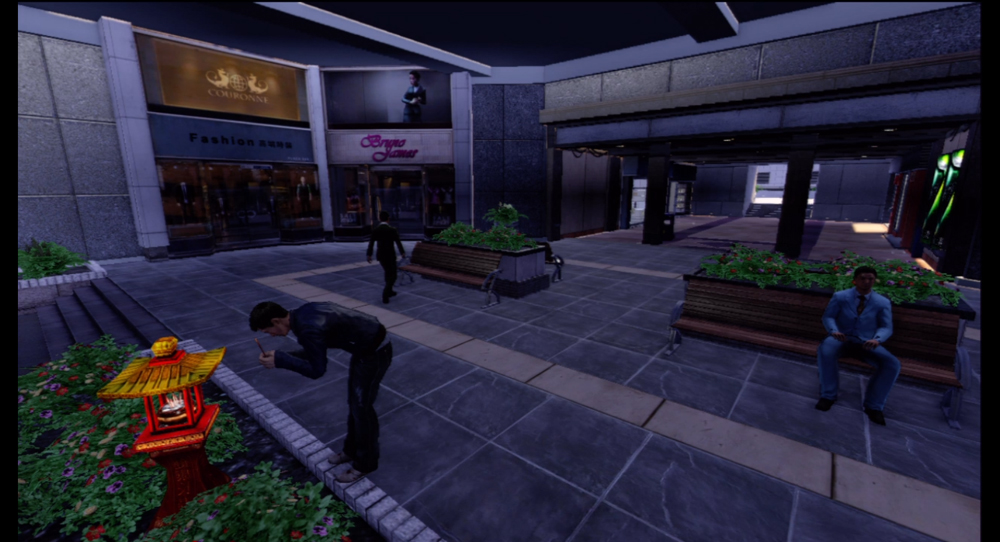
Another drunk is scaring customers away from a shopping center located near an overpass at the center of the Business District. As before, drag the vagrant away from the shop without killing him.
4. Dim Sum Loitering
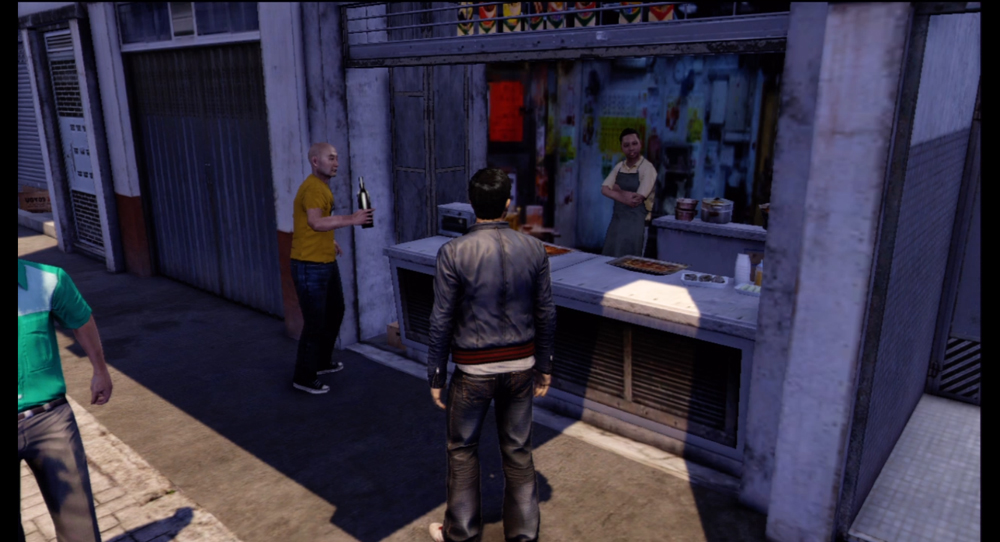
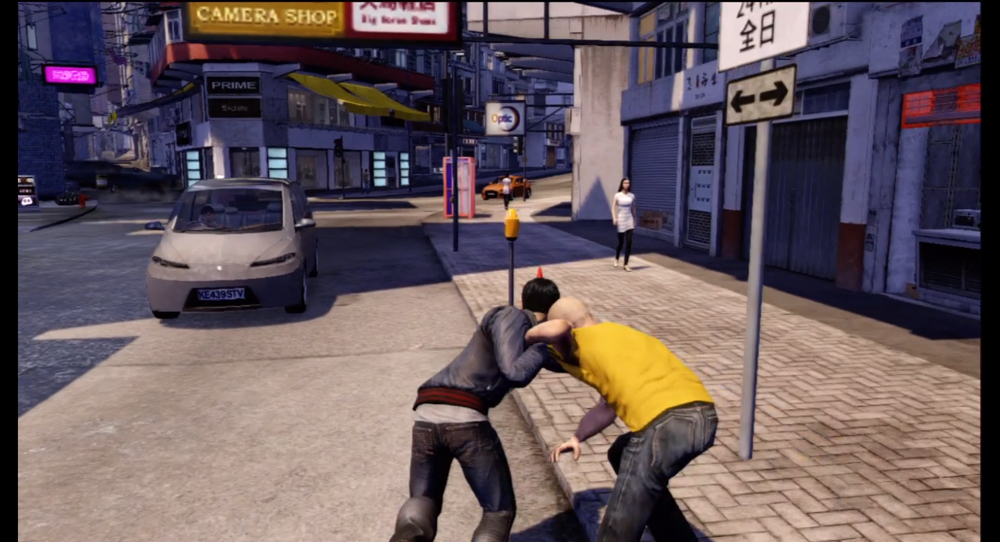
A drunk is harassing a small restaurant relatively close to the waterfront. To resolve the situation, grab the drunk and pull him away from the mini-map-indicated radius surrounding the restaurant. While it may be tempting to throw him into an environmental hazard to get rid of him, that isn’t the goal. You only need to move him away from the restaurant.
Hit and Run
The three Hit and Run events involve freerunning chases against people trying to steal from Calvin, a recurring member of the Water Street Gang. These events start off on foot and turn into short car chases, followed by fistfights if the thief survives the inevitable pounding his car will suffer.
1. Hit and Run: Bus Stop
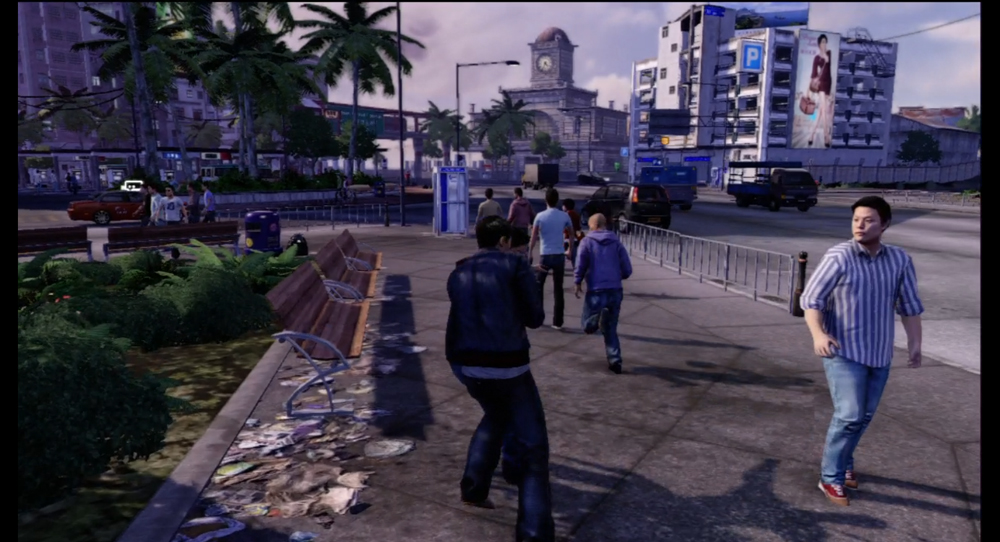
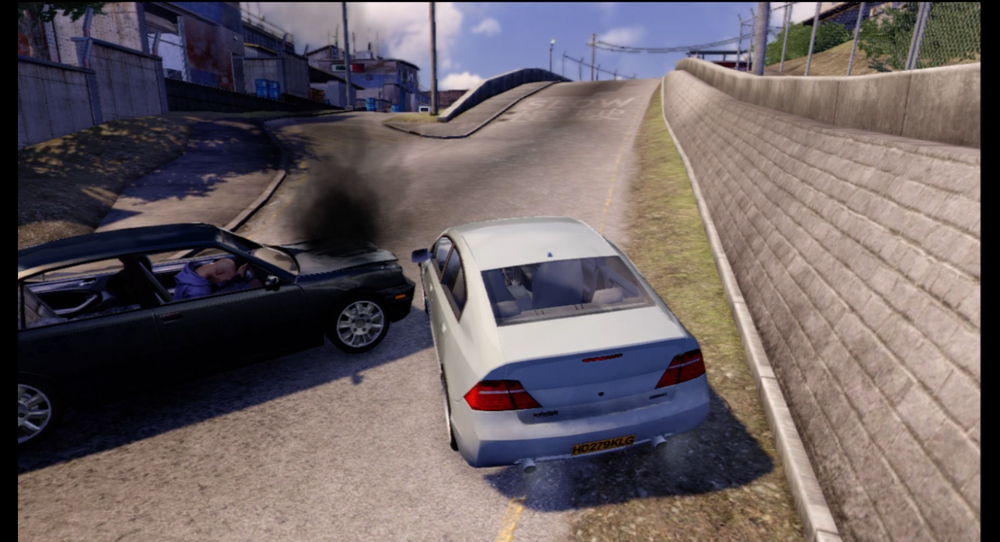
Calvin is jumped by a thief who manages to take a bag full of fake money as you approach him. You’ll chase him past the bus stop where you took Siu Wah after the attack on Dogeyes’ warehouse, and he’ll eventually hop into a car to try and make his escape.
2. Hit and Run: Repo Yard
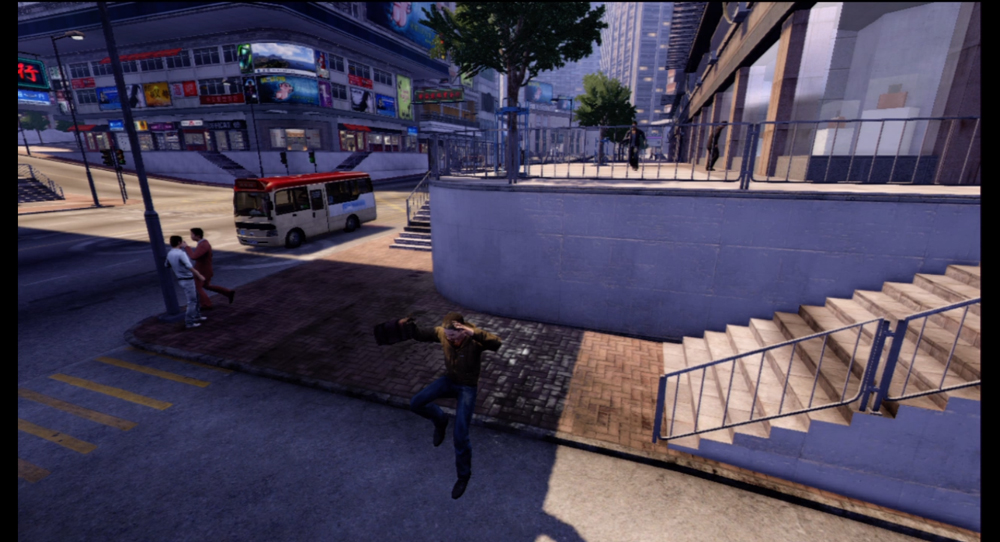
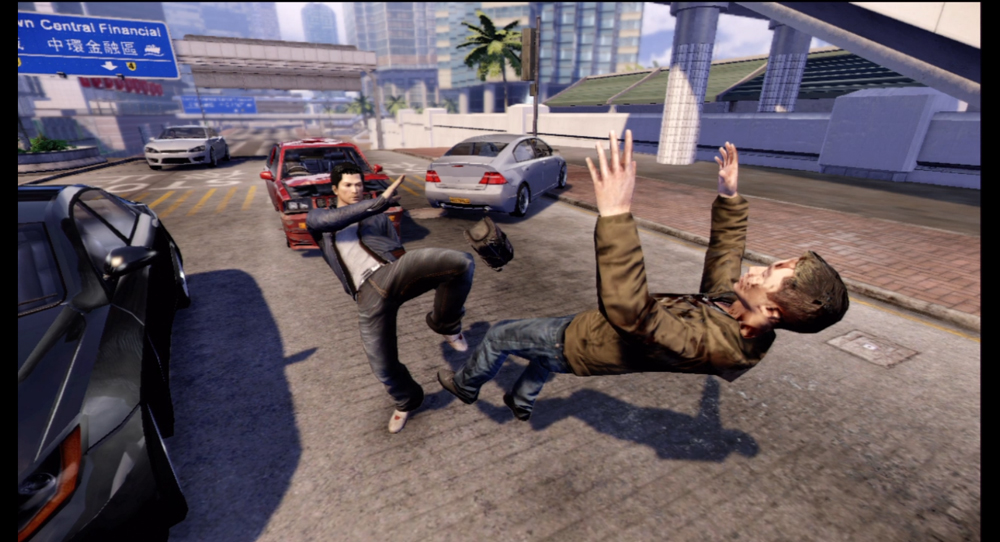
Calvin isn’t so lucky when it comes to handling money. This time an 18k member has stolen the Mini Bus payments, and you need to get them back. The early freerunning section takes you down a crowded sidewalk, which can slow you down if you carelessly run into everyone in your way. Again, there is a pursuit car waiting for you once the thug climbs into his own getaway car.
3. Hit and Run: Soho
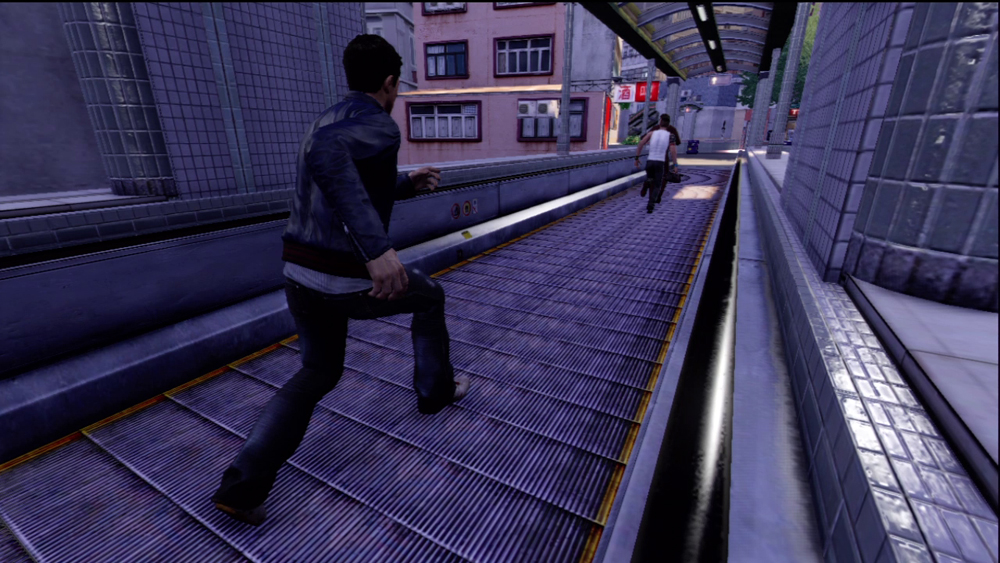
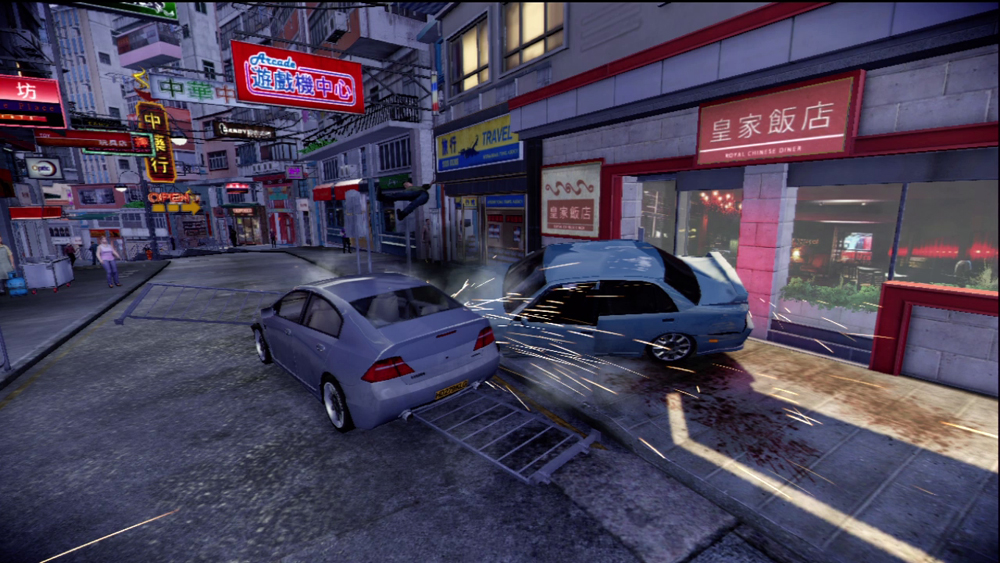
Calvin gets jumped by a thief who grabs the Night Market’s take just as you arrive. You’ll chase him across a moving walkway and down several sets of steps before he hops into a car to make his big getaway. Fortunately, there’s a car parked right next to his getaway vehicle, and you can use that to chase him down. You can either disable his vehicle through ramming, or Action Hijack it if you’re daring. After taking his ride out of the equation, beat him down to take back the bag with the stolen goods.
Junk in the Trunk
These last four events become available in the aftermath of the “Loose Ends” Main Story mission. Basically, you will go to the locations we’ve marked on the map to find cars who have had some unfortunate people stuffed into their trunks and who are shouting for help. These cars will also appear on your mini-map if you’ve gotten close enough to hear the victims shouting for attention.
1. Junk in the Trunk: Waterfront
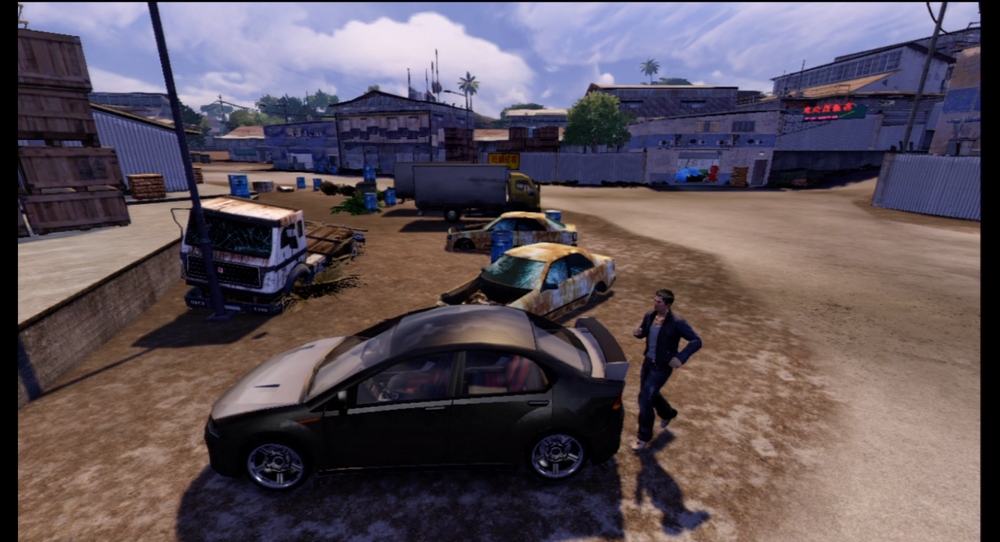
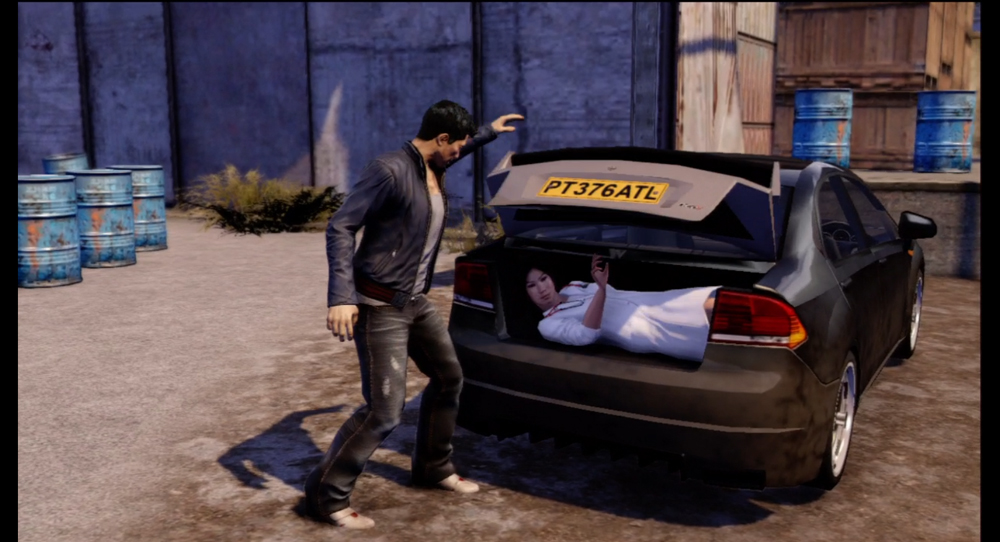
Your first rescue is a nurse, who is grateful to be released. She was apparently to be held for ransom, but Wei doesn’t know anything about that.
2. Junk in the Trunk: Island
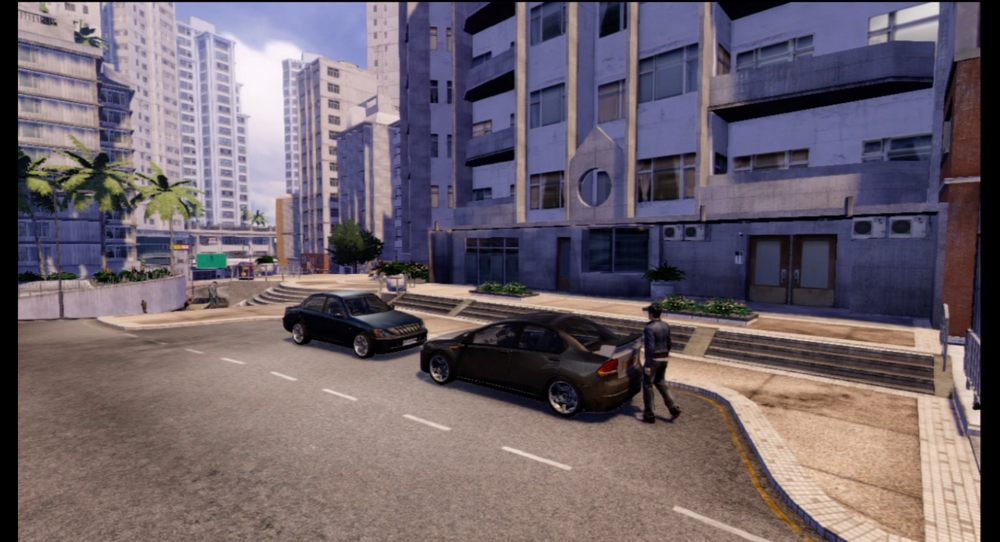
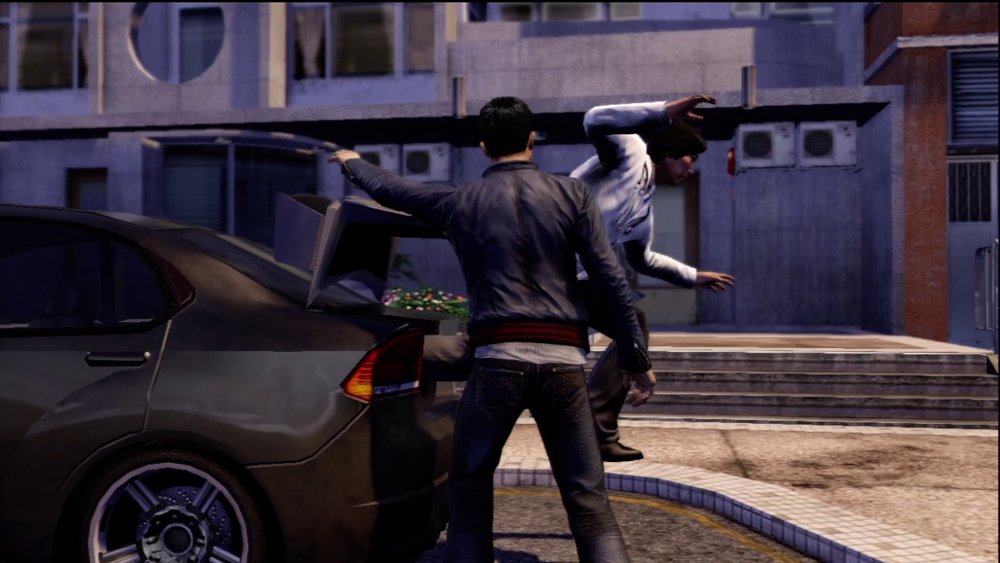
A doctor is the rescue this time around, having apparently angered the 18k enough to get himself nearly dumped into a harbor before you came along.
3. Junk in the Trunk: Central
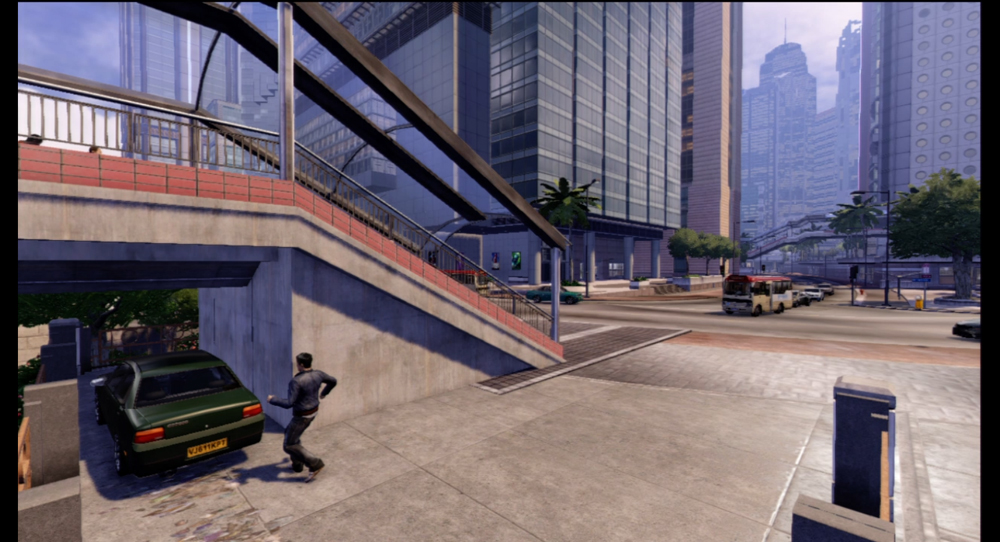
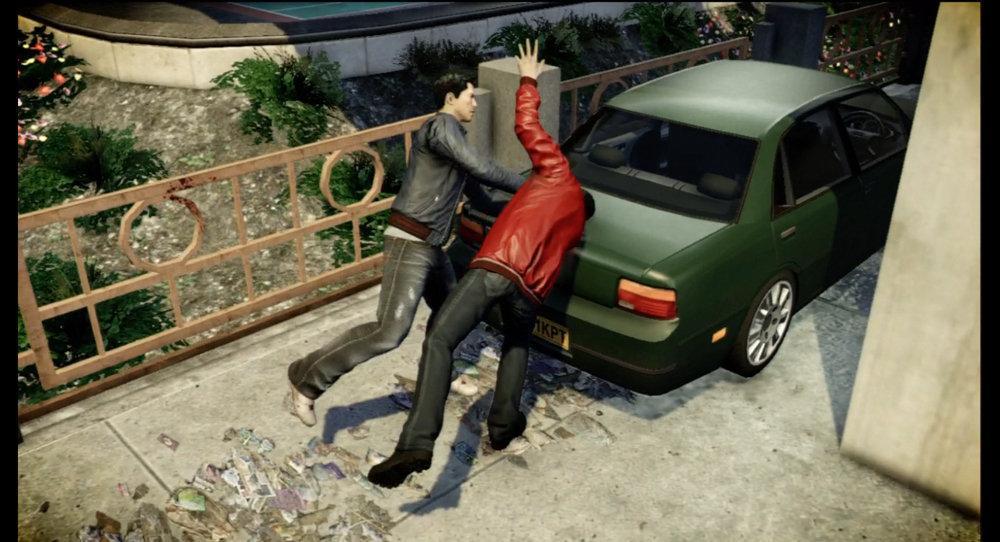
This car is hidden behind a set of stairs leading to a walkway overpass, but the insistent pounding from the trunk isn’t coming from your average victim. This guy comes out of the trunk looking for a fight, and doesn’t try to explain why he’s there. Knock him out to complete the event.
4. Junk in the Trunk: Repo Yard
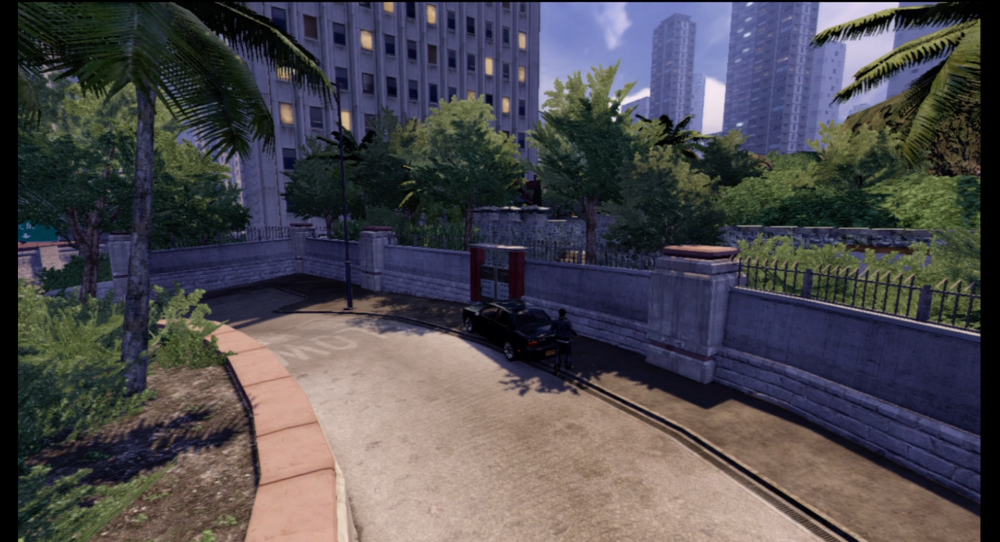
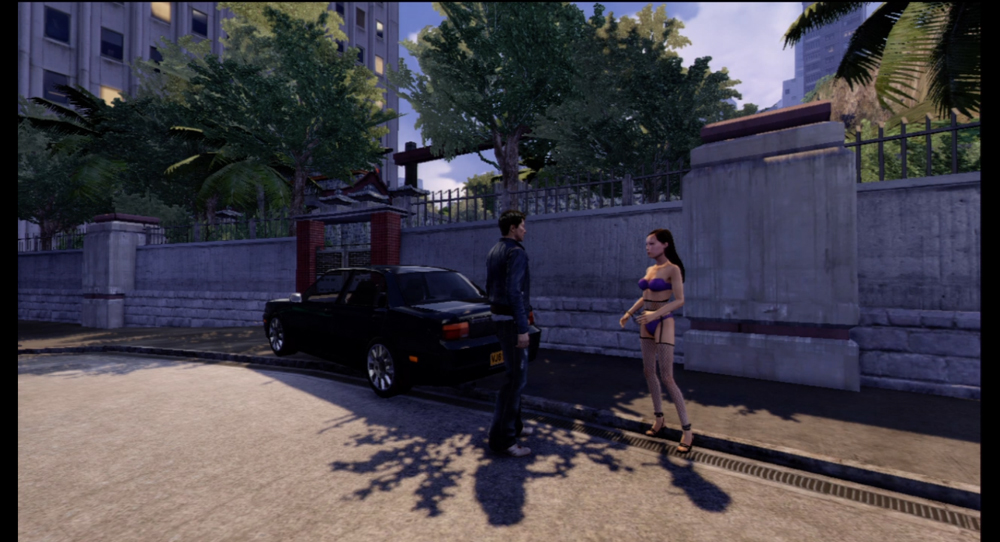
The highway construction hides the final car, but the person in the trunk this time around isn’t necessarily a victim herself. Everyone has their quirks, right?