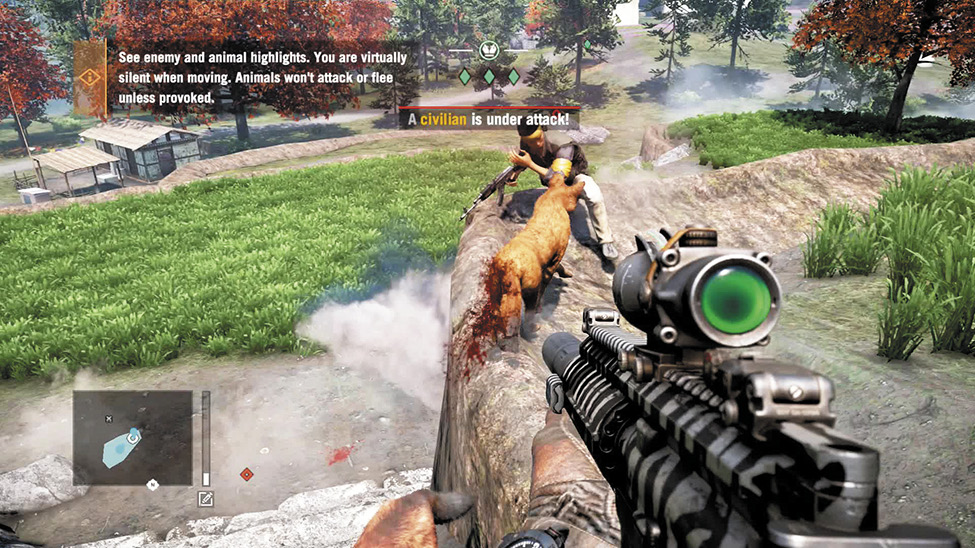
Far Cry 4 Guide Quests and Activities
Hunting
It goes without saying that Kyrat is a wild place. Any country where you can go out for a Sunday jog and see a leopard try to take down a rhino qualifies as officially not in Kansas any more. And despite the many occasions when you’ll have to “hunt” out of sheer self-defense, there are plenty of times when you need to hunt for a very specific reason.
Hunting quests come in three types: Control, Supplies, and Survivor.
Hunting: Control
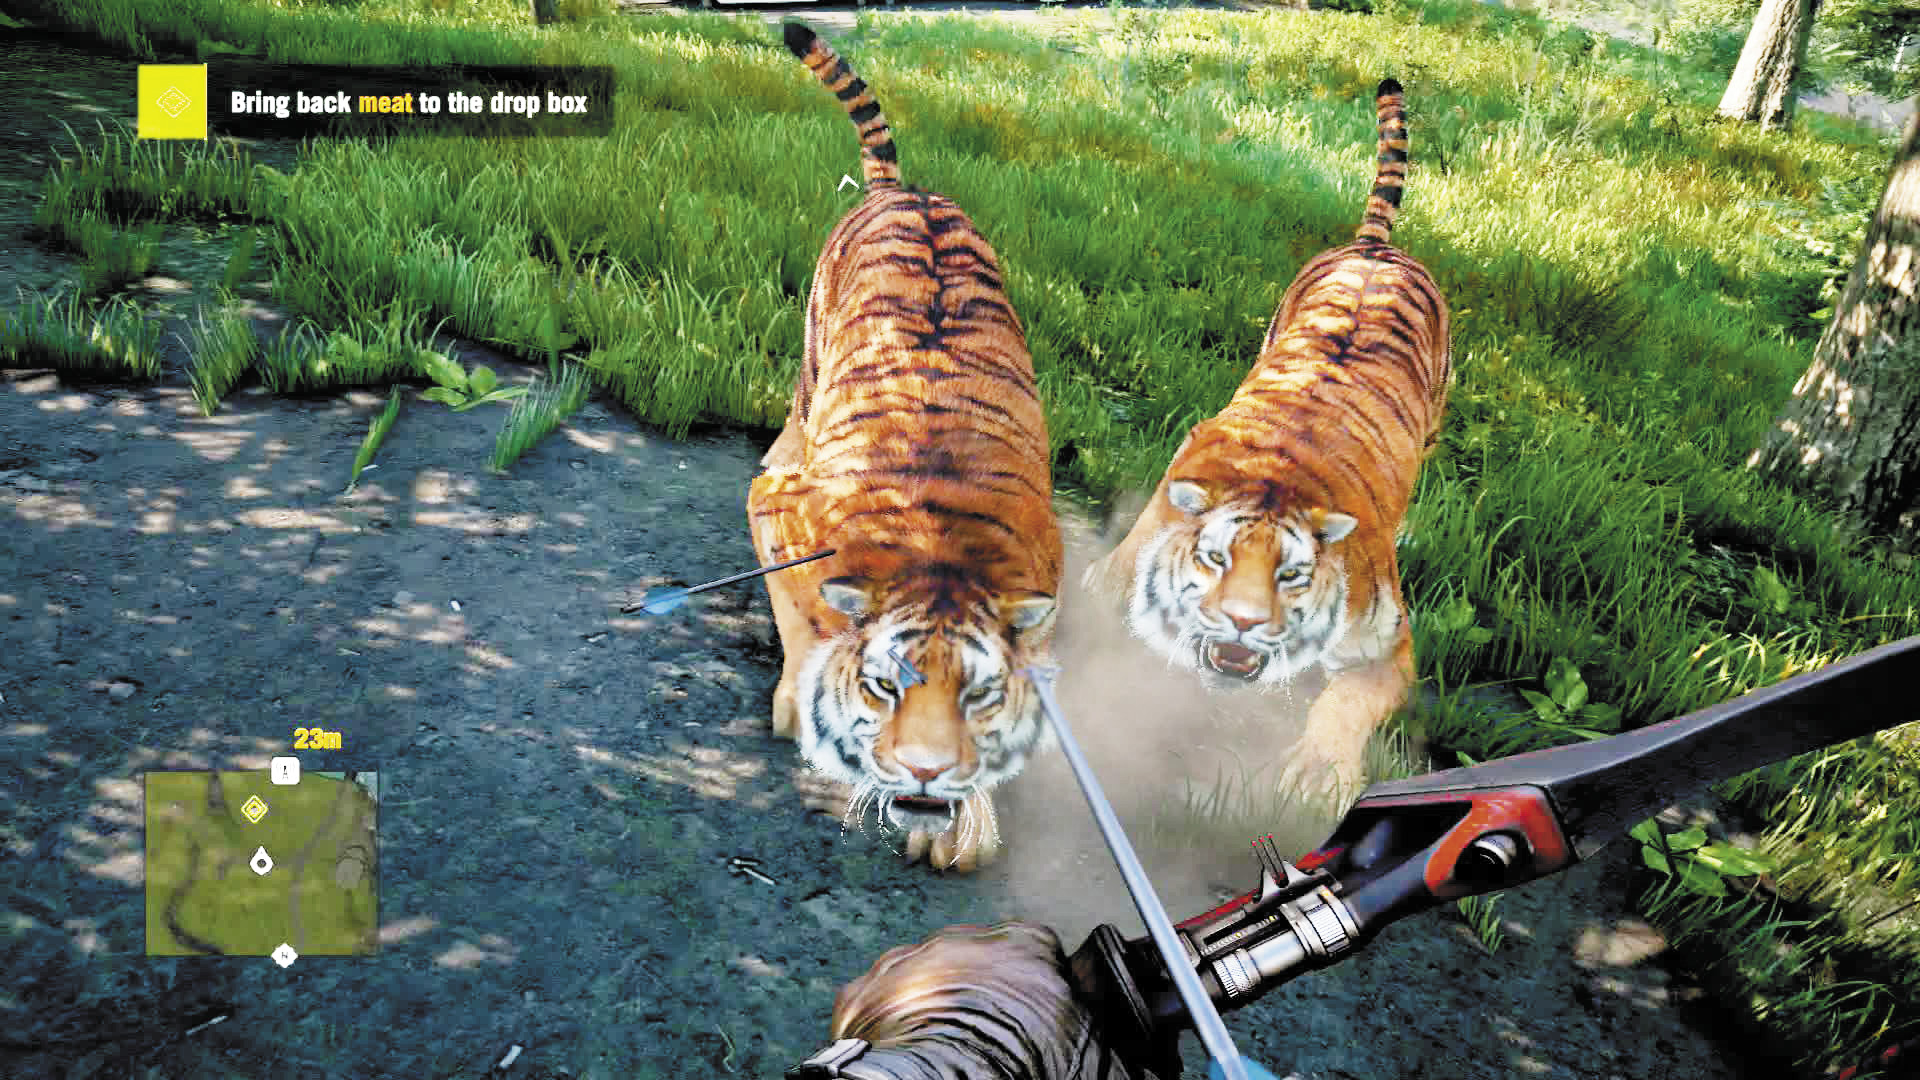
Control quests involve putting down rogue animals, sometimes by the pack. You’ll always have multiple areas to purge, but you can handle them in any order.
Shanath
Location: x:446 y:605 Target: Dholes
Just outside the arena, you’ll find a yak herder with a unique problem. It seems chemical runoff from the nearby heroin refinery has driven the dholes in the area into a murderous rage. As if dholes weren’t vicious enough, right?
Once you reach the site, harvest the red and blue flowers and make yourself a hunting syringe. You’ll want it.
The cave to the southeast is the easier of the two sites. The dholes there tend to appear in clusters of two to four and are easier to manage. However, the larger group haunting the site north of the starting area run as a single pack, so it’s very easy to find yourself at the bottom of a heroin-fueled nine-on-one dogpile. Lay mines, start the battle from afar with something rapid-fire and zoomable (like a scoped AR or LMG), and have a powerful shotgun ready for any that make it to you.
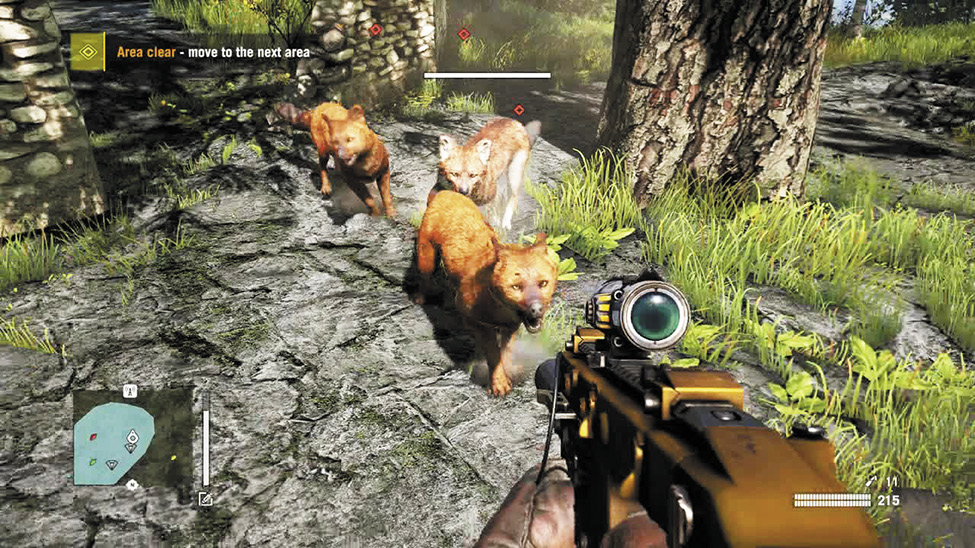
You can put these puppies down any way you like. We recommend a SPAS-12 or rapid-fire SMG like the Stinger.
Tirtha
Location: x:499 y:372 Target: Honey Badgers
A fur trapper has lost his wife in a tragic and surreal honey badger infestation. It’s up to you to make sure something like this never happens again.
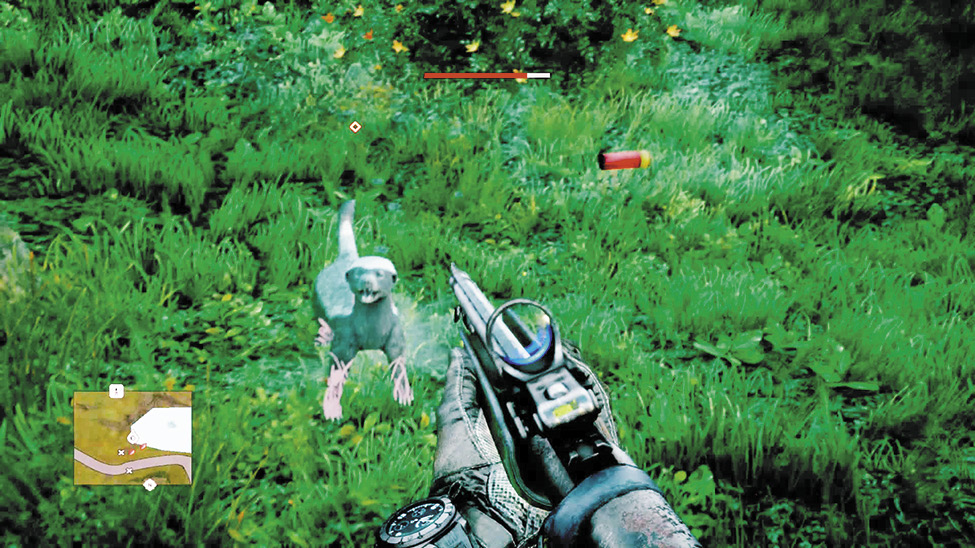
Grab a shotgun and/or flamethrower and head to the site, where you’ll find ammo in a truck. As usual, there are two locations that need to be freed of honey badgers. There’s no real strategy here other than to go slow and use a weapon with either a wide swath or a quick rate of fire, because honey badgers bob and weave like welterweight boxers, making them very difficult to hit squarely. Also, a hunting syringe will definitely help you keep track of all the little buggers. And finally, watch for the bees’ nests near the western patch.
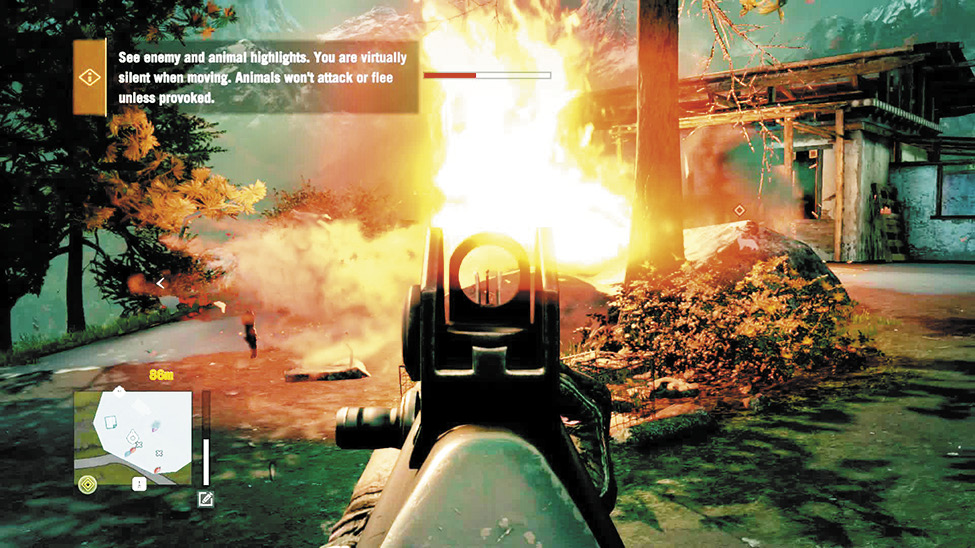
Maybe a bit of overkill, but it’s sure easier than trying to bull’s-eye a charging honey badger.
Utkarsh
Location: x:492 y:758 Target: Pit Vipers
Anuj’s brothers have all been killed by poisonous snakes. Only you can help.
When you get to the start location, pop a hunting syringe. They’re always helpful, but for this quest, when there are pit vipers hidden around every corner, the hunting syringe’s ability to reveal your quarry’s location is critical.
The cabin to the southwest hides roughly a dozen snakes, all hissing and spitting, and you may also get a visit from human enemies while you’re there.
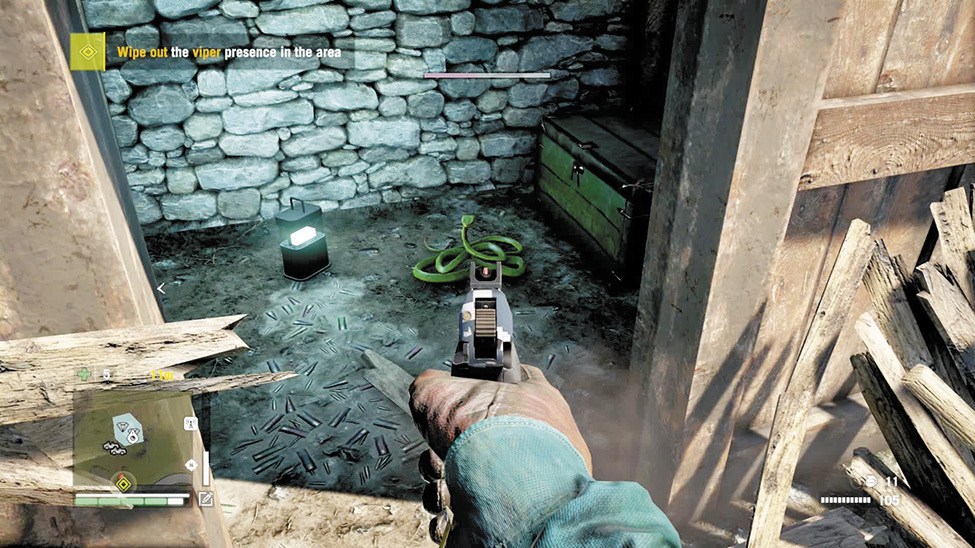
Unnamed Site (West of Sahi Jile Checkpoint)
Location: x:642 y:759 Target: Macaques
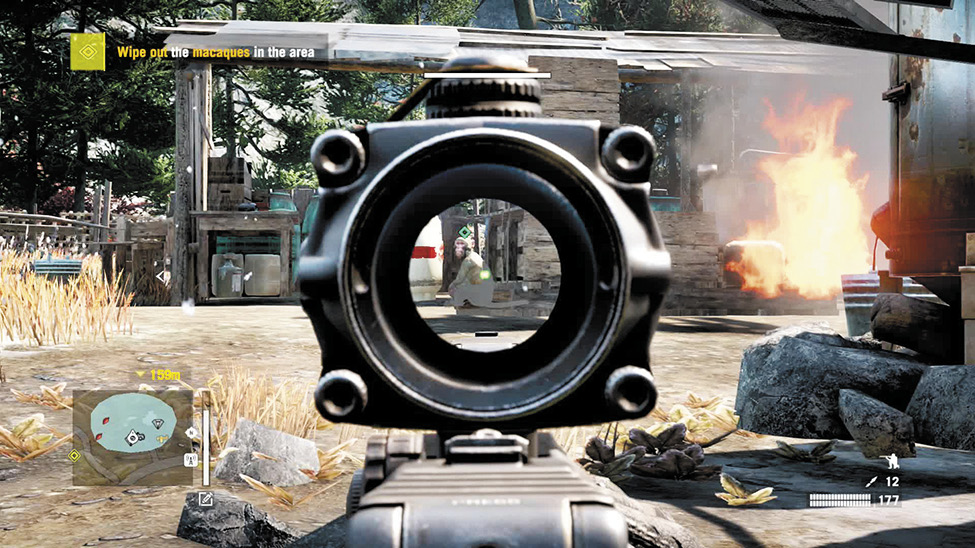
A panicky ex-prisoner thought of a wonderfully creative way to break out of the pokey: he strapped proximity mines to several monkeys and let them loose. The problem is, now he’s free and at least some of the monkeys are still running around. Try not to ponder how a prisoner got hold of both proximity mines and monkeys and focus on putting the little buggers out of their misery. Preferably without requiring a wheelbarrow to carry all your severed limbs home.
The quest marker will lead you to an overturned jeep and plenty of ammo. Stock up, then head to either of the marked sites. Keep an eye out for Min’s troops here. This is his territory.
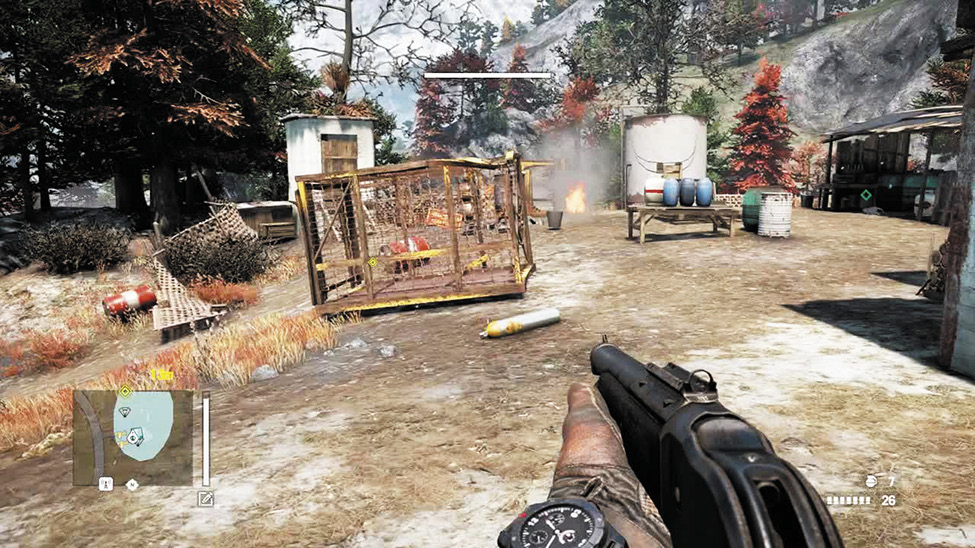
Both sites are lousy with exploding monkeys, which may sound like a great band name, but makes for a lousy afternoon if you’re trying to stay alive.
The key is to hang back and hit the difficult-to-target monkeys—or better yet, the exploding barrels littering both sites—with grenades. Then go in with a shotgun and take care of the surviving critters from as far away as possible.
Hunting: Supplies
Shanath
Location: x:447 y:607 Target: Wild Boars
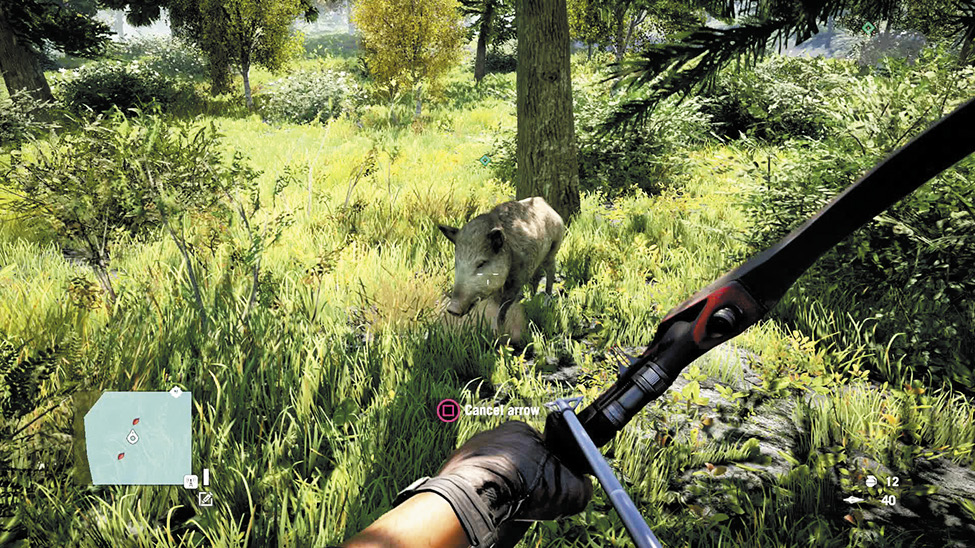
A meatcutter just outside the store has asked you to hunt some boars that he swears are so mild-mannered, you won’t even need a gun. A bow and arrows (or auto-cross) will suffice.
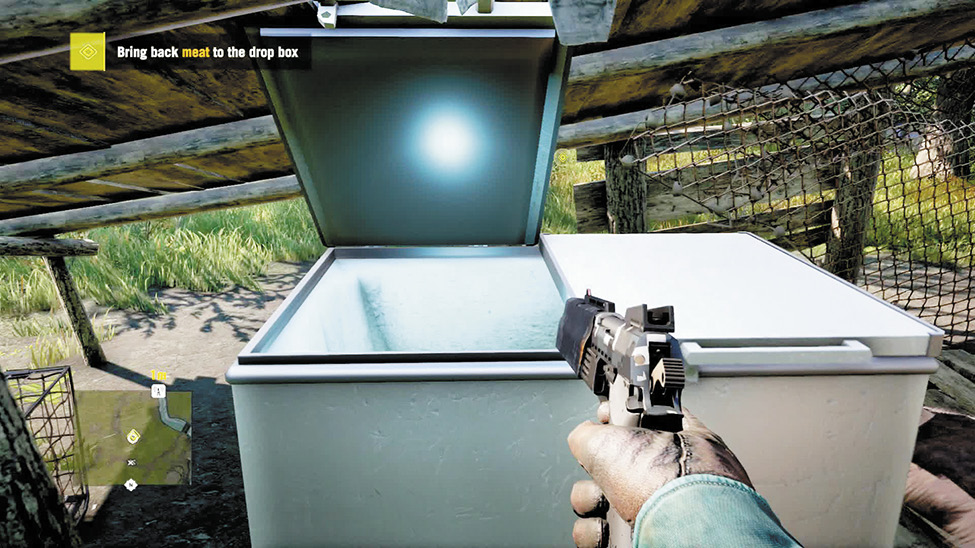
Grab the bow and arrows at the quest marker and swim or boat over to the hunting island. It should take two good shots to bring down a boar, and if you’re syringed-up, you should be able to get at least the first shot in cleanly. You’ll need to make six kills and deliver the meat back to the drop box (a freezer) in order to complete the quest.
Tirtha
Location: x:497 y:369 Target: Sambar
The villagers here are starved for proper food. And they need you to help them return to a nutritionally balanced diet…by hunting sambar with a bow and arrows or auto-cross. Don’t over-think it, man, people are starving.
Sambar are much more flighty than boars. If you can get within range, though, a two-arrow volley is often sufficient (aim for the neck). Once you rack three kills and return with the meat, you’ve done your part to ensure the people of Tirtha get the protein they need.
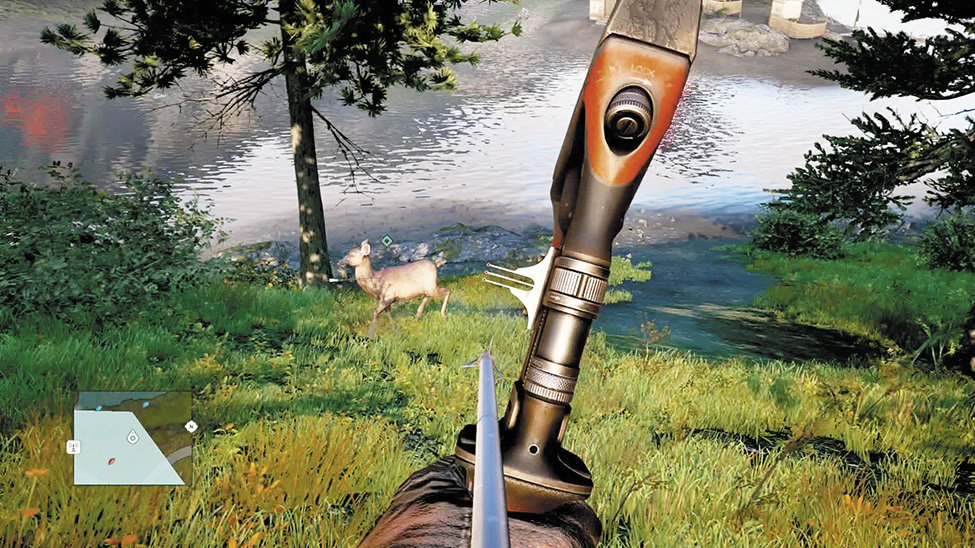
Incidentally, you may want to pop a second hunting syringe here even after you’ve bagged your limit. Why?
No reason.
Utkarsh
Location: x:492 y:758 Target: Bharals
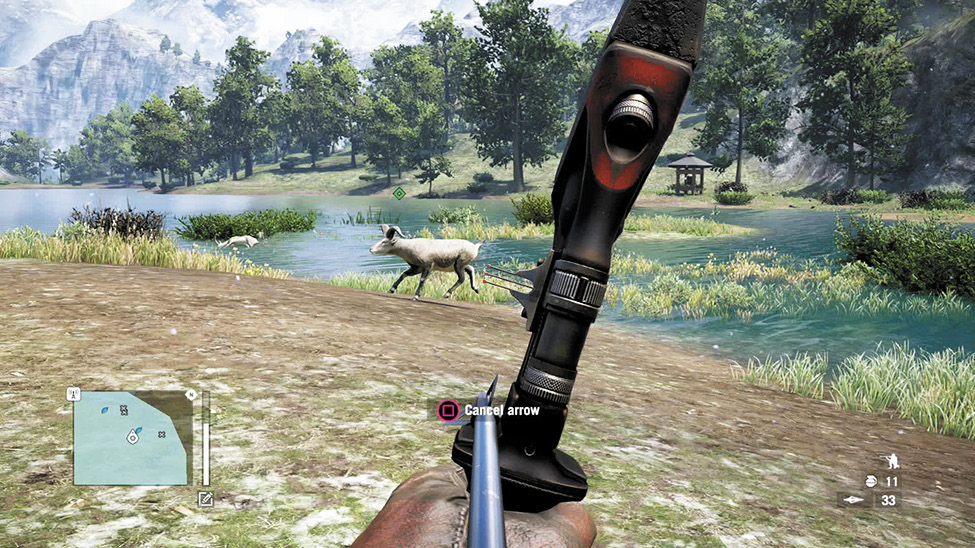
The people of Utkarsh have lost their crops. They at least need meat. That’s where you and your bow and arrows (or, as usual, auto-cross) come in.
The zipline near the ammo chest will lead you to the water’s edge, where you should find several bharals. You’ll need four in all, so you may have to search the surrounding area a bit. But the leaves for hunting syringes are everywhere and bharals are a one-shot kill, so this is still practically a milk-run. Just watch out for snow leopards near the drop box, and remember you can kill them with whatever weapon you like.
Unnamed Site (West of Sahi Jile Checkpoint)
Location: x:642 y:759 Target: Yak
An old man’s dying wish is to taste “Kyrati oysters” one last time. Hey, it’s not for us to judge.
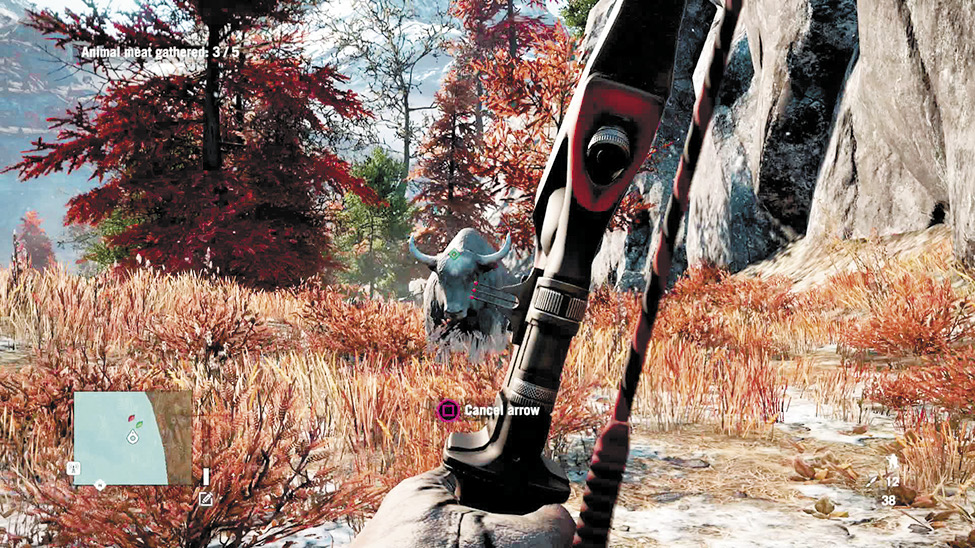
As with the other supply quests, you have to use arrows or bolts to make this kill. And it may take a while. The yak aren’t difficult to find if you’ve popped a hunting syringe, but you need five yaks, and it typically requires three good hits (two if you hit the head/neck) to render one in harvestable condition. Once you do? Mission accomplished.
Hunting: Survival
The most challenging of the hunting quests by far, Survival quests require you to keep at least one out of a group of three civilians alive while animals attack. It’s not always easy. Civilians are pretty much giant, meaty chew toys to some of these animals.
Border Observation Post
Location: x:810 y:663 Attacker: Snow Leopards
Some injured rock climbers are under siege from a leap of leopards. Grab whatever weapons you like and meet the climbers on the rocky cliffs.
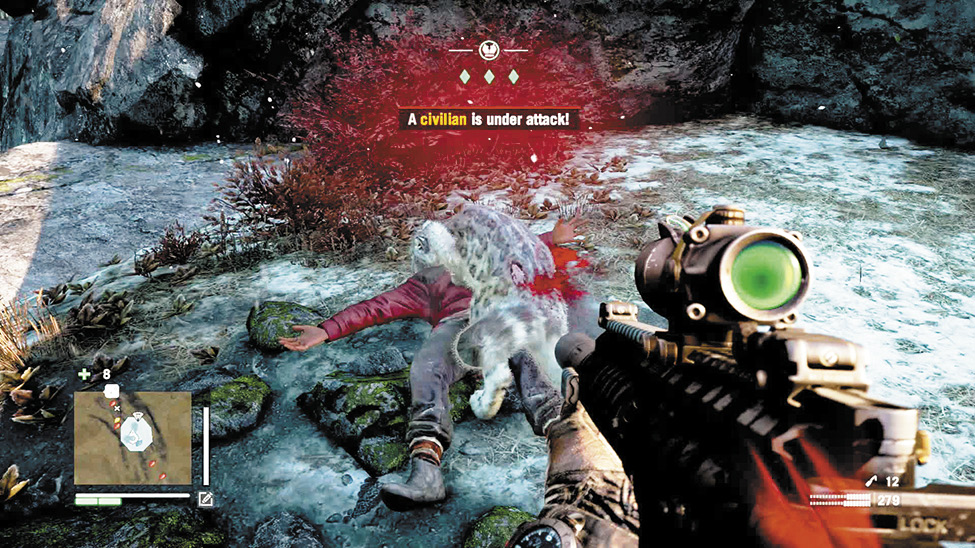
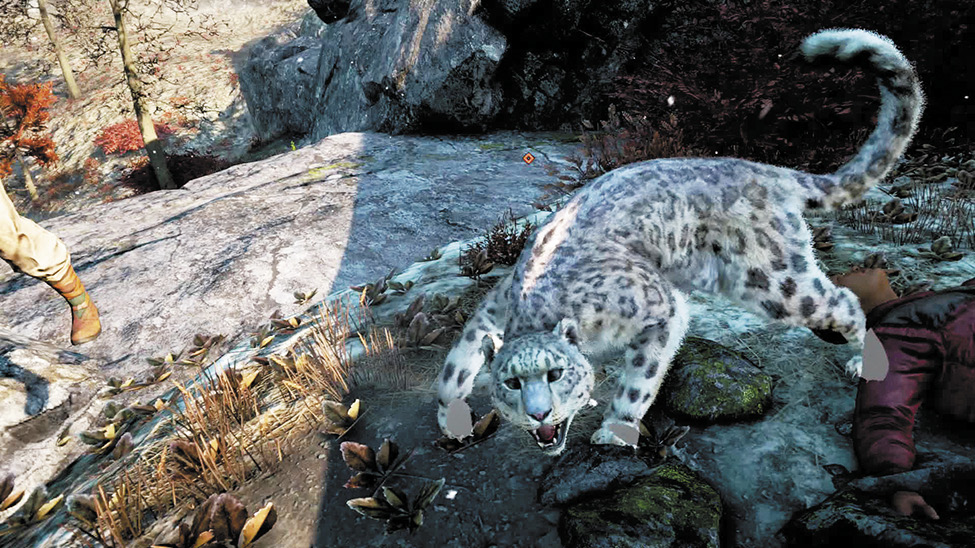
An NPC will tell you to grab Molotovs. That’s not a bad idea at all, as the cats hate fire. A few mines wouldn’t hurt either, because the cats will come exclusively from the sides. As for the civilians, if they’re on their feet, they’re salvageable, but once they get tackled, they’re pretty much toast. The civilian occupying the upper ledge has the best chance of surviving, as she’s the farthest from the spot where the cats leap up. Finally, this is a good place to pop an overdose syringe if you have it, as the ability to deal double damage should keep you from taking much damage at all.
Rochan Brick Co. Storage
Location: x:439 y:542 Attacker: Tigers
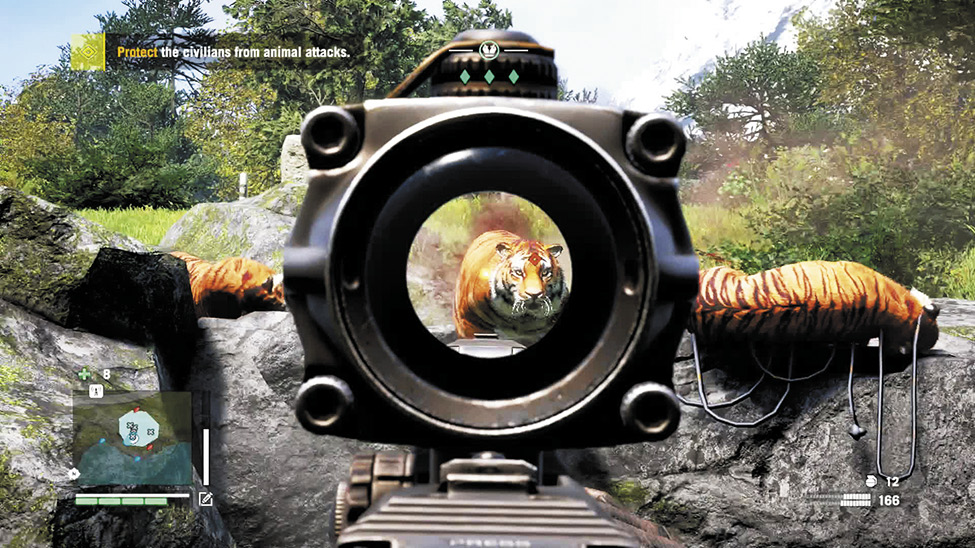
An ambush of tigers is closing in on a trio of civilians near the river. With tigers flying all over the place, keeping even one civilian alive is going to take some doing.
The usual prep is in order: hunting syringe, and a lot of mines, especially on the sides, where the path meets the water. Why not the raised ledge? Because that’s the direction you’re going to face. Stand back near the water line and focus on keeping that area clear.
Weapon choice makes a big difference here. For example, the harpoon gun is a comical one-shot kill that knocks the tiger safely away from the civilian under attack. However, it takes about an hour to reload, so it makes a better emergency fail-safe than a main weapon. You want something that kills very quickly, but that won’t inflict friendly fire damage upon the civilians. So skip the shotgun and go for a signature LMG or AR, like the Ripper or the Bushman.
Royal Guard Kennels
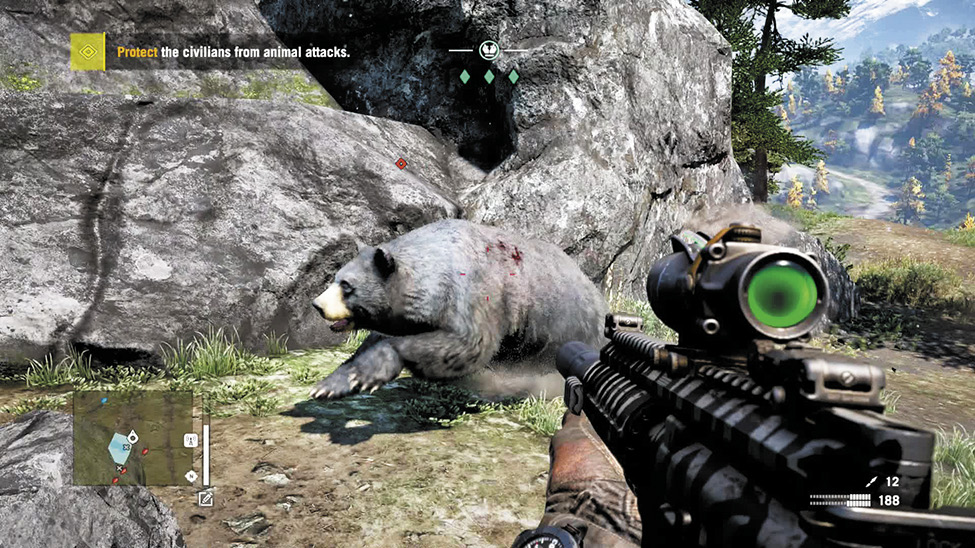
Location: x:606 y:708 Attacker: Bears
Three civilians hanging out near a bear’s den. What could go wrong?
As long as you have a high-damage weapon and a syringe popped, this one isn’t so bad. Watch for those telltale red diamonds to appear and meet them with a head-on hail of bullets, and you should get out of this hunt with all three civilians intact. You’re going to get six bears in all. One from each side, then two from the cave, then one more from each side.
Shanath Training Ground
Location: x:254 y:541 Attacker: Honey Badgers
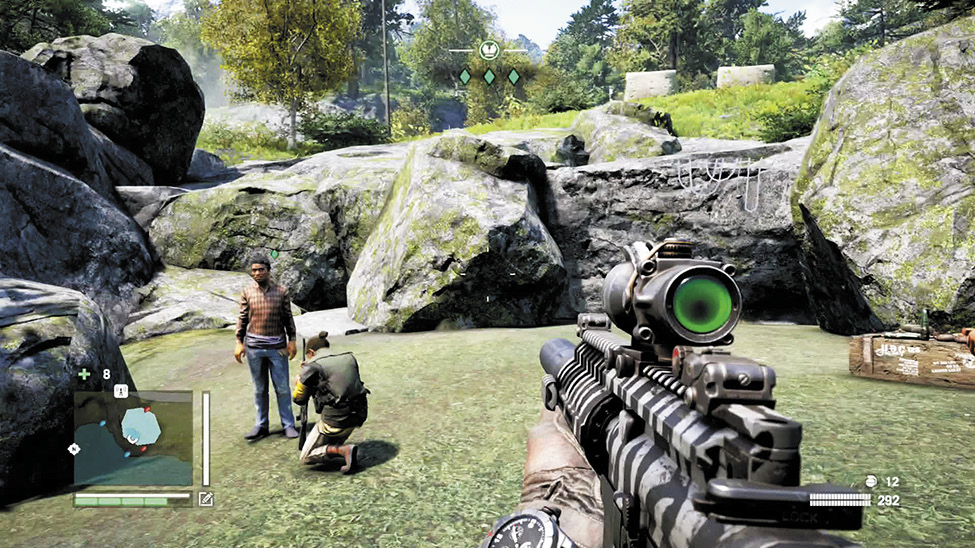
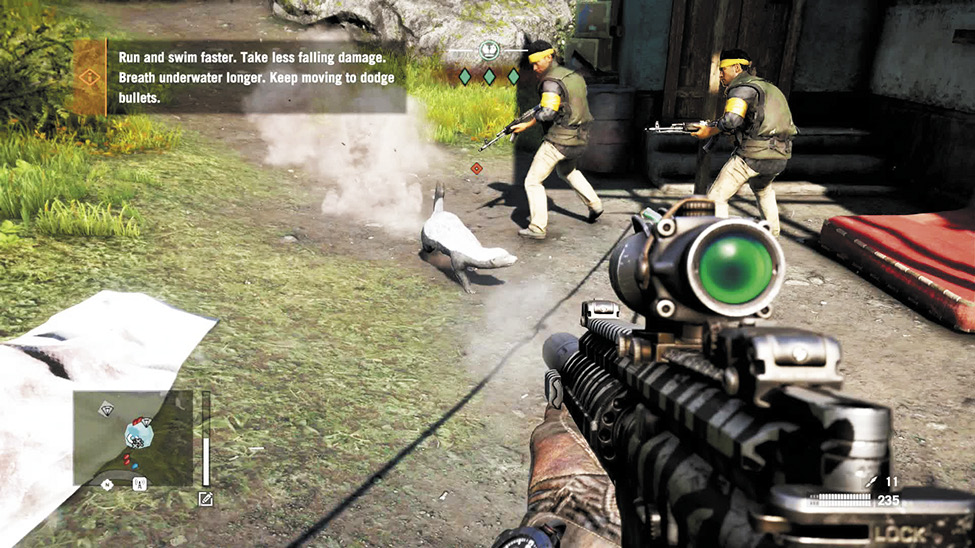
As usual, one of the civilians is already sitting on the ground, the victim of an injured leg. If you don’t mind losing a person, this is not a problem. If you’re trying to save all three, she’s a clear liability. Luckily, the other two guys have AKs, and they use them fairly well. The first wave of badgers will mostly come from the north, either up from the lane or through the scrub on the sides. The second will trickle down from the ascending path to the southeast. Resist the temptation to roam the map here. Stay home and create a nice three-way crossfire with your assistants and everyone will survive.
Shikharpur
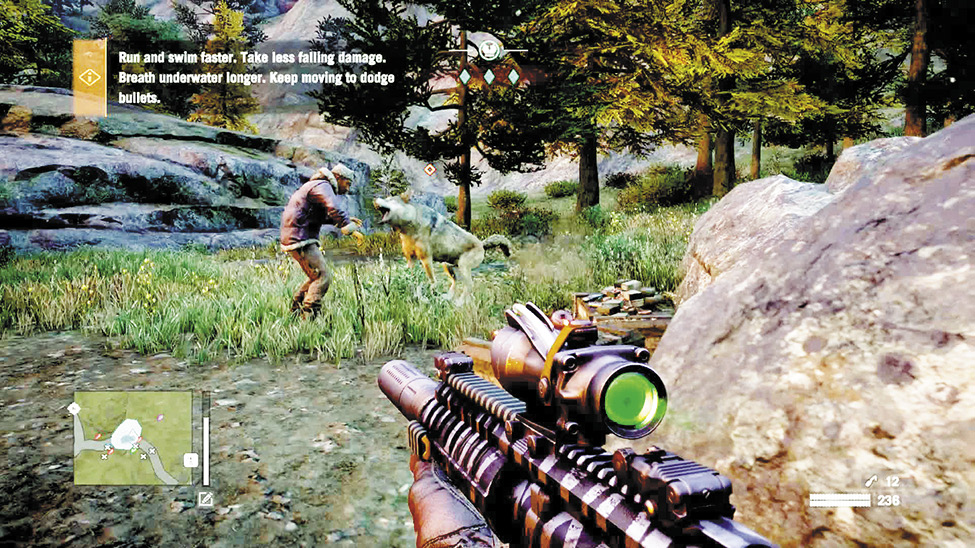
Location: x:674 y:699 Attacker: Wolves
On the plus side, two of the three civilians in this quest are armed, so you’ve got some assistance. On the down side, you’re completely exposed, so the wolves can approach from almost any direction. One of the civilians will suggest you set mines. This is a good call. In particular, place mines in the grassy area to your east (near the mine chest), where a gap between the boulder and the huge rock gives the wolves a clear alley to run up and ambush you as you monitor the roads to the north and southwest, which is where most of the wolves will appear.
Varshakot
Location: x:506 y:430 Attacker: Dholes
This hunt takes place on a terraced field with a good view in three directions. One of the civvies is injured, though, which adds tension. The good news is, the dholes can’t jump the terraces, so they have to approach using highly visible paths and stairways, which gives you nice, long shooting lanes. The bad news is, they’re wickedly swift, so if you miss, they can be on you in a heartbeat. Place mines on the stairs and be ready with a shotgun or LMG.