
Far Cry 4 Guide Campaign Missions
Ashes to Ashes
It’s time to put a bullet in someone you actually want to kill: Pagan Min. So hop in one of the vehicles outside and head to the mission marker. Once there, you’ll learn the Golden Path is gathering together for one final assault.
As always, you can ride onto the battlefield any way you like. The Golden Path base has a dune buggy, a slow-but-durable cargo truck, and a buzzer, and you probably drove something here as well. But Min’s soldiers will start blanketing the area with mortars and rockets as soon as you come within range, so for once we don’t recommend the buzzer.
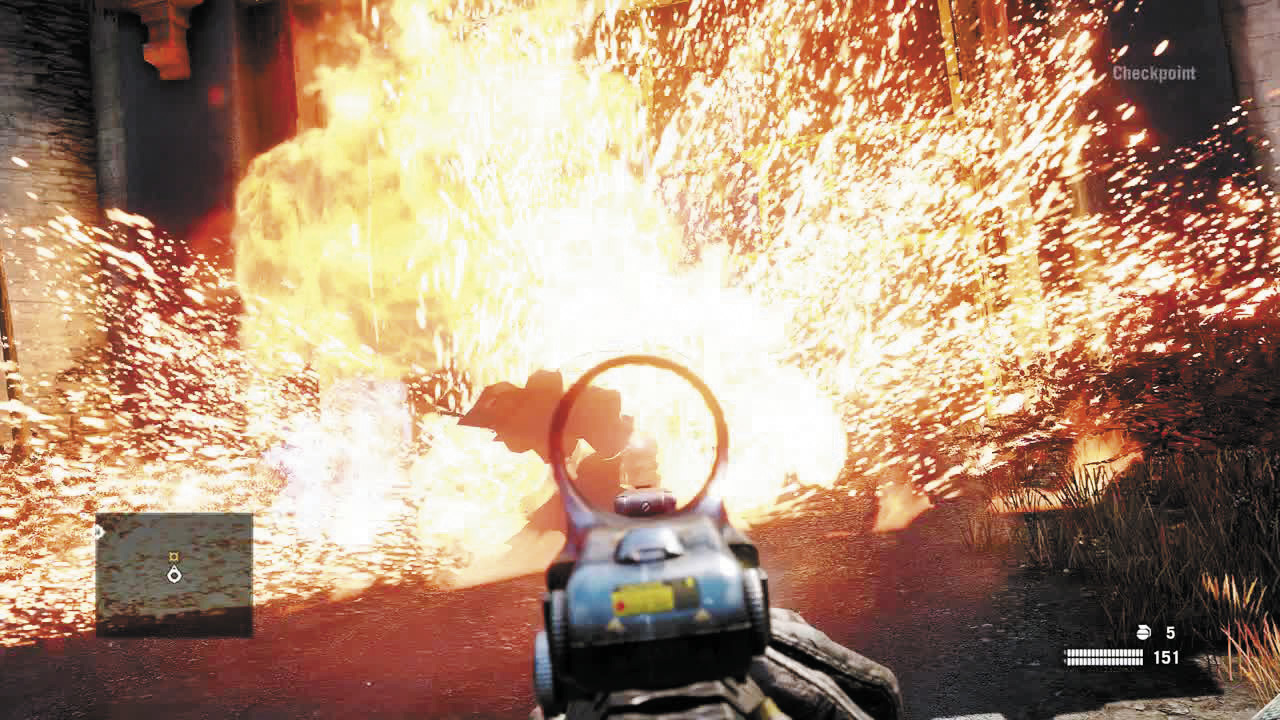
There’s more than one way to breach a gate. But pretty much all of them involve large explosions.
Once you get there, you can charge up the main thoroughfare—it’s a pretty straightforward shootout. Or you can watch the cliffs to the right of the road, where those telltale zig-zag ropes mark a grapple point that brings you up on the side of the wall. Then, just climb a couple ledges and you’re over, easy-peasy.
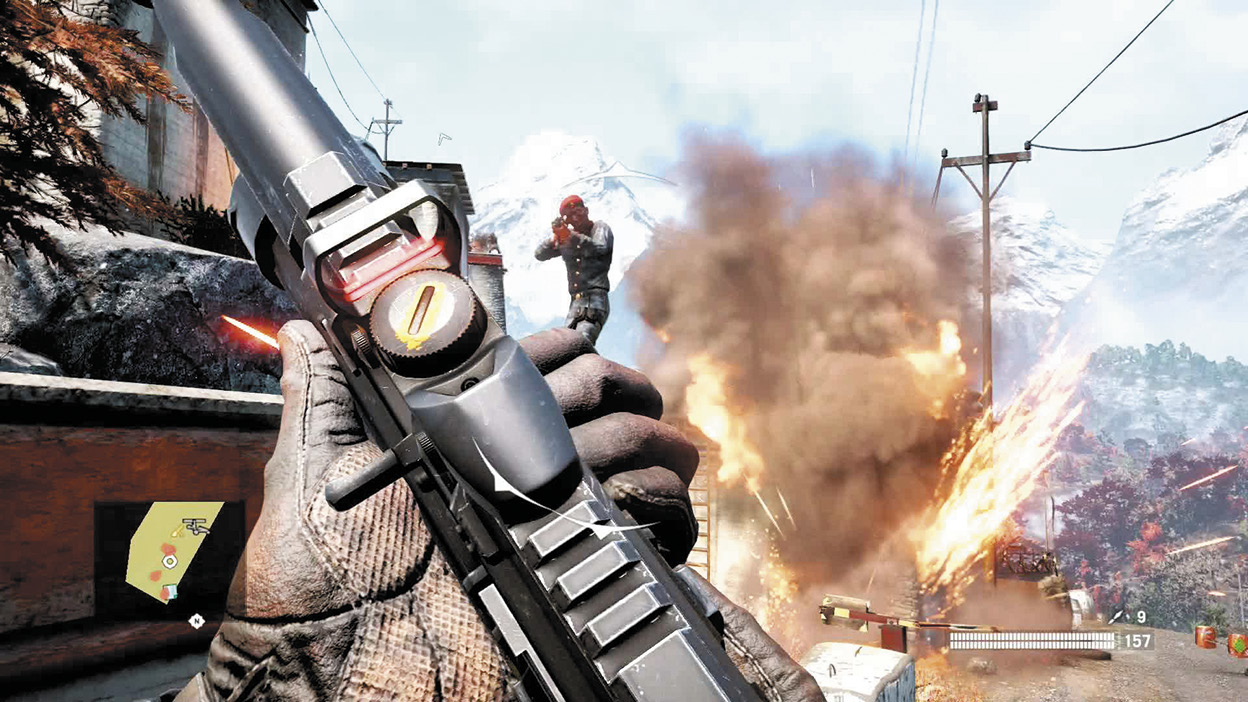
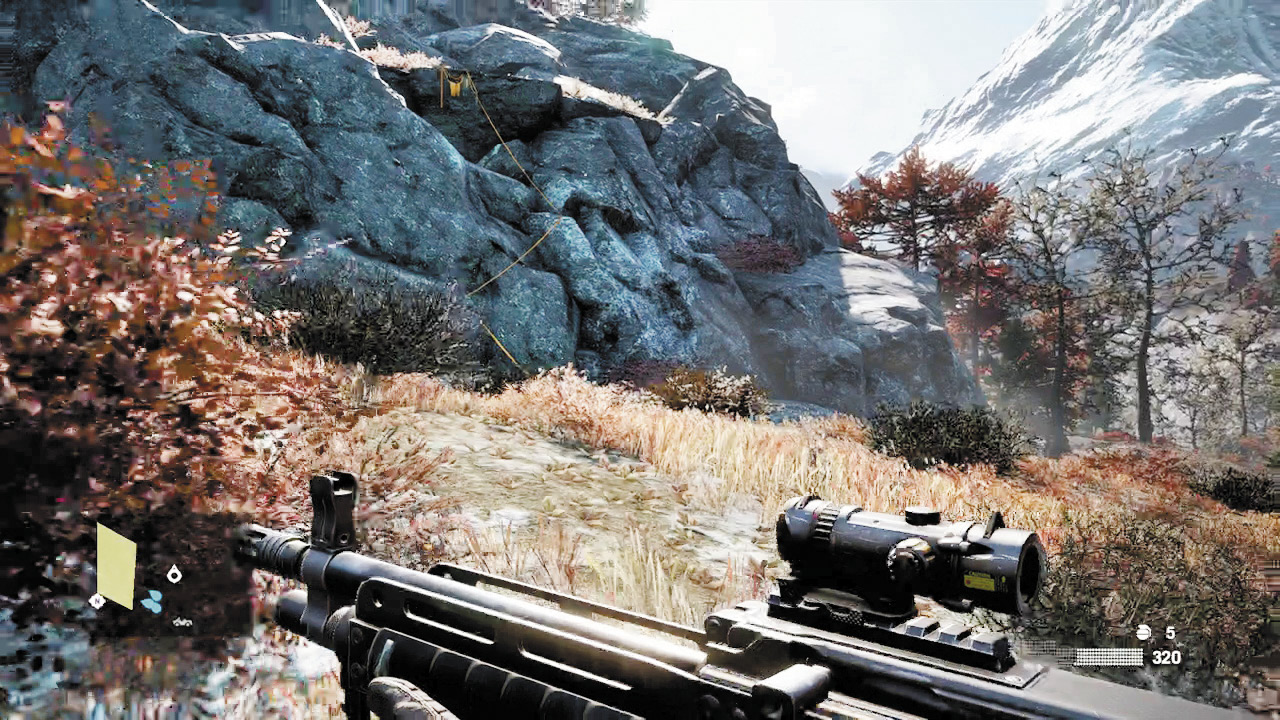
You’ll come up between two heavy wood gates, both of which need to be breached with explosives. Hit the blue gate to the north first. Grenades, C4, rockets, or mines should do it. You’ll have to clean out a ton of Royal Guard troops as well (watch the walls). Then, breach the red gate to the east. But instead of going through it, stay put and snipe as many enemies as you can from this side.
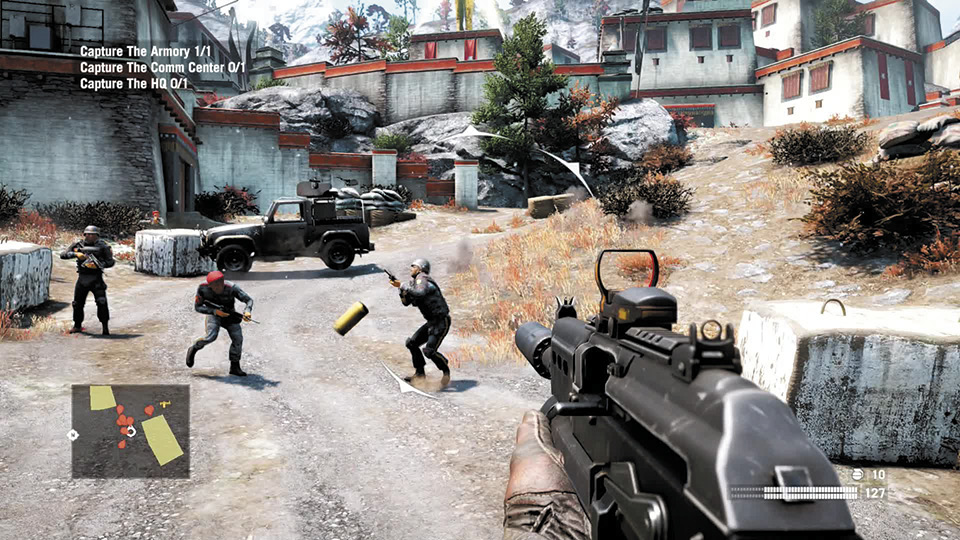
Min’s forces will begin to pour in from the east at this point, including a technical that will swoop in the minute you walk through the gate. But it can’t target you very well if you backpedal a bit and stay on the other side of the shattered gate. You clever rascal.
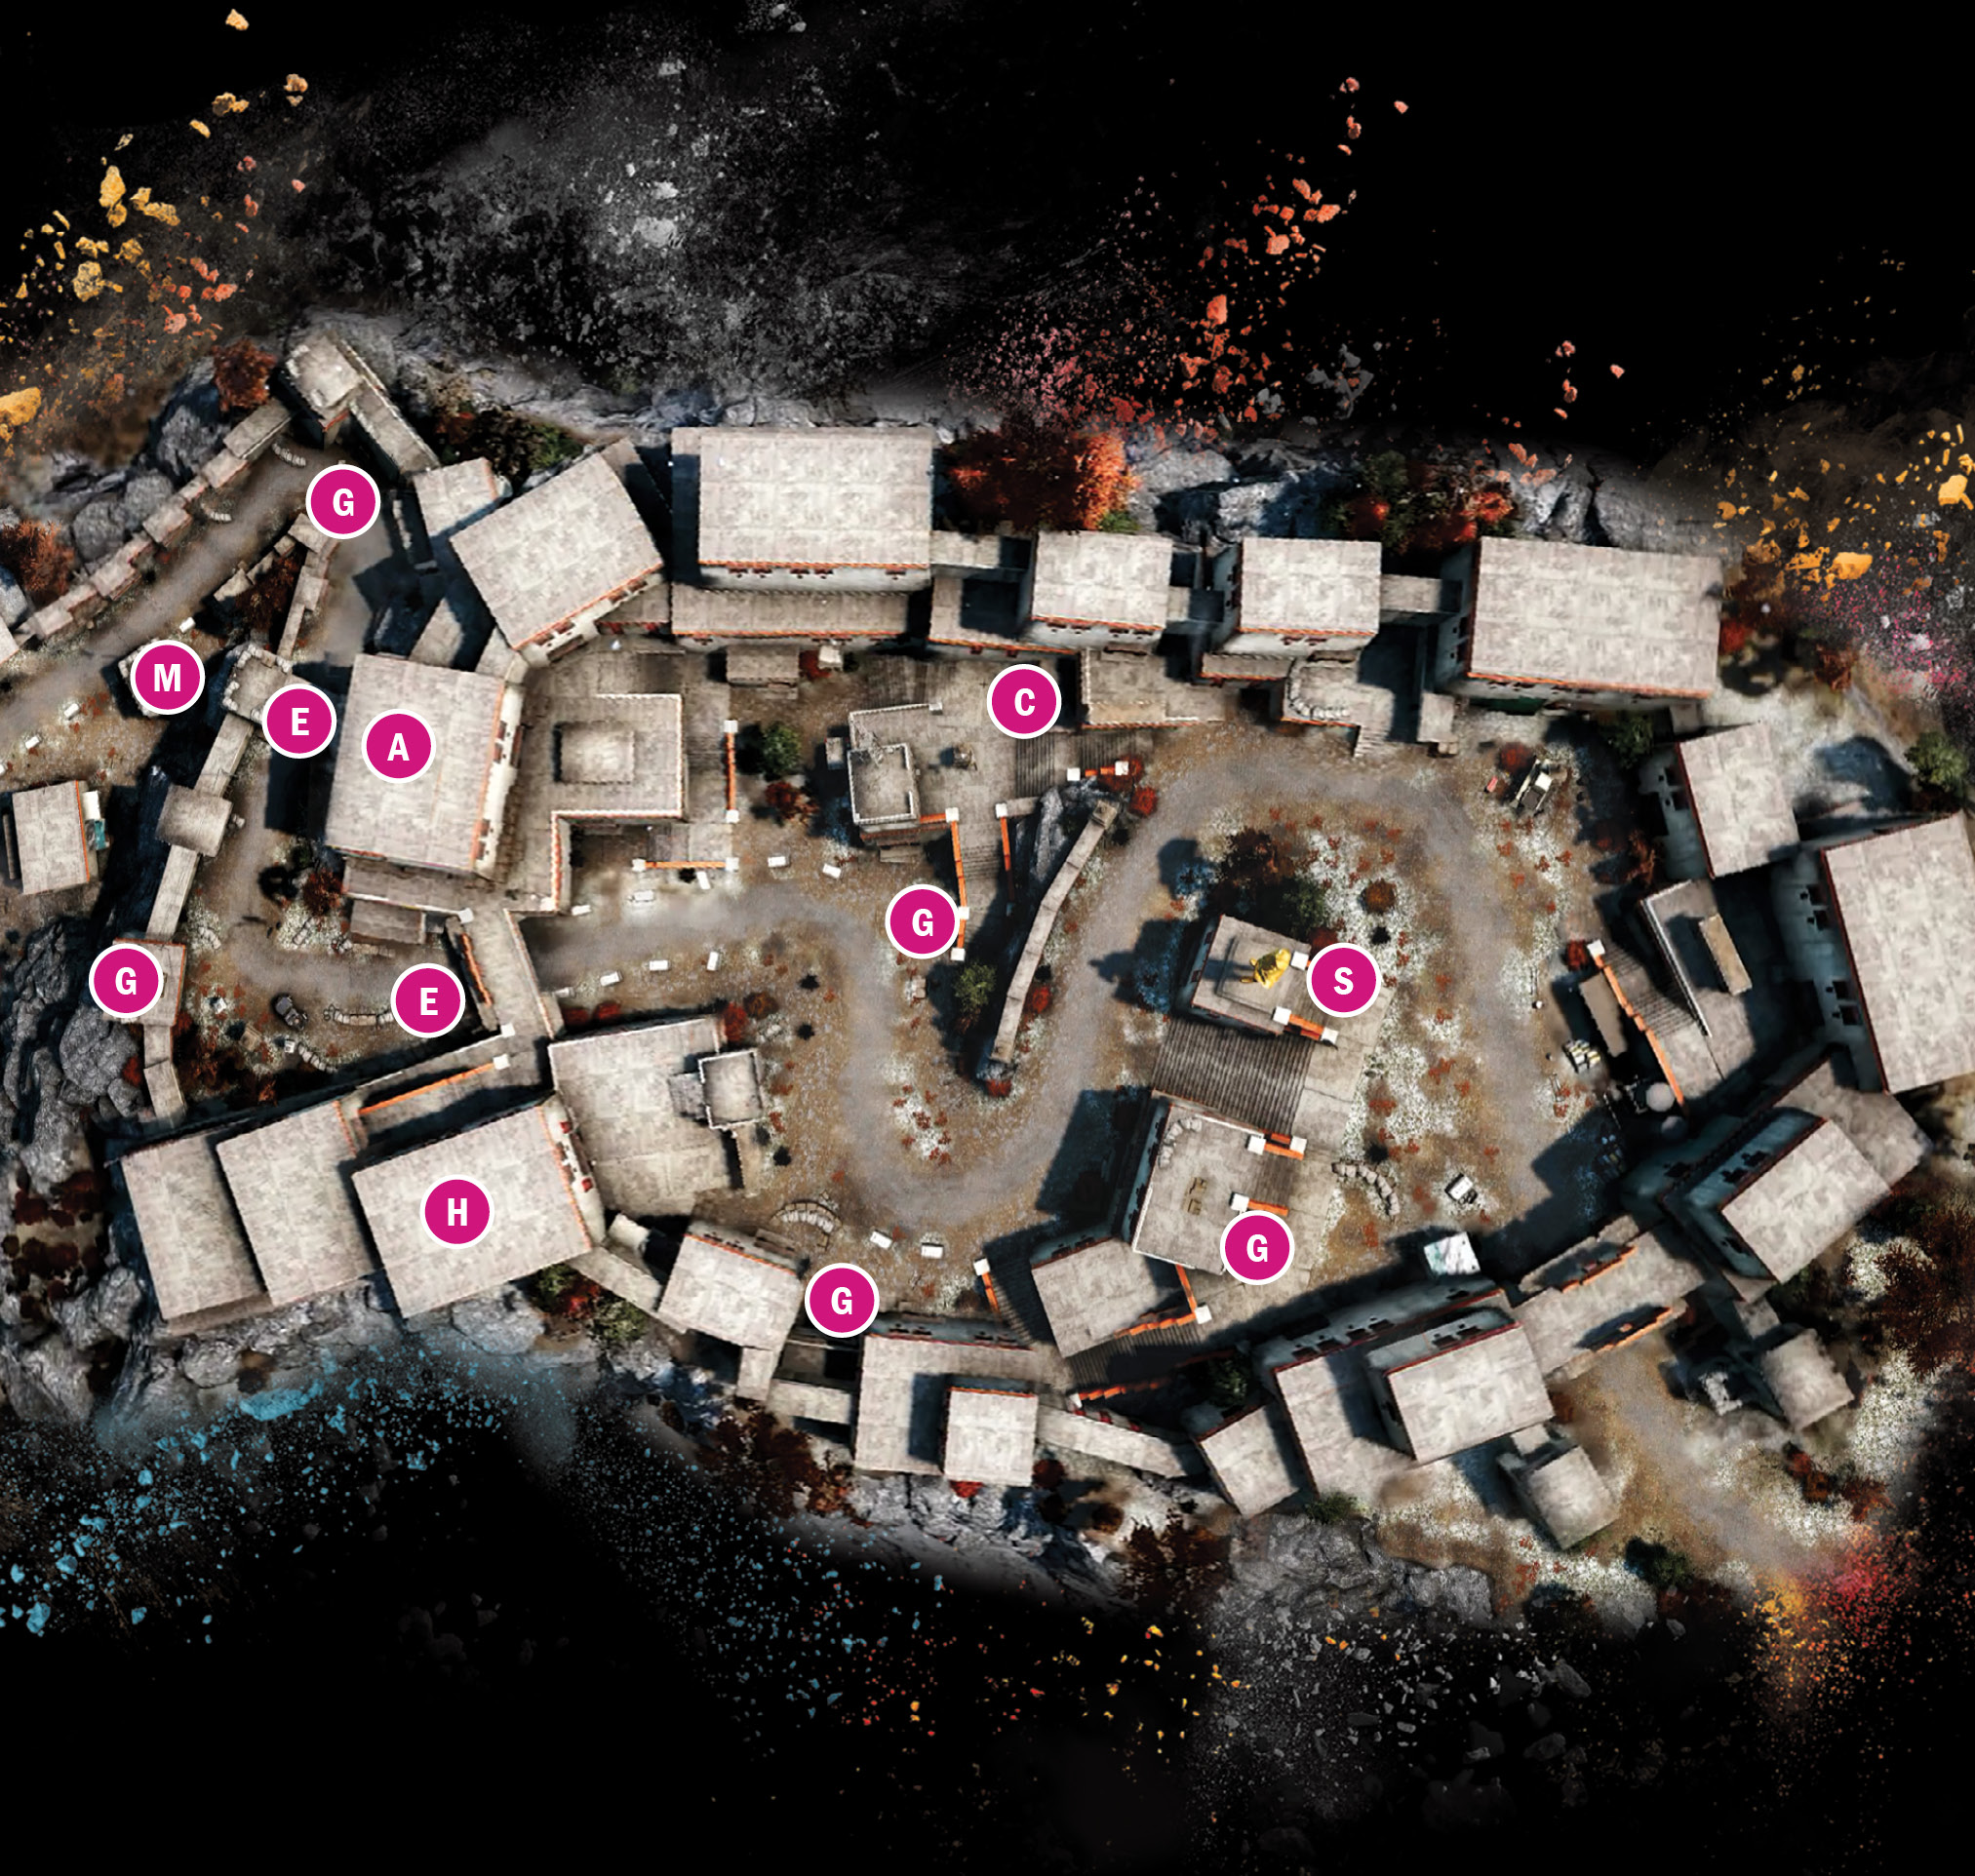
Royal Fortress
 Armory
 HQ
HQ
 Comm Center
 Gate/entrance to area
 Mortar
 Mounted gun nest
 Min’s Statue
When you’re able to enter the courtyard without a crossfire ripping you to pieces, proceed through the gate. You’ll have three new targets to take over: the Armory, the Comm Center, and the HQ.
Let’s take the Armory first. Move to the north (left) side of the street and get as close as you can to the technical without losing the cover of the low cement wall that runs along the street. This will give you a great angle on the troops charging down the main road. But keep an eye on your mini-map, as a few will still straggle in from the north. When you reach a break in the action, veer straight left and up the L-shaped stairs, onto the building’s roof. Here, a open door to the west leads into the Armory.
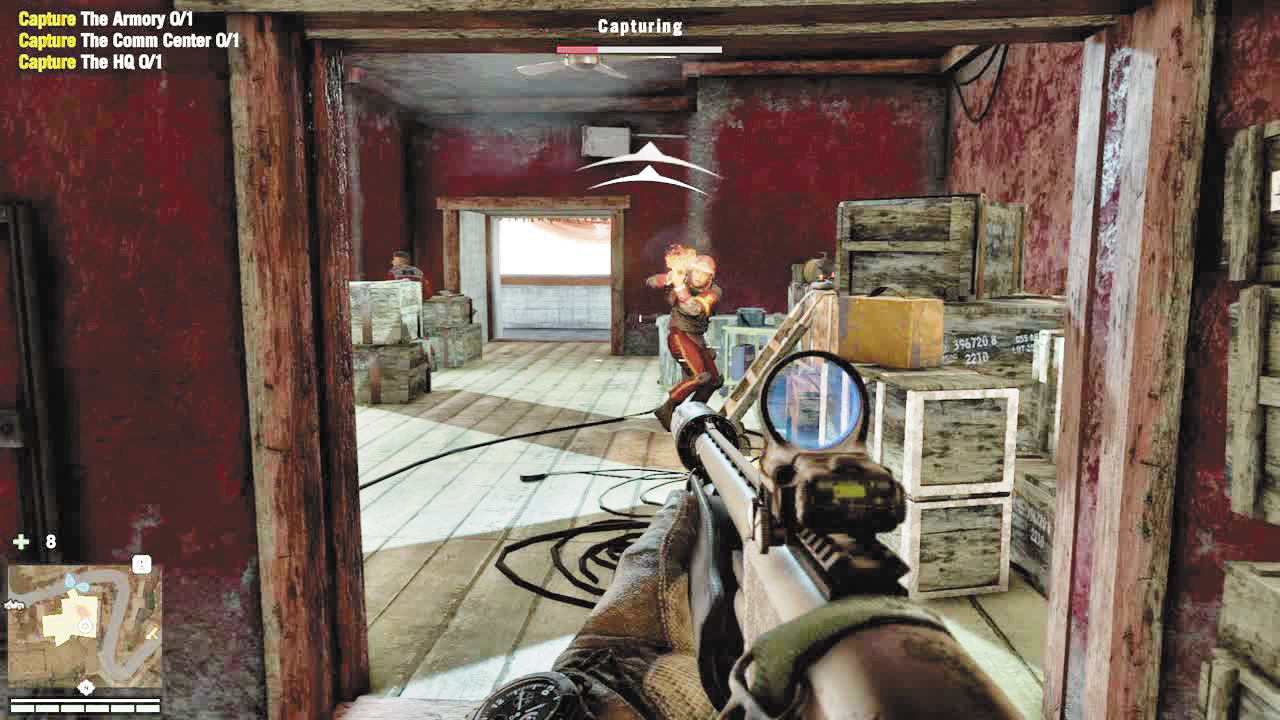
By now, you should see a meter onscreen, slowly filling to indicate that you’re taking over the armory. You should also see enemies pouring in through the doors. They hate when you take over things.
Hold out until the meter finishes and disappears. When it’s done, so is your business here.
Now let’s see about that Comm Center. Spend a moment on the roof as you leave, shooting down on Min’s forces from an almost unfair angle. A helicopter will join the fray here, so either blow it away or hide until one of your rocket launcher-toting wing men does the deed for you.
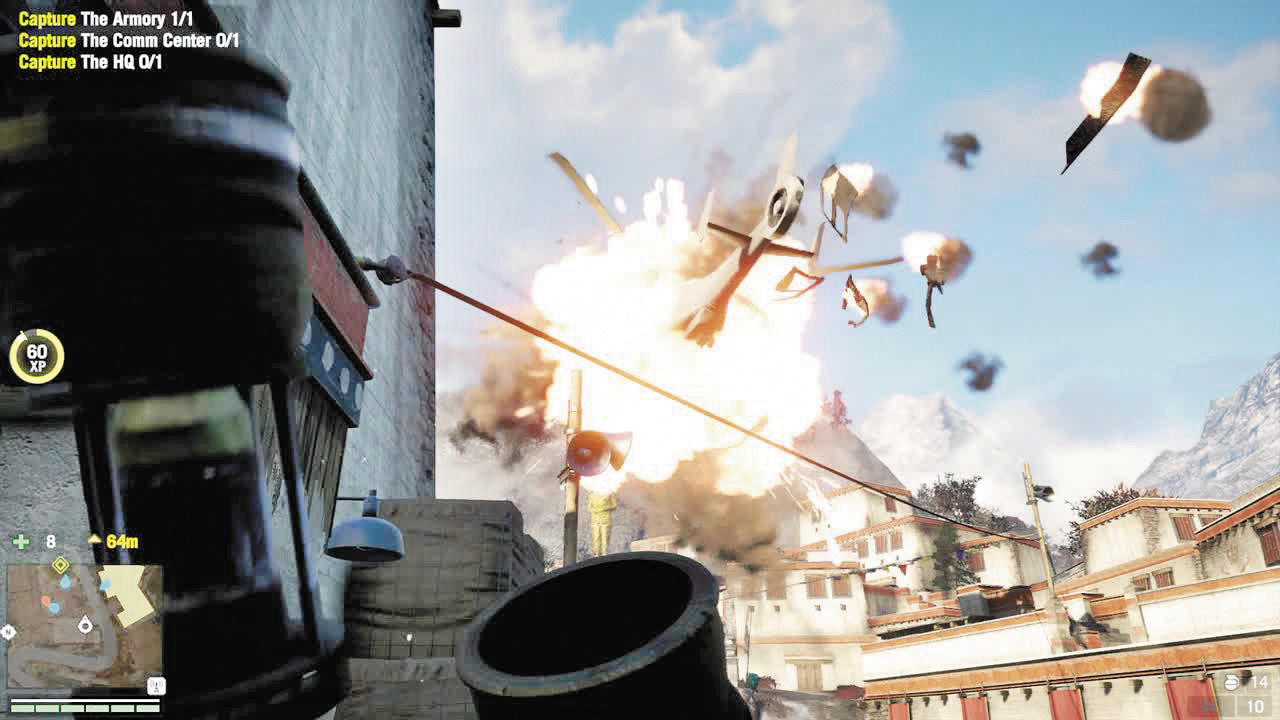
Once it’s safe-ish, run straight east, down one set of stairs and up another to reach the Comm Center. You’ll likely find at least two enemies inside, but it only has one entrance to monitor. It’s also the size of a closet. Happy camping!
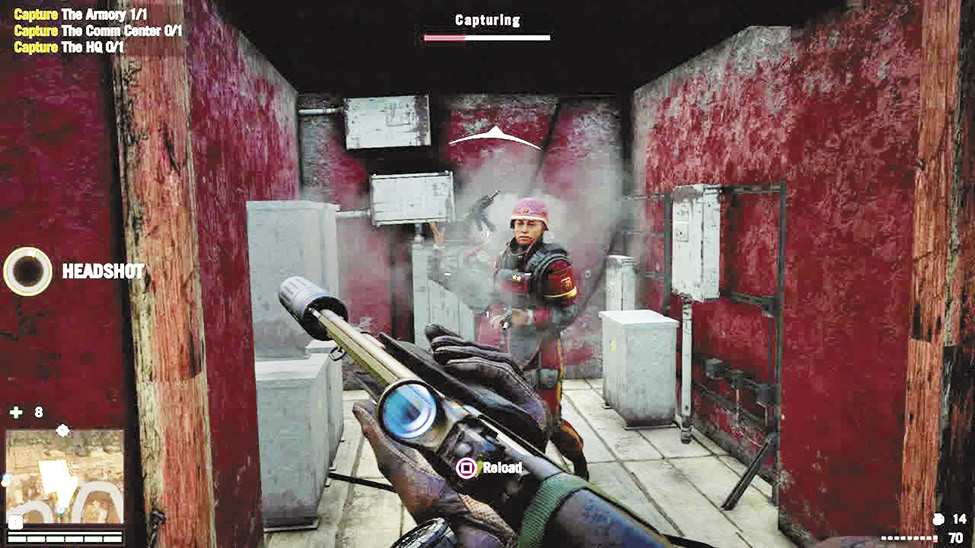
This leaves the HQ. Head up the road to the south, turning right at the top of the incline. This will put you on another rooftop courtyard, this time near the HQ door. Head inside to hit the ammo crate and commandeer the HQ.
Now your task becomes to hold the courtyard against the Royal Guard’s counterattack. A massive assault force will pour in from the direction you just came, including at least a half-dozen heavies, mostly flamers.
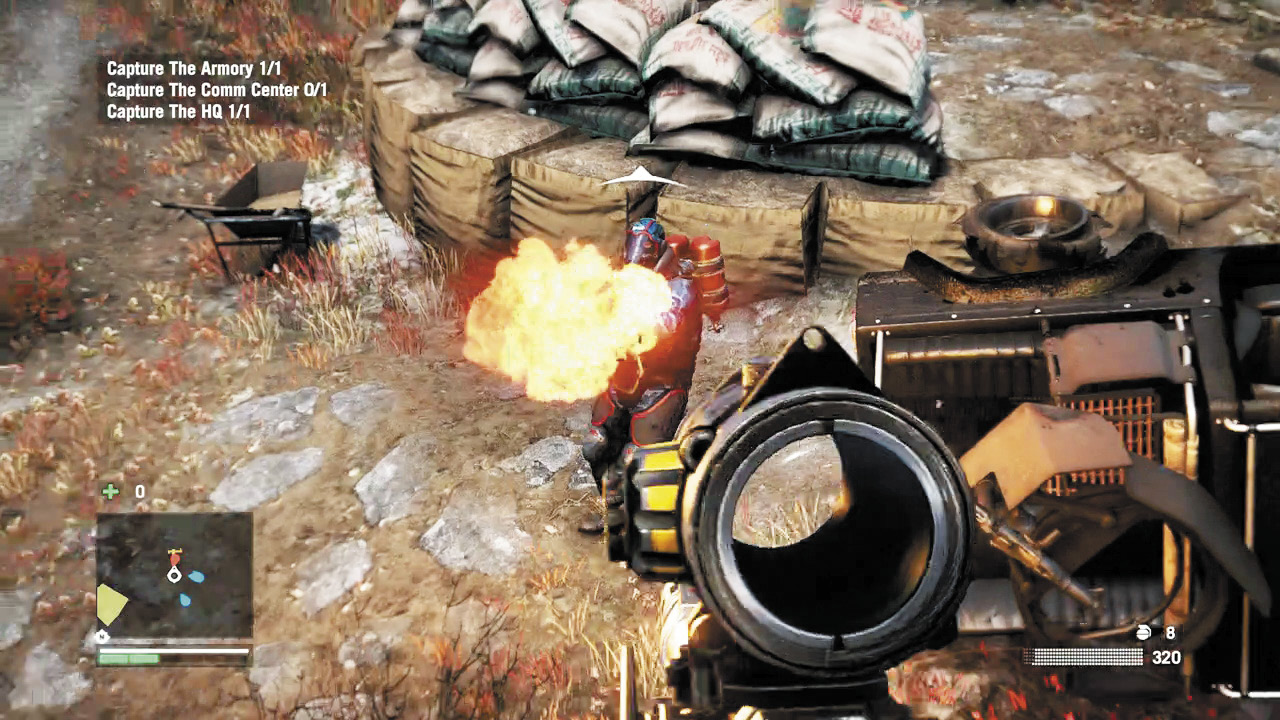
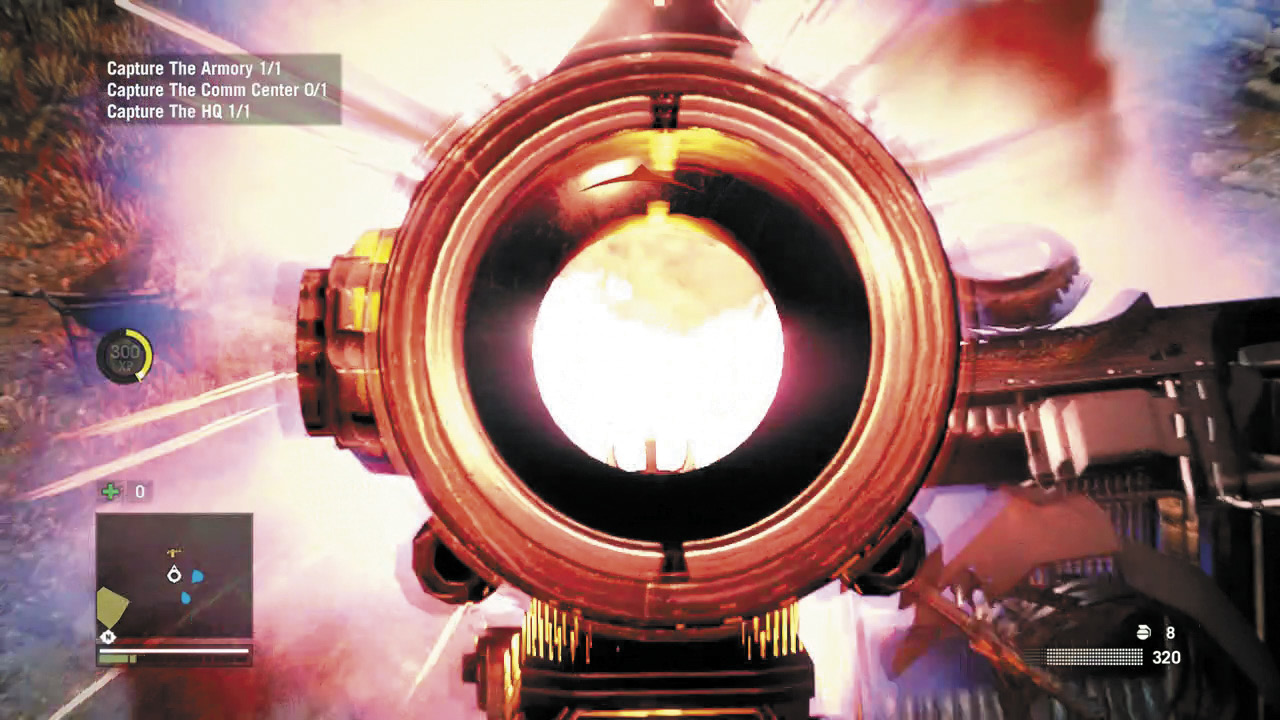
If you haven’t learned to shoot the tanks by now, there’s no hope for you.
Unfortunately for the Royal Guard, many of them drive up the same winding road, and you have a bag full of mines. Even more unfortunately, the mounted gun nest near the HQ is perfectly placed to tear them to shreds. Just point it downhill and lay on the trigger and they’ll break on it like waves on a rocky shoreline. You can even swivel to snag the occasional helicopter or vehicle that survives your mines-and-bullets gauntlet.
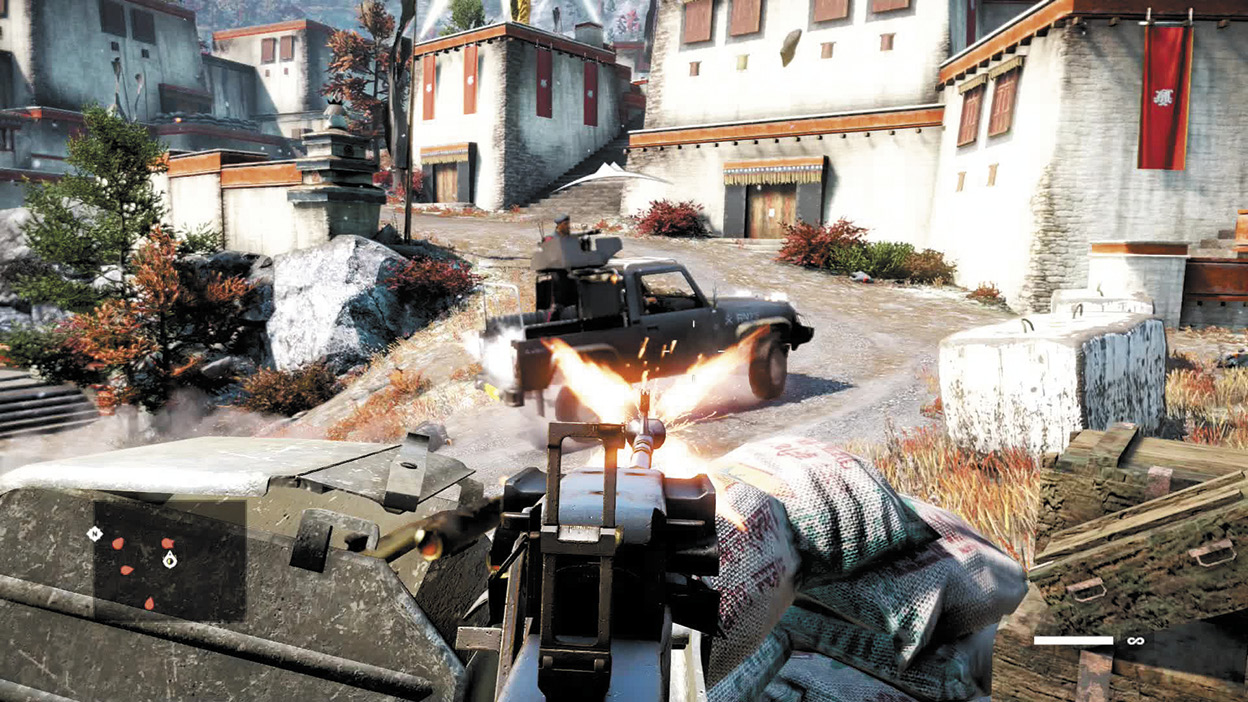
If you get forced off the gun or can’t get to it, the platform where Min’s golden statue stands is another excellent vantage point (especially if you have a grenade launcher) with another mounted gun.
Wherever you end up, don’t feel like you have to stay there. You don’t have to defend any particular location. You just have to kill all the enemies. So run and gun all you like. There’s a ton of cover in this cityscape, so you shouldn’t get caught out or surrounded unless you get so wrapped in your offense that you forget to play defense.
Once the Royal Guard’s final push is over, it’s time to blow up a certain dictator’s giant, solid gold statue.
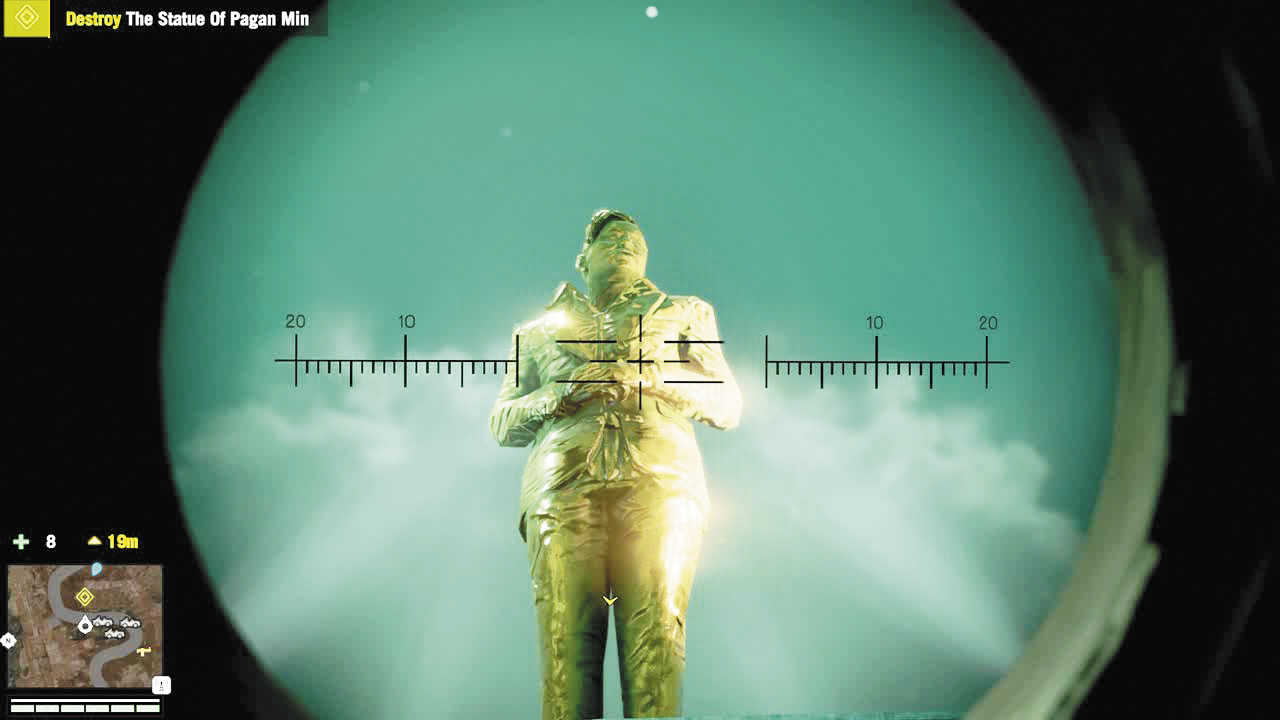
And then go after the man himself.