
Far Cry 4 Guide Campaign Missions
The Brick Factory
You’ll arrive on the scene and find yourself facing another choice. Do you accept Amita’s assignment to take over the brick factory, or Sabal’s instruction to destroy it? You’re going to the factory either way. The question is whether or not you’ll leave a smouldering crater in your wake.
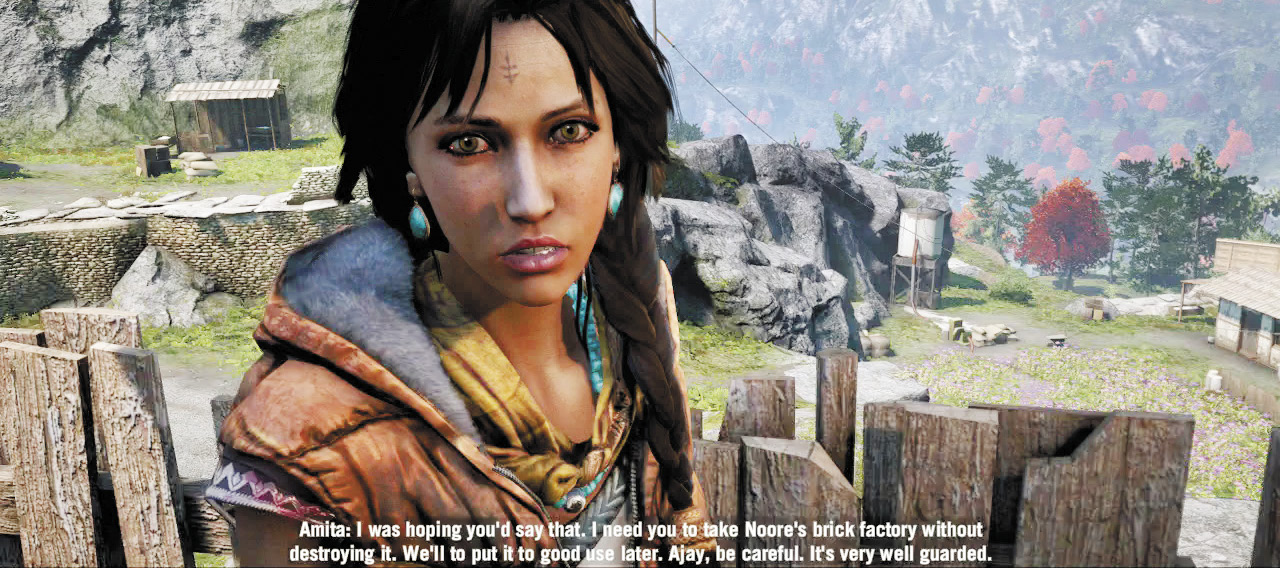
Amita: Advanced Chemistry
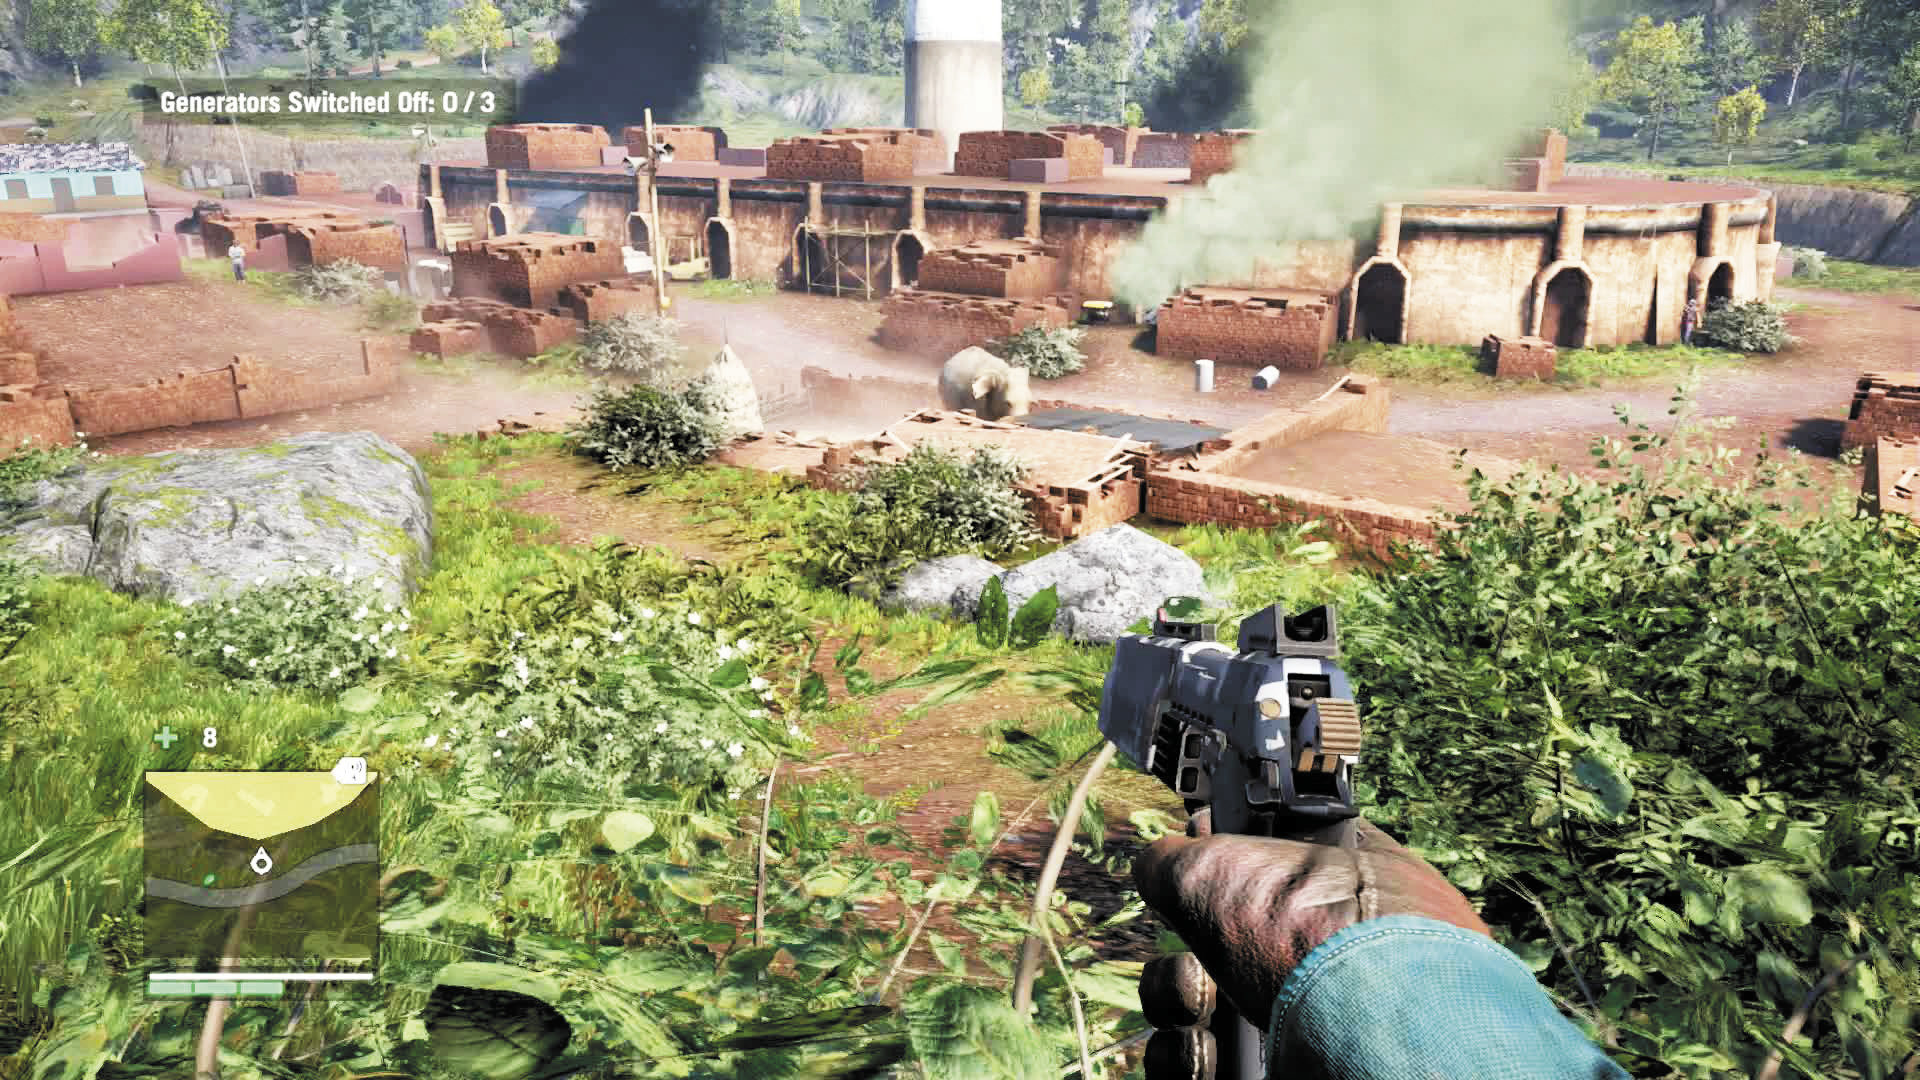
Meet the Golden Path soldiers at the rendezvous point, pausing to Molotov the poster outside the meeting house. Top off your ammo and head up the trail behind the house to reach the factory.
This is basically a fortress takeover in disguise. You want to wipe out the occupying forces—the lead chemist in particular—and claim the factory as your own. The problem is, a lot of the bad guys are holed up inside with the door locked. What to do?
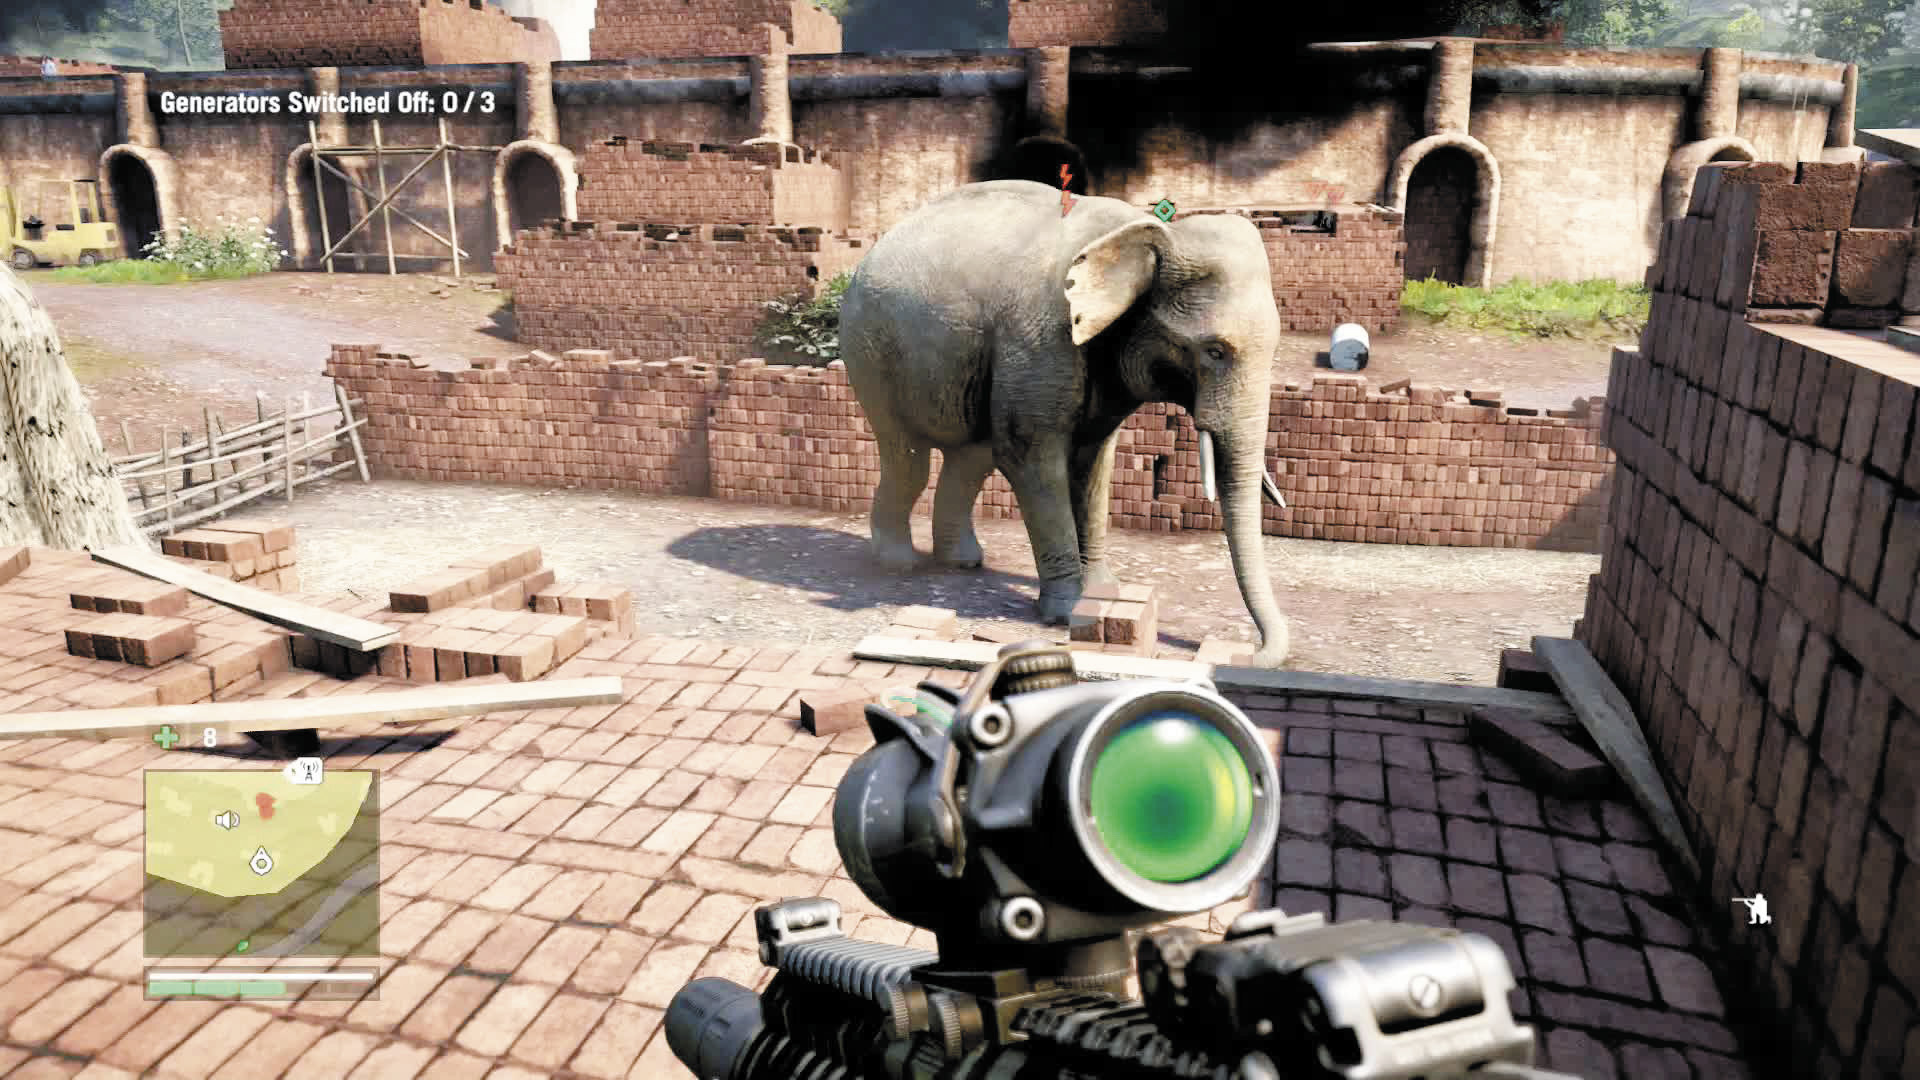
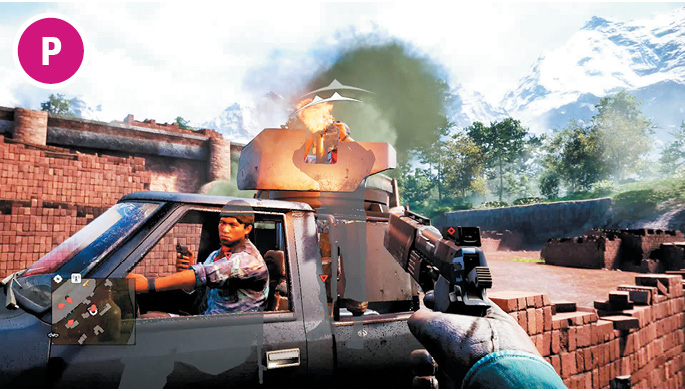
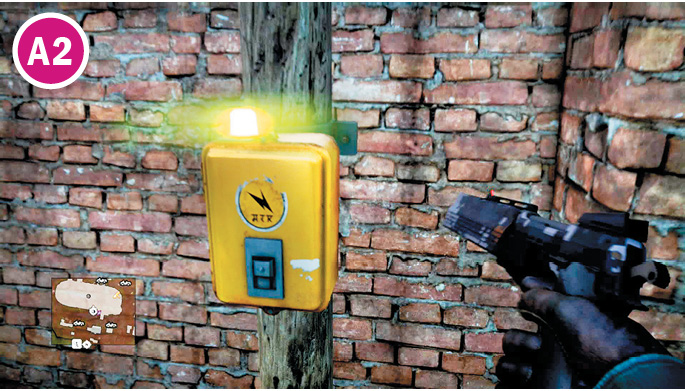
First, case the joint. Do a full oval around the factory from the outer hills, tagging anything and everything you can (see the map later in this section). You should identify three alarm poles. They’ll have to go. So will any snipers on the roof (which also has mortars). You also have two soldiers constantly circling in a technical and assaulters, berserkers, pyros, and guard dogs arrayed all around. A ramp on the west leads up to the factory roof, and barely caged elephants ripe for liberation abide in pens to the northeast and southeast.
Now that you know what you’re up against, it’s time to set about clearing them out. Start with the exterior.
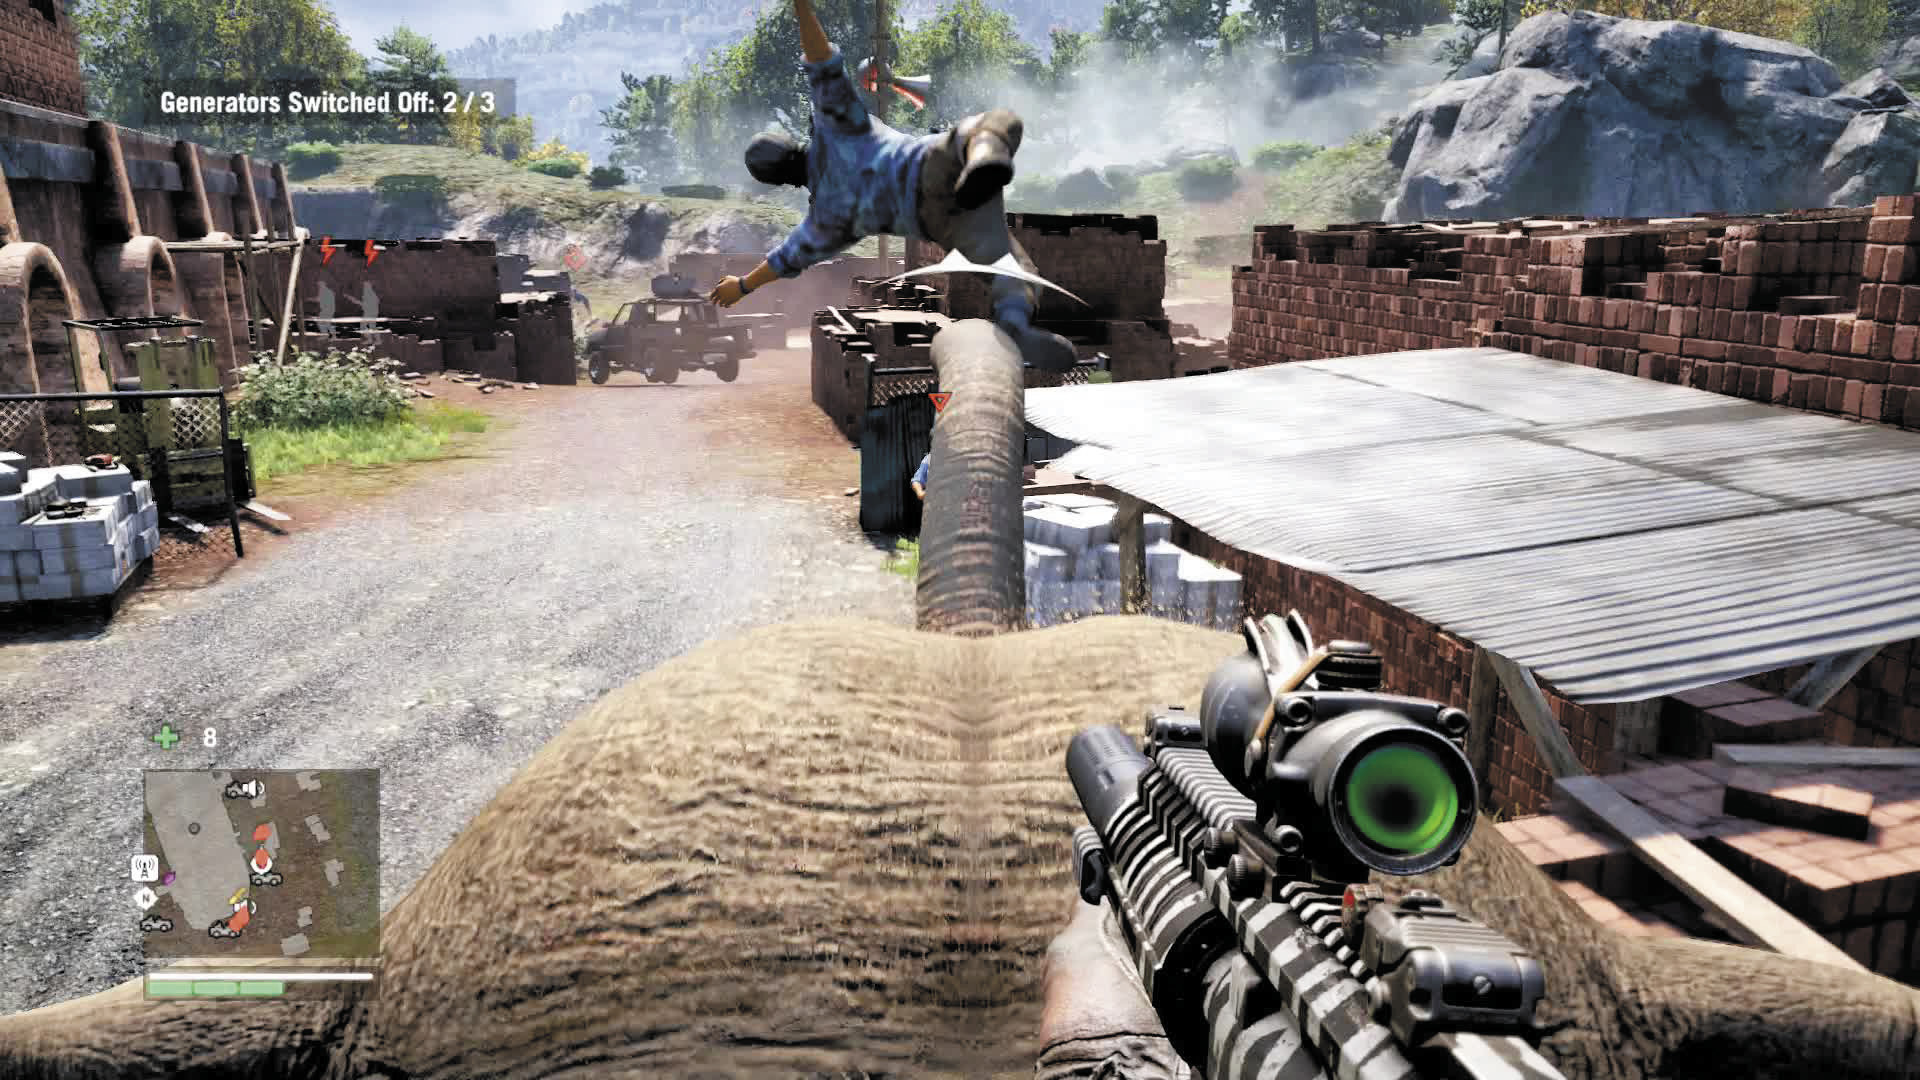
You can come at this one of two ways. If you want to be sneaky and stealthy, snipe the two chumps on the rooftop to keep them from dropping mortars on your head and then slip in close. Watch for enemies nearby, and take them out silently. Make your way to the first alarm (take the one on the north first), then climb onto the roof where you can snipe the second alarm. Then drop down right next to the third, removing your targets’ ability to call for help before they even realize they’re in grave danger.
Or, you know, you could just hop onto an elephant and wreak havoc.
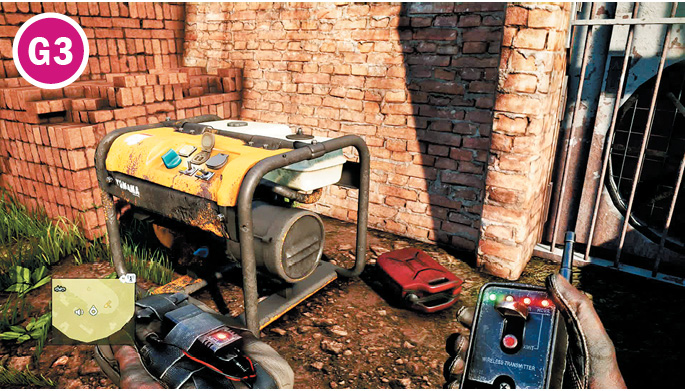
Now to get that door open. Three generators power the factory’s air circulation system. Switch them off or blow them up (you only need to leave one of the three operational), and the bad guys will have no choice but to crack the door in the south wall in search of some fresh oxygen.
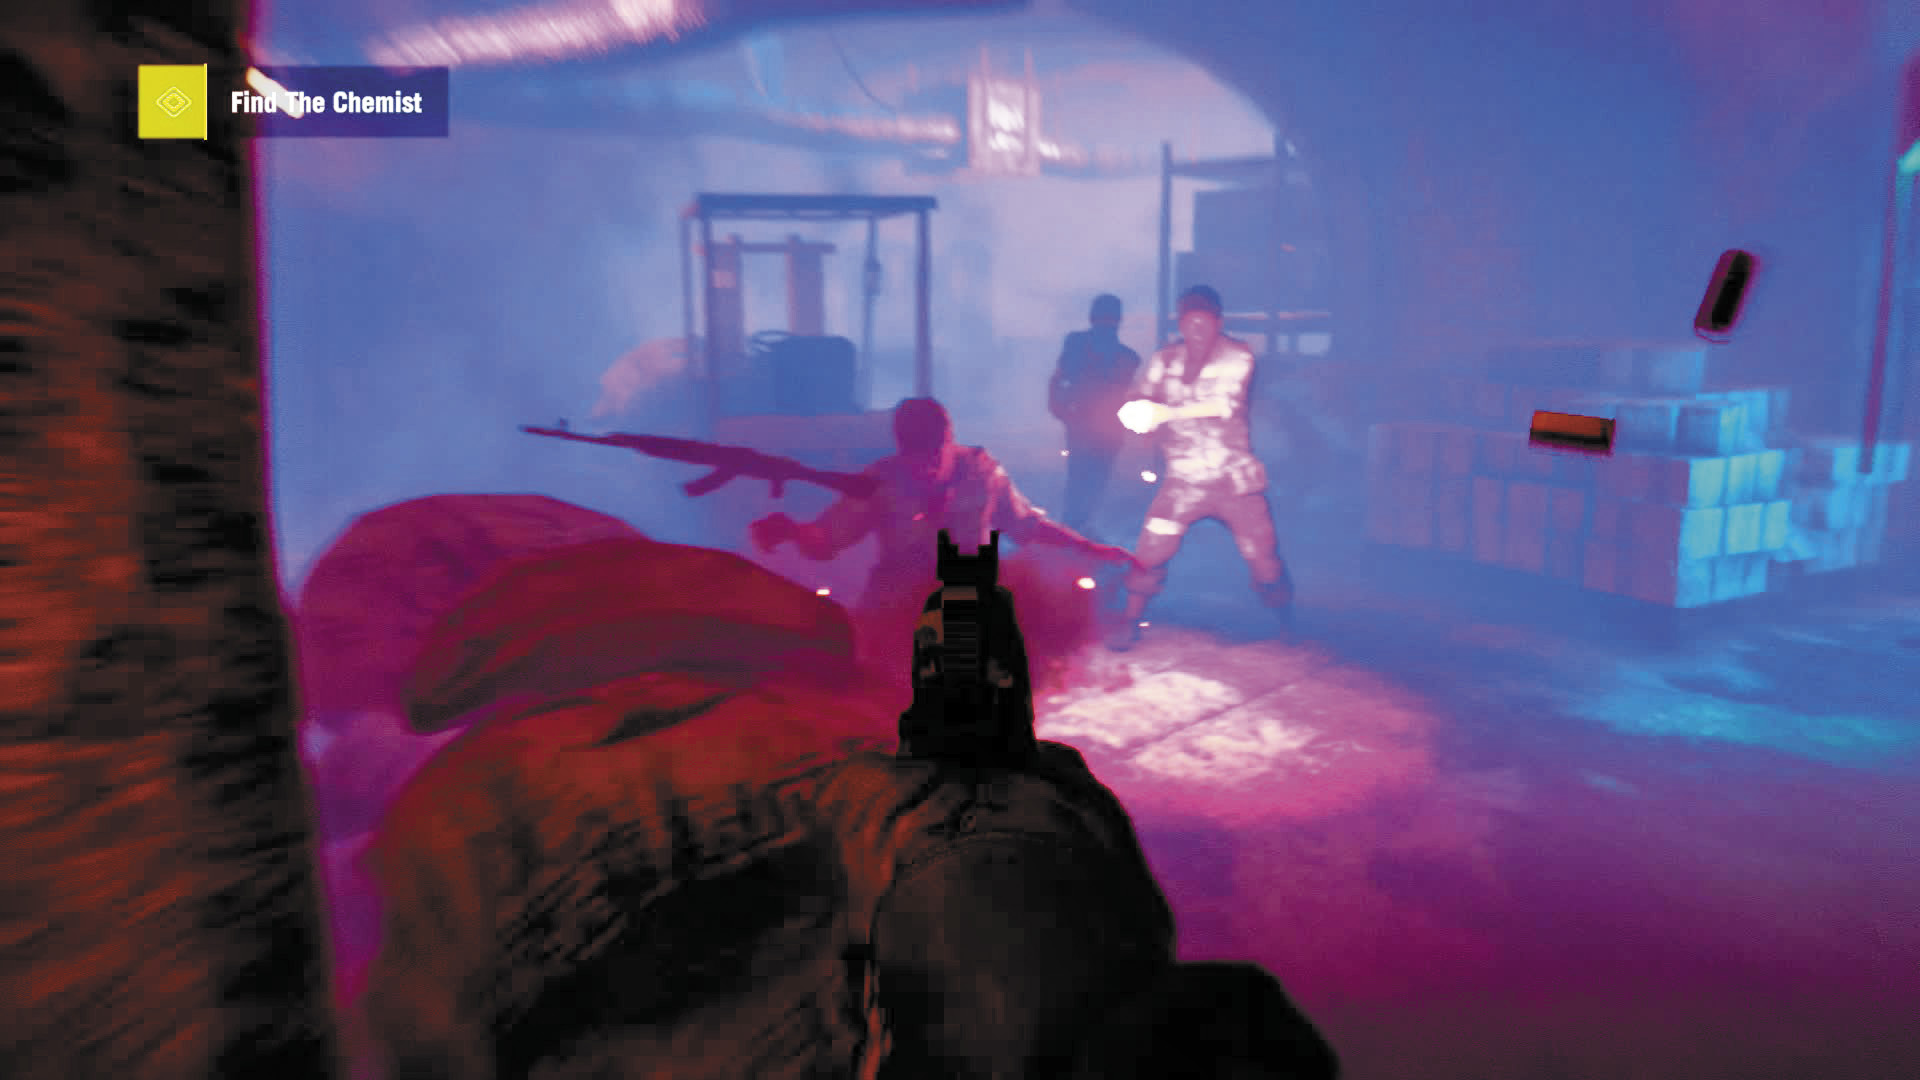
The minute you step inside, however, you’ll learn there’s something in the air. In particular, something that turns the whole world into a psychedelic disco fireworks show.
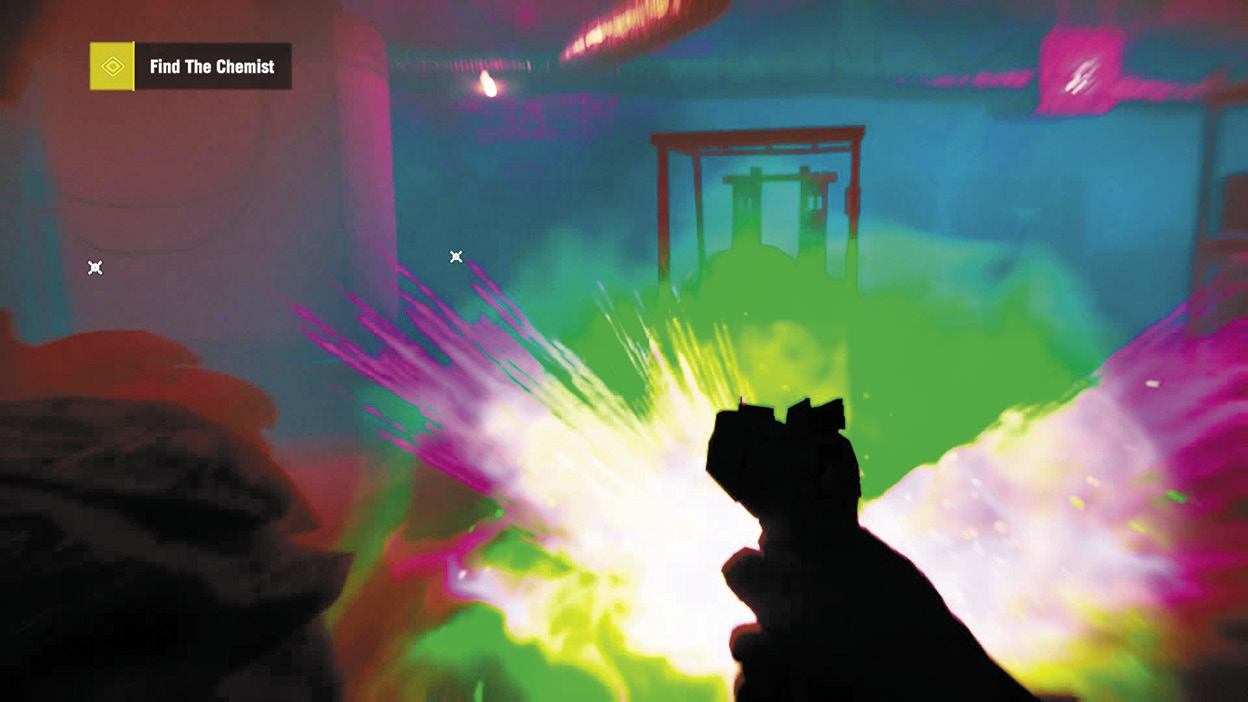

When you get to the chemist, put a bullet in him. Then shoot the other targets that appear and make your way to the exit, lighting up enemies along the way with whatever weapon appears to be in your hands.
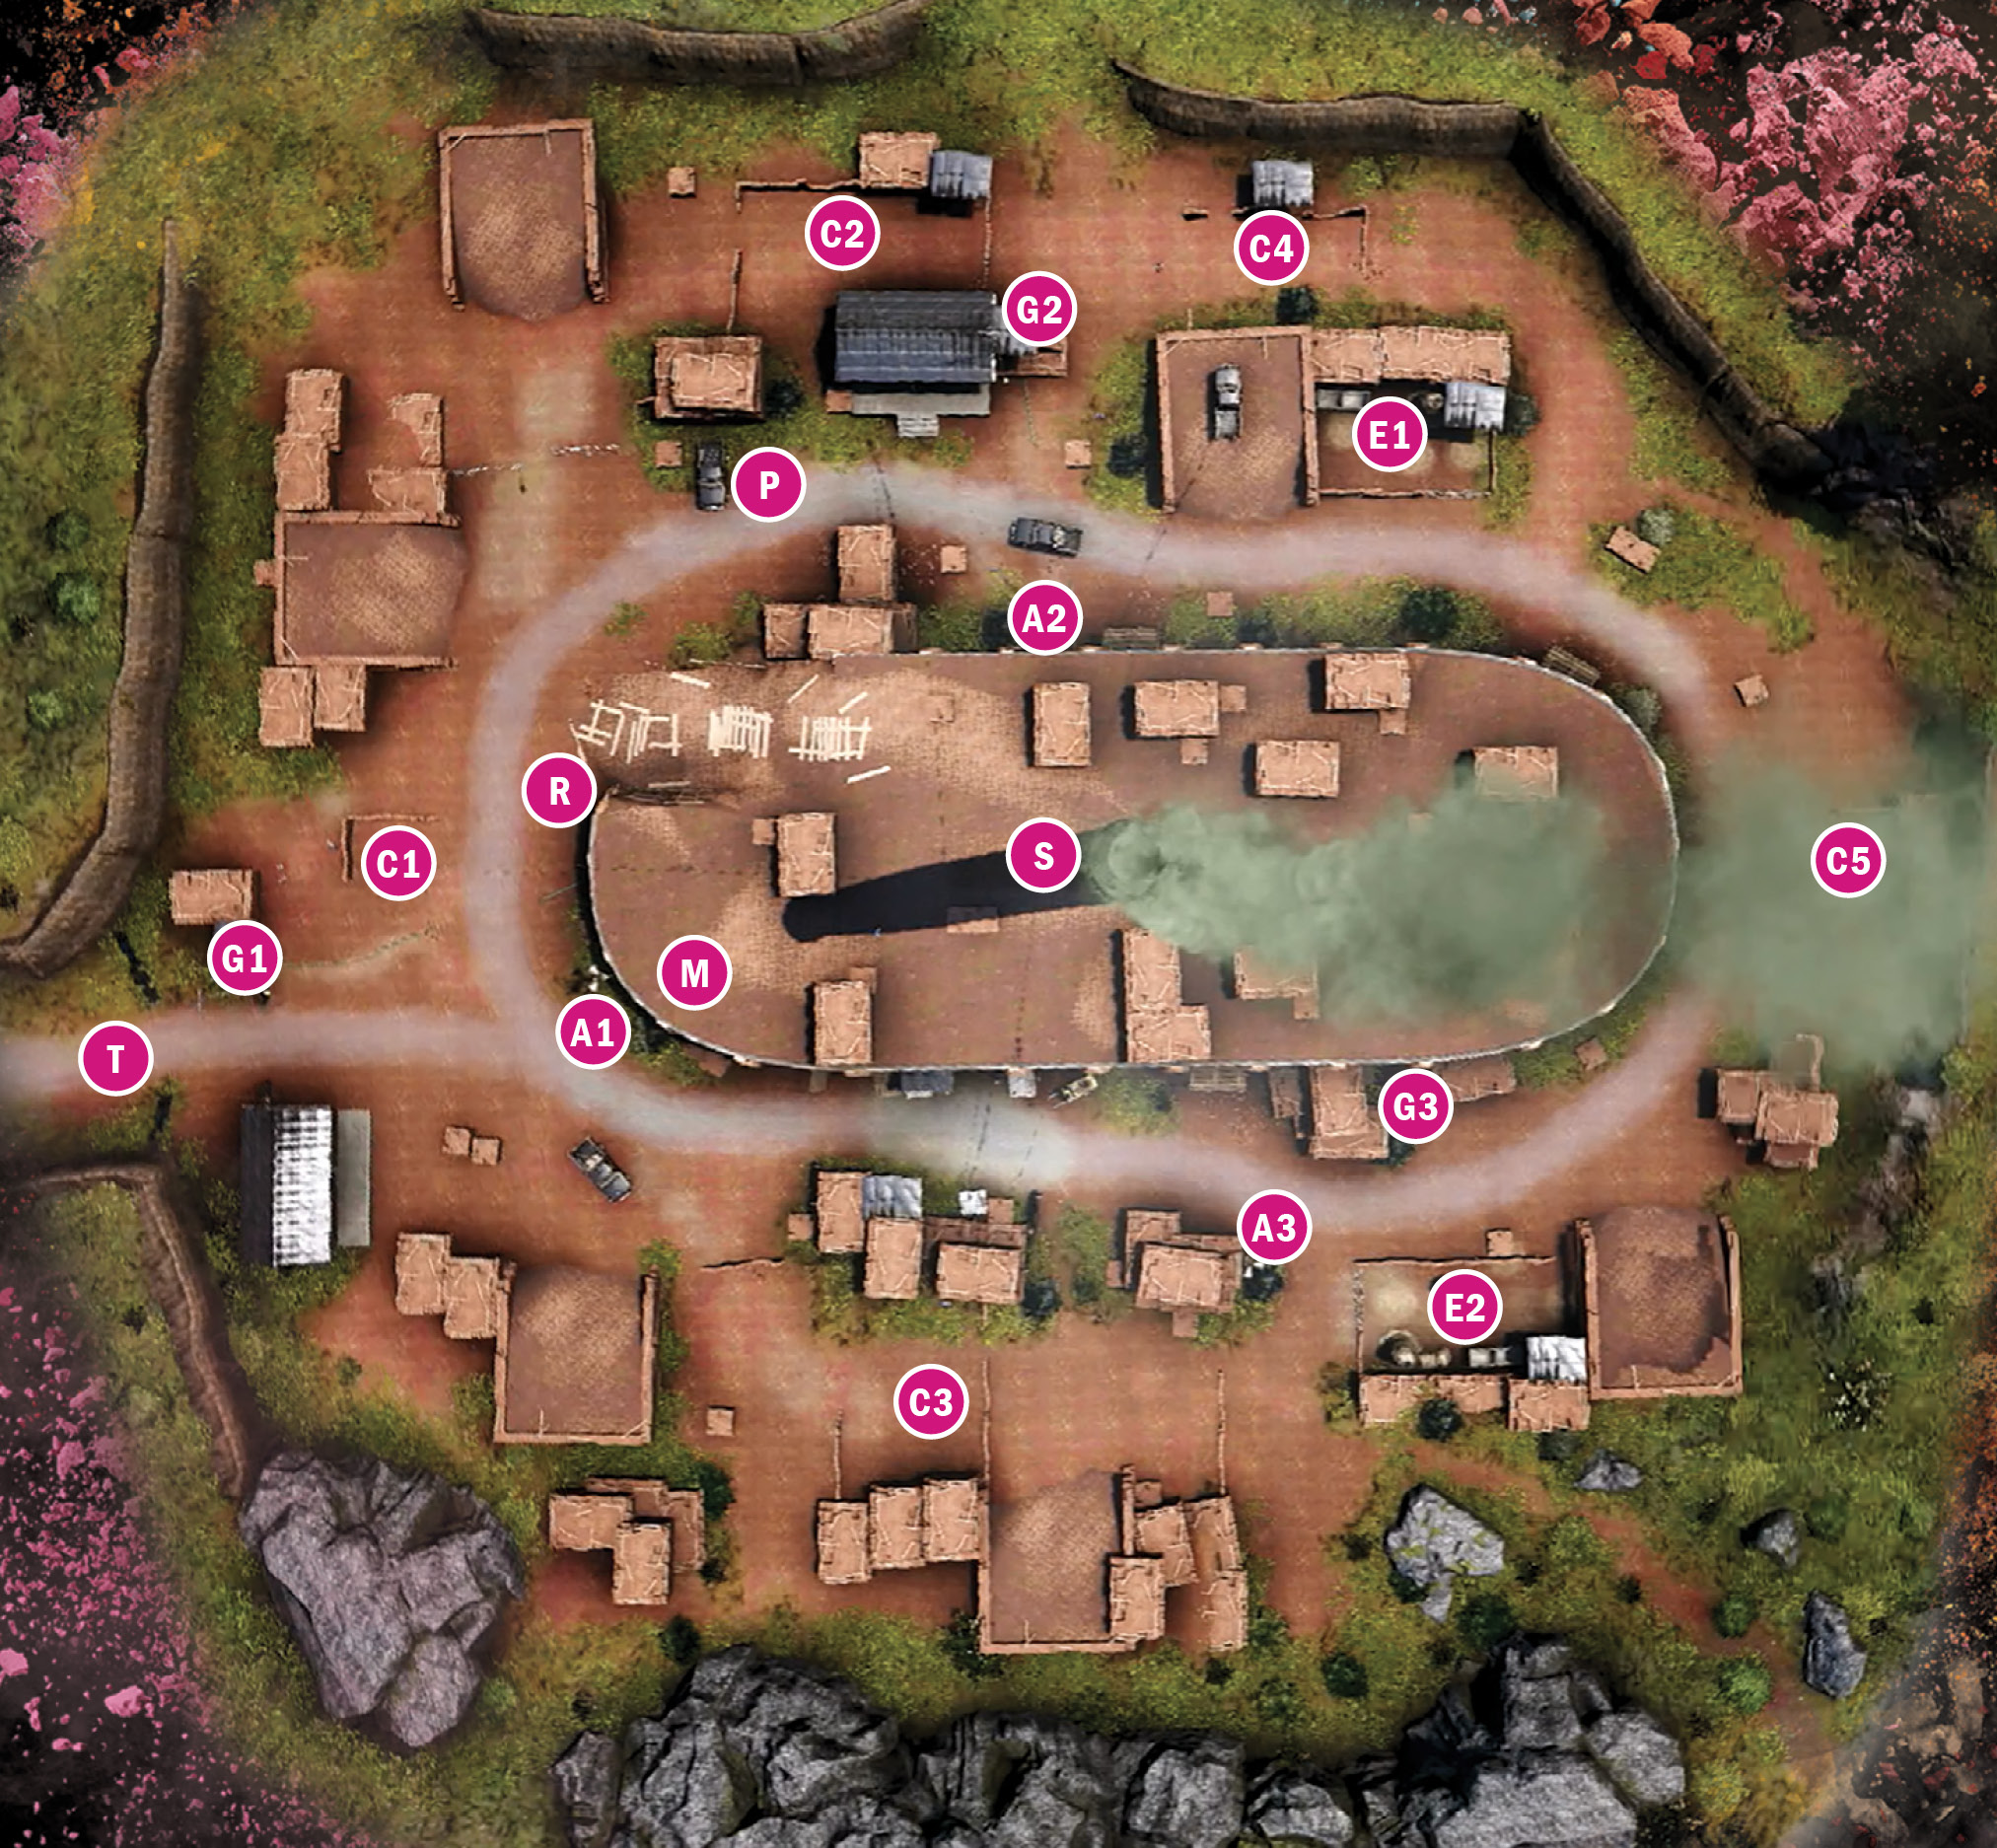
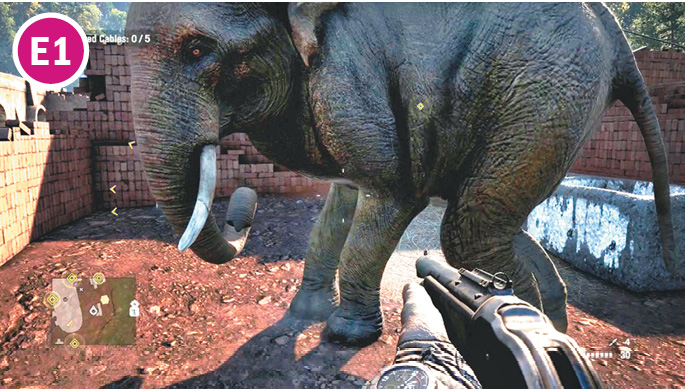

 E1 and E2: Elephants
 Smokestack
 Ramp up to roof
 Patrol truck
 –
– Support cables for the smokestack (Sabal)
 –
– Generators (Amita)
 –
– Alarm poles
 Mortar
 Trucks of reinforcements will arrive from here (Sabal)
Sabal: Basic Chemistry
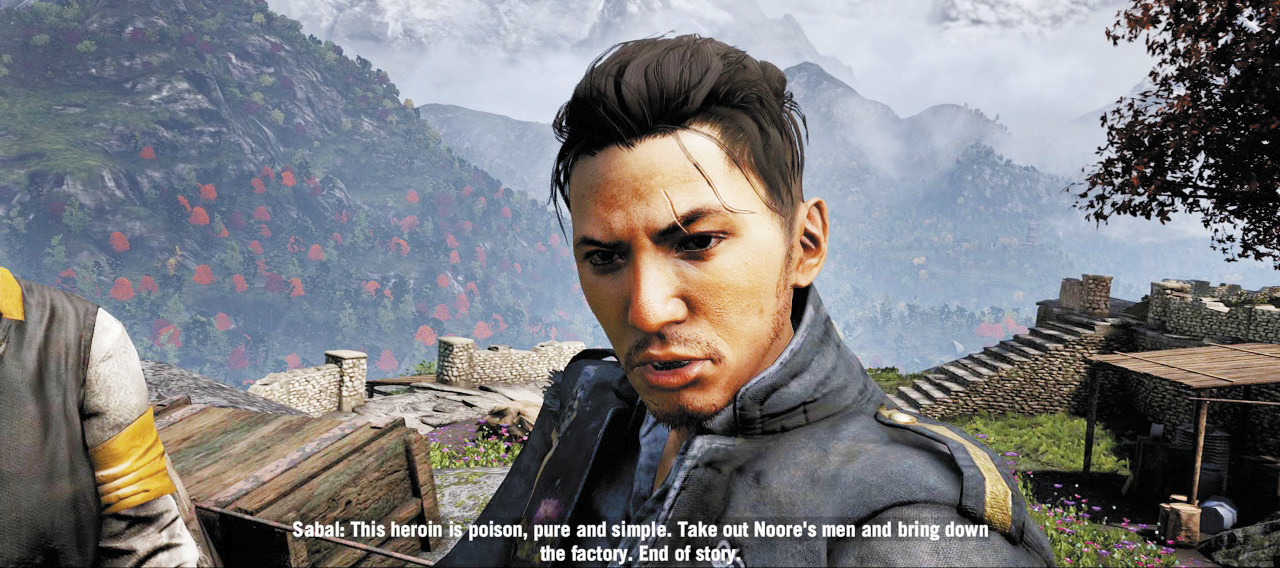
Feeling destructive, eh? Grab the satchel charges as directed, then go to the rendezvous point. You may want to Molotov the poster on the wall as you head inside, where the Golden Path soldiers will tell you to take all the explosives you want. Once you’re fully bomb-laden, head up the trail out back to reach the factory.
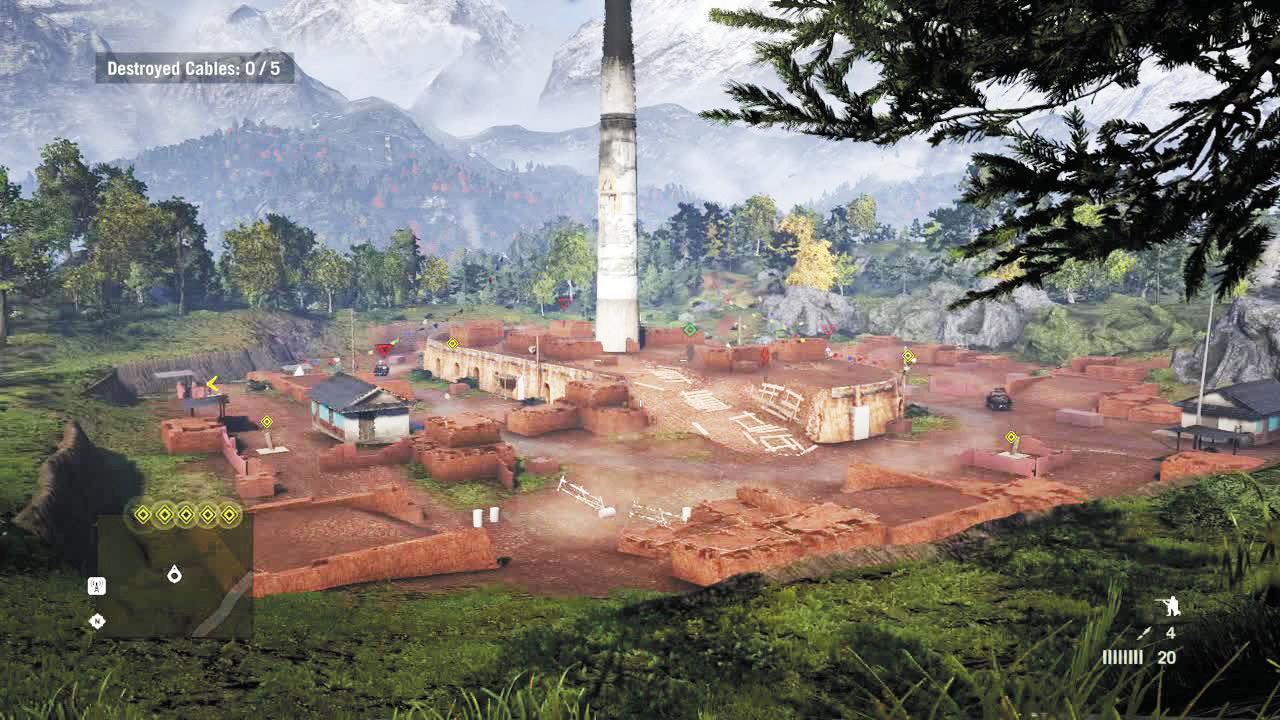
Approach this mission just as you would an outpost or fortress takeover. The factory is lightly defended, but a whopping three alarms stand guard around its oval perimeter. You’ve got snipers patrolling opposite ends of the roof, which also has mortars. You have two soldiers constantly circling in a technical and assaulters, berserkers, pyros, and guard dogs arrayed all around. A ramp in the west leads up to the roof, and barely caged elephants ripe for liberation abide in pens to the northeast and southeast.
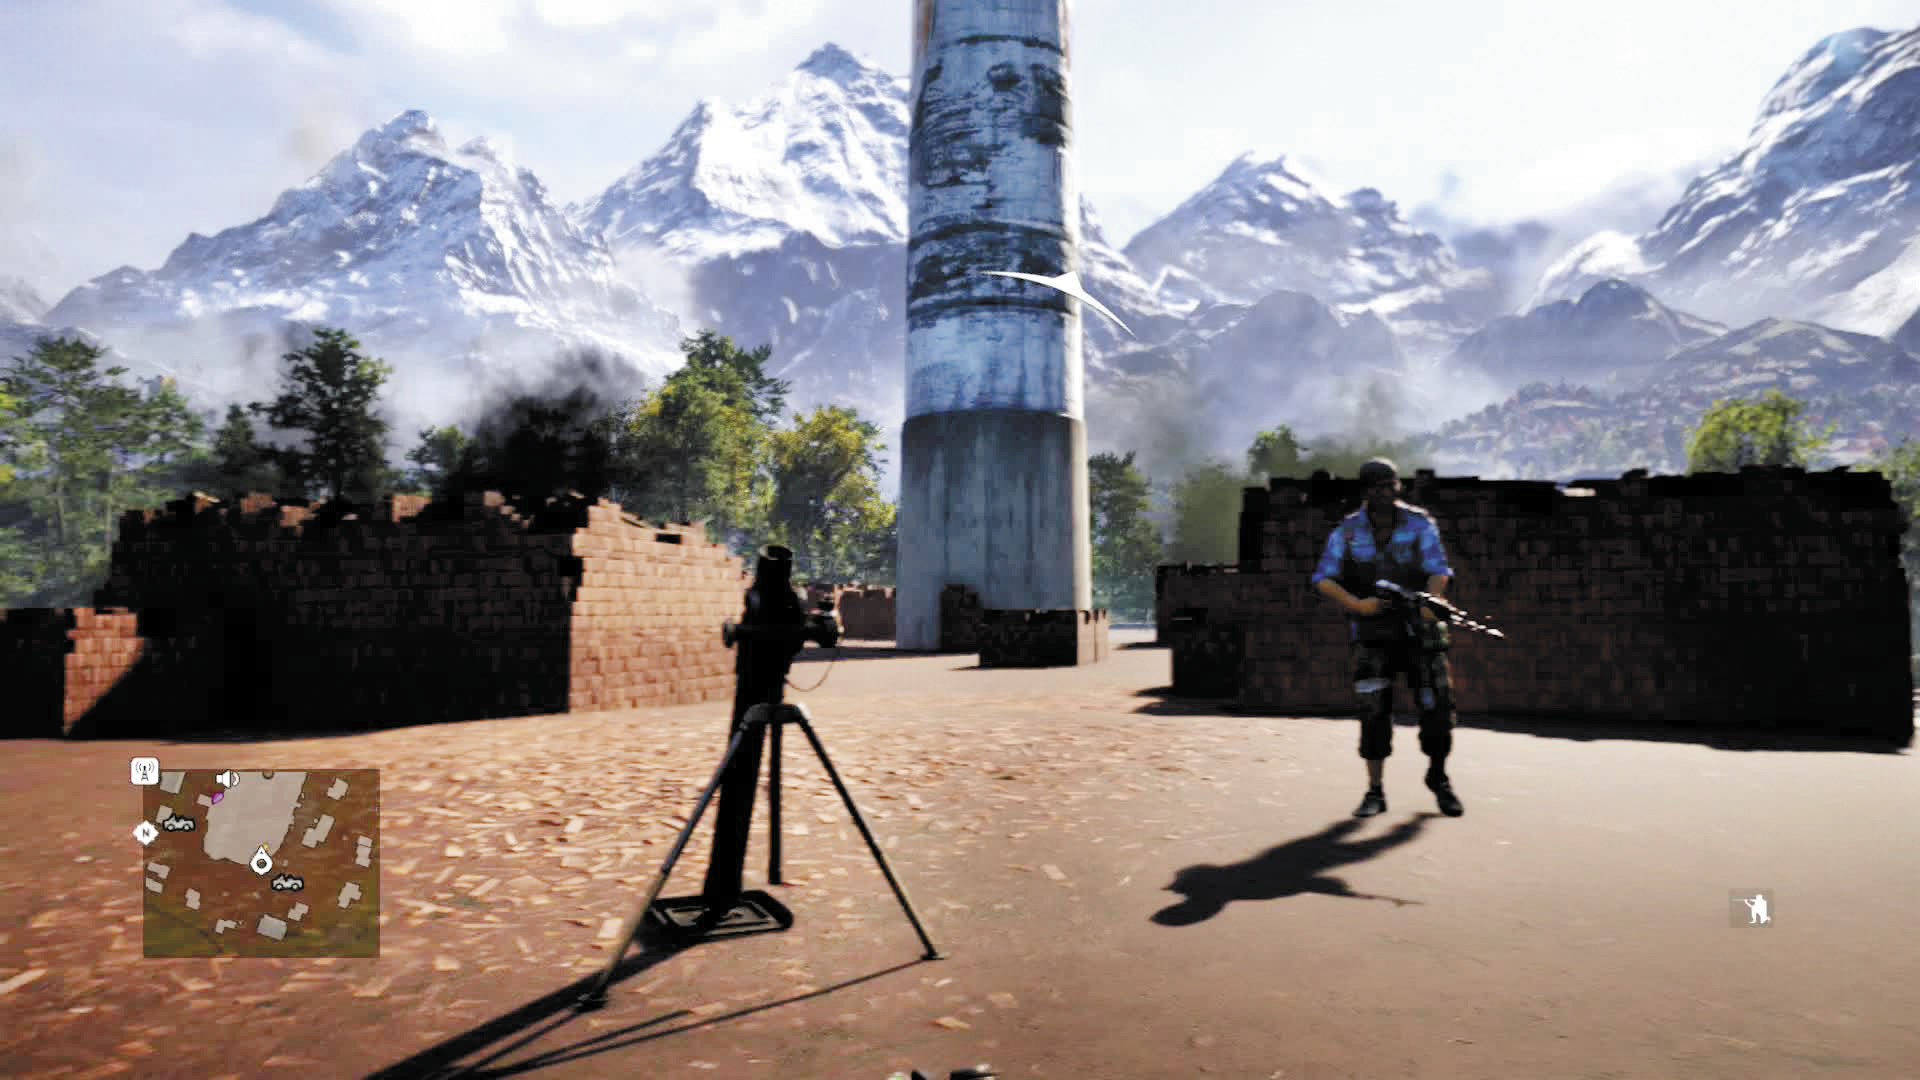
Start as always, by sniping the snipers with a silenced rifle. You can do this from the starting spot if you like, but be careful to do it so the first sniper’s body falls out of the other’s view, so the still-living sniper doesn’t sound the alarm before you get to him.
Once that’s done, you have options. One solution is to stay right where you are and take down every guard and dog on this side of the compound. As long as the guards in the truck don’t see your target fall, they’re remarkably unlikely to notice the corpse. Then it’s a simple matter of working your way counterclockwise around the factory, sniping the alarms first and then any defenders, starting from the outside in. When the truck rolls by, decommision it with a Molotov, grenade, mine, C4, or anything else that goes “boom.
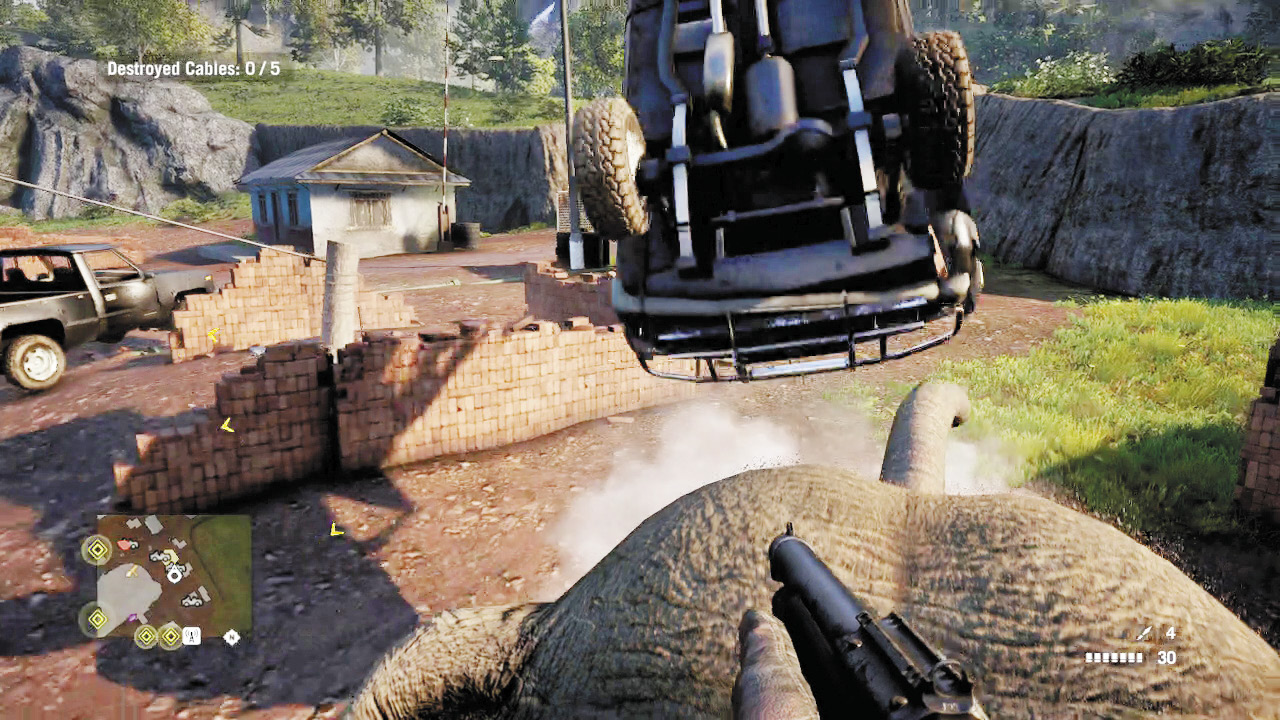
We’re going to recommend you let at least one alarm sound, because that will bring reinforcements. . . and that means it’s elephant time! Saddle up and point your pachyderm toward the entrance road to the west. Meet each truck with an elephant charge and this battle will be over before it even starts.
After that, it’s a simple matter to charge the elephant over the five cable winches arrayed around the factory’s periphery. Then take the ramp to the roof and trunk bash or blow up the smokestack, and drop down inside to finish the job. If you somehow lack an elephant or the skill to ride it, you can take out the cables and smokestack with a moving vehicle, grenades, C4, or the rooftop mortars.
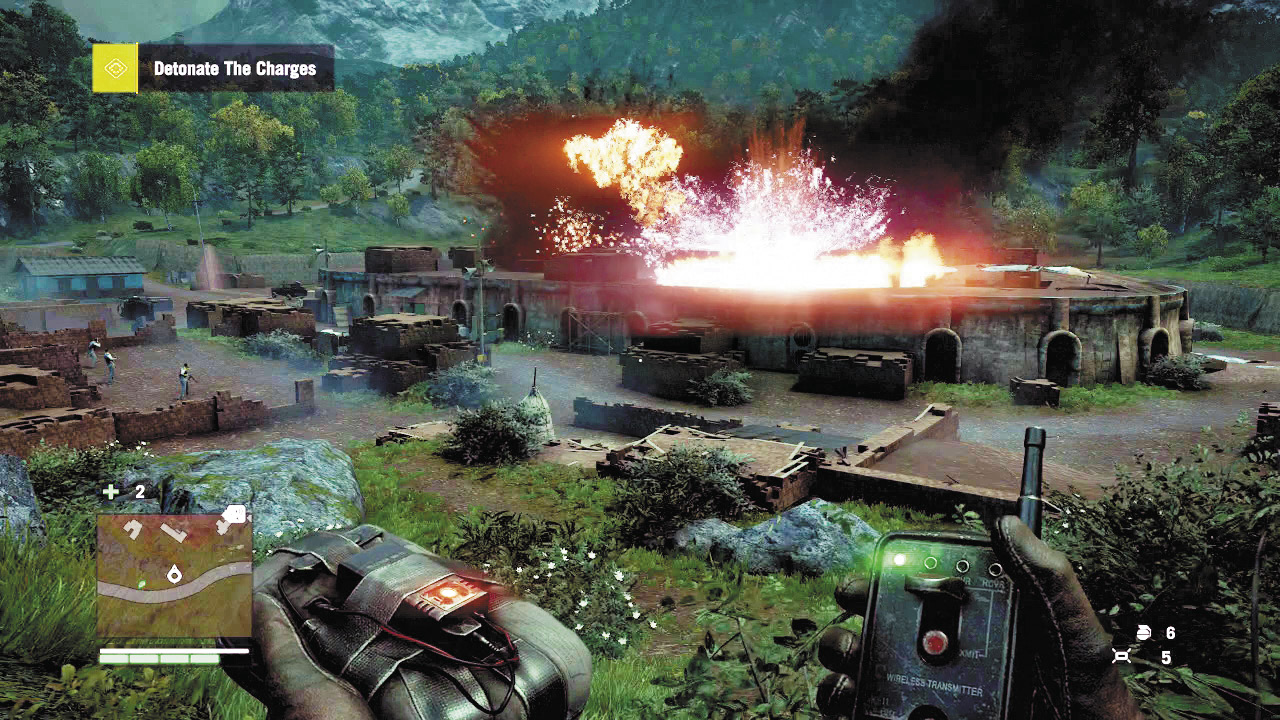
Inside, resistance is thick. It’s as if Min’s soldiers don’t want you to reduce the factory to a heap of smoking rubble. Don’t bother with stealth—you’ve got almost a dozen enemies in a space the size of a roadside diner. Just grab a close-quarters death tool, like a shotgun or flamethrower, and get busy. Plant the charges, then head outside and find a nice “watching stuff blow up” spot. Press the button.