
Far Cry 4 Guide Campaign Missions
Kill or Be Killed
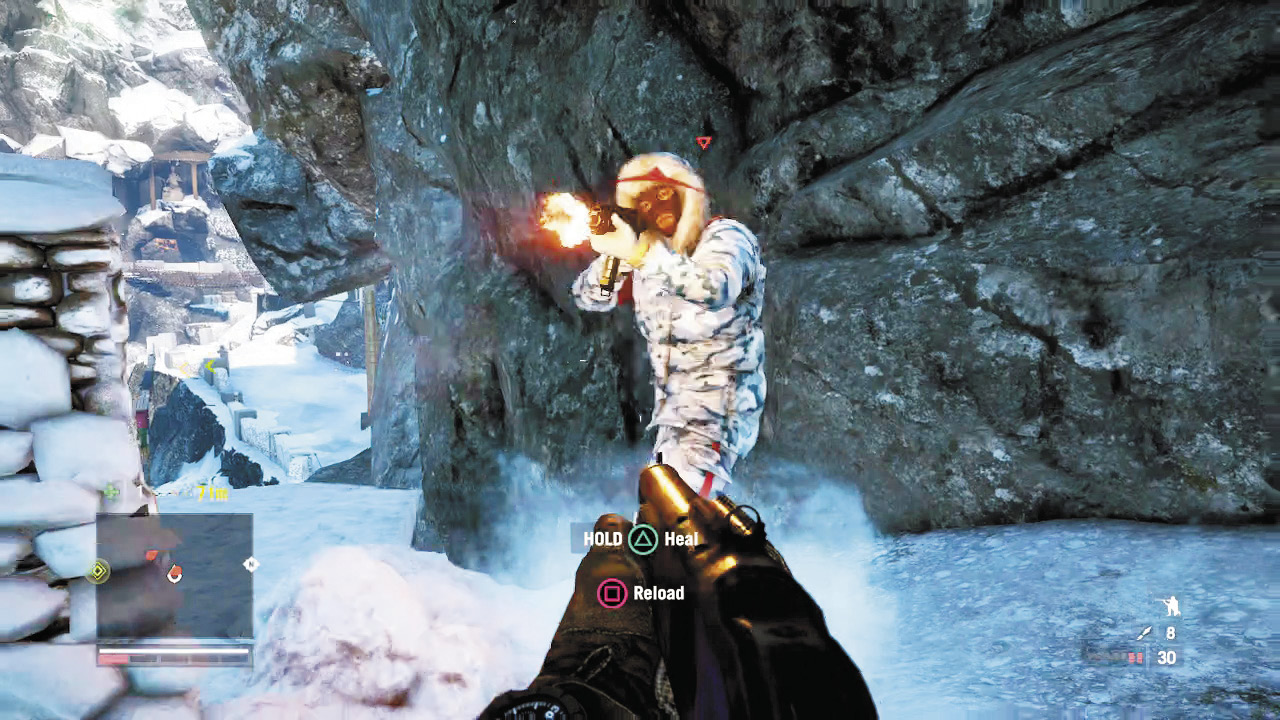
Your previous job for Willis produced more questions than answers, but the guy knows things about your parents. So go ahead and track him down at the airport, where he may actually be living in his plane.
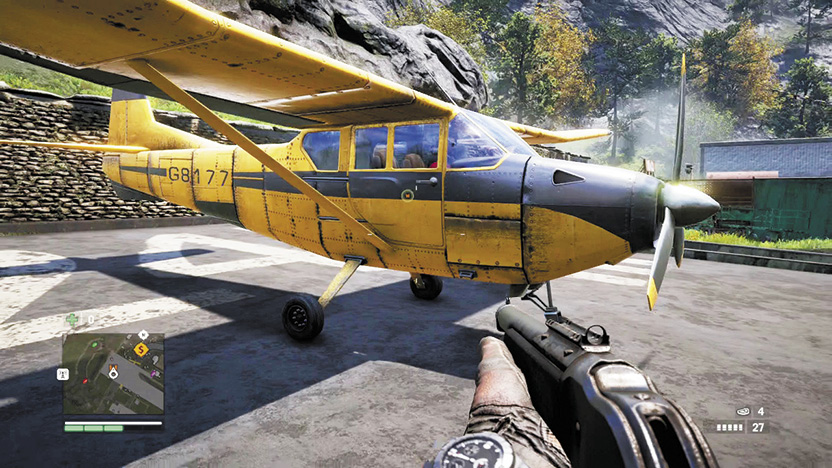
After a cutscene in which Willis does his usual talk-a-lot-but-say-nothing monologue, you’ll find yourself in a deserted mountaintop town overrun by forces under the command of Yuma, the leader of Min’s armies.
Your task is to take out Yuma’s lieutenant. And there he is, right on the roof in the central area. This is going to be easy!
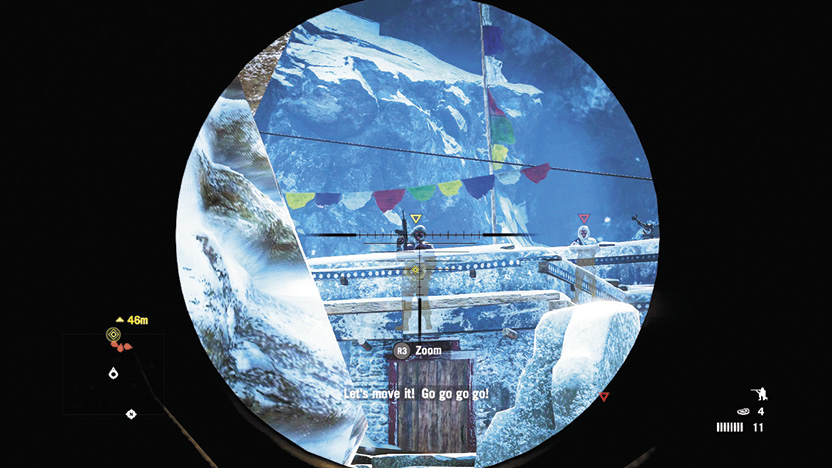
No, it isn’t.
Willis doesn’t call this one out as a stealth mission, but you could nonetheless play it as such by skirting around either the east or west edges of the map.
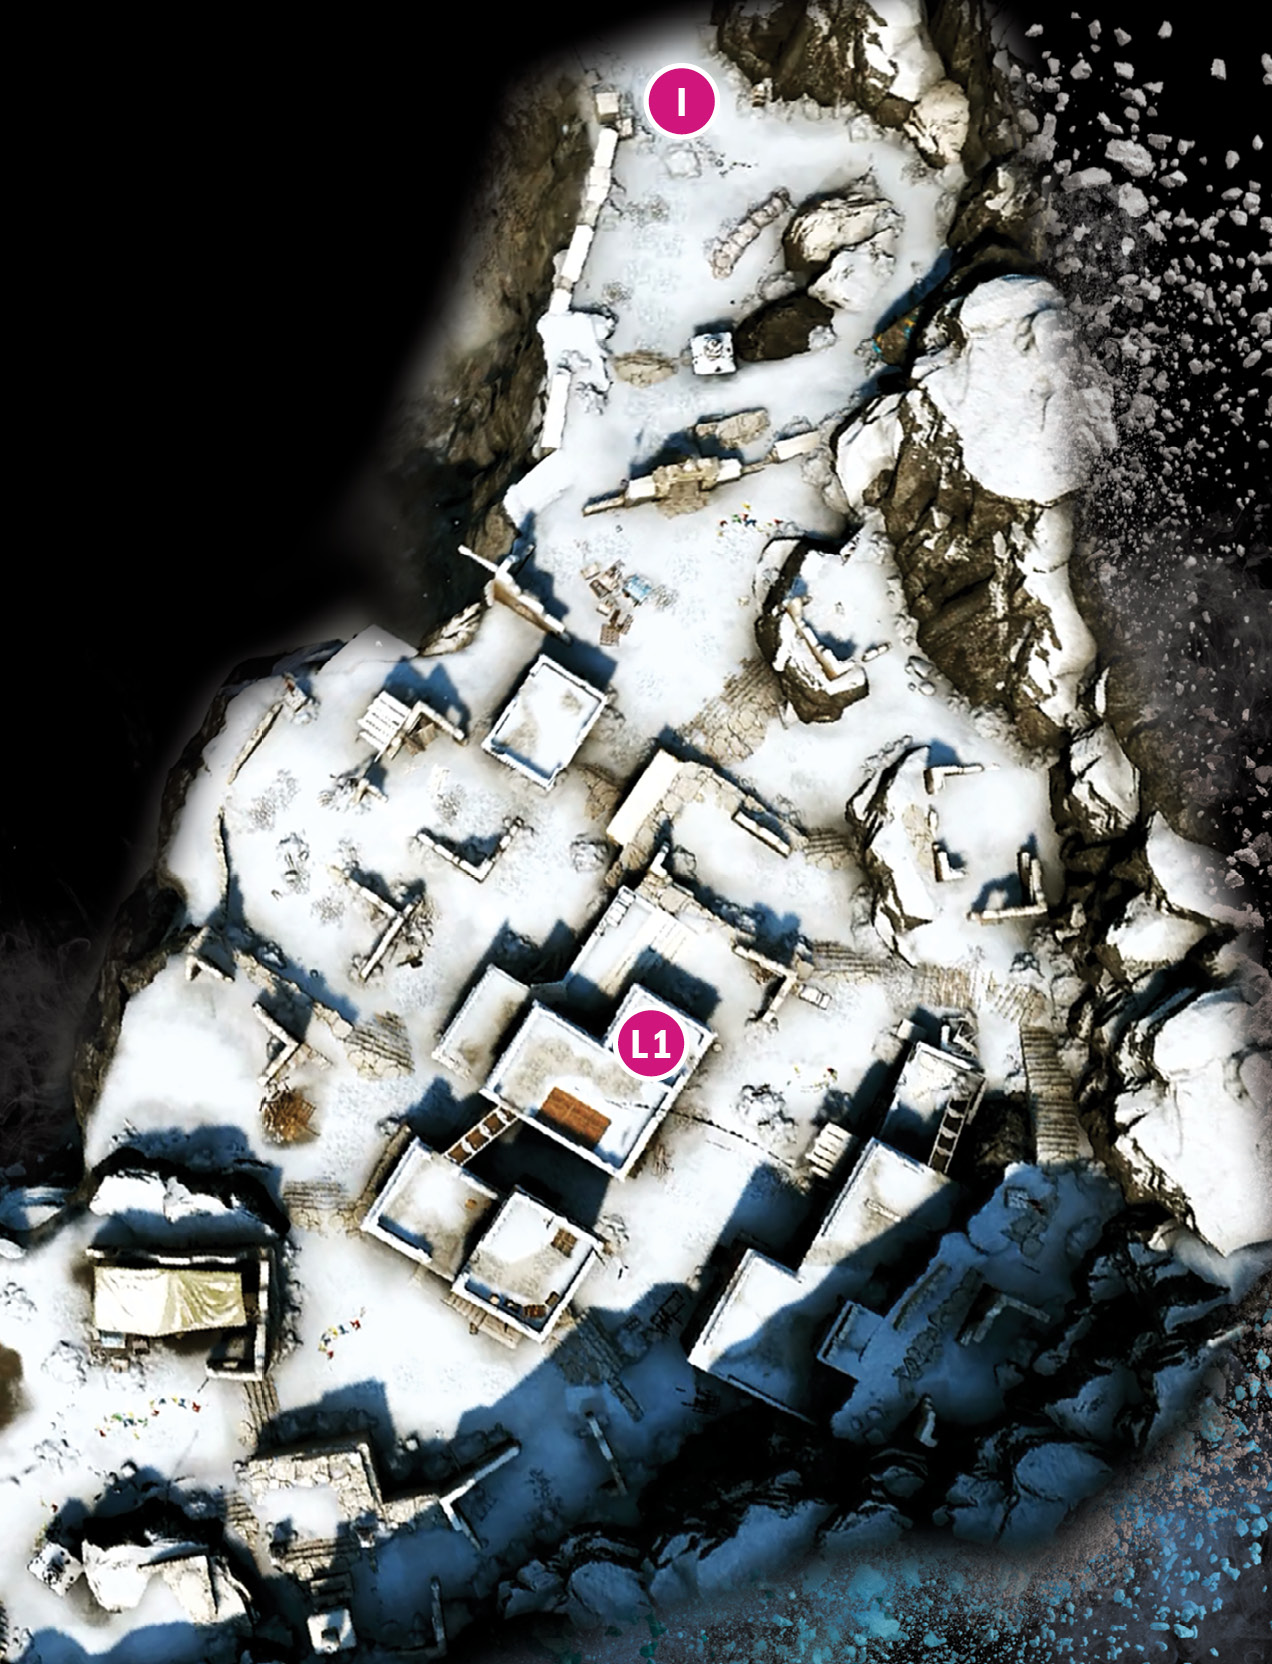
Akaash Monastery: Entrance
 Insertion point
 Lieutenant
When you send Willis a picture to verify the kill, he’ll tell you it’s the wrong guy. It’s an easy mistake, considering everyone here is covered up to his eyeballs in arctic camping gear.
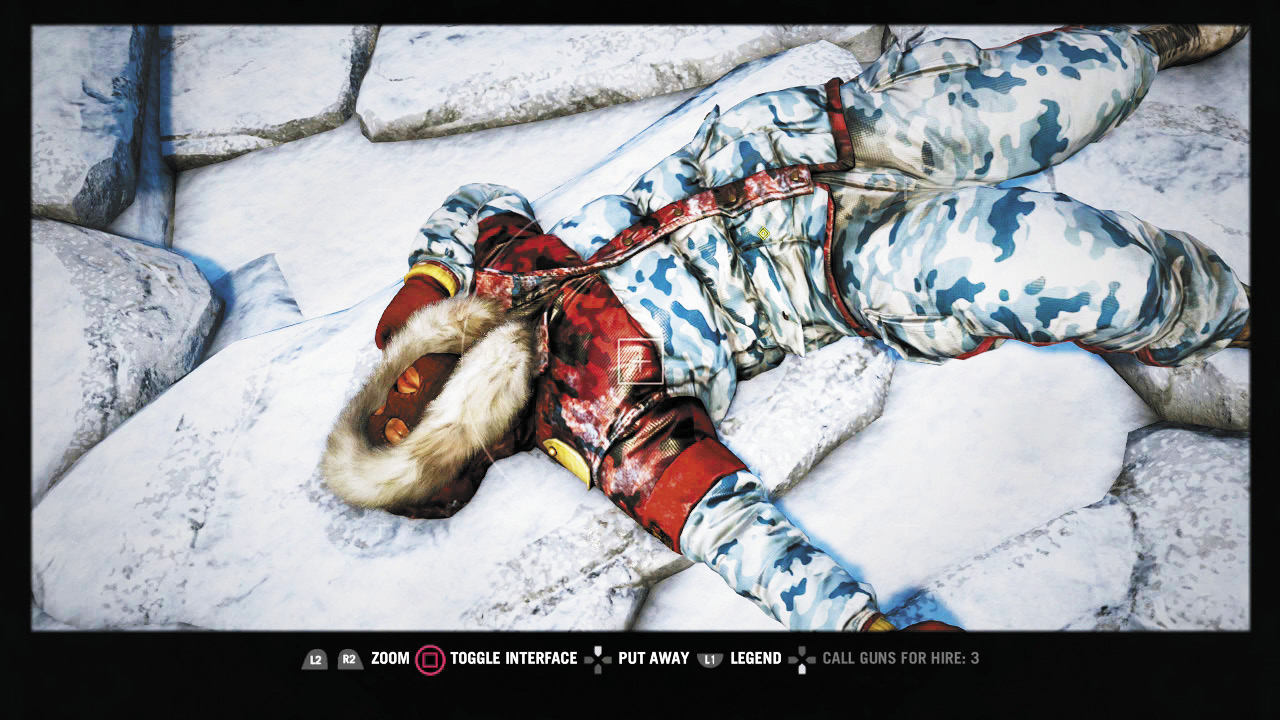
You sure it’s not the right guy? Sure looks like him to me . . . .
Move up the narrow mountain path, mowing down the goons you encounter, and go through the large red door.
Instead of walking up the stairs, creep forward until you can tag the nearby guard and the sniper in the distance, then use the grapple point on the wall.
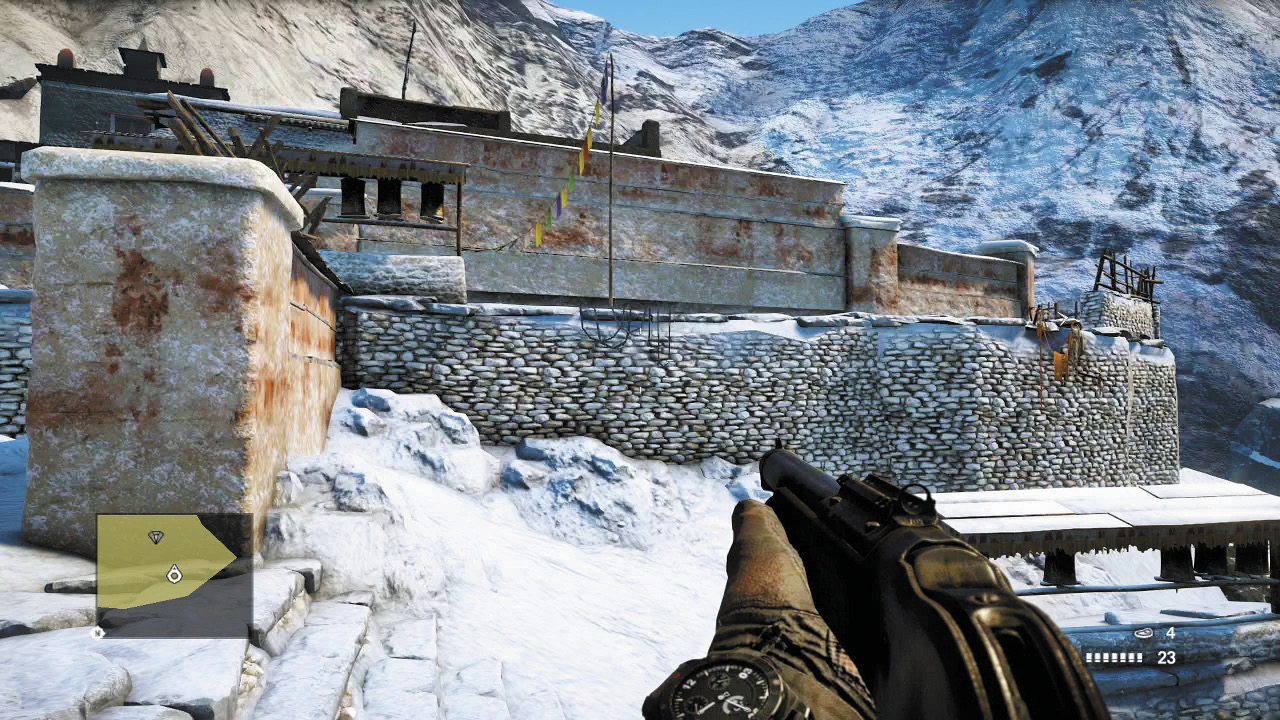
Up top, veer right, around and into the building. From here, you can scout the open space beyond. Take special note of the yellow-tagged lieutenant and the two snipers over his head.
A trench leads out from this house, enabling you to sneak all the way across the courtyard, past a mortar operator who can be taken out quietly, into the main building, and up a ladder to the sniper’s perch.
Better yet, instead of the trench, take the upward stairs into the building next to it. You’ll find a lone guard, an ammo stash that includes a rocket launcher (which you’ll want), and easy access to the sniper level (and a mounted machine gun) in two different places. Sneak up and stealth-kill the guy on the gun, then drop his body down into the room, then stealth kill the lieutenant. Search his body to get the key, then take down the sniper and one other guard on your way to the door.
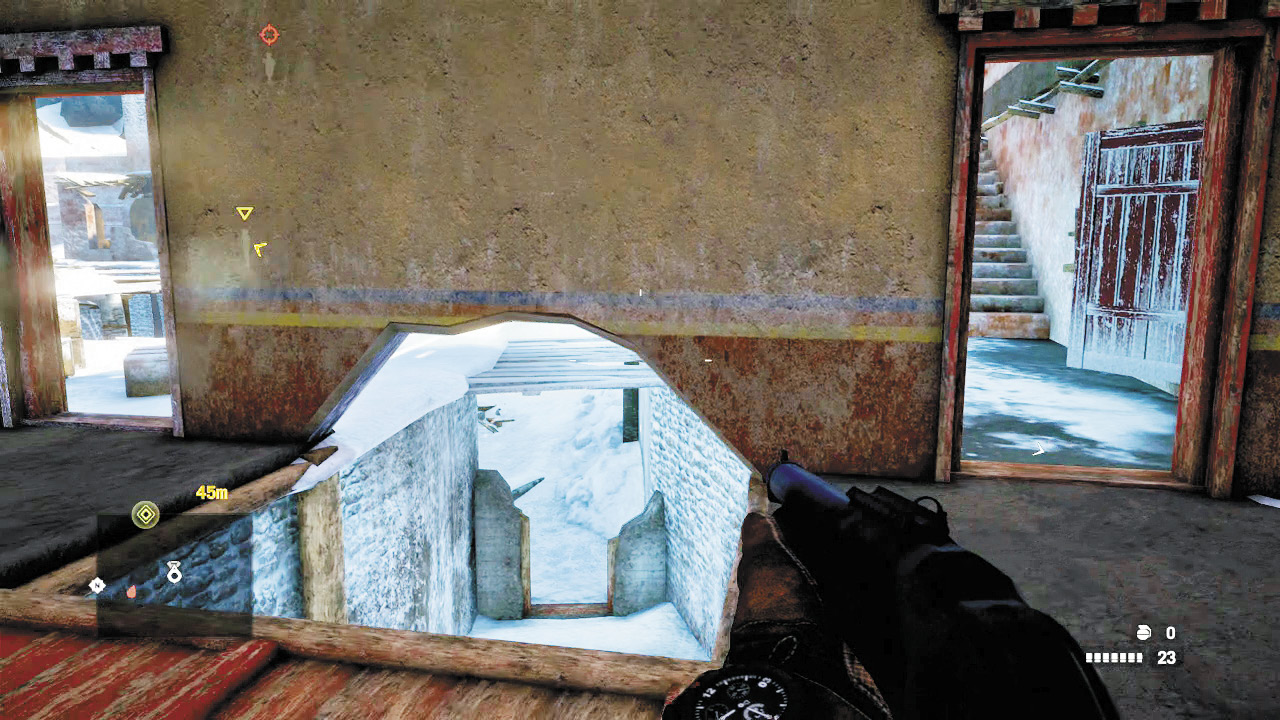
Decisions, decisions. The stairs on the right give great access to the roof, the trench in the middle leads to the mortar, and the doorway on the left is the quickest way to start a gun fight.
Eventually, odds are you’ll get spotted. When that happens, one guy runs to the mortar, another guy runs to the mounted gun, and a helicopter swoops in, just in case things weren’t chaotic enough. Hole up on the top story of the main building (the northeast room is particularly easy to defend) and prepare for war.
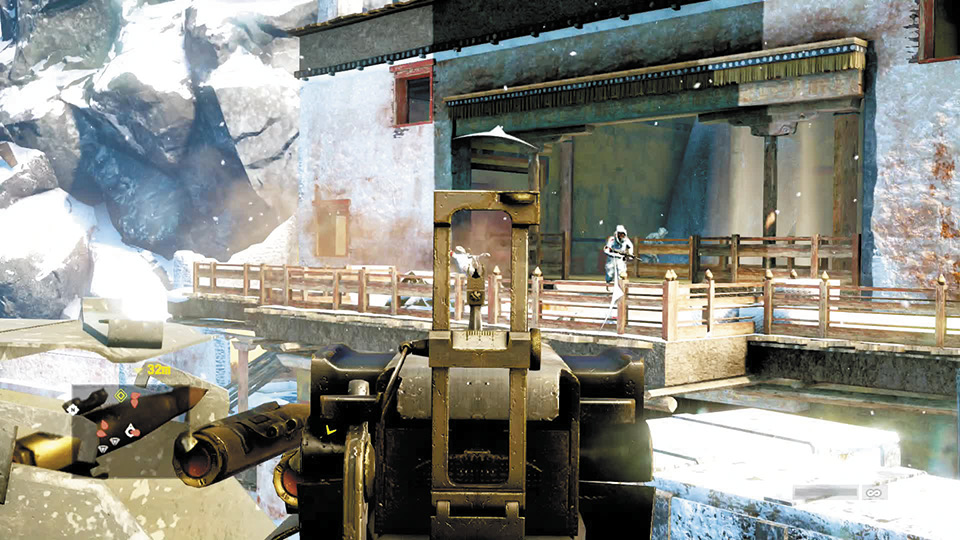
It’s more exposed to return fire, but the roof-mounted gun is another option. It can even take down a helicopter.
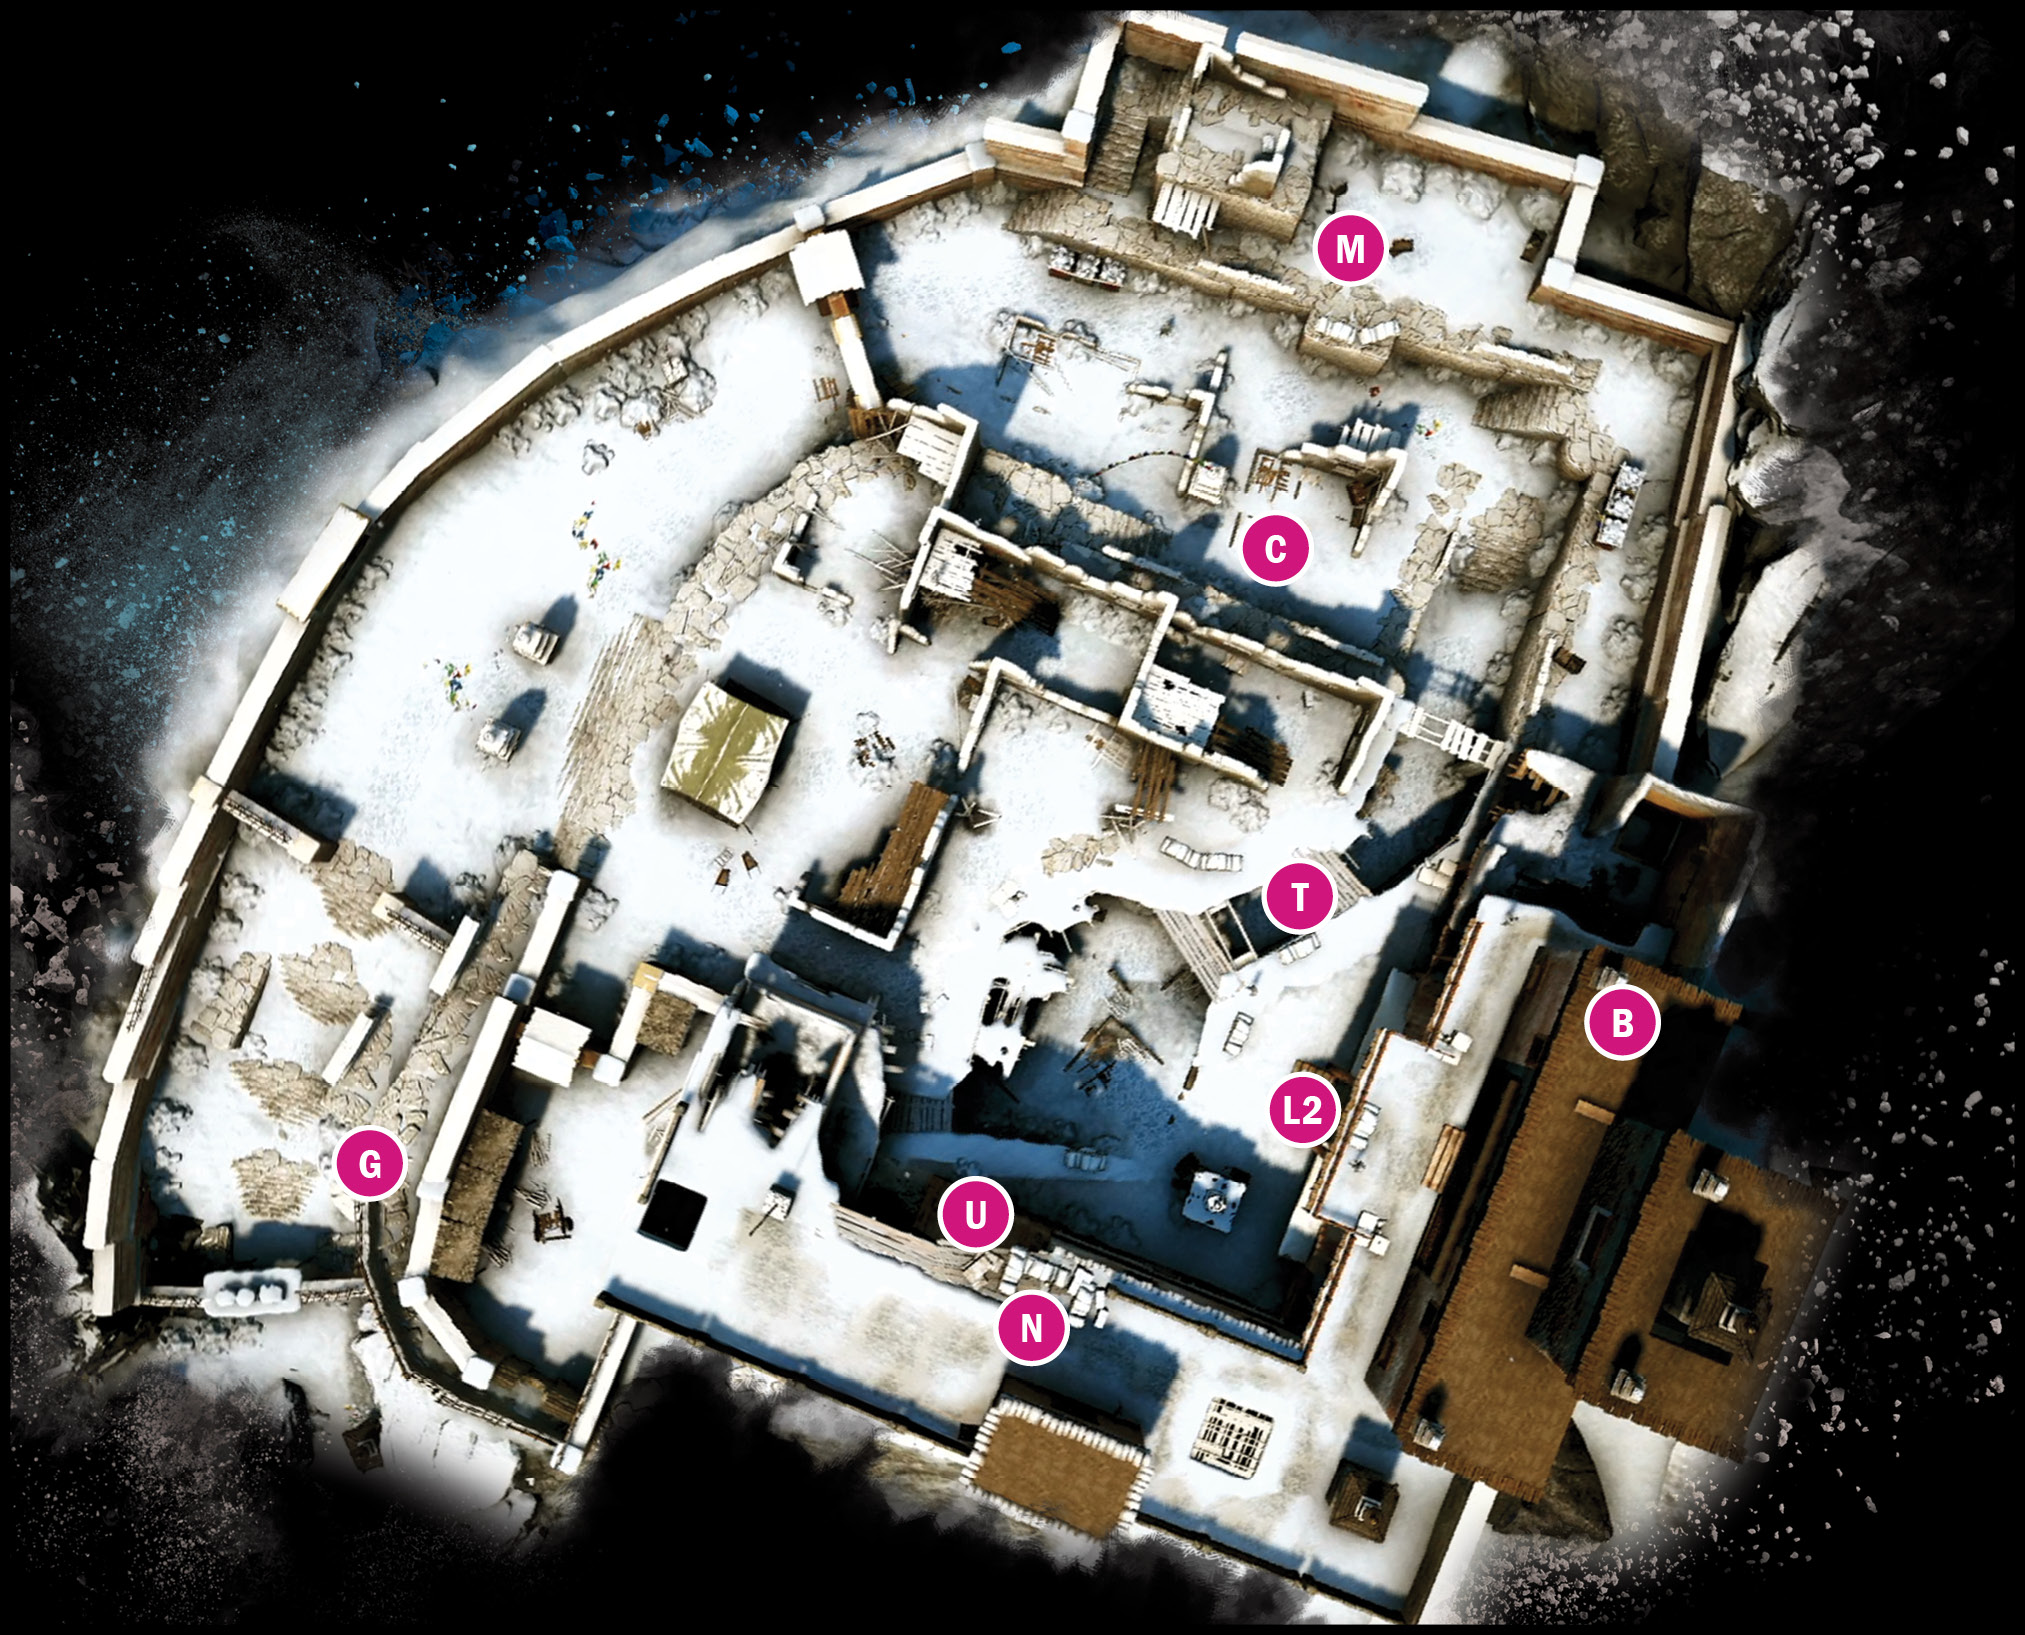
Akaash Monastery: Interior
 Grapple point up to avoid central courtyard.
 Mortar
 Machine gun nest
 Trench
 Stairs to room with rocket launcher and roof access.
 This small third-story room offers an excellent place to hunker down and withstand the enemy siege.
 Courtyard. Plenty of weapons lay waiting to be claimed here, if you can withstand the crossfire.
 Lieutenant
If you have a rocket launcher, the helicopter is an easy kill from this room. If not, no worries. You’ll just have to kill more ground forces.
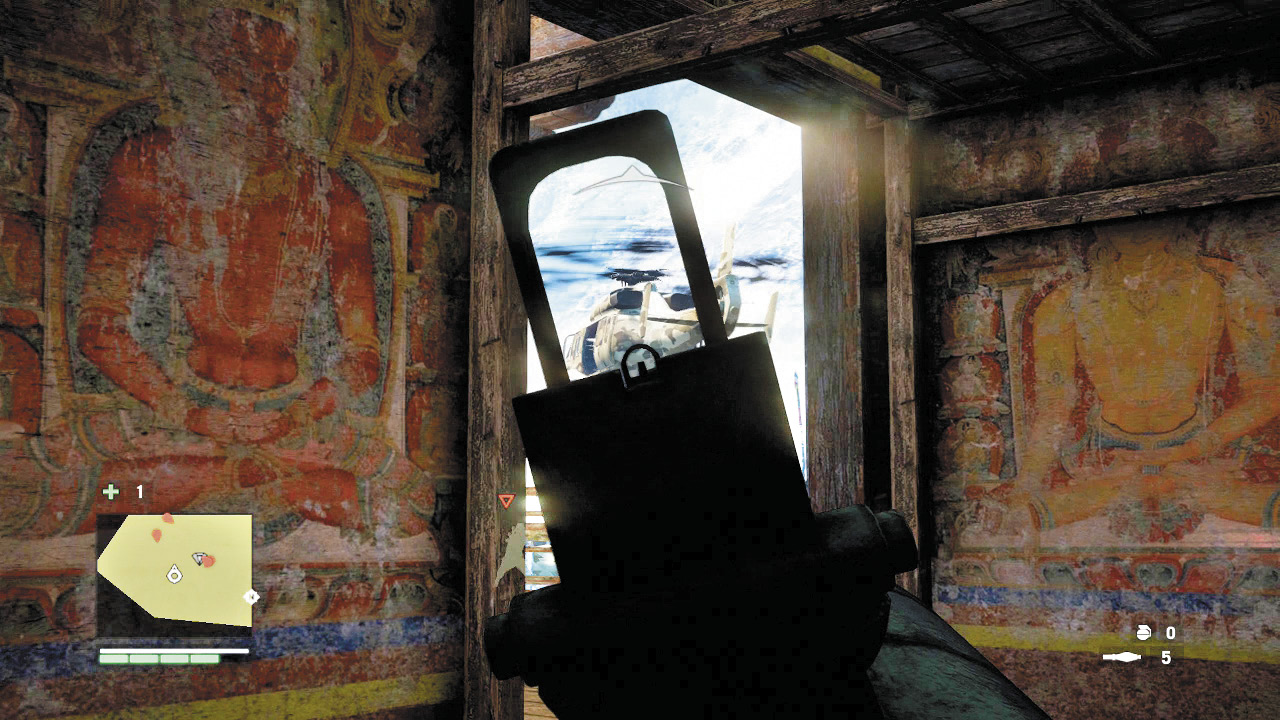
When you can RPG-kill a helicopter without stepping outside, that’s good cover.
Start with the mortar, located in the north corner or the courtyard. Once its operator is down, remove any other enemies on this side as well. This will make sure you can heal and regroup without anyone from that direction chipping away at you.
Once that’s done, focus on whittling down Yuma’s men. Keep your shotgun handy for anyone brave and stupid enough to come to you, and beware the mounted gun on the rooftop to the south. It’s a grinder. If you’d rather roam the battlefield, you’ll find the courtyard littered with weapons like the BZ19, a sniper rifle, and two more rocket launchers. Stick to the edges here, to avoid getting caught in an unexpected crossfire.
Once you’ve calmed things down a bit, you’re ready to put the next lieutenant on ice. And . . . he’s another red herring. Time to go through another set of doors . . .
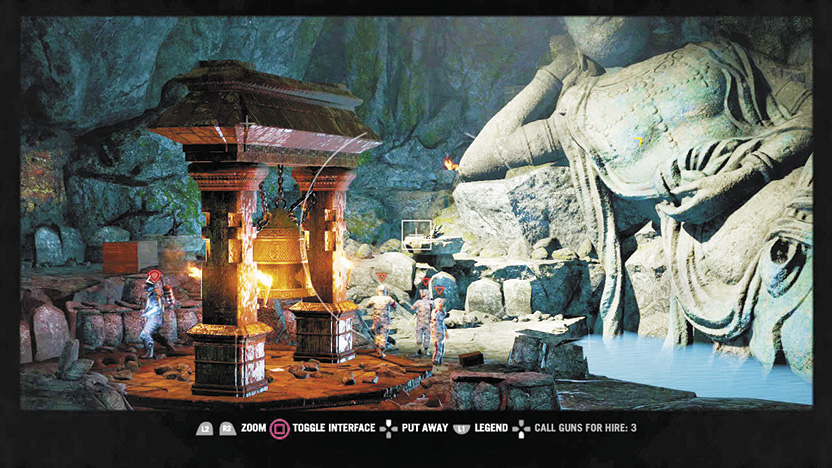
. . .and arrive at an archeological dig. That’s an unexpected change of scenery.
The game tells you to find a way through this area. And yes, “spray the whole damn place with bullets” is a viable “way through”. However, you could also jump into the water, swim right to the platform (look for the underwater passage), then sneak up the stone steps to your right. The solo guard at the top of the stairs is an easy takedown.
The tunnels beyond will require a little more care if you want to remain stealthy, but as long as you watch out for the heavy flamers, nobody here can hurt you if you slip up and blow your cover.
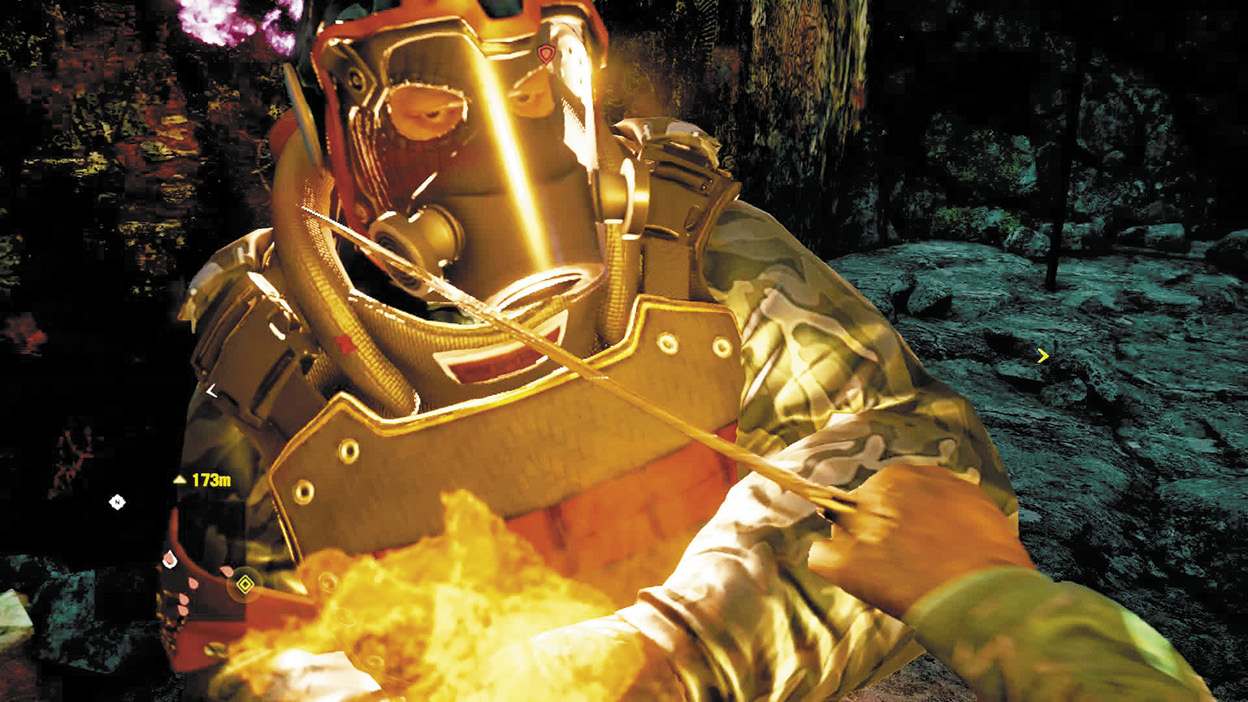
In tight quarters like this, heavy flamers can be devastating. So resist the urge to taunt these bruising firebugs just to see their flamethrowers at work. If one does see you, shoot the tanks on his back.
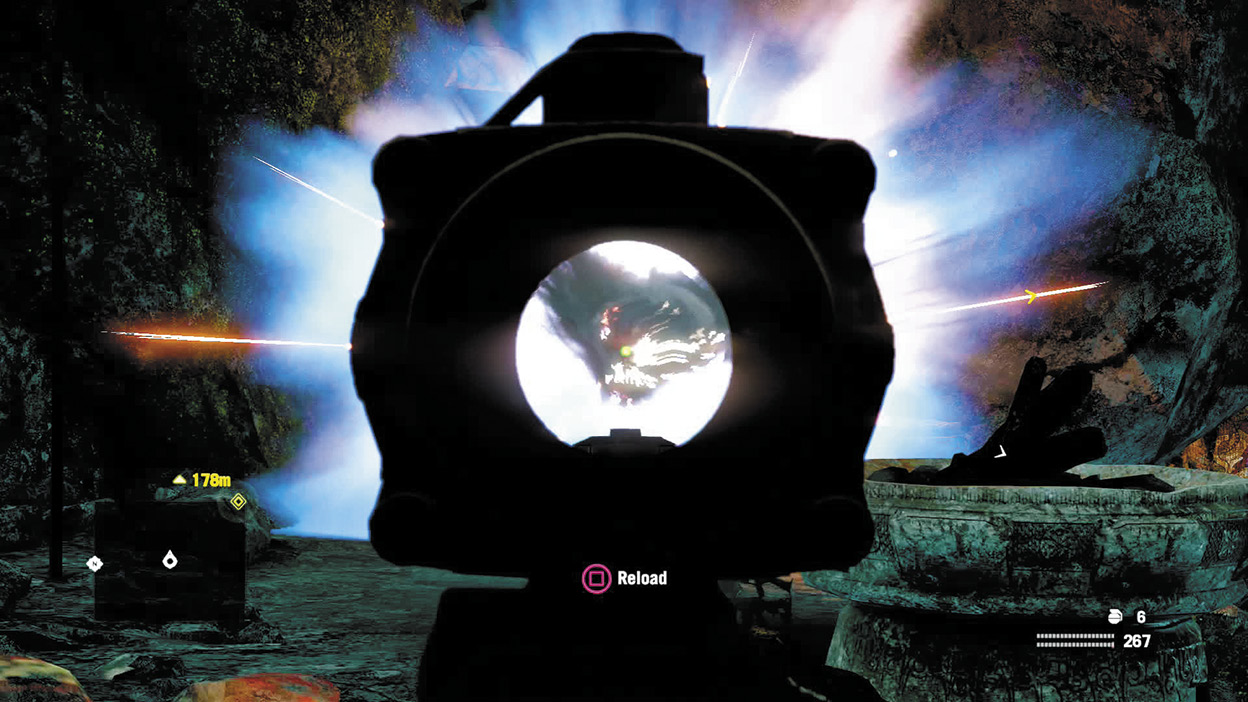
You’ll know when you’ve hit a heavy flamer’s fuel tanks.
Eventually, the winding tunnels will dump out into a multi-tiered valley crisscrossed with wooden walkways and packed with Yuma’s men.
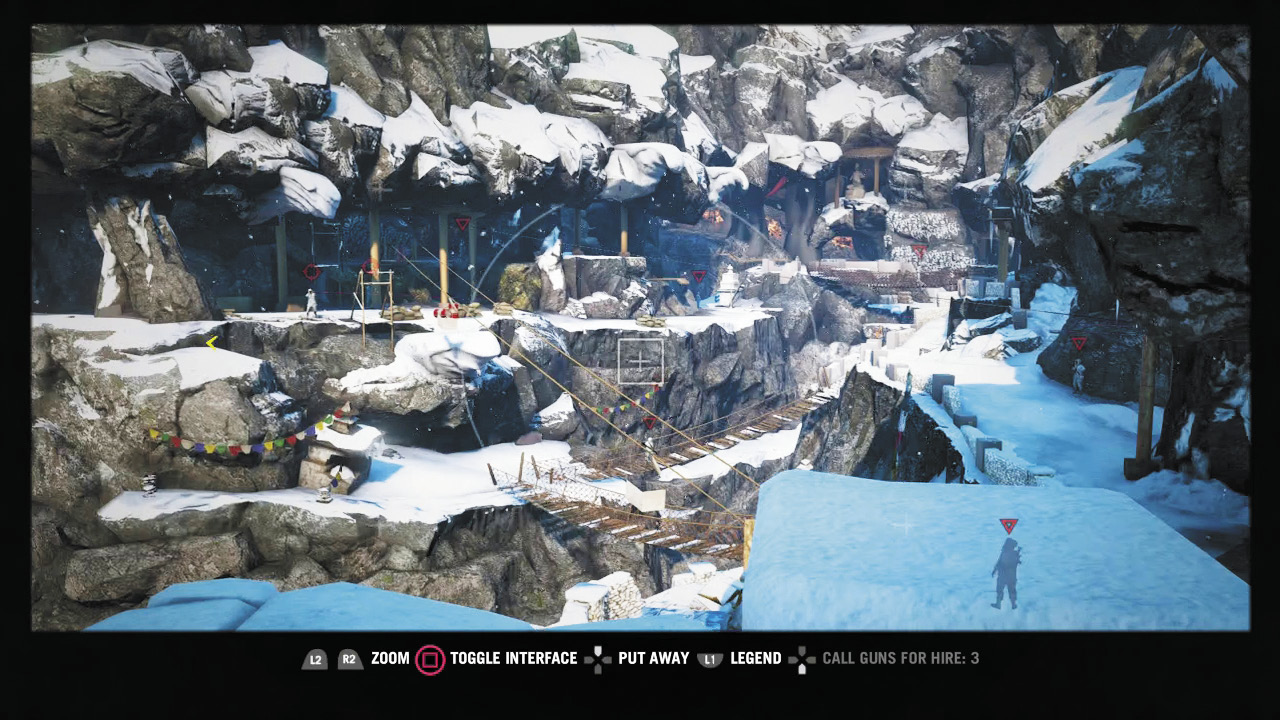
This valley? It’s a sniper’s paradise.
Snipe the three soldiers across the way, drop onto the soldier directly below the ledge where you stand (assuming you have Death from Above), and take out his nearby partner. There’s a rocket launcher here and an ammo crate further up the path—if you didn’t bring a sniper rifle, these will accomplish the same job in slightly more attention-getting fashion. Stick to the high ground here, avoiding the walkways (except to snipe the guy on them).
About halfway along the path, you’ll see another pair of snipers. Try to ice them in quick succession. Then take out the two on the bridge, who will both face the same direction for some reason.
Work your way around the canyon. When you’ve reached the point more-or-less straight across the chasm from the spot where you entered it, the path will widen into a town-like area and you’ll come under fire again. Focus first on sniping out the mounted gun on the high hill to the south. Then, just perforate the half-dozen or so troops here. One of them will be the lieutenant you seek.
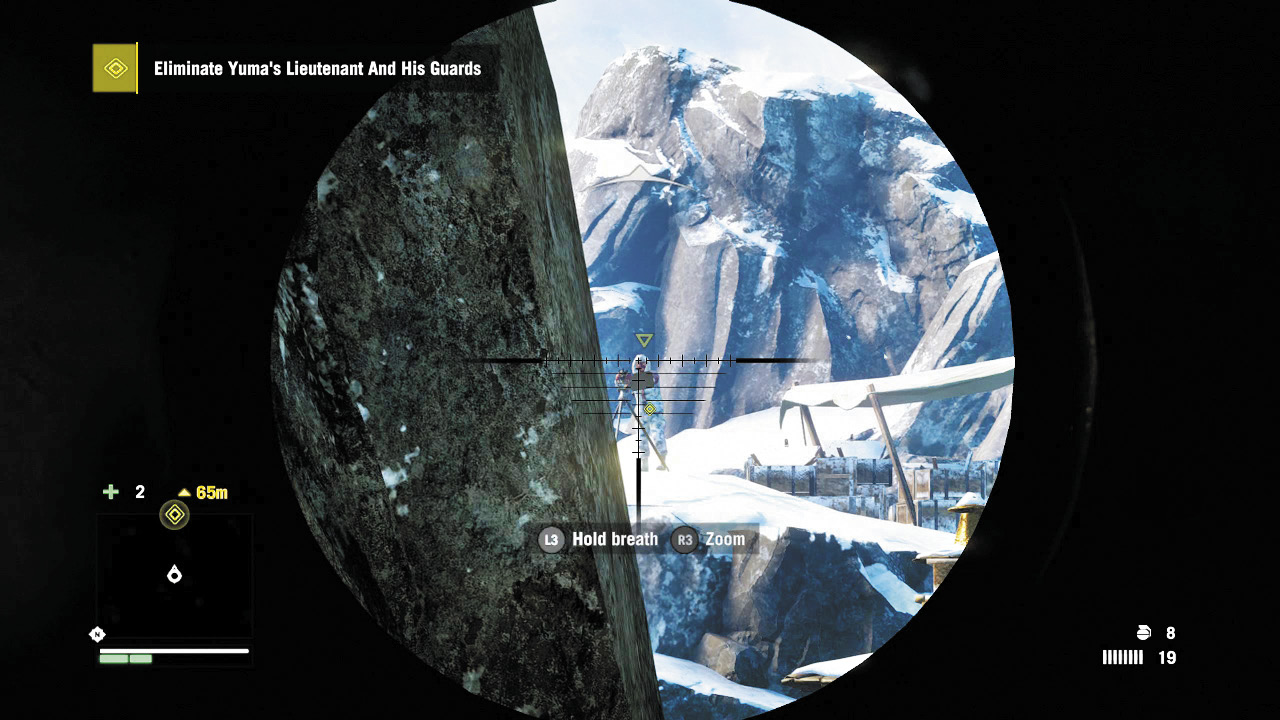
On good days, the guy on the gun is the yellow-tagged chump you’ve been looking for all mission long.