
Far Cry 4 Guide Campaign Missions
City of Pain
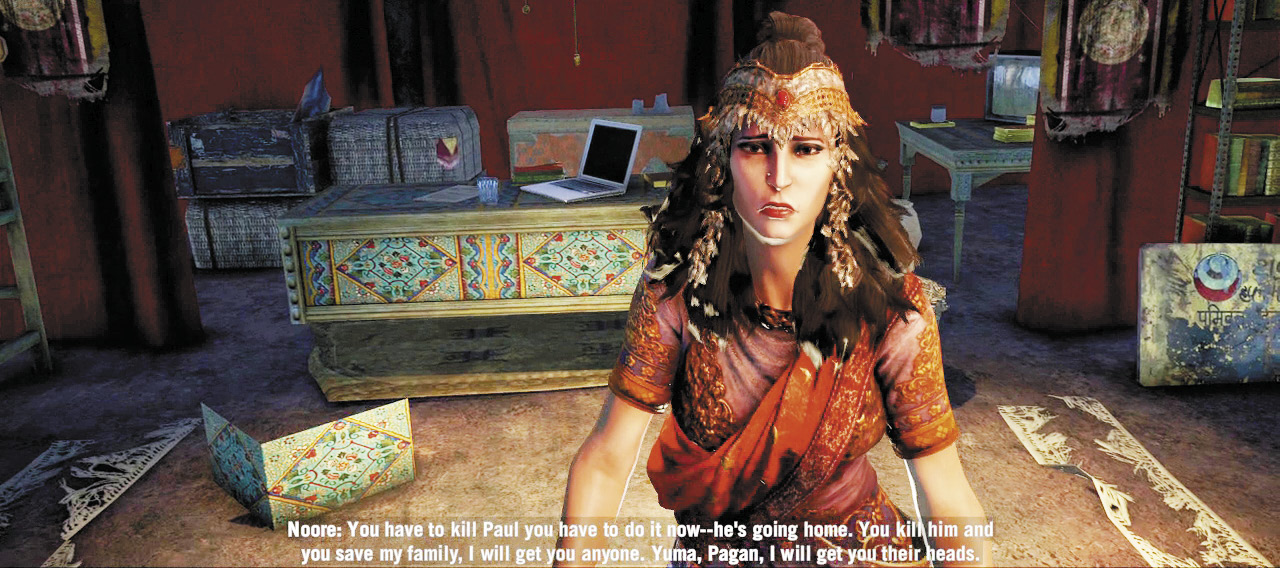
At the arena, a distraught Noore will beg you to murder De Pleur and rescue her family. Apparently, he’s having a party for himself and kidnapping local villagers to serve as “meat.” All you have to do is stow away on the delivery truck.
The “Meat” Truck
The “Meat” Truck
 –
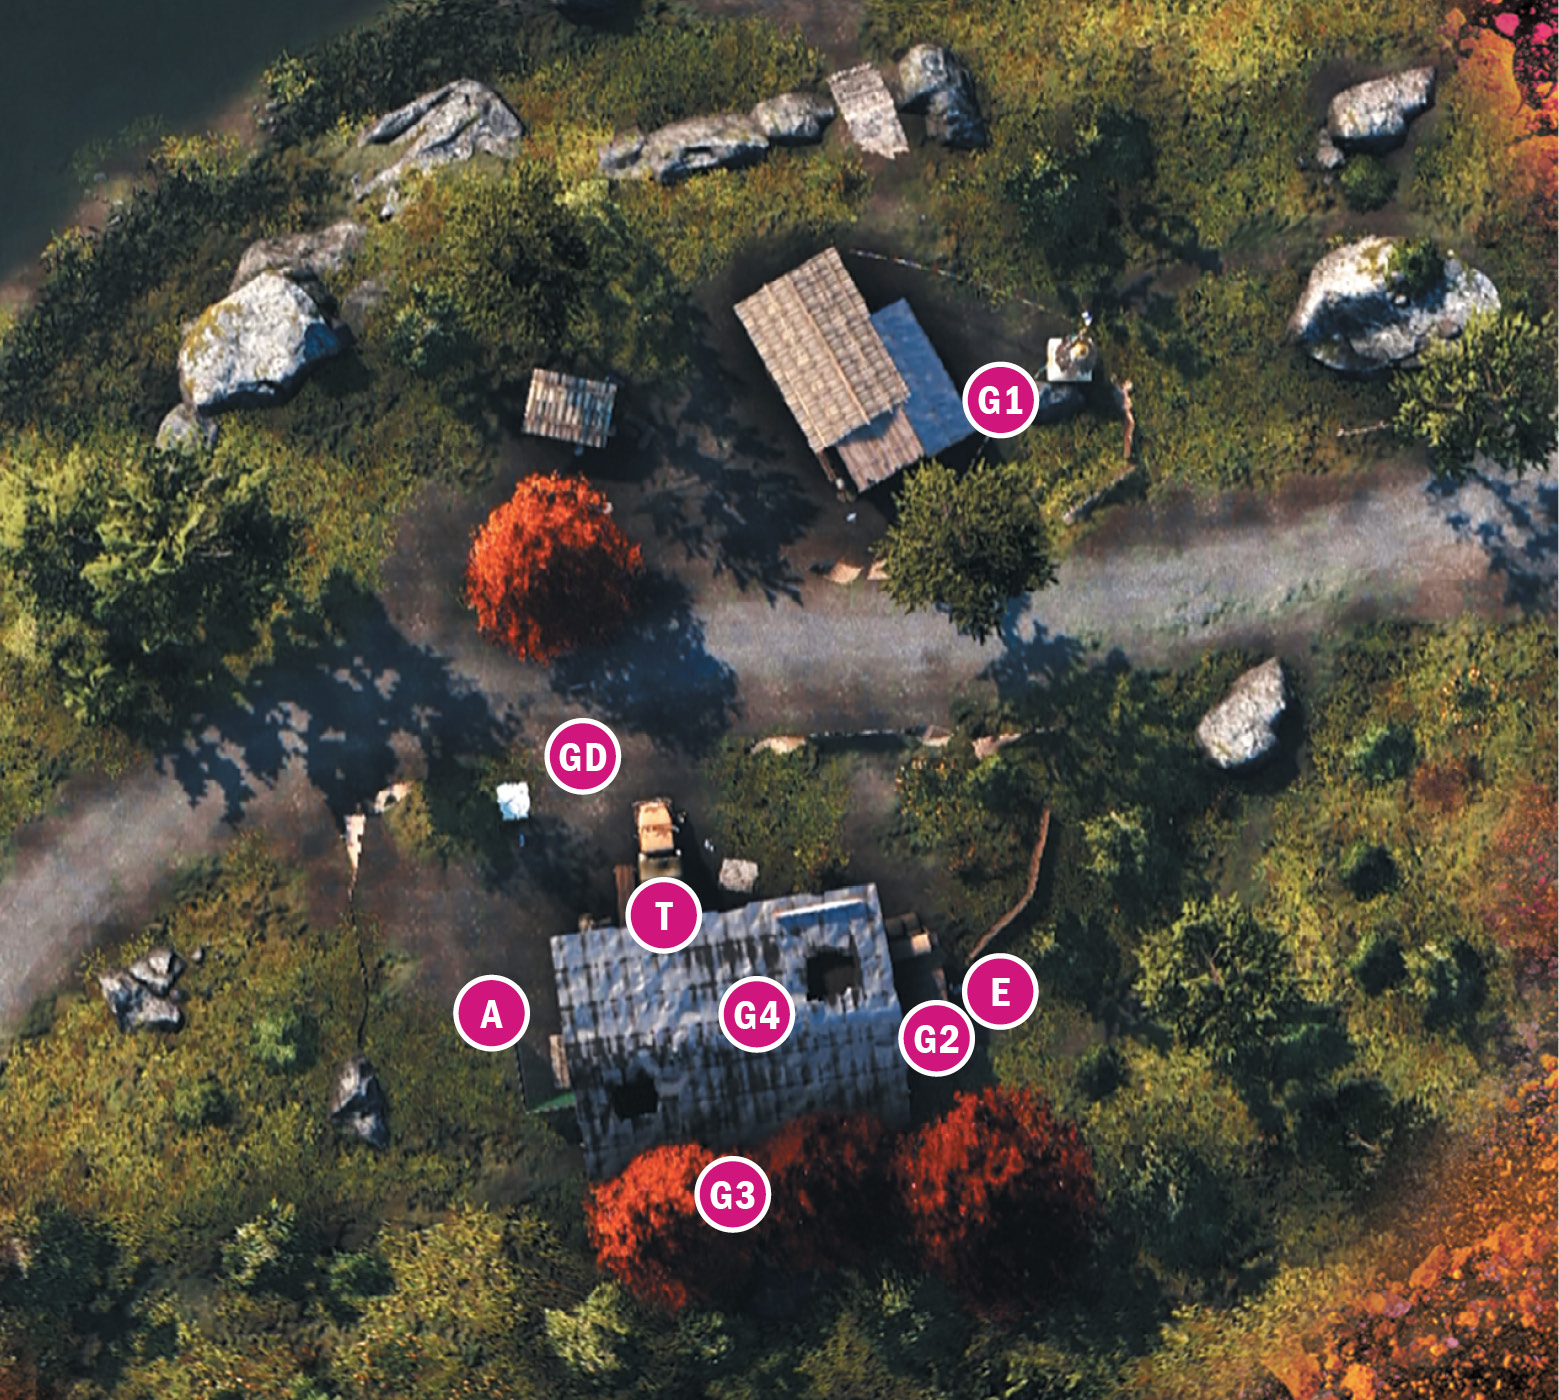
– Individual Guards. Take them down in order to minimize risk of detection.
 Five guards and a dog prowl here.
 Recommended Entrance
 Truck. Your destination. Can be entered only from inside the warehouse.
 Alternate Entrance
When you arrive at the warehouse where De Pleur’s troops are loading the truck, you’ll find five guards and a dog out front of the main building, a sixth guard on its east edge, and a seventh near the porch of the shack to the east. It would be easy enough to charge in and wipe them out with explosives and such, but the “no detection” requirement ups the ante a bit.
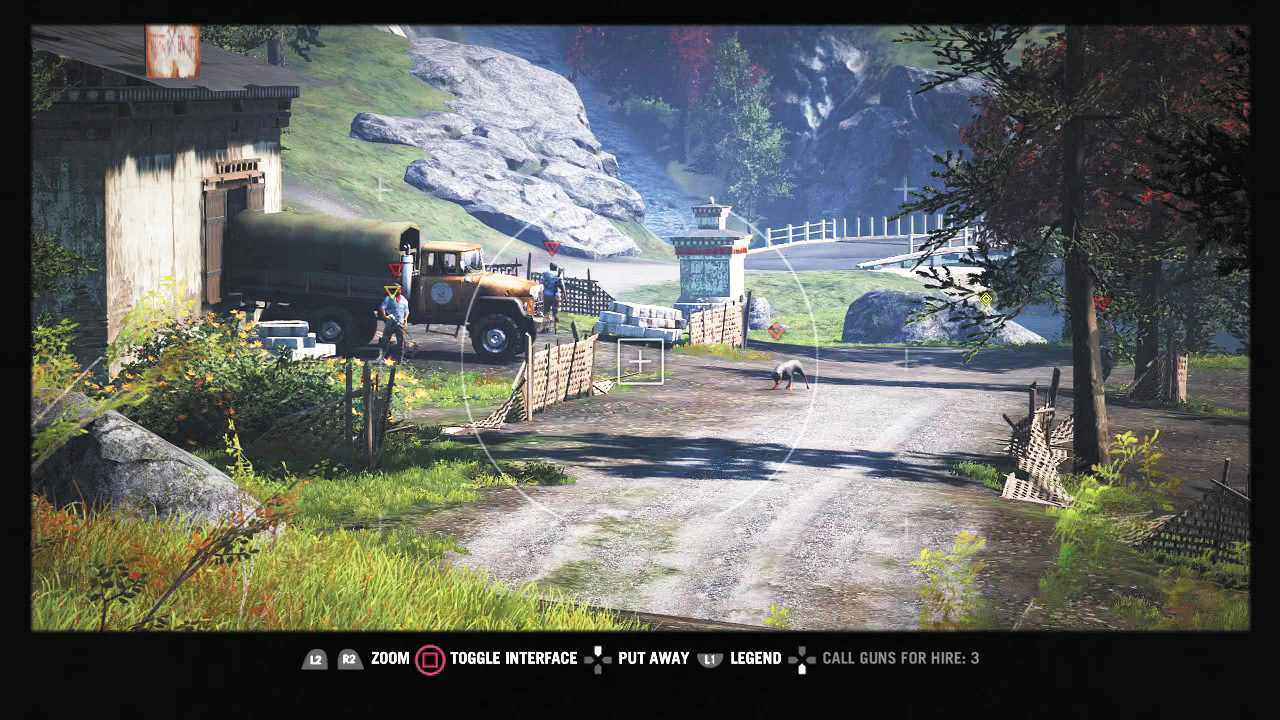
If you have a silenced sniper rifle, you could take out the lone guard to the northeast (G1 on the map) when he stands on the porch. This is a judgment call. If he’d dead, he can’t spy out your approach. But the roaming guard could find the body (though you can snipe him as well). There is an open door on the west side of the main building and a ledge to the south, but you may find the east side offers a smoother entry. There’s one guard (G2) positioned right near the hole in the fence (E). Tag him, but wait until he stands just inside the fence (but still near the hole) to snipe him out (or slip in and take him down). That way, guard G1 across the street (assuming he’s alive) won’t see the body.
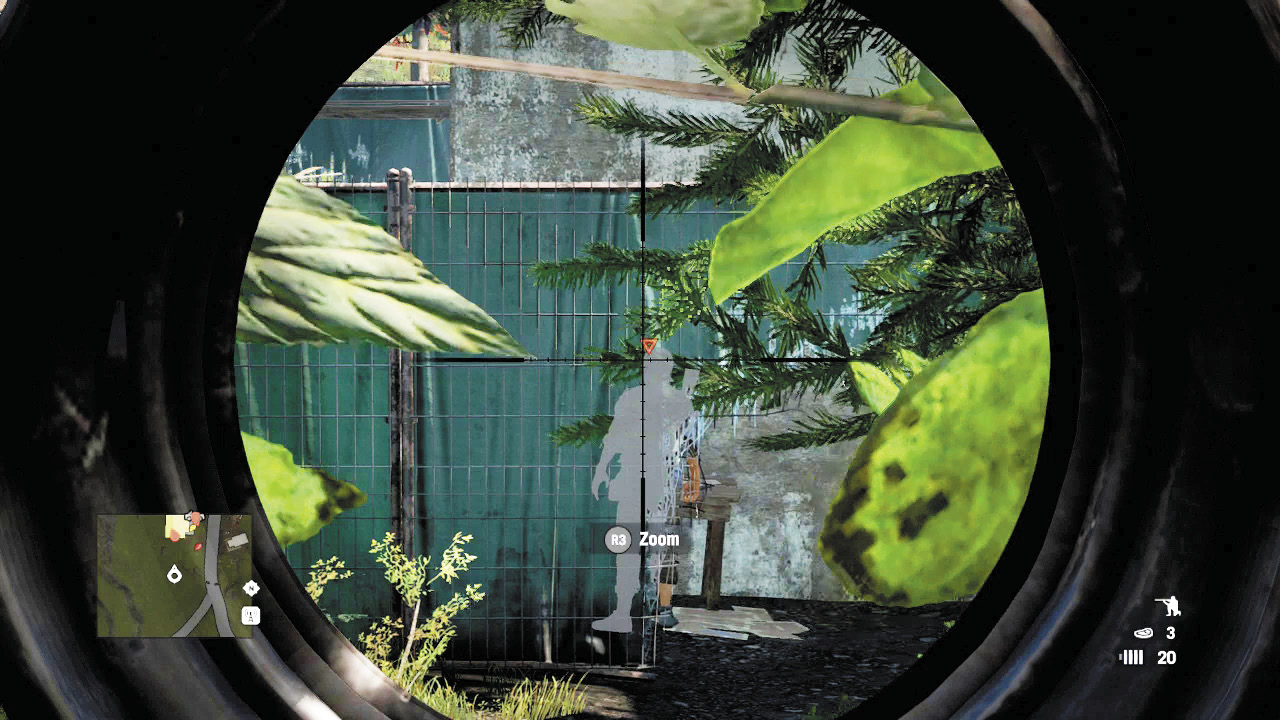
That green fence blocks your eyeballs, but not your bullets.
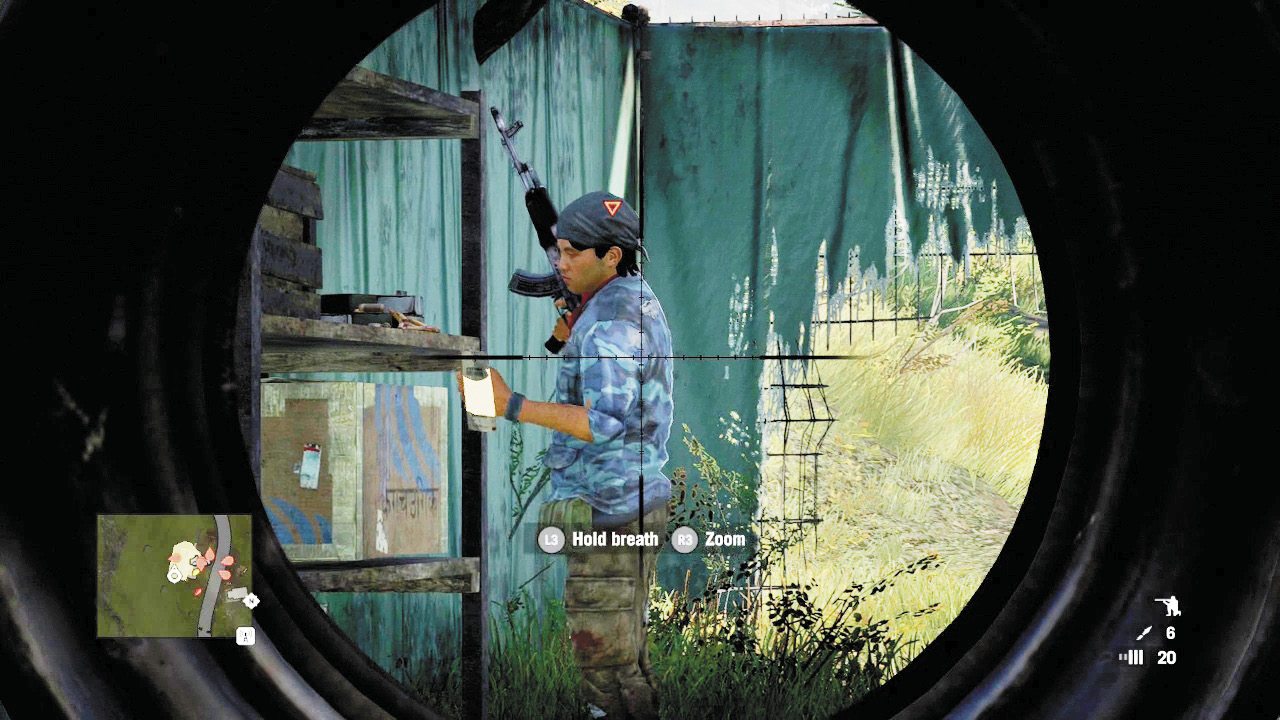
Head through the gap in the fence, but have throwing knives or a silenced firearm ready—there’s an eighth guard in back (G3) and a ninth inside the warehouse (G4). Once they’re down, you can slip into the back of the truck and you’re on your way.
Slaves and Cameras
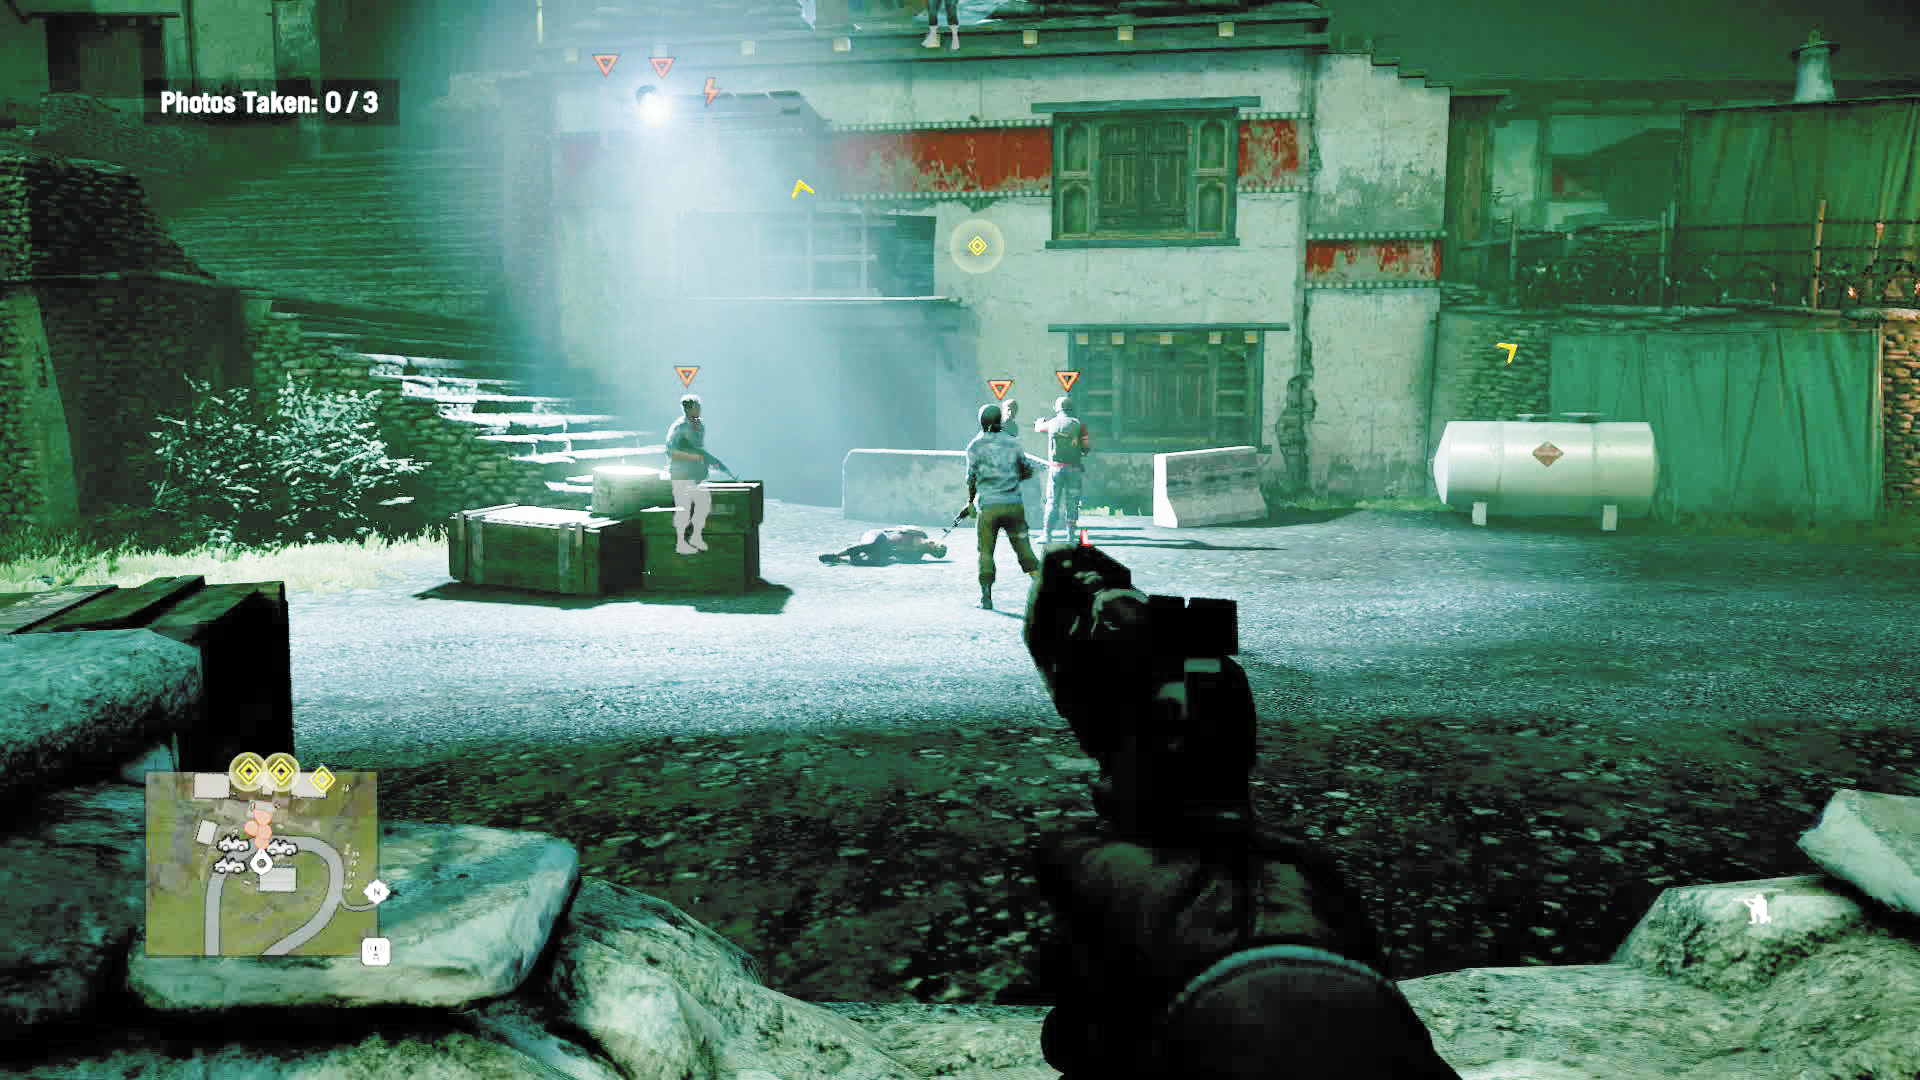
You’ll emerge at De Pleur’s City of Pain at night, to the sounds of . . . something. Right off the truck, you’ll see several soldiers taunting a bound prisoner. This being a stealth mission, you’ll want to ignore them. If anyone sees a body or hears a gunshot, you fail.
Bright Lights, Dead City
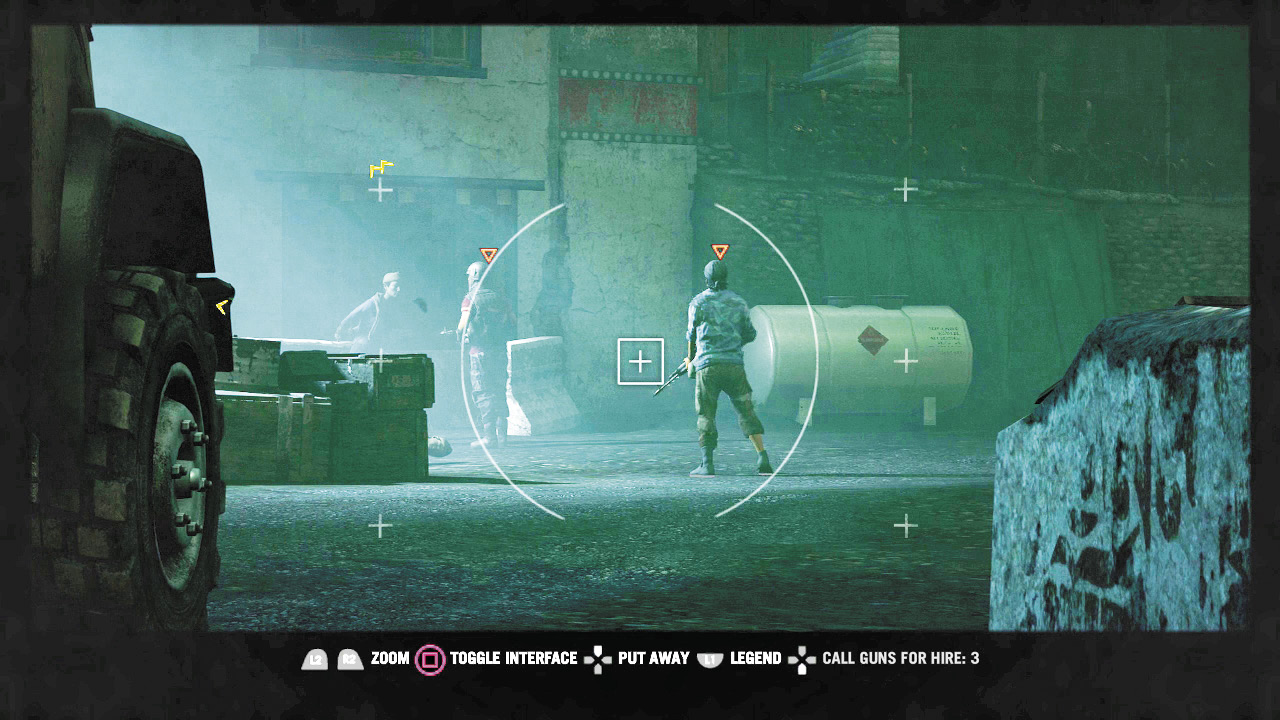
Watching the lighting in the City of Pain is the secret to remaining unnoticed. You can kill anyone standing in golden yellow light and easily avoid detection. But pure, stark white light? Too much chance you’ll get caught. Just slip on by. For now.
And here the mission splits. If you’re following Sabal, you’ll need to free the “slaves” from De Pleur’s twisted rave. If you’re following Amita, you’ll take pictures of the slaves as they are tortured, but not actually rescue them. Seems like Amita’s plan is a raw deal for the slaves, but we’re not here to judge.
City of Pain: Sabal
Skirt around to the north of the parking lot jerks and you’ll find a climbable ledge. You’ll come up near a guard tower. Ignore it. The odds of its guard seeing you are much lower than the odds of someone else seeing you if you climb up to whack him.
The slaves to be freed are in three locations. We’ll liberate the northernmost one first.
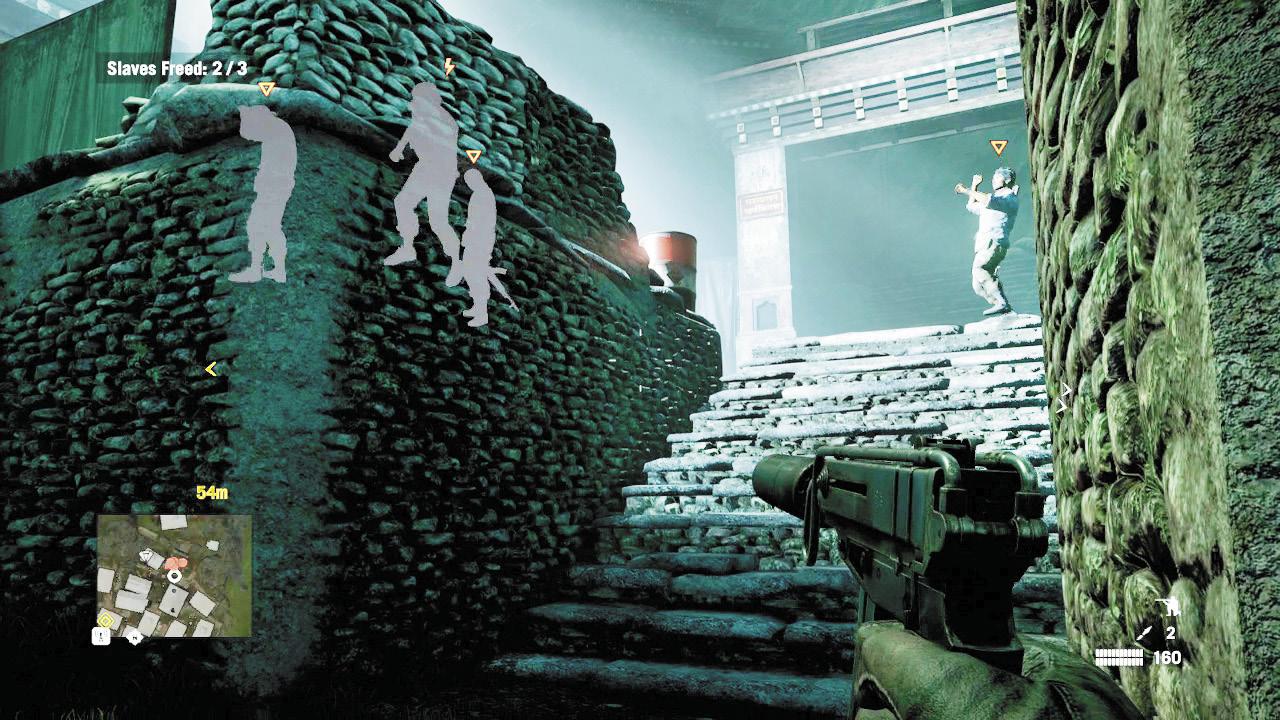
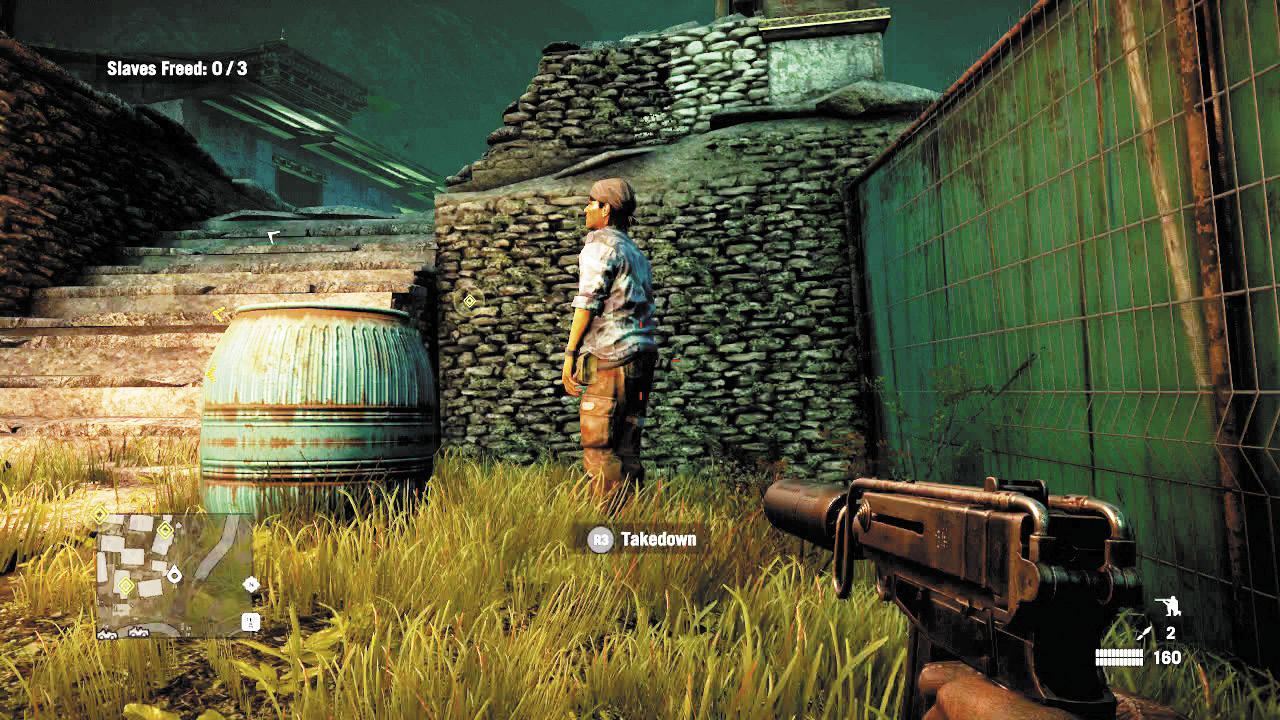
Stick to the wall and take out the guard at the well-lit stairway, then hide his corpse. Head up those same well-lit stairs until you find the shack with the slave and a single guard inside (S1 on the City of Pain map ahead). Kill guard, free slave. One down.
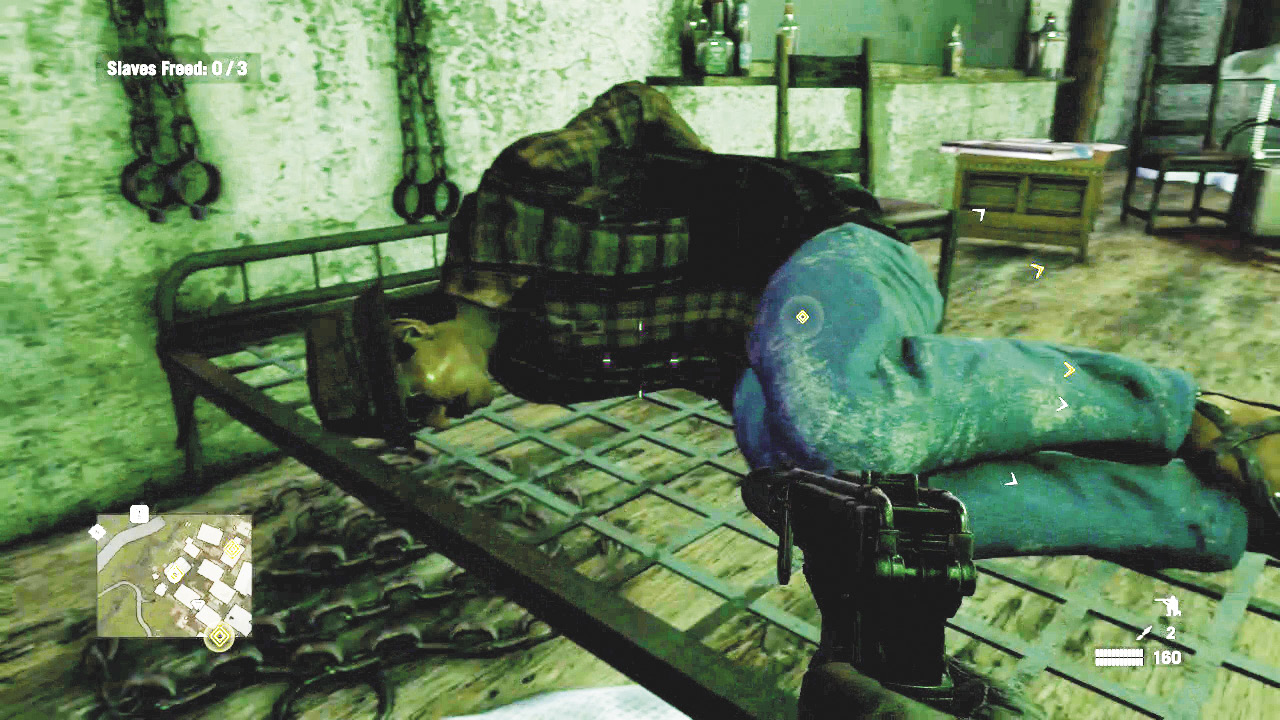
Head back out the door and creep south, toward the gold light. You’ll reach a point with a sick guard on your left and a gap in the fence to your right.
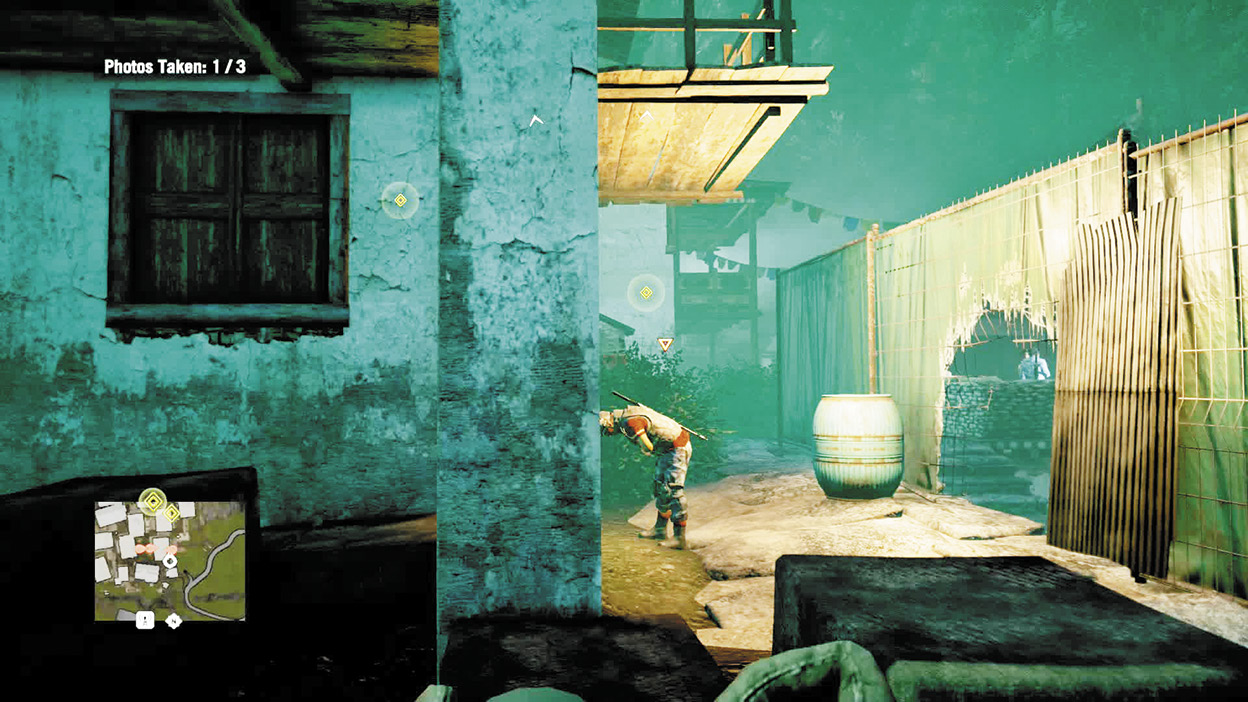
Kill the guard and stash his body in the plants. Continue along the fence and sneak past the guards under the bright white light.
If you continue forward (south) and then veer west, you’ll find another guard you can take out. Leave his body as a landmark. Climb the stairs near him and then take either the east-side ladder or west-side stairs up to the house. Sneak in to take down the guard and free the second slave. Two slaves free, one to go.
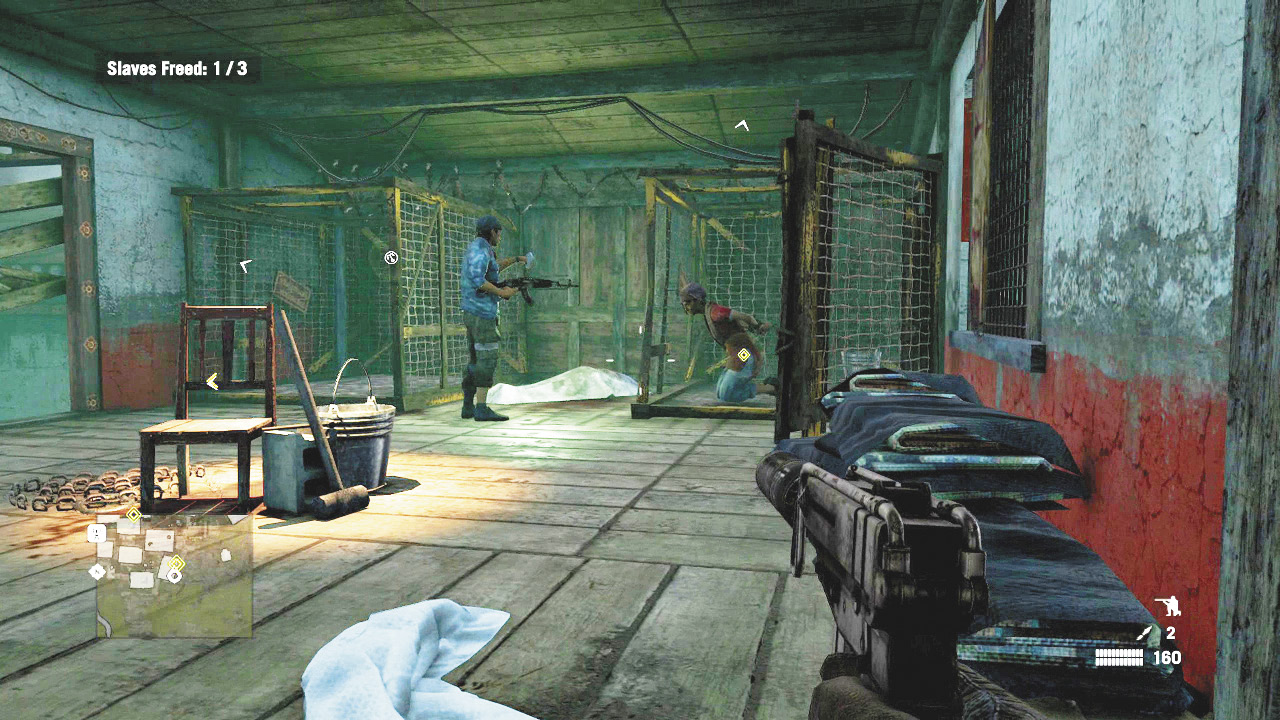
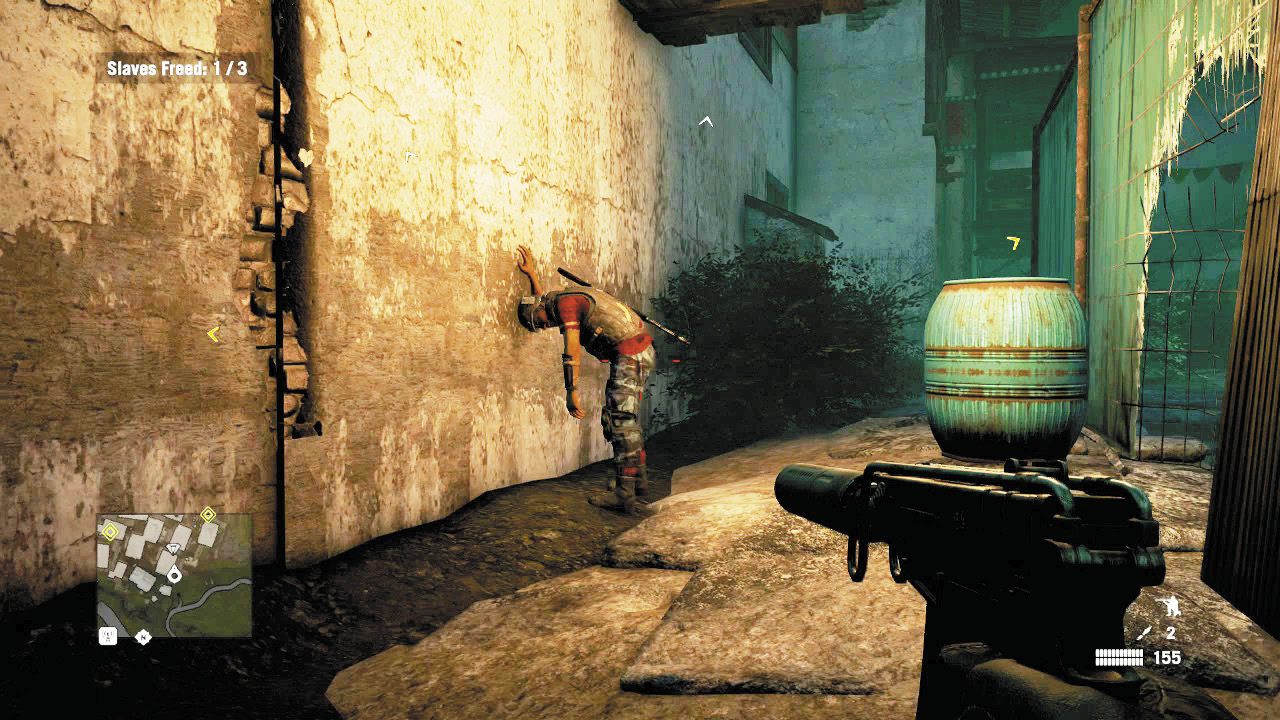
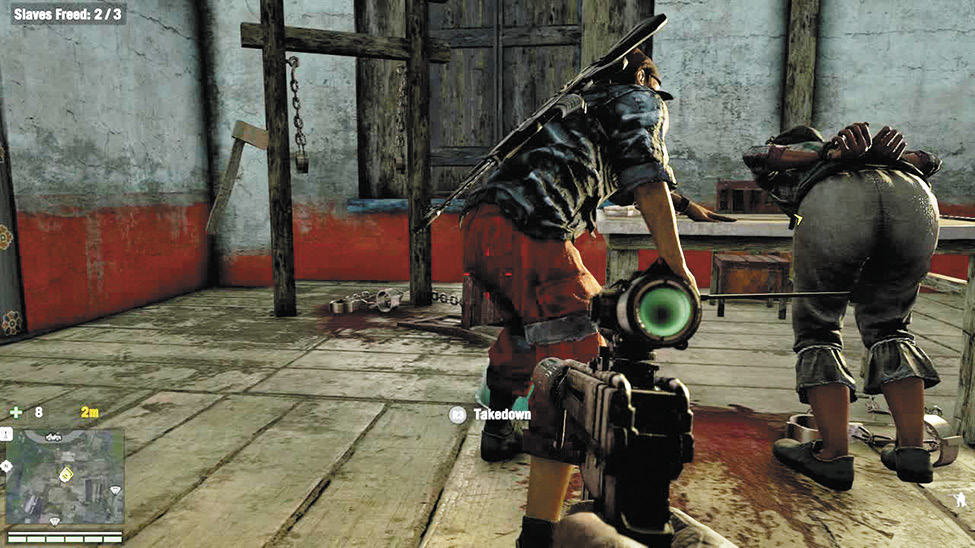
Head back down and turn east at the “landmark” guard’s body. If done correctly, you should see an ammo crate in the left corner and a red barrel to your right. Go ahead and stash the guard near the ammo crate, then continue down the alley toward the final yellow diamond on your mini-map, keeping to the shadows and avoiding any white-lit areas. When you reach the T-intersection and another ammo crate, go left (north), then immediately right (east)again up the short stairway. Stay crouched as you move down the alley, and when the building on your left ends, take the sharp left to go down the wooden ramp into the room where a soldier is giving the third slave a spanking.
Retrace your steps back to the spot where you killed the “landmark” guard. When you reach the blue barrel next to the cage, turn south. You should see stairs and a ladder up the stone wall. Take it, then sneak carefully toward the hole in the green fence to the east, being careful not to disturb the guards nearby.
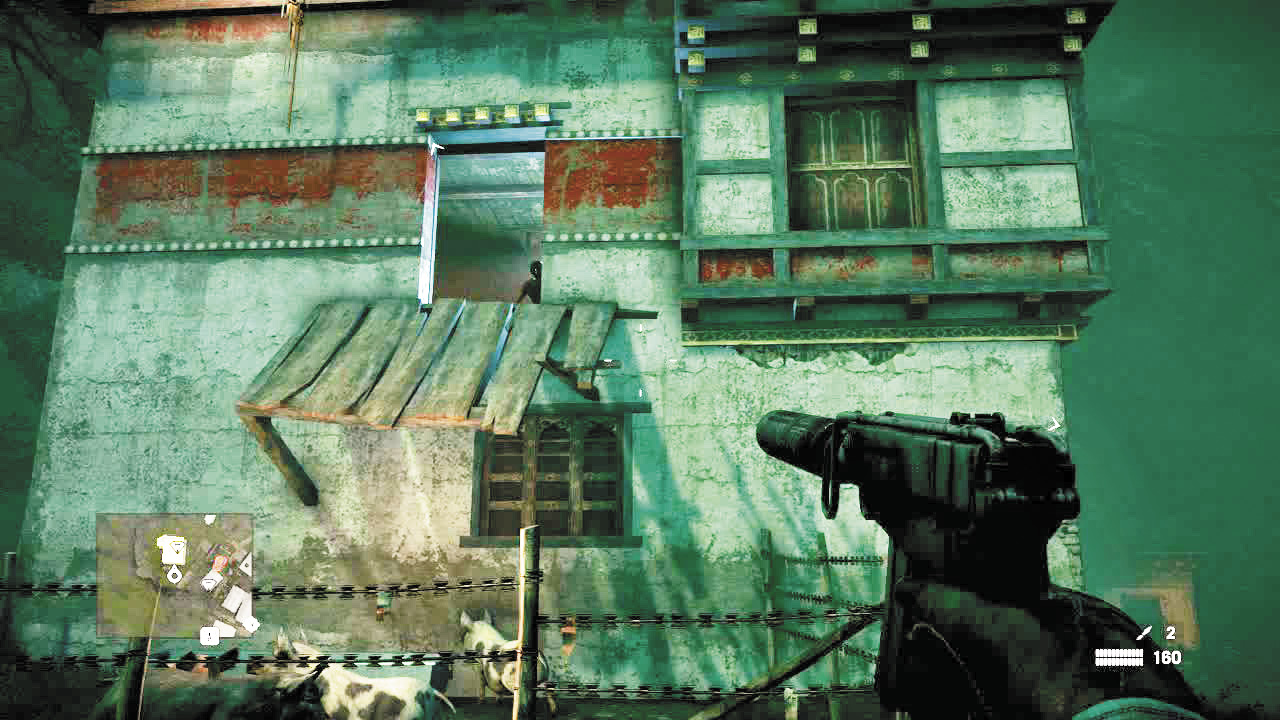
Go through the hole to De Pleur’s yard. You’ll have to take out the guard near the hut directly ahead, but after that it’s clear to head to the ledge and ladder on the house’s southeast side or the pigpen and grapple up on its northeast wall.
The City of Pain
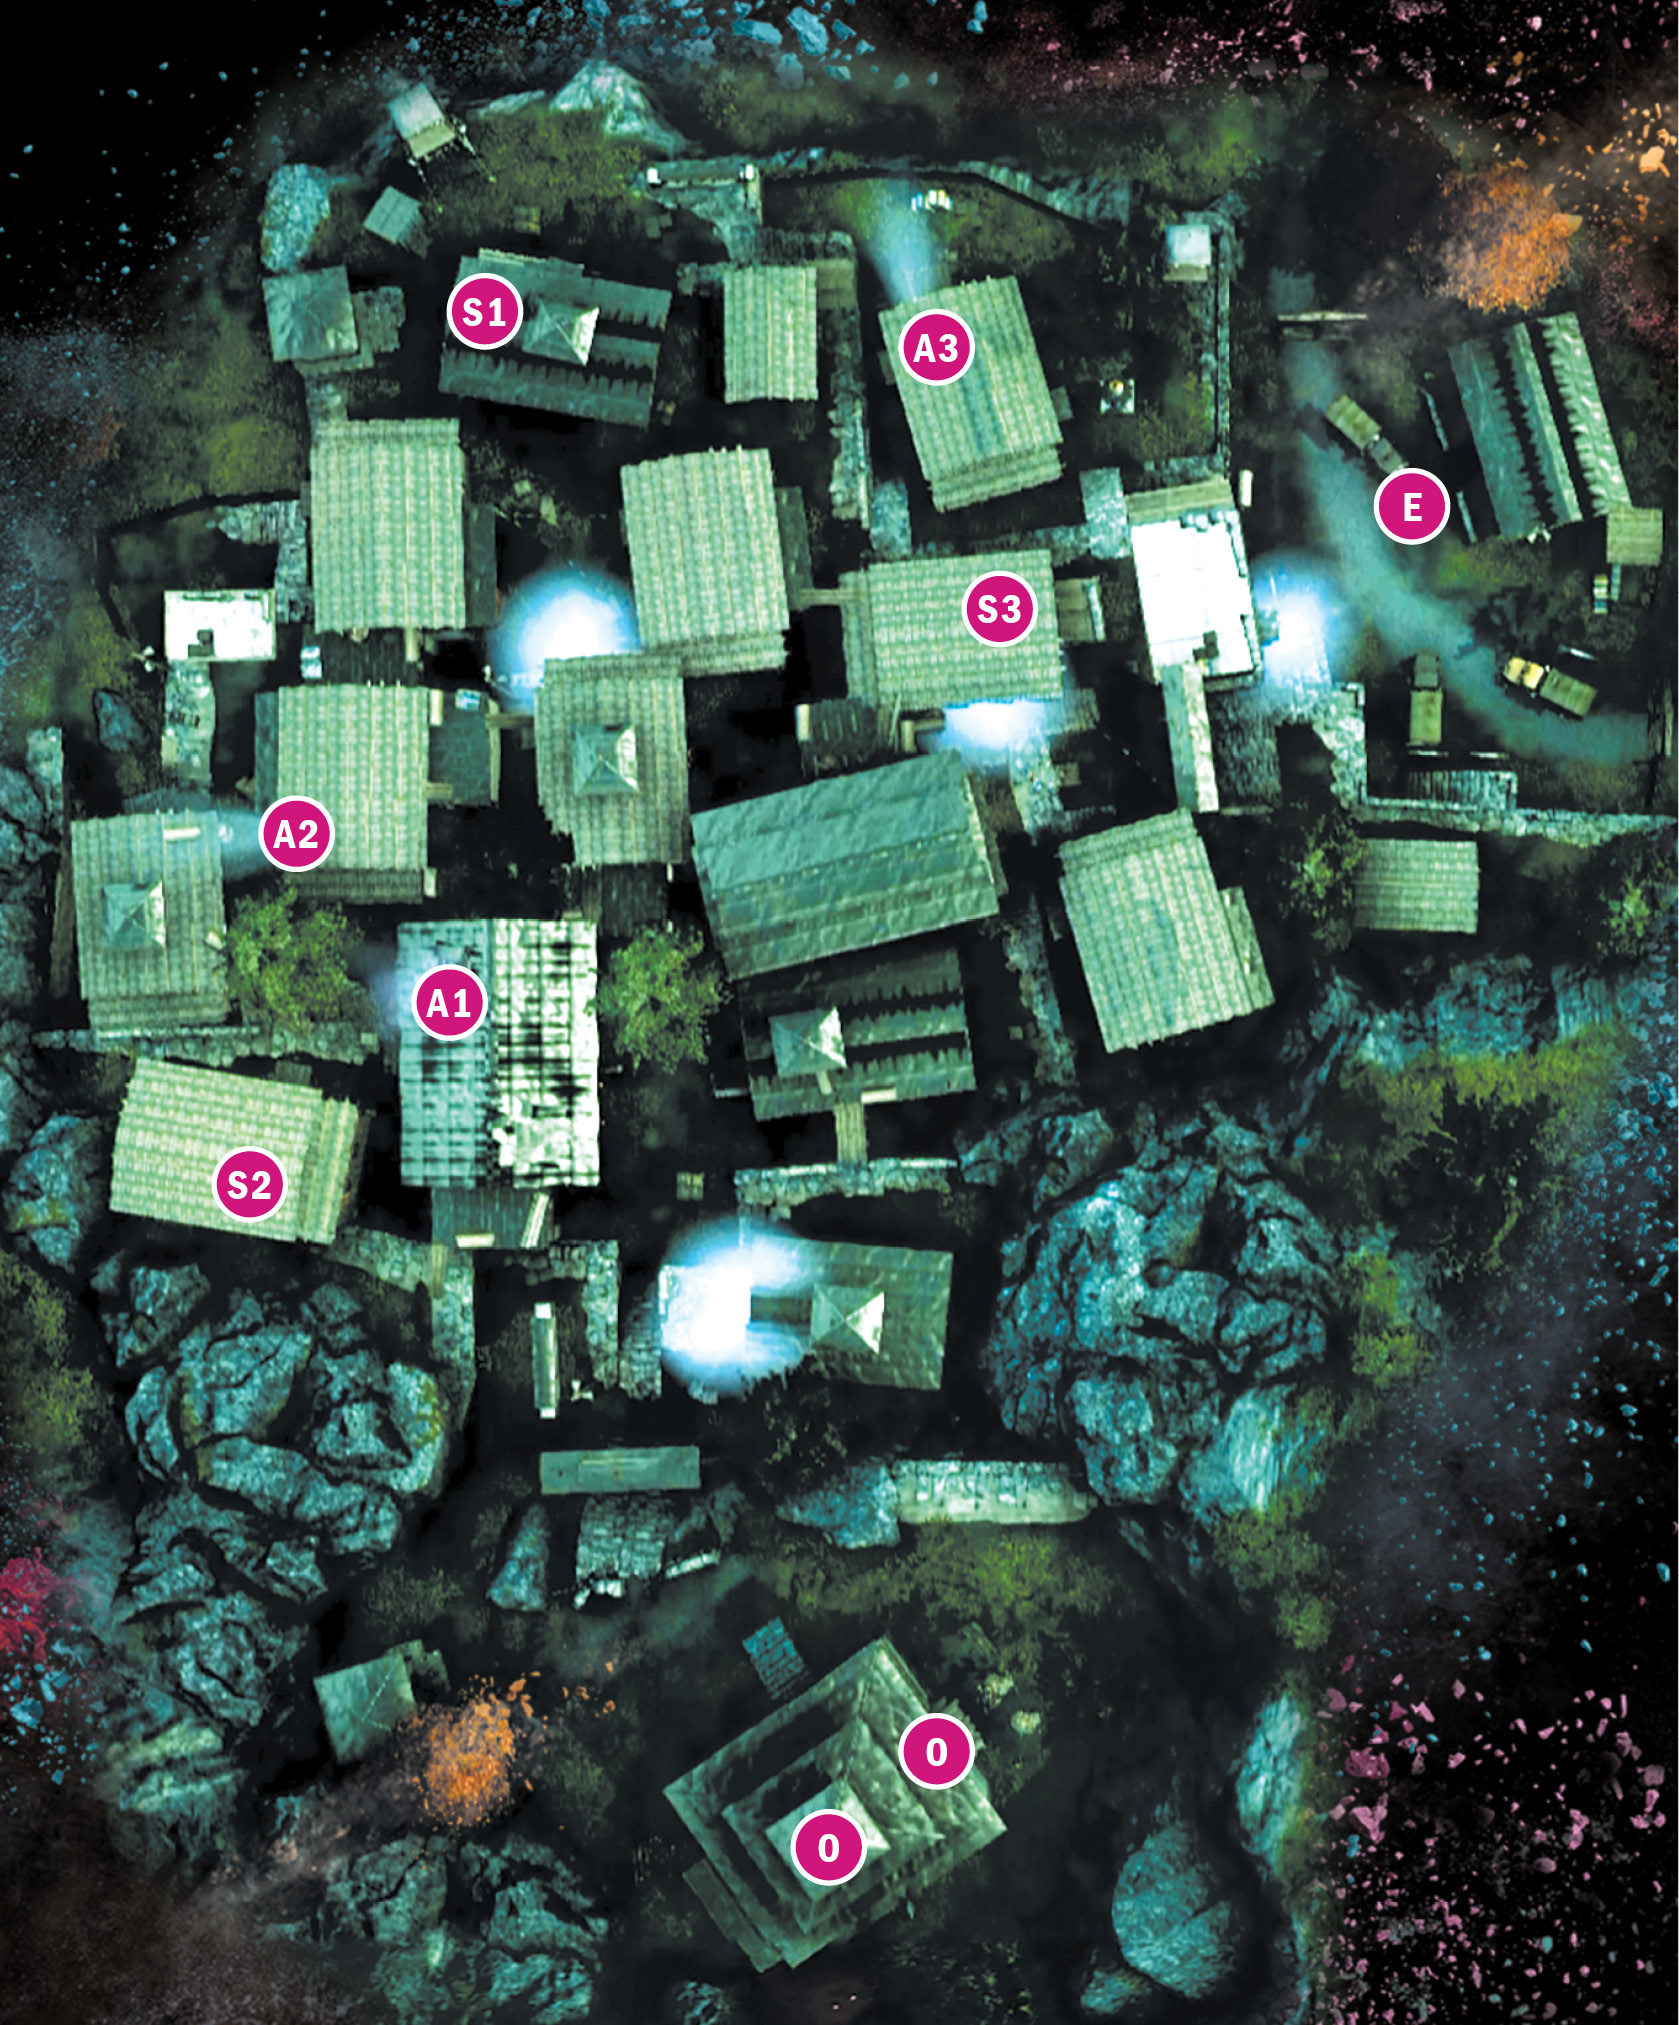
 First slave (Sabal)
 Second slave (Sabal)
 Third slave (Sabal)
 First torture victim
 Second torture victim
 Third torture victim
 Entrance (and exit) to level
 Entrance to De Pleur’s office
City of Pain: Amita
Since you can’t just paste the soldiers in the parking lot, slide south. Go up one flight of stairs, then use the climbable ledge just left of the next flight.
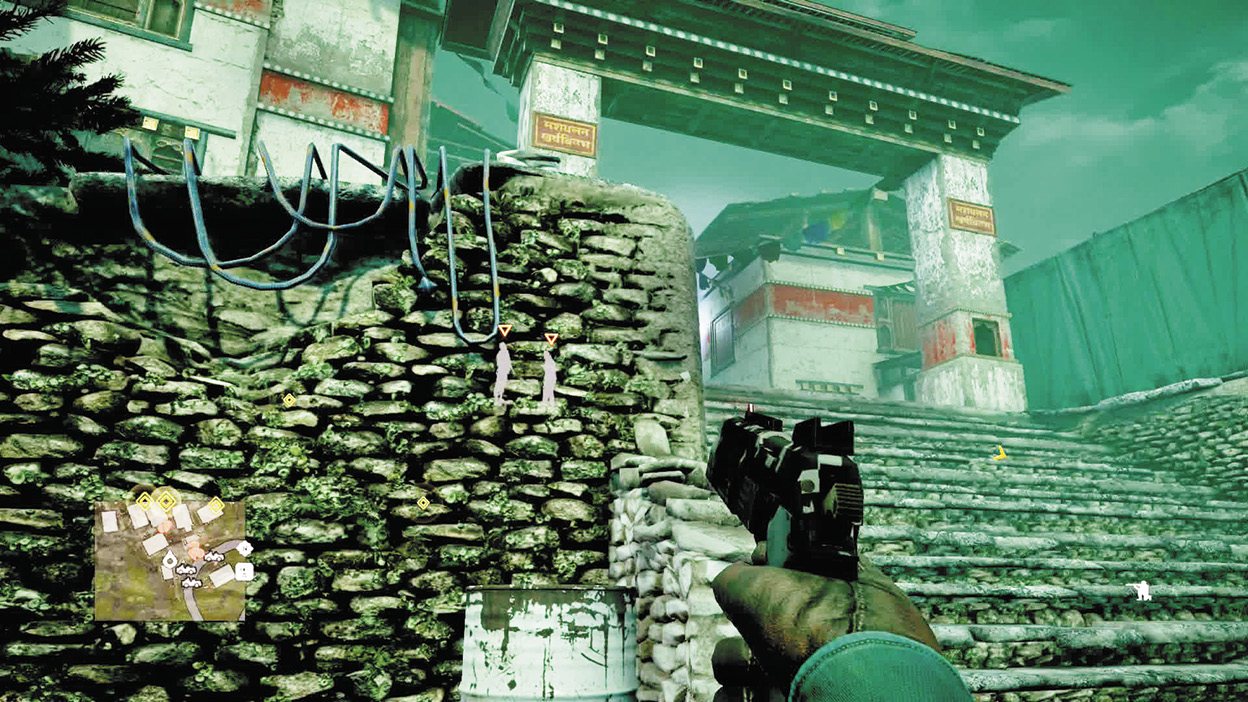
Up top, hug the south edge of the compound until you come to a soldier standing in yellow light.
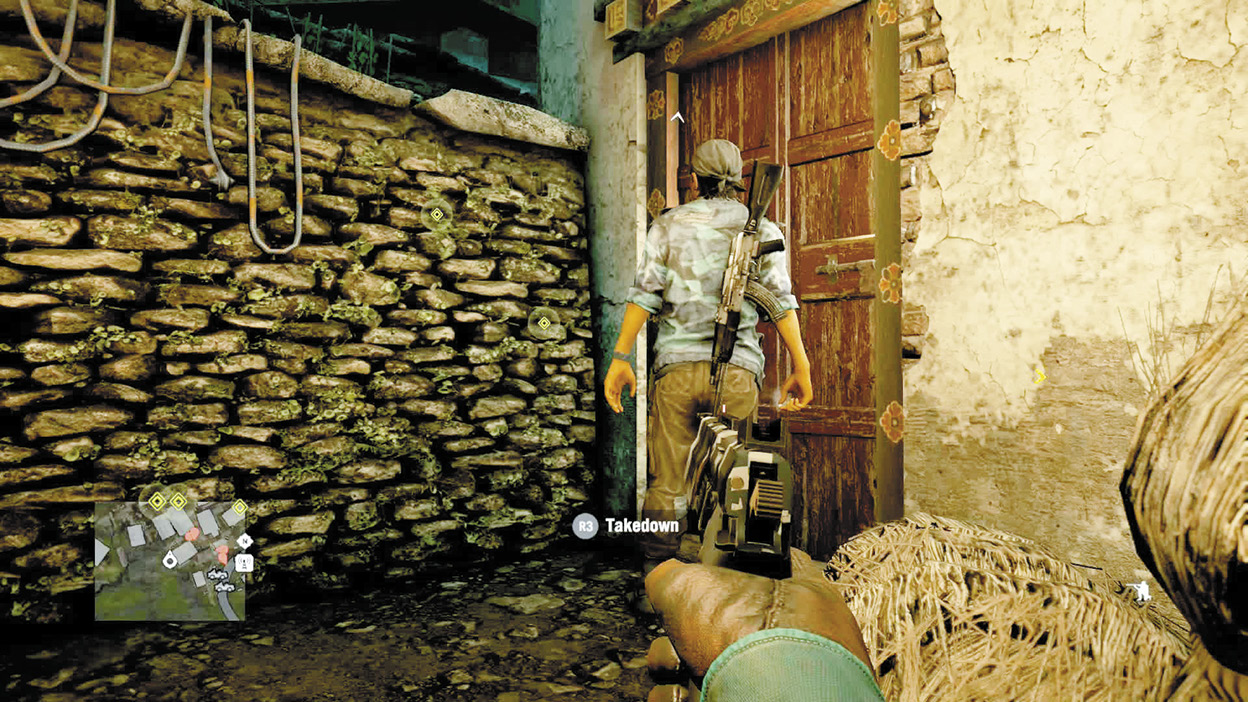
Take him down and climb the ledge beside him. You should come up seeing a white light and troops to your north and a single soldier in gold light straight ahead to the west. Take the single soldier down, keep moving west, and you’ll reach a wall hung with bodies.
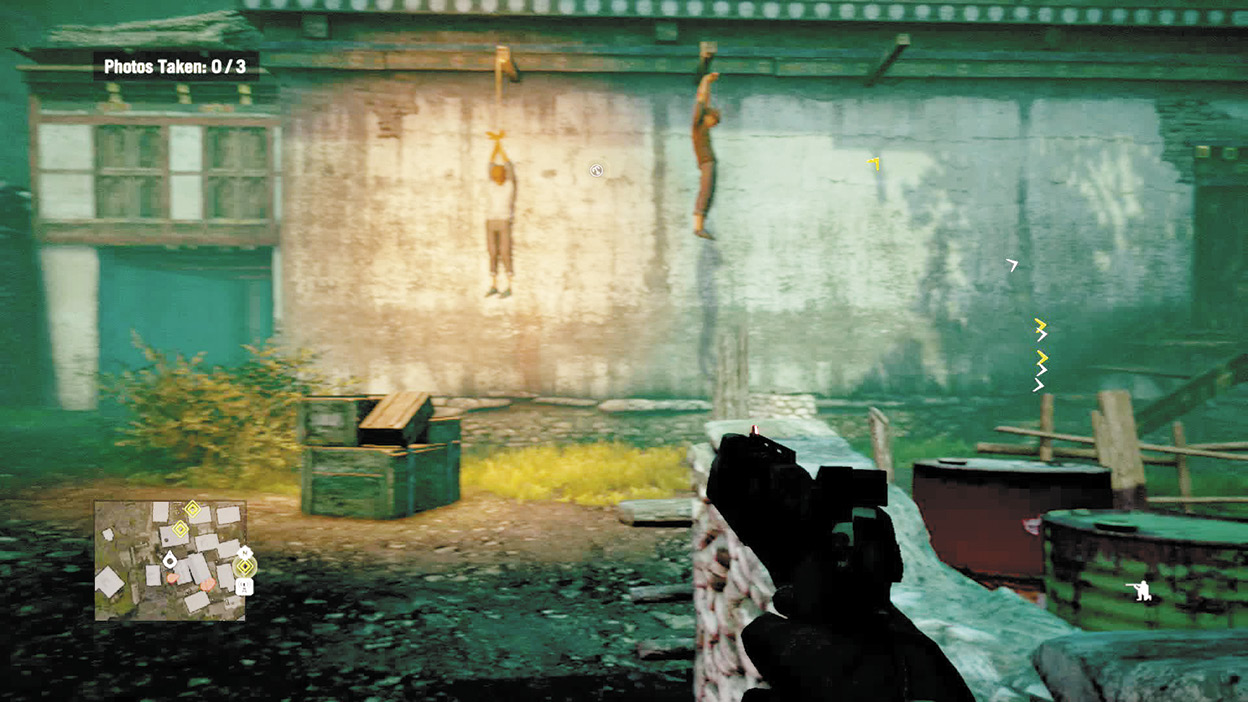
Two of the torture victims you need to photograph are very close by. But there are several soldiers partying just south of here, so it’s a risky traversal. Let’s come up with a more secretive route. Turn north and you should have a fairly straight shot all the way to the north side of town, where the third mission marker hovers over a small building. There’s a soldier by the steps just west of you, so take him out before he can see you, then climb onto the awning on the building’s north side and photograph your first torture victim (A1 on the map) through the window.
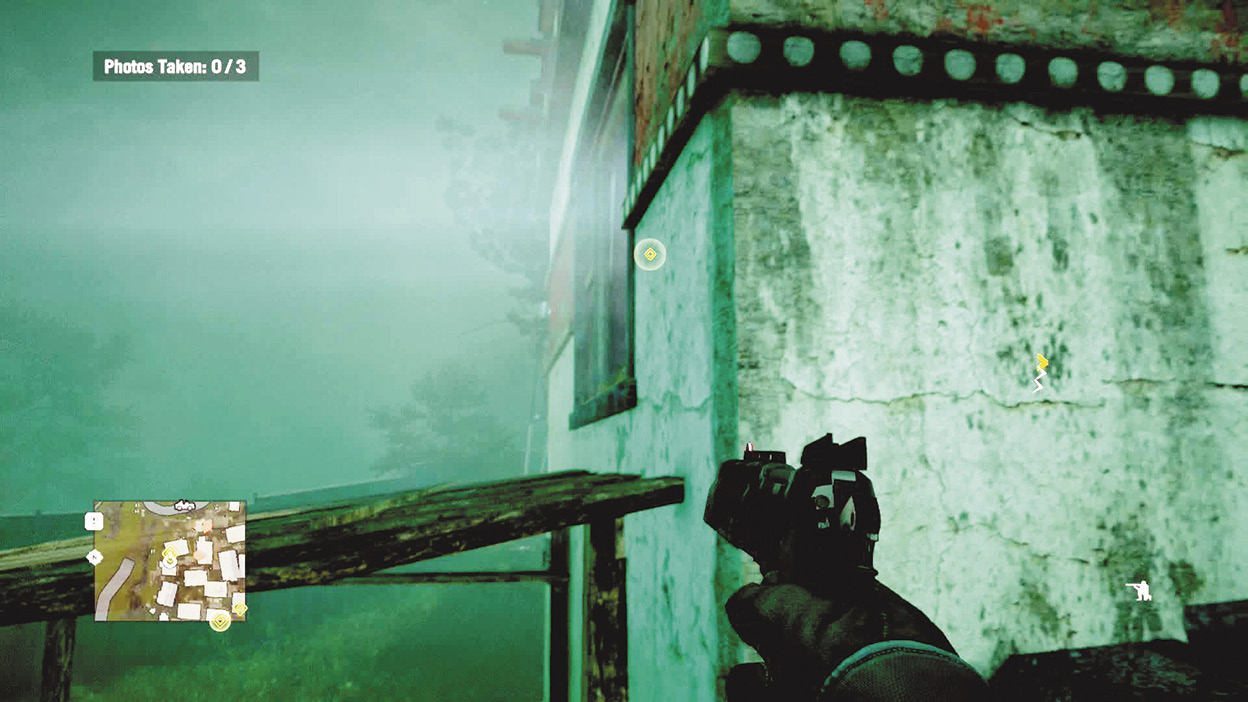
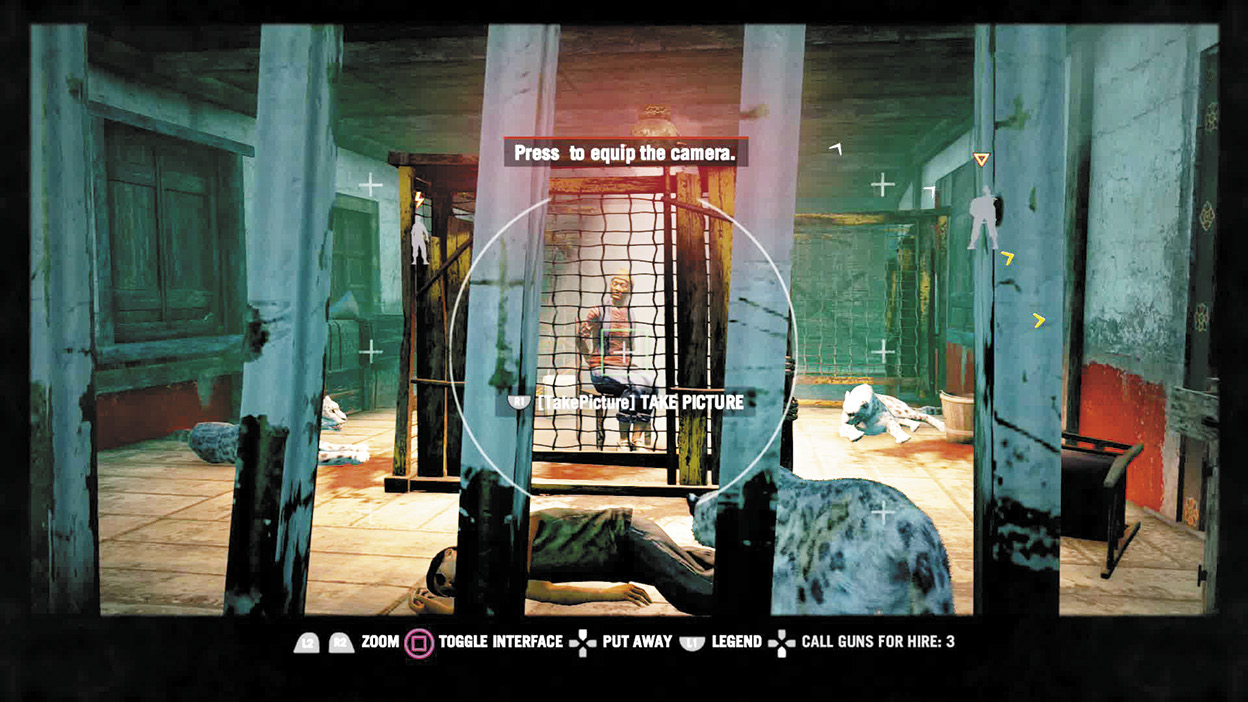
Drop back down and follow the outside fence all the way to the city’s northwest corner. Look for a two-story building with a well-lit grapple point. This is your ticket to a whole new way of sneaking: the rooftops.
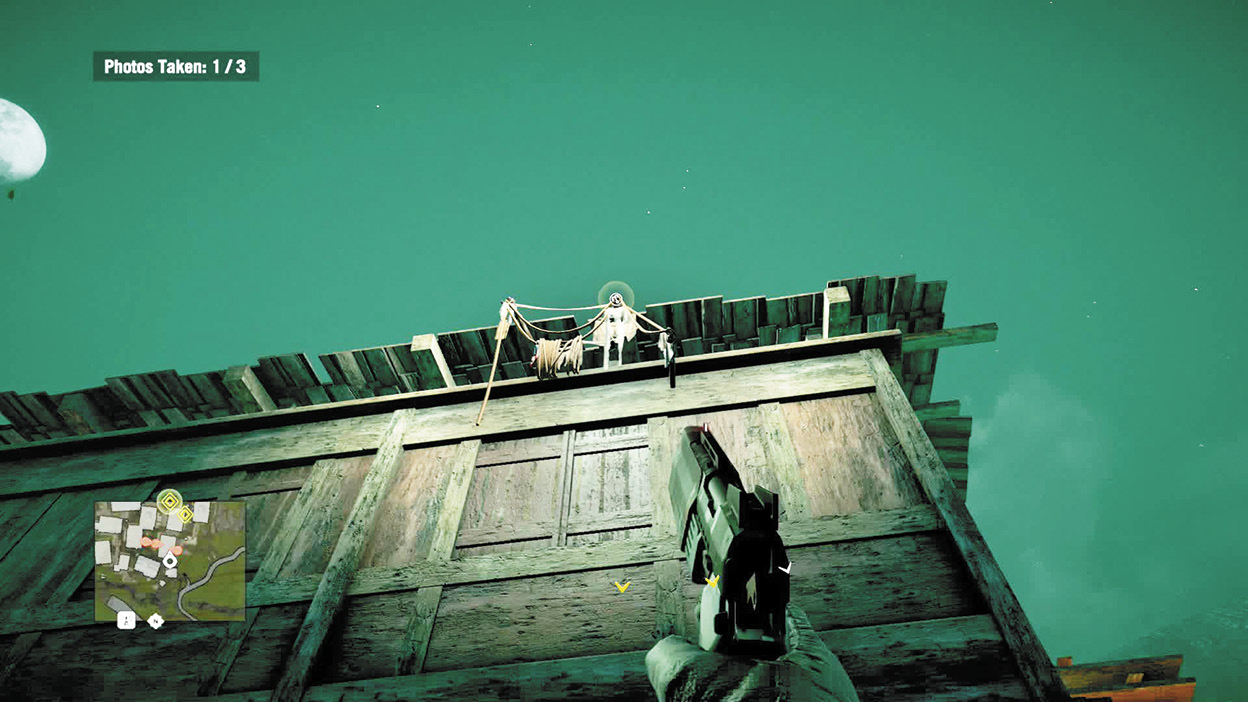
Once on the roof, you can go almost anywhere without detection. Ramps, suspended walkways, and grapple points form a hidden highway of secret paths across the city. In this case, work your way south, toward a two-story building with a glowing skylight/hole in its roof. You’ll need to cross several ramps and a grapple point to reach it, but when you do, you’ll discover the fate of the second torture victim (A2).
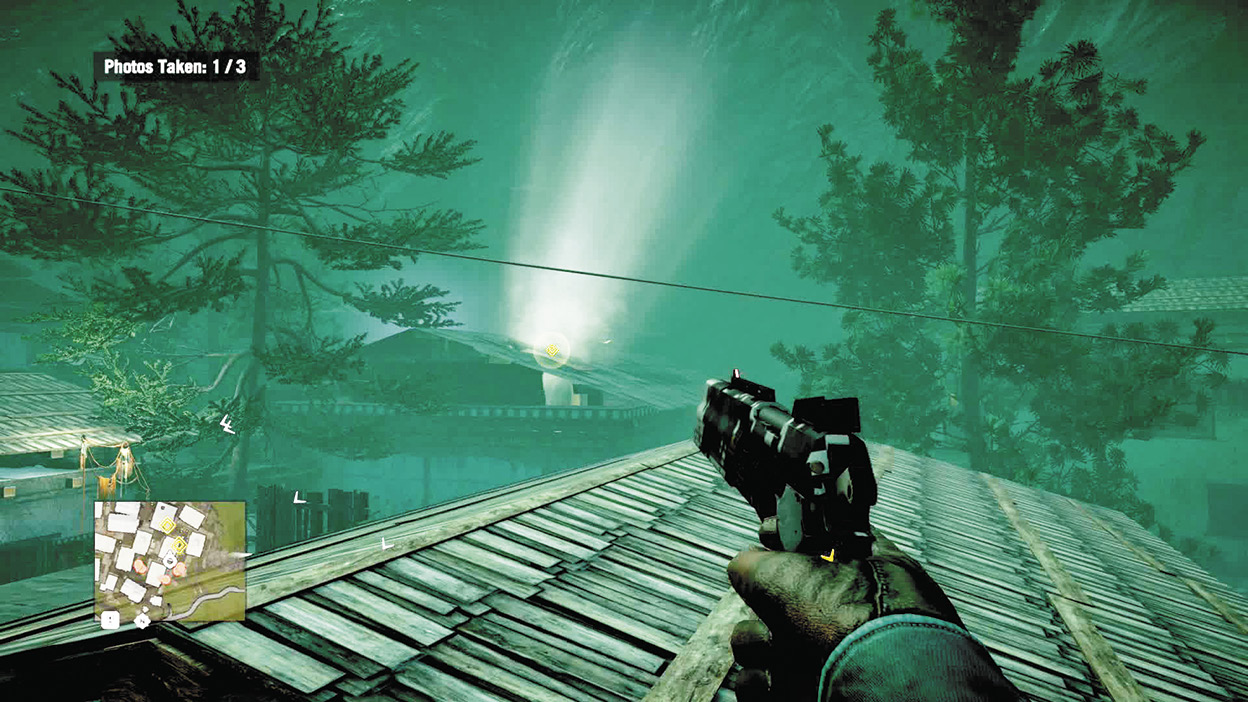
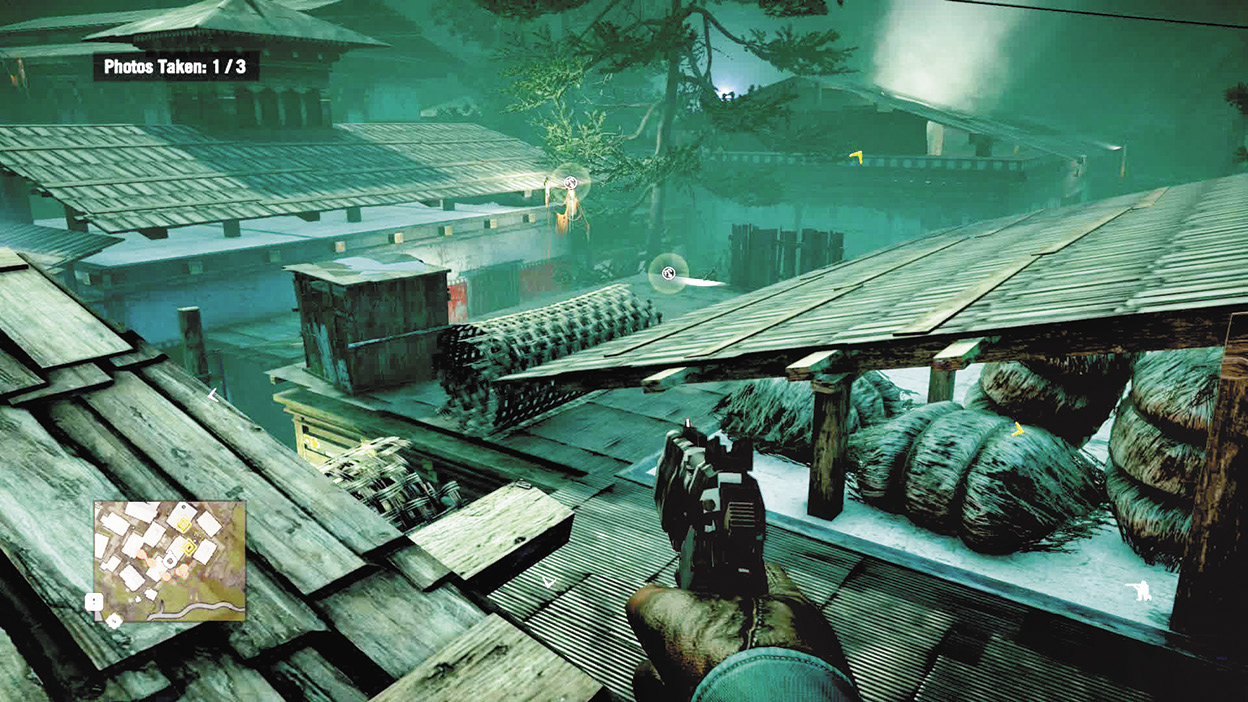
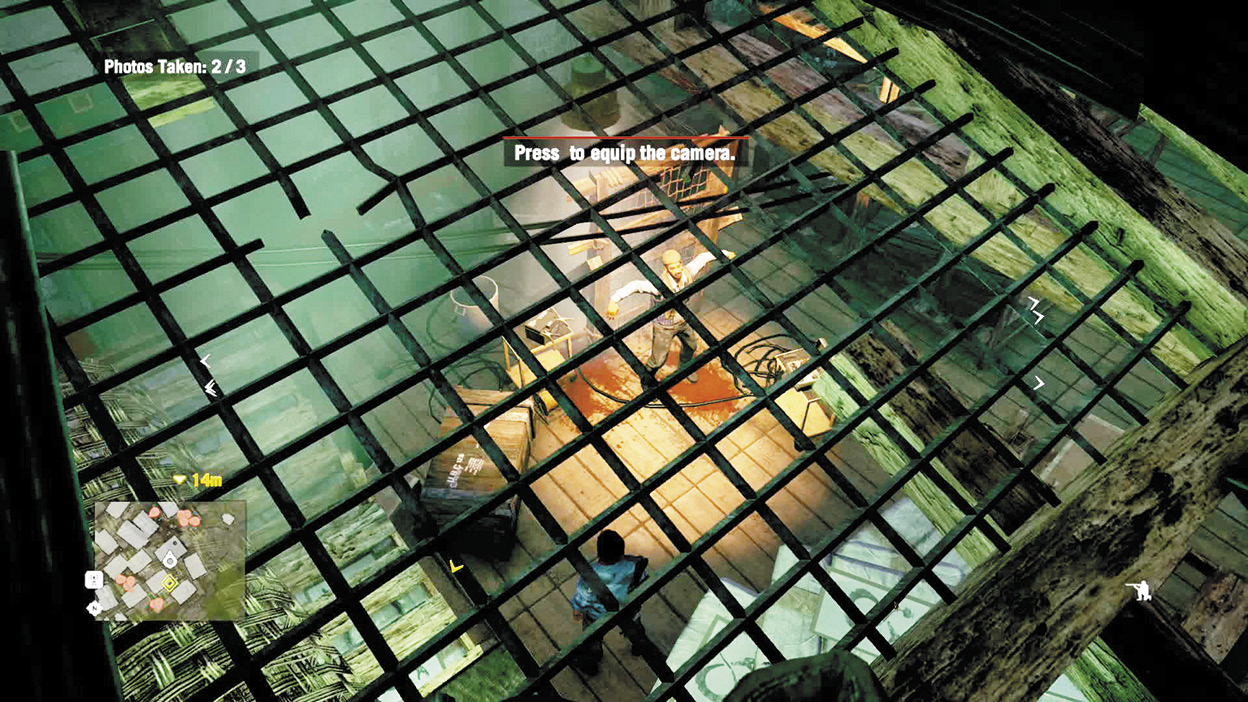
One left, and it’s just one building away. Leap across, but make sure the guard stationed between the two buildings doesn’t see you. A Death from Above attack could work well here (there’s a grapple point to get you back to the roof if need be), or just tag him and wait for him to turn away.
Once on the target building, leap again onto the roof of the building directly west of it, then turn around to peep through the window at the third and final torture victim.
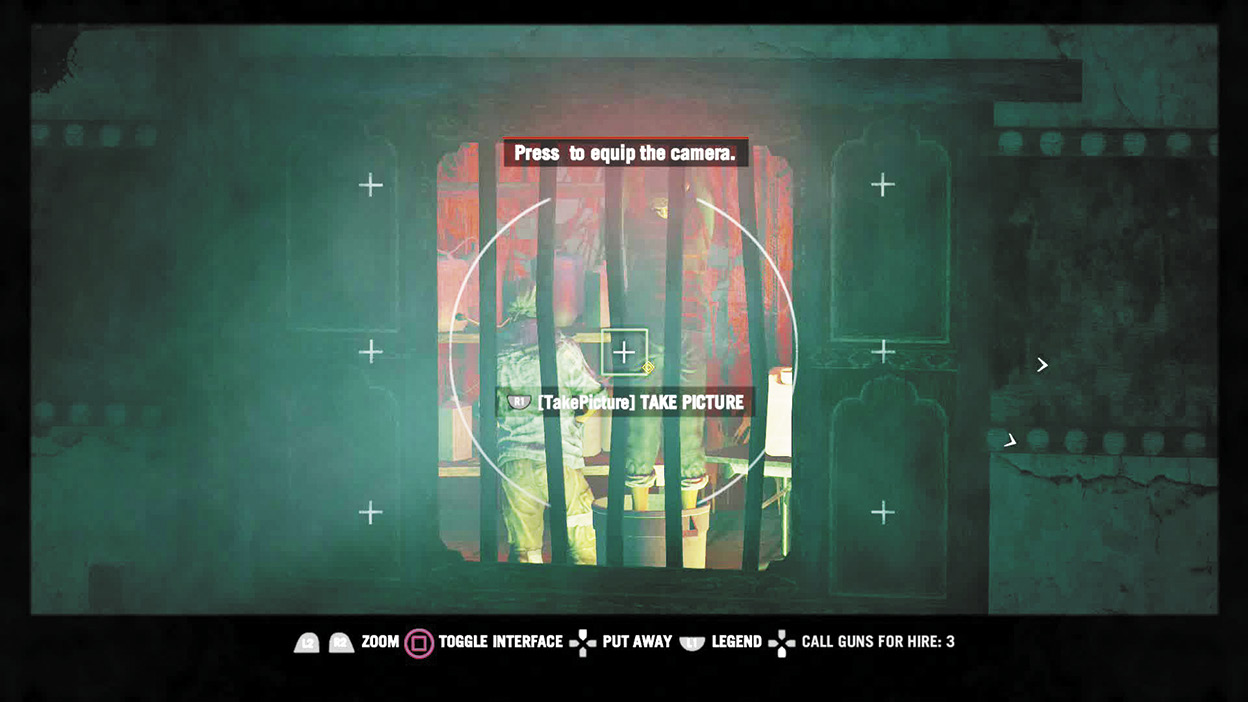
Time to get Paul.
The building’s southeast corner almost touches the ground, so you can just walk off it and skirt around the next building to the south. This will put you in the city’s southwest corner. Work your way slowly eastward, hugging the city wall.
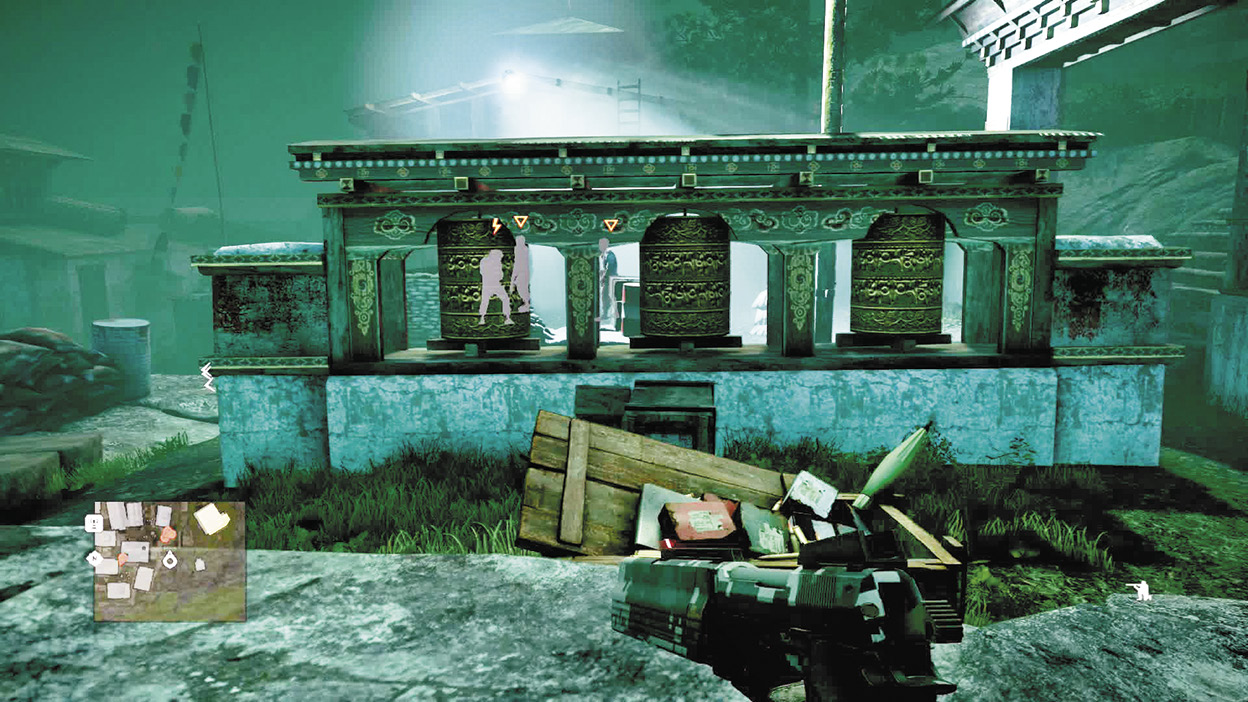
Inch past the partying soldiers.
You’ll come to a hole in the fence. Go up the slope, stealth-kill the single guard on duty, and then go around to the south side of the house, where a climbable ledge leads to a ladder to the roof, an open attic window, and a ladder down into De Pleur’s secret sanctum.
Open the door.
The Getaway
After the cutscene, it’s time to escape—with luggage. Grab the health pack by the door and haul your load back out the window. From here on out, stealth is strictly optional. In fact, it’s pretty much impossible.
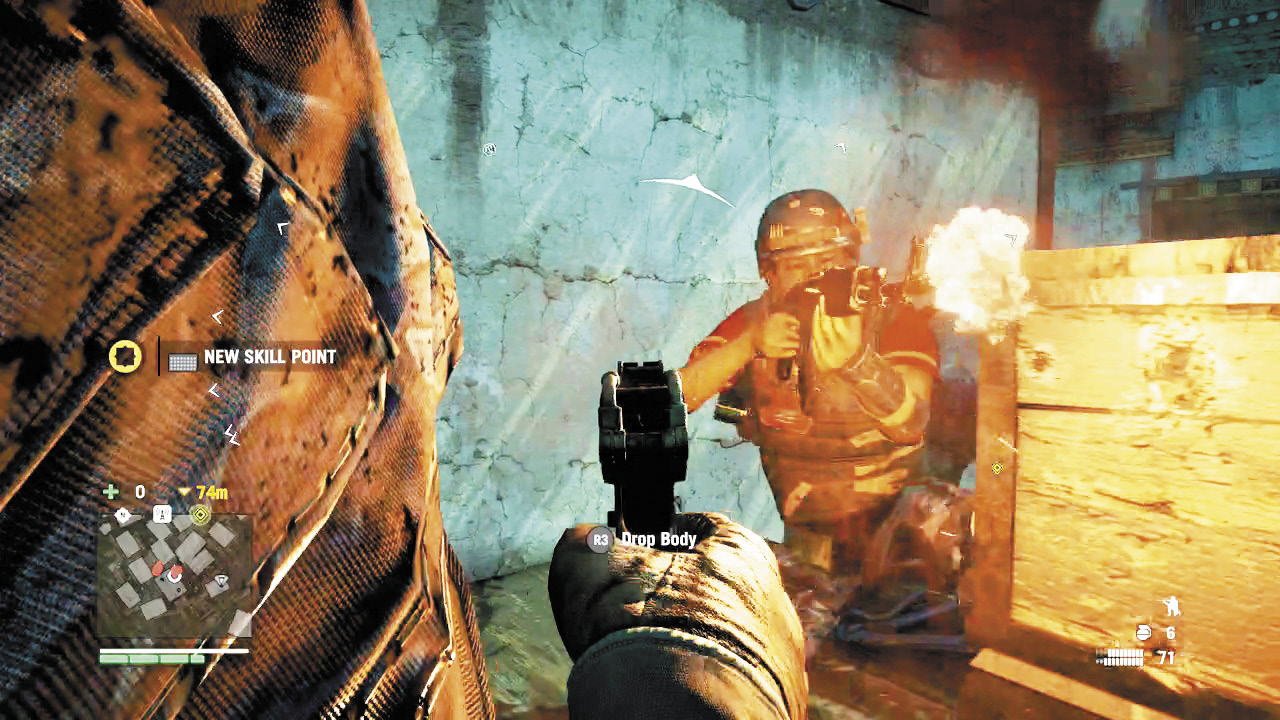
We opted for bullets.
You’ll have a gaggle of soldiers waiting for you at the foot of the main stairs. Shoot your way out through any route you choose until you reach the parking lot where you entered the level. Toss your cargo in the car’s trunk and put the pedal to the metal. You’ll meet pursuers and roadblocks, but you should be able to outrun them all. Either deliver De Pleur to Amita and Sabal at the quest marker or pull over and blow up the car to end the mission.