
Far Cry 4 Guide Campaign Missions
Hostage Negotiation

Hostage rescues are among the most stealth-focused missions in Far Cry 4, so it’s a good idea to bring along a silenced weapon. We’re going to go double-duty and bring along a silenced, scoped M-700 sniper rifle and also slap a sound suppressor on either a Skorpion or an AJM 9. If you’re more daring, you may want to keep the silenced sidearm, but swap the sniper rifle for a shotgun or machine gun just in case things get out of control. If you’ve upgraded your weapon holster to three weapons, your options here are much greater. And if you haven’t, there’s great hunting on the way to your new destination.
The idea of hostage rescue quests is to eliminate the enemies (marked with orange or red markers) while leaving at least some of the hostages (green markers) alive. As stealth missions, you may prefer to do them at night, because it makes the markers above tagged enemies easier to see and track. And operating under the cover of darkness can’t hurt, either.
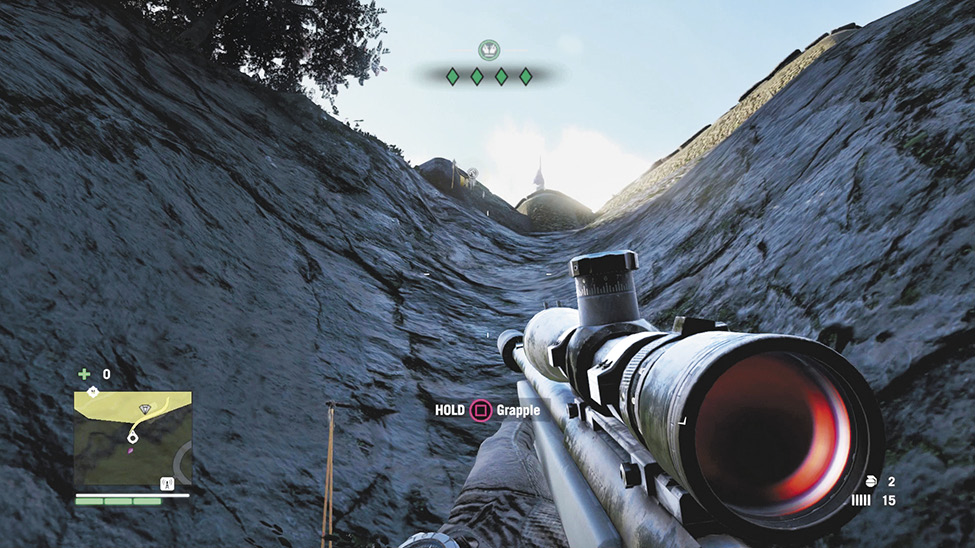
Yellow ropes hanging from a cliff indicate a grapple point. The diamonds on screen represent your number of still-living hostages.
When you arrive at the site, you’ll have multiple options for how to enter. There’s the main path up, and it’s pretty easy to traverse unseen if you hug the cliffs and use the foliage for cover. But if you follow the cliffs off to the left, you’ll also find a grapple point that offers two additional points of entry. One is low and another, if you chain into the second grapple, puts you at the top of the whole level, near a shack with a blue door. This is our favorite entry point, as it enables you to take out the three uppermost guards without sneaking all the way up to them.
Whatever route you take, make it a priority as you go to camera-tag all five enemies (two up top guarding hostages near the shack, two patrolling the courtyard below, and the fifth by himself across the lot with the other two hostages) and at least two hostages (your minimum survival requirement). The main path offers the best viewing angles for scanning, but it can be done from any entry point. Hide yourself behind the shack with the blue door.
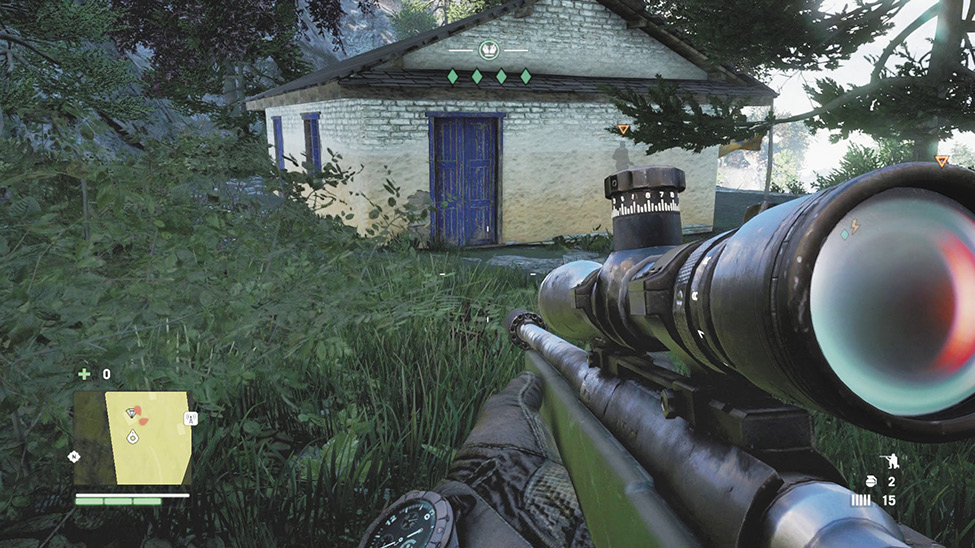
The roaming guard is the X factor here, because his route covers the entire area. If he’s among the buildings below, leave him be. If he’s up here, lure him close with thrown rocks and put him down first.
Either way, your next kill should be the guard on the porch, who’s far too busy beating his hostage to notice you creeping up from behind and taking him down. Then, move on to the guard looking out over the courtyard. You can’t untie the hostages yet, so take note of where the two guards on patrol are and head down the stairs.
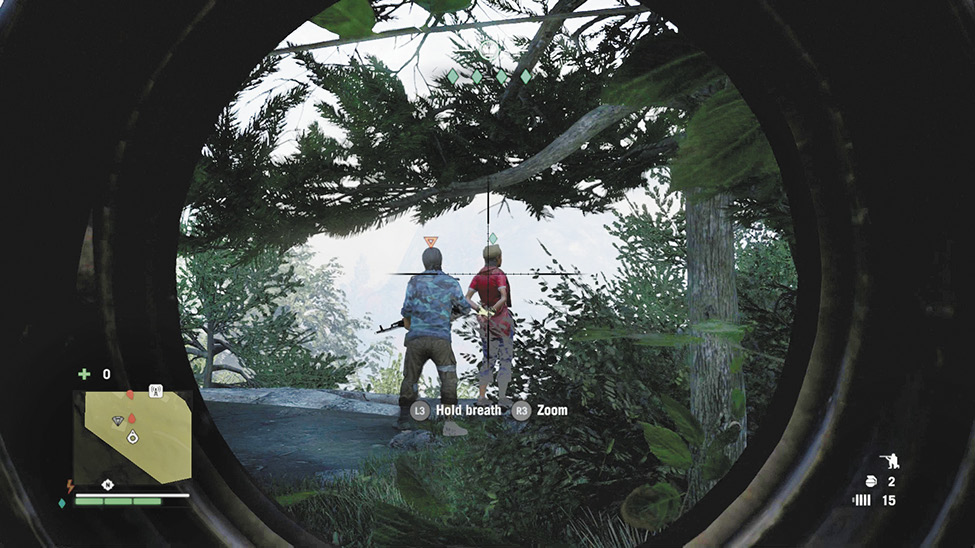
The two guards in this area represent your best chance of getting spotted. Wait until they separate, with one guard moving off among the buildings and the other hanging around the courtyard. If you’ve purchased a sniper rifle or other silenced weapon, you can put him down before you even descend the stairs. But more likely you’ll want to just sneak up on him. You can hide his body, but it’s probably not critical because the next thing you’re going to do is take down his buddy, the only guy likely to find it. He should be conveniently strolling along the narrow, well-hidden spaces between the houses and the cliff (unless you’ve already wasted him).
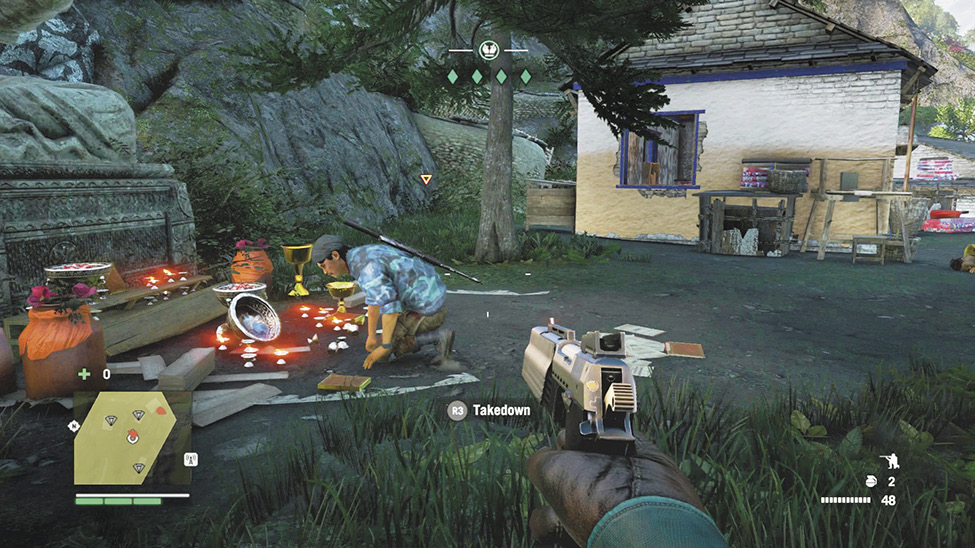
Finally, sneak toward the lone guard pounding on a hostage at the compound’s edge. He’s the toughest of the five to sneak up on, thanks to his constant shifting of position, but it can be done. Or, just snipe him or charge in for a takedown. But be careful not to hit the hostage. They’re worth more alive.
Once he’s down, your mission is complete. Untie the hostages for bonus cash, loot the place like a burglar, and listen to messages from Sabal and Amita, who will send you to liberate your first outpost.