
Far Cry 4 Guide Campaign Missions
Payback
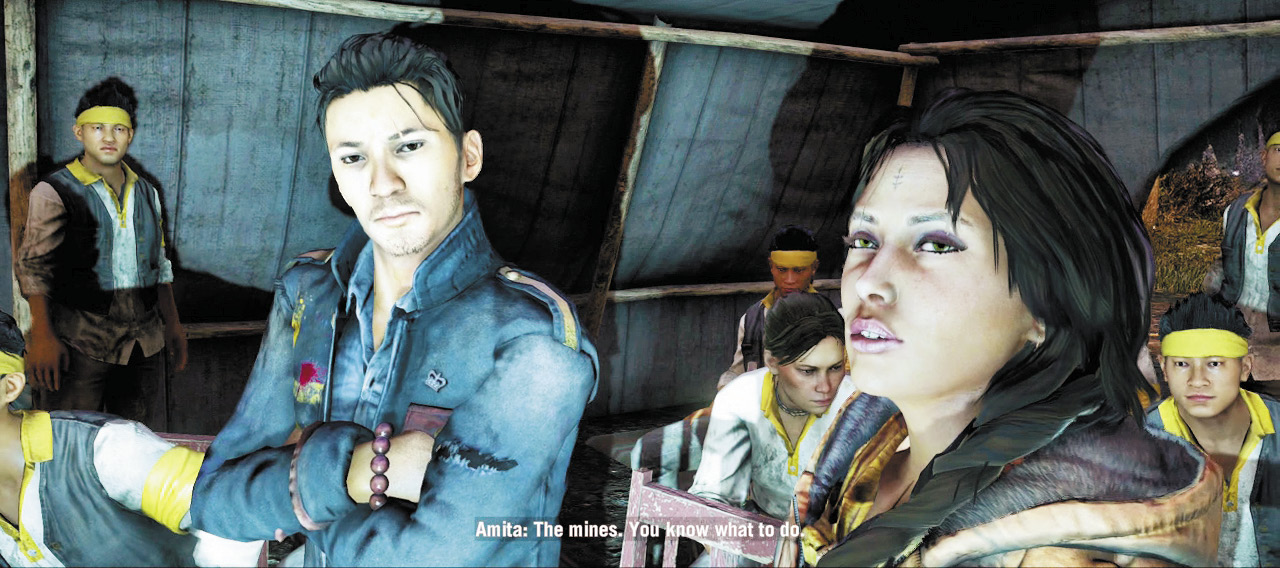
Your attempt to take out Min may not work out as hoped, but it will open up two missions on the map—one personal and one for the Golden Path. Let’s check out the personal one first. After a brief interlude to liberate a couple nearby towers (just a suggestion, but it’ll make travel easier), head to newly discovered Ghumantu Camp at x:578 y:804 to receive an interesting challenge via Min’s televised speech. Time to go after Yuma.
Head for the mines. To get there, run straight toward the marker until you hit the building with the poster on the second floor wall. When you hit the wall of rock, follow the path to the right until it curves back into the mountains at about x:604 y:833. This trail will lead you to the excavation site.
Delve into the cave. A passage on the left leads to a room with a massive gold statue.
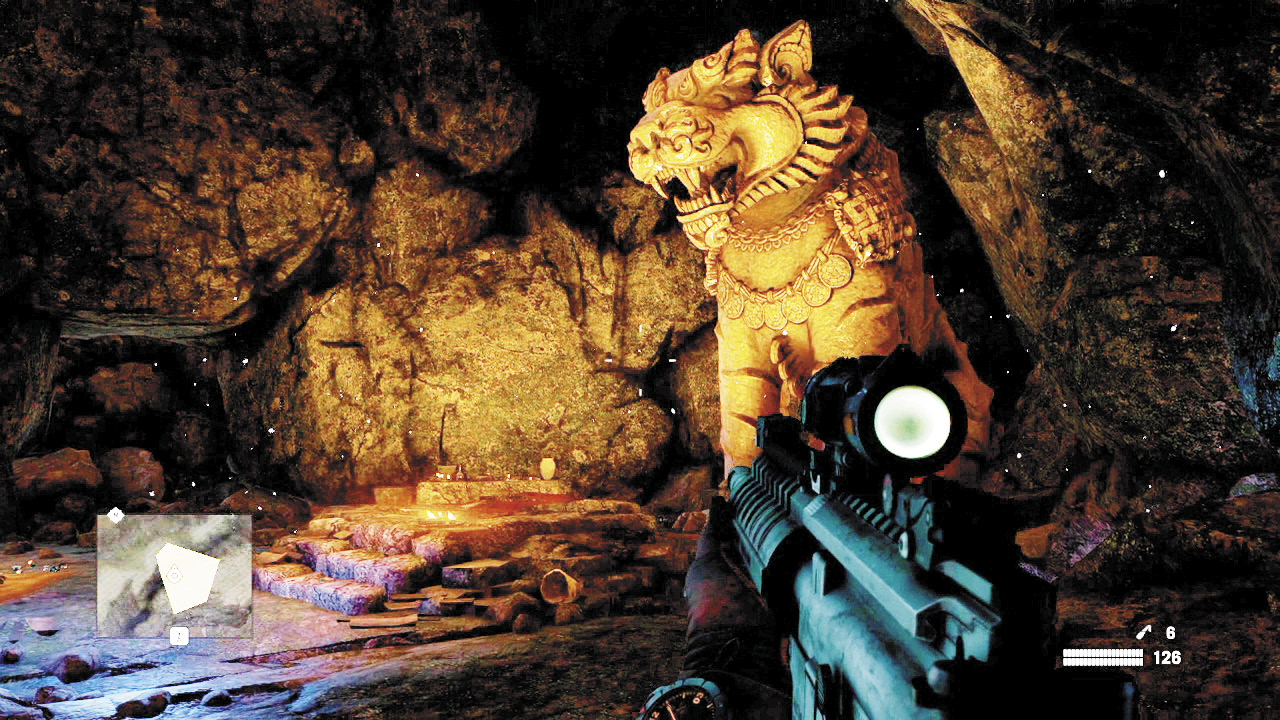
Examine the letter on the table to the side of the statue. And get ready for a visitor.
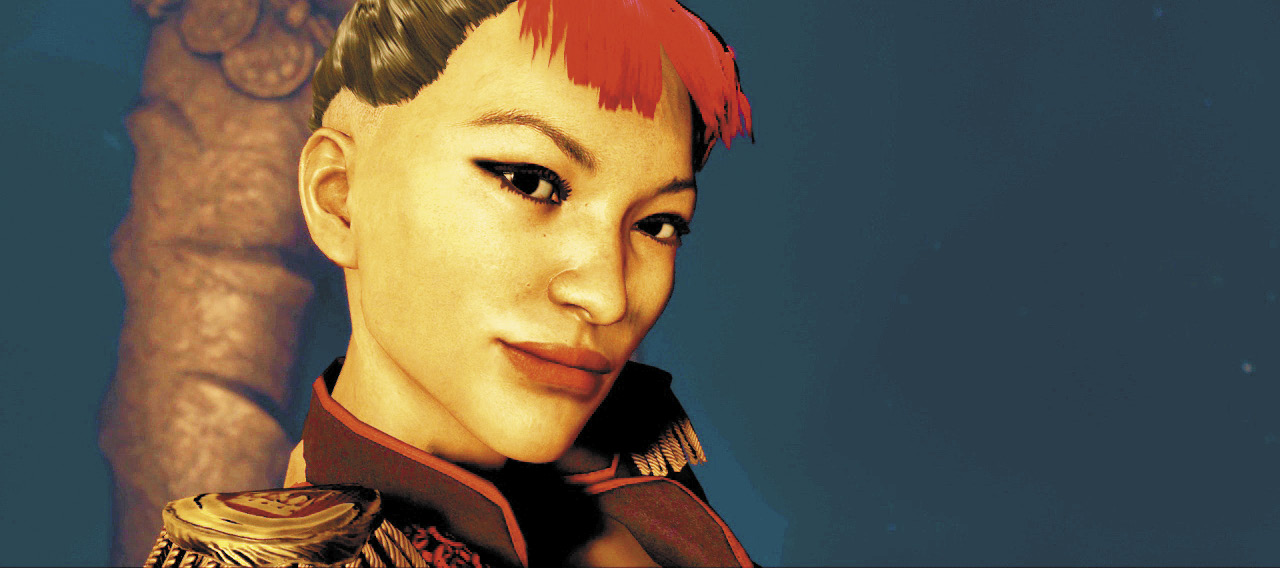
Aaaaand you’re drugged up again.
Stumble forward through the hallucinations. When you reach a room full of hunters, wipe them out. Your takedowns still work here, incidentally.
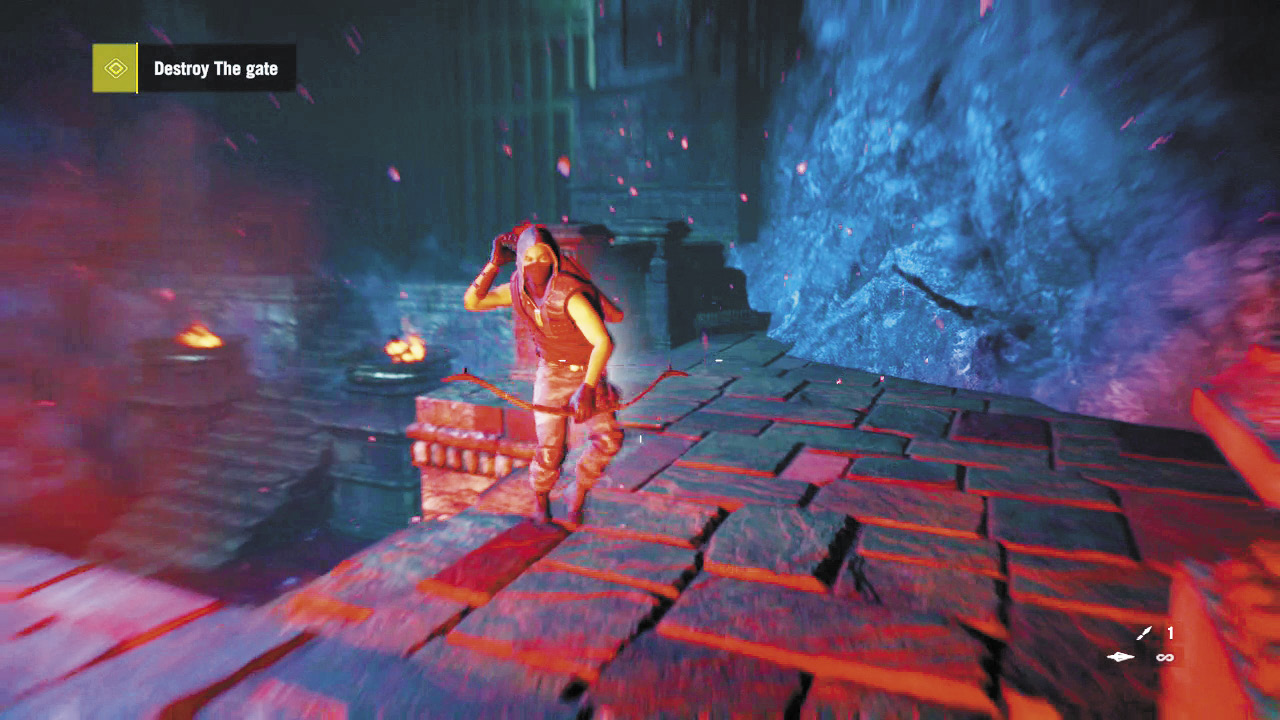
Once they’re down, shoot one of the lit urns just past the ironwork gate.
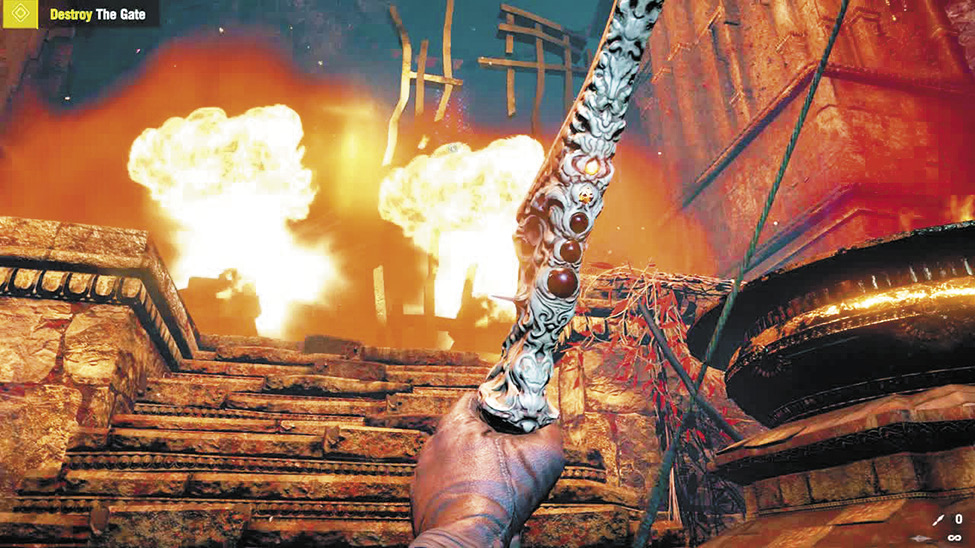
Next comes an extended sequence of grapples. Despite the different look, if you steer into them, they shouldn’t prove too threatening. Remember, you don’t have to take them all in a row. Treat each one like a separate jump if it helps.
The dismount from the last grapple can be tricky. Release too low, you’ll smack into the cliff. Too high, and the fall to land will kill you. There is a sweet spot in there, but trying it yourself and tweaking your timing accordingly is the only way to find it.
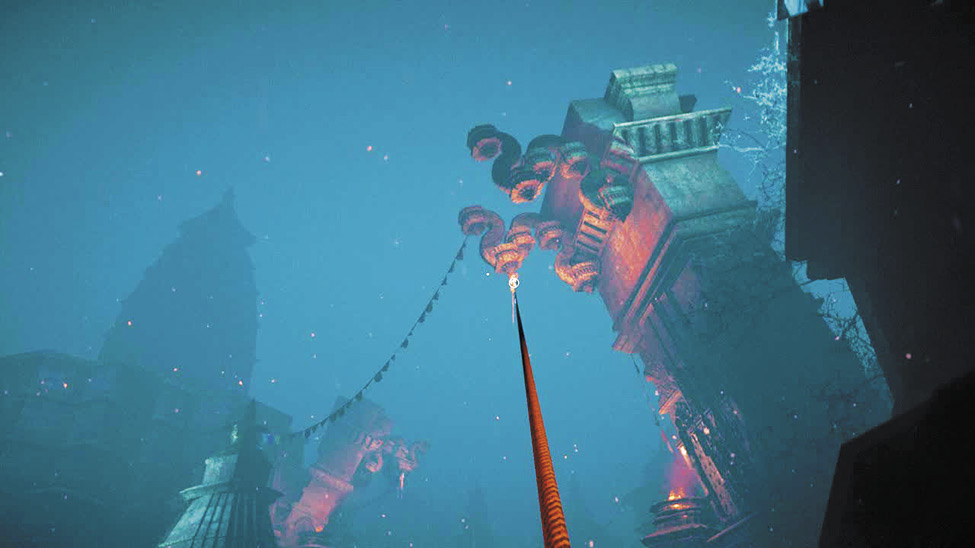
After this, wander back through the tunnels and yet more hallucinations to finally reach a good, old-fashioned boss fight against Kalinag.
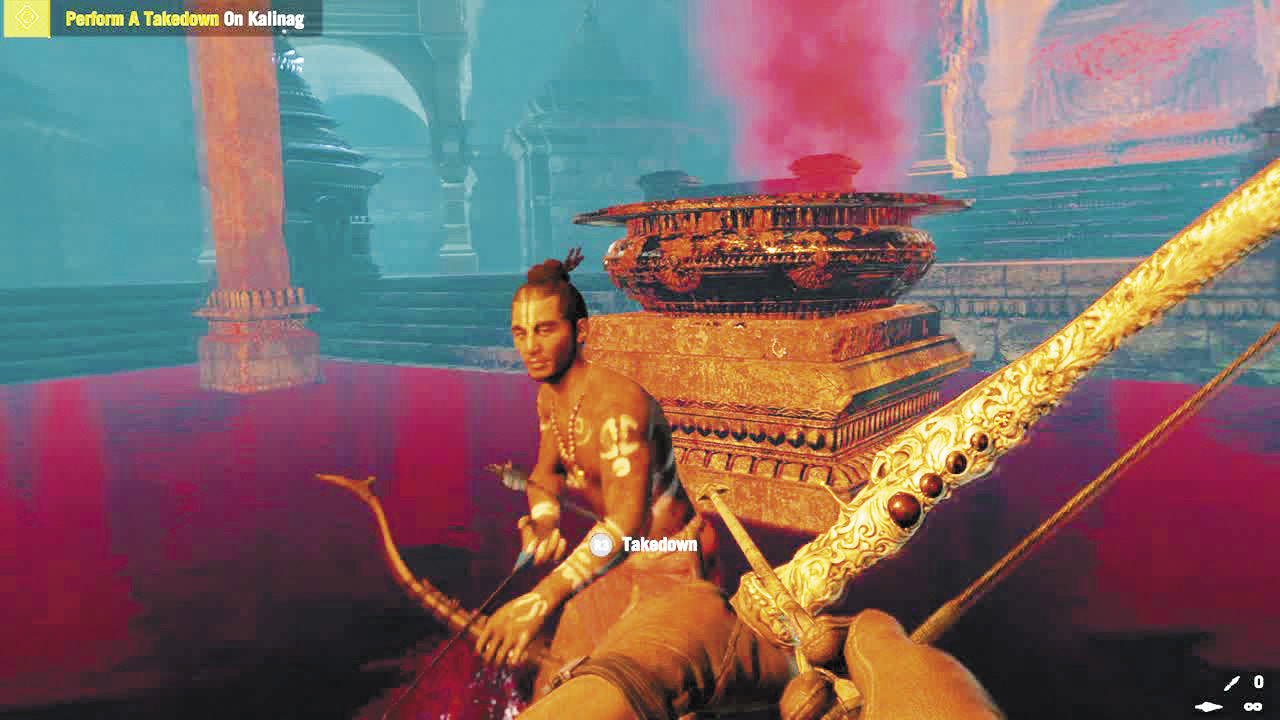
The biggest problem here is keeping track of Kalinag, who tends to teleport to another part of the arena just as you get a bead on him. When you do finally get an arrow into him, he’ll drop to his knees. Rush in (you can totally walk on the blood water) and do a takedown. But don’t think it’s over.
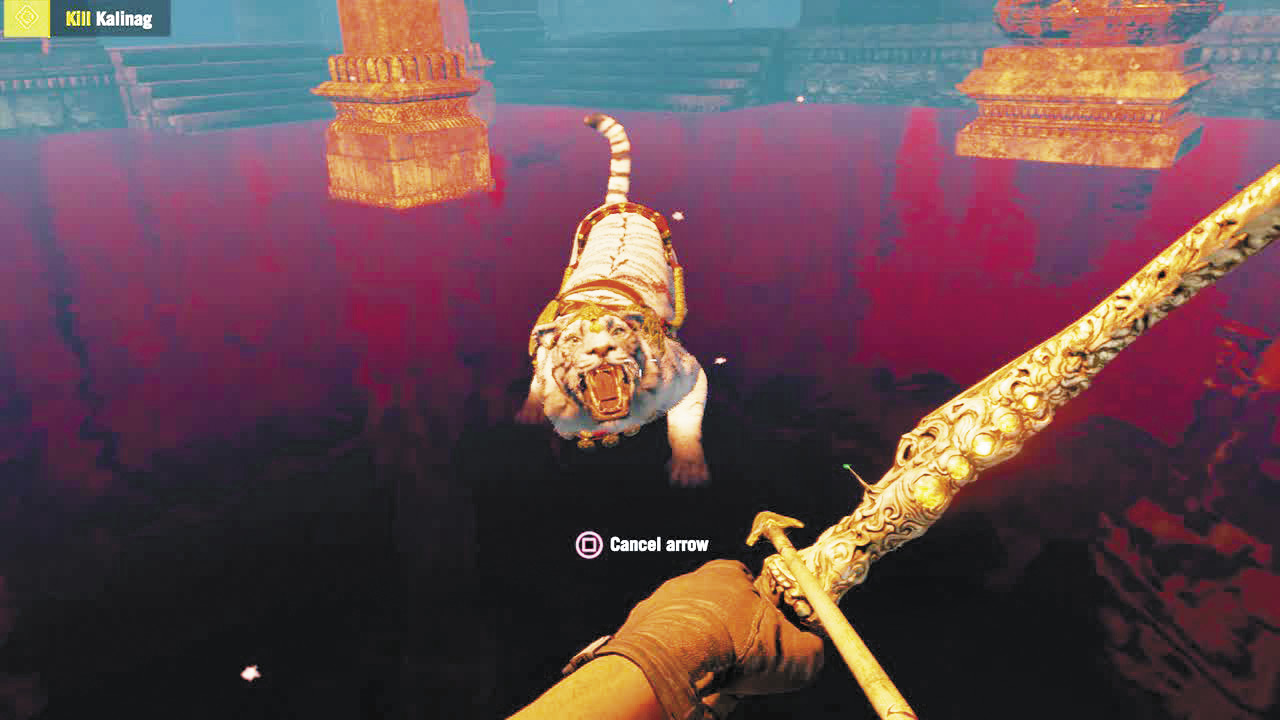
He’ll reappear, accompanied by hunters and a familiar-looking white tiger. This is good, in that they’re easier to hit than Kalinag, but bad in that the tiger likes to charge straight in and pounce-tackle you. Take the helpers out early and target Kalinag when you can. The third time you connect on a takedown, he should go down for good and the hallucination (along with the mission) will end.
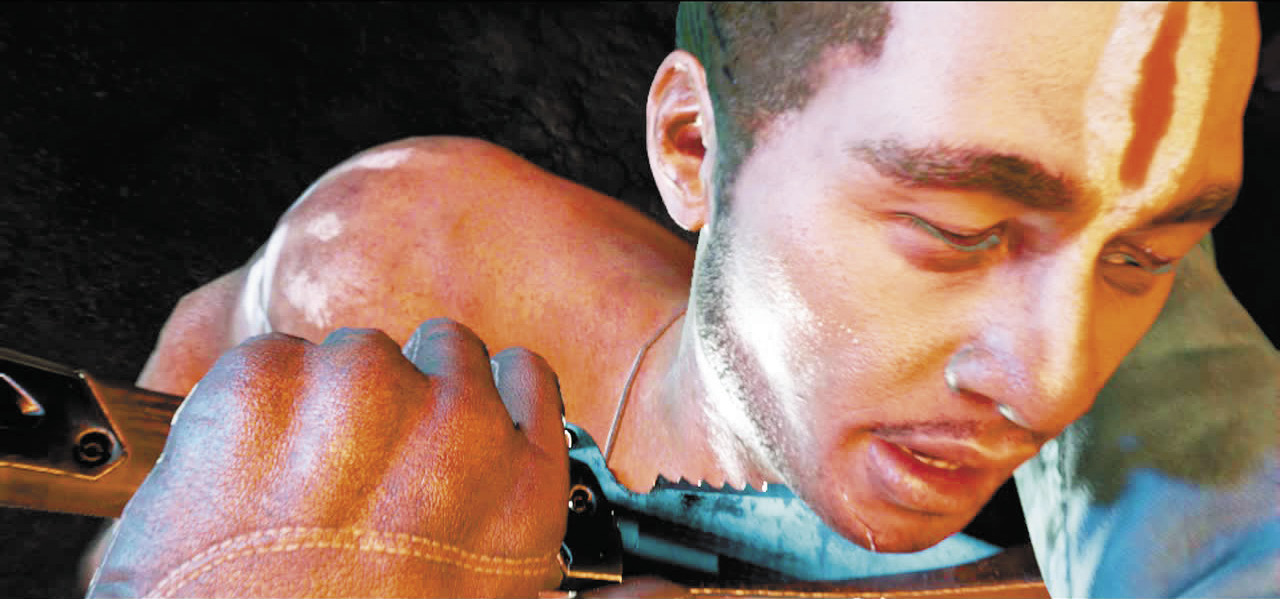
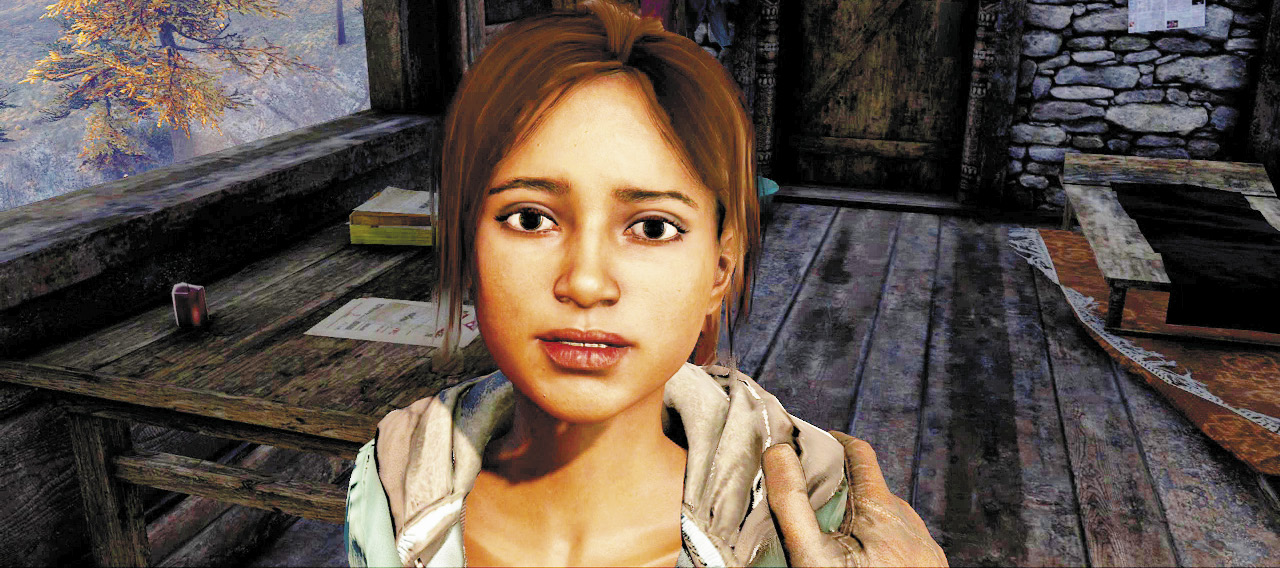
Tarun Matara or teenage girl? Bhadra leaves it up to you to determine her fate.
Now for the Golden Path mission. As usual, Sabal and Amita have some dirty work for you to do. And as usual, they have exactly opposite concepts of what exactly that dirty work is. So torch the poster in the meeting hall and decide whether you want to follow Amita’s command to tear down Jalendu Temple or respect Sabal’s wish to protect it.
Be warned: This is the last Amita vs. Sabal choice you’ll have to make, and both leaders have two unique follow-up missions after this one. So whatever choice you make here will lock you into that leader’s specific story ending and missions—and lock you out of the other leader’s story and missions.