
Far Cry 4 Guide Campaign Missions
Amitas Mission: Hunt or Be Hunted
If you choose to follow Amita’s lead and go after the Intel first, you’ll visit the same two locations, but in reverse order—and with very different results. First, she’ll send you Alpha Camp, to search the corpses of the fallen Golden Path fighters in search of the intel she wants. There are three pieces of intel in all, hidden in bodies whose general locations will be marked with yellow splotches on your mini-map. You’ll find one intel-holding body at the bottom of a small pond, another at the foot of a Kyra statue farther into the camp, and the third on a body hiding among the carved walls and columns of a temple-like structure above and to the east of the statue.
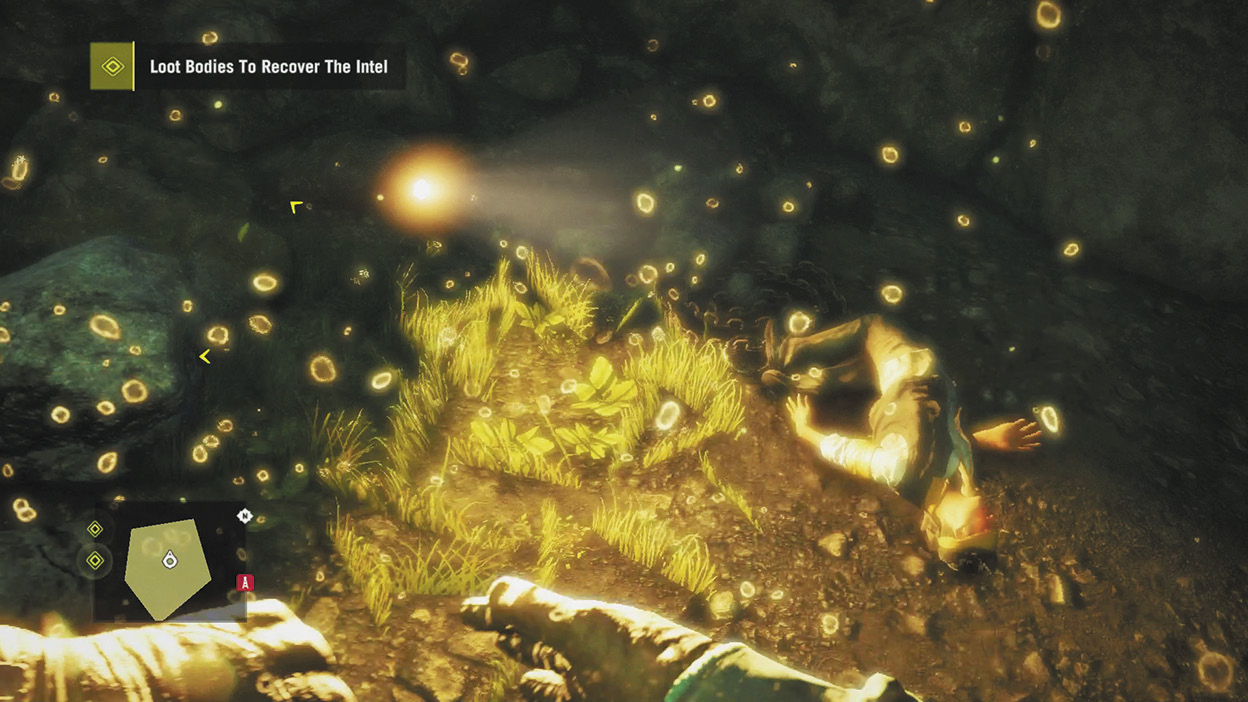
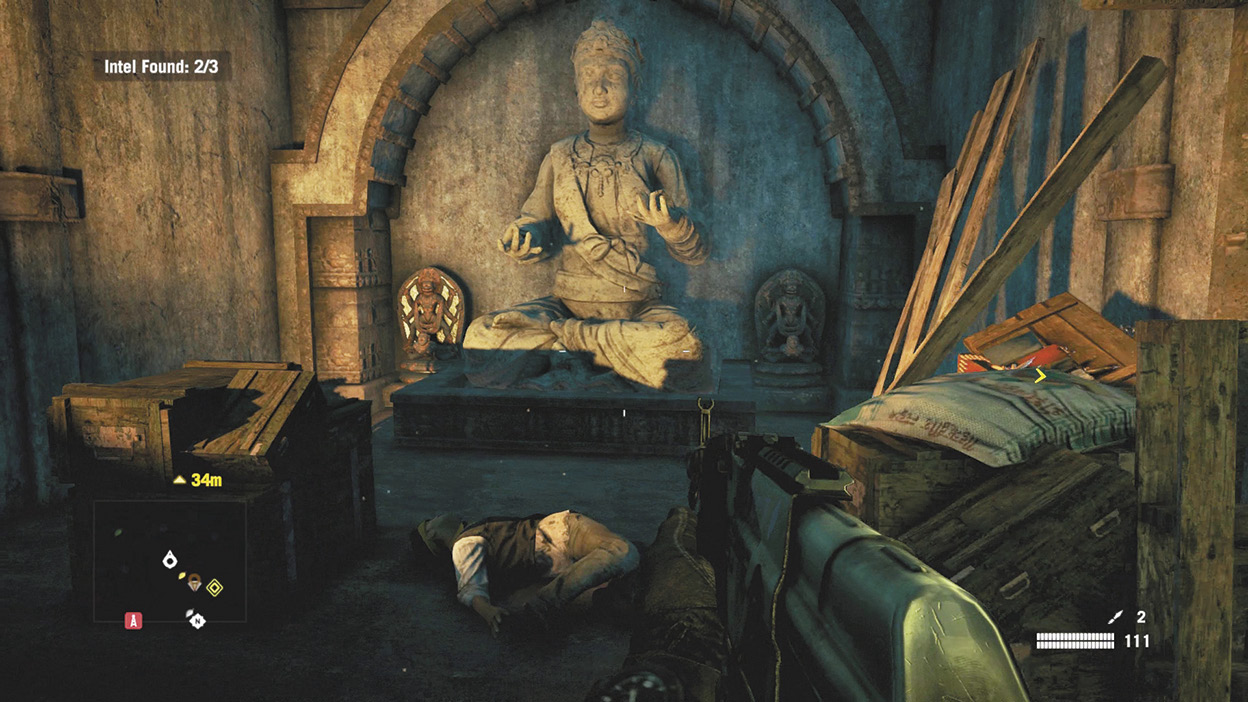
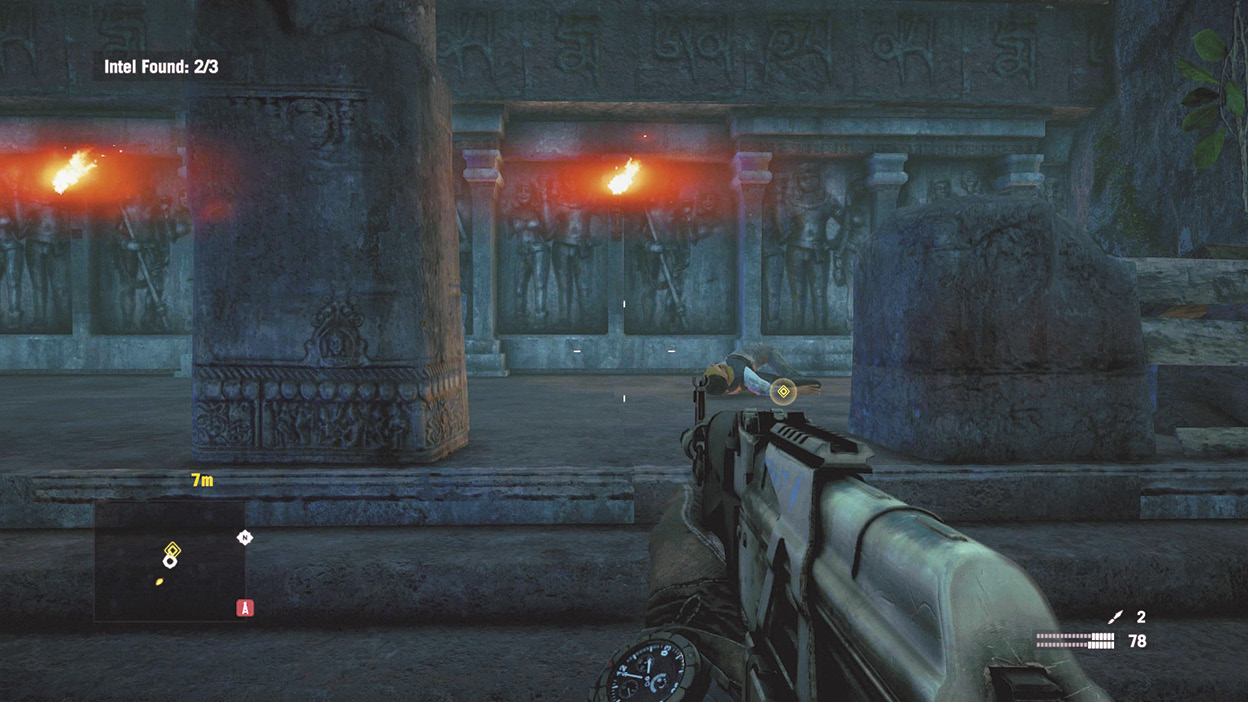
Each time you recover a bit of intel, a fresh batch of enemies will spawn, but they come in small groups and there’s quite a bit of cover here. As long as you clean out the camp between intel pieces, it shouldn’t be anything you can’t handle.
Once you have the intel, Amita will send you to Bravo Camp to help out. Be careful! The path is narrow and stacked with hunters, and just because a hunter is so far away you can barely see him doesn’t mean he can’t bull’s-eye you with a fire arrow. Take your time, use the trees and rocks for protection, and don’t be afraid to retreat and heal.
No matter how swiftly you arrive, Bravo Camp’s defenders are dead, overrun by hunters and chargers. There’s almost no way to stealth-kill everyone here—there are just too many enemies in too tight an area—but you can use the hunters’ preference for long-range combat against them. Stay on the high ground up top, crouched behind the stone walls and log stacks to take away their shooting angles, and pick them off one by one. A couple beheaders will probably storm up the stairs once they know you’re there, but the hunters will very rarely approach.
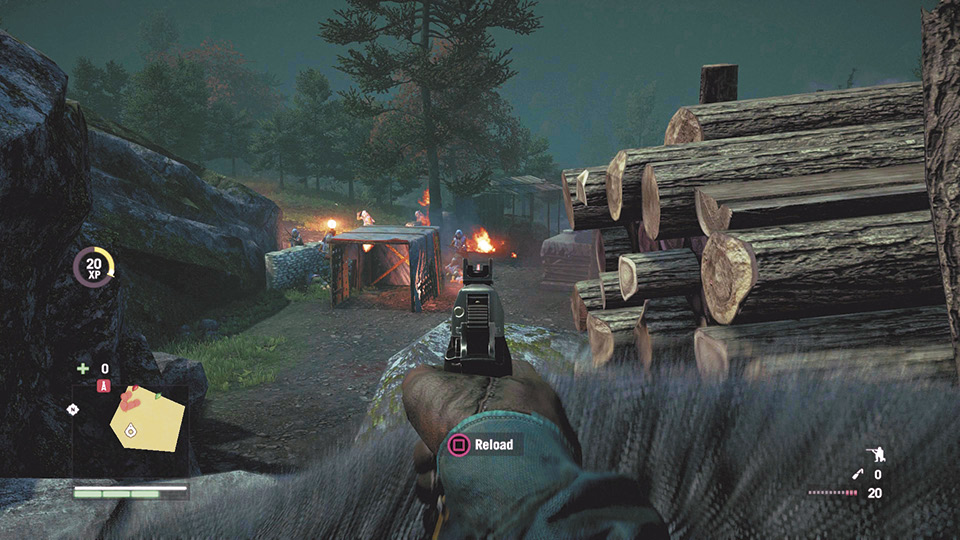
Molotovs and grenades can serve you well here, as the hunters often cluster together down below.
Once you become the only living thing left in the camp, the mission ends.
This next mission can be a challenge, so let’s pause and gear up a bit.
First off, if you haven’t peeled off to take at least three or four towers (if not more), now is a great time to do that. This will greatly increase your field of vision on the map, which is a big help. Amazing how much easier it is to get to a new location when you can actually see the roads and terrain.
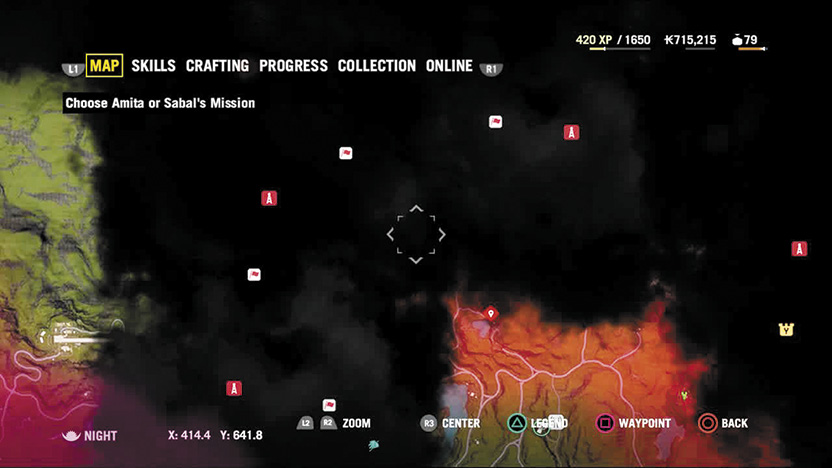
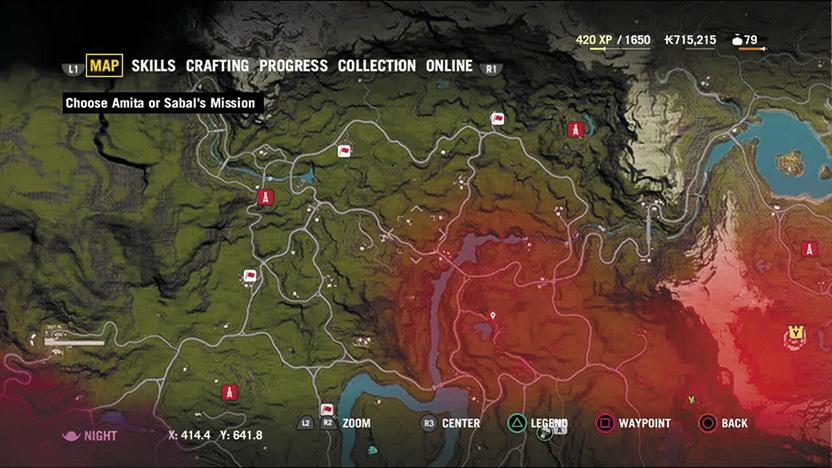
Better.
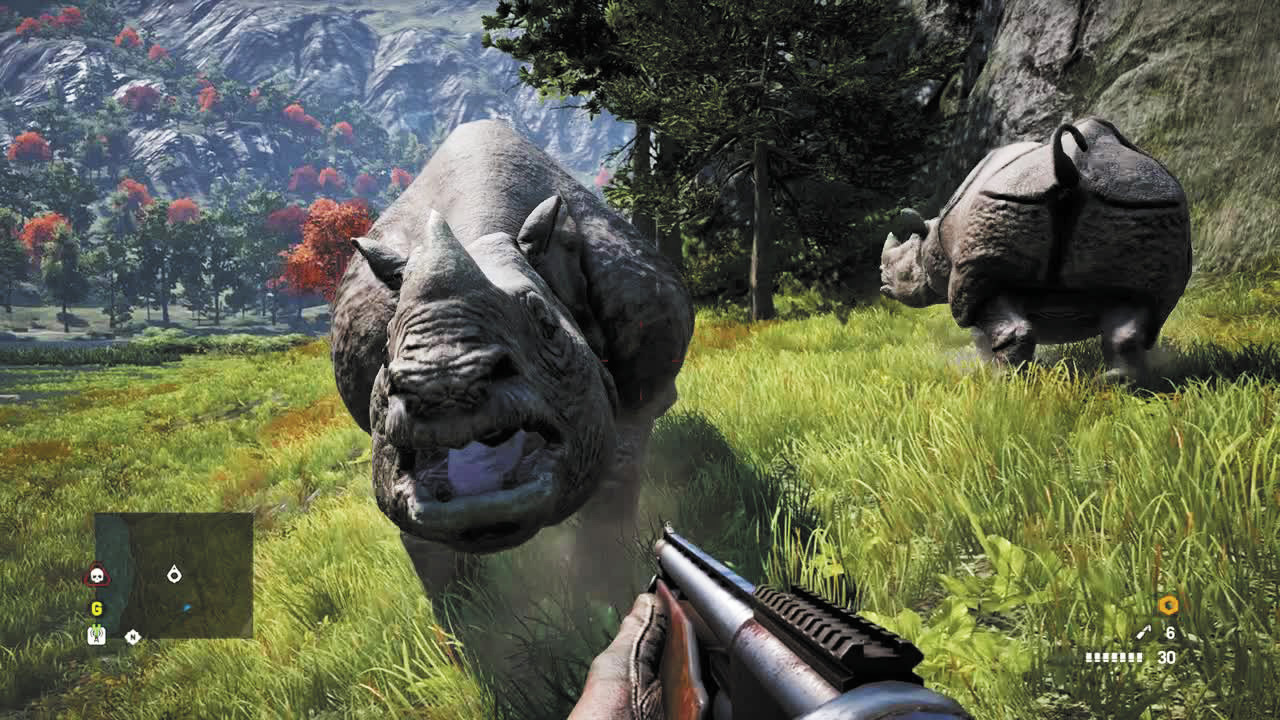
Second, step out into the wilderness for a little huntin’ and craftin’. You’re going to want that weapon holster up to the full “three weapons plus one sidearm” capacity, so bag some tapirs and honey badgers (try the area around the tower at x:386 y:385, especially at night). Then track down two rhinos (check the riverbank south of the Kyra Tea Weigh Station) and level up that explosives bag.
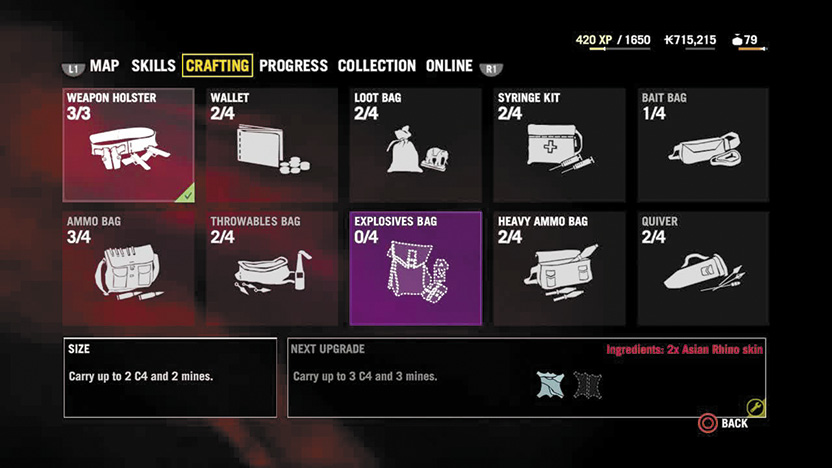
Make sure your ammo bag is at least level two and get your loot bag up to level two. Syringe users will want that syringe kit up to level three, and it wouldn’t hurt to knock down some yaks (hunt north of Tirtha, around x:484 y:404) and dholes (northeast of Banapur) to bump up your throwables.
Finally, no matter what play style you’re going after, spend all your skill points before taking on the next mission, because you want to go into it as pumped up as you can. For run-and-gunners, Running Reload and At the Ready are must-haves, Non-Stop is pricey but wonderful, and you may find Casual Marksman worth the point. Those on the blue side of the skills screen will want Survival Syringe Lv2, everything you can get in that health-increasing top row, and if you have leftovers, Trade Agreement and Inner Strength. If you’re dipping into both skill trees, focus on health and speed for this mission.
All locked and loaded? Great. Let’s hit the monastery.