
Far Cry 4 Guide Campaign Missions
A Cultural Exchange
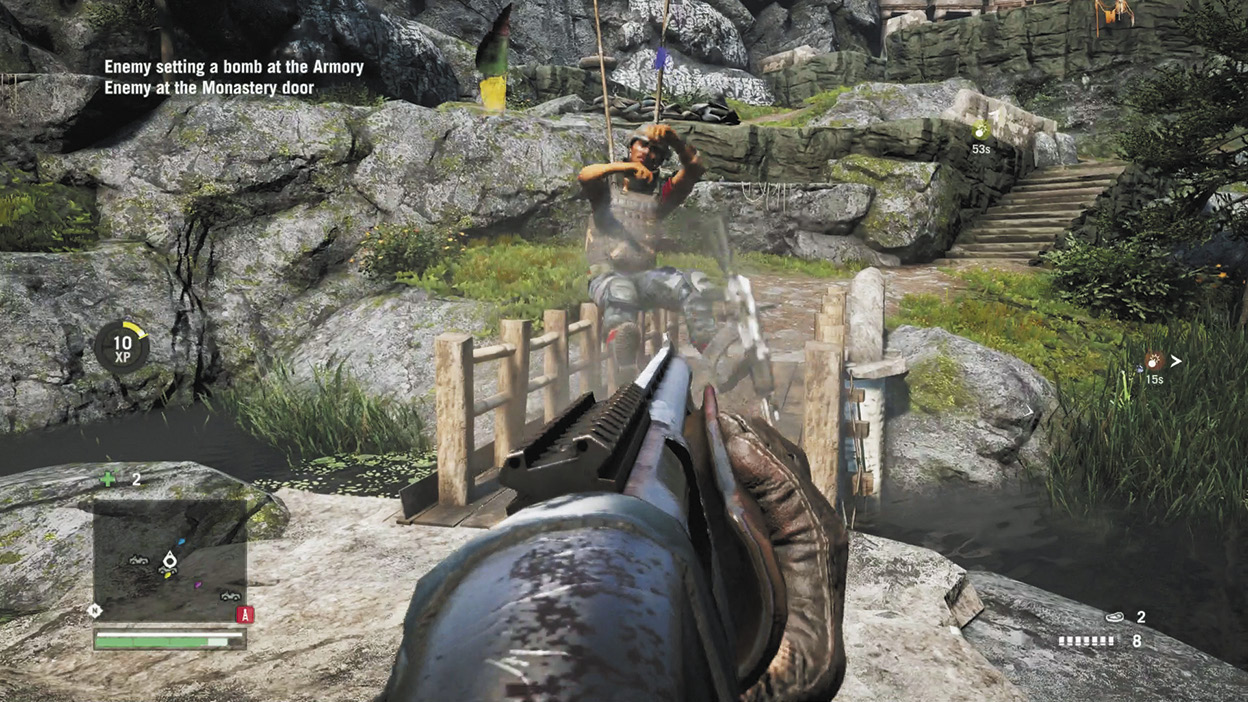
Fast travel back to Khilana Bazaar, grab a rocket launcher if you have one, and hop in your buzzer to chase down the big S on your mini-map. The conversation will flow slightly differently depending upon whose mission you just completed, but the end result is the same. He sends you to the monastery.
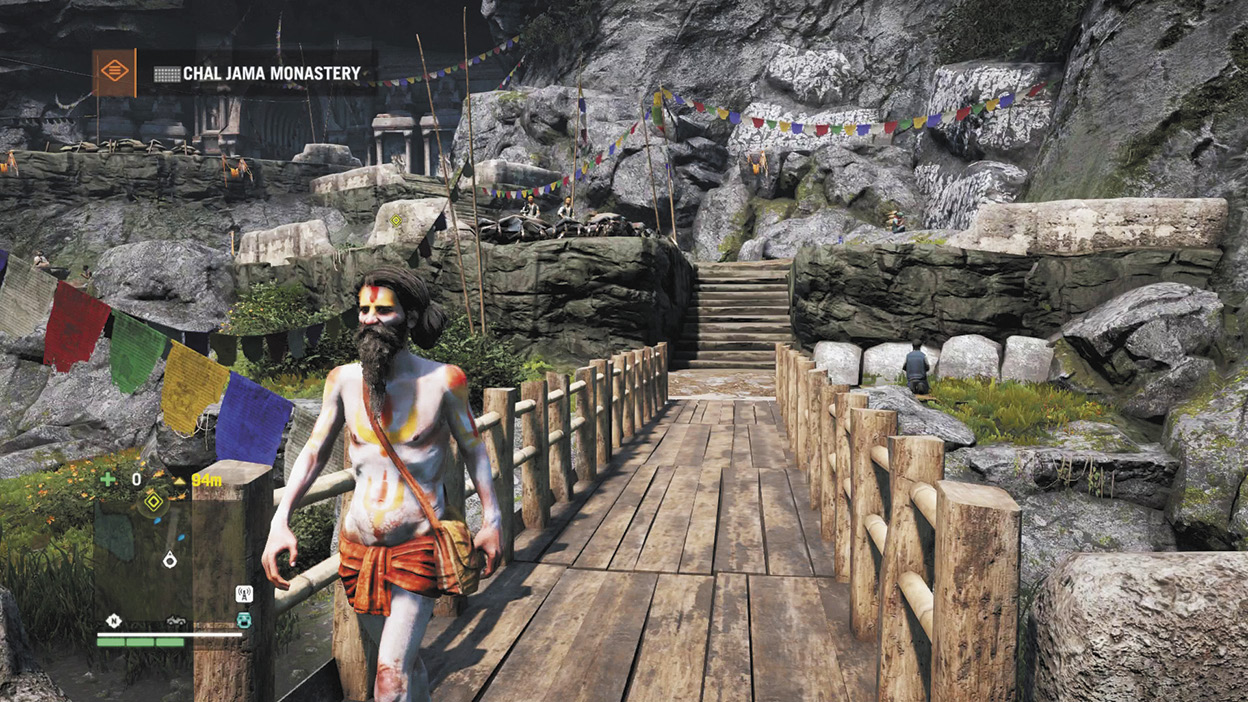
When you first reach the monastery, don’t run up the steps to the main entrance just yet. First, detour to the right, to the cave near the truck. This is the armory, and you should make a point to loot everything you can. You’ll see ammo crates by the truck, health packs, grenades, and especially mines and C4 on the cement blocks near the entrance. Inside, note the statue and the doors beyond it. They’ll be open soon.
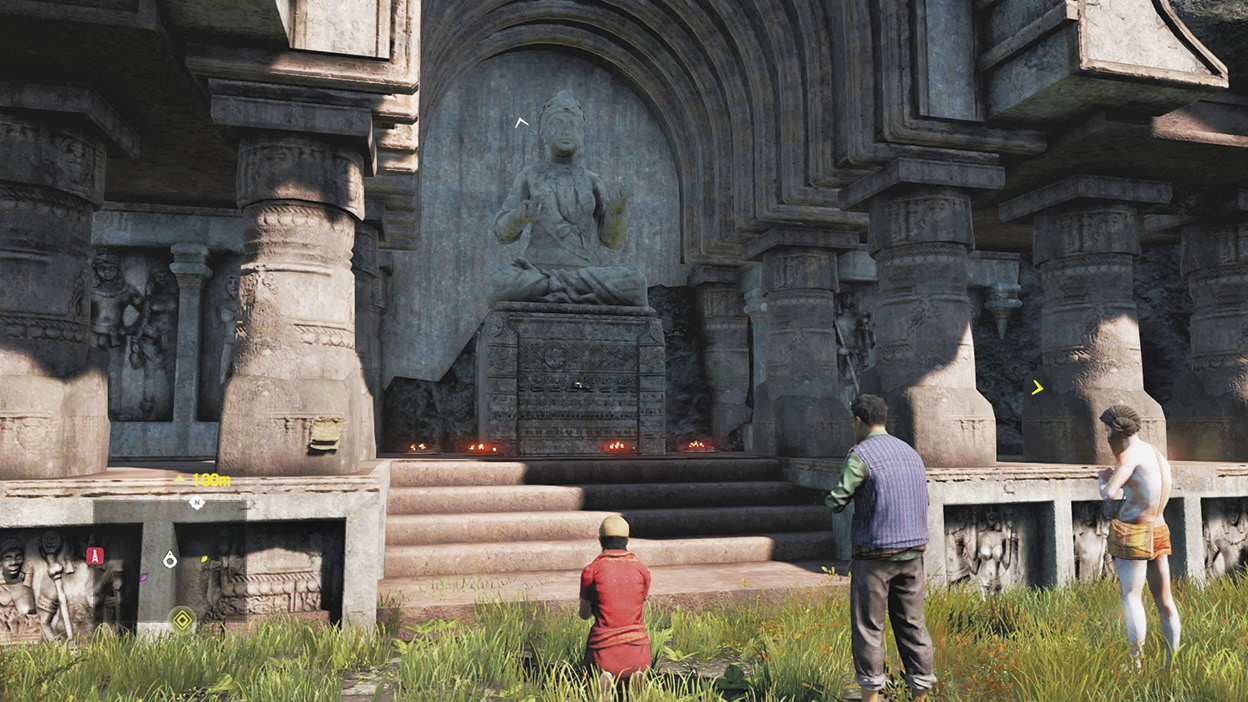
Leave the armory and head toward the pond. On the north (your left), you’ll see another statue facing the pond and the monastery, surrounded by carvings and columns. We’ll call this the shrine. It, too, will be tactically important soon.
Now explore the rest of the courtyard. Notice that the courtyard has three levels. There is the ground, where the shrine and armory are located. Next is the mid level, with its sandbag bunkers and two mounted machine guns—one facing the left entry road and the armory entrance, and one facing the right entry road—both of which can point into the shrine.
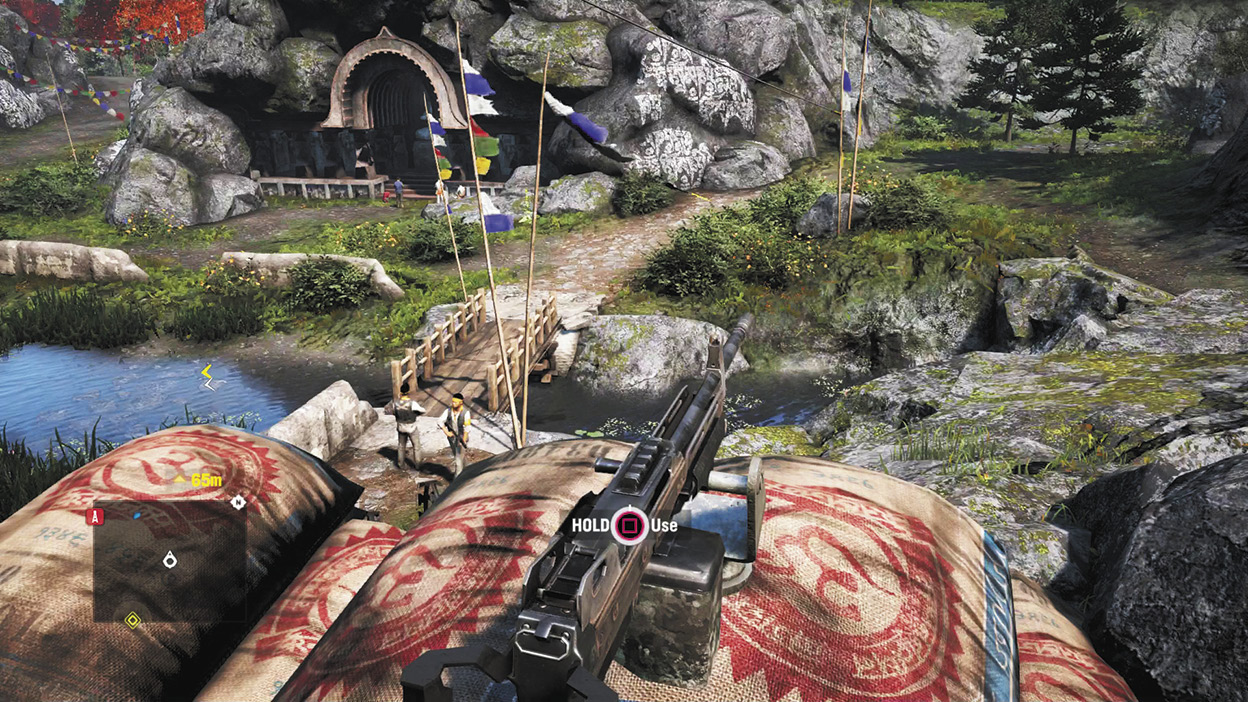
Finally, there is the upper level, where two large doors provide entrance to the monastery. Note the two ziplines to the ground level, and the ledges that enable you to drop down to the mid level’s machine guns without taking damage. Be aware there are entry roads on both sides of the shrine, and co-op players in particular should know there’s a grapple point that lets you climb onto the hill above the shrine.
Once you’ve gotten used to the geometry, head inside the monastery and meet with Raju.