Towers
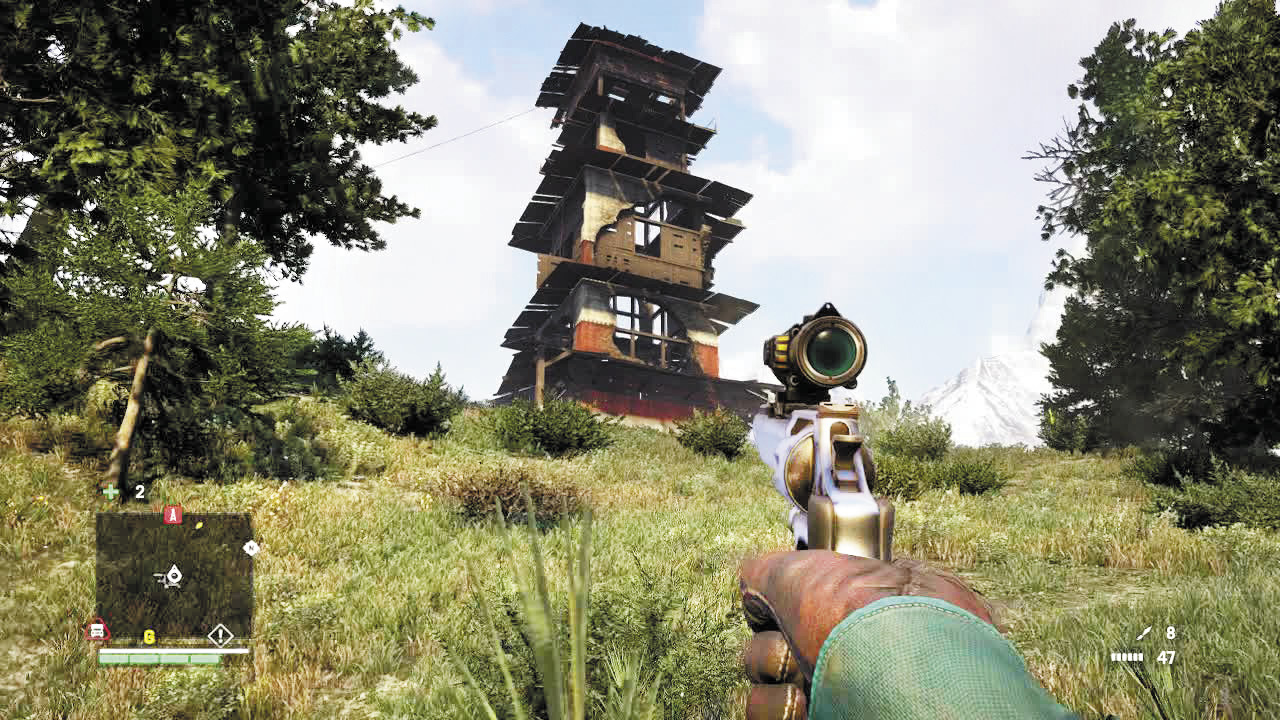
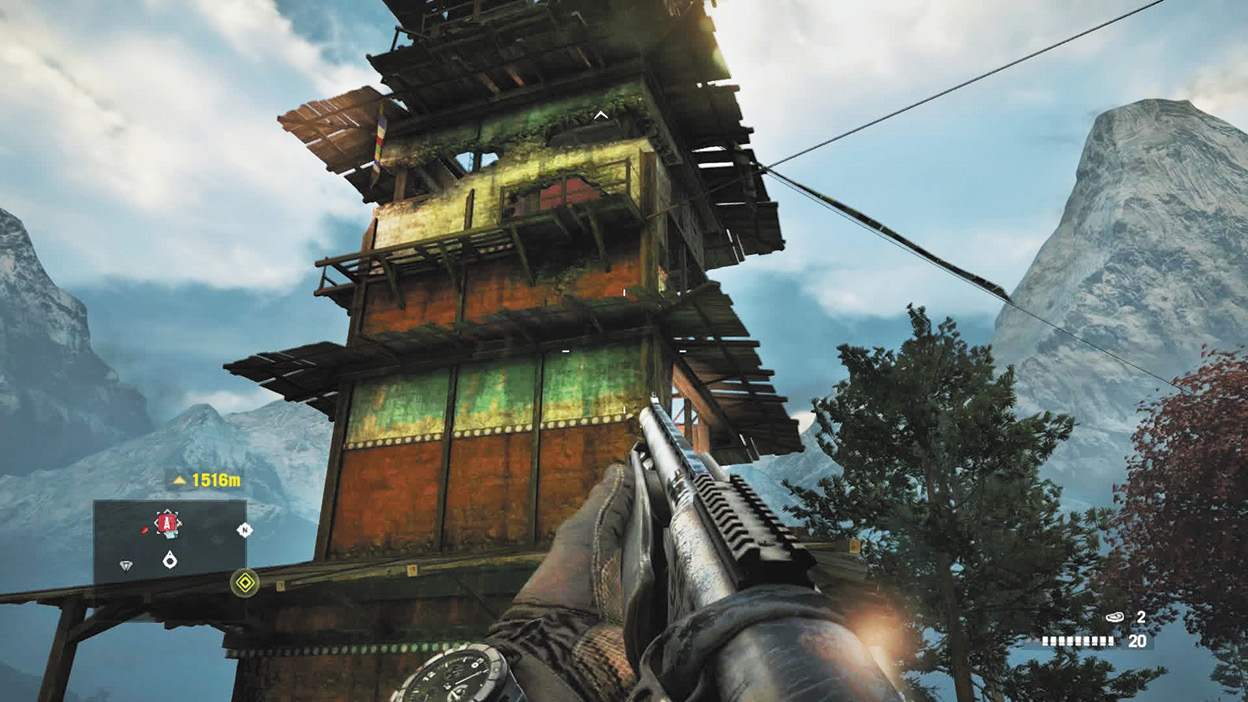
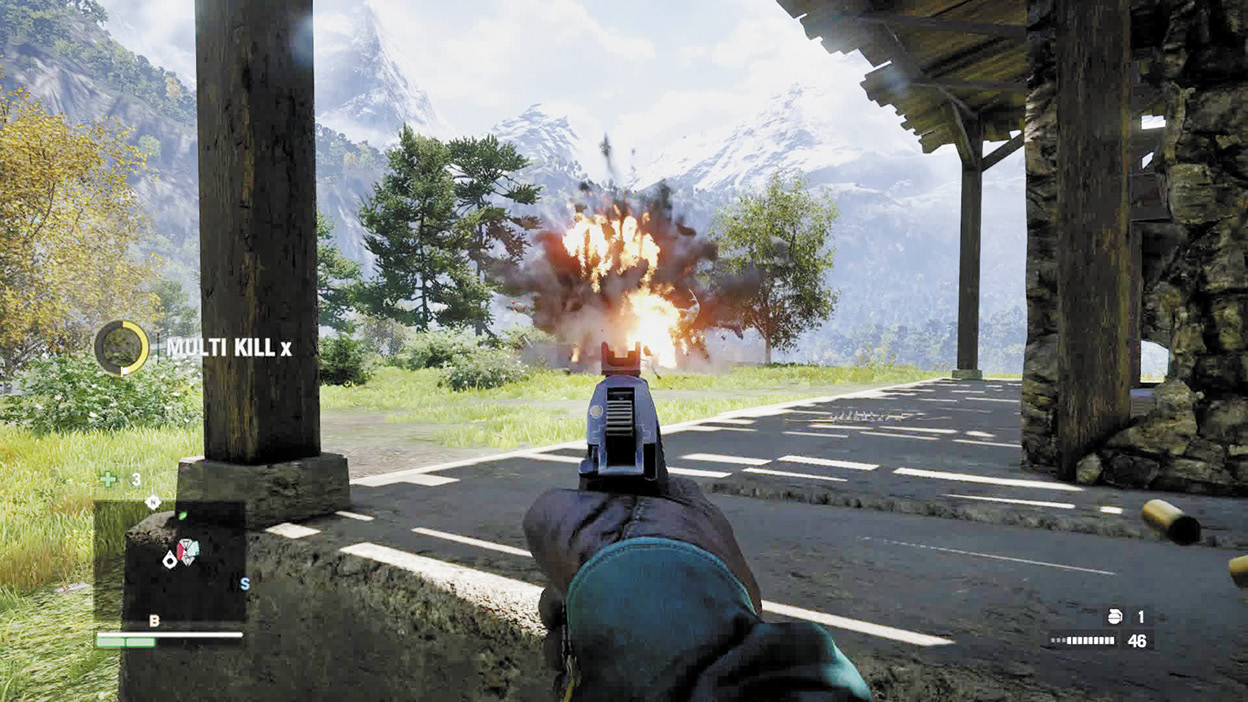
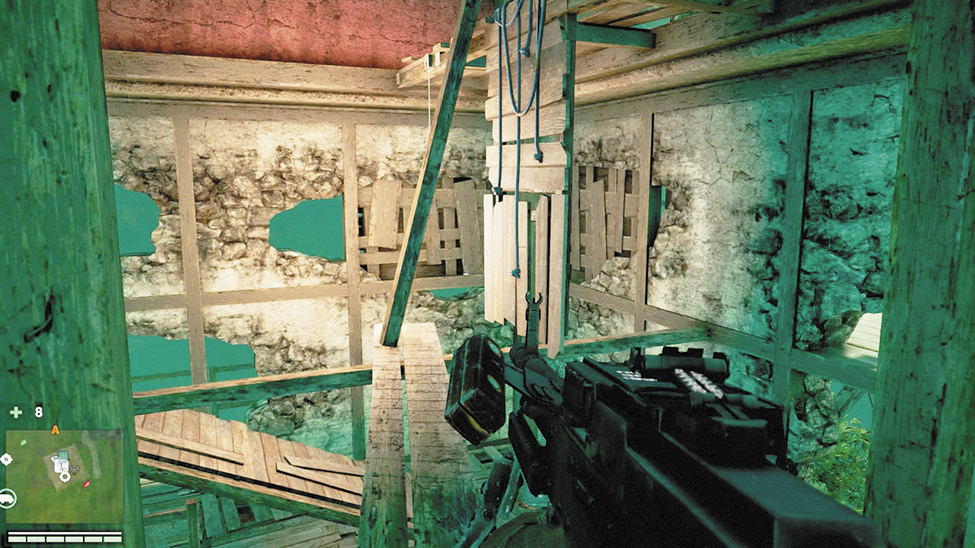
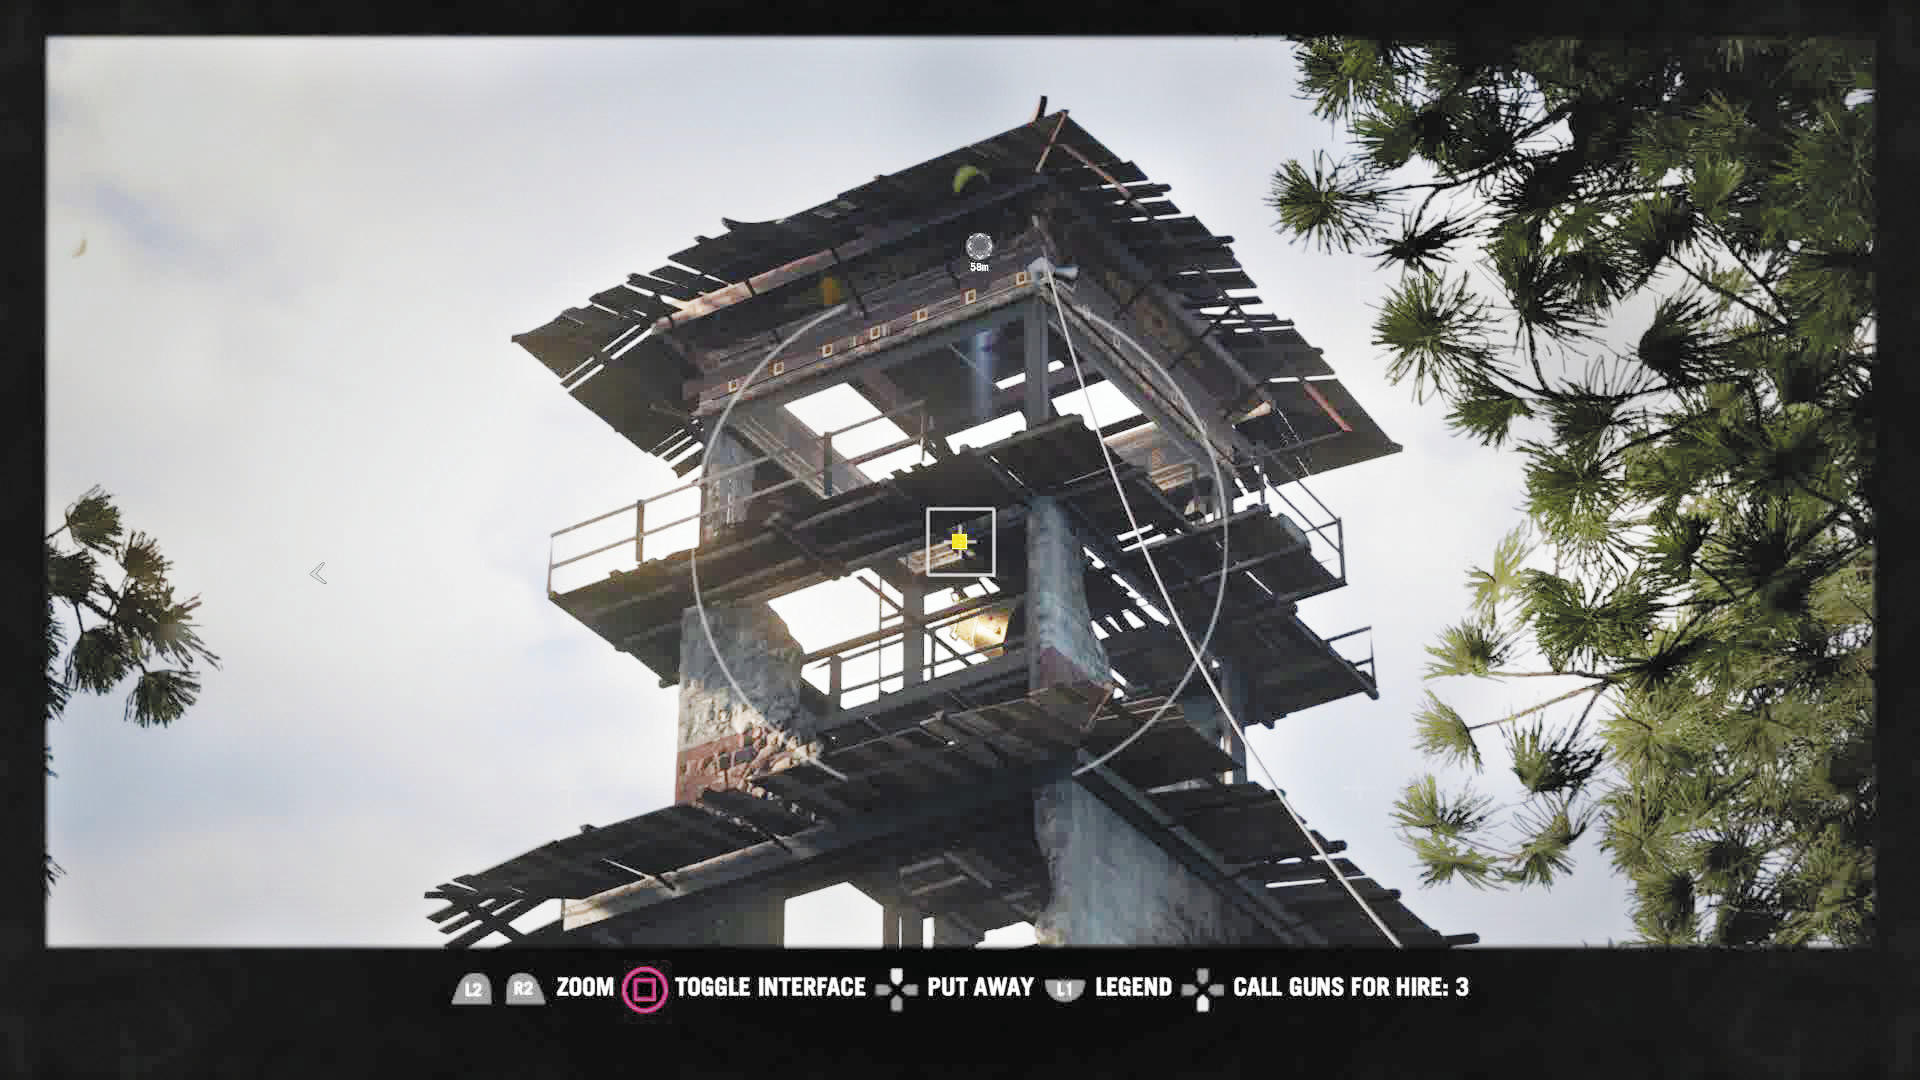
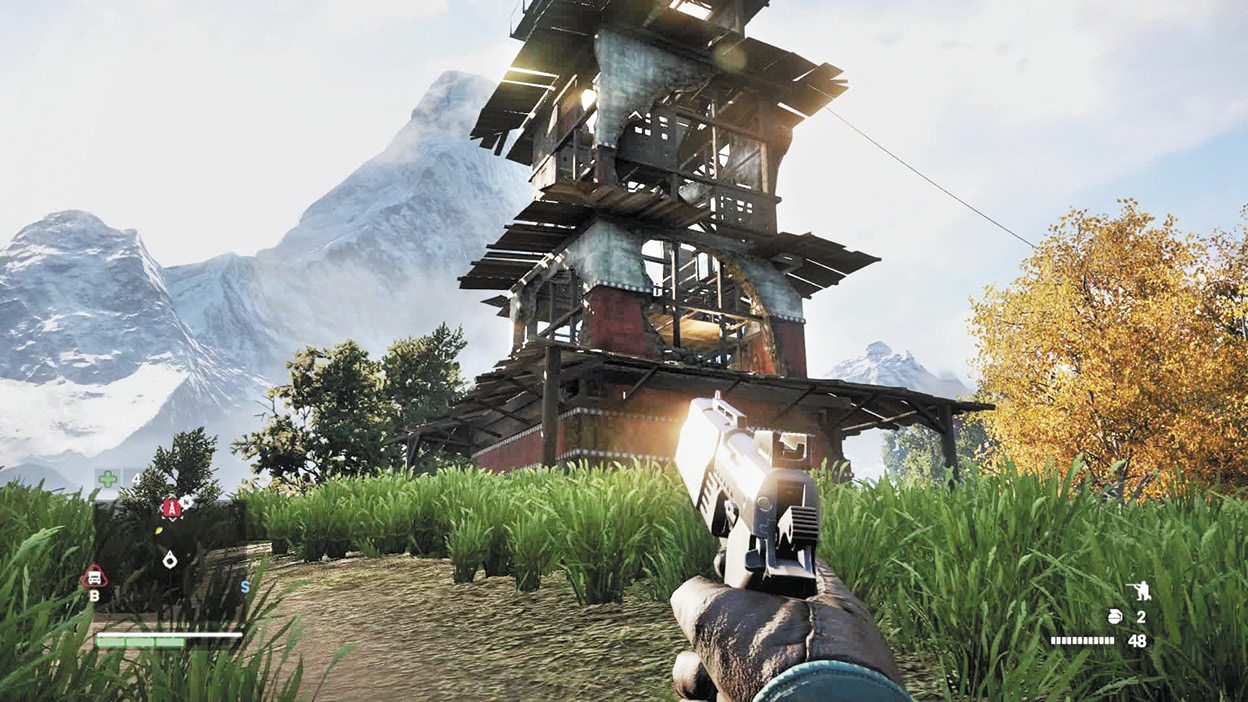
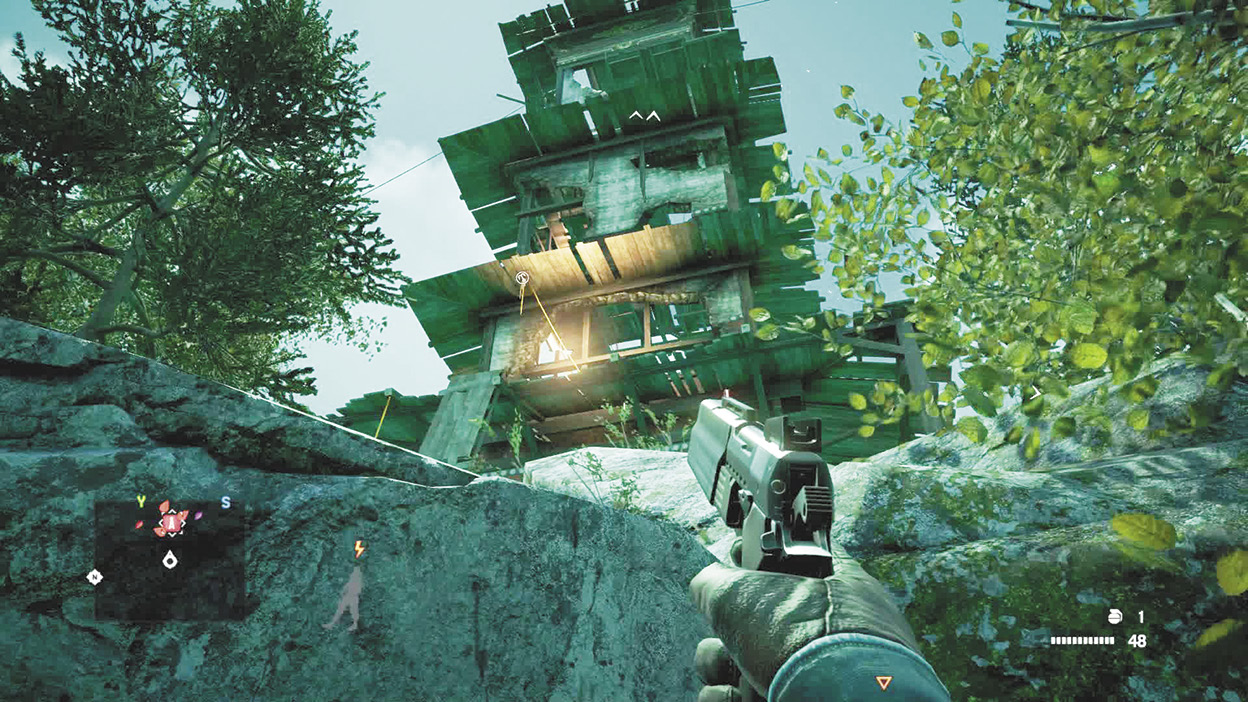
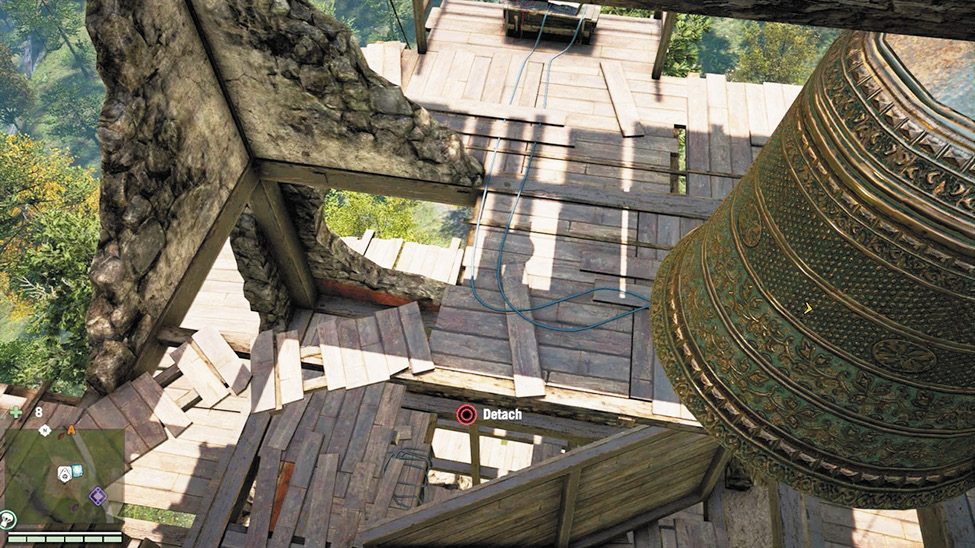
Far Cry 4’s bell towers are seventeen rotting structures that now house Pagan Min’s propaganda broadcasts instead of bells. Towers usually have very little combat once you’ve made it through the door (though you can get mauled by eagles on higher floors). Instead, they focus on navigational puzzles, forcing you to search both the inside and outside of the tower to find your way to the top. Though each tower is different, they all pull from the same set of recurring elements:
- Stairs
- Ladders
- Climbable ledges
- Gaps to jump or cross on “balance” beams
- Boxes (melee to crush these)
- Breakable barriers (boards nailed across path)
- Grapple points
Tower 02
Location: x:331 y:475 (northeast of Khilana Bazaar)
This tower has three guards: two stationed on the west wall and one doing rounds. If needed, you’ll find mines on the southern zipline anchor, and a health pack (and chest) inside the shed.
1F Bash lock. The “room within a room” contains a chest, a ladder up, and some explosive tanks. Don’t shoot them. Kick the boxes and take the ladder up to 2F.
2F Skirt around the outside and hop back in through the shattered wall to get to the climbable ledge. Note that you can’t reach the poster hanging on the outside wall, but you can, however, hit it with fire (Molotov, flamethrower, fire arrow, flare gun).
3F Counterclockwise to ledge to 4F.
4F Ramp up to 5F.
5F Leap across gap, bash barricade and boxes to reach chest and ledge to 6F.
6F Ramp, then either way to ledge to 7F.
7F Up through hole in ceiling to 8F.
8F Chest and radio.
Reveals:
Tiger Den (x:316 y:459)
Satish’s Sad Room (x:311 y:484)
Prabin’s House (x:336 y:495)
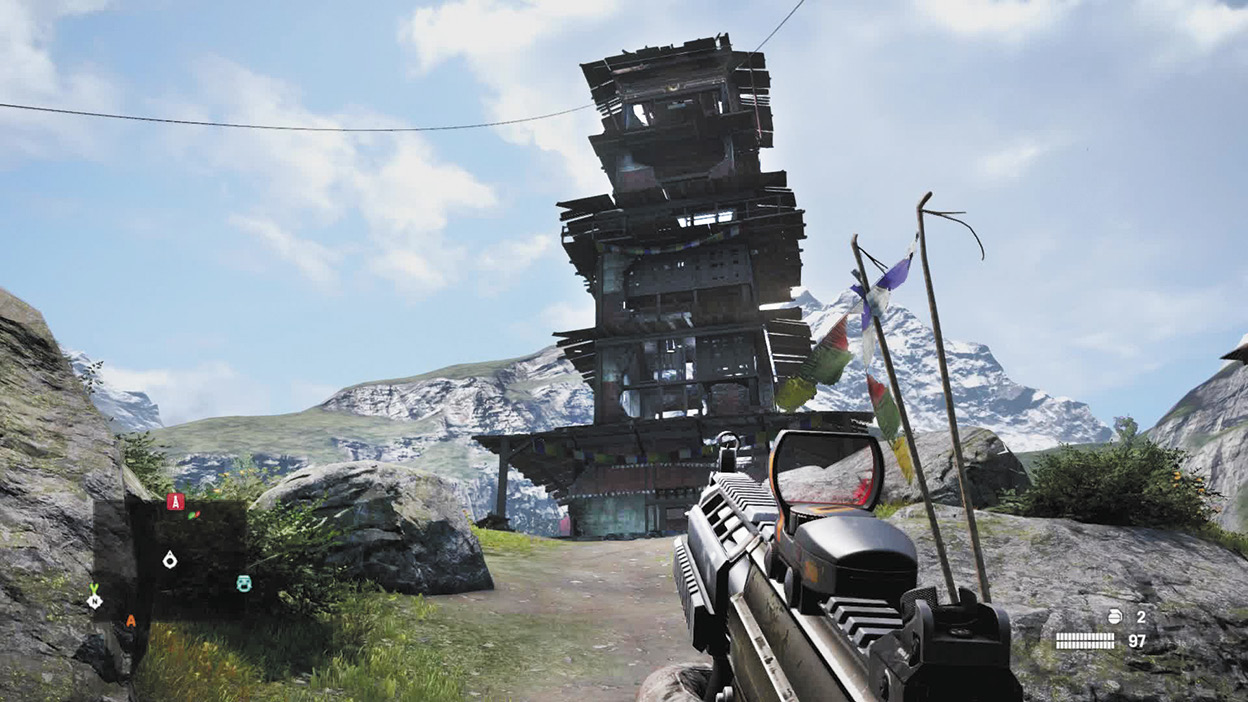
Tower 03
Location: x:386 y:385 (southeast of Khilana Bazaar)
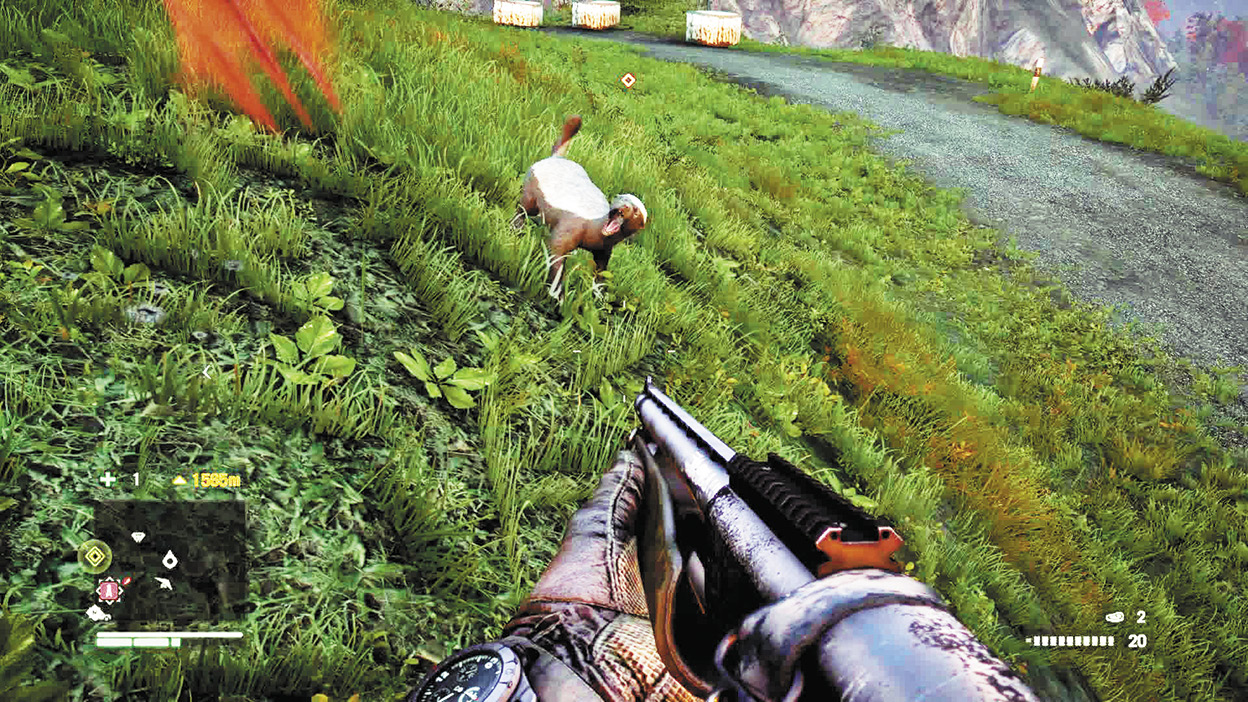
This is honey badger and pit viper territory, so watch your ankles. Also, you’ll find a health pack on the north anchor block, and both an ATV and hang glider nearby.
1F Climbable ledge up to 2F.
2F Chest around corner, then balance beam to ledge to 3F.
3F Enemies (including snipers) may spawn on the ground when you reach this level, so note the balcony with the mounted gun and Molotovs and be ready to run from lofted grenades. Take the ledge up to 4F.
4F Clockwise to ladder to 5F.
5F Walk around outside roof to poster, then continue around to ledge to 6F.
6F Follow rickety walkway to ledge to 7F.
7F Clockwise to balance beam to ladder to 9F.
9F Counterclockwise to ledge to 10F.
10F Radio, chest, and health pack.
Reveals:
Partisan’s Clinic (x:369 y:400)
Great Drought Chorten (x:398 y:397)
Banashur’s Pyres (x:400 y:368)
Tower 04
Location: x:231 y:575 (north of Banapur)
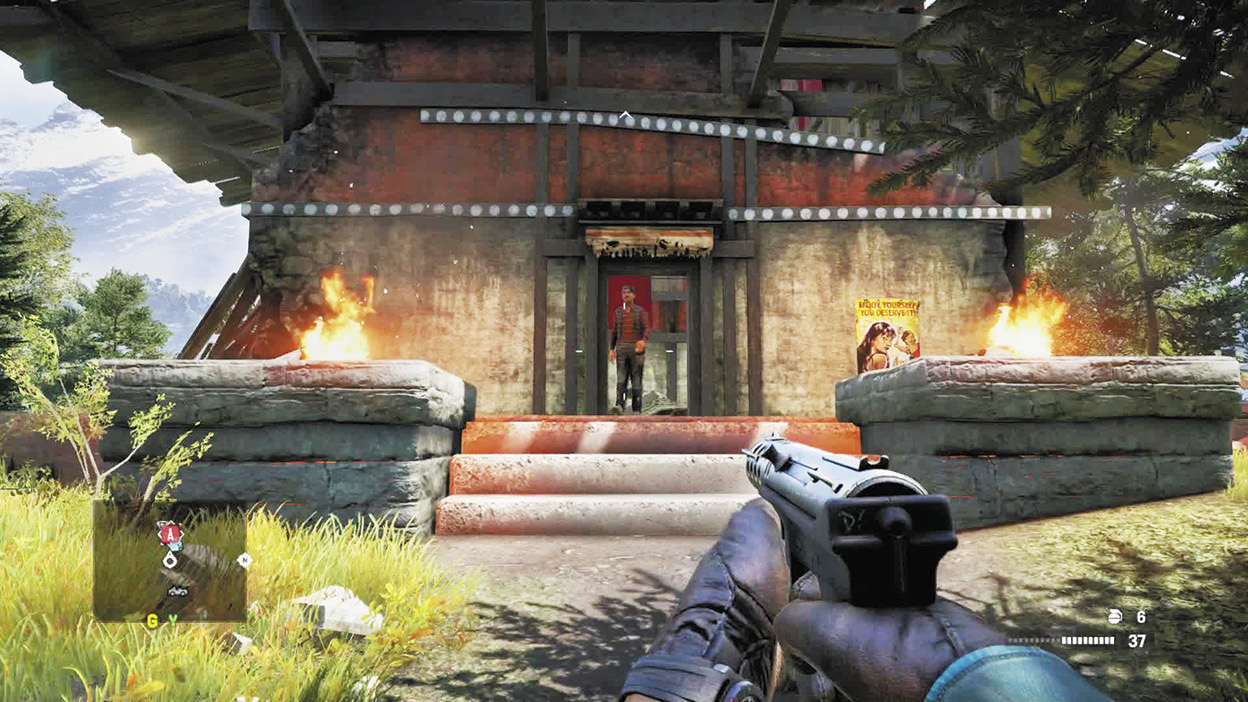
Two large fires light the entrance to this tower, which sits atop a wooded mountain. No guards, however.
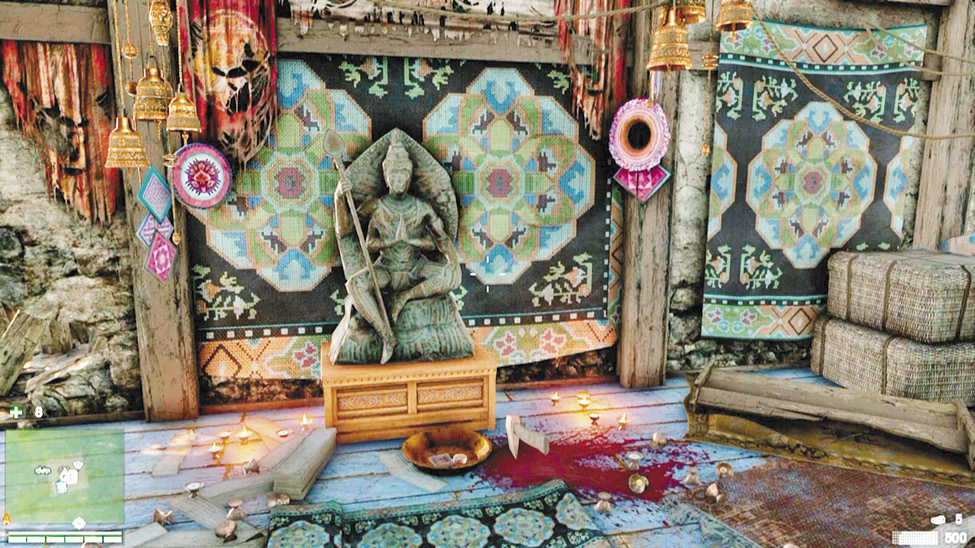
1F Chest in corner, then ladder to 2F.
2F Leap gap, then stairs to 3F.
3F Either direction to climbable ledge to 4F.
4F Leap gap to ledge to 5F.
5F Counterclockwise to tightrope plank (inside) to ledge to 6F.
6F Through boxes to rickety walkway to ledge to 7F.
7F Balance beam to balance beam to balance beam to ledge to 8F.
8F Chest outside, then back in to ladder to 9F.
9F Radio and chest.
Reveals:
Danger Dashed (x:210 y:564)
Kalinag the Seeker (x:221 y:547)
Jhankri Ashram (x:235 y:585)
Tower 05
Location: x:342 y:581 (west of Shanath Breeders)
Come up from the southeast road and grapple up the cliff at roughly x:337.5 y:575.2 on the way up to come up behind the two guards stationed out front. If they’re standing next to the propane tank, you’re in for a treat. Watch for wolves as well. They’ll be everywhere.
1F Stairs to ramp to ledge to 2F.
2F Get to outer roof, counterclockwise to poster, then ledge to 3F.
3F Break lock, then ledge to 4F.
4F Chest, then outside to ledge to 5F.
5F Ramp, crouch at top to walk onto 6F roof.
6F Ledge to 7F.
7F Ramp to 8F.
8F Radio, ammo, health pack.
Reveals:
Aghori Ashram (x:349 y:607)
Avinash Primary School (x:330 y:571)
Raski Still (x:355 y:558)
Tower 06
Location: x:451 y:490 (west of Chal Jama Monastery)
No guards at the start, but if you haven’t liberated the nearby outposts, Min’s patrols will almost certainly show up while you’re climbing and lurk at the bottom for you. Ignore them. They’ll disappear when you hijack the radio signal.
1F Ladder to 2F.
2F Chest and ledge to 3F.
3F Counterclockwise around roof to ledge to 4F.
4F Ledge to 5F.
5F Ramp to 6F.
6F Ledge to 7F.
7F Ramp to 8F.
8F Ledge to 9F.
9F Ladder to 10F.
10F Radio.
Reveals:
Deepak’s Millet Farm (x:432, y:490)
Banashur’s Song (x:472 y:495)
Kyra’s Shade (x:442, y:470)
Tower 07
Location: x:468 y:329 (southwest of Tirtha)
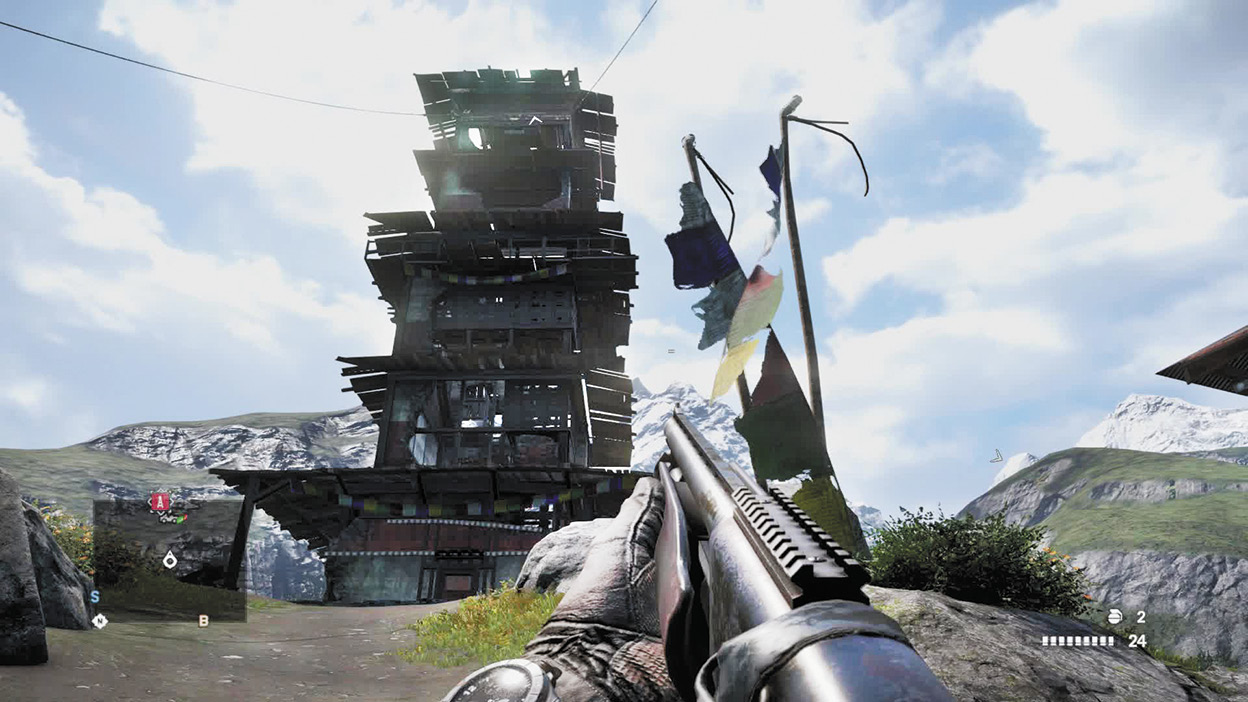
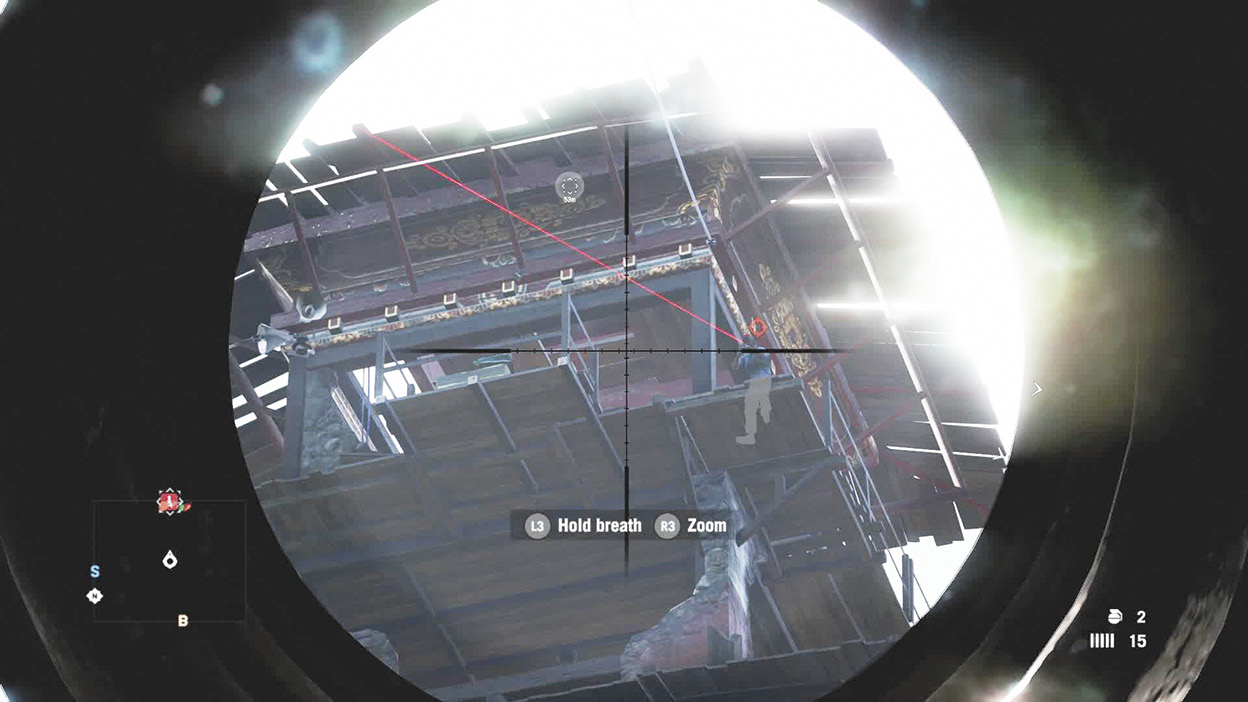
This tower has a sniper on the top floor and two defenders on the ground. Bring a sniper rifle of your own to handle him. You can also snipe the explosive canisters on the front steps to take care of the defenders down low (do this first if your sniper rifle is not silenced). The tower also has an alternate entrance. Climb the shack on the tower’s southwest side (watch for pit vipers), then jump to the third-story roof. Note that between the sniper and the first-floor weapons rack, you can get a free A2000, SVD, and M133.
1F Ramp to boards to climbable ledge to 2F.
2F Take stairs to 3F.
3F Counterclockwise to ledge.
4F Stairs to 5F.
5F Bash boxes to ramp to 6F.
6F Ledge to 7F.
7F Ledge to 8F.
8F Ladder to 10F.
10F Radio, chest, and health pack.
Reveals:
Rai Family House (x:414, y:361)
Abandoned Jheel (x:478 y:322)
Vibhat’s Auto Repair (x:455, y:326)
Tower 08
Location: x:356 y:656 (north of Tower 05 and Open Hearts Clinic)
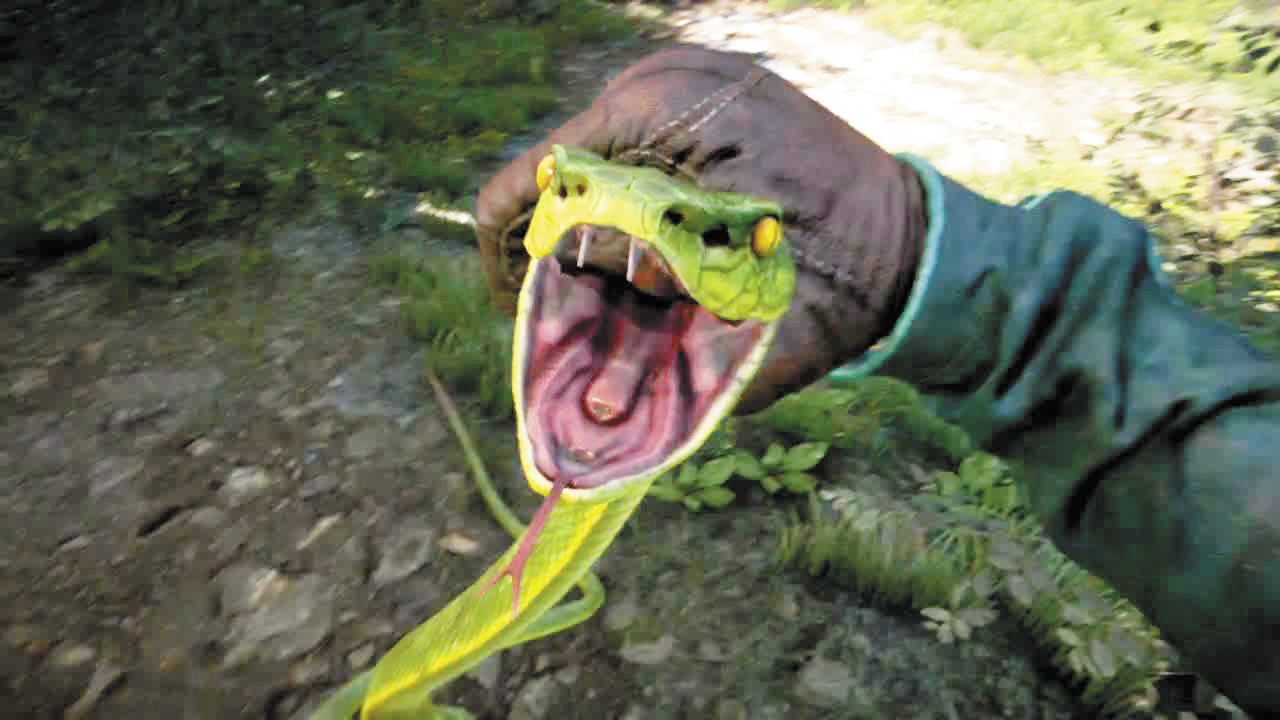
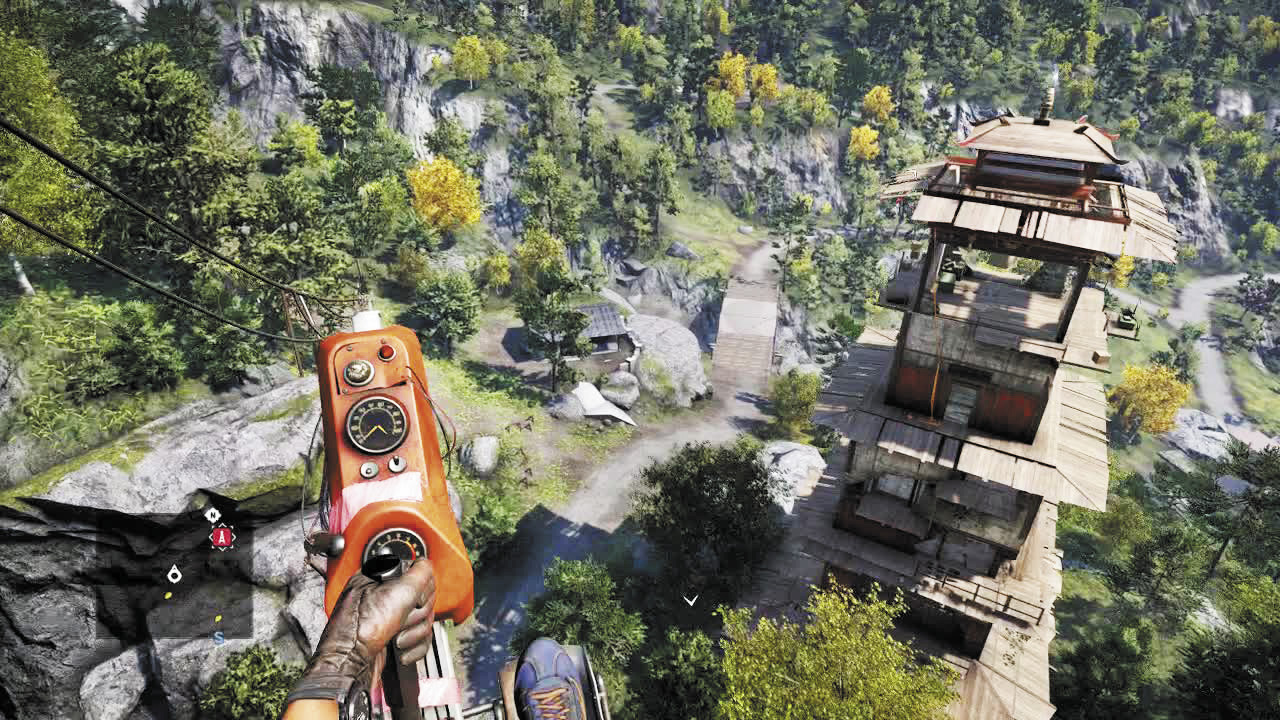
Situated on a high clifftop, this tower actually has some large roads right nearby. A buzzer is still the best way to reach it, though. No guards, but watch for pit vipers.
1F Stairs to ramp to 2F.
2F Immediate ledge up to 3F.
3F Crouch through the gap in the wall and take roof to ledge up to 4F.
4F Leap across to inside ramp and use it to drop to the 3F chest. Grab chest, drop to 2F, and return to ledge to 3F, then take ledge back to 4F. Once there, leap gap to reach ledge to 5F.
5F Ramp to 6F.
6F Balance beam to ledge to 7F.
7F Stairs to boxes. Ladder up to 9F.
9F Radio and chest.
Reveals:
Sunny & Prem’s Storage (x:355 y:674)
Bhutan Ghat (x:369 y:661)
Dzu-Teh Ruins (x:342 y:643)
Tower 09
Location: x:470 y:567 (southeast of Naccarrapur)
The back way up on the west side (x:466 y:566), via grapples and rock ledges can bring you up out of view of two of the three guards. Wait for the third guard to walk by on patrol and you can take them all out silently. Or just hit the ladder and bypass the guards entirely.
Start Ladder on west up to 3F.
3F Drop down to 1F to bash boxes and get ammo (if desired).
1F Ledge to 2F.
2F Ladder to 3F.
3F Clockwise to ramp to 4F.
4F Ledge to 5F.
5F Clockwise to ledge to 6F.
6F Chest, ramp to 7F.
7F Ledge to 8F.
8F Grapple to health pack and radio.
Reveal:Kyra’s Pilgrimage (x:478, y:547)
Banashur’s Tree of Life (x:458, y:574)
Yalung’s Mind (x:491 y:560)
Tower 10
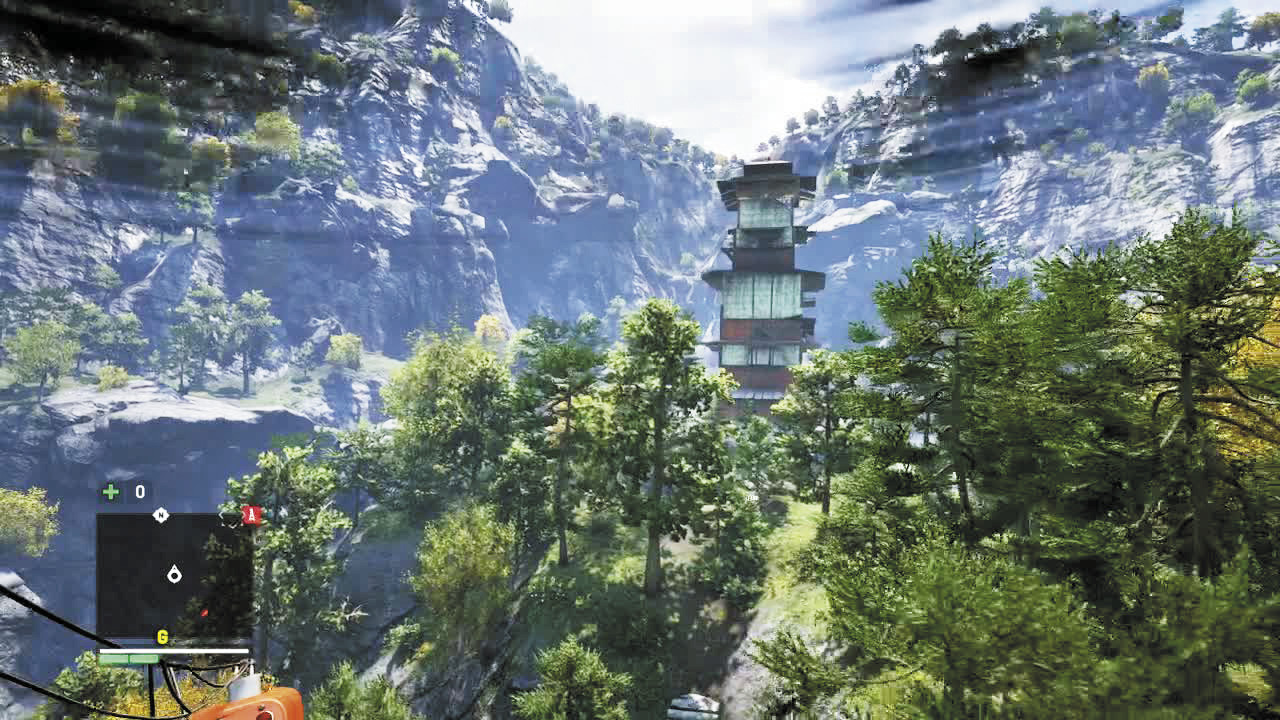
Location: x:476 y:682 (northeast of Naccarrapur)
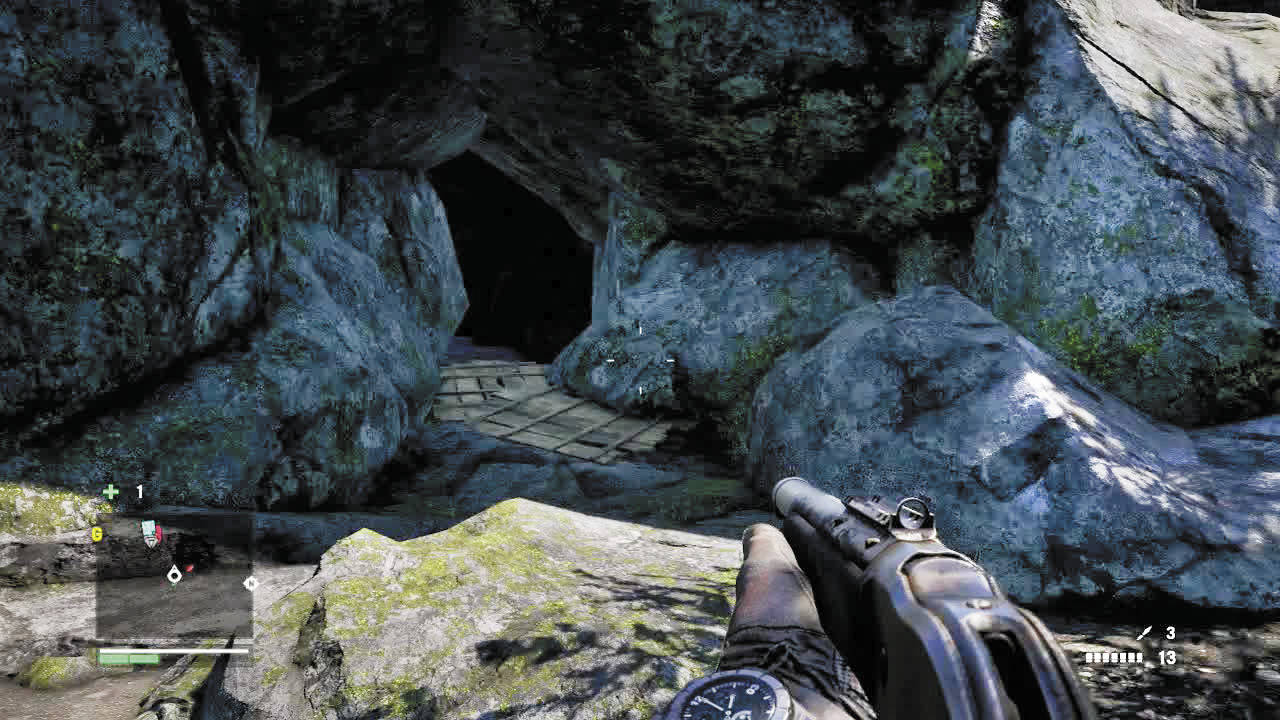
One guard on first floor. Note, too, that there’s a cave at roughly x:478 y:684 that will bring you up through the floor if you don’t want to buzz in.
1F Climb ledge to ladder to 2F.
2F Circle around roof to ledge to 3F.
3F Ledge to 4F.
4F Counterclockwise to poster, then clockwise back to leap onto ramp to 5F.
5F Rickety boards to ledge to 6F.
6F Counterclockwise to ledge to 7F.
7F Through hole, then ramp to 8F.
8F Ledge to 9F.
9F Radio.
Reveals:
Yakshini’s Bondage (x:472 y:699)
Dead End (x:452 y:668)
Royal Munitions Depot (x:476 y:666)
Tower 11
Location: x:567 y:636 (northeast of Ghale Homestead)
Once you’ve gained access to Northern Kyrat, grab a buzzer to this tower, which is protected by four Royal Army guards at its base. Grab the poster and start climbing.
1F Ramp to ladder to 2F.
2F Ramp to 3F.
3F Ledge to 4F.
4F Kick boxes, balance beam to climbable ledge to 5F.
5F Ramp to 6F.
6F Immediate ledge to 7F.
7F Loooong running leap to ledge to 8F. Watch for bees.
8F Ramp to 9F, radio.
Reveals:
South Jalendu Checkpoint (x:555 y:651)
Mansa Market (x:572 y:624)
Krolinga Sahida Shrine (x:551 y:631)
Tower 12
Location: x:451 y:778 (northwest of Utkarsh)
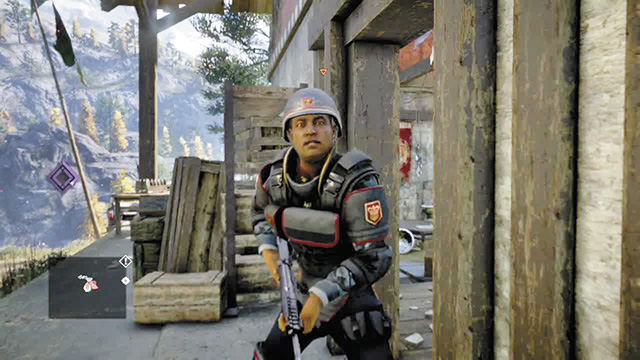
You’ll pass right by this Tower during “Truth & Justice”. It has four guards, but they move around. Check the guard house to the south and the jeep to the west. Also, this is a hot zone, so new guards will often come by on patrol.
1F Grab poster by doorway, then climb ladder inside to 3F.
3F Ledge up to 4F.
4F Running leap to ledge to 5F.
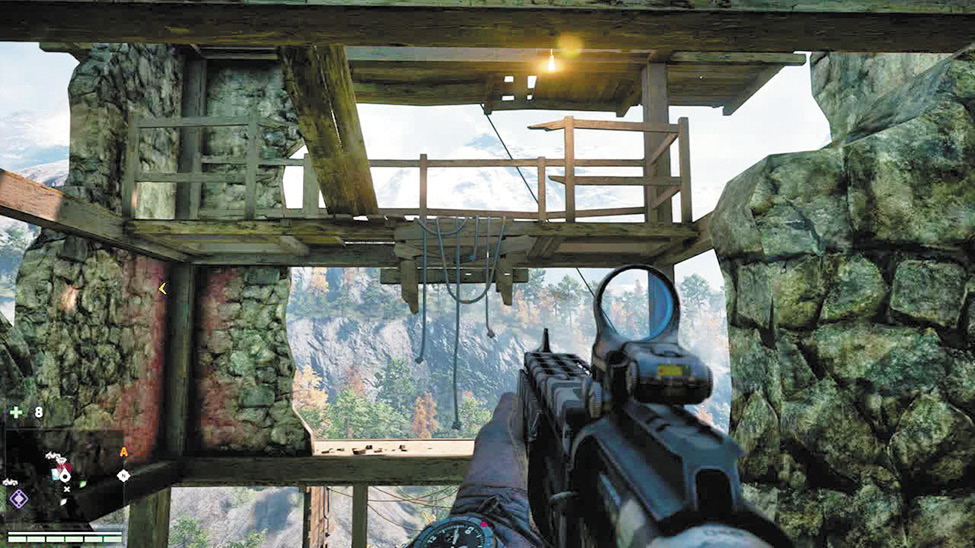
5F Round to south side, grapple up, swing over wall to ledge to 6F.
6F Stairs to 7F.
7F Chest, then grapple up to 9F.
9F Radio.
Reveals:
Shining Minds Reformatory (x:452 y:792)
Keo Scrap Yard (x:438 y:771)
Royal Vault IX (x:432 y:785)
Tower 13
Location: x:559 y:784 (east of Utkarsh)
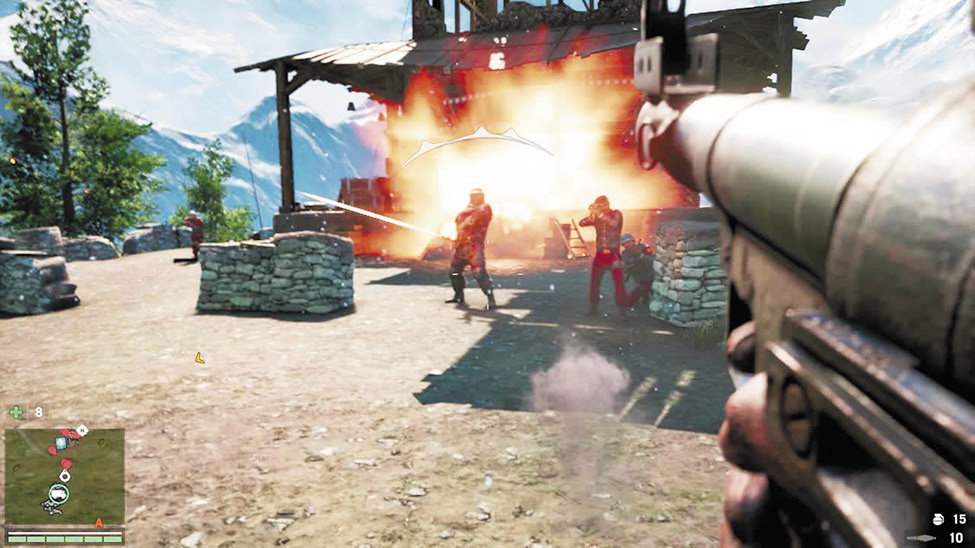
Be prepared for a fight. Only one guard out front, but there’s a gunner on the inside stairs and patrols drive by constantly. Grab the poster from the shack to the north, then slip in the gap in the fence on the south or east sides. Hide until you hear no approaching engines, then take down the guard quietly, so as not to attract nearby troops.
1F Steps to 2F.
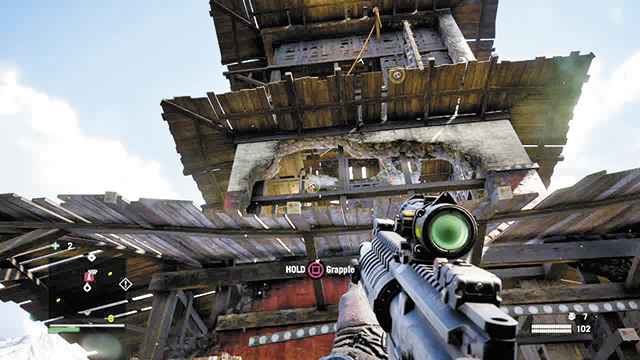
2F Grapple up, then drop to 3F.
3F Bash boxes, burn poster, then take outside ramp to ledge to 5F.
5F Ramp to leap to ledge to 7F.
7F Ledge to 8F.
8F Boxes to grapple to 10F.
10F Radio and chest.
Reveals:
Gornak’s Pass (x:546 y:804)
Devi Temple Ruins (x:566 y:810)
Ghumantu Camp (x:578 y:804)
Tower 14
Location: x:670 y:642 (east of Tower 11)
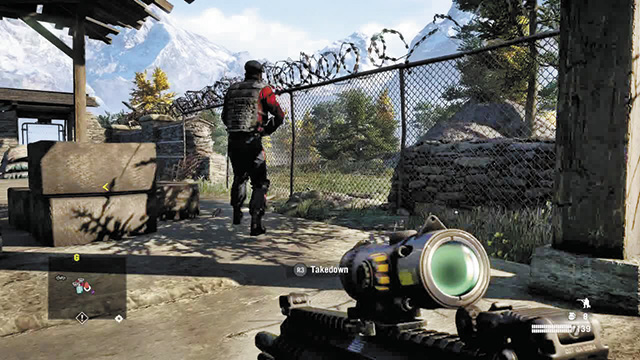
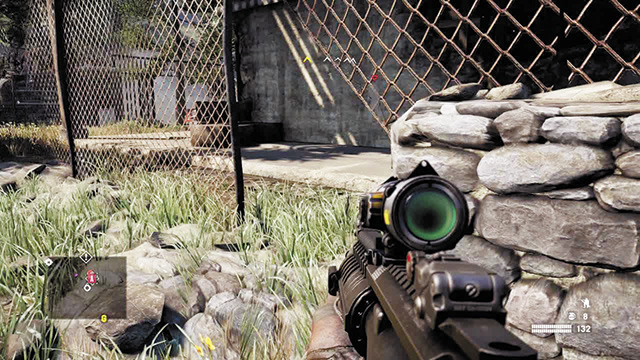
Just a stone’s throw from Keo Pradhana Mine, this tower comes complete with a mortar, a machine gun nest, and soldiers guarding it. However, this is also tiger country, so you may not be the only one stopping by.
1F Ledge to 2F.
2F Ramp and stairs to 3F.
3F Mortar, guards, and poster. Walk around to ledge to 4F.
4F Walkway to ramp to 5F.
5F Ramp to ledge to 6F.
6F Rickety boards to leap to ledge to 7F.
7F Bash boxes, shoot lock, leap down to 6F platform.
6F Bash box, leap down to 5F chest.
5F Chest, balance beam to drop to 4F.
4F Walkway to ramp to 5F.
5F Ramp to ledge to 6F.
6F Leap to ledge to 7F.
7F Leap to ledge to 8F.
8F Chest, then stairs to 9F.
9F Radio.
Reveals:
Anjali’s Bakery (x:662 y:666)
Kyra’s Shrine (x:652 y:639)
Thindara Mine (x:681 y:623)
Tower 15
Location: x:655 y:805 (east of Tower 13)
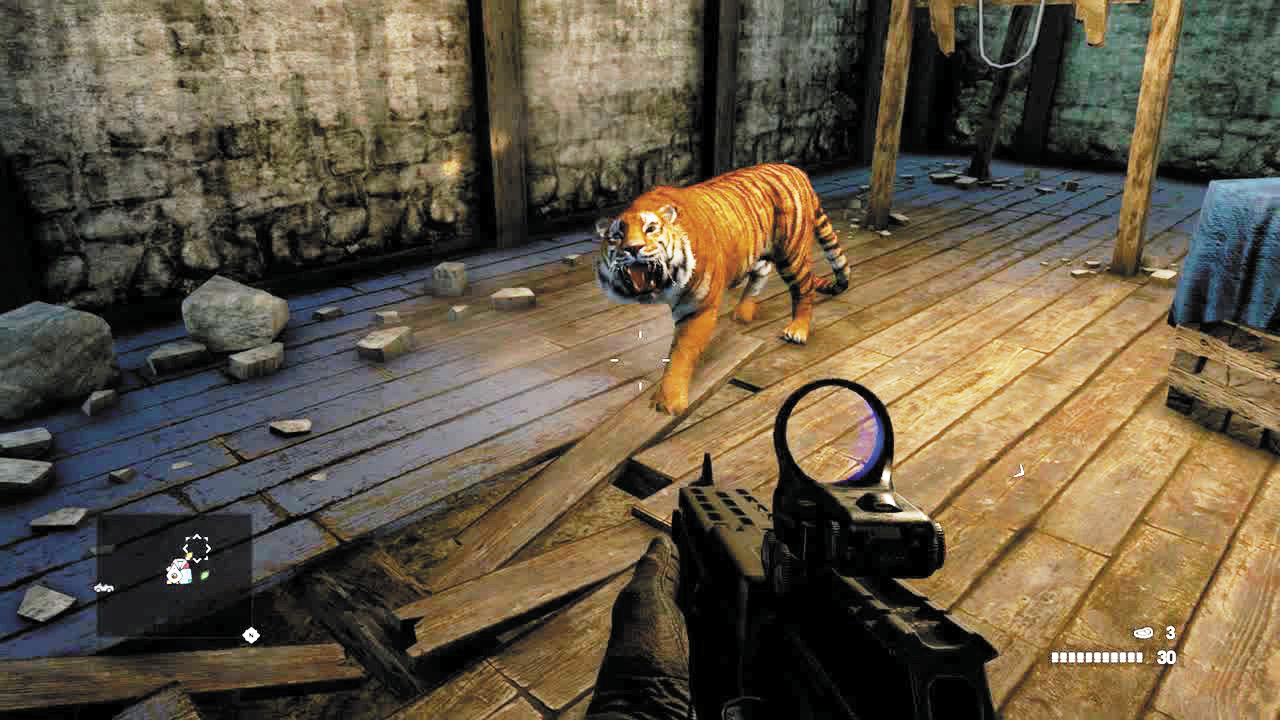
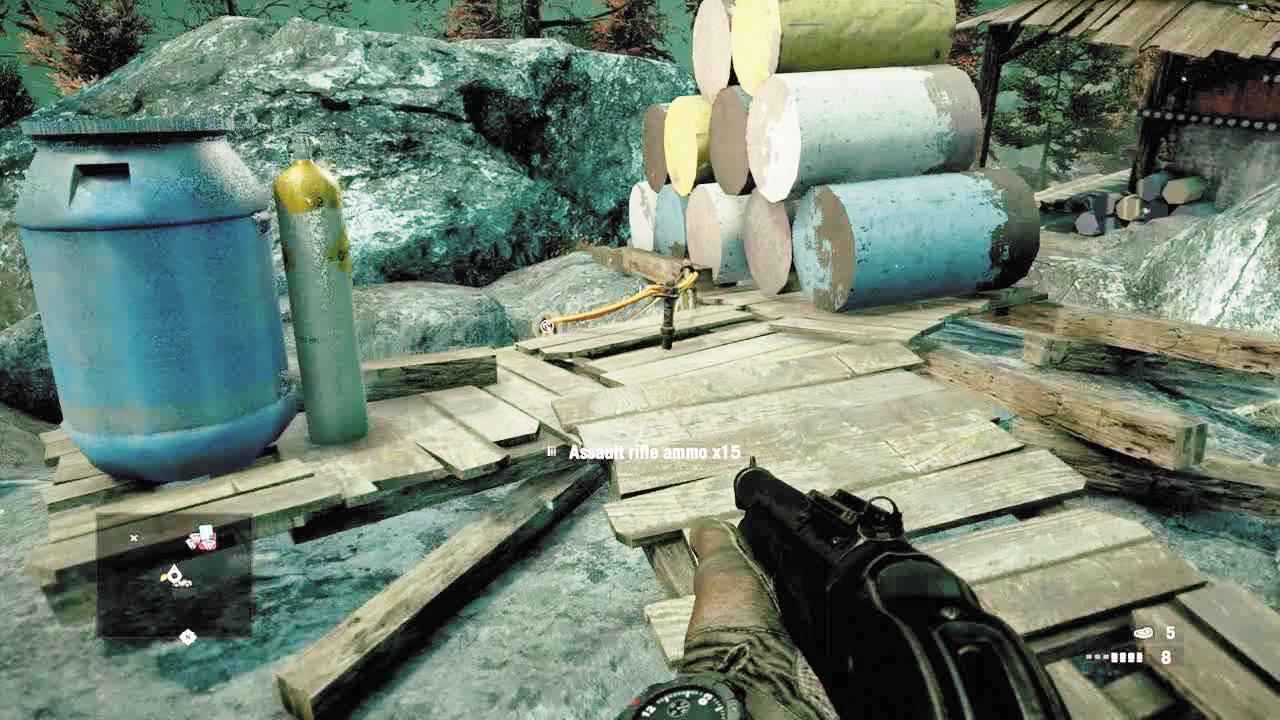
Deep in Min’s territory, so even if there are no guards when you get there (say, guarding the mortar to the southwest), patrols are likely to stop by. The first floor has a poster on its northeast wall, but the door is blocked. How do you get in?
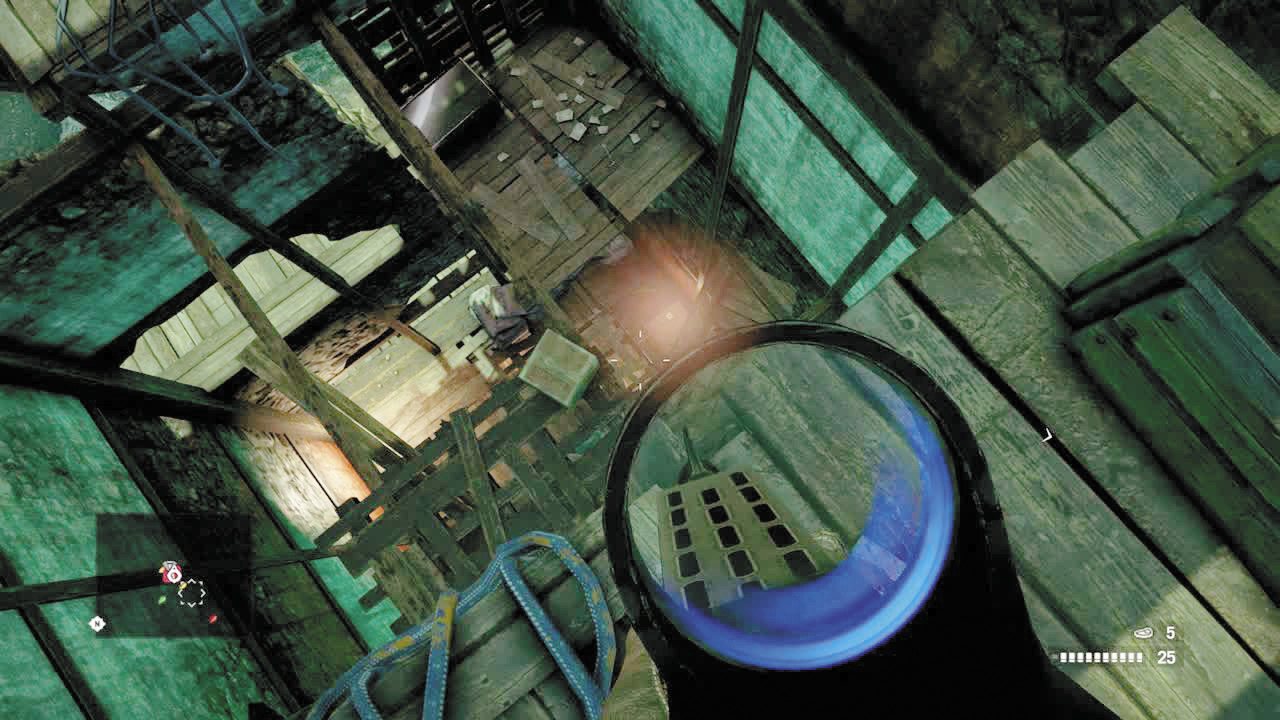
Look to the northeast and you’ll see two stacks of barrels. Near the farther stack is a grapple descent that leads to an underground passage and a ladder that brings you up inside the tower.
1F Walk northeast to barrels, grapple down to 0F.
0F Take tunnel to ladder to 1F.
1F Ledge to 2F.
2F Ramp to ledge to 3F.
3F Crouch and step onto roof, then clockwise and back in for chest, then out and around for poster. Back inside to ramp to ledge to 4F.
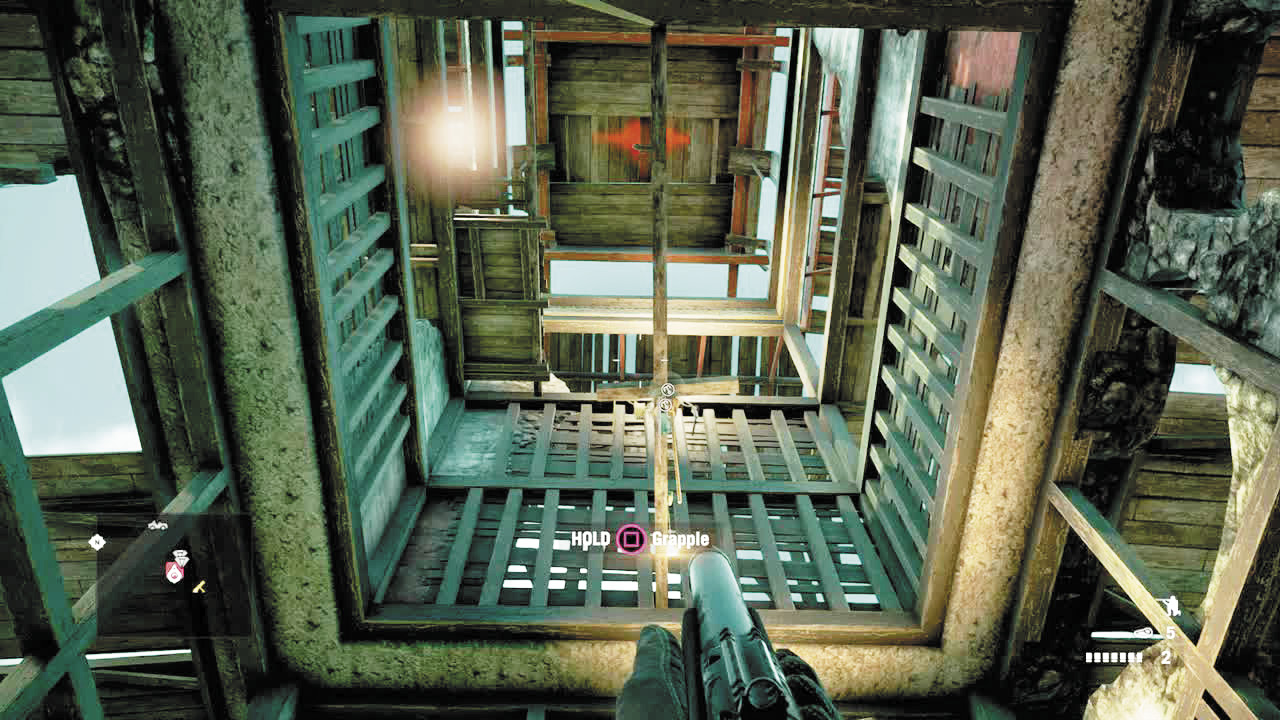
4F Grapple up, hang and swing to ledge to ledge to 6F.
6F Counterclockwise to ledge to 7F.
7F Break box, balance beam to grapple up to 8F.
8F Radio and chest.
Reveals:
RA Confiscation Vault (x:643 y:792)
Dhumrapana Shrine (x:643 y:820)
Dead Man’s Triangle (x:669 y:822)
Tower 16
Location: x:777 y:687(northeast of Tower 14)
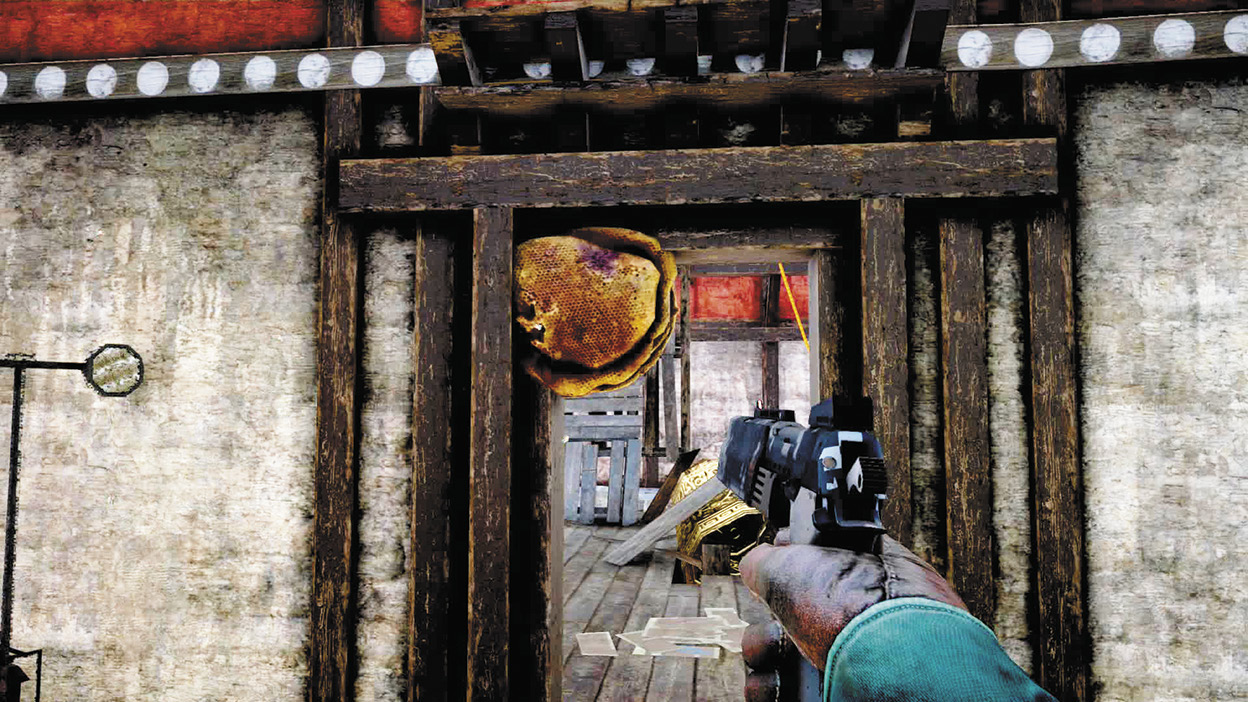
No guards at this location, but you’ll find a beehive on the ground floor and probably a bear or two lurking around. You do the math. Then grab the poster from the ground floor wall.
1F Shoot beehive from a distance, let bees disperse, ladder to 2F.
2F Step outside and skirt around to burn-able poster, then step back inside to reach ledge to 3F.
3F Ledge to 4F.
4F Running jump to ledge to 5F.
5F Boxes to balance beam to chest, then back to balance beam to ledge to 6F.
6F Chest, then ramp to 7F.
7F Around to boards to ledge to 8F.
8F Bash boxes, then ladder to 9F.
9F Radio.
Reveals:
Hima Khoka Cave (x:778 y:708)
Medicinal Poacher (x:795 y:675)
The Powder Keg Distillery (x:777 y:664)
Tower 17
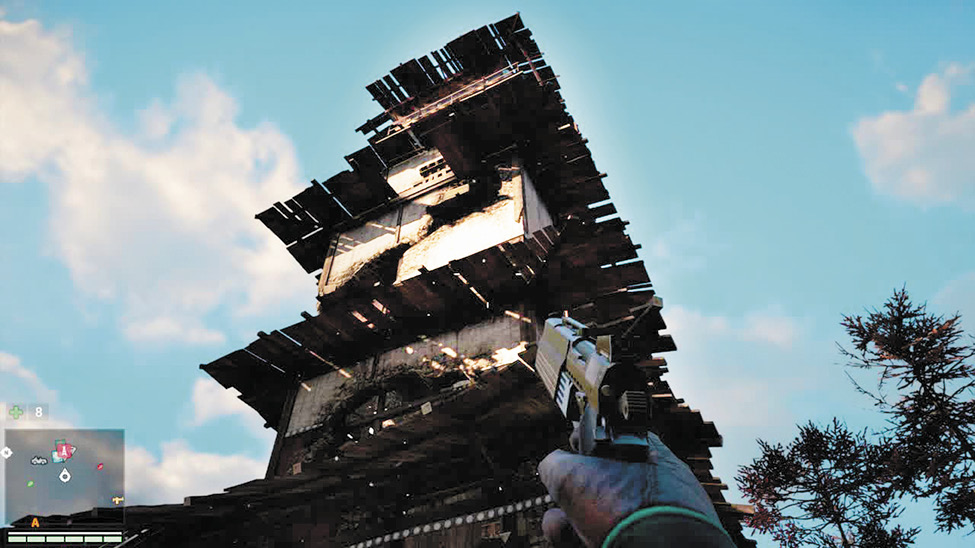
Location: x:766 y:760 (far upper right, southwest of Rajgad Gulag)
Closest to Min’s Palace, this tower, like all the northern towers, can be a pain to enter. Enemies and packs of wolves roam the countryside, and even the eagles here attack viciously.
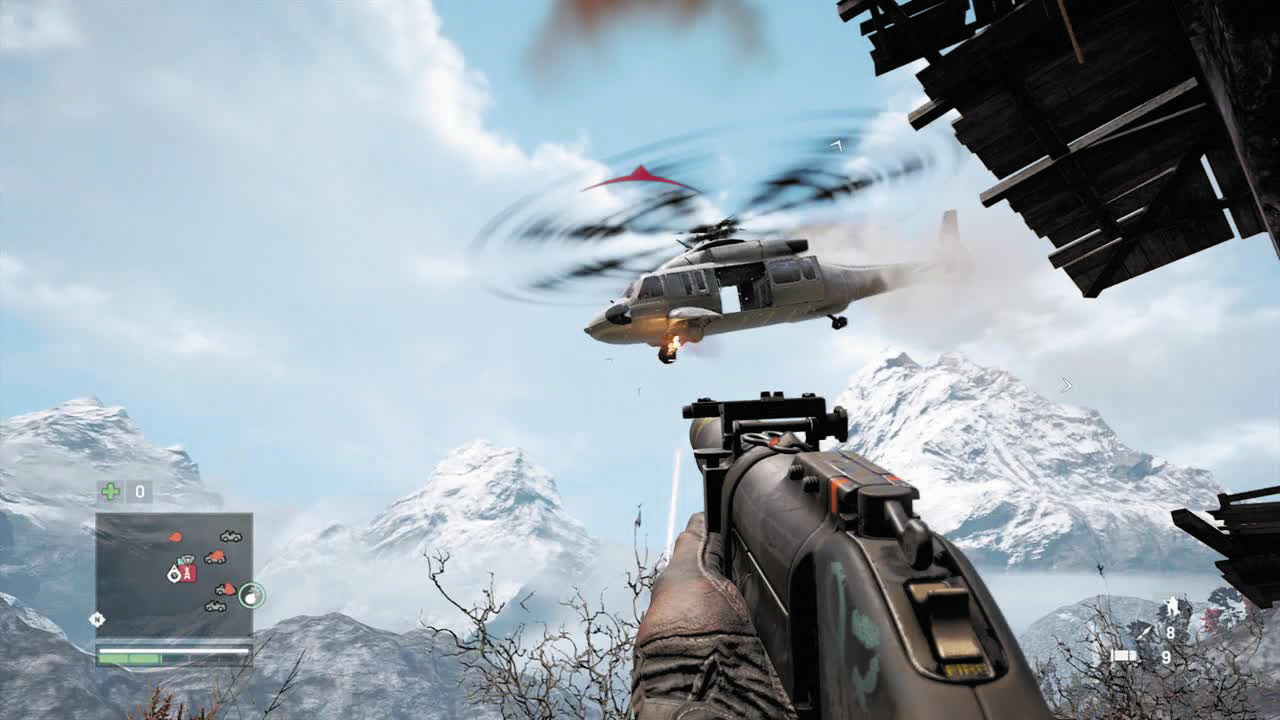
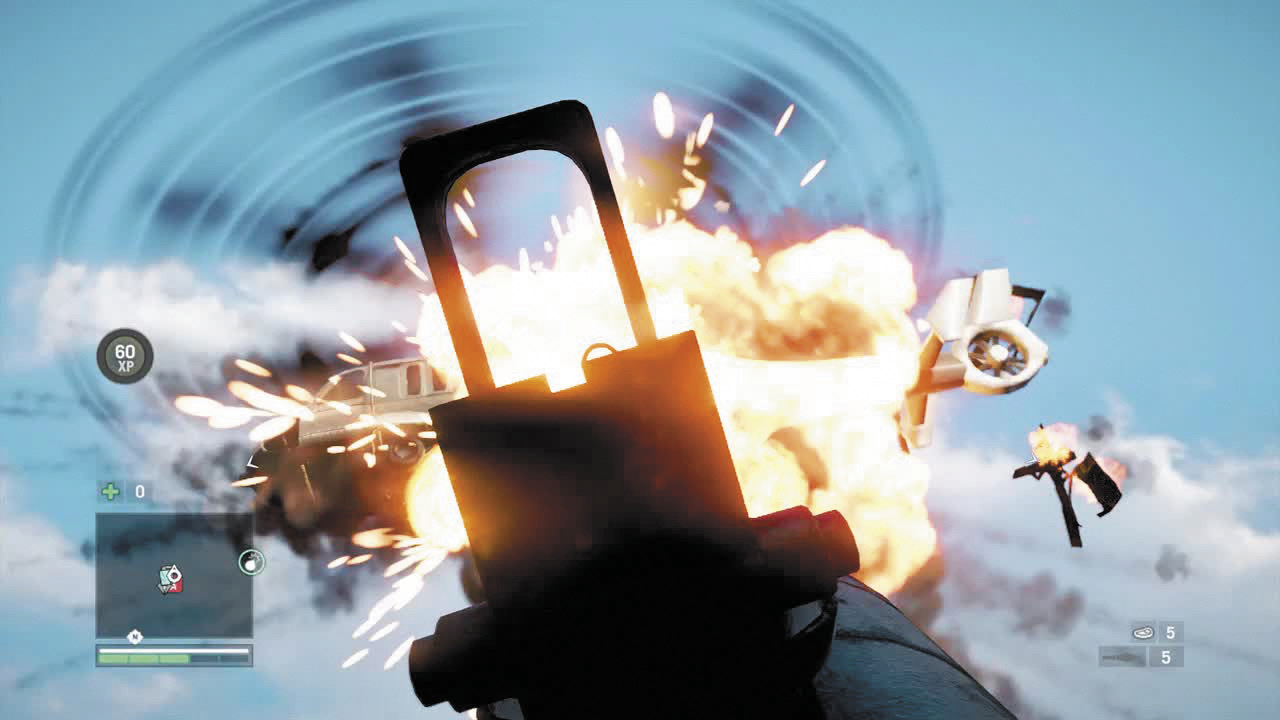
Also, a short time after you arrive, a helicopter is virtually guaranteed to appear. When that happens, break out whatever helicopter-killing device you brought along, make for the top floor and its mounted gun, or drop down to the rocket launcher and ammo crate on the 2nd floor.
1F Grapple outside to 2F (stand back a bit to get prompt).
2F Skirt roof to poster, then ramp to 3F.
3F Ledge to 4F.
4F Boxes, through tower, boxes, ledge to 5F.
5F Hop fence to ledge to 6F.
6F Grapple swing, duck, smash boxes, ledge to 7F.
7F Ledge to 8F.
8F Stairs to 9F.
9F Steps to 10F.
10F Radio and chest.
Reveals:
Ska’i Cave (x:758 y:783
Machali Village (x:777 y:771)
Garma Springs (x:773 y:737)