Outposts
If radio towers are Min’s eyes and mouth in Kyrat, outposts are his feet and fists. Every time you clear all the enemy soldiers from an outpost, you gain a new safe house (complete with bed, weapons cabinet, and fast-travel capability) and several new quests and activities. Plus, fewer of Min’s soldiers will spawn in that area from then on. In other words, you definitely want to liberate outposts.
Exactly how you accomplish that task is up to you. In this section, we’ll give you a map of every outpost, point out some of each location’s tactically relevant features, and offer tips and suggestions. But your options are wide open. If you want to go stealth, go stealth (it takes longer, but you’ll get more XP). If you want to charge in with guns roaring, do that. If you’d rather lay a wagonload of mines and play the “lone gunman on a hilltop” role, that’ll work, too. Think of this section as us giving you the paints and brushes. It’s up to you to paint your own unique masterpiece.
Outpost Master
Sure, you may have beaten an outpost. But did you master it? Or can you get even faster? Or smoother? Or sneakier? That’s where Outpost Master comes in. It’s a repeatable side activity that enables you to replay any outpost, any time. Just go to the outpost you want to challenge and follow the Outpost Master icon (a flag) to that outpost’s burned-out campfire. The “mission accept” screen should rise from the ashes and get you rolling. Outpost Master activities don’t give you XP, but they’re a great way to earn extra rupees.
Outpost Retaliation
The battle isn’t necessarily over once you’ve liberated an outpost. If the fortress in the area is still under enemy control, it may respond with an Outpost Retaliation attack. When you get a message this is happening, head to the nearest outpost to repel it. The more enemies you kill, the more XP you get.
Barnali’s Textiles
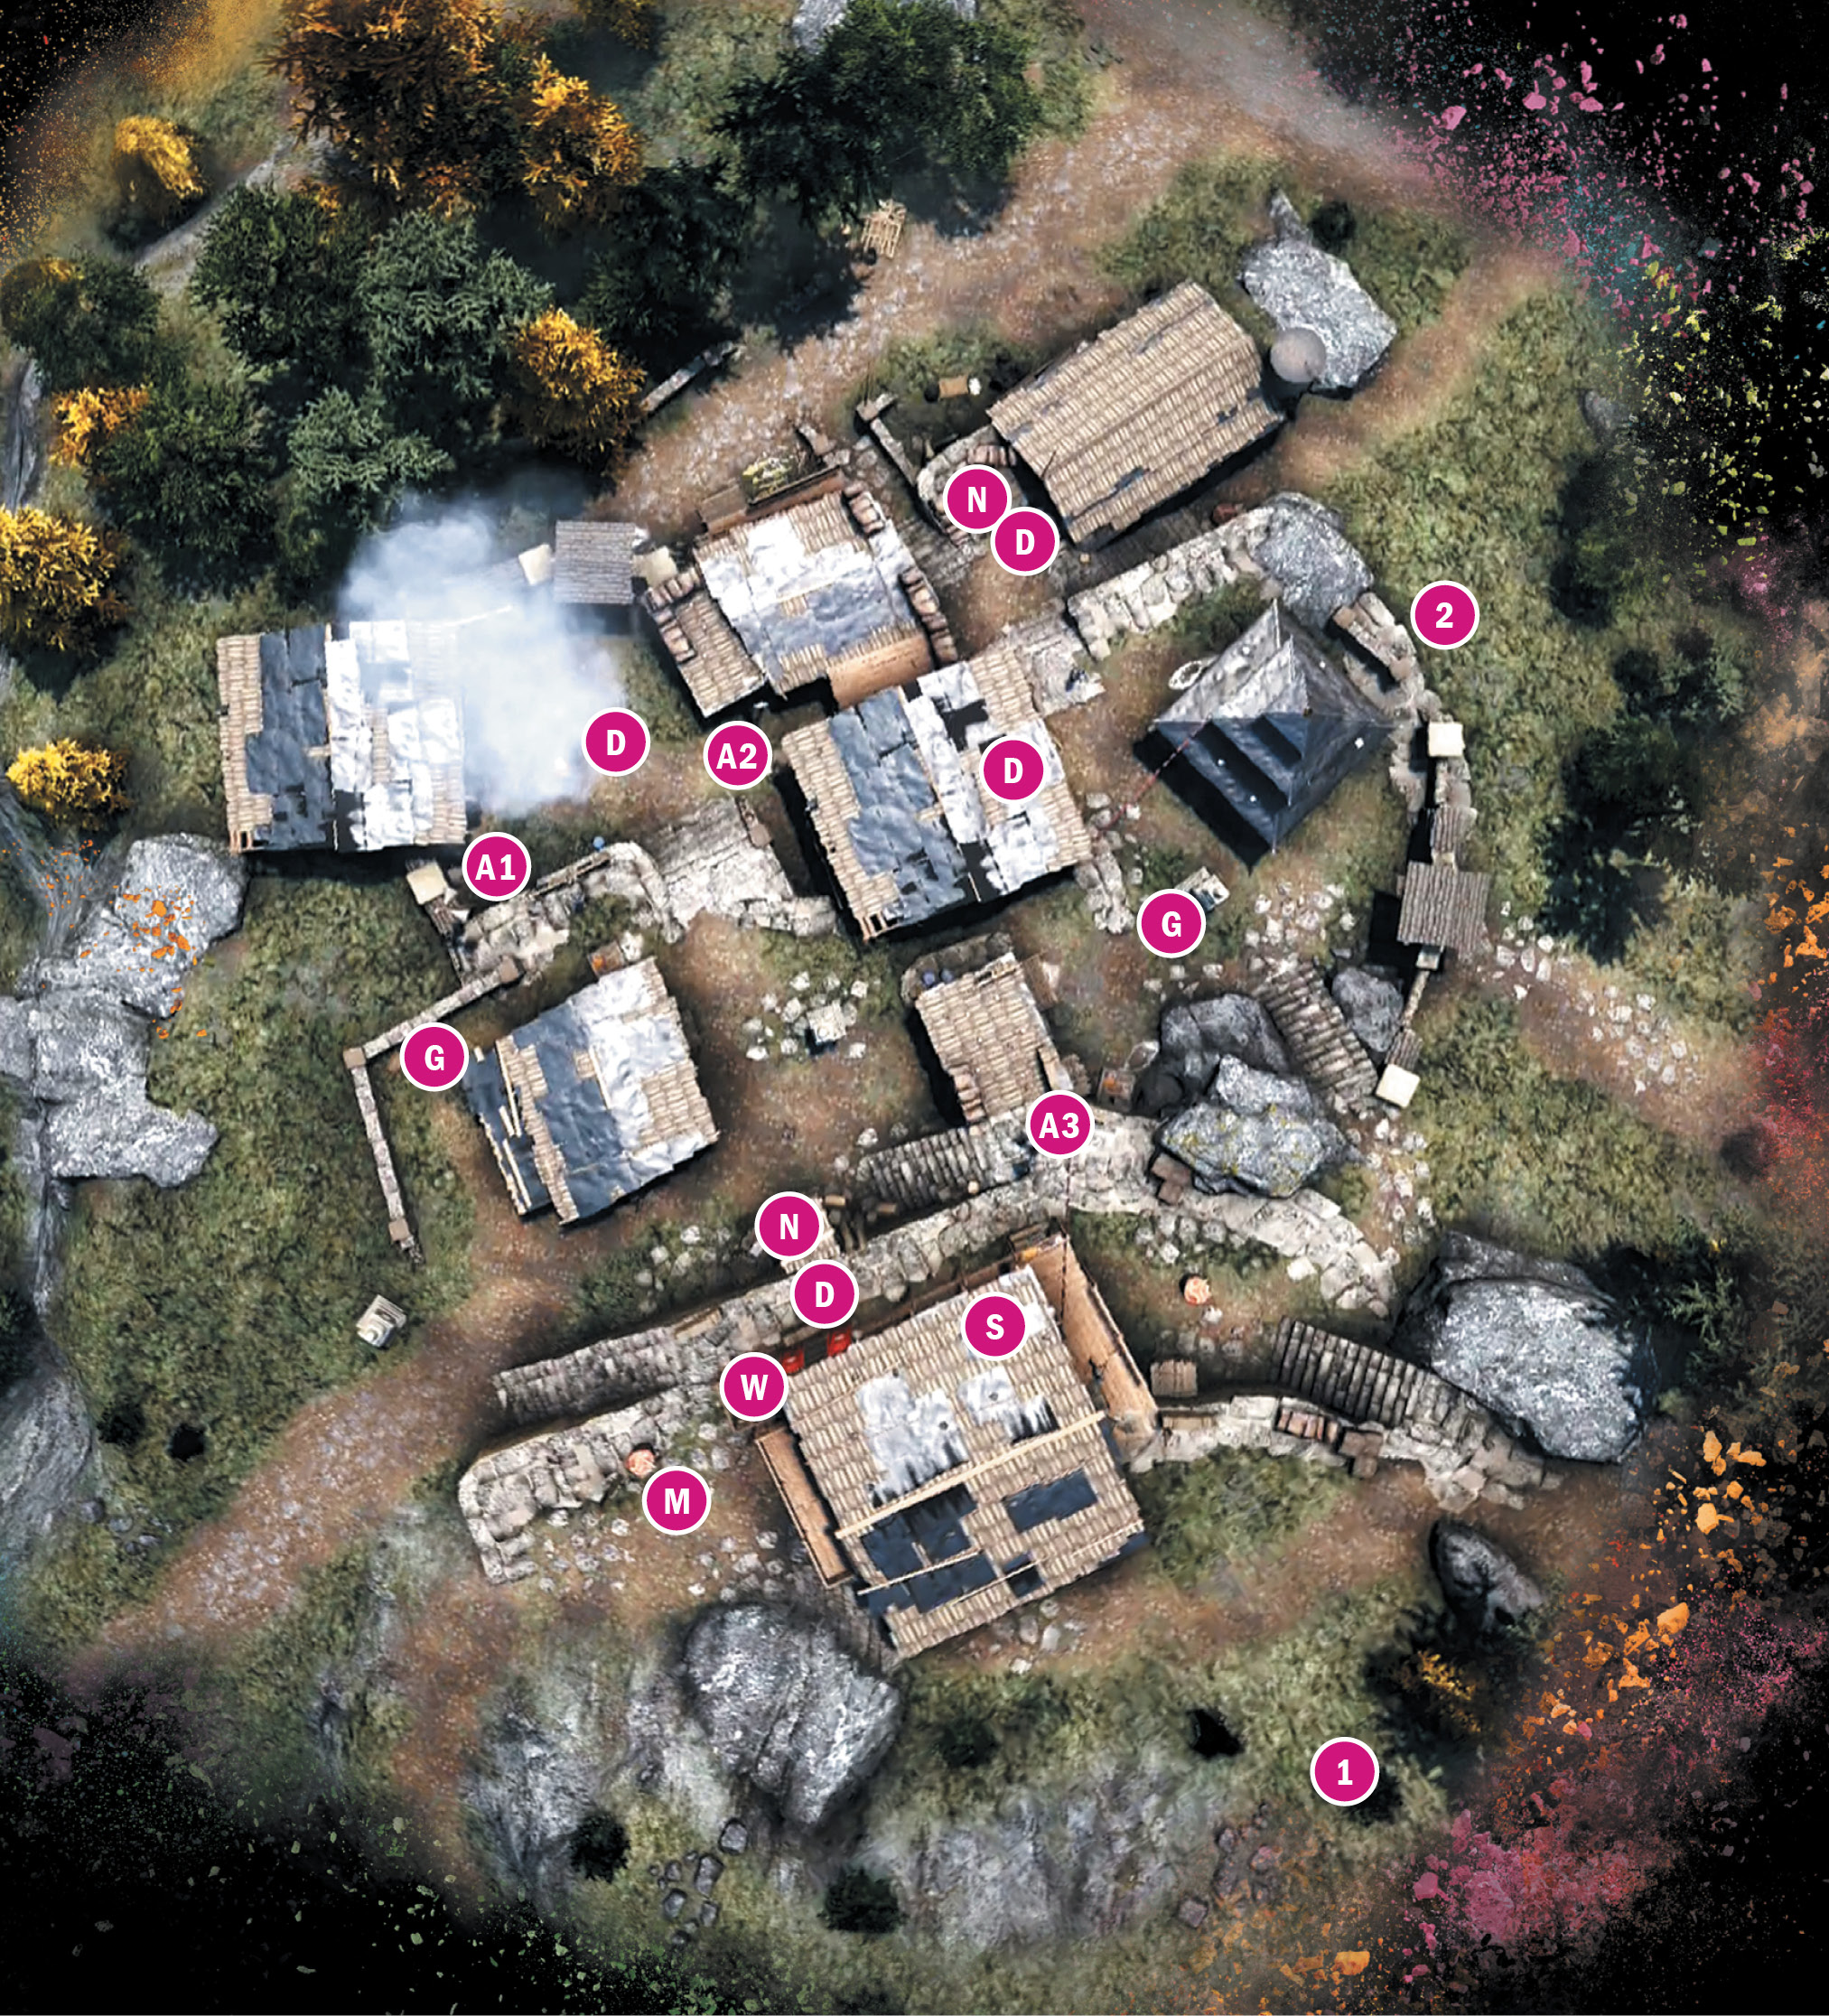
Location: x:446 y:687
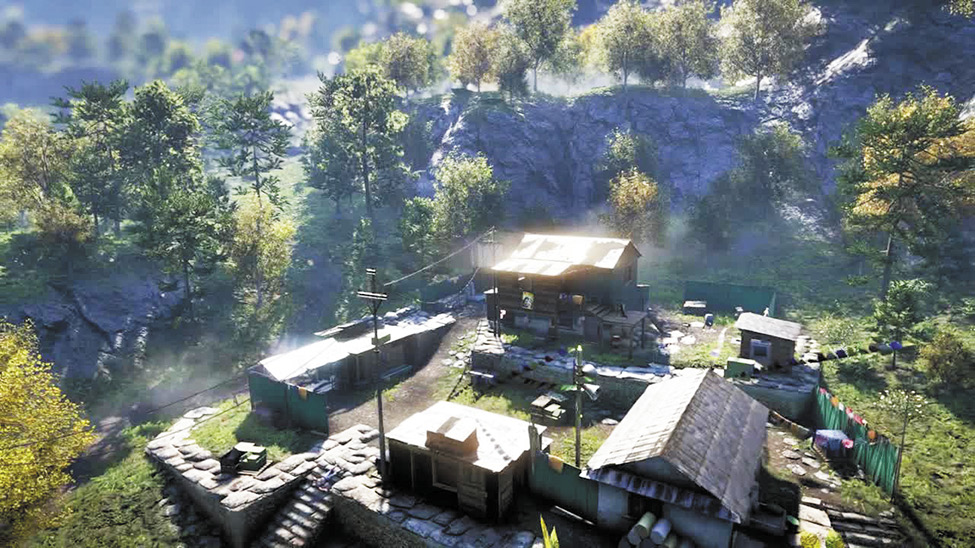
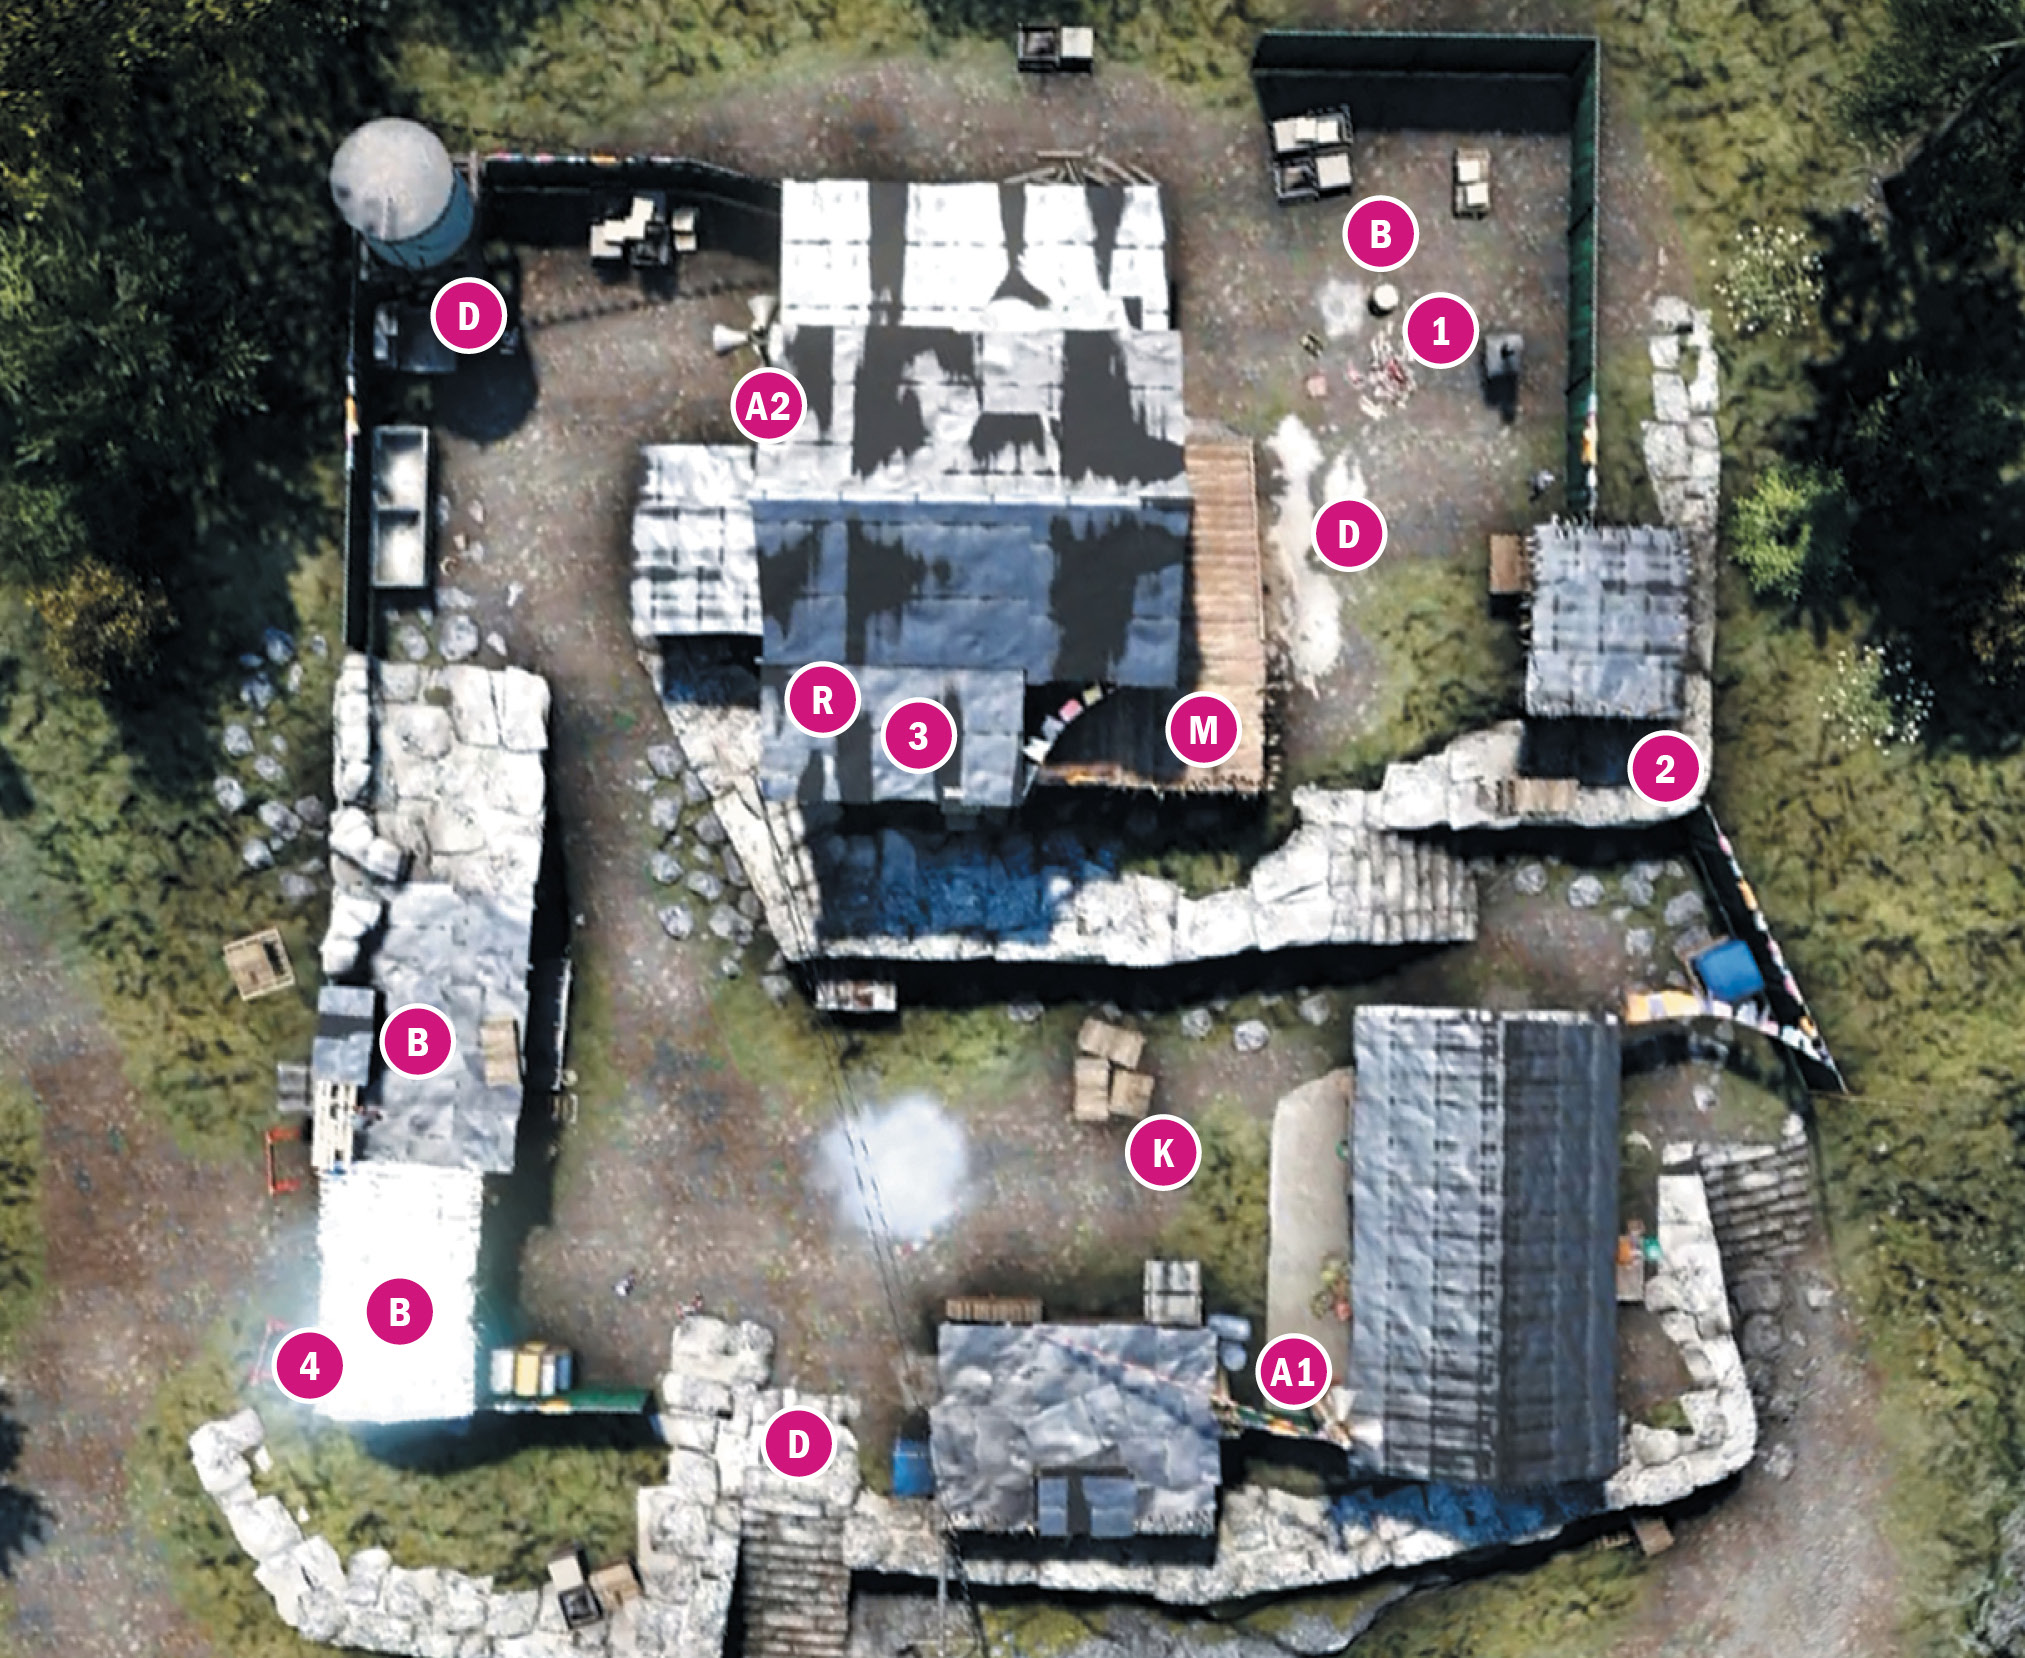
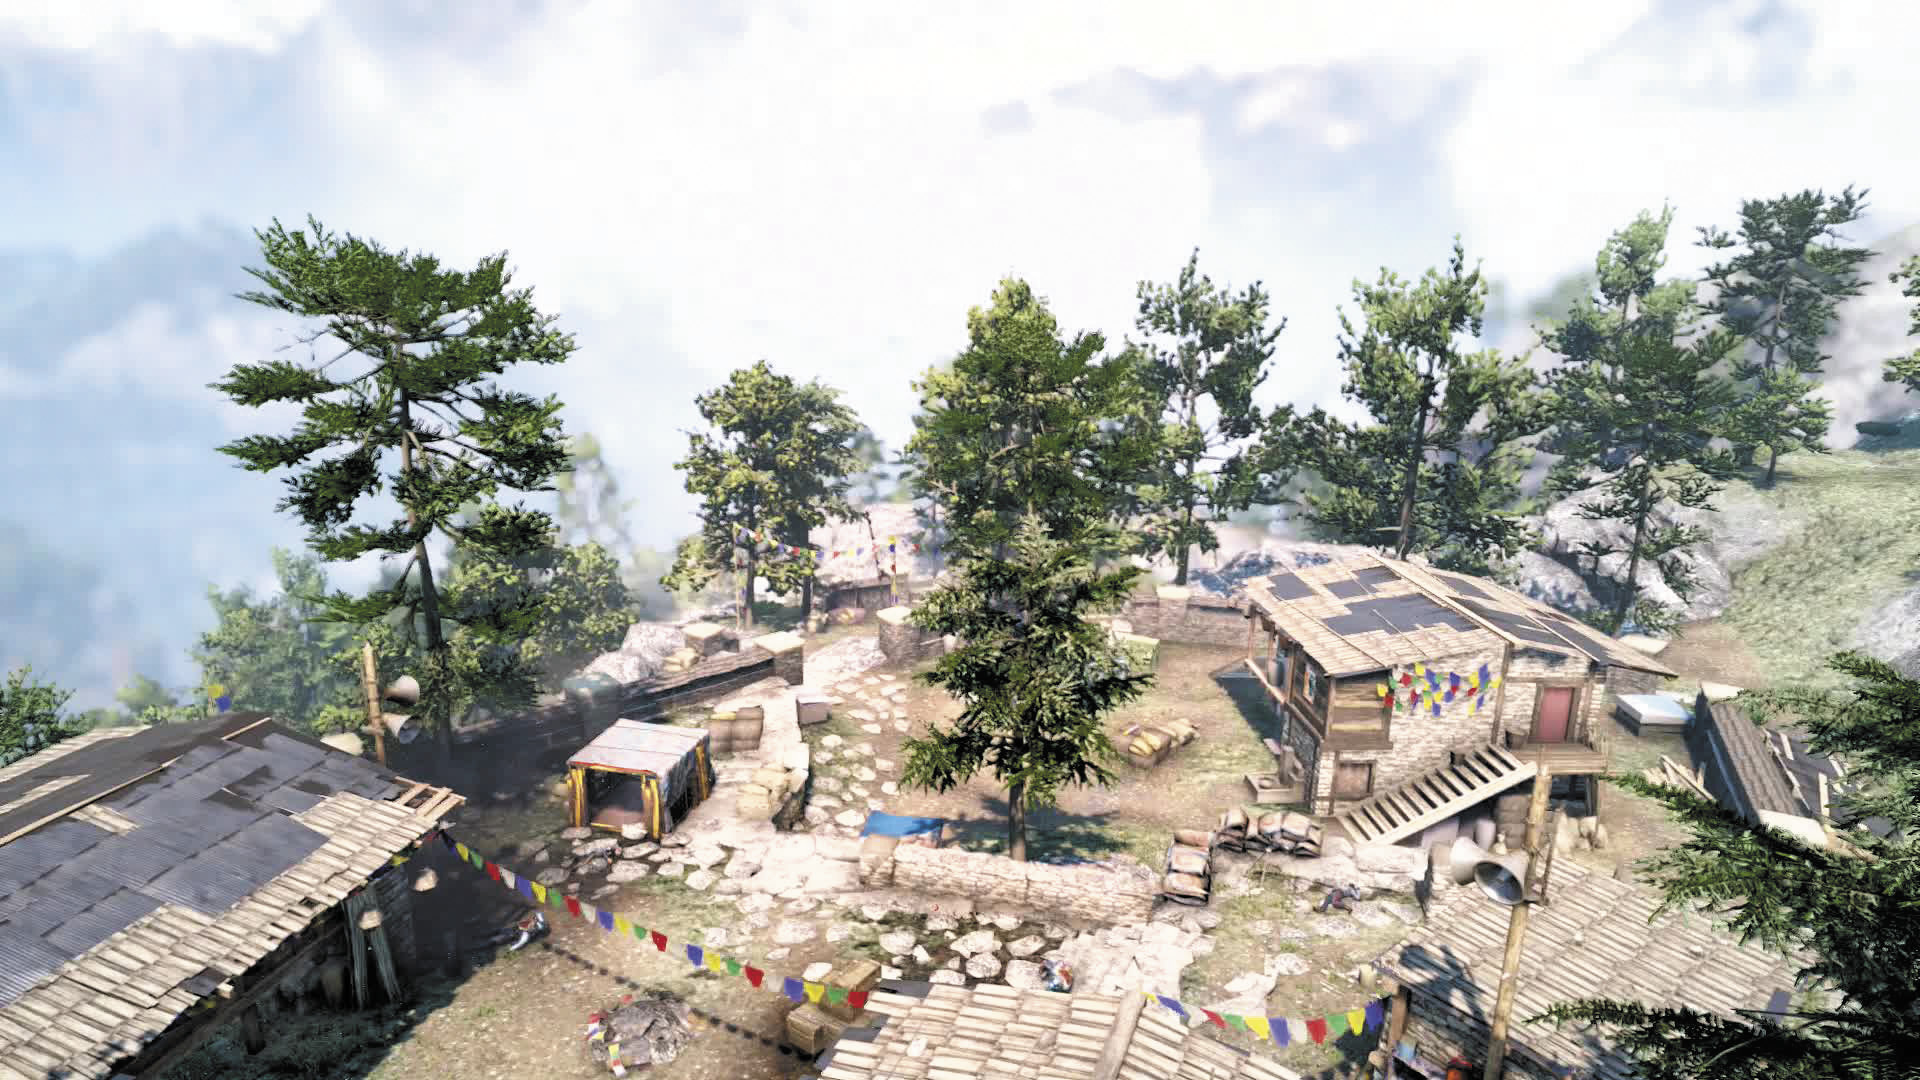
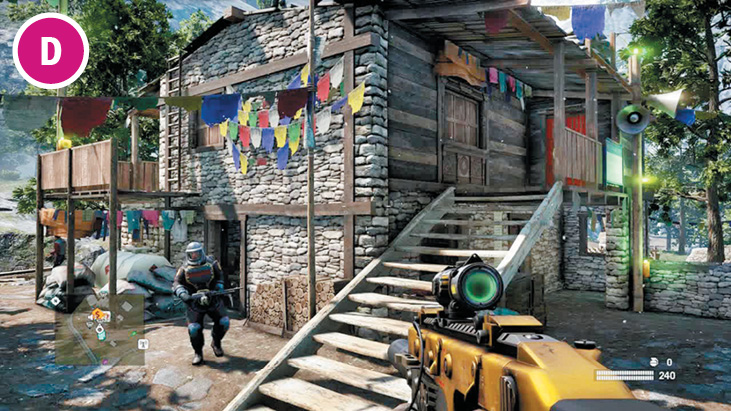
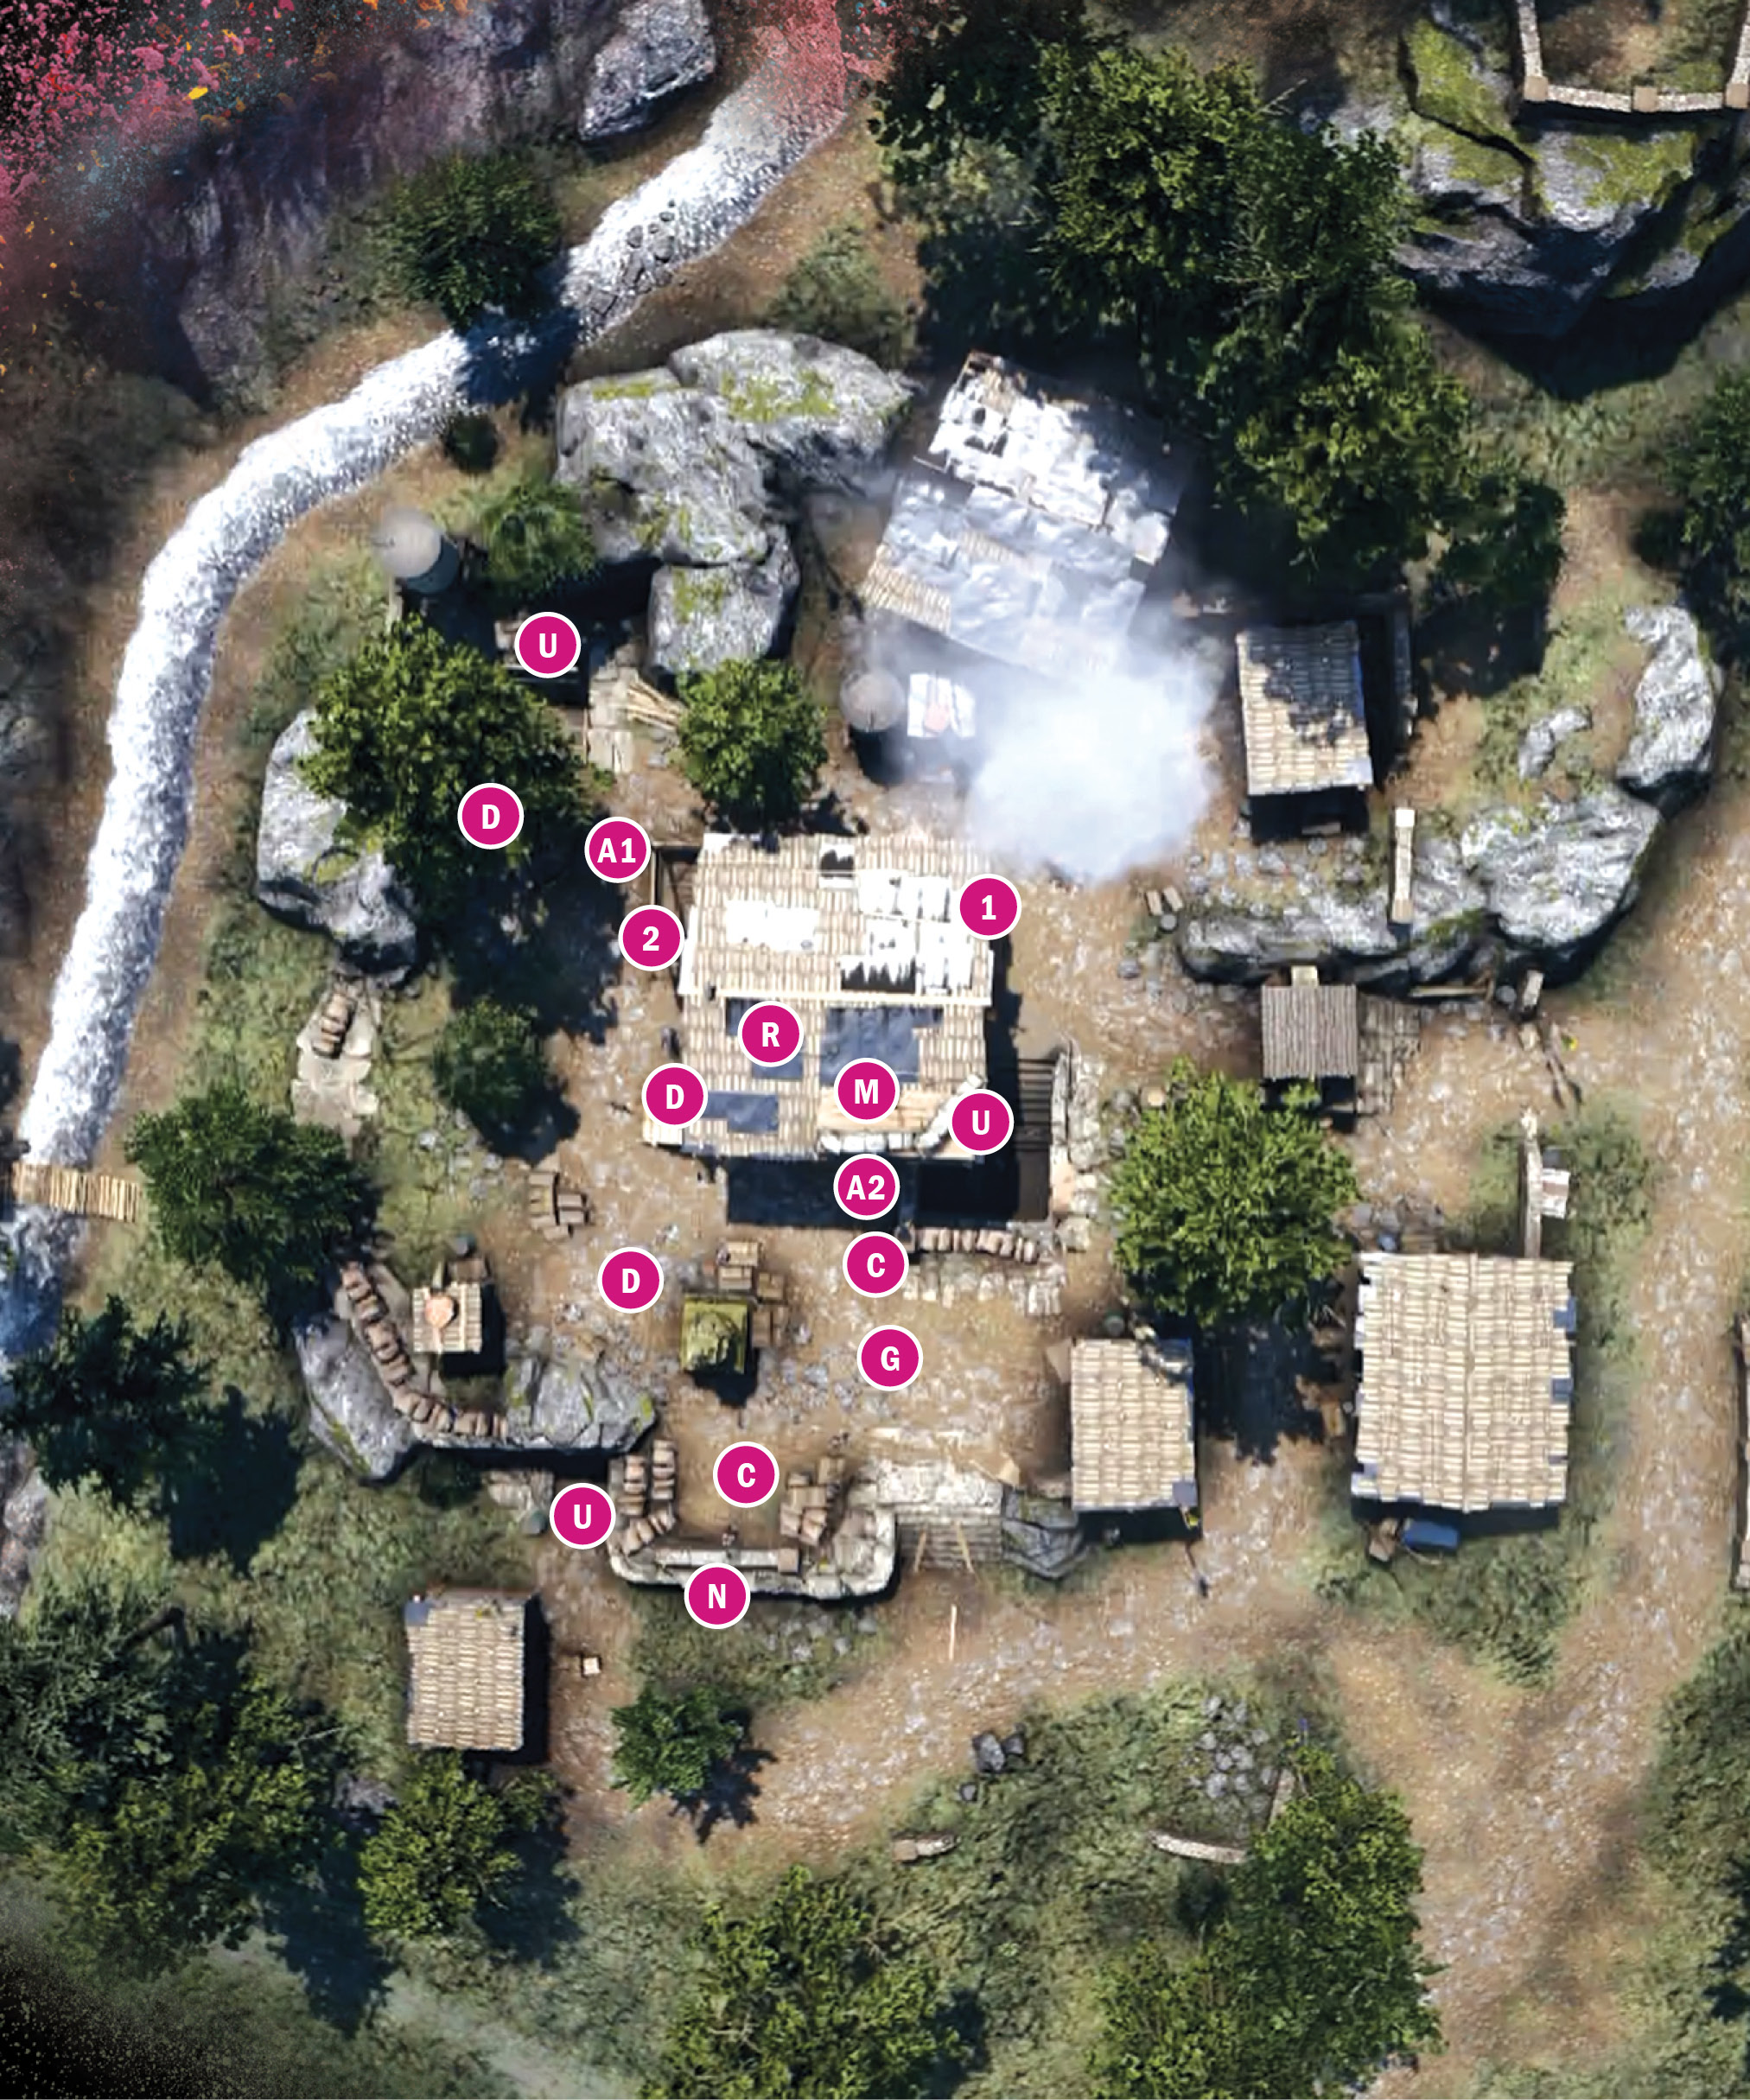
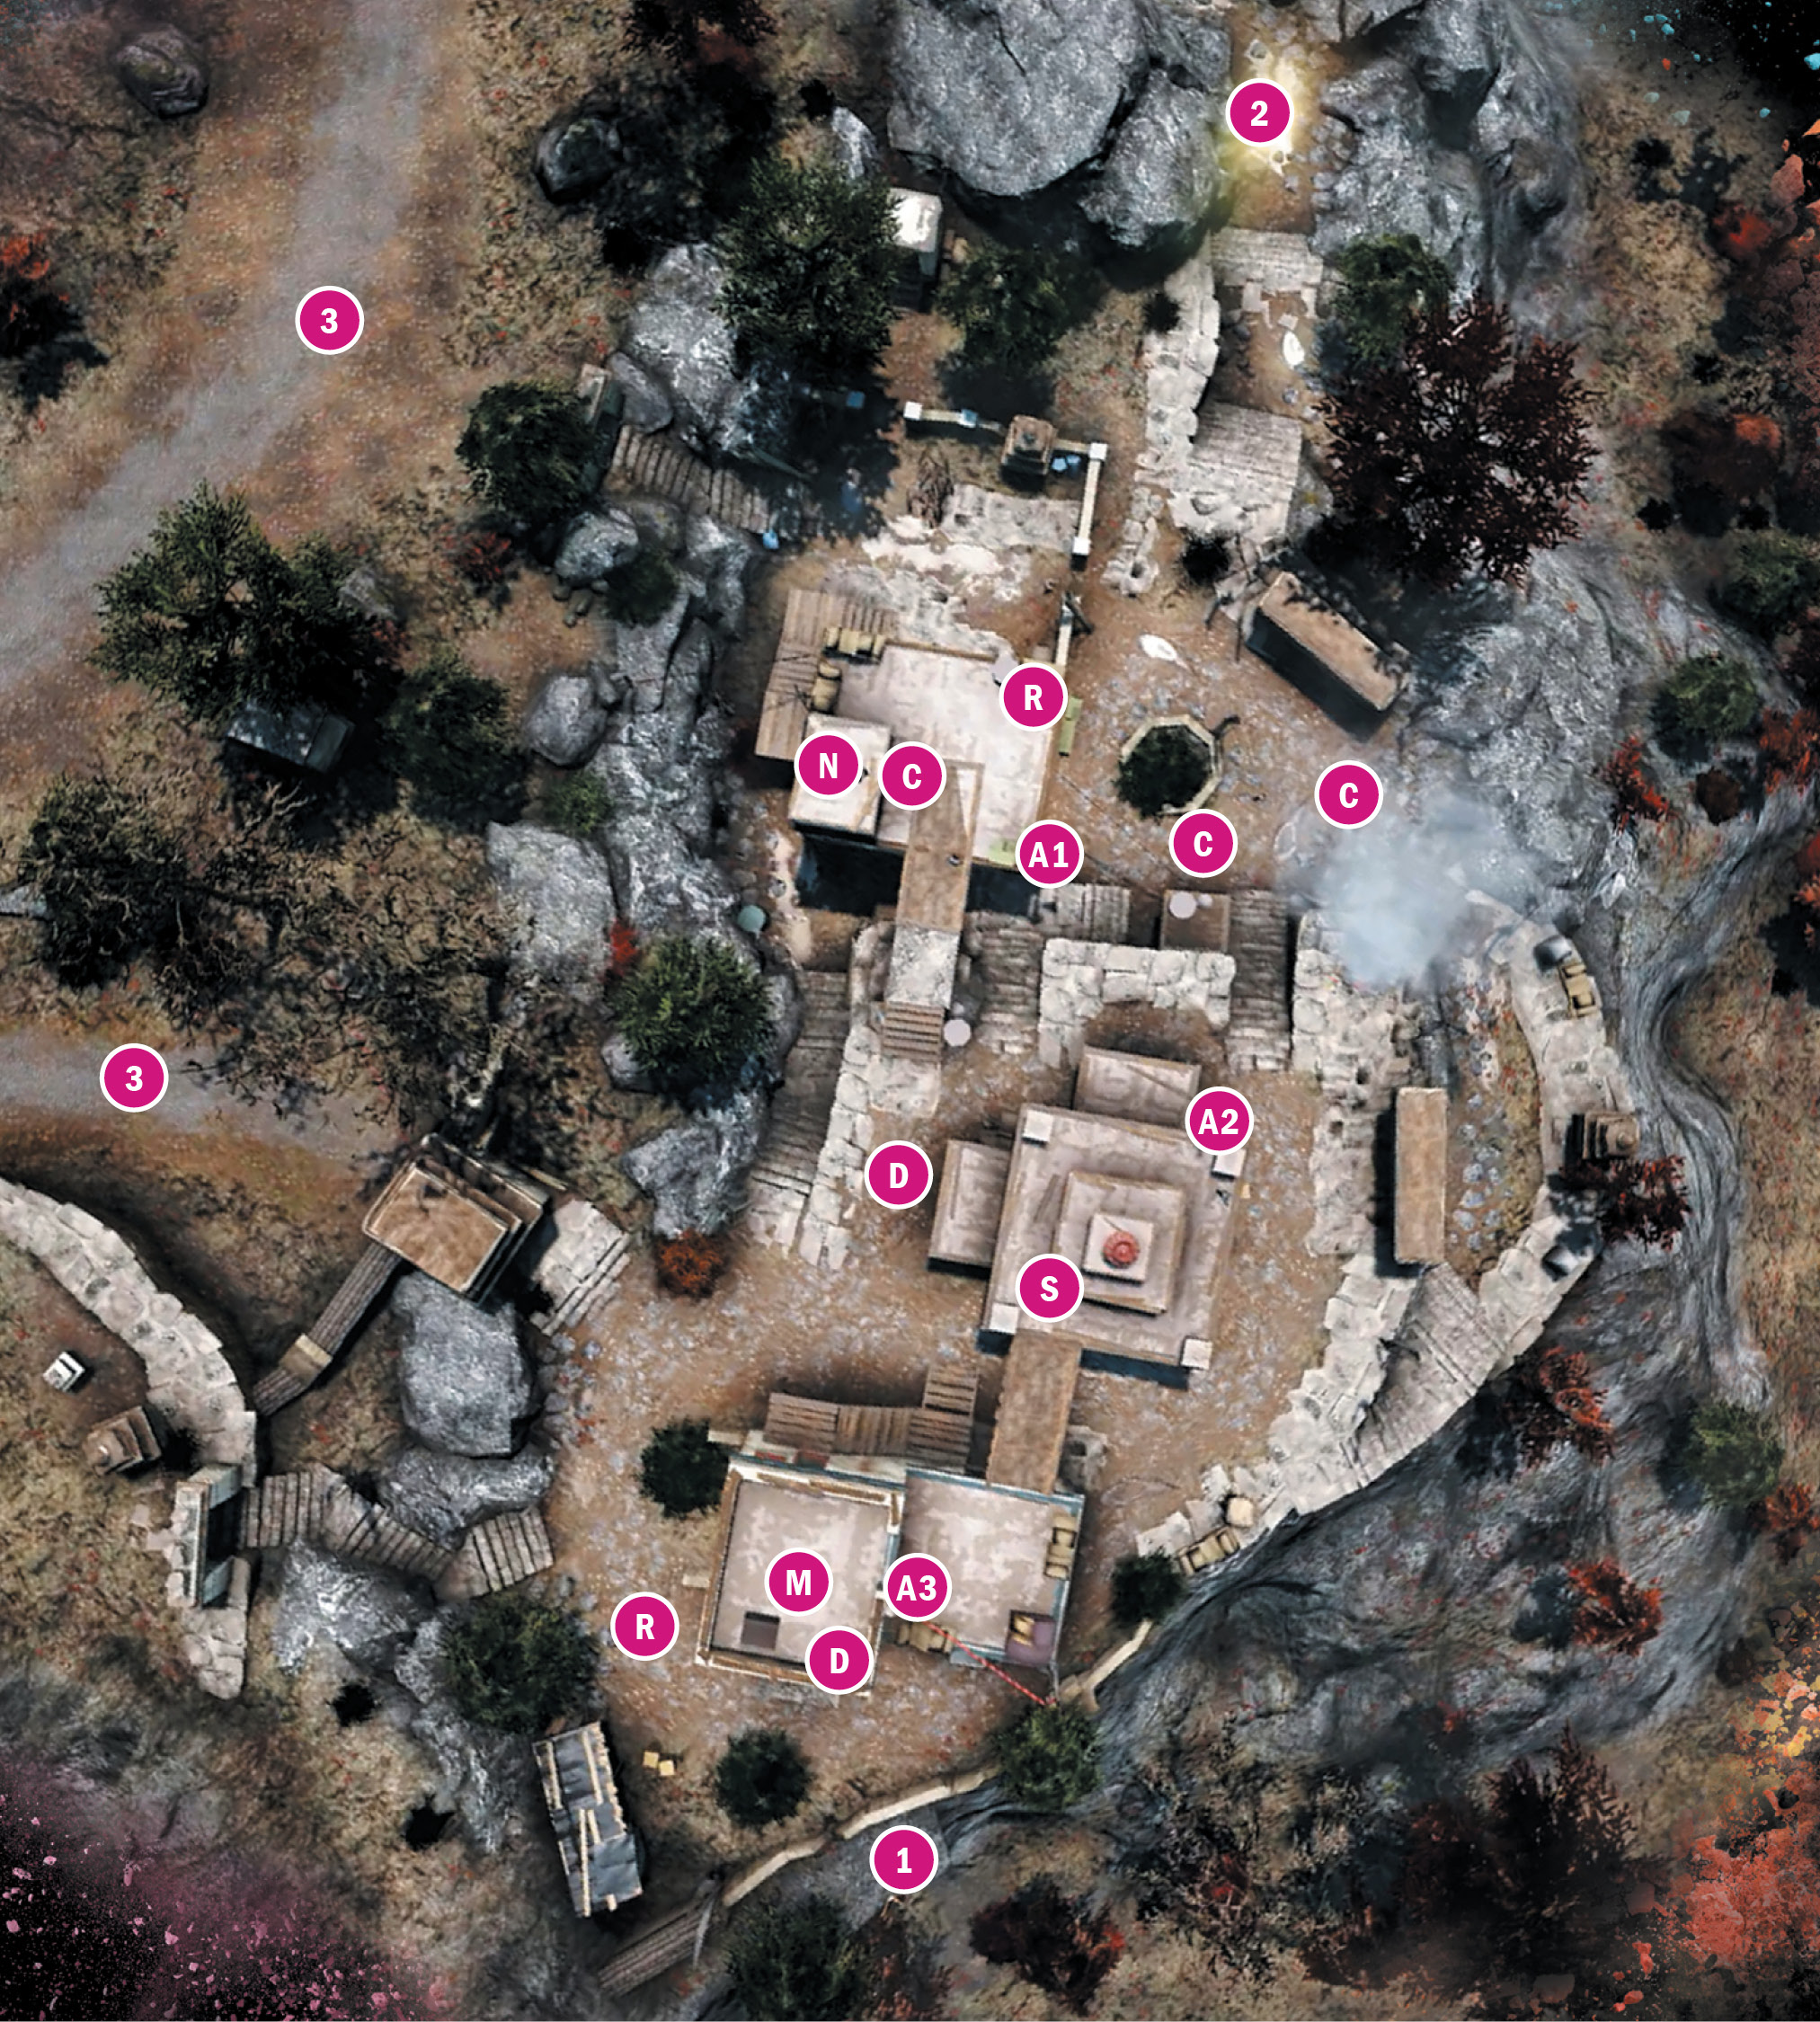
One of the smaller and simpler outposts, Barnali’s is centered around a single house, which is easily the tallest structure on the map.
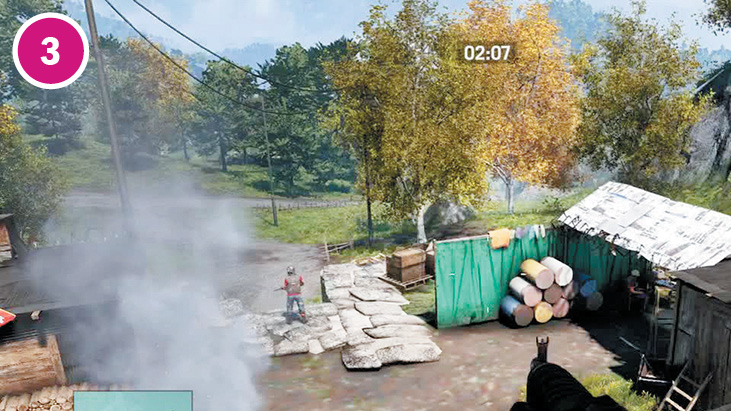
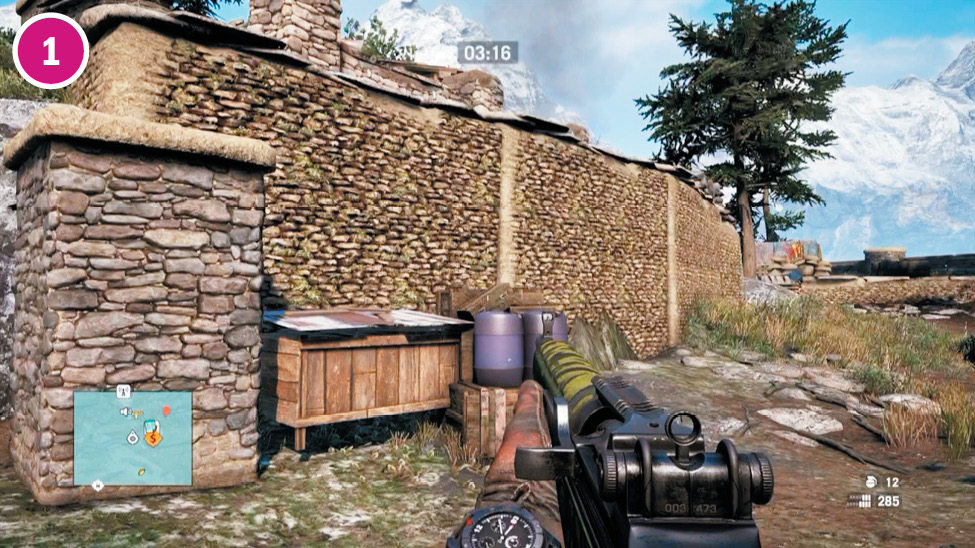
Stealth not a priority? Aim for the barrel.
Get inside the house for some stealthy sniping opportunities. But be aware the rocketeer usually hangs out at the top of the stairway during the daytime.
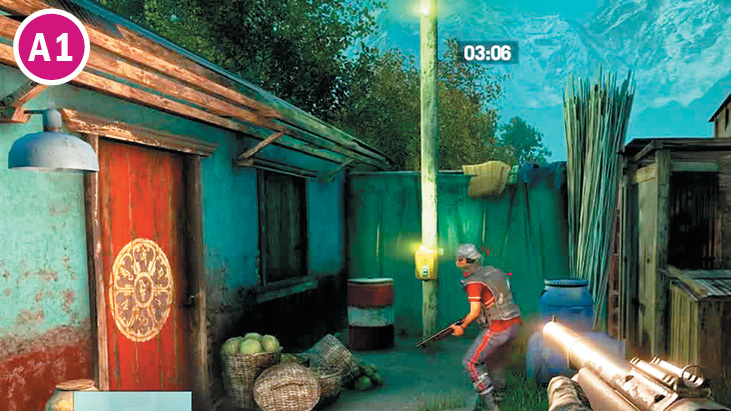
Skirt around the west side and you can snipe alarm A2 and enter the house’s open north door. Just make sure to sneak up on the berserker hanging out in the southwest shed, and check the adjacent shed’s roof for his buddy.
Notes:
 Reinforcements on this map come from the south.
 Remember, everybody moves. The rocketeer often visits the east-side berserker at night, the attack dog bounces from his digging spot to the east wall, and the berserker on the west wall sometimes visits the defender at the stairs. Minimize surprises by tagging everyone before you enter the camp, and especially watch for them to fall asleep, take a bathroom break, or pause to fix the alarm.
 The dog sometimes takes up position on this raised area to the east. Wherever he is, stealth players will want to take him out early so he can’t alert the rest of the camp. But keep in mind, you can’t hide his body. Use thrown bait to pull him into a secluded area (say, beyond the eastern fence), where his corpse won’t be noticed.
Barnali’s Textiles

 Alarm
Alarm
 Berserker
 Defender
 Attack Dog
 Mortar
 Rocketeer
Note: Enemy locations on map are approximate. Enemies often roam or go on rounds. Always scout ahead.
Bhirabata Outpost
Location: x:533 y:810
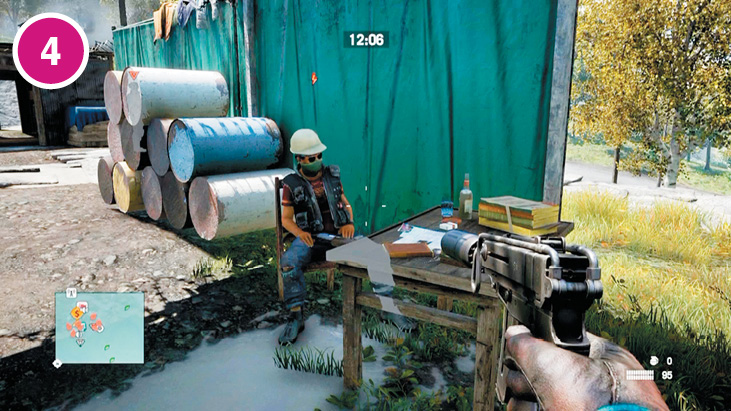
Bhirabata is a split-level outpost with a healthy complement of heavy flamers on one side and snipers and ordnance on the other.
You can actually climb up the wall right at the entrance. Then follow the wall east and disable alarm A1 without anyone seeing. Then take out (in order) both snipers, the roaming heavy flamer, and the defender near the bear and alarm A2, and the whole top level is yours.
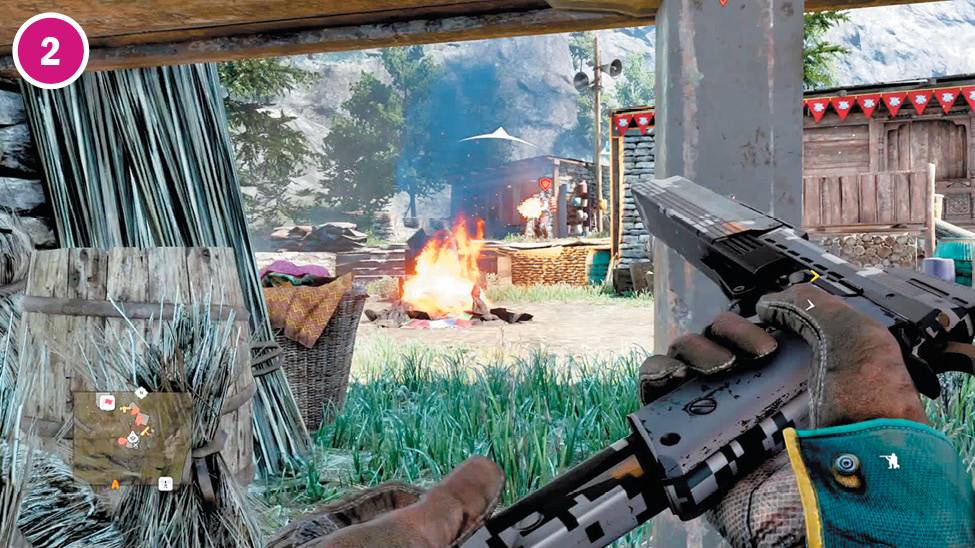
The open crawlspace under this hut offers both cover and a great way to sneak up on someone like the roaming heavy flamer.
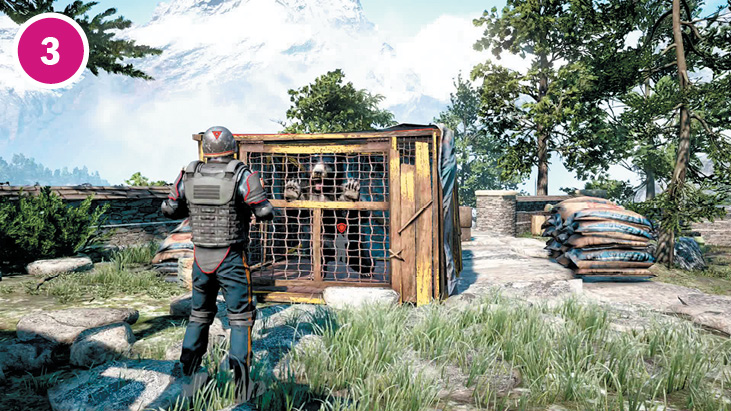
With no hunters guarding this base, that caged bear is your weapon, should you choose to use him. The defender near him never leaves.
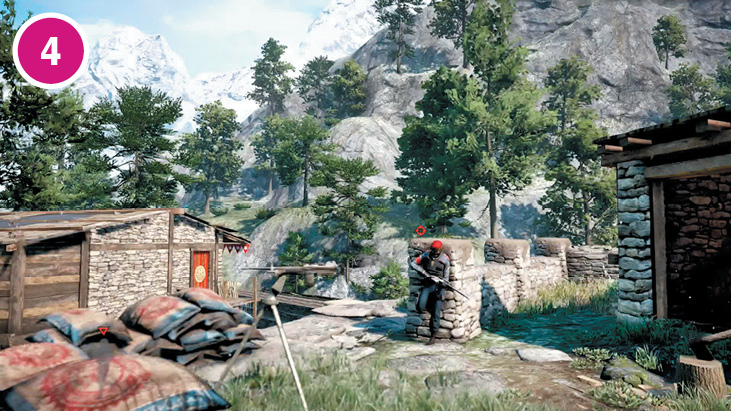
It’s easy to miss the sniper who usually leans against the wall here. Don’t. Because he’s not likely to miss you. The cabin to the north provides good cover to take him down and stash his body.
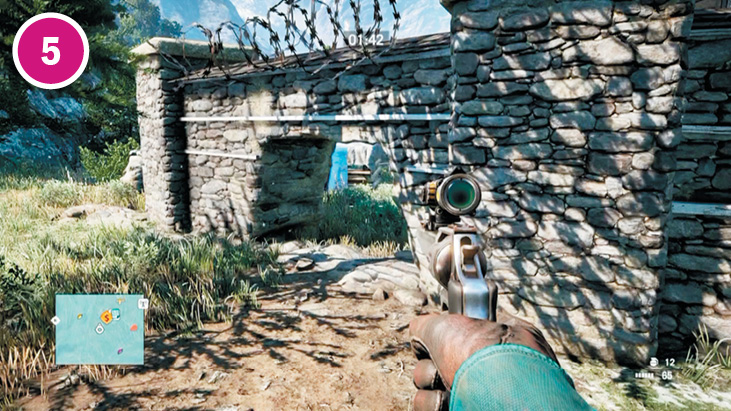
The gap in the wall’s northeast corner can provide stealthy access into the compound.
Notes:
 The first wave of reinforcements on this map comes from the west. The second wave is a pair of helicopter gunships.
 Lots of motion on this map. The heavy flamers and one of the defenders roam all over the camp’s west side.
 The mortar on the east side can hit most of the western half of the map.
 The eastern half of the camp is a full story higher in elevation than the west. Use this to your advantage and clean out the east (and its alarms) before the chumps to the west know what’s happening. Then you can use the machine gun nest to its full potential without worrying about anyone shooting you in the back.
Bhirabata Outpost

 Alarm
Alarm
 Defender
 Heavy Flamer
 Mortar
 Machine Gun Nest
 Sniper
 Bear in cage
Note: Enemy locations on map are approximate. Enemies often roam or go on rounds. Always scout ahead.
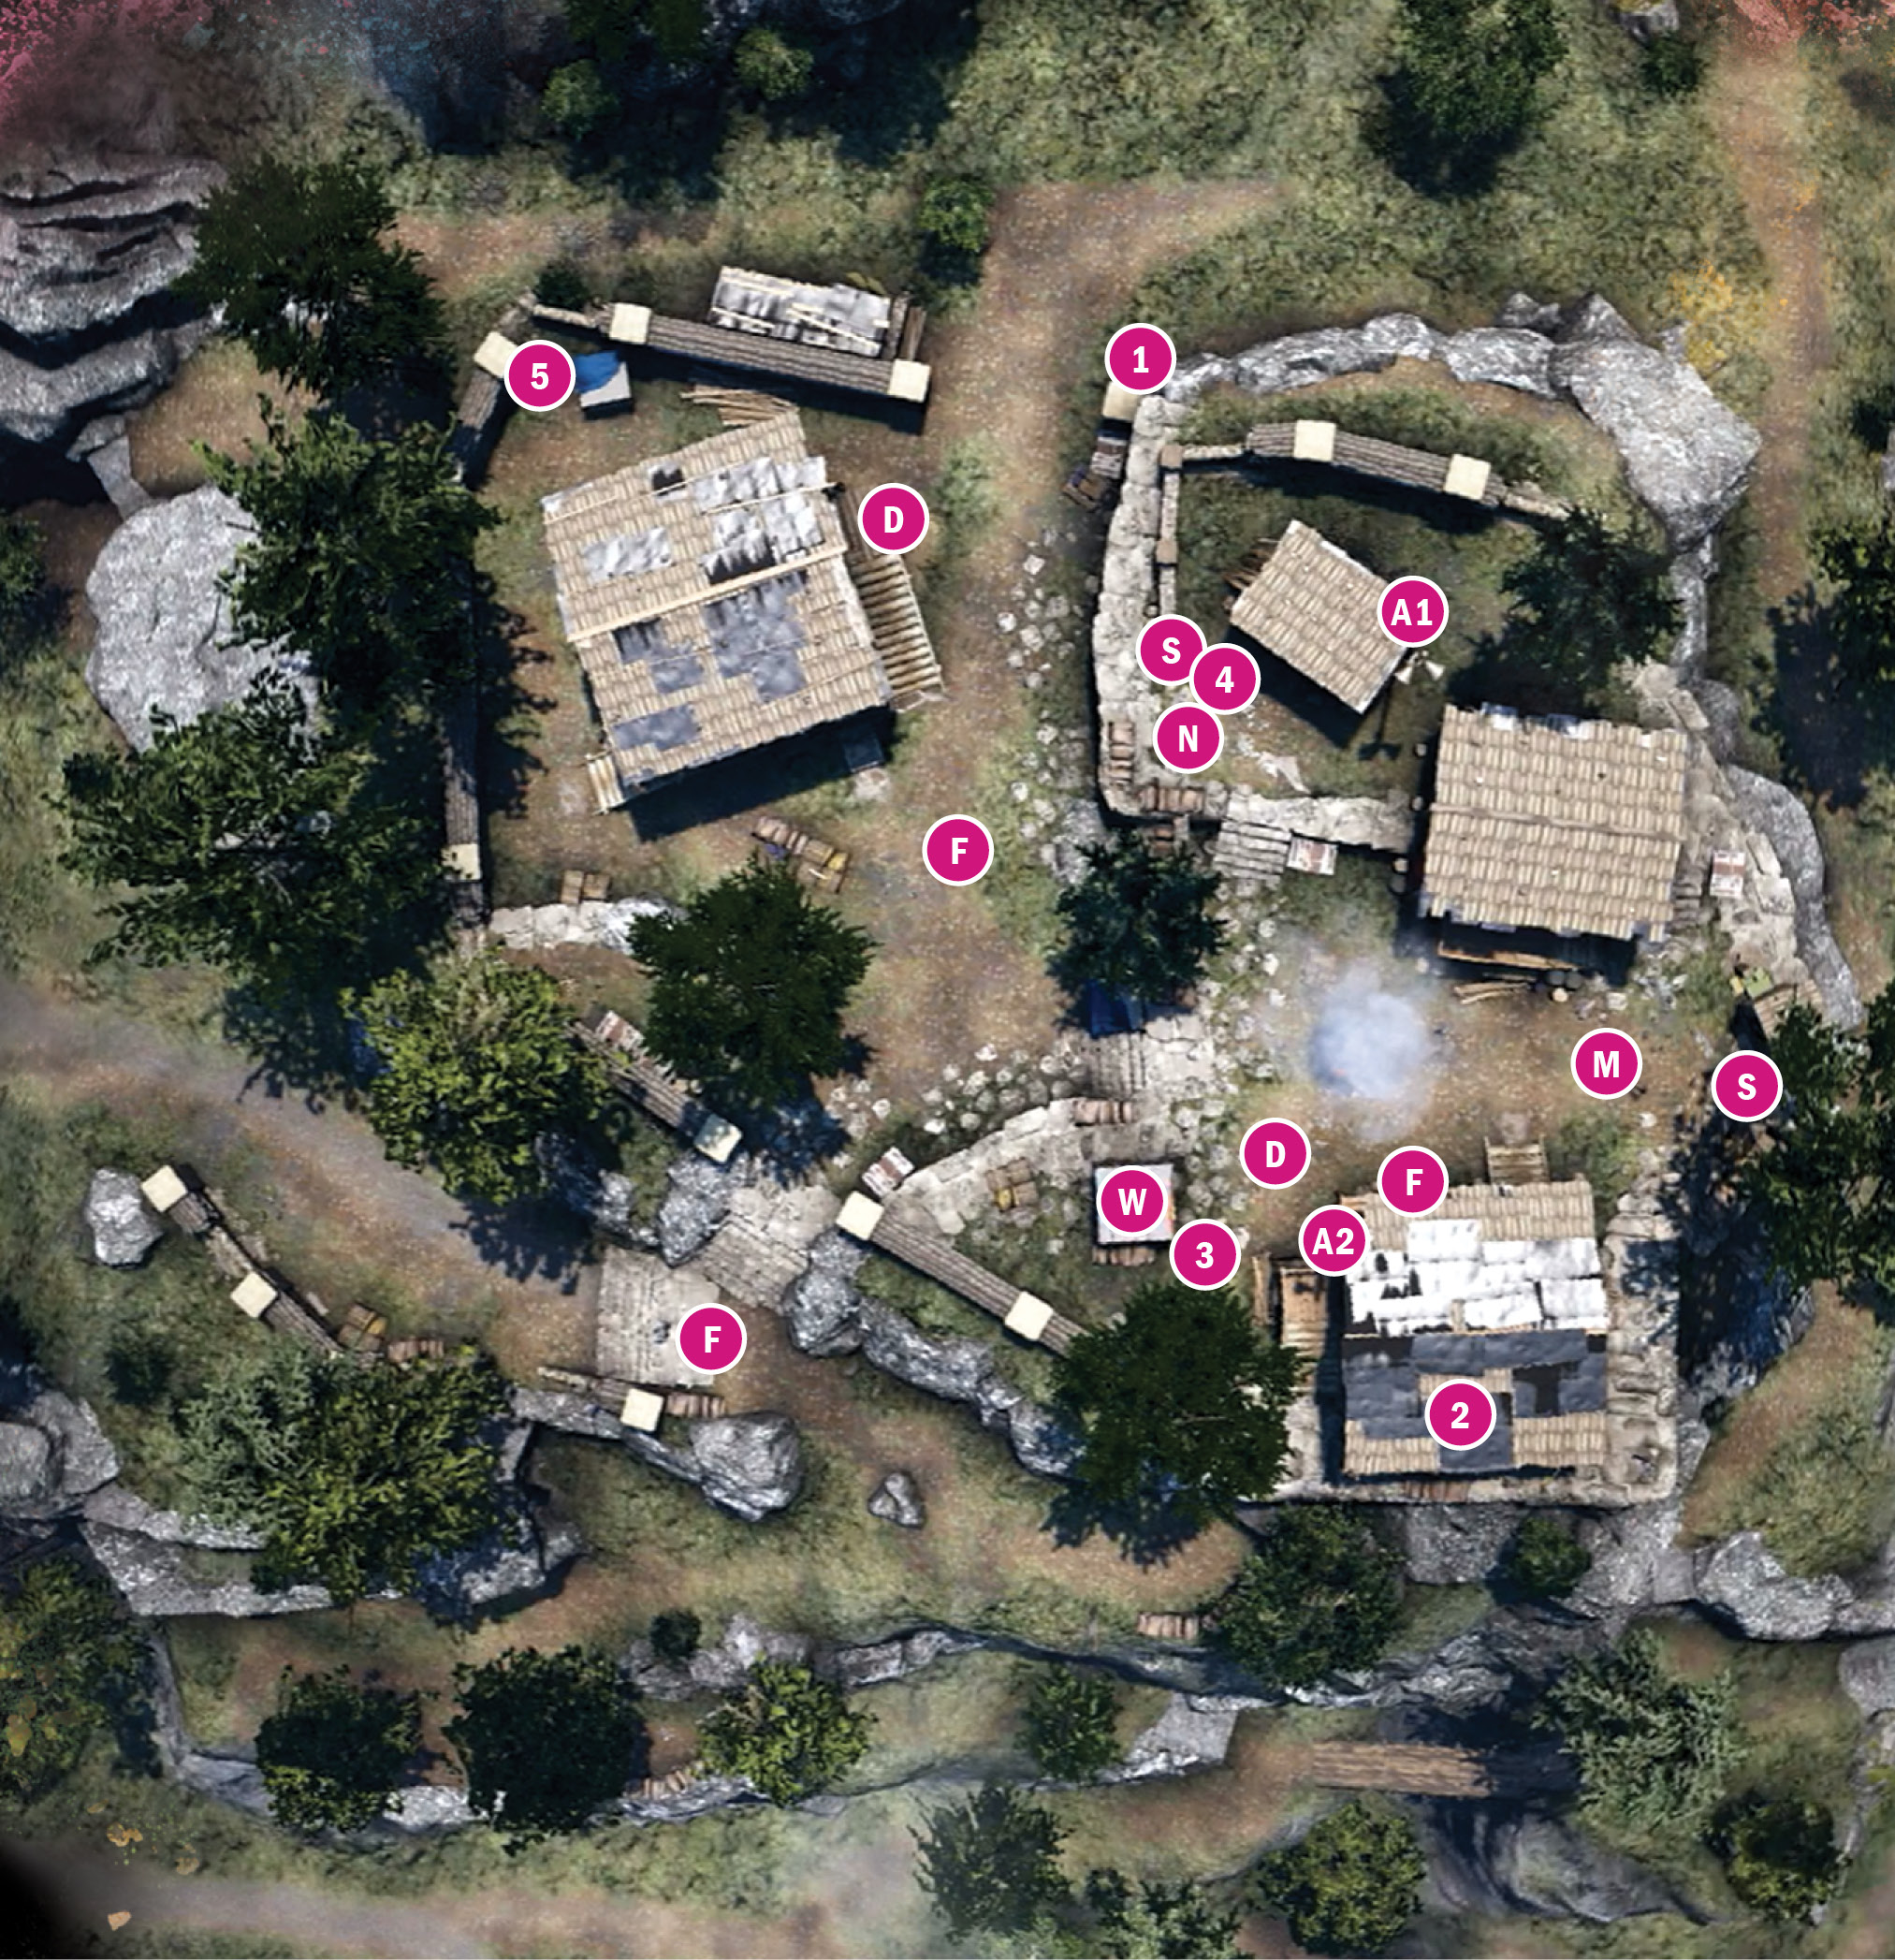
Border Observation Post
Location: x:810 y:665
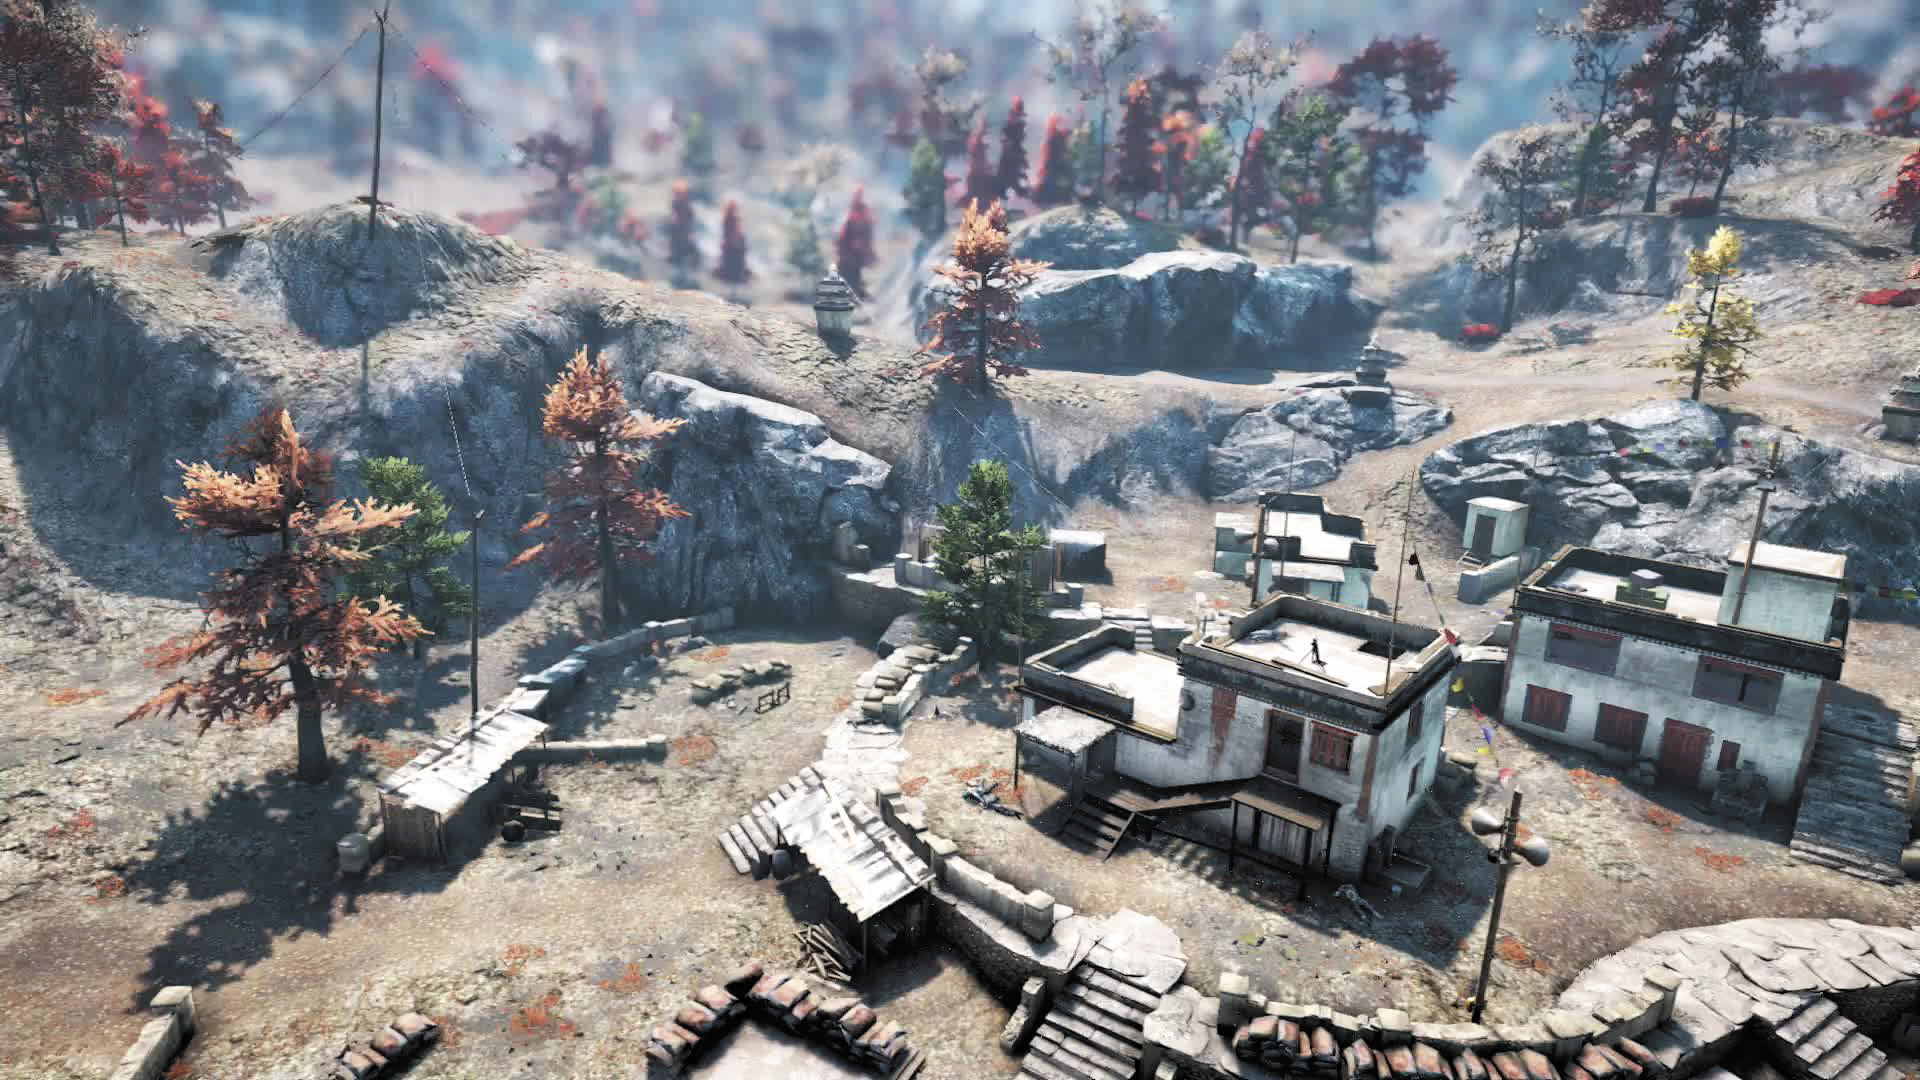
Few outposts are as spread out as this broad cluster of buildings, which is protected by rocketeers, mortars, and no fewer than three alarms.
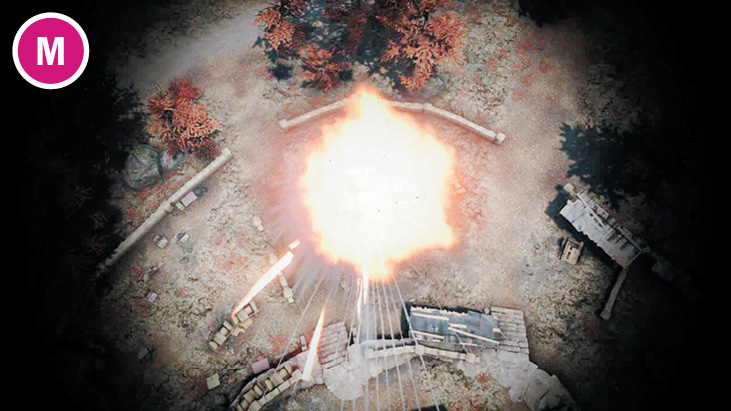
The mortar here can hit just about any place in the camp, including the rooftop with the mounted grenade launcher.
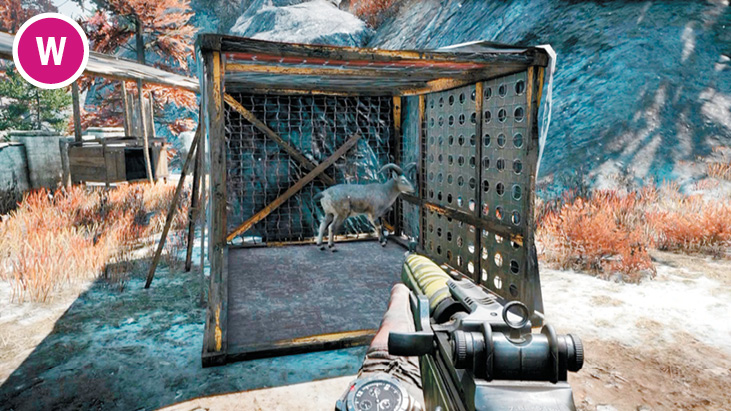
Don’t get too excited when you see the animal cage in the northwest. Unless the bharal inside is way more vicious than he looks, it’s a non-asset.
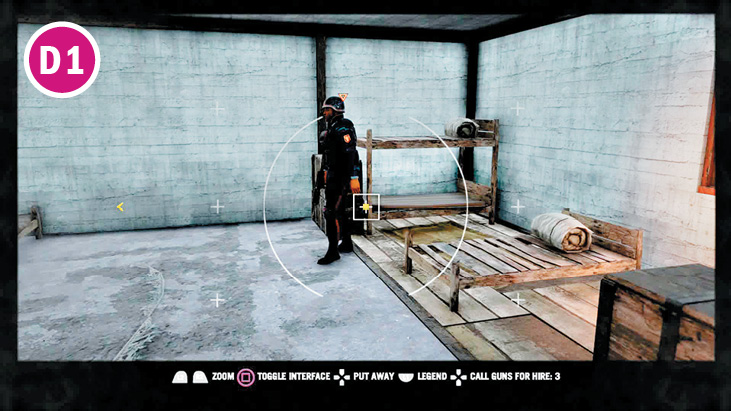
Stay alert for guards hiding in the cool interior, rather than baking out in the hot sun, in both alarm houses.
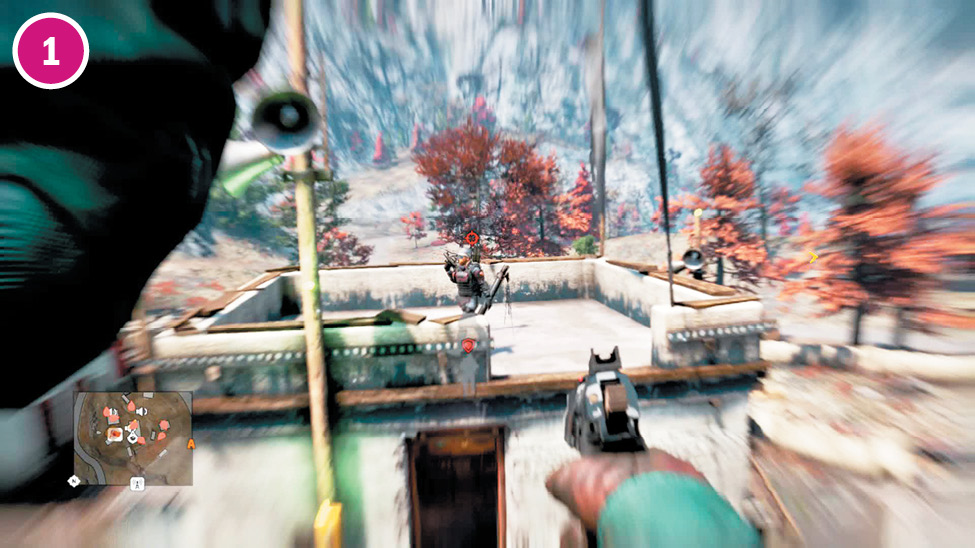
The zipline in the northwest drops you on the rooftop right beside A1, but just out of sight of the rocketeer on the level above. Is there a more perfect stealth insertion?
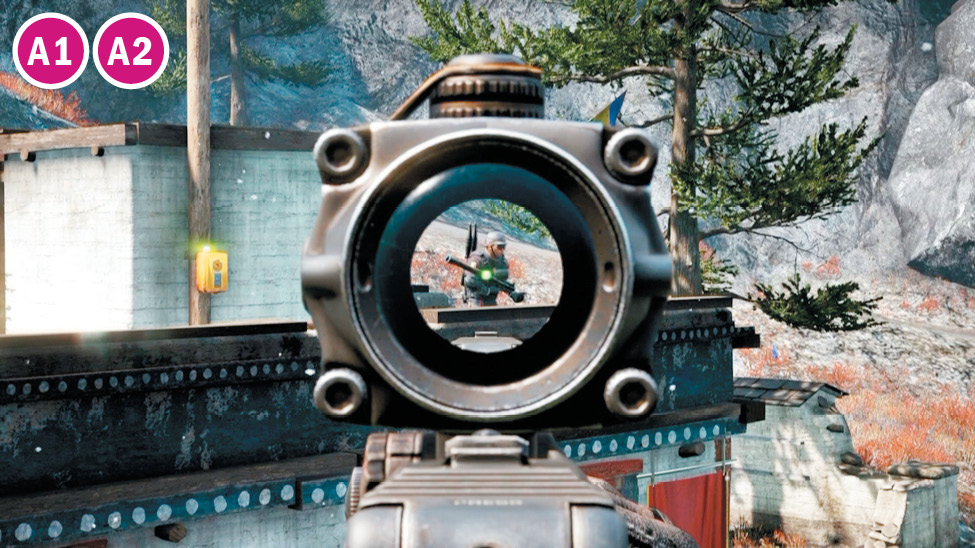
Two of the three alarms are located on a rooftop and constantly guarded. On the plus side, there are ladders up from the rooms below, and you can usually snipe the rooftop guards to oblivion without many other soldiers noticing.
Notes:
 Reinforcements on this map mostly arrive aboard technicals coming in from the west.
 It’s actually easy to sneak around this level, thanks for generous cover and a relatively sparse population of enemy soldiers.
 All the defenders prefer to face south. Apparently, it never occurred to them that someone with a sniper rifle might attack them from the north.
Border Observation Post
 –
– Alarm
Alarm
 Defender
 Heavy Flamer
 Mortar
 Grenade Launcher Nest
 Rocketeer
 Bear in cage
Note: Enemy locations on map are approximate. Enemies often roam or go on rounds. Always scout ahead.
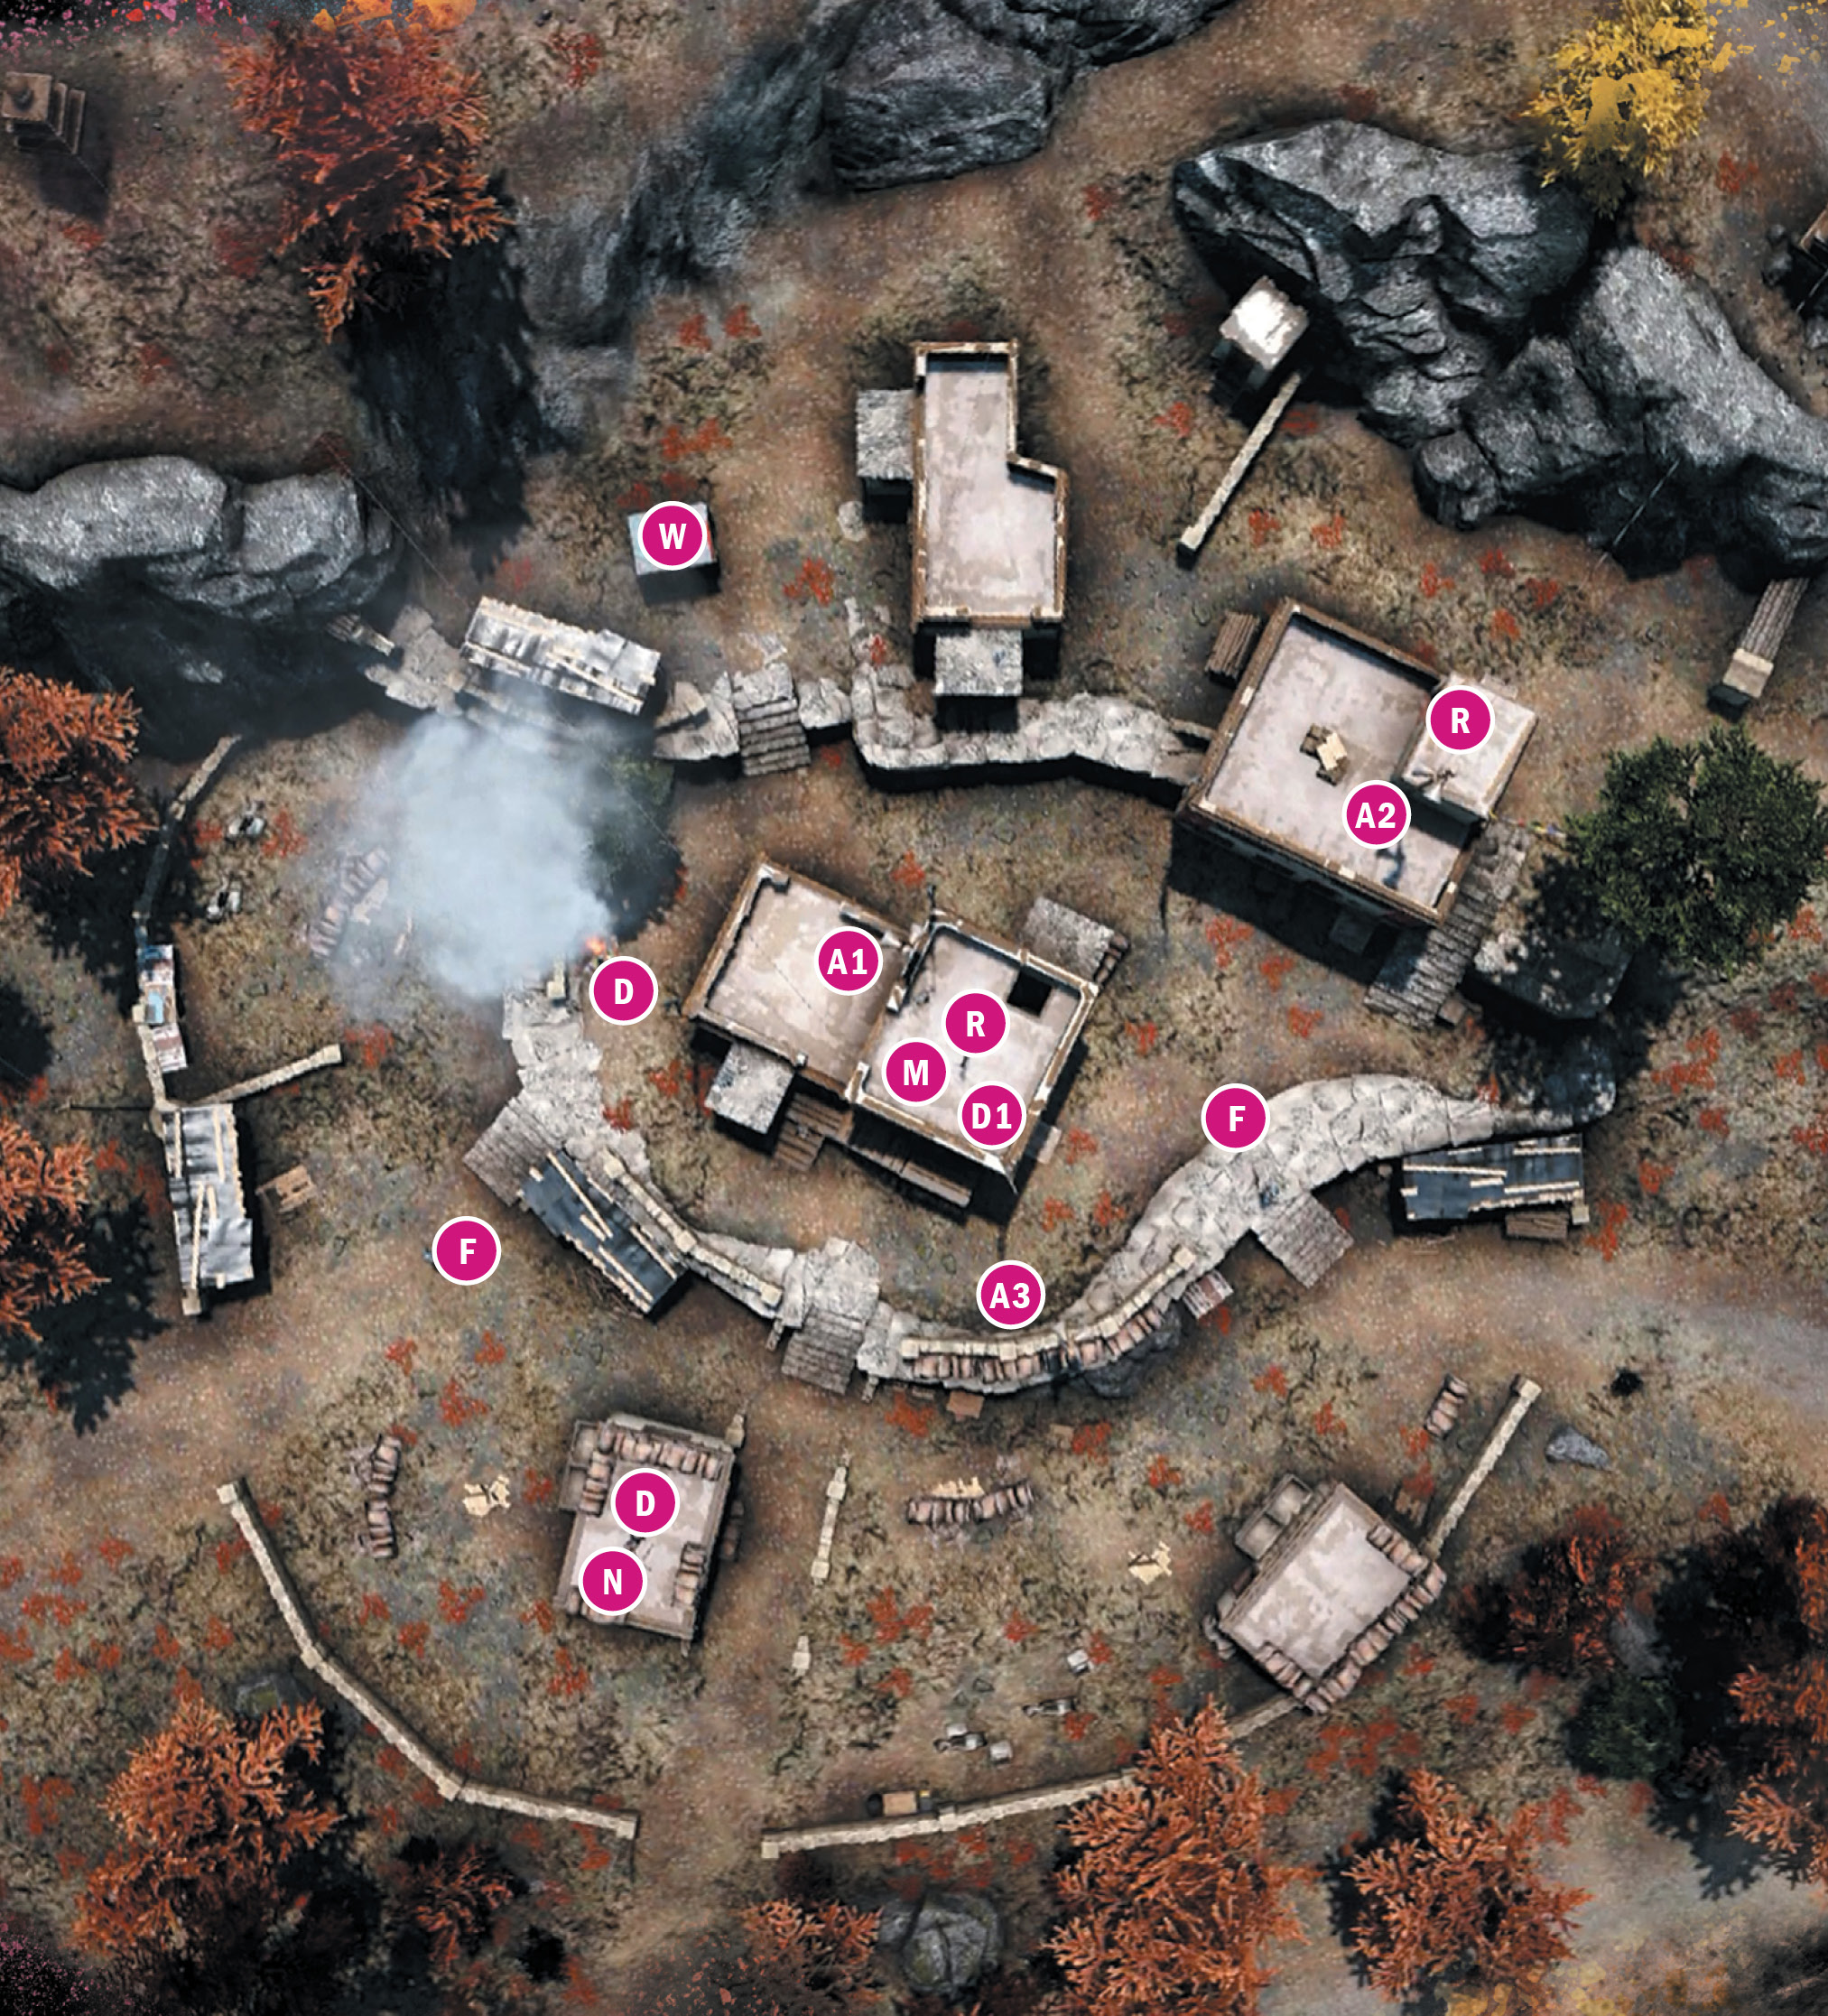
KEO Gold Storage
Location: x:438 y:816
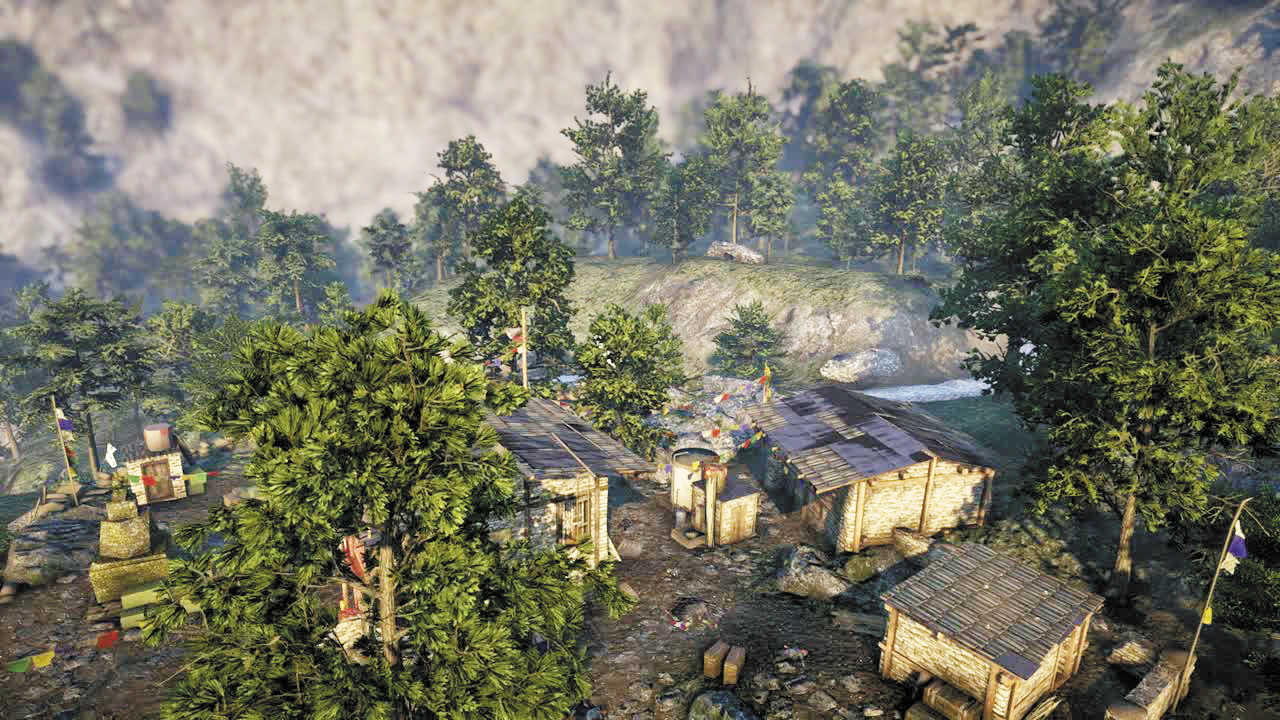
A cluster of crumbling cabins in a wooded forest, this outpost has a secret: A fortified basement with multiple entrances and exits.
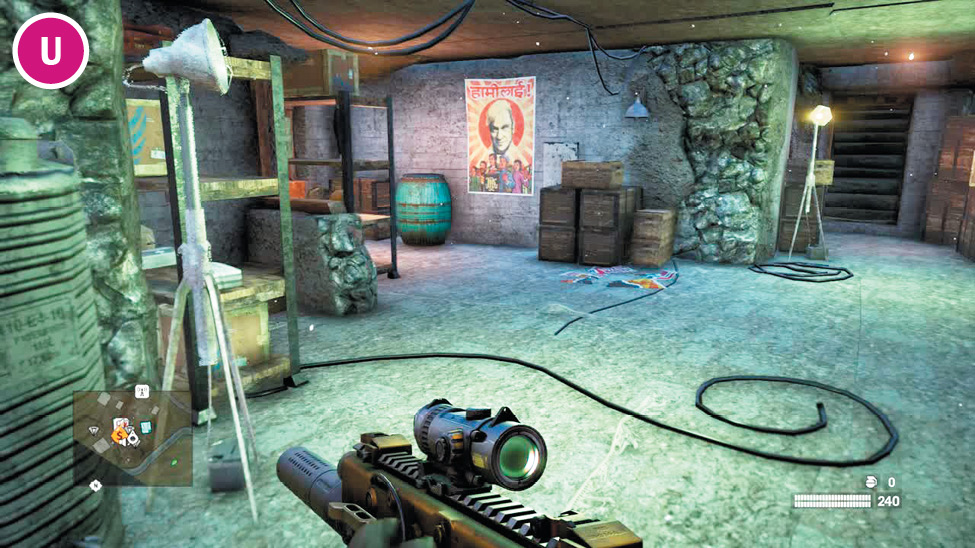
Two stairways and a ladder all lead to the same basement-like storage area. It’s a great place to hole up and regroup. You can mine two of the entrances and camp the third. Plus, there are two health packs on the shelves. Be aware, though, that it’s guarded by a third charger not shown on the map.
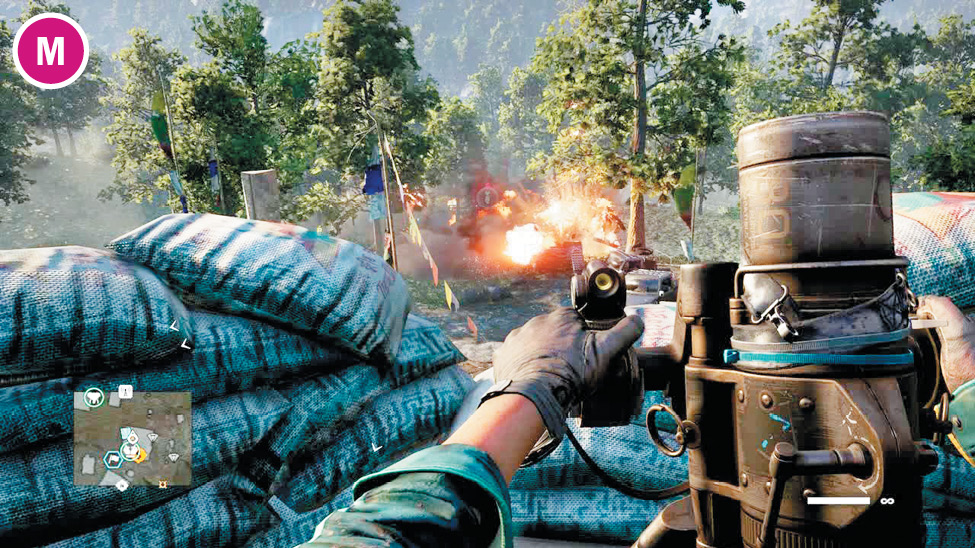
Reinforcements here will drive up first from the south and then the south/southeast. And the mortar can definitely hit them.
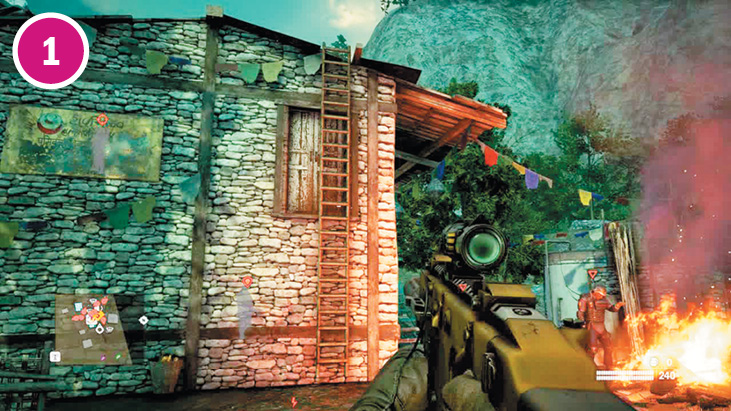
The northeast section is definitely the softest side of the camp. The shacks here provide great cover, guards rarely patrol here, and a ladder on the corner of the main building leads straight to the roof.

The fuel tank tucked under the balcony can come in handy if things get crazy.
Even more than most maps, this one is constantly in motion. The flamer moves all around the south and west, the defenders often venture into the cabin, and there’s a charger in the basement (not shown on map) who frequently pops up for air.
KEO Gold Storage

 Alarm
Alarm
 Charger
 Defender
 Heavy Gunner
 Mortar
 Machine Gun Nest
 Rocketeer
 Entrance to underground storage area
Note: Enemy locations on map are approximate. Enemies often roam or go on rounds. Always scout ahead.
KEO Logging Camp
Location: x:421 y:758
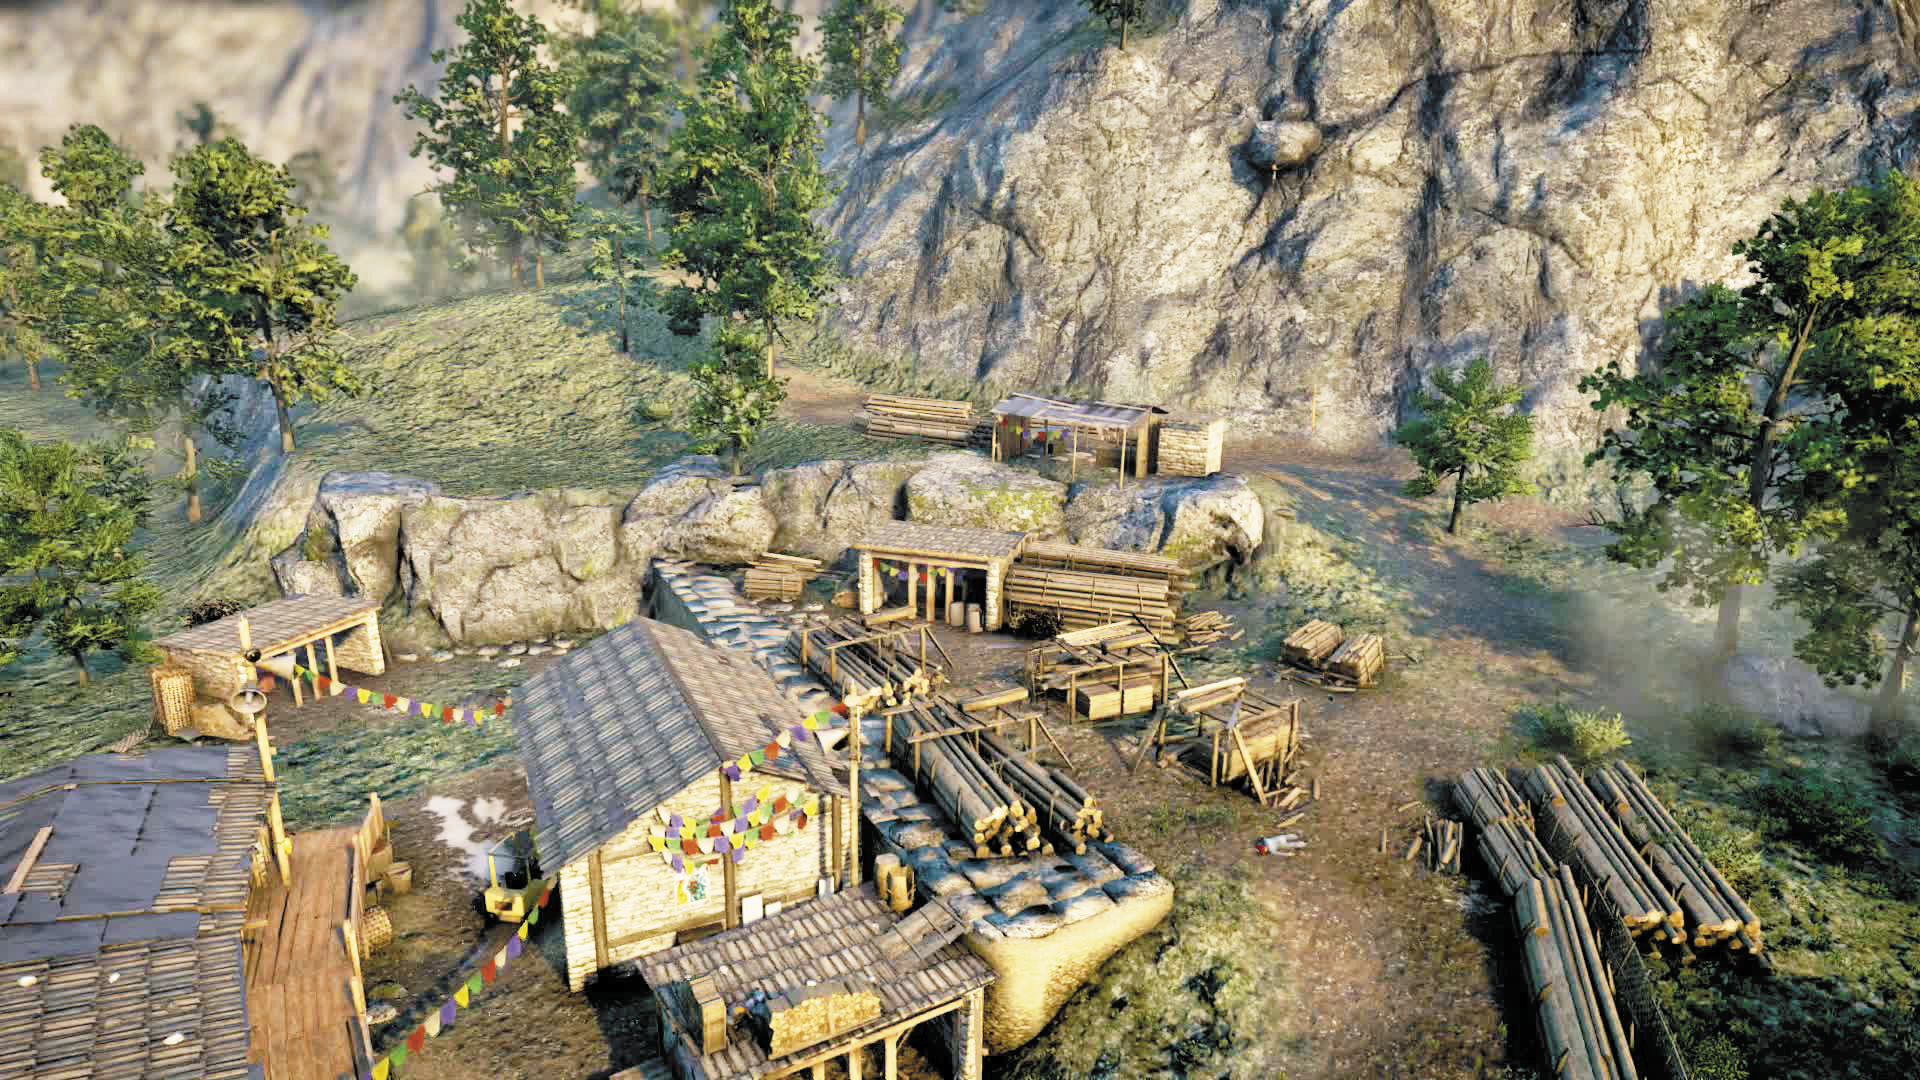
The main cabin dominates one side of this map, but a maze of log piles and smaller structures snake up the slopes to the west.
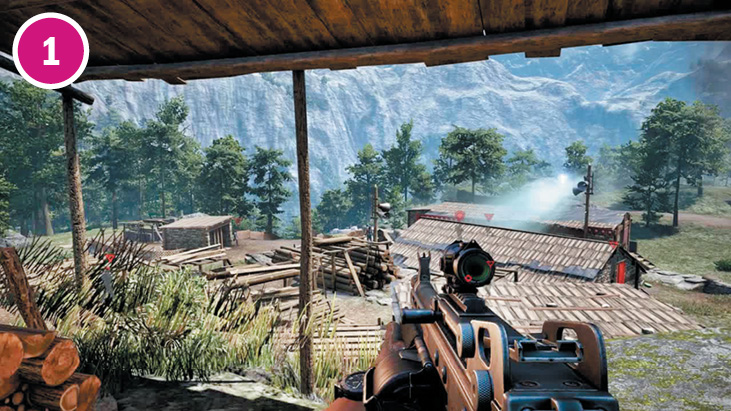
The skinning shack high in the southwest offers a fair vantage point. From there, you can snipe the hunter, the guards to the south, west, and east, and if you slide east, one of the alarm boxes.
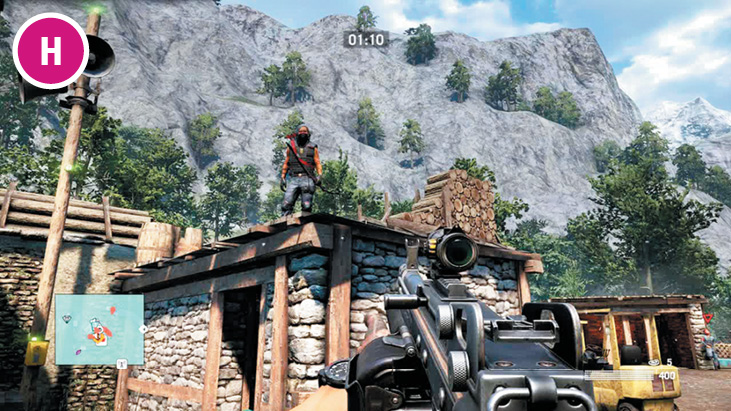
The hunter perched among the logs on this platform is a key to this level. He has eagle eyes and, if you’ve been foolish enough to free the leopard before killing him, a charmed leopard sidekick.
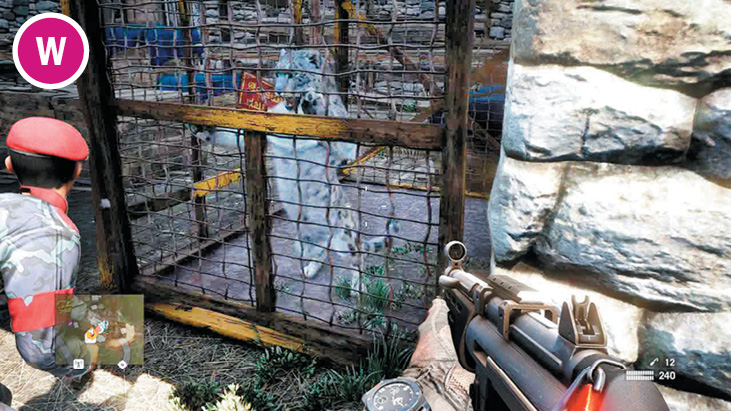
Don’t free the leopard unless you’ve first killed the hunter and disabled the alarms, so the hunters that come with the reinforcements don’t charm it.
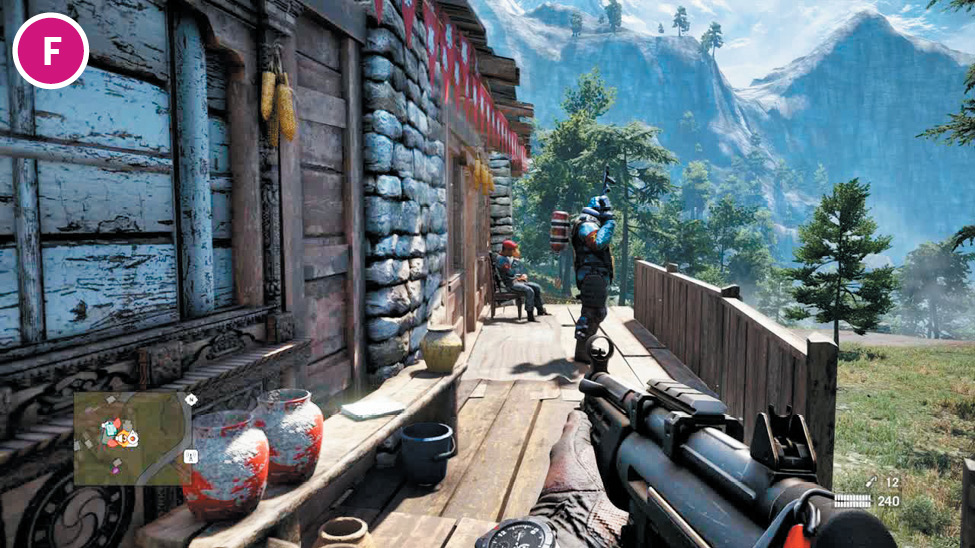
If you can approach the house in secret and take down both the flamer and the guard silently, coming in from the north becomes a good strategy. Take them down and step into the little room, where you can snipe the hunter and the first alarm, then step out the back and turn left to disable the second alarm. Then it’s just a mop-up operation.
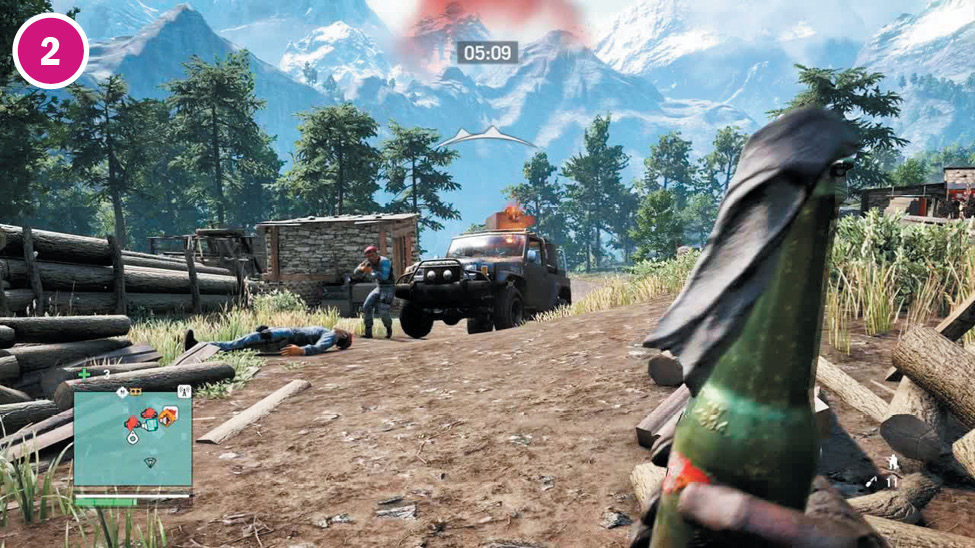
Reinforcements on this map will arrive first on foot from the northeast, and then via technicals driving down the north road.
Notes:
 The western alarm can be tough to pinpoint, tucked as it is between two buildings. Look for the speakers sticking up if you need help finding it.
KEO Logging Camp

 Alarm
Alarm
 Assaulter
 Defender
 Heavy Flamer
 Hunter
 Snow leopard in cage
Note: Enemy locations on map are approximate. Enemies often roam or go on rounds. Always scout ahead.
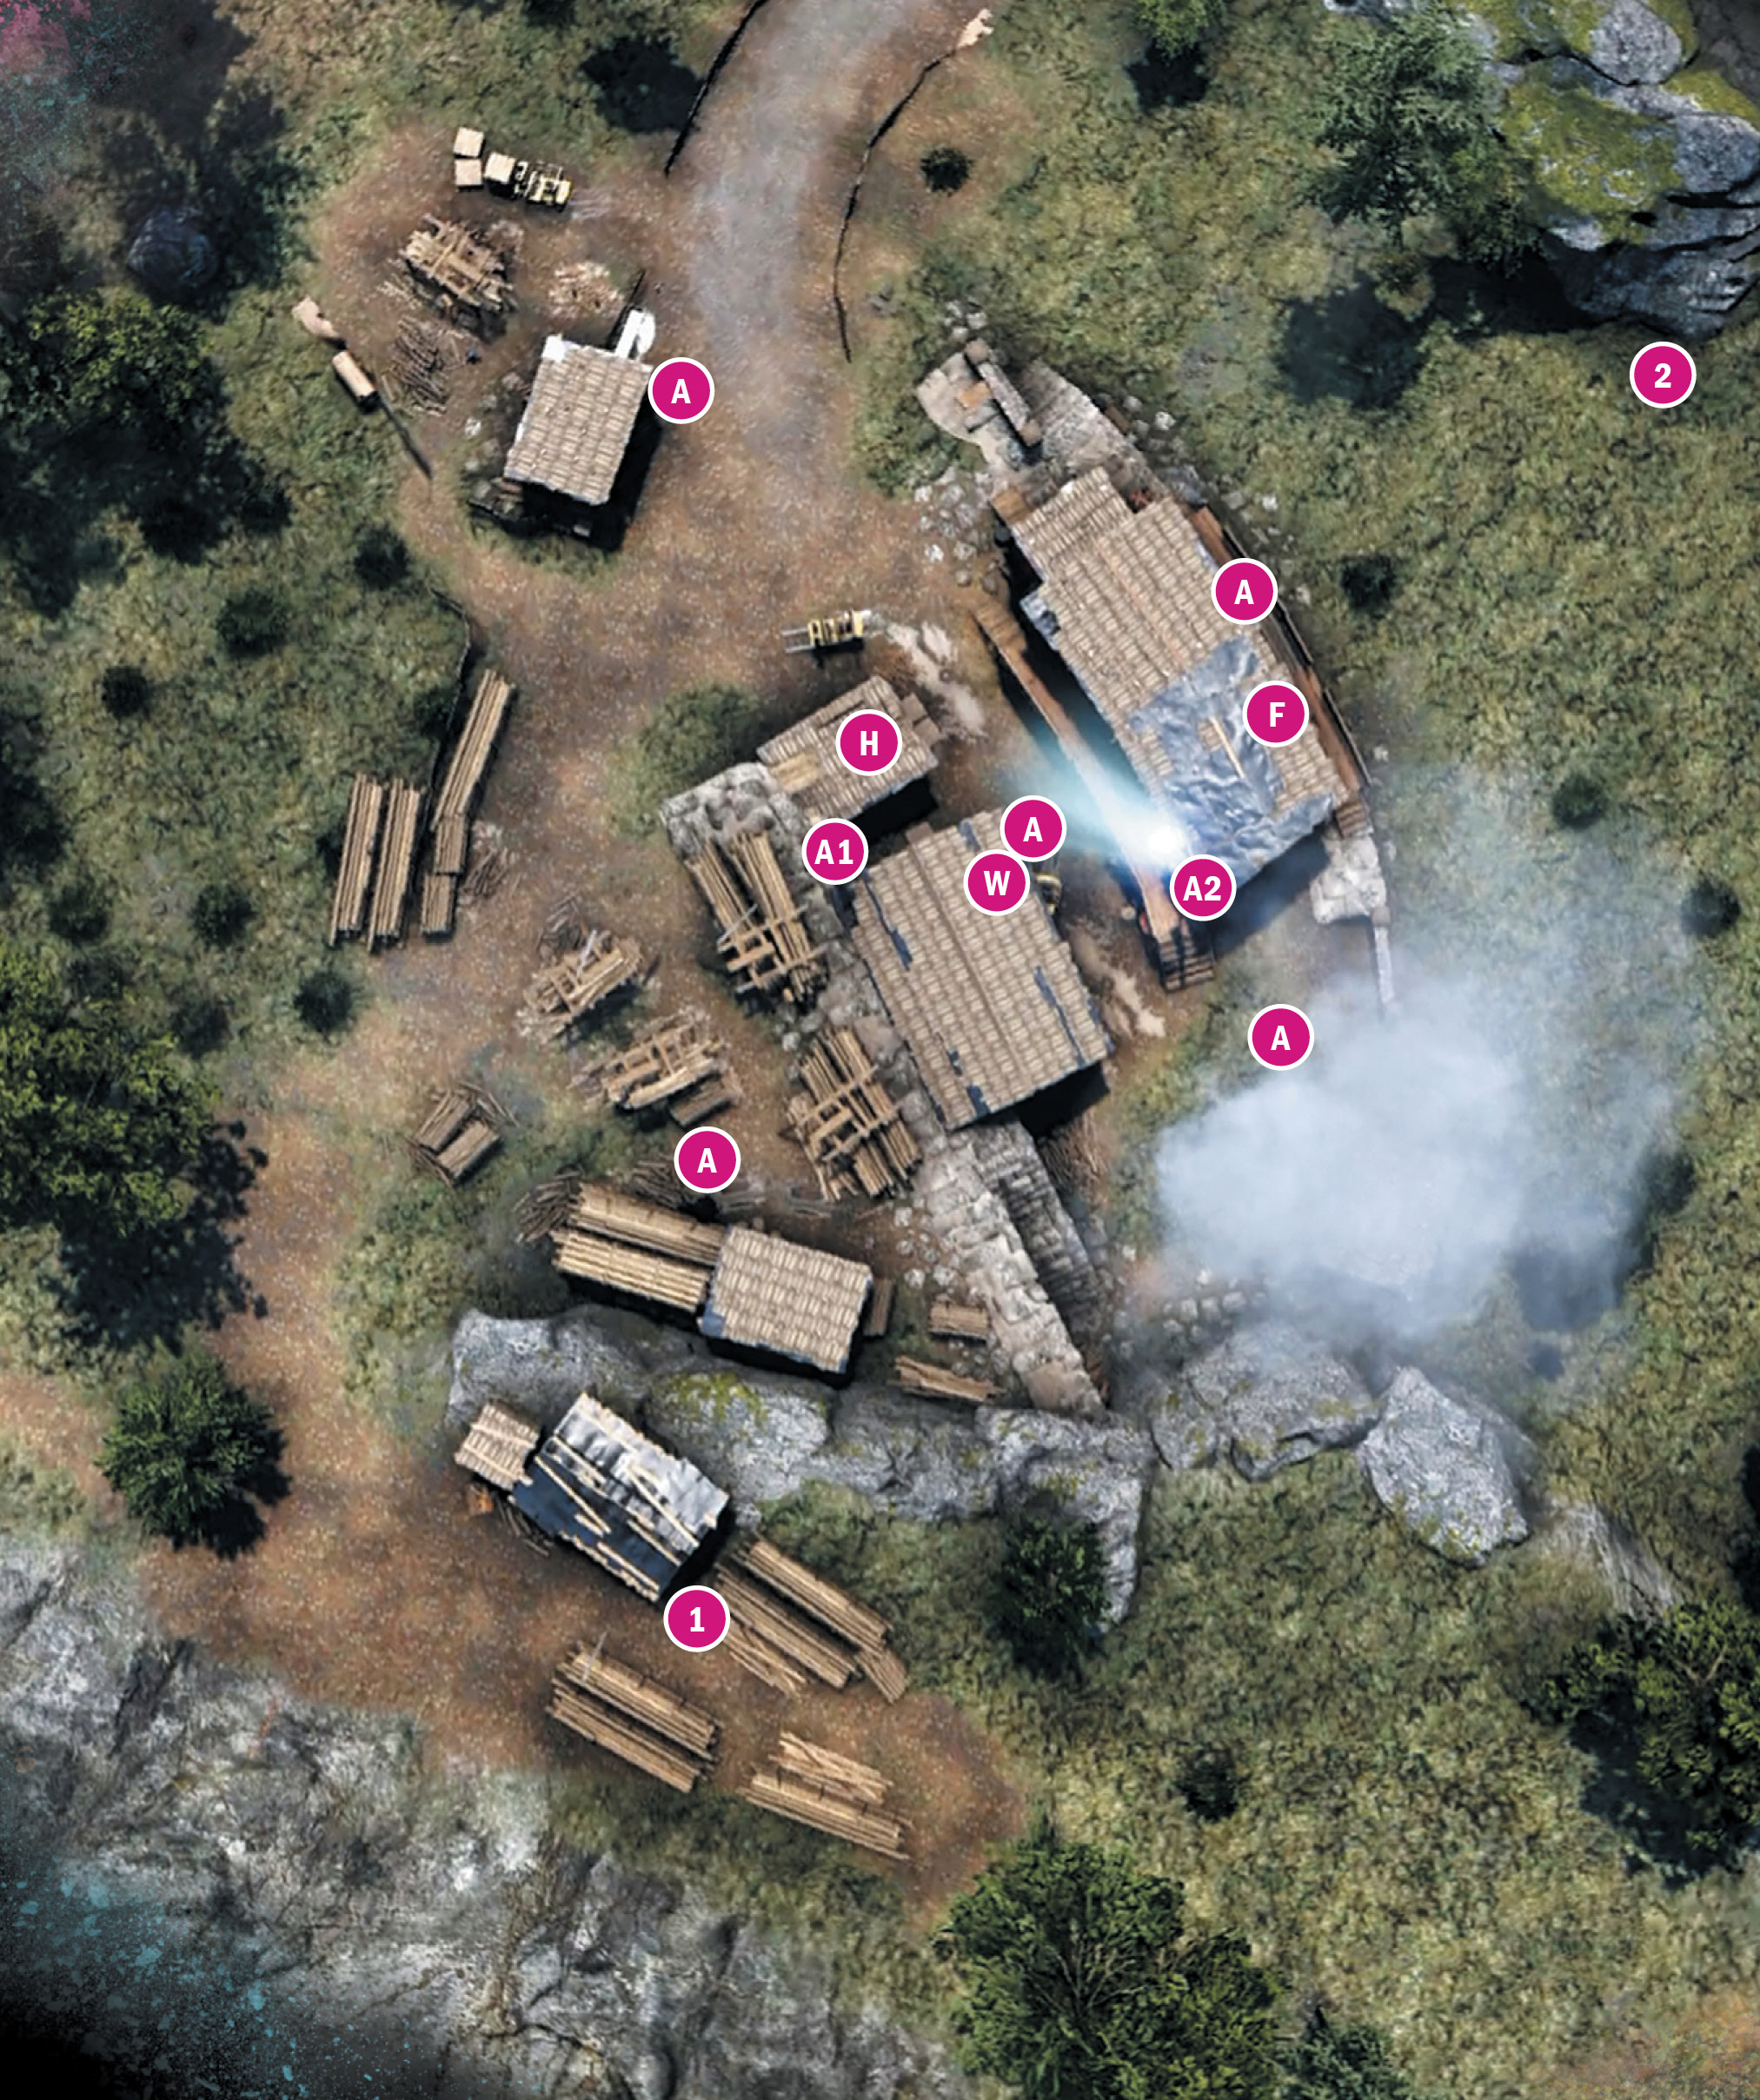
KEO Pradhana Mine
Location: x:692 y:624
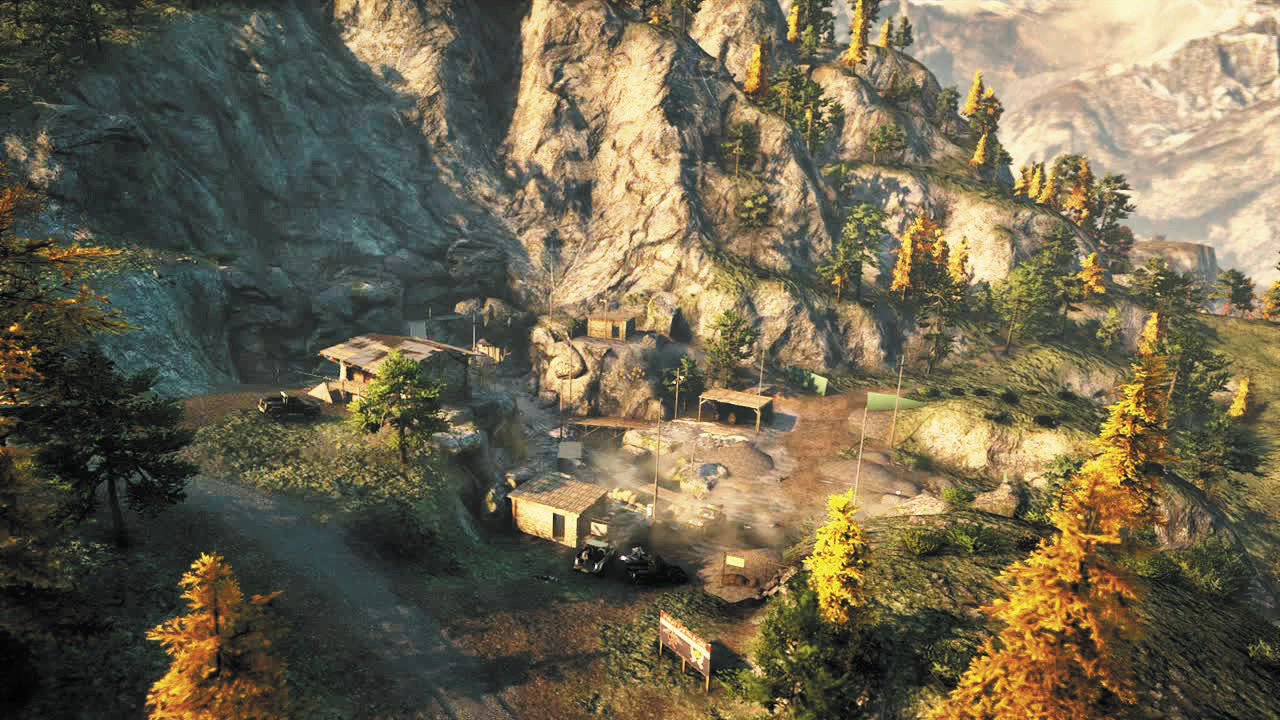
This horseshoe-shaped ring of shacks looks simple, but twisting walkways, varying elevations, and hidden entry points add layers of complexity.
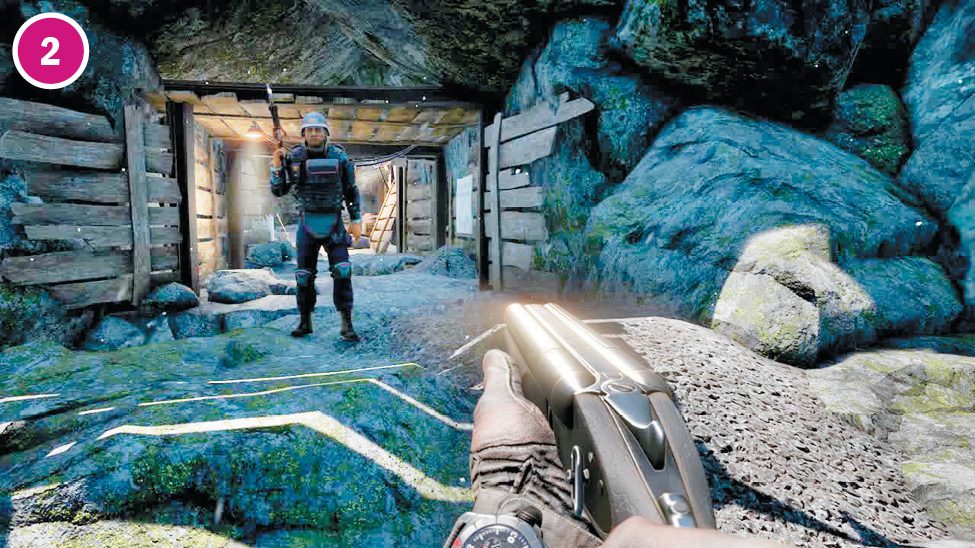
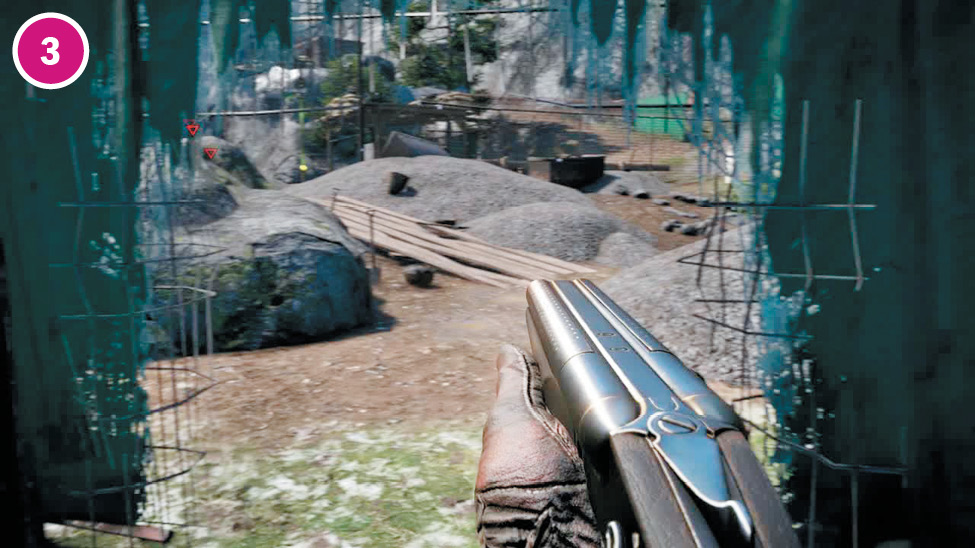
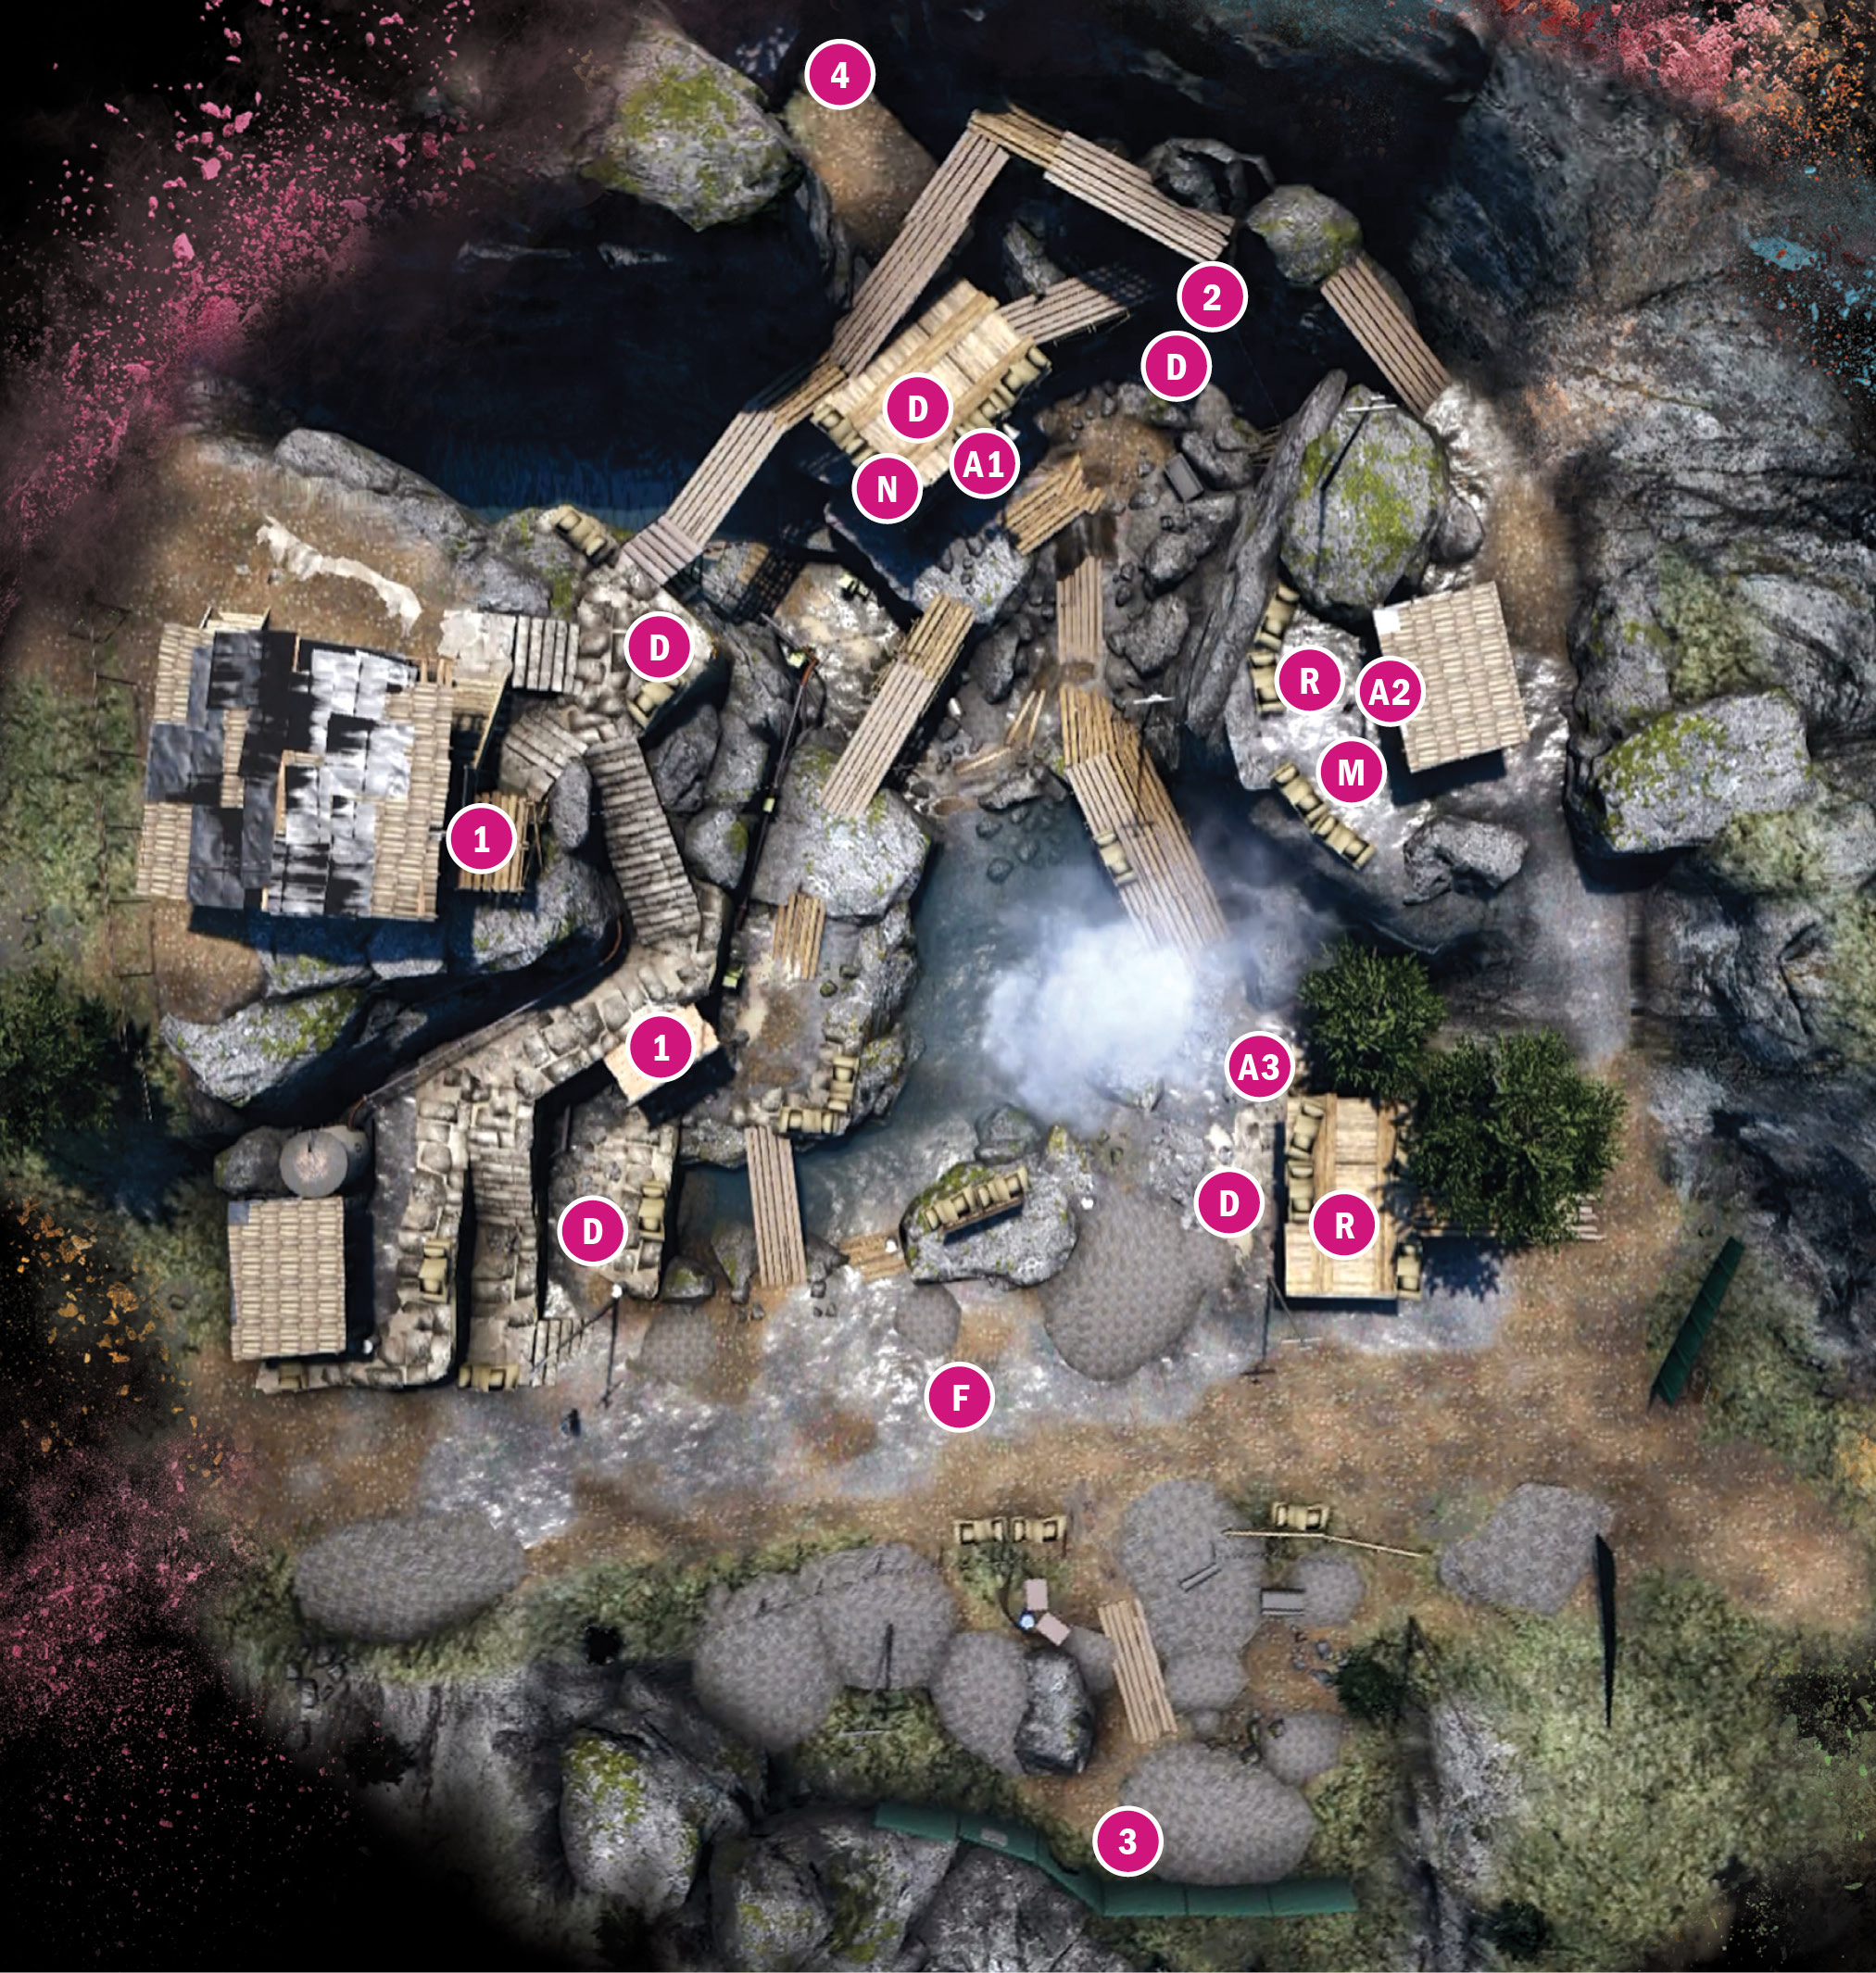
The tunnel in the north is a dead end despite the water in back, but if you’ve been found out and you have some decent firepower (like a signature LMG), it’s a great place to hole up. The enemies will all come through the mouth of the cave, where you can mow them down. You can even take out the helicopter reinforcement from here with relative ease.
The hole in the southern fence offers another stealth opportunity. Once you take out the flamer and guard near alarm A3, you can take the walkway up to the mortar, disable the other two alarms, and follow the walkway all the way around the camp.
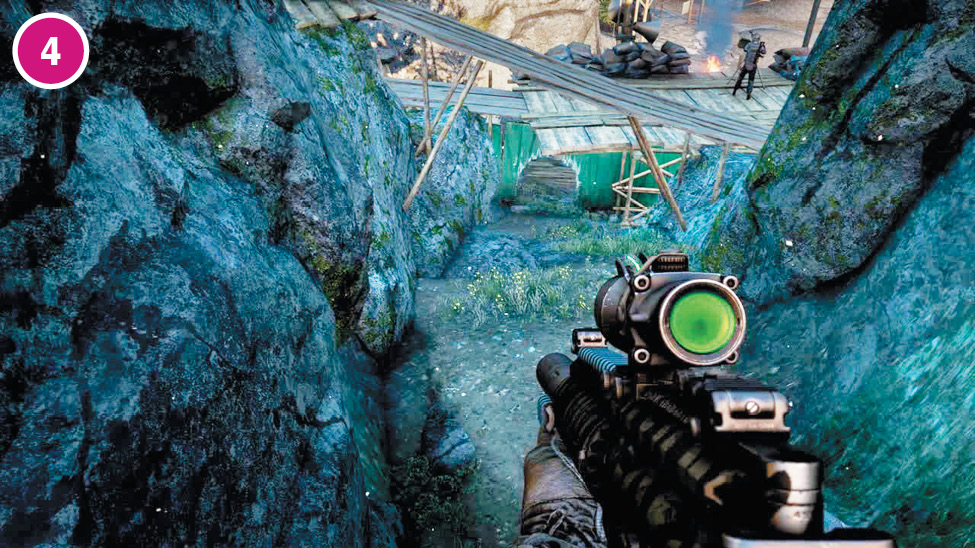
The ledges in the northwest also enable you to enter secretly and begin systematically taking down defenders.
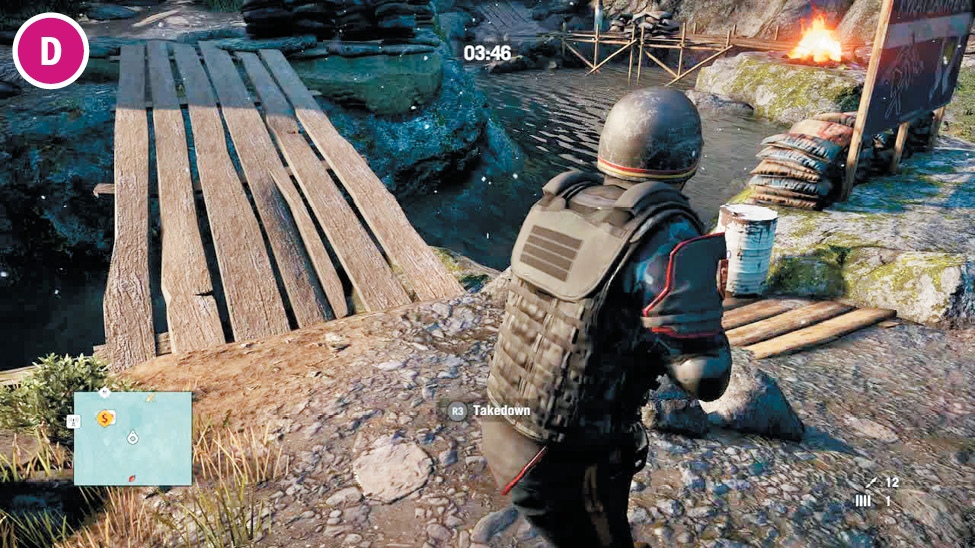
The defender closest to the center of the map walks a full circle around the water.
Notes:
 Wave 1 reinforcements will come on foot from the west. Wave 2 arrives in three technicals from the northwest road, and wave 3 is a helicopter.
 There are two locations from which you can snipe all three alarms. The first is under the main building’s balcony. Get there by using the crawlspace under the west porch. The second is a small wooden platform you can reach by inserting through the shack in the southwest. However, you have to watch for the heavy prowling the east side of the camp and the very close defender on patrol. And you have to strike quickly so the defender to the north doesn’t spot you.
KEO Pradhana Mine
 –
– Alarm
Alarm
 Defender
 Heavy Flamer
 Mortar
 Machine Gun Nest
 Rocketeer
Note: Enemy locations on map are approximate. Enemies often roam or go on rounds. Always scout ahead.
Kheta Manor
Location: x:446 y:452
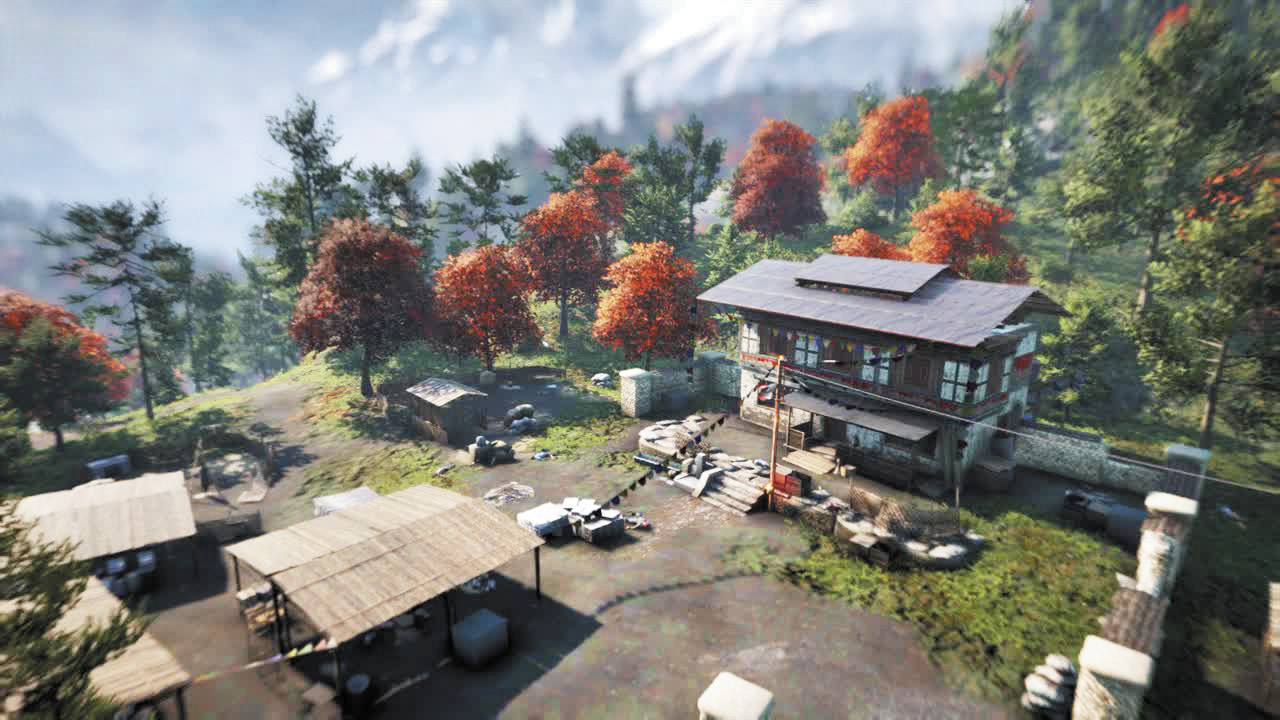
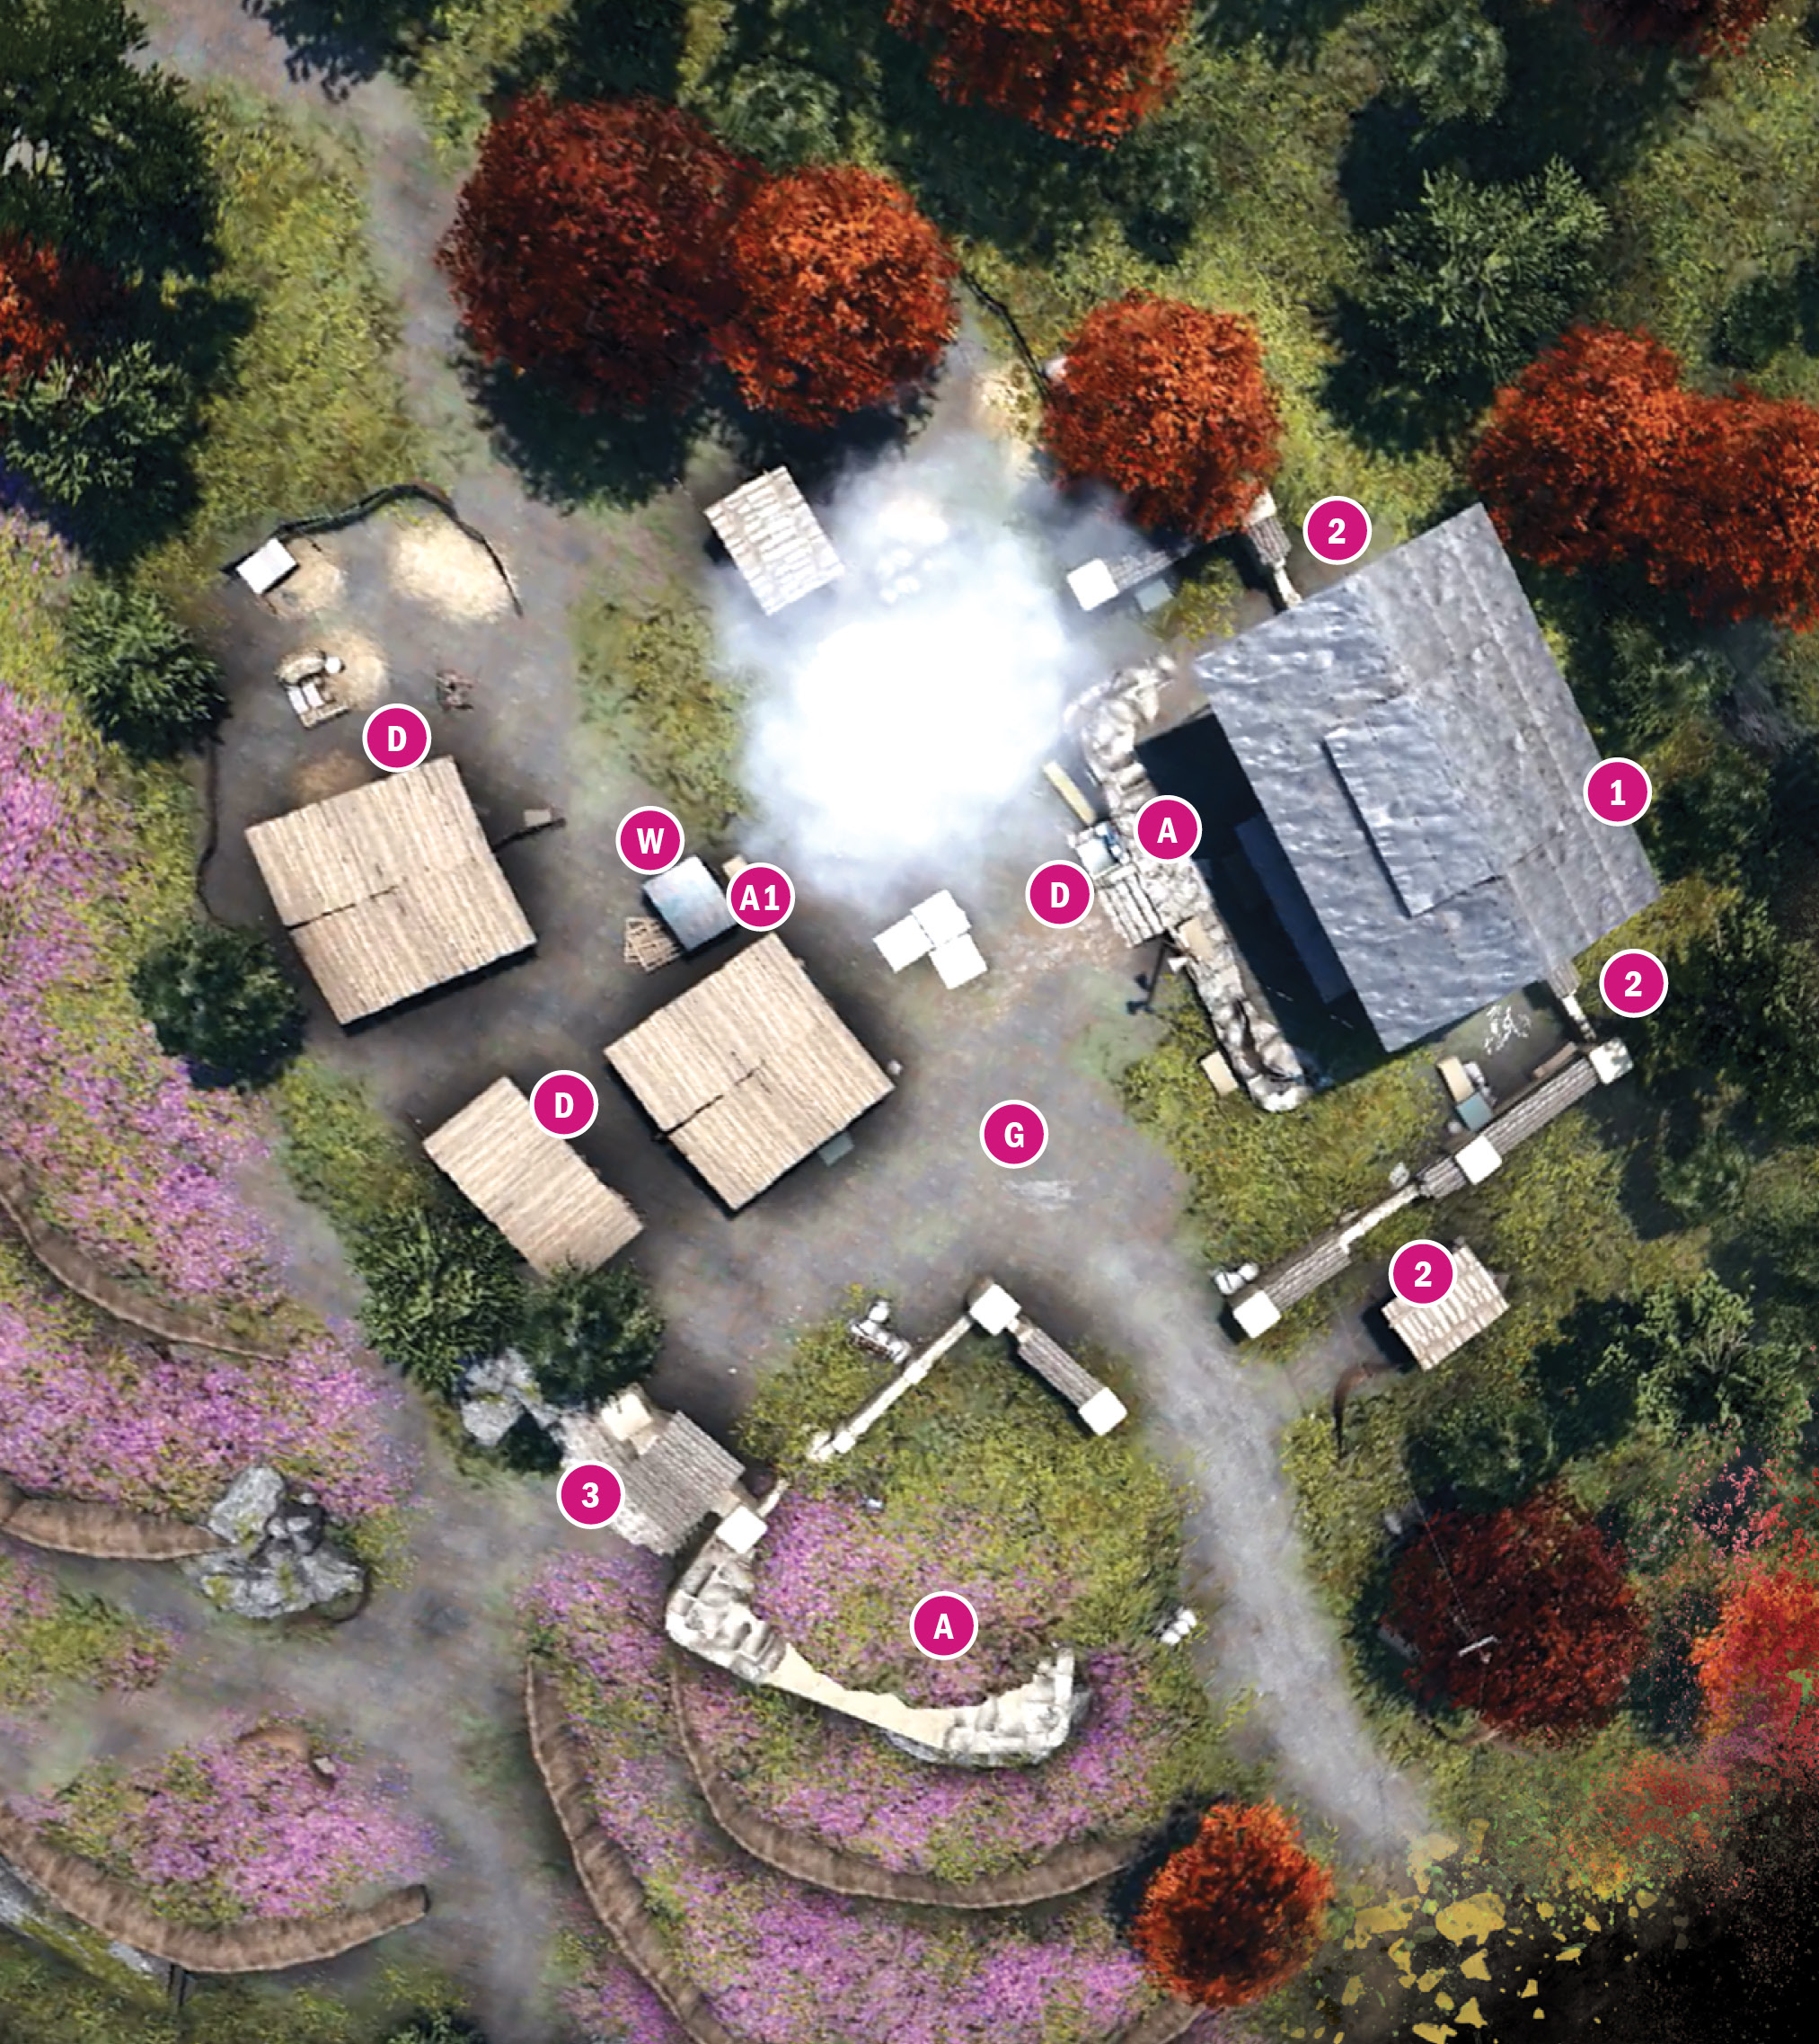
A single mansion surrounded by flimsy awnings and poppy fields. And a pig pen.
The vault-able parts of the east wall are good spots to sneak around the house. Both of them give you a good angle on the alarm (and the defender across the lot) and the south one can be a good way to isolate the heavy gunner for a takedown.
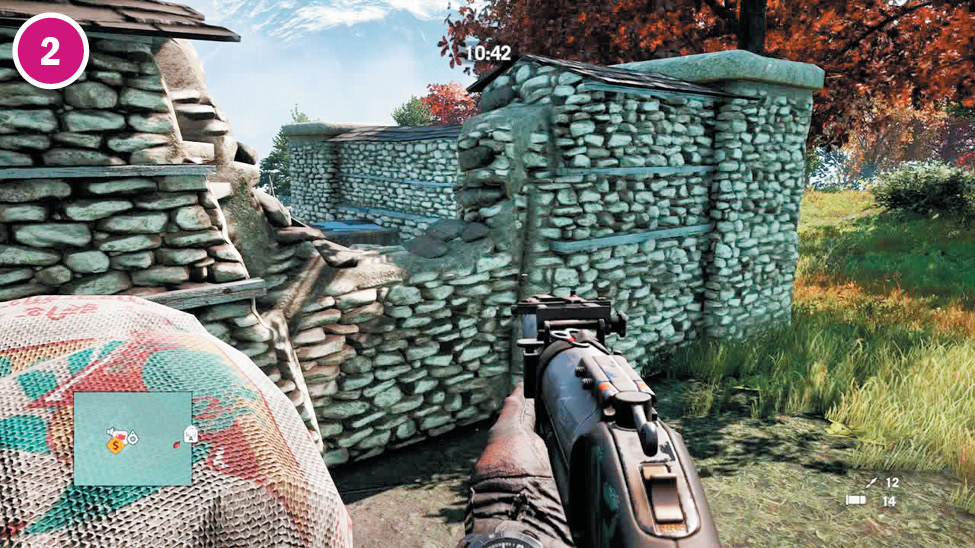
Reinforcements on this map arrive on foot from the fields to the west and consist of assaulters and defenders. Drop a mine or two on the slopes to thin them out.
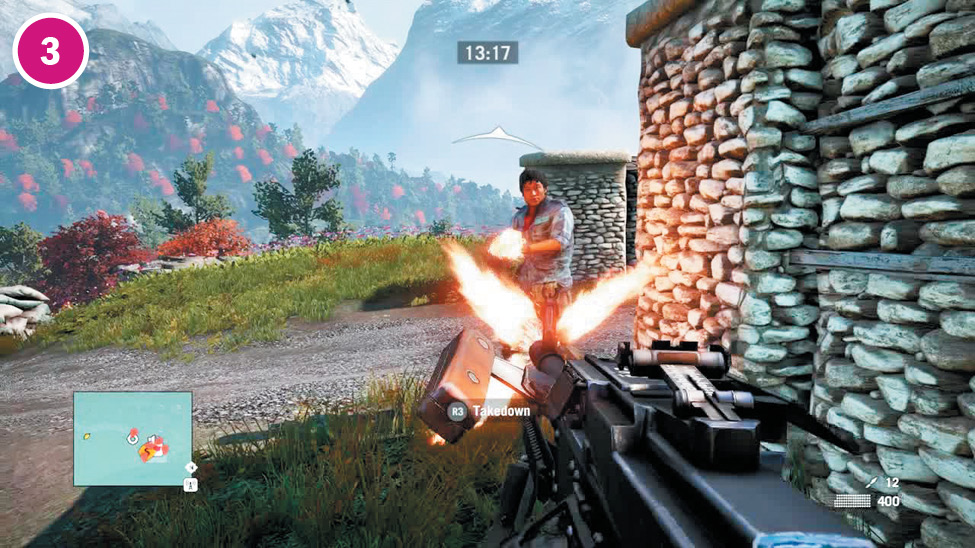
The heavy gunner here actually walks a route around the whole front square.
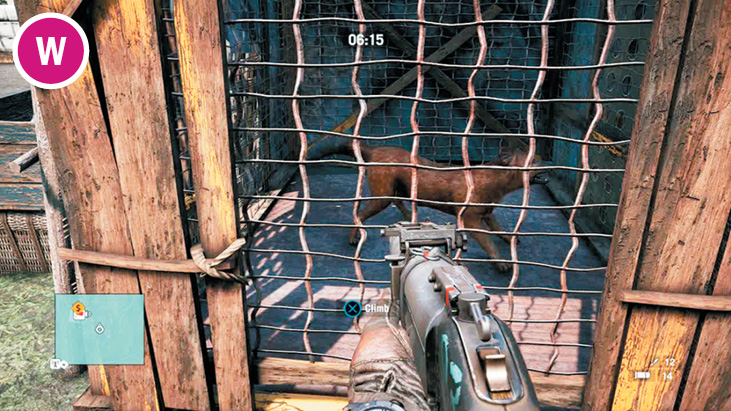
The animal in the cage this time is just a dhole. It can create a distraction, but don’t expect it to get any kills.
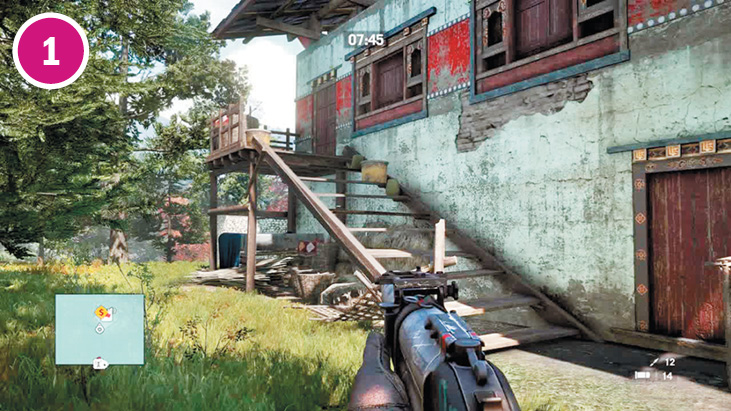
For once, sniping down from the hills is a poor strategy. The house blocks your view of the enemies. Not only that, but the stairs in back don’t lead to anything. You can’t open the door and you can’t reach the roof from here.
Notes:
 The fields to the west and southwest offer a great deal of cover. You can safely use them to approach or escape.
Having trouble figuring out how to take down the heavy? Drop a mine anywhere along his route. As long as nobody sees you, he’ll step right on it. In fact, if you can dispatch the guard near the pigpen and place the mine near the dhole cage, it might blow that open at the same time.
Kheta Manor
 Alarm
Alarm
 Assaulter
 Defender
 Heavy Gunner
 Dhole in a cage
Note: Enemy locations on map are approximate. Enemies often roam or go on rounds. Always scout ahead.
Khilana Bazaar
Location: x:298 y:426
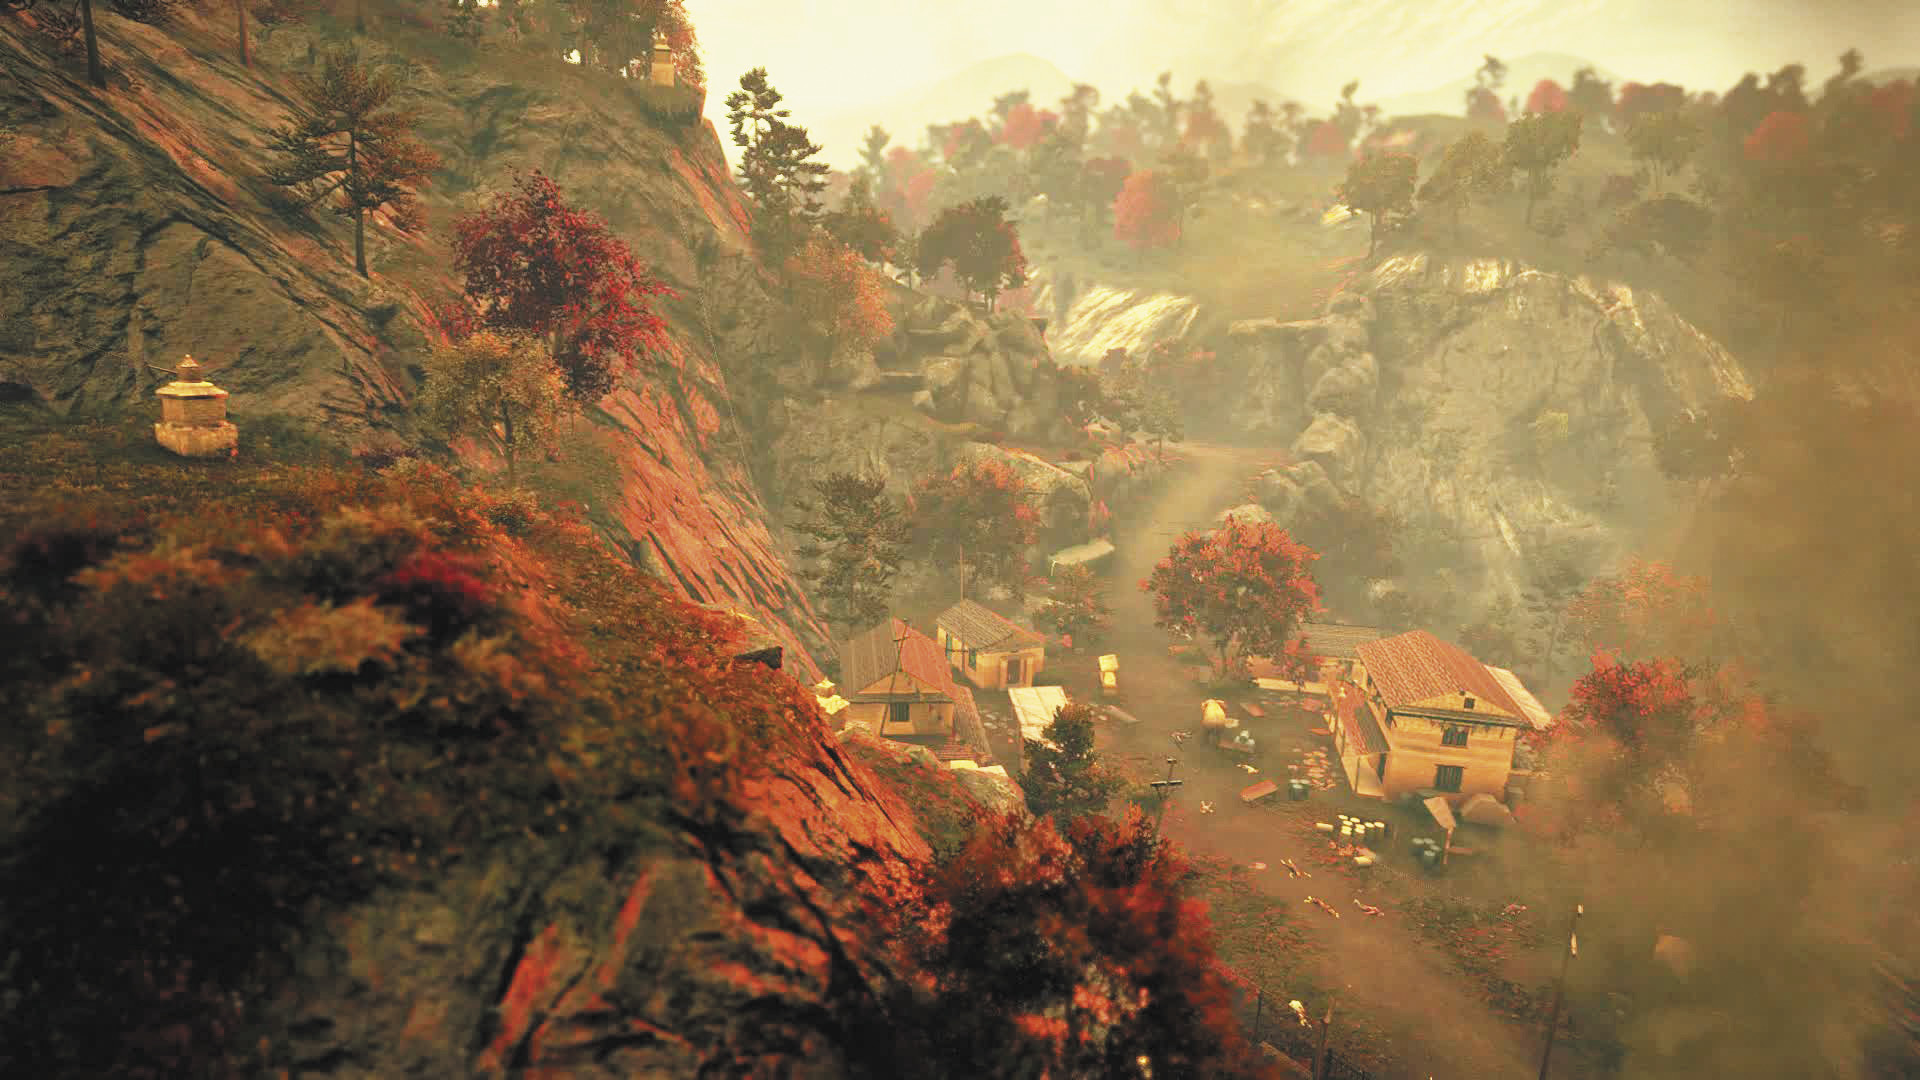
Barely more than a few buildings on the roadside, Khilana Bazaar is the only outpost you must take over as part of Far Cry 4’s main story.
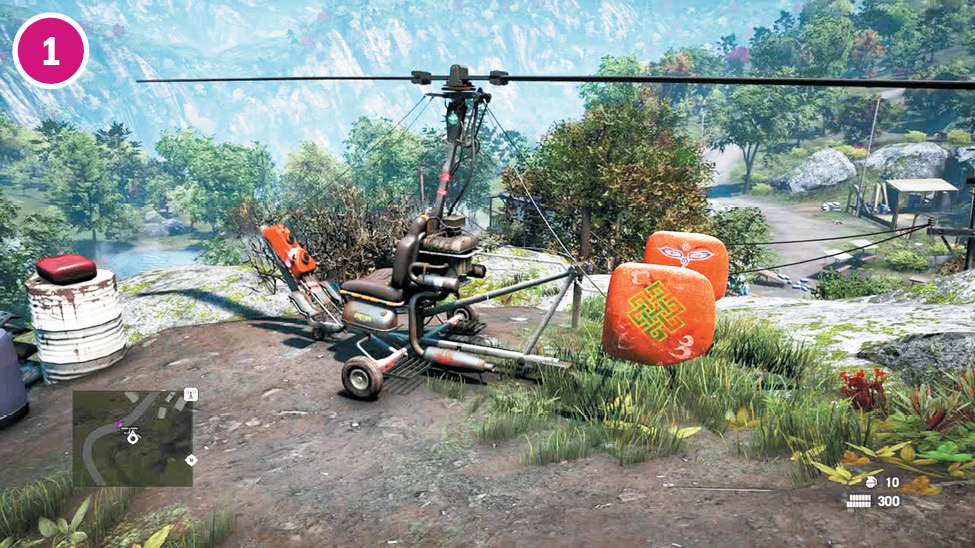
The buzzer on the cliff isn’t very useful here, you say? Tell you what: You sneak up to it, take off, then use it and the M-79 grenade launcher to buzz-bomb everything here to a fine pulp. Then we’ll talk about useful.
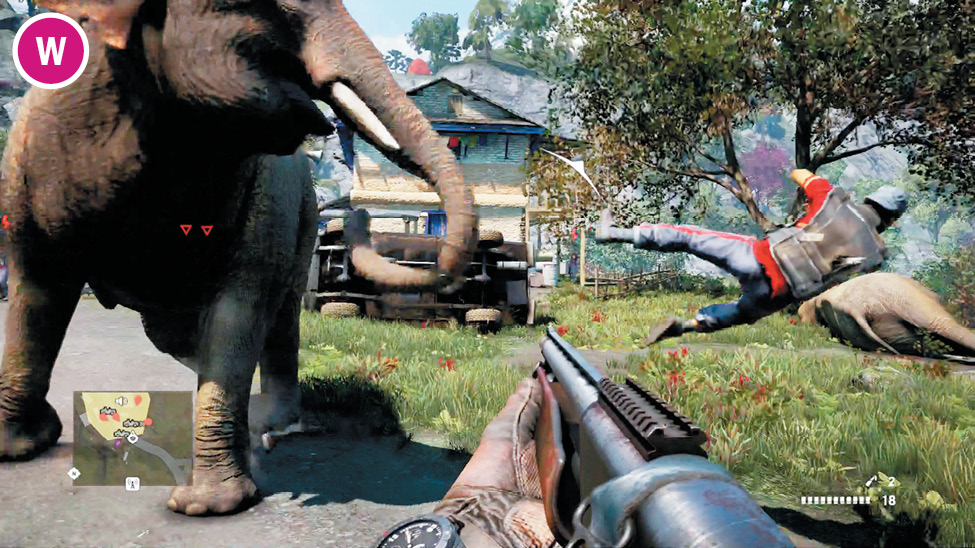
Elephants. They never forget, and they’re very, very difficult to kill.
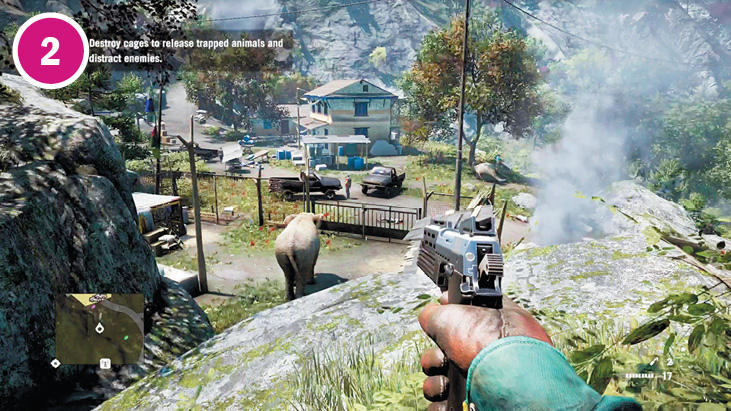
Technically, you can snipe the alarm and quite a few enemies from the hills to the north. But it’s more fun to just free the elephant and let him have fun.
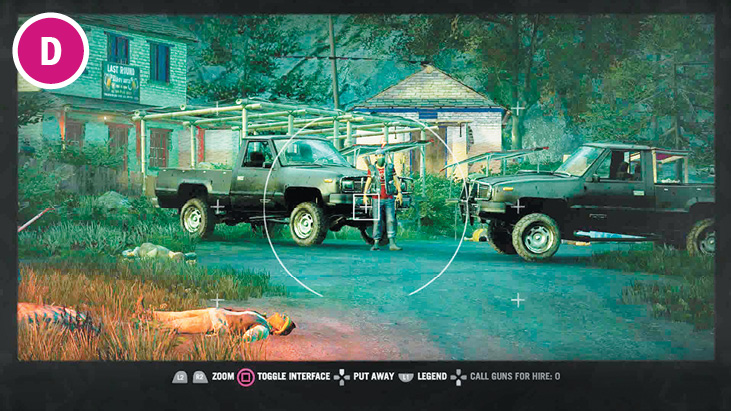
A roadblock like this is just begging to be torn to pieces. If you don’t want to use the elephant, why not barrel through with a motorized vehicle?
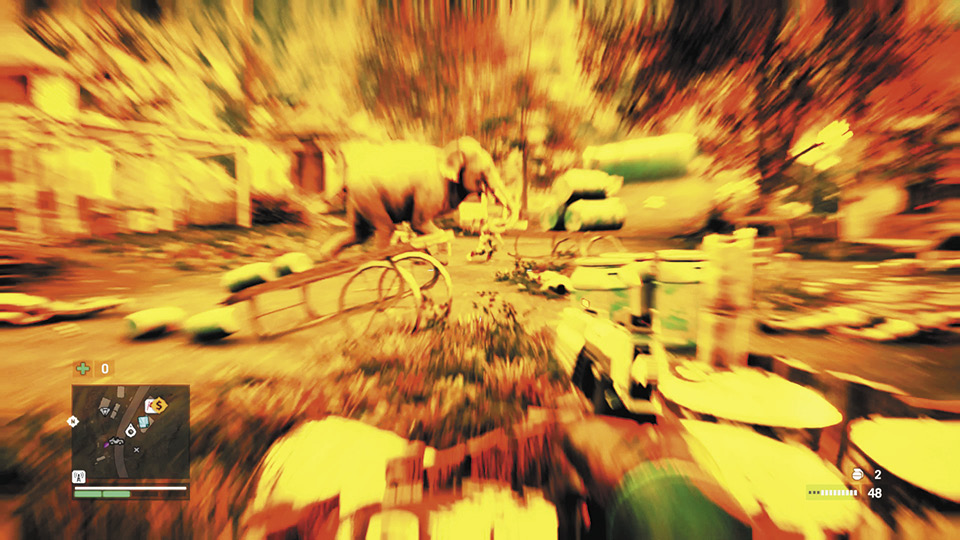
Once you see that mono-chrome glow, you know the outpost is yours.
Khilana Bazaar
 Alarm
Alarm
 Berserker
 Defender
 Elephant in a cage
Note: Enemy locations on map are approximate. Enemies often roam or go on rounds. Always scout ahead.
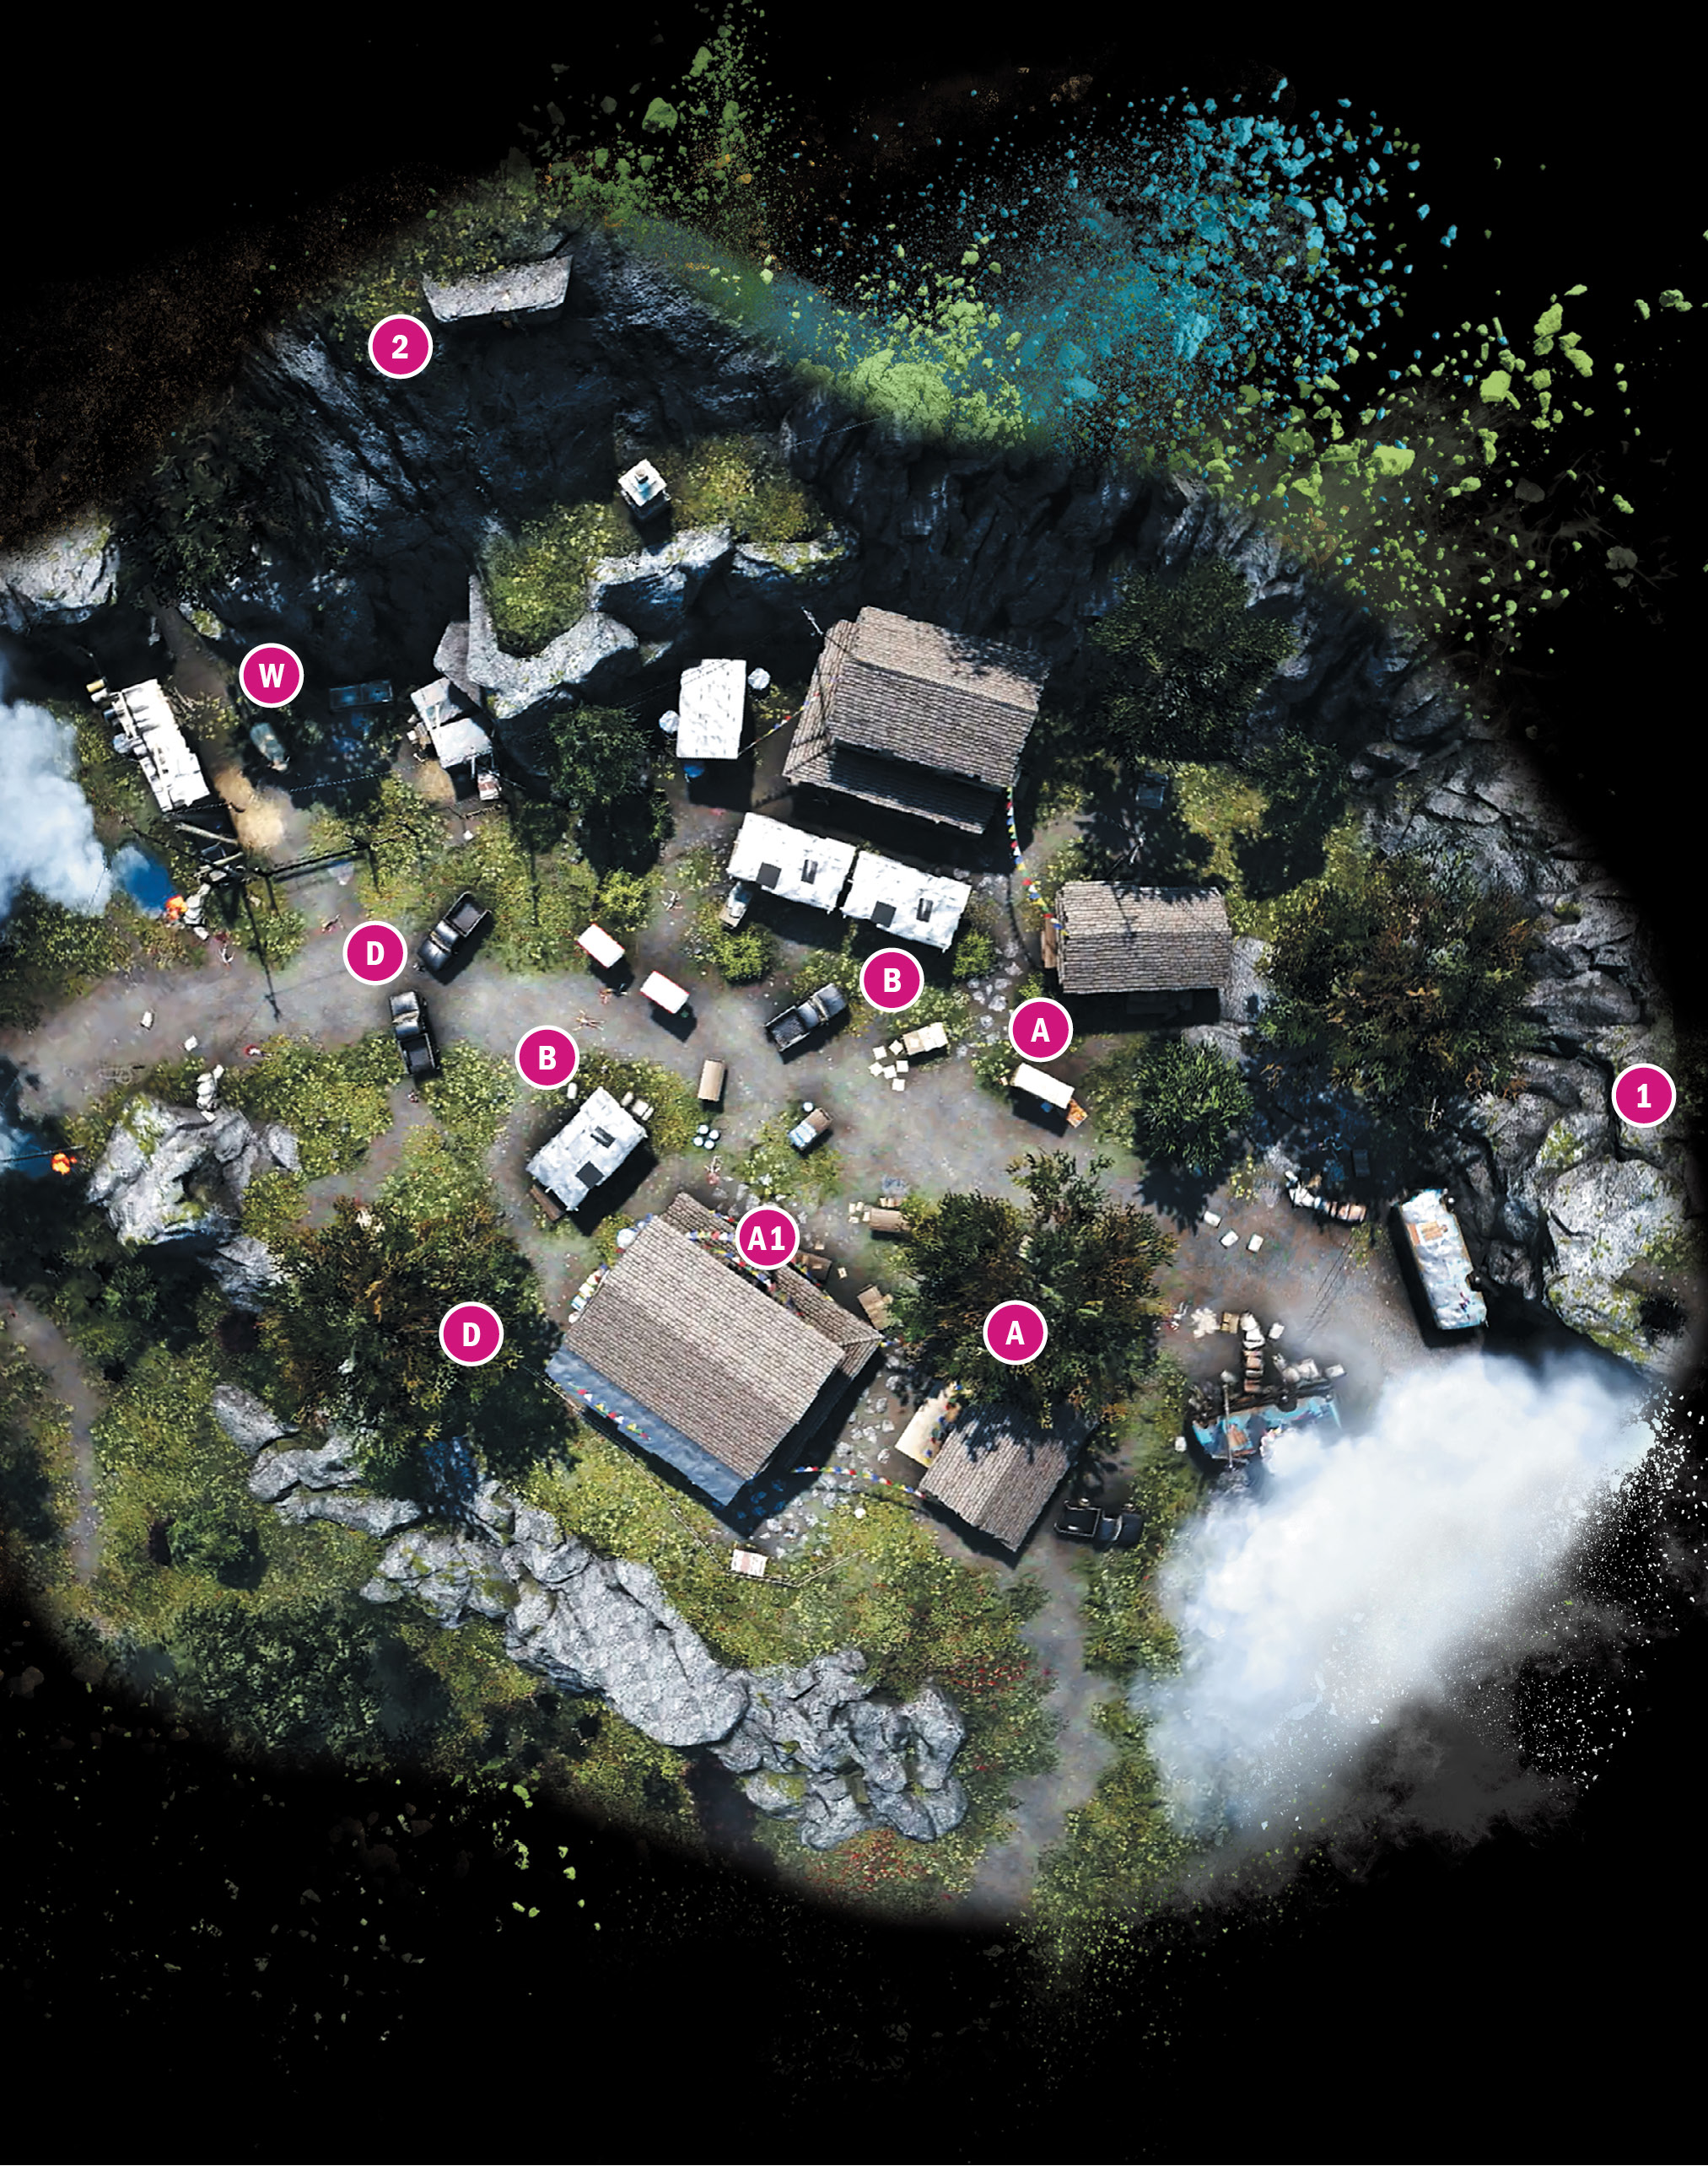
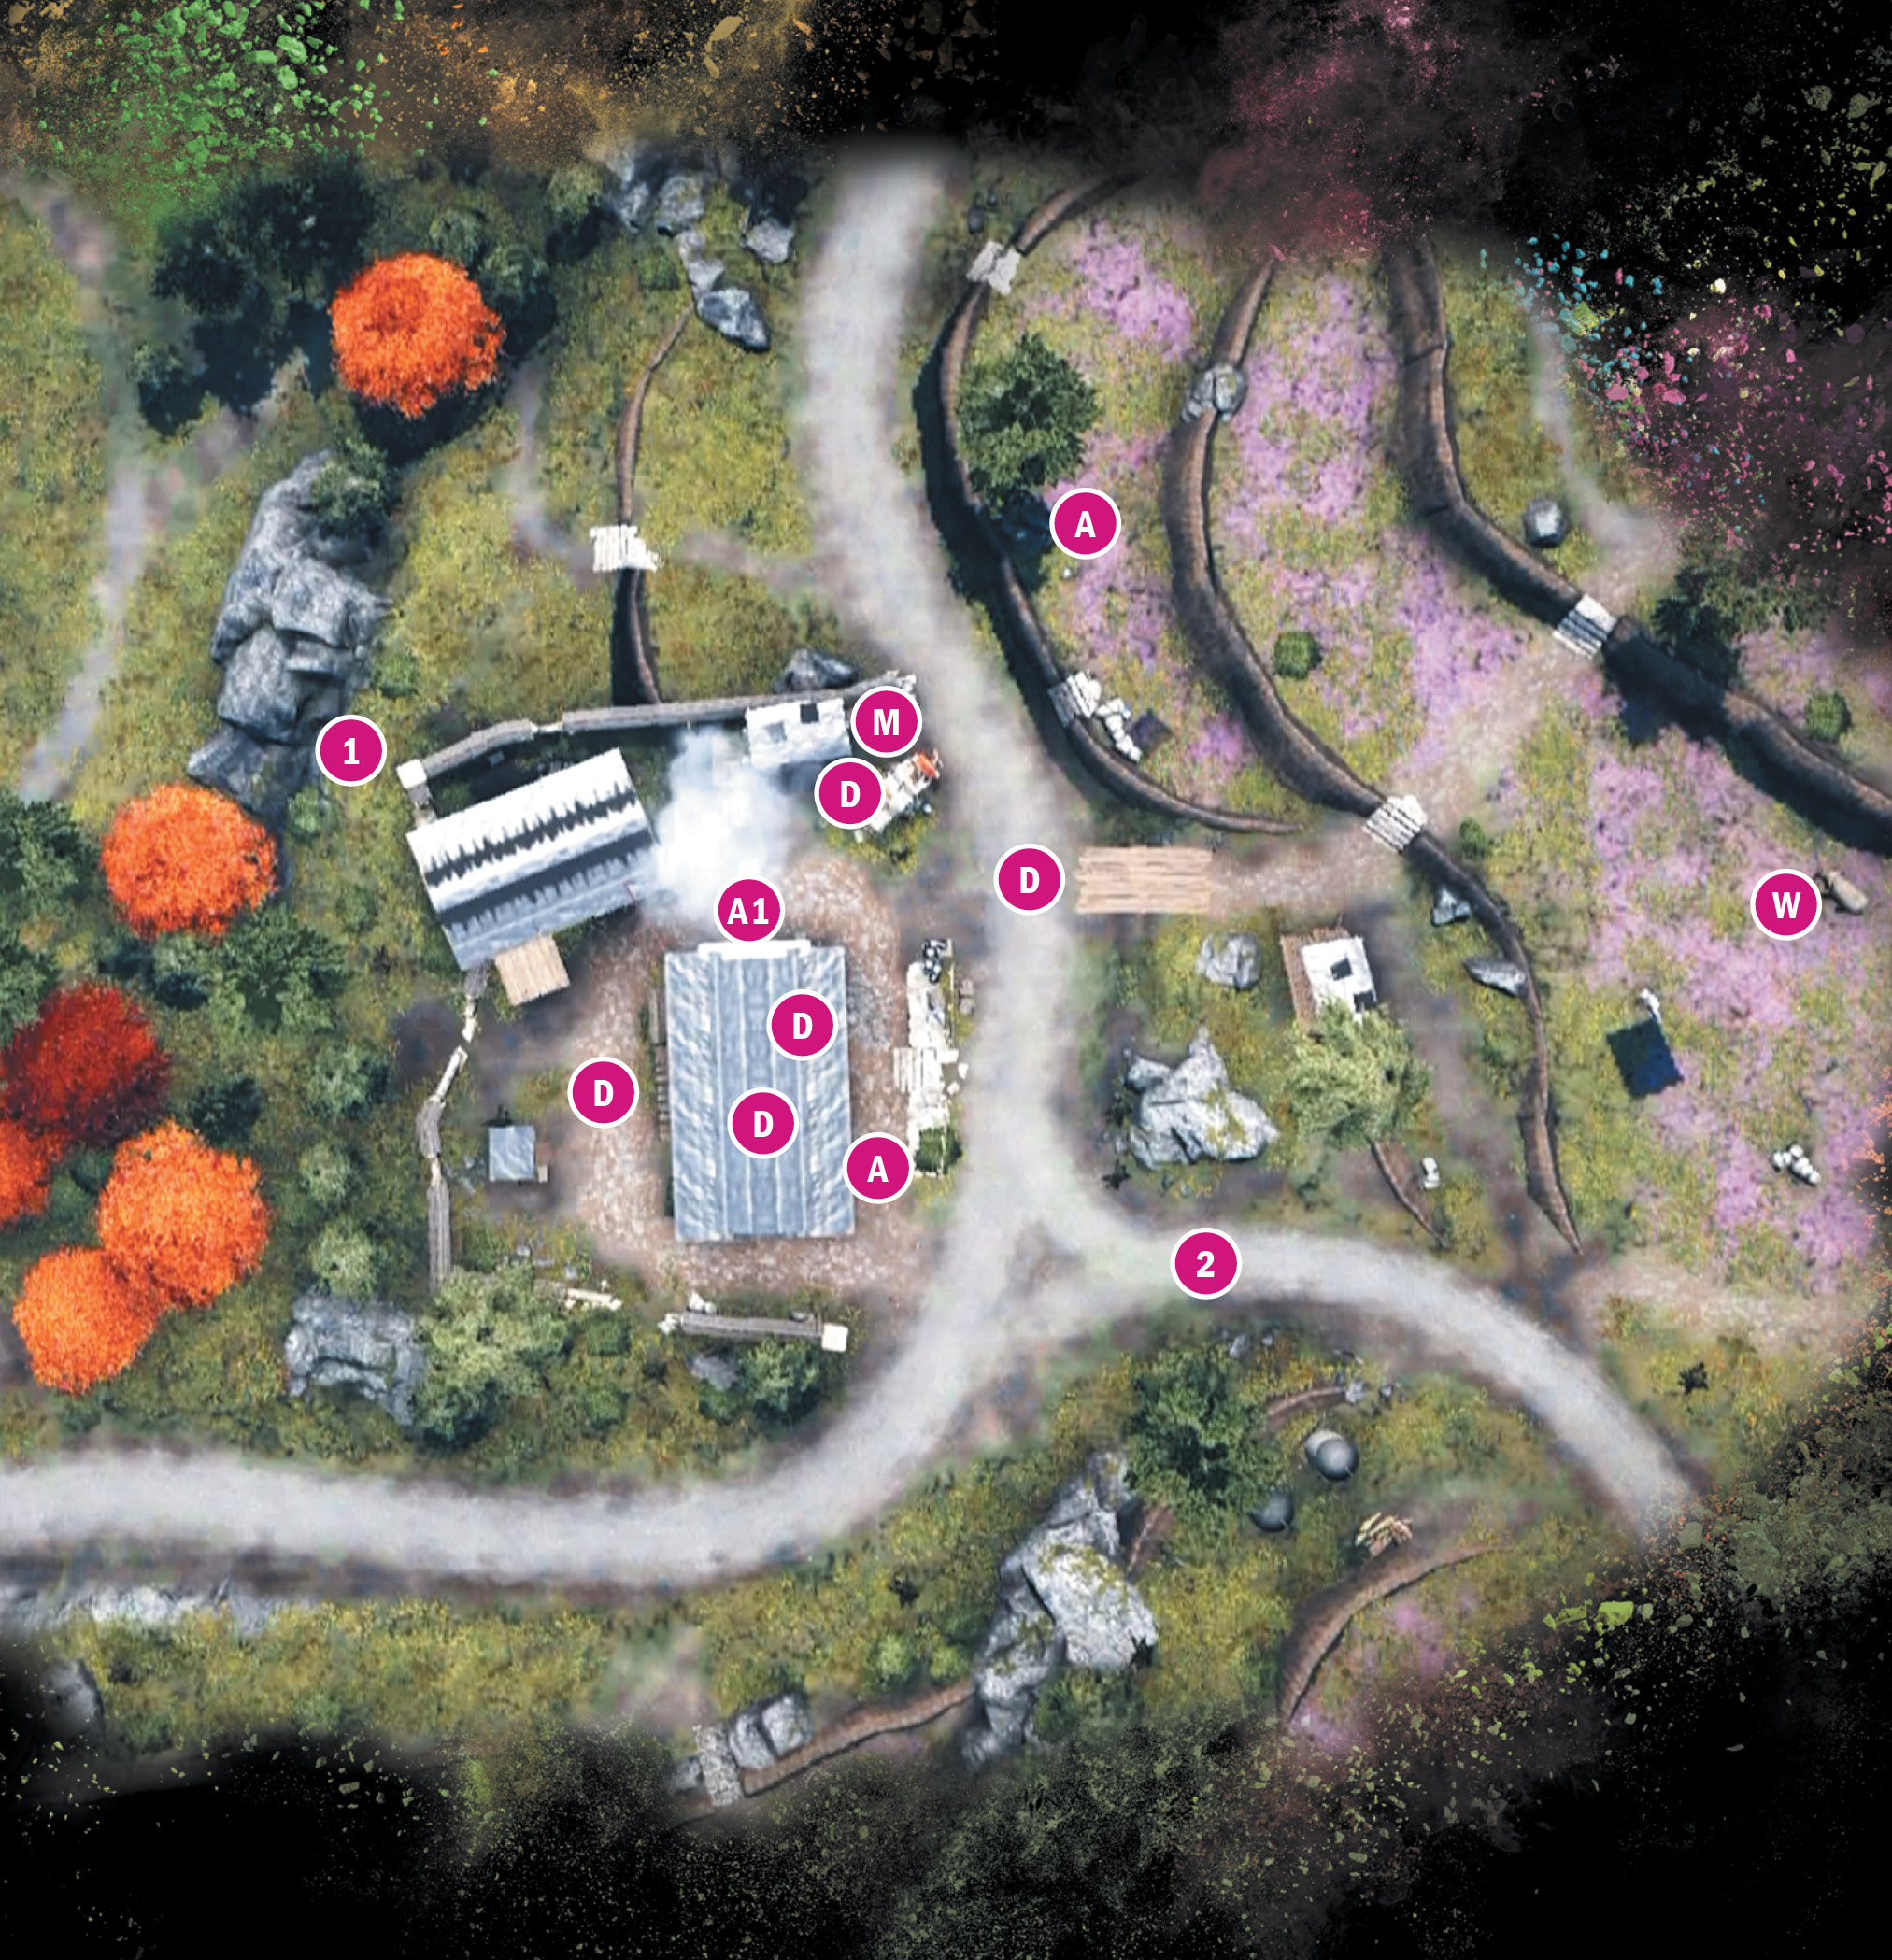
Kyra Tea Terraces
Location: x:394 y:328
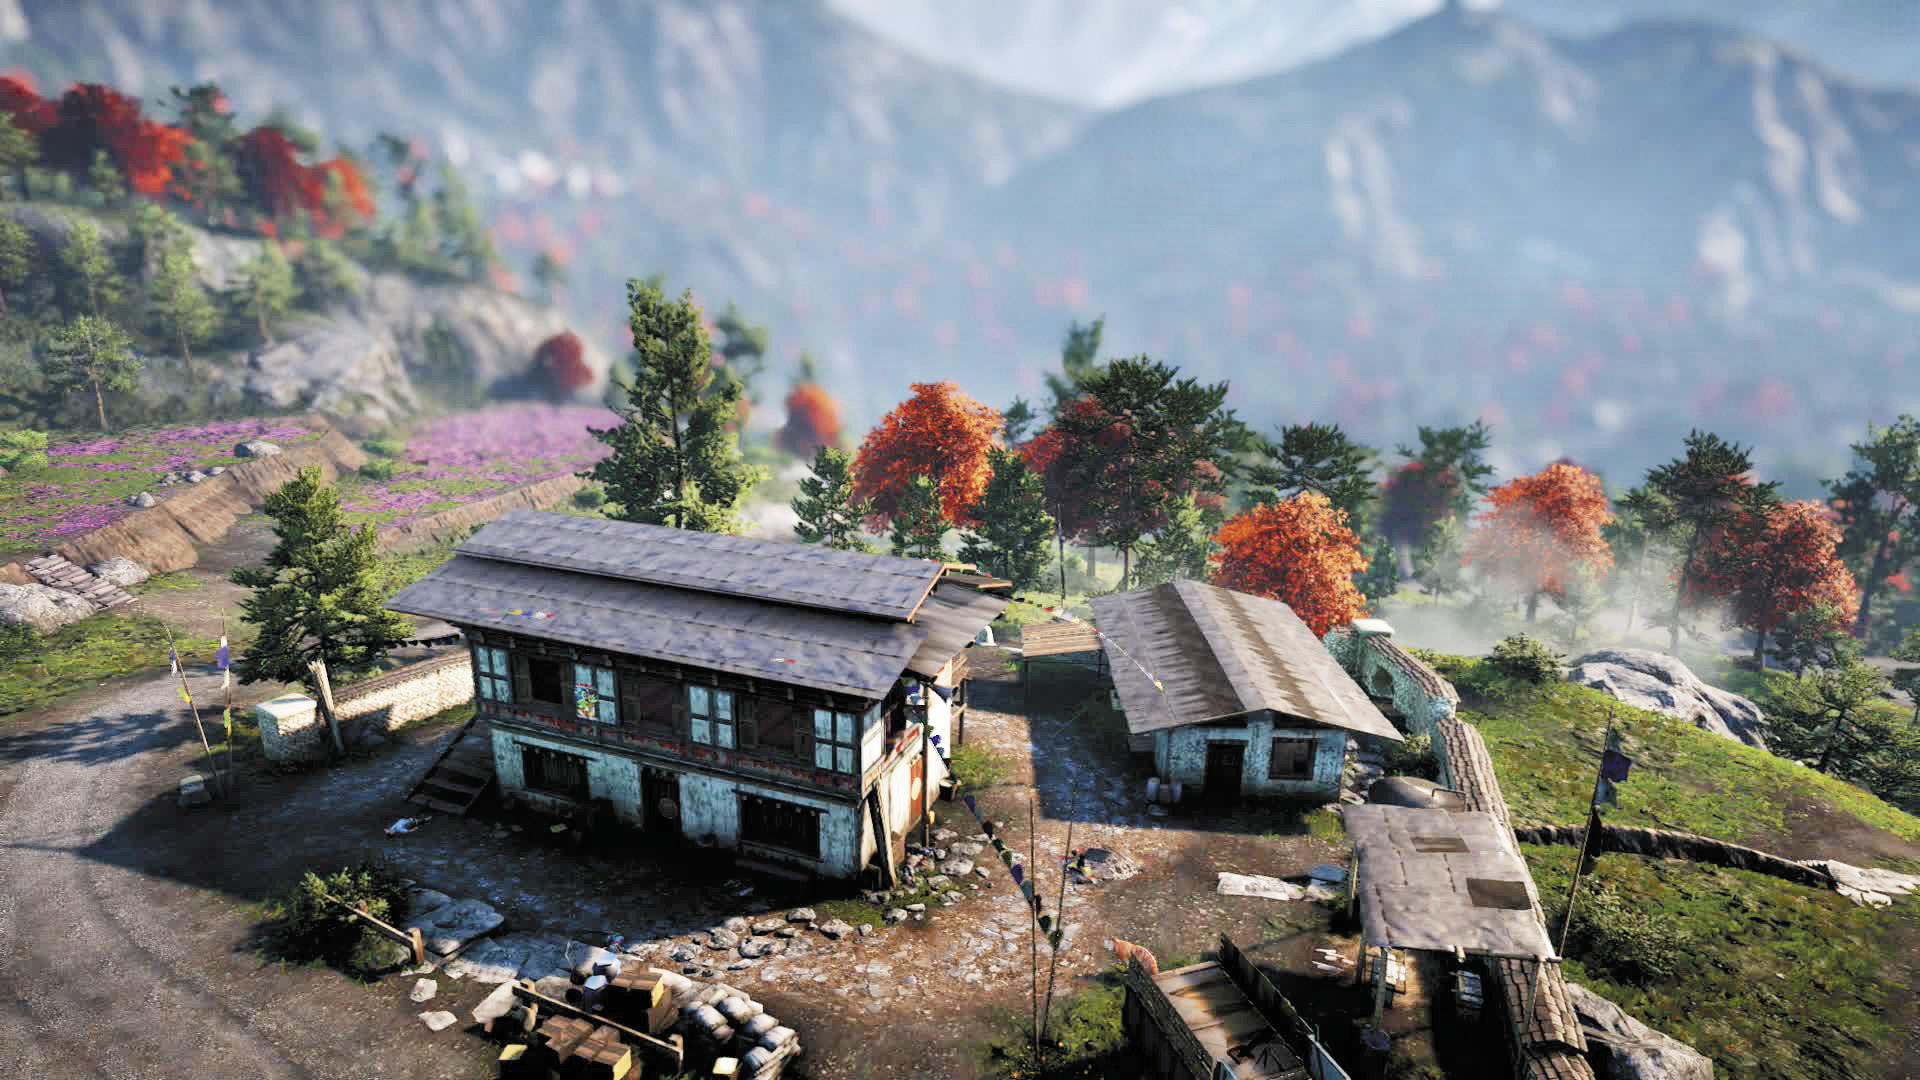
Picturesque poppy fields complemented by a powerful mortar and seriously formidable wildlife.
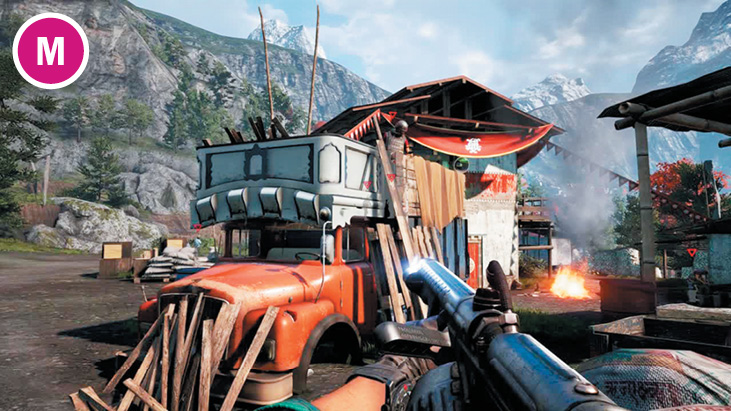
Don’t approach from the north. They have a guard manning a truck-mounted mortar and several more guards permanently looking in that direction, which makes it tough to sneak in. Of course, if you open with a rocket launcher salvo, that mortar won’t be much of a problem.
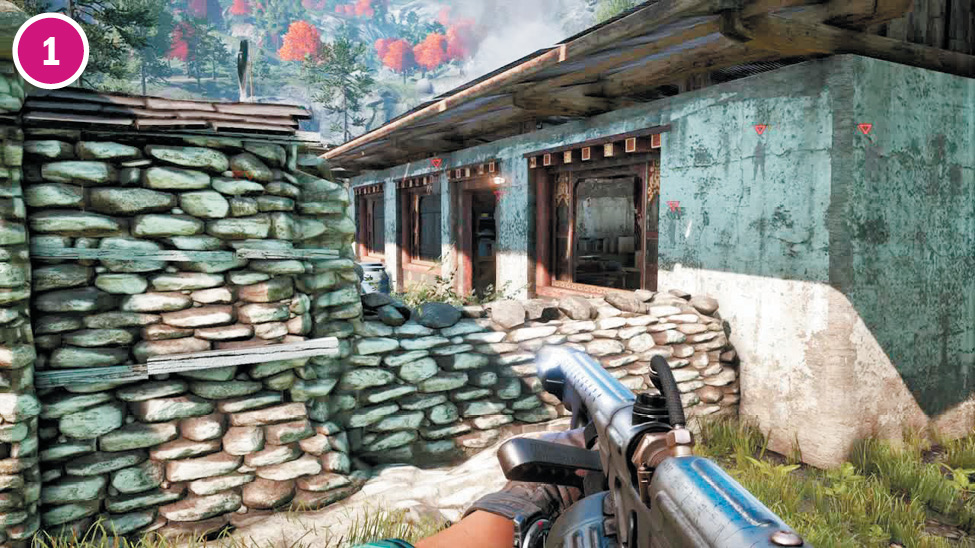
The wall is safe to approach from the west and has multiple holes and crossable gaps on its west/northwest edges. The hole at the northwest corner in particular is a strong entry point for stealth players. The nearby building provides excellent cover and puts you very close to the alarm.
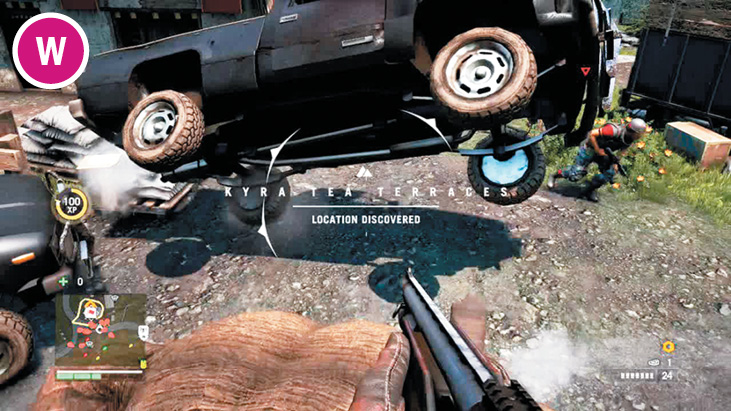
You’ll often find an elephant browsing in the poppy fields on the east side. There’s not a ton of cover to mask your approach, and one defender in the building always looks out the window. Then again, if you’re charging in on an elephant, that’s pretty much all the cover you need.

Note that this is Bengal tiger country, so any attempted stealth approach has a good chance of being disrupted by a tiger attack.
Notes:
 The alarm pole is on the north side of the compound, but difficult to snipe from that direction thanks to a wall.
 The gap in the southern wall provides quick access to the stairs leading to the main building’s second story.
 The defender placed in the middle of the road on this map actually walks a square that takes him from the big house to the field, around the sheltered table, and back again.
 The fields get higher the farther east you go. If you want to perch up here and snipe, go for it. Just be sure to take the mortar operator first.
 Reinforcements here will drive in from the east in two trucks. Use that knowledge to your advantage.
Kyra Tea Terraces
 Alarm
Alarm
 Assaulter
 Defender
 Mortar
 Wild Elephant
Note: Enemy locations on map are approximate. Enemies often roam or go on rounds. Always scout ahead.
Kyra Tea Weigh Station
Location: x:345 y:379
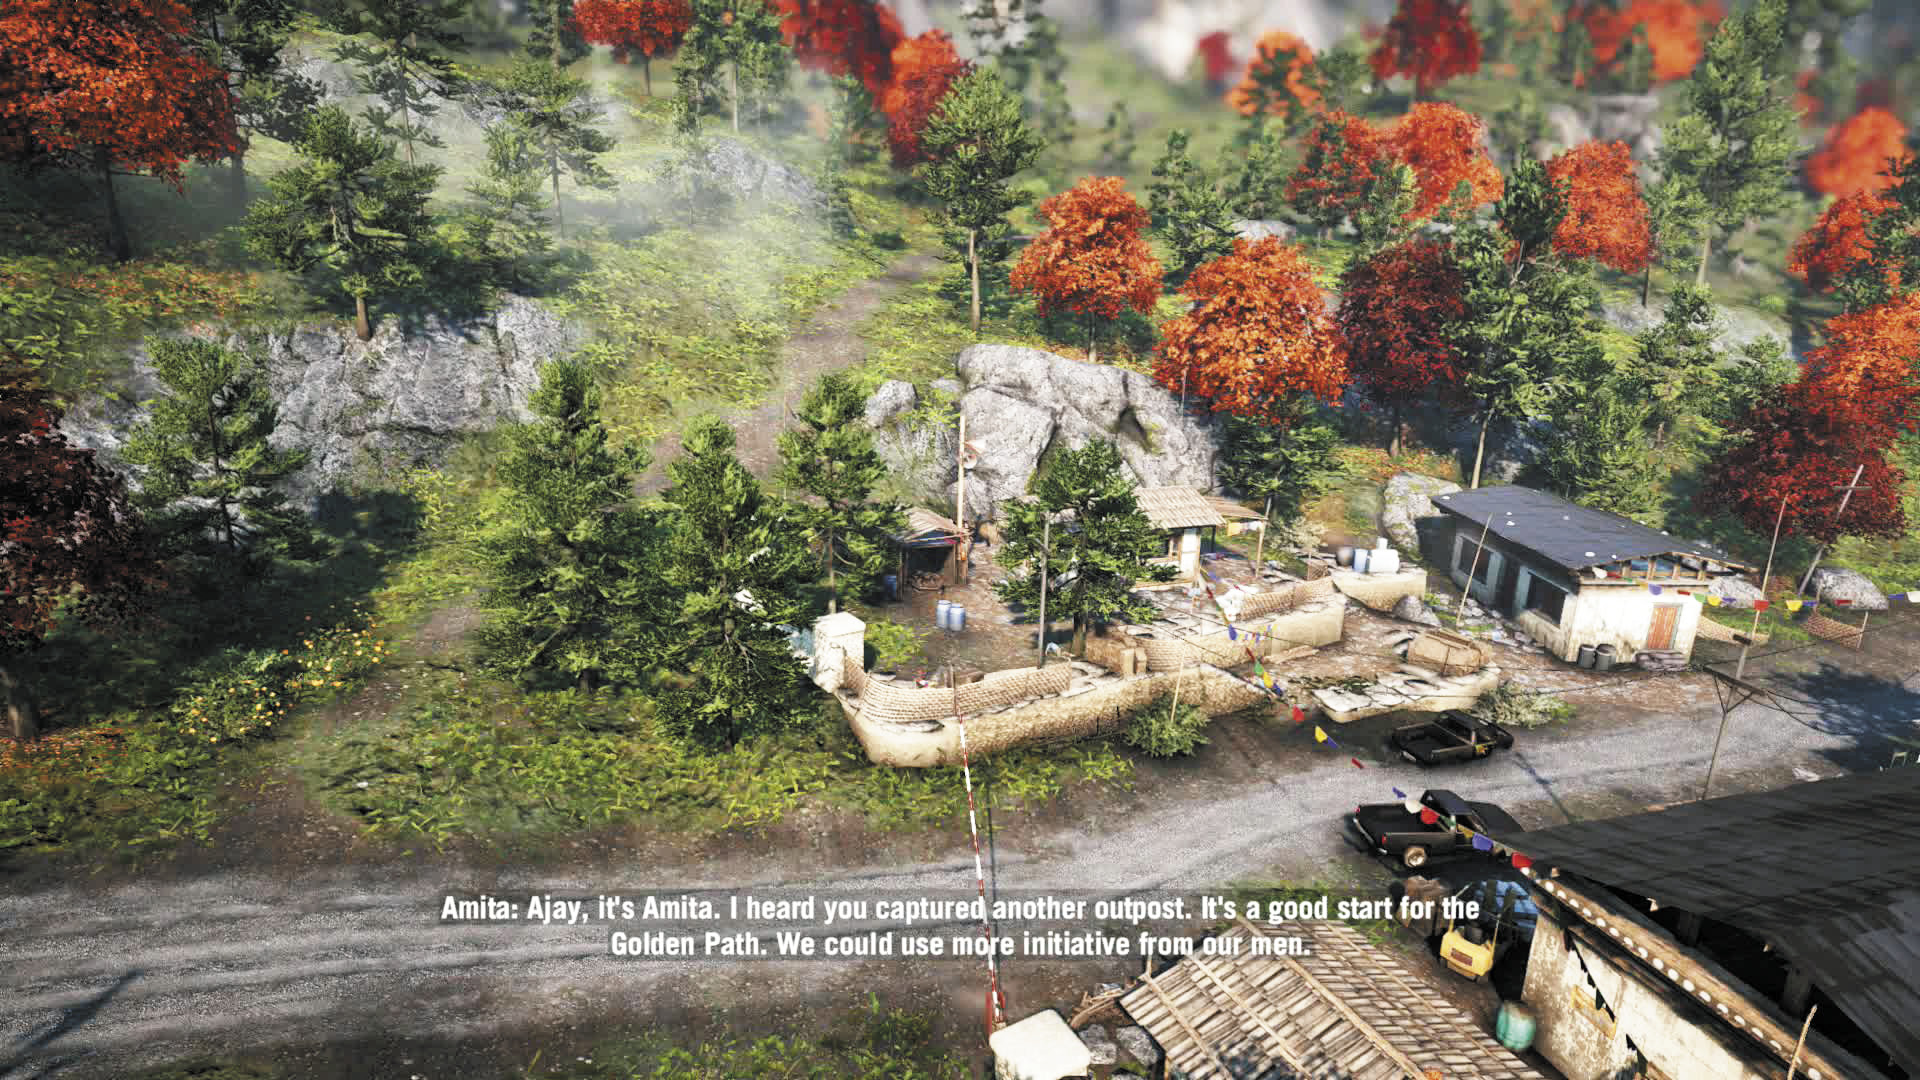
This simple-looking site straddles a road and touches a river, and turns out to have a wealth of strategic options.
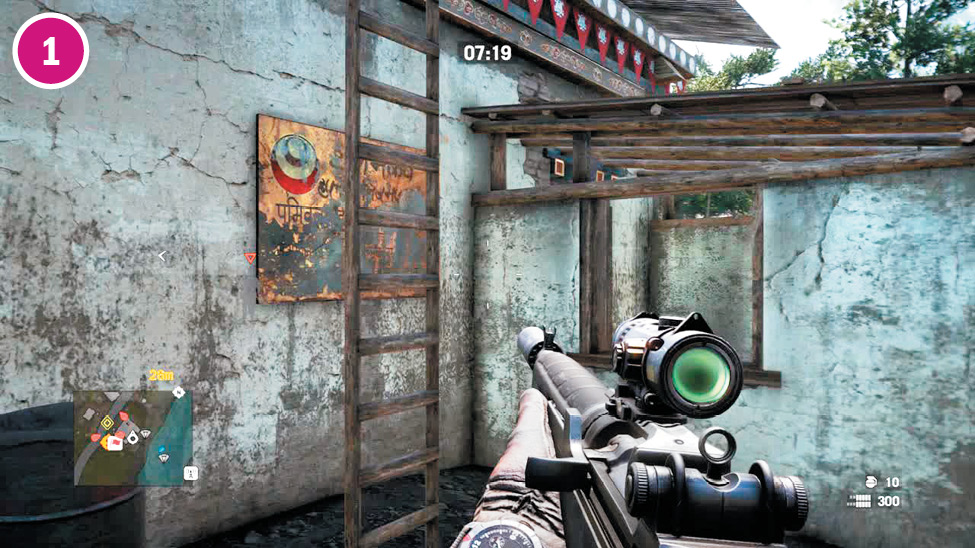
Especially at night, you should be able to slip in along the eastern river bank, where the stone foundation provides strong cover. A ladder hanging from the large building leads up to the roof, where a hole drops you onto a sort of false ceiling—a great hiding place from which to pop up, snipe a foe, and drop back down.
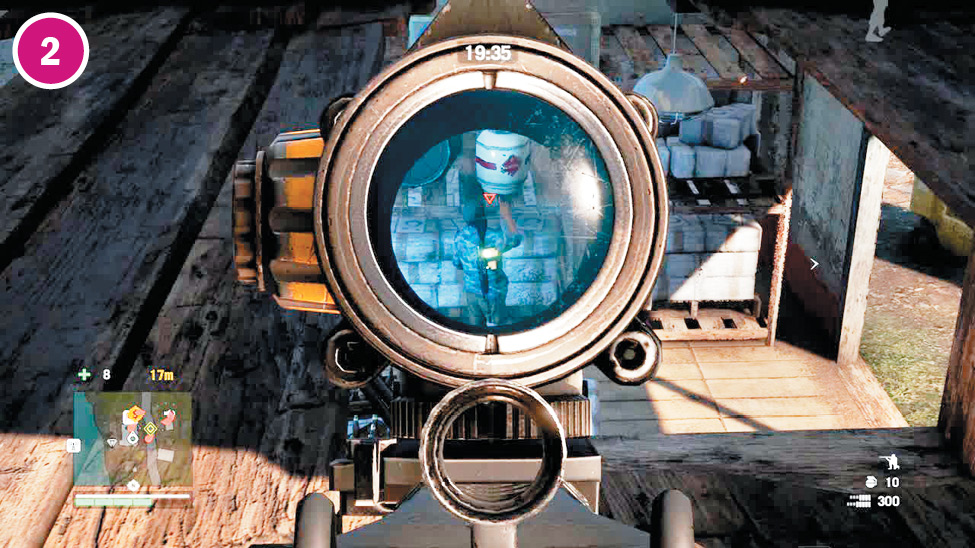
There’s an explosive propane tank on the far patio, and another inside the building with the hole in its roof.
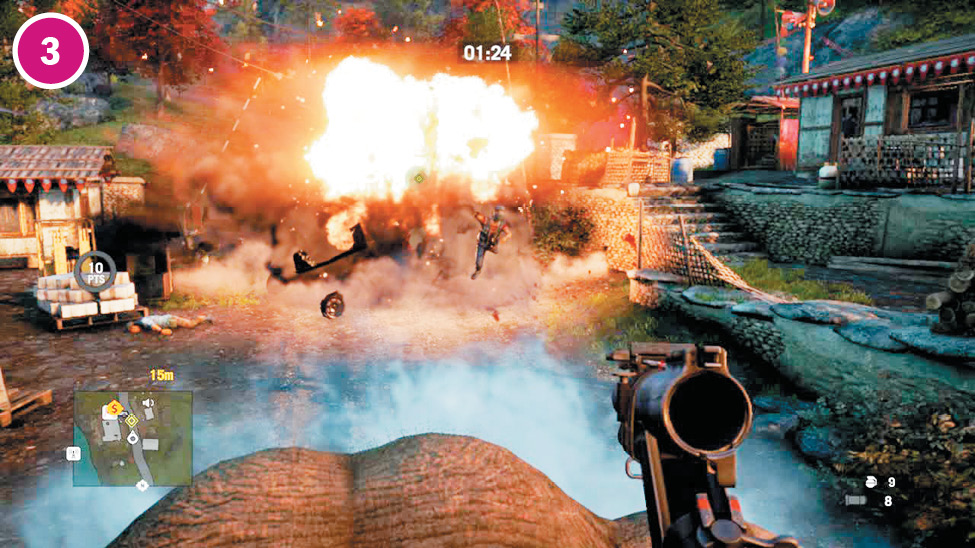
Reinforcements on this map come up the road from the south, in two trucks. Meet them with mines, C4, or maybe grenades launched from elephantback.
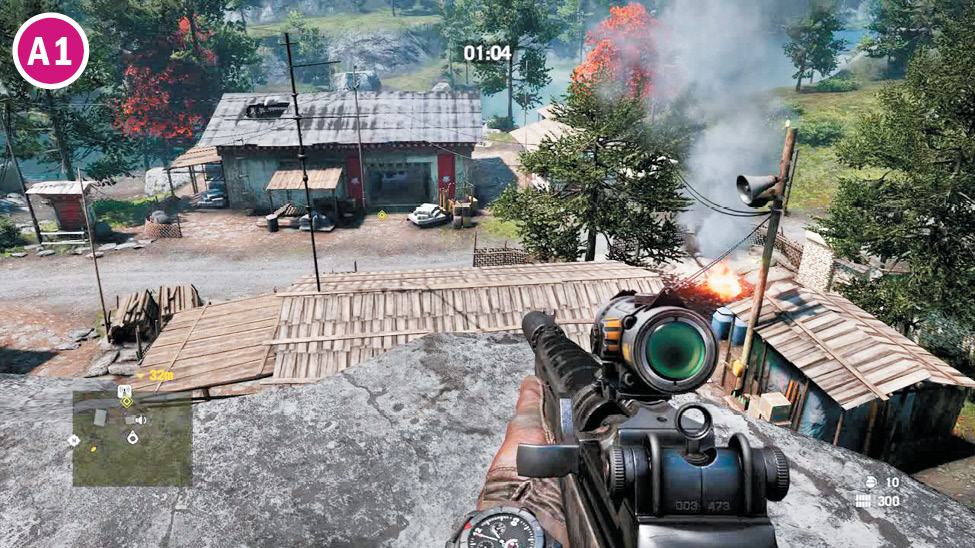
The alarm pole is located on the raised patio of the smaller building on the west side of the compound. If you come in from the hills to the west, you can snipe almost the entire camp. The right-side slopes of the northern road also have tons of cover, great for slipping behind buildings and getting to the alarm before they know you’re there.
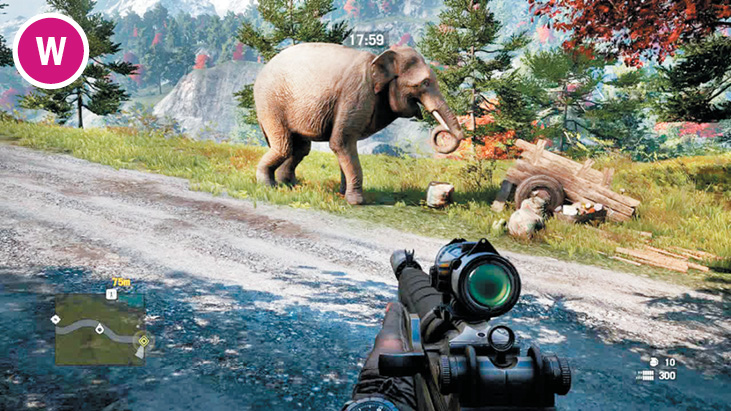
The north side of this map always has an elephant snacking on an overturned vegetable cart. He’s not super difficult to spook or anger into charging into town. And if you have the Elephant Rider skill? Even better.
Kyra Tea Weigh Station
 –
– Alarm
Alarm
 Assaulter
 Berserker
 Defender
 Wild Elephant
Note: Enemy locations on map are approximate. Enemies often roam or go on rounds. Always scout ahead.
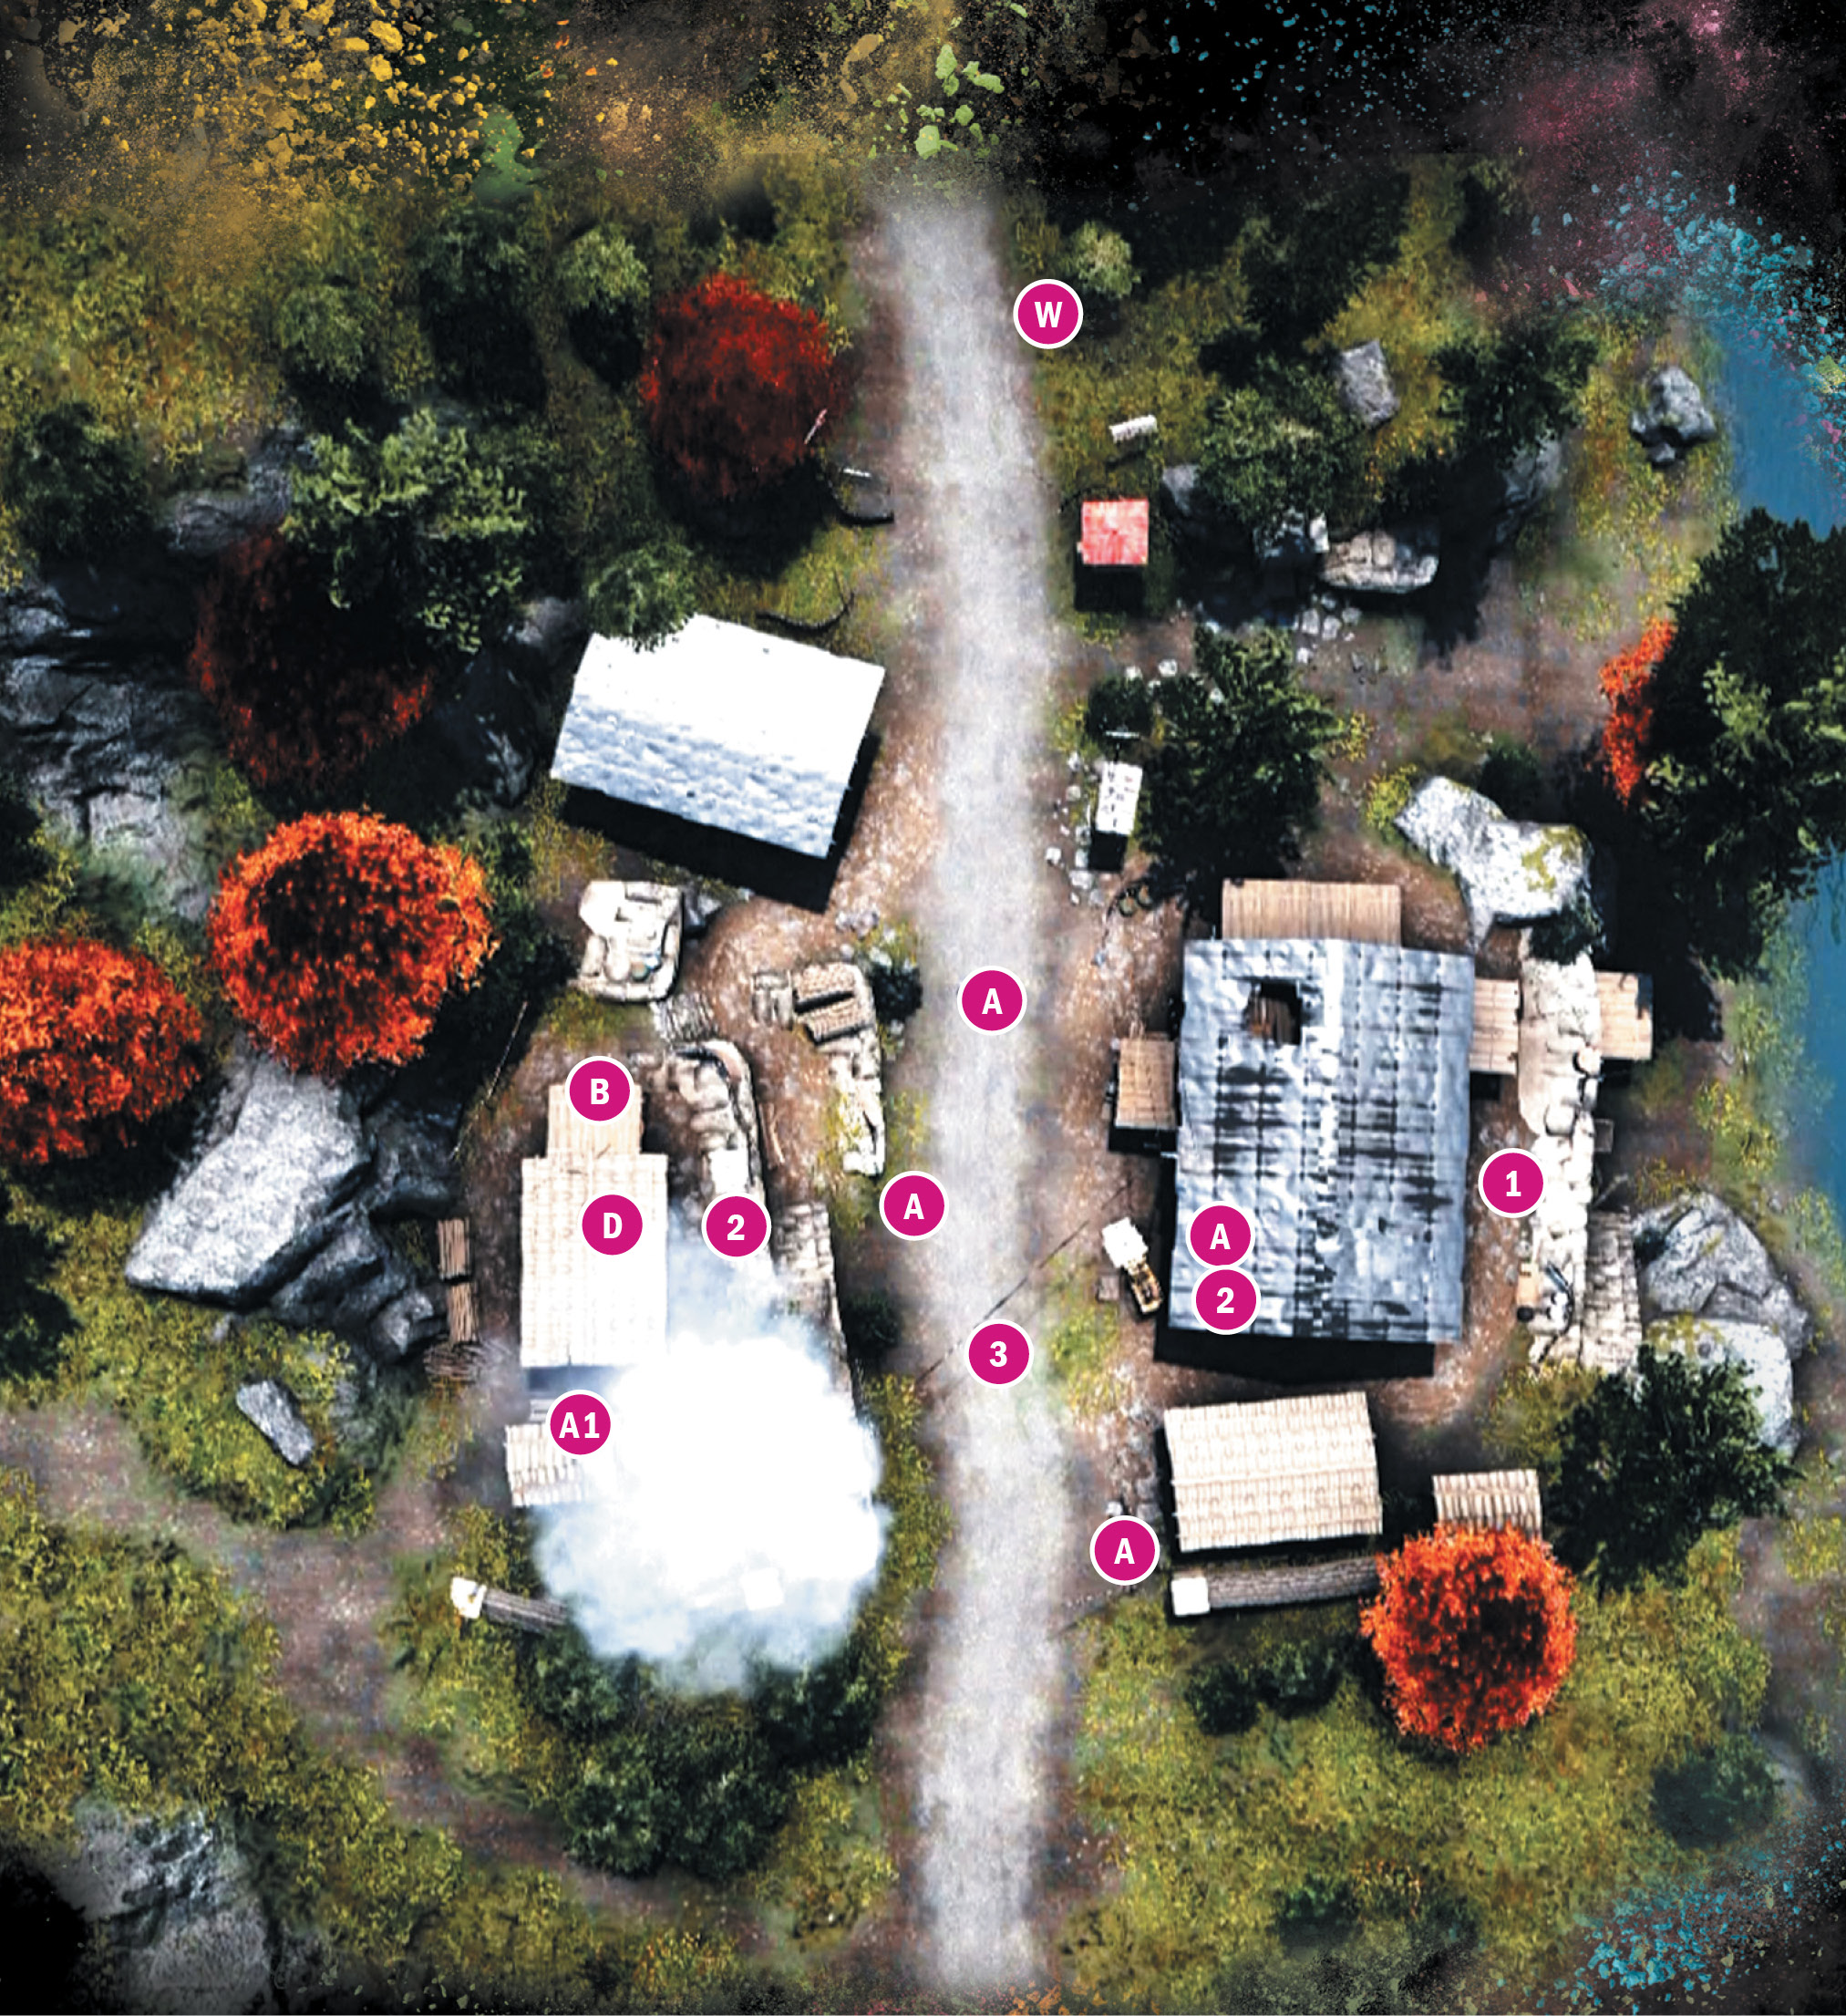
Lhumtse Barracks
Location: x:783 y:605
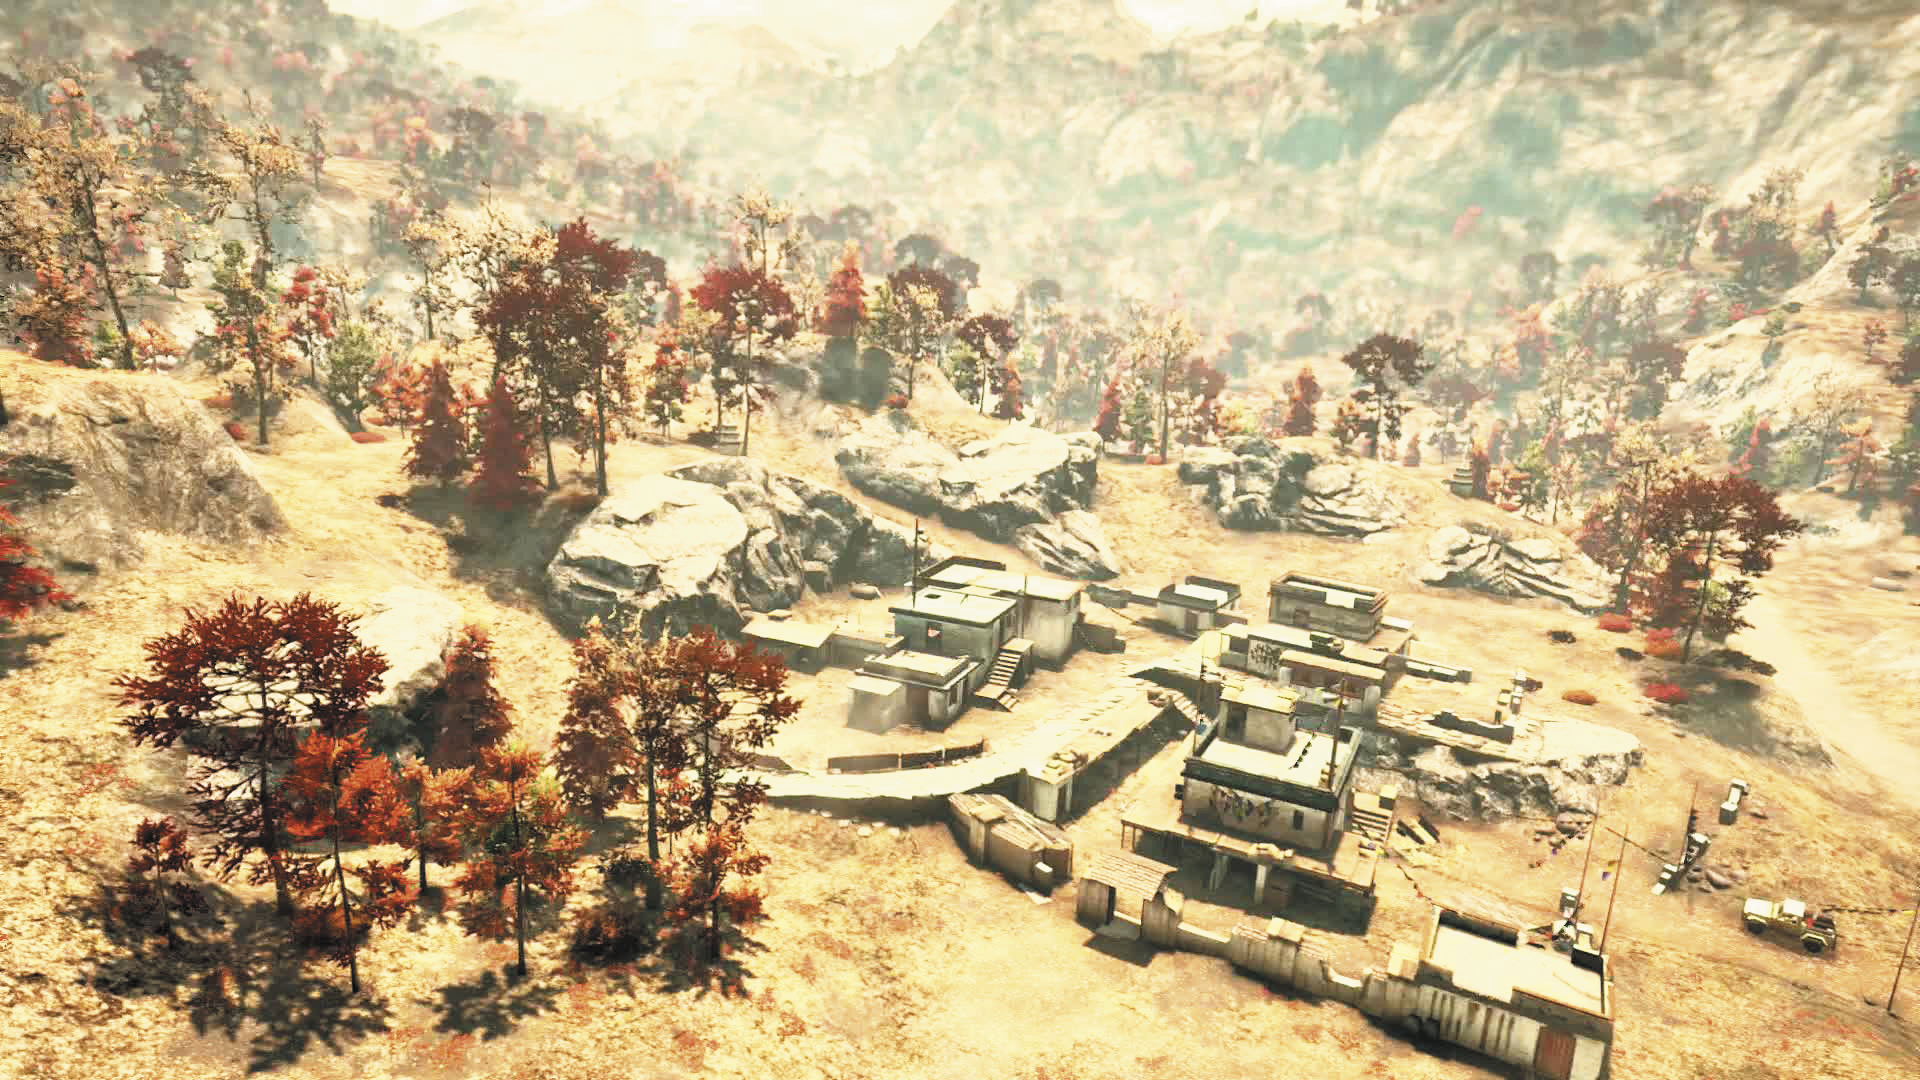
With alarms on rooftops, heavies in trenches, and other threats in between, this tight block of structures is a game of levels.
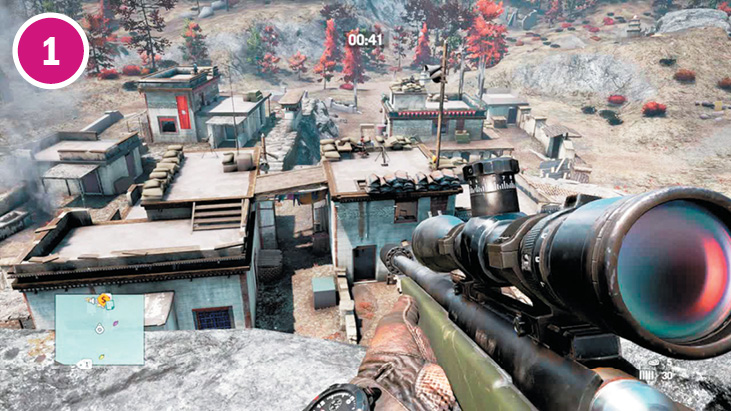
Many of the cliffs in the northeast have little cover, but give a sniper a full view of every rooftop in town. But kill the mortar operator first.
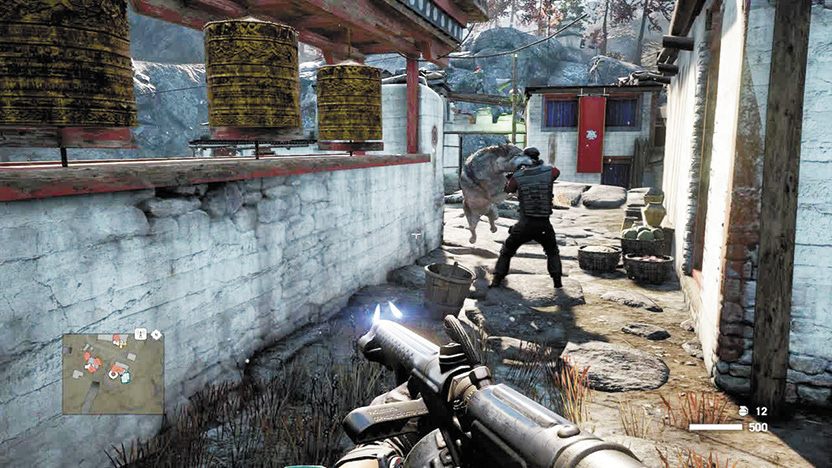
This is serious wolf country. If you don’t get wolves charging in while you’re trying to take over, a little bait will bring them running. Just remember they’ll go after you as well as your enemies.
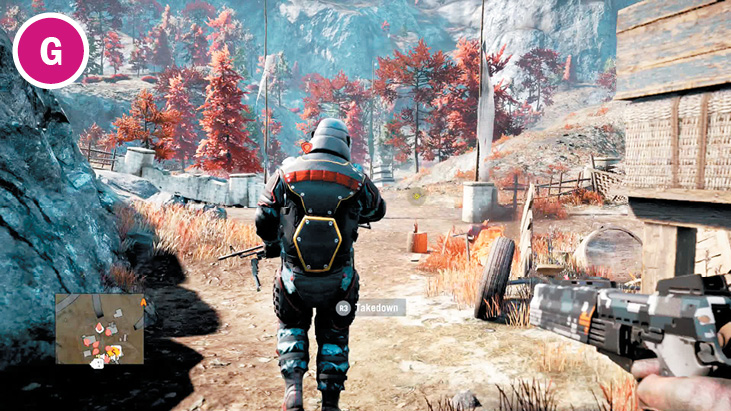
The heavy gunners in the southeast and southwest walk all around their buildings. This means they can be lured away and dispatched out of sight.
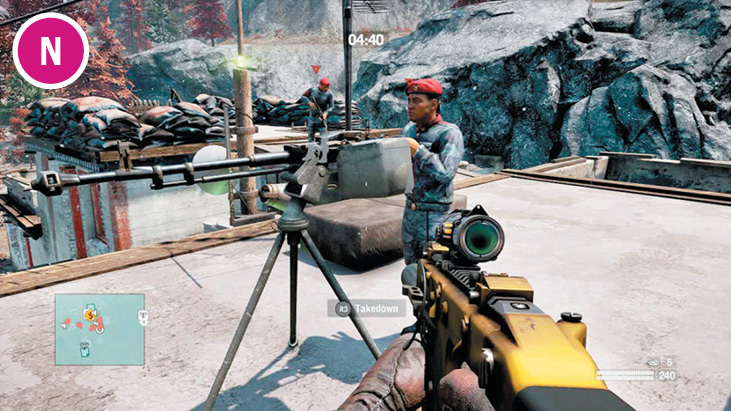
The soldiers here really love the mounted gun. Once they know you’re around, any time it’s unmanned, someone will jump onto it. You can get three or more easy kills by just letting yourself be seen, then sniping the parade of chargers who volunteer to operate the gun.
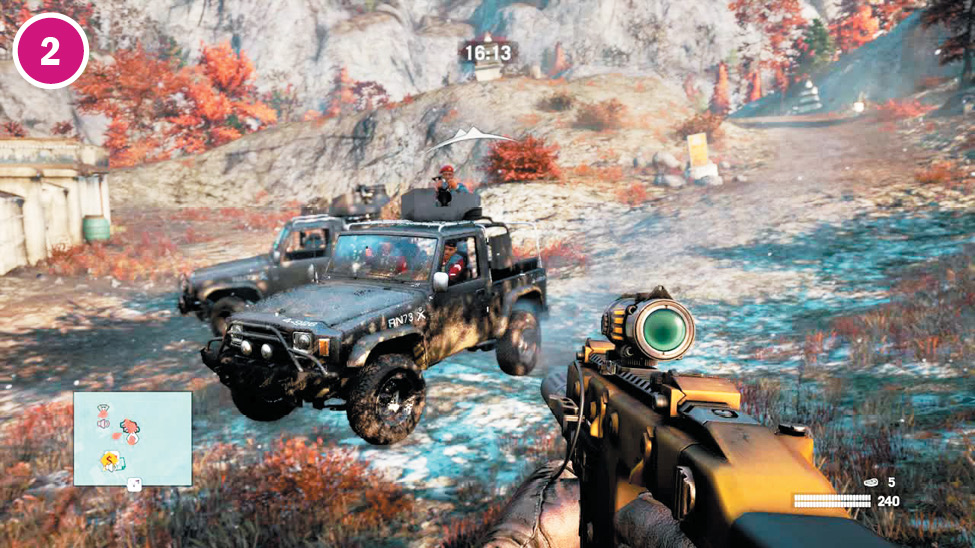
The first wave of reinforcements comes up from the south in two technicals. One comes up the middle and one around the west side. The second wave actually does come via the west road, and is again two technicals. The third wave is again from the south, but is a single technical with a mounted grenade launcher.
Notes:
 Alarms A1 and A3 are on rooftops, so don’t panic if you can’t see them from the ground. There are ladders up in the buildings below, as well as places to climb up on the outside.
 The charger and assaulter in the north often practice their combat moves in the yard. Keep an eye out. They put on a good show.
Lhumtse Barracks
 –
– Alarm
Alarm
 Assaulter
 Charger
 Heavy Gunner
 Mortar
 Machine Gun Nest
 Sniper
 Wolf in a Cage
Note: Enemy locations on map are approximate. Enemies often roam or go on rounds. Always scout ahead.
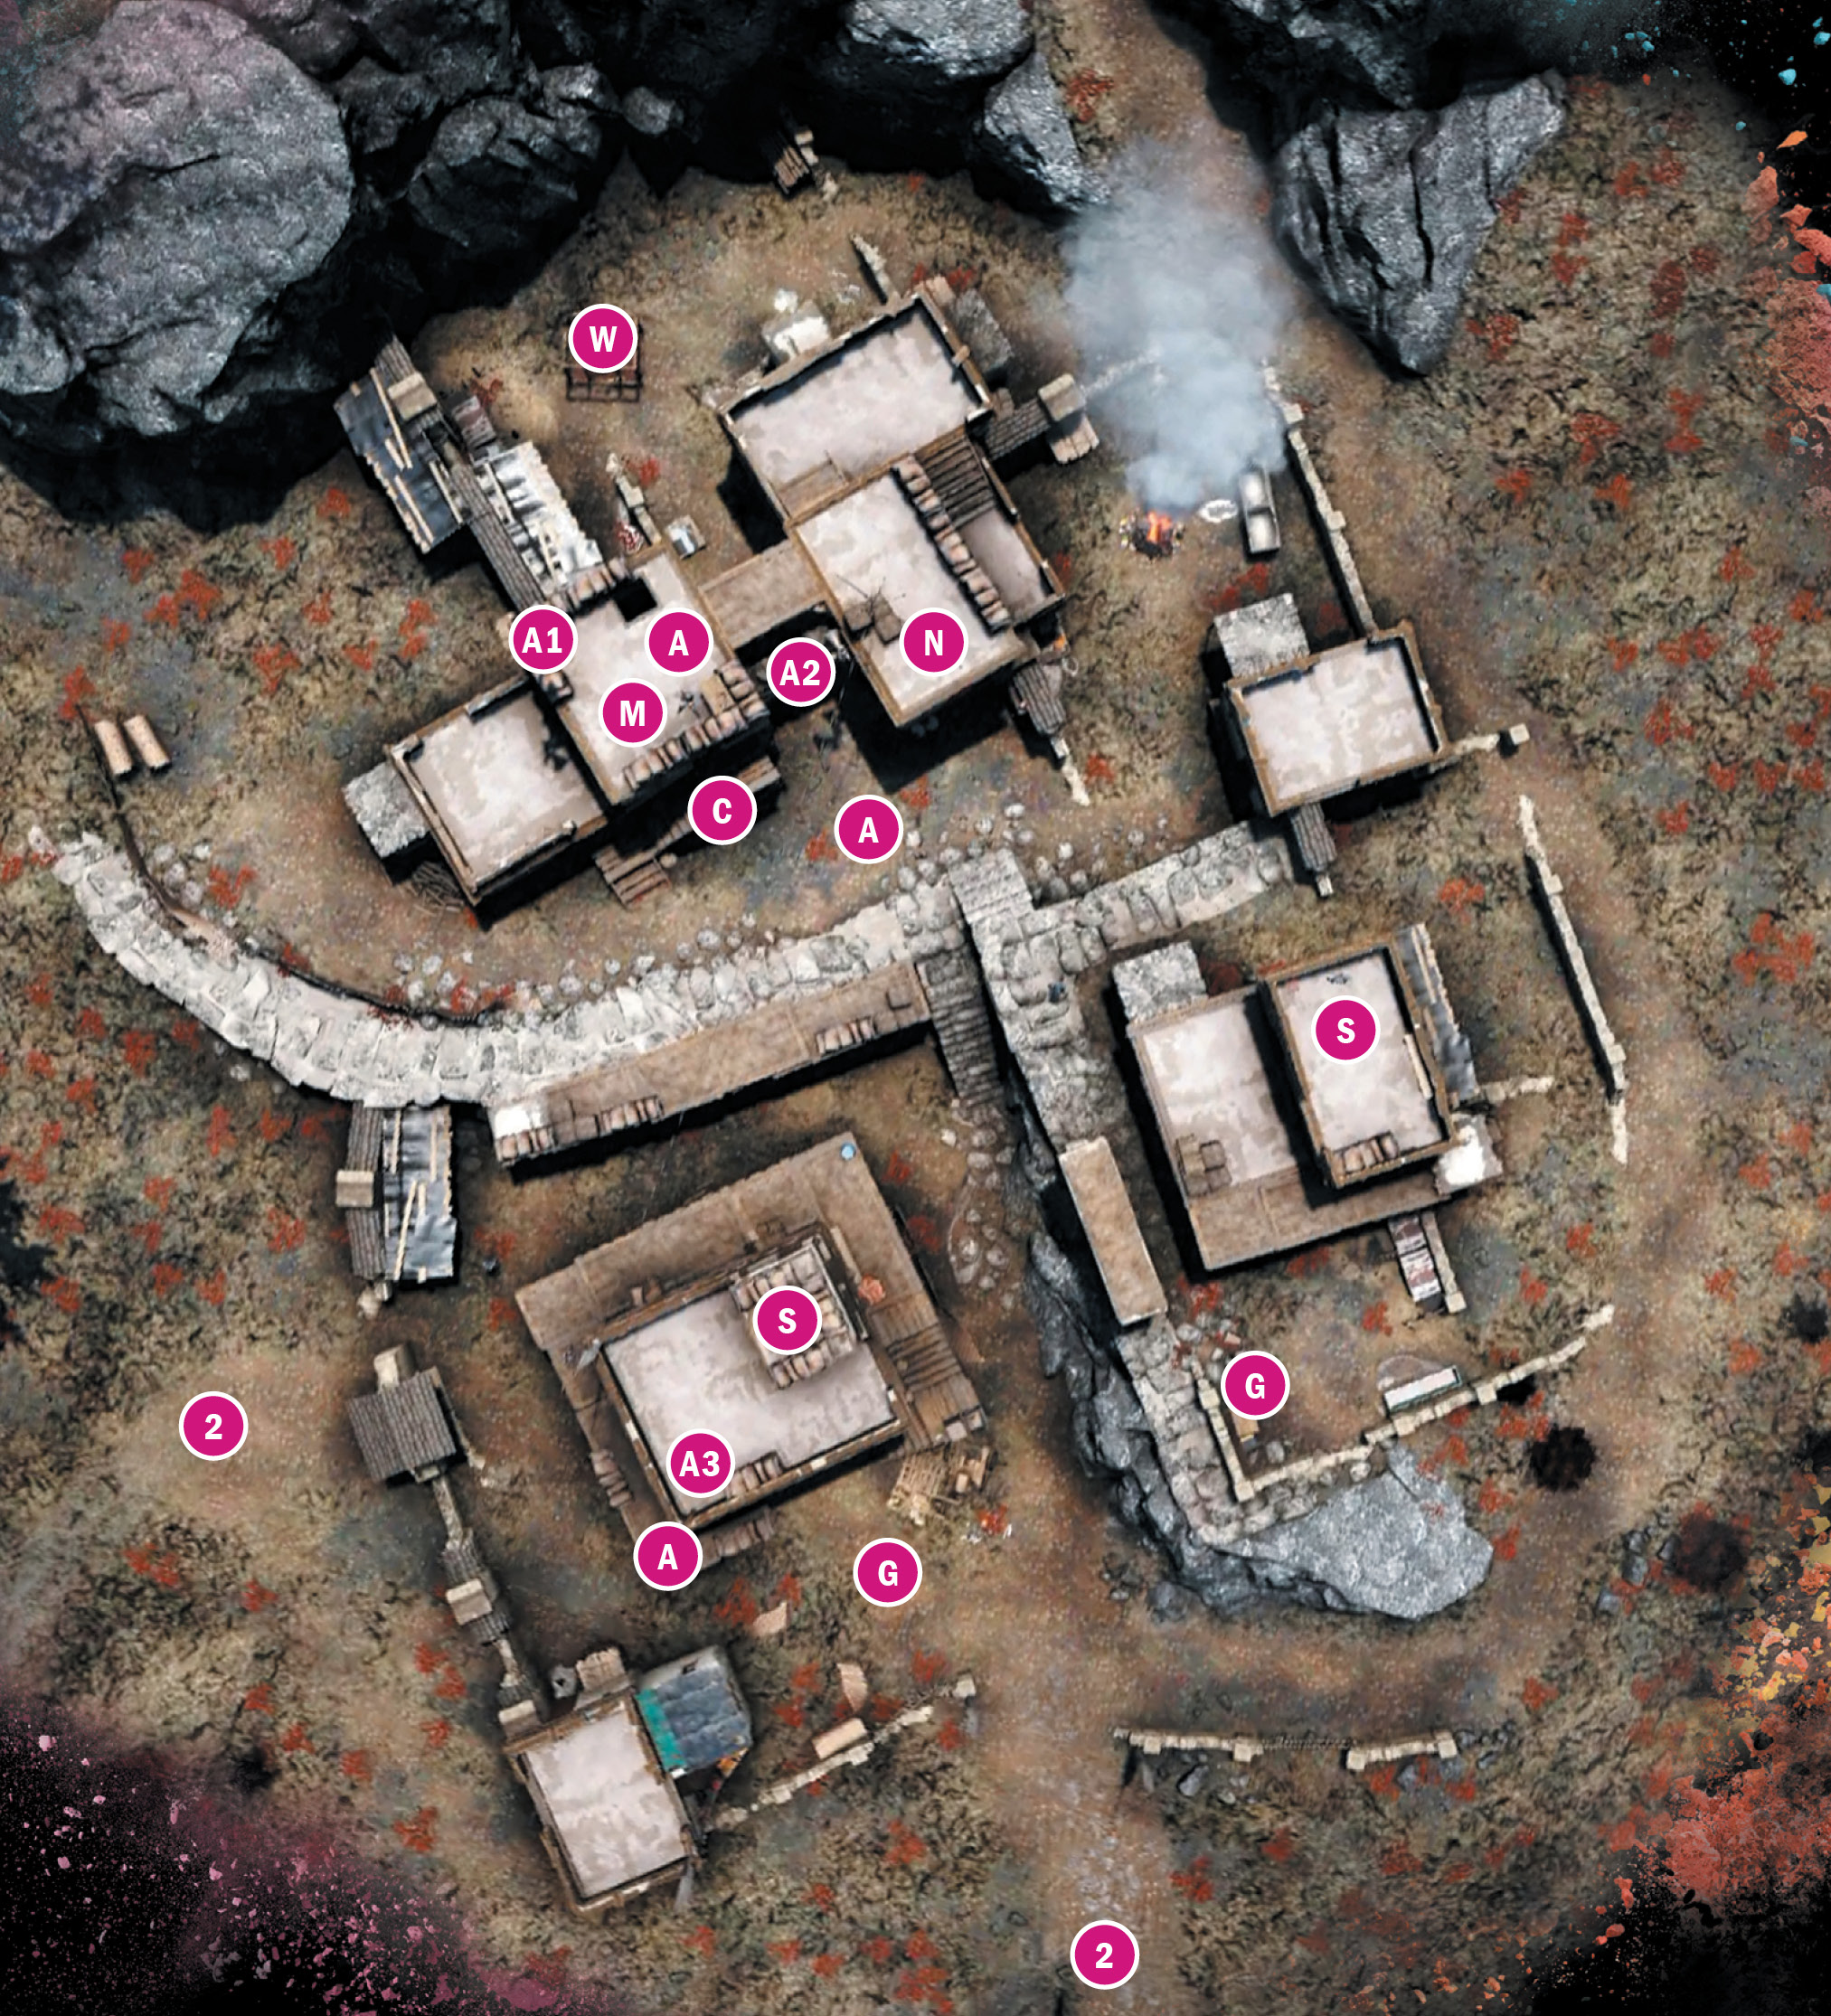
Namboche Monastery
Location: x:804 y:726
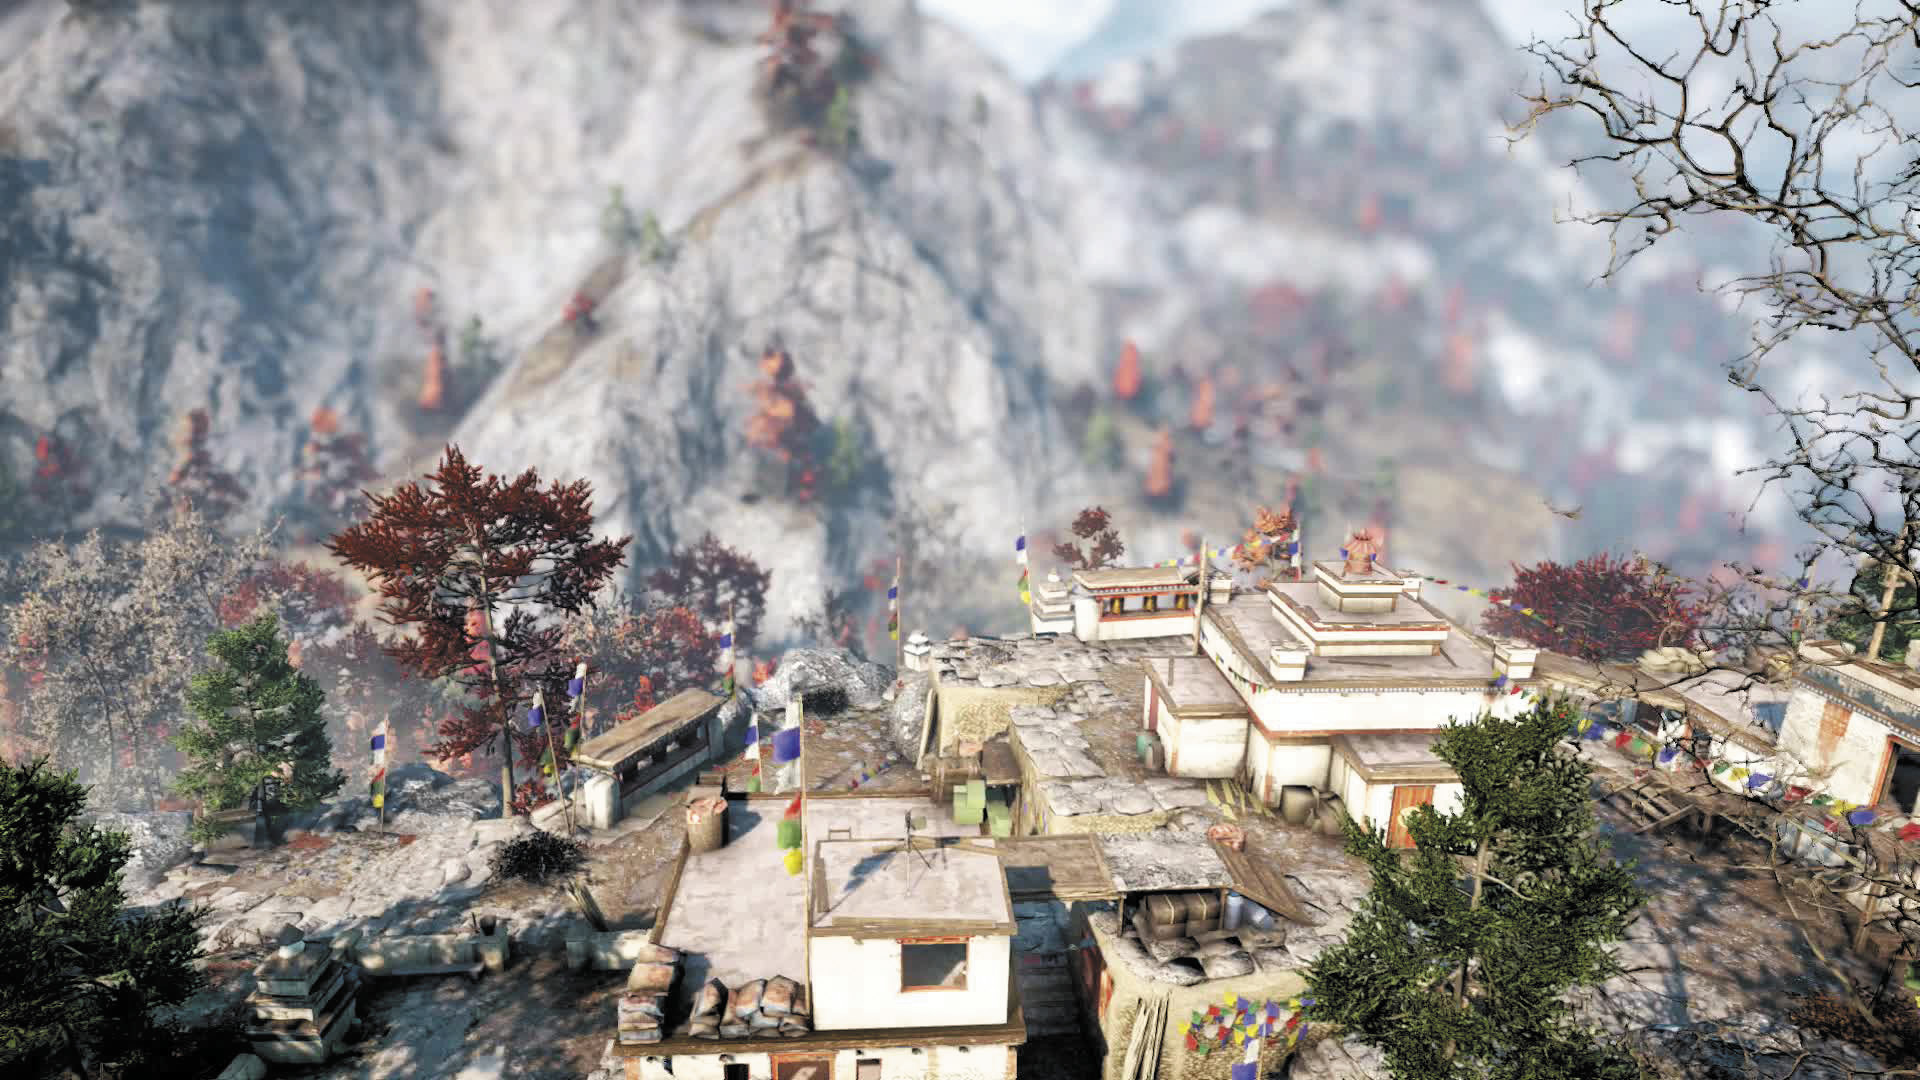
Heavily defended by nigh-overwhelming reinforcements, this narrow strip of buildings perches on the edge of a mountain, daring you to slip in and try to take it.
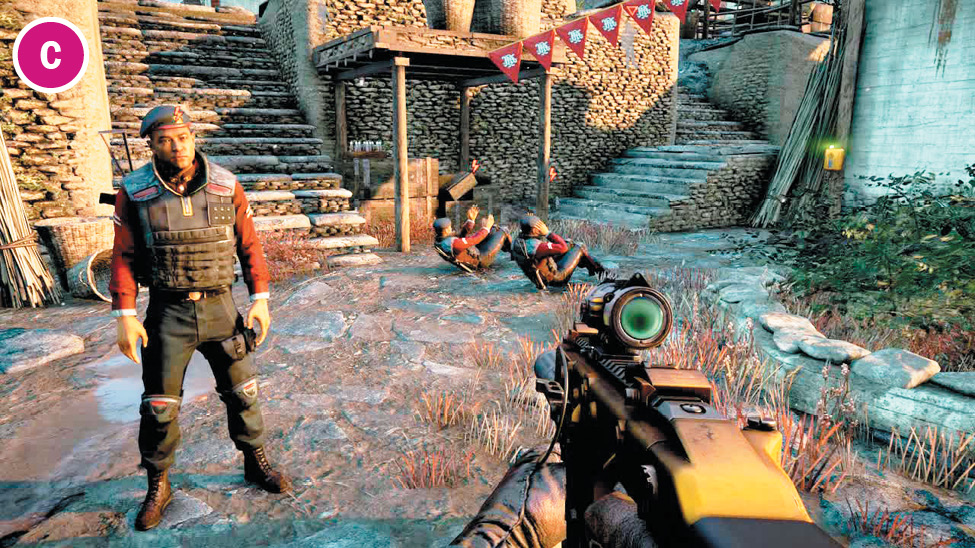
The chargers wander across a wide area, but they love to congregate in the northern clearing and exercise.
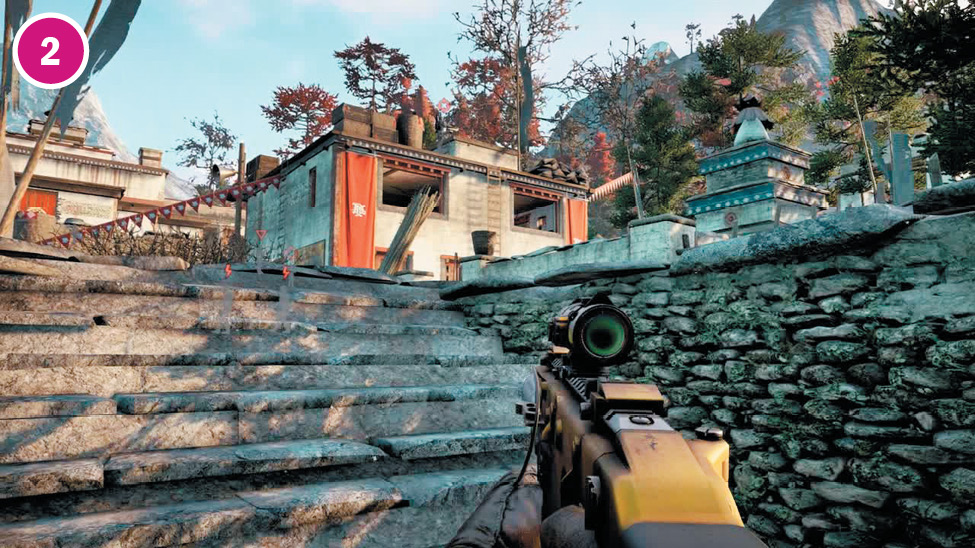
A small stairway in the north also offers a viable insertion point. It’s narrow, cutting down the chances of enemies seeing you, and it’s just a quick dash to the building with the machine gun on its roof. Enemies are thick here, but the building has more stairs and ladders than even they can cover.
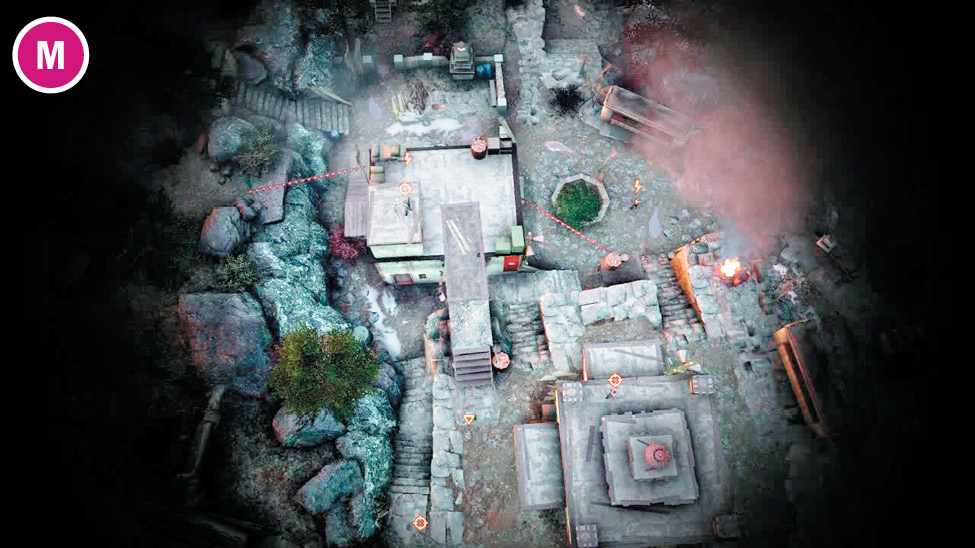
The mortar in the south can reach most of the northern half the camp. This is useful when reinforcements begin to swarm in.

Reinforcements on this map come hard. Wave 1 is a mix of chargers, snipers, and a heavy flamer that come on foot from the west. Wave 2 also comes from the west, but in two technicals with mounted grenade launchers. Wave 3 is a pair of helicopter gunships.
Notes:
 The south side is a strong insertion point. You can grapple up from below on the south side of the monastery and sneak through a gap in the wall. You can then slip around and up the stairs of the southernmost building, which gives you fast access to a defender, the mortar, and alarm A3. Watch for the rocketeer and the nearby sniper, though.
Namboche Monastery
 –
– Alarm
Alarm
 Charger
 Defender
 Mortar
 Machine Gun Nest
 Rocketeer
 Sniper
Note: Enemy locations on map are approximate. Enemies often roam or go on rounds. Always scout ahead.
Open Hearts Clinic
Location: x:386 y:674
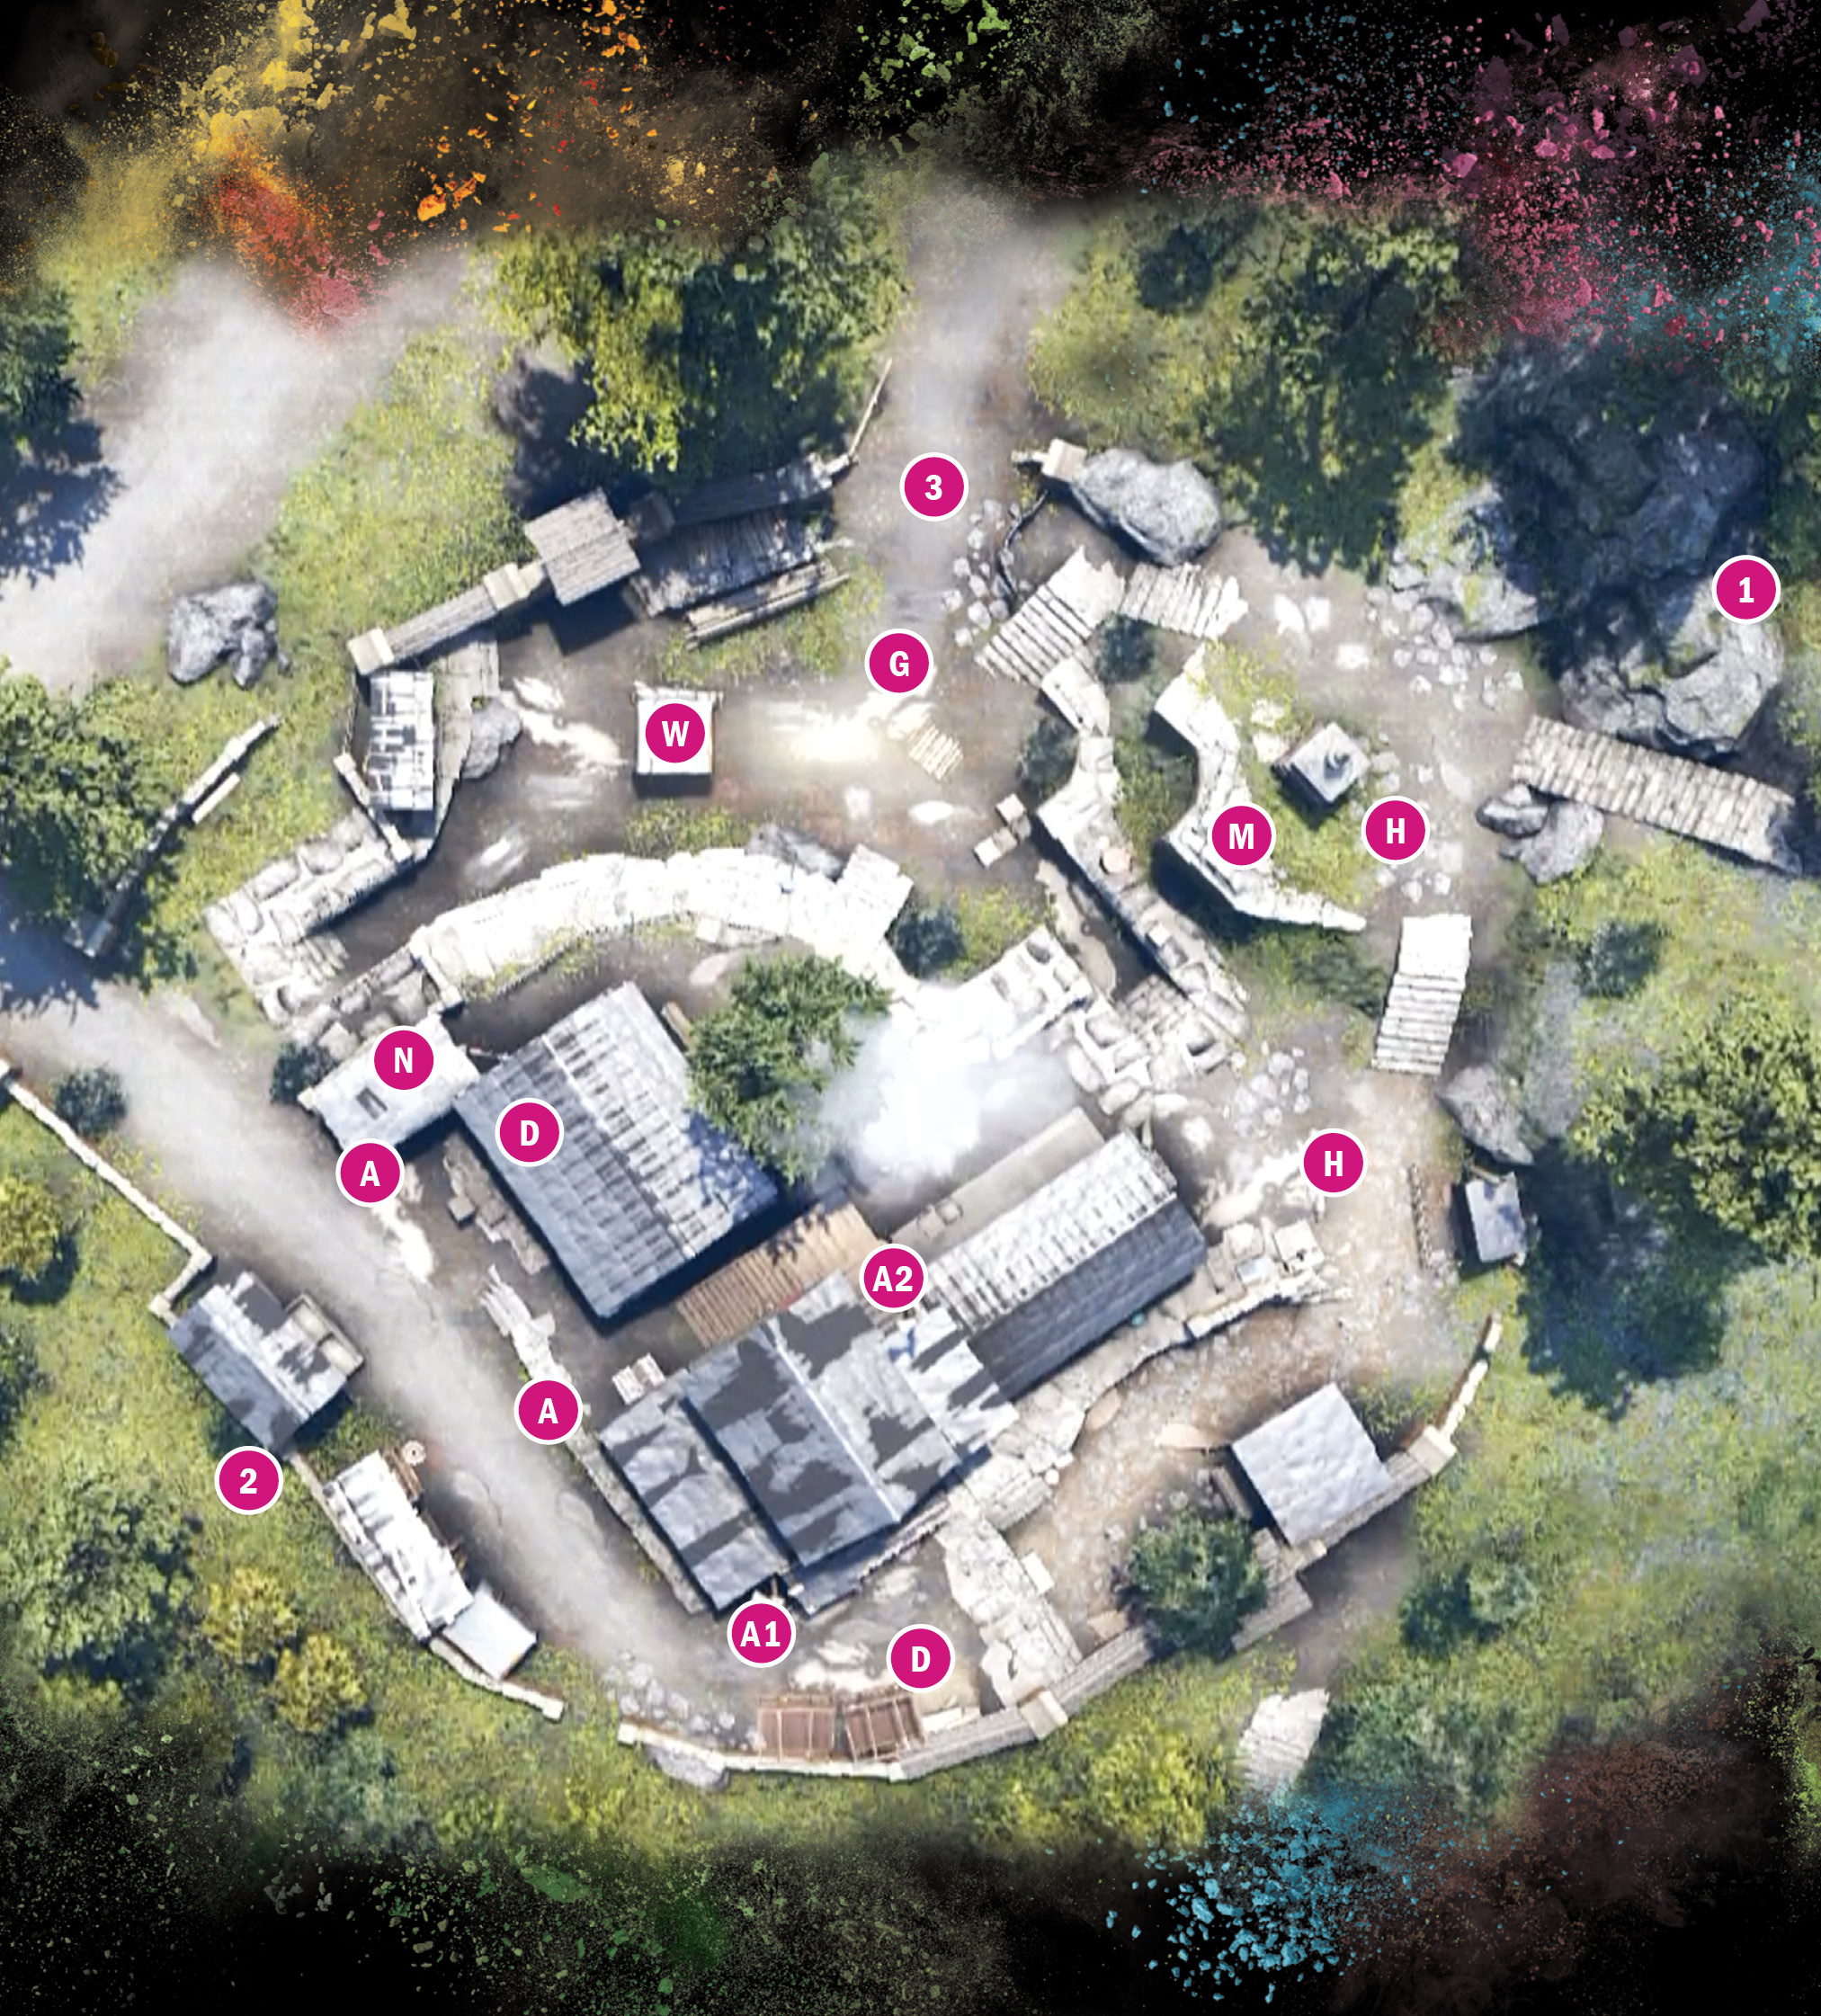
Nothing but bad medicine gets prescribed at this tiny outpost, where a pair of hunters and a caged wolf add intrigue to a close cluster of houses.
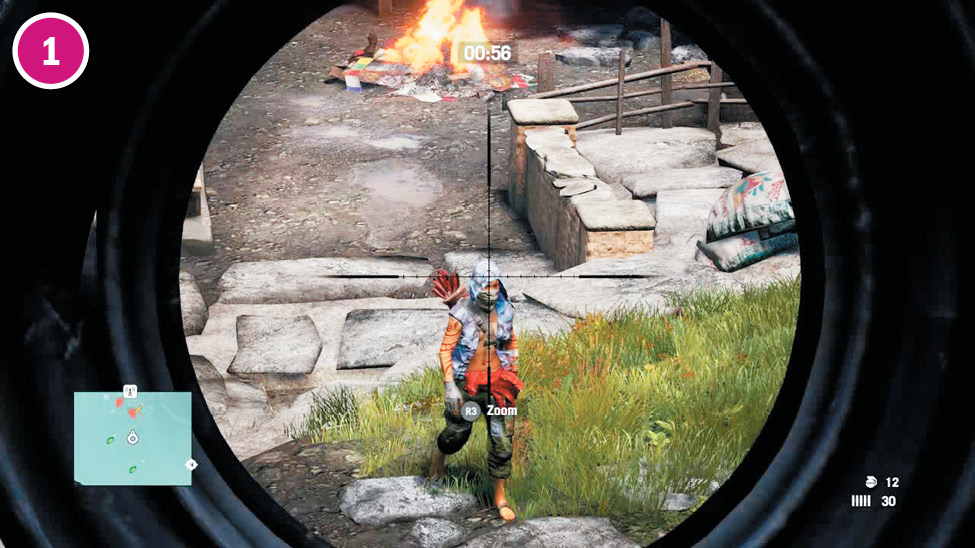
It’s risky to suggest that there’s a “best” way to beat any outpost, but if you climb the high hills in the northeast, you can snipe down on both hunters and then snipe open the cage holding the bear, who has a good chance of taking down yet more enemies. Plus, you’re now close to the mortar. That’s tough not to love.
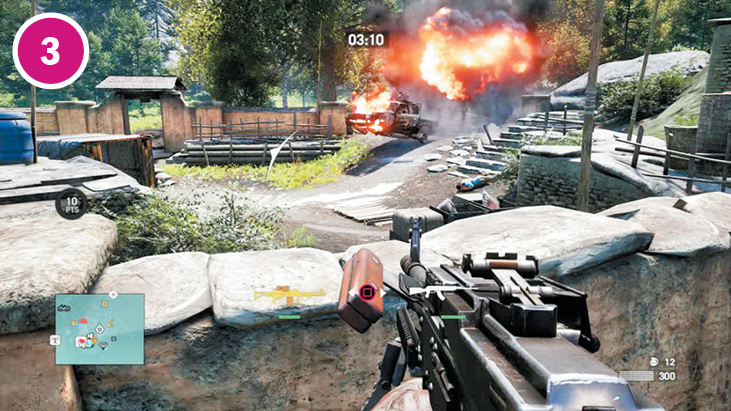
The first wave of reinforce-ments arrives on foot, coming down the stairs on the east, and includes more hunters. The second wave drives down from the north. A technical will zoom straight into camp and stop near the bear cage (unless you stop it first), and a pickup carrying a heavy gunner will continue to the northwest entrance.
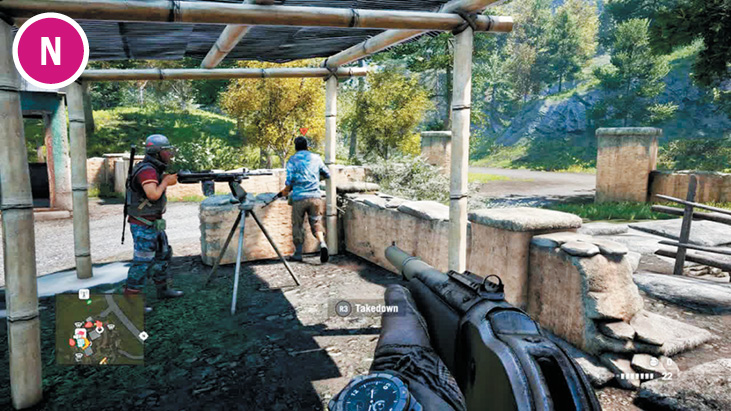
There may be an open road coming down from the northwest, but there’s also a guard on a turret gun facing the road. Find a better entry point.
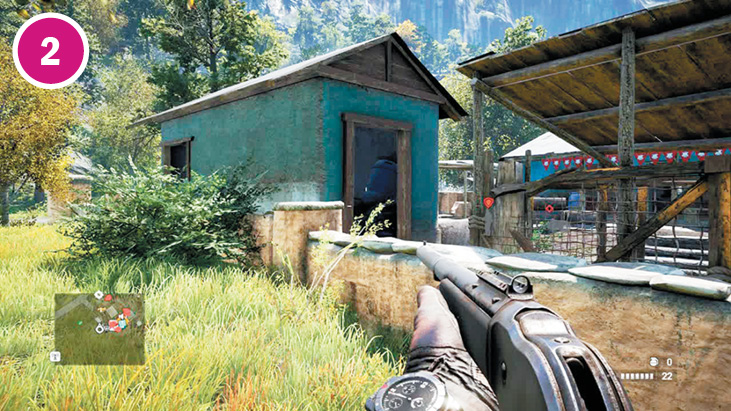
The southwest wall has several entry points close to the alarms as well, including the area near the cages and the roof of the little green shack.
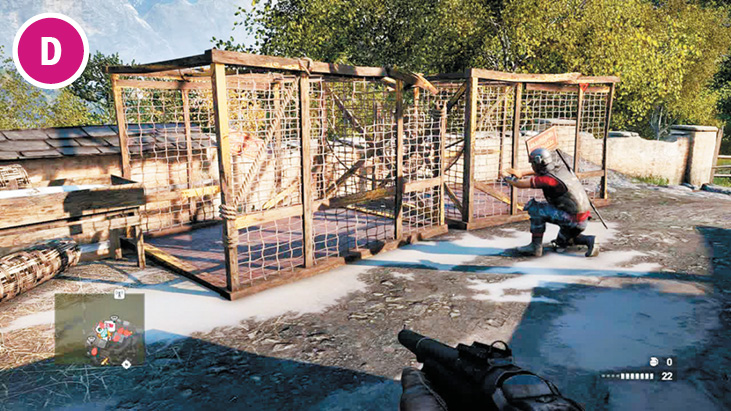
The defender near alarm A1 is very focused on repairing his cages, but both he and the assaulter on rounds can be drawn all the way outside if you throw rocks at the exterior wall.
Notes:
 Do not free the bear until both hunters are dead. (Unless you wish to find yourself also fighting a bear.)
 The second alarm is on a second-story landing, which can be easy to overlook from ground level.
Pranijagat School

 Alarm
Alarm
 Assaulter
 Defender
 Heavy Gunner
 Hunter
 Mortar
 Mounted Machine Gun
 Wolf in a Cage
Note: Enemy locations on map are approximate. Enemies often roam or go on rounds. Always scout ahead.
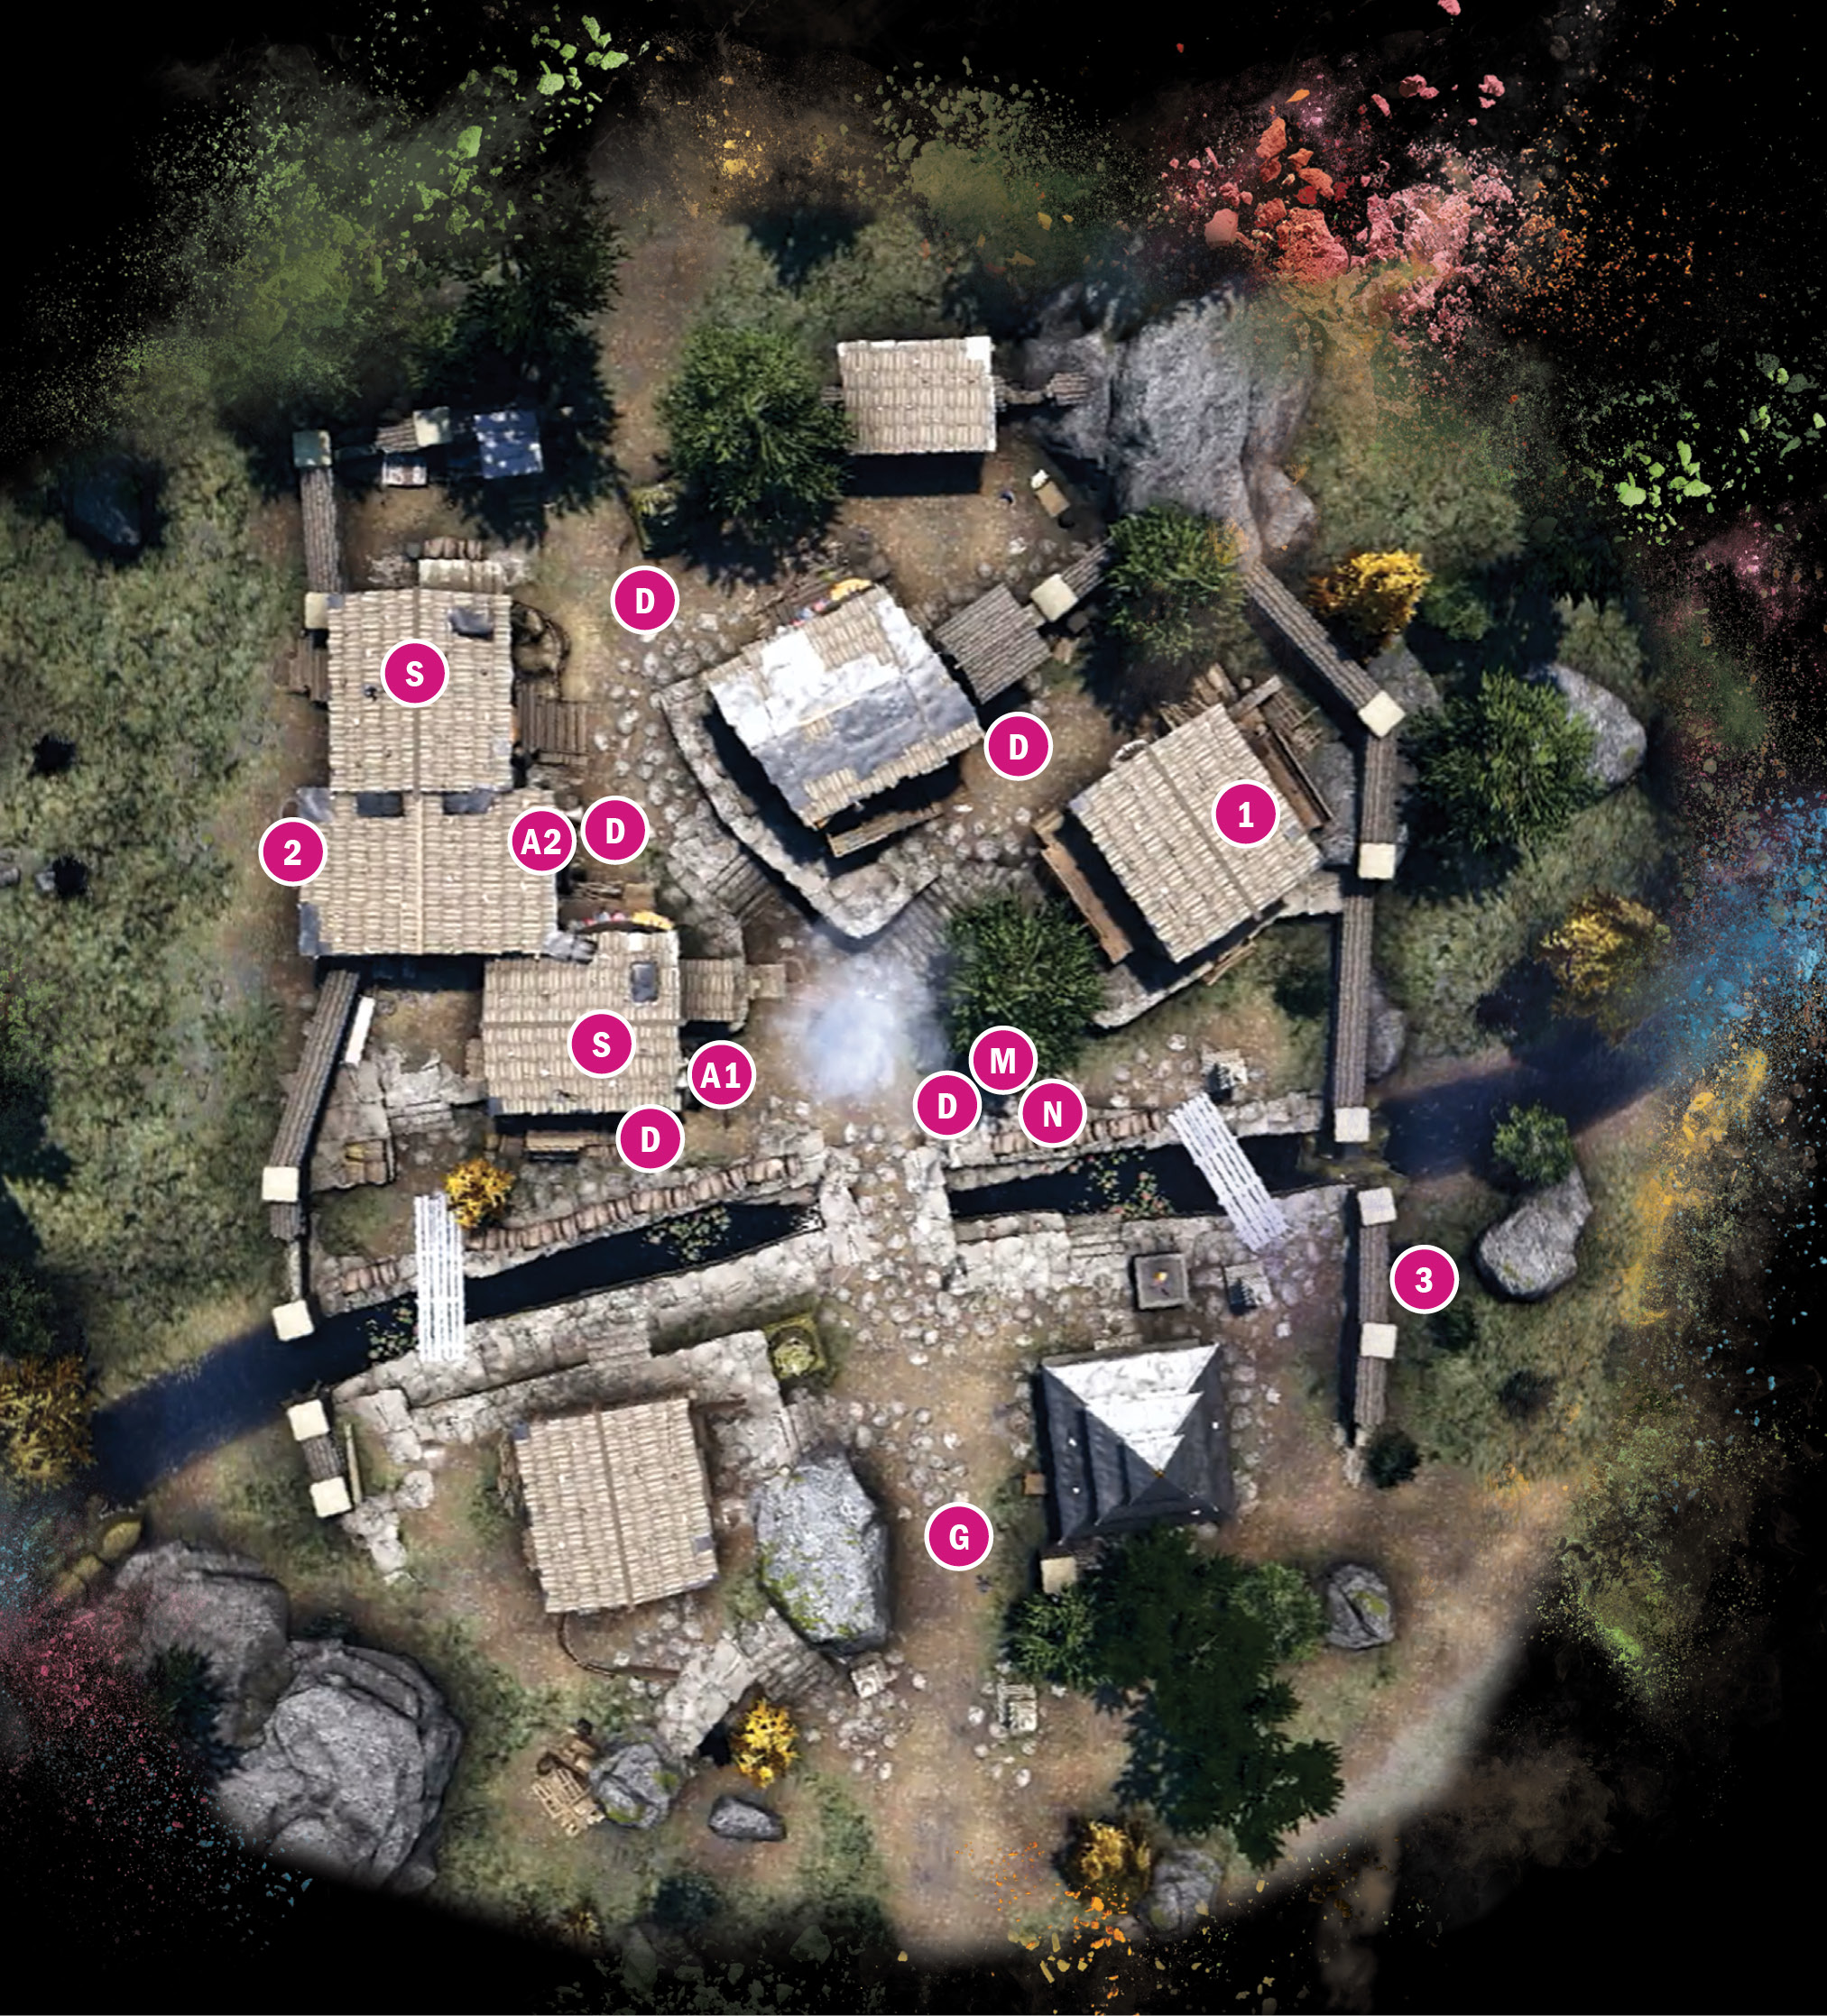
Pokhari Ghara
Location: x:552 y:747
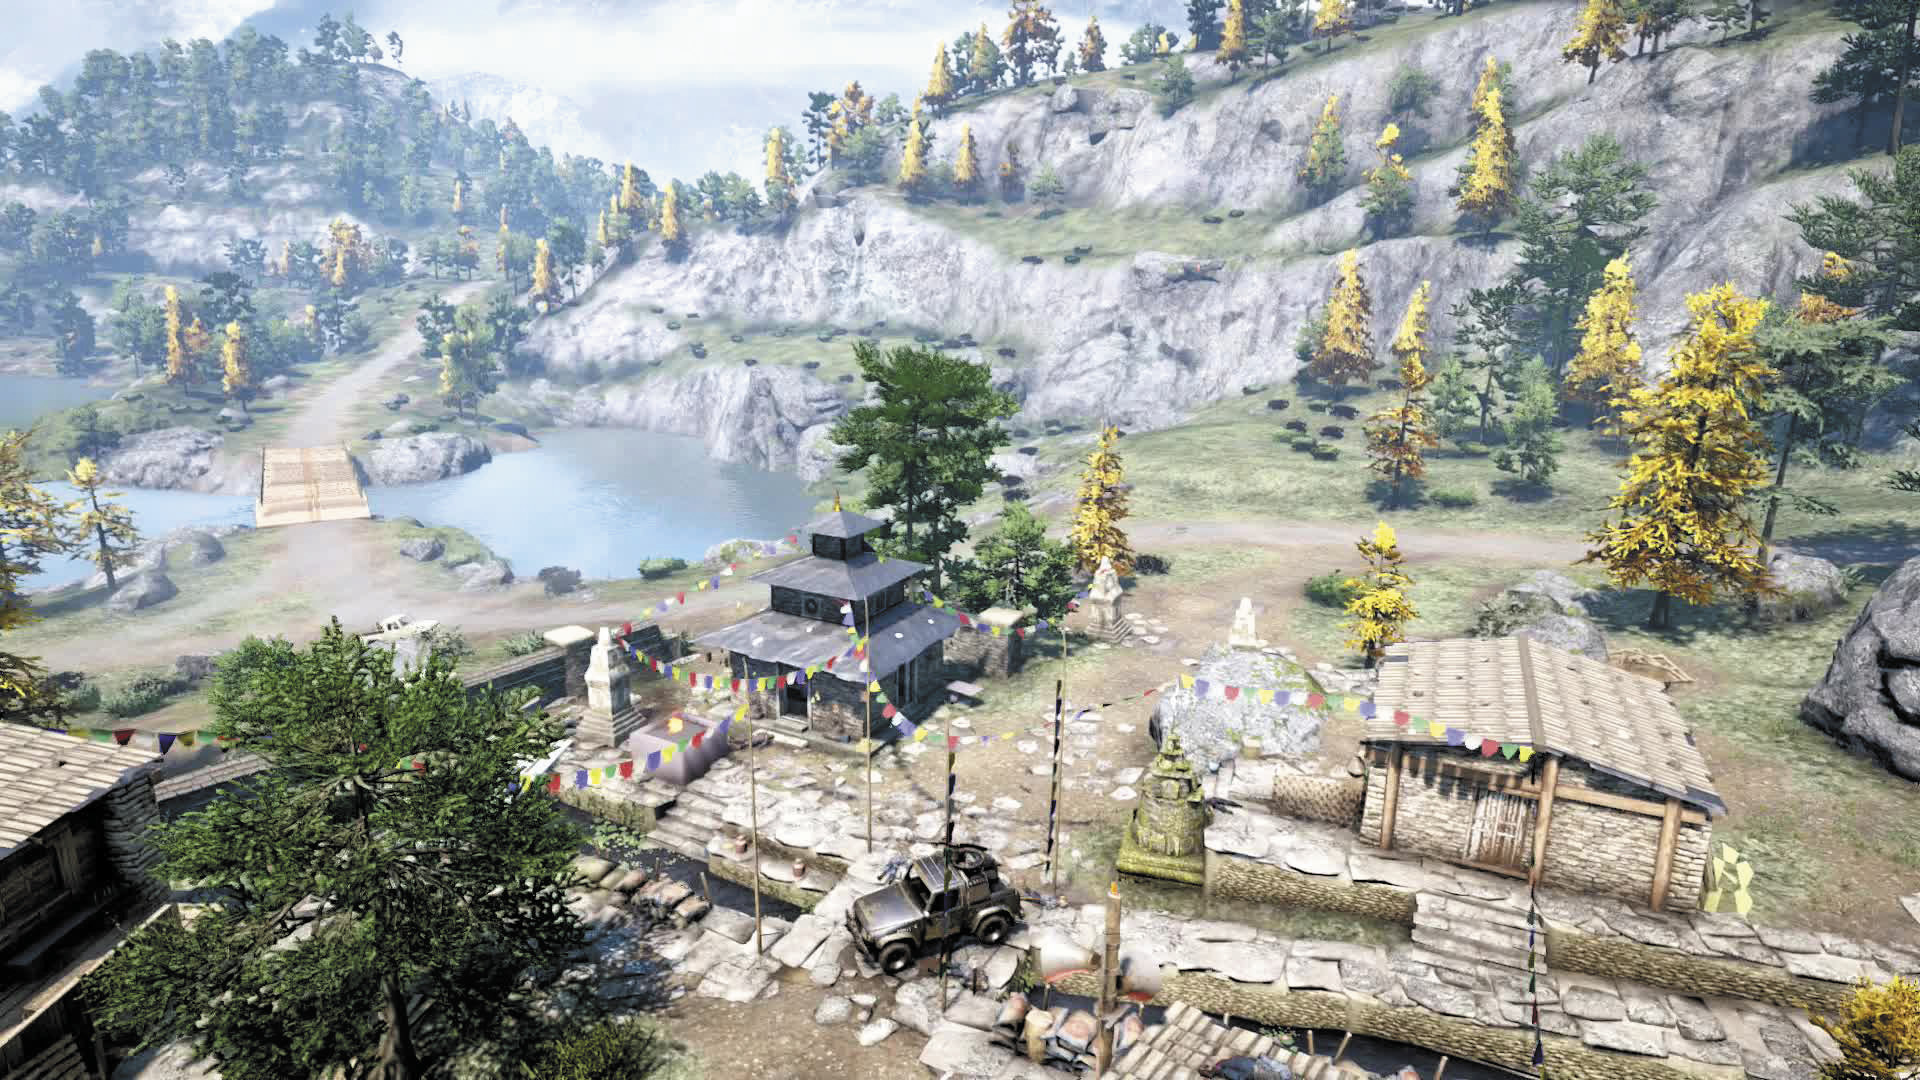
A modern-day moat runs through the middle of this quaint little village, which can become an intense urban battlefield in seconds.
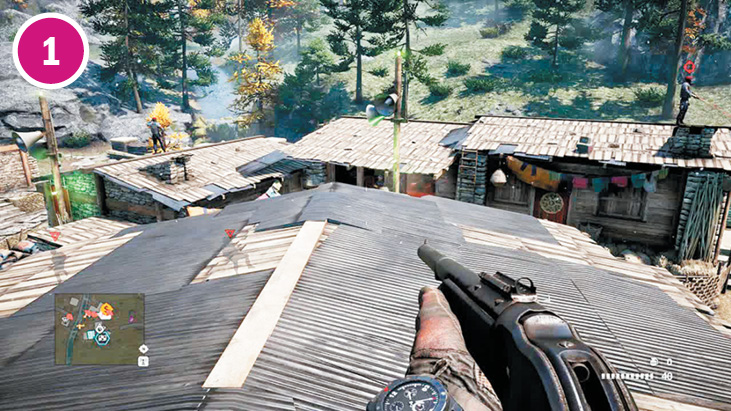
Nearly every house has a ladder attached that leads up to the roof. And given how connected many of the rooftops are and how flat the elevation is across the town as a whole, fighting from the rooftops is a viable strategy here. Case in point: If you enter from the east and immediately turn north, you can climb up the back side of the house in the east. From its roof, you can take out both snipers and both alarms in just a few seconds, which will severely weaken the camp.
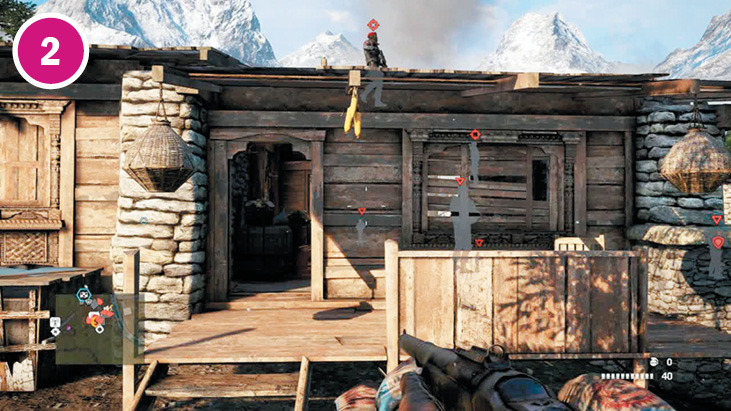
It’s risky, but if you enter through the open guardhouse in the west, it could have a big payoff. As you step through its town-facing door, one alarm stands to your immediate north (left) and the other is just around the building to the south. Even if you get caught, the western stream is a quick dash away, and makes a great emergency exit.
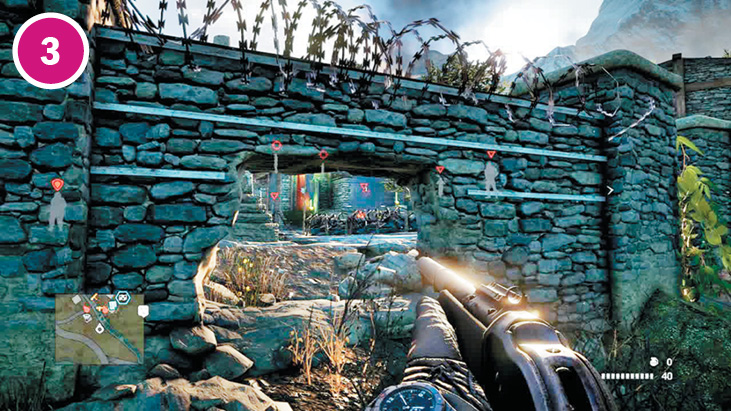
You can also knock out both snipers and both alarms without even entering camp from this hole in the eastern wall.
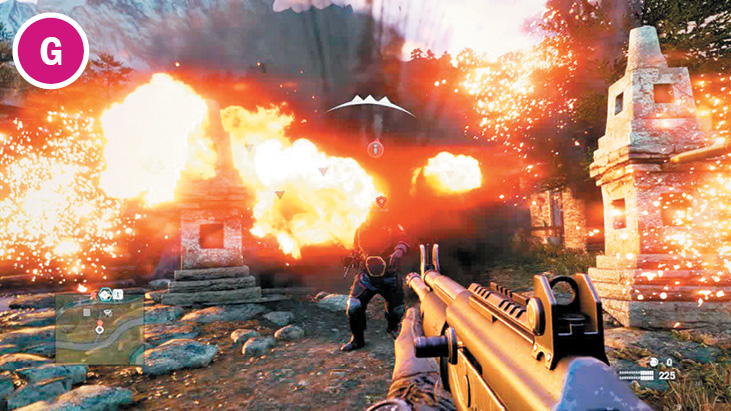
The heavy gunner is usually the only enemy south of the stream, making it easy to take him out without alerting the rest of the camp. Which is good, because you’re well within reach of the mortars here.
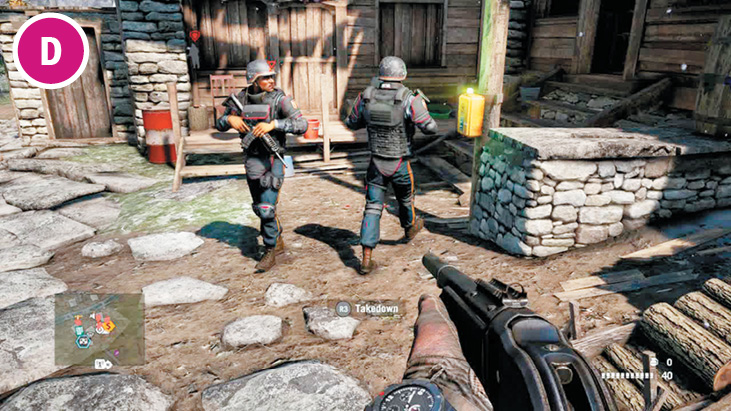
One defender constantly circles the house with the tin roof. The other four wander the town like goldfish in a punch bowl. Keep your head on a swivel.
Notes:
 The points where the stream enters and exits the town are obvious points of entry. Especially since they come with wooden bridges for you to hide under.
 When wave 1 of reinforcements arrives, two technicals will come from the southeast. One will drive all the way into town via the stone bridge in the center. Wave 2 will drive two more down from the north, and will stop at the wall to unload troops (including two snipers).
Pokhari Ghara

 Alarm
Alarm
 Defender
 Heavy Gunner
 Mortar
 Mounted Machine Gun
 Sniper
Note: Enemy locations on map are approximate. Enemies often roam or go on rounds. Always scout ahead.
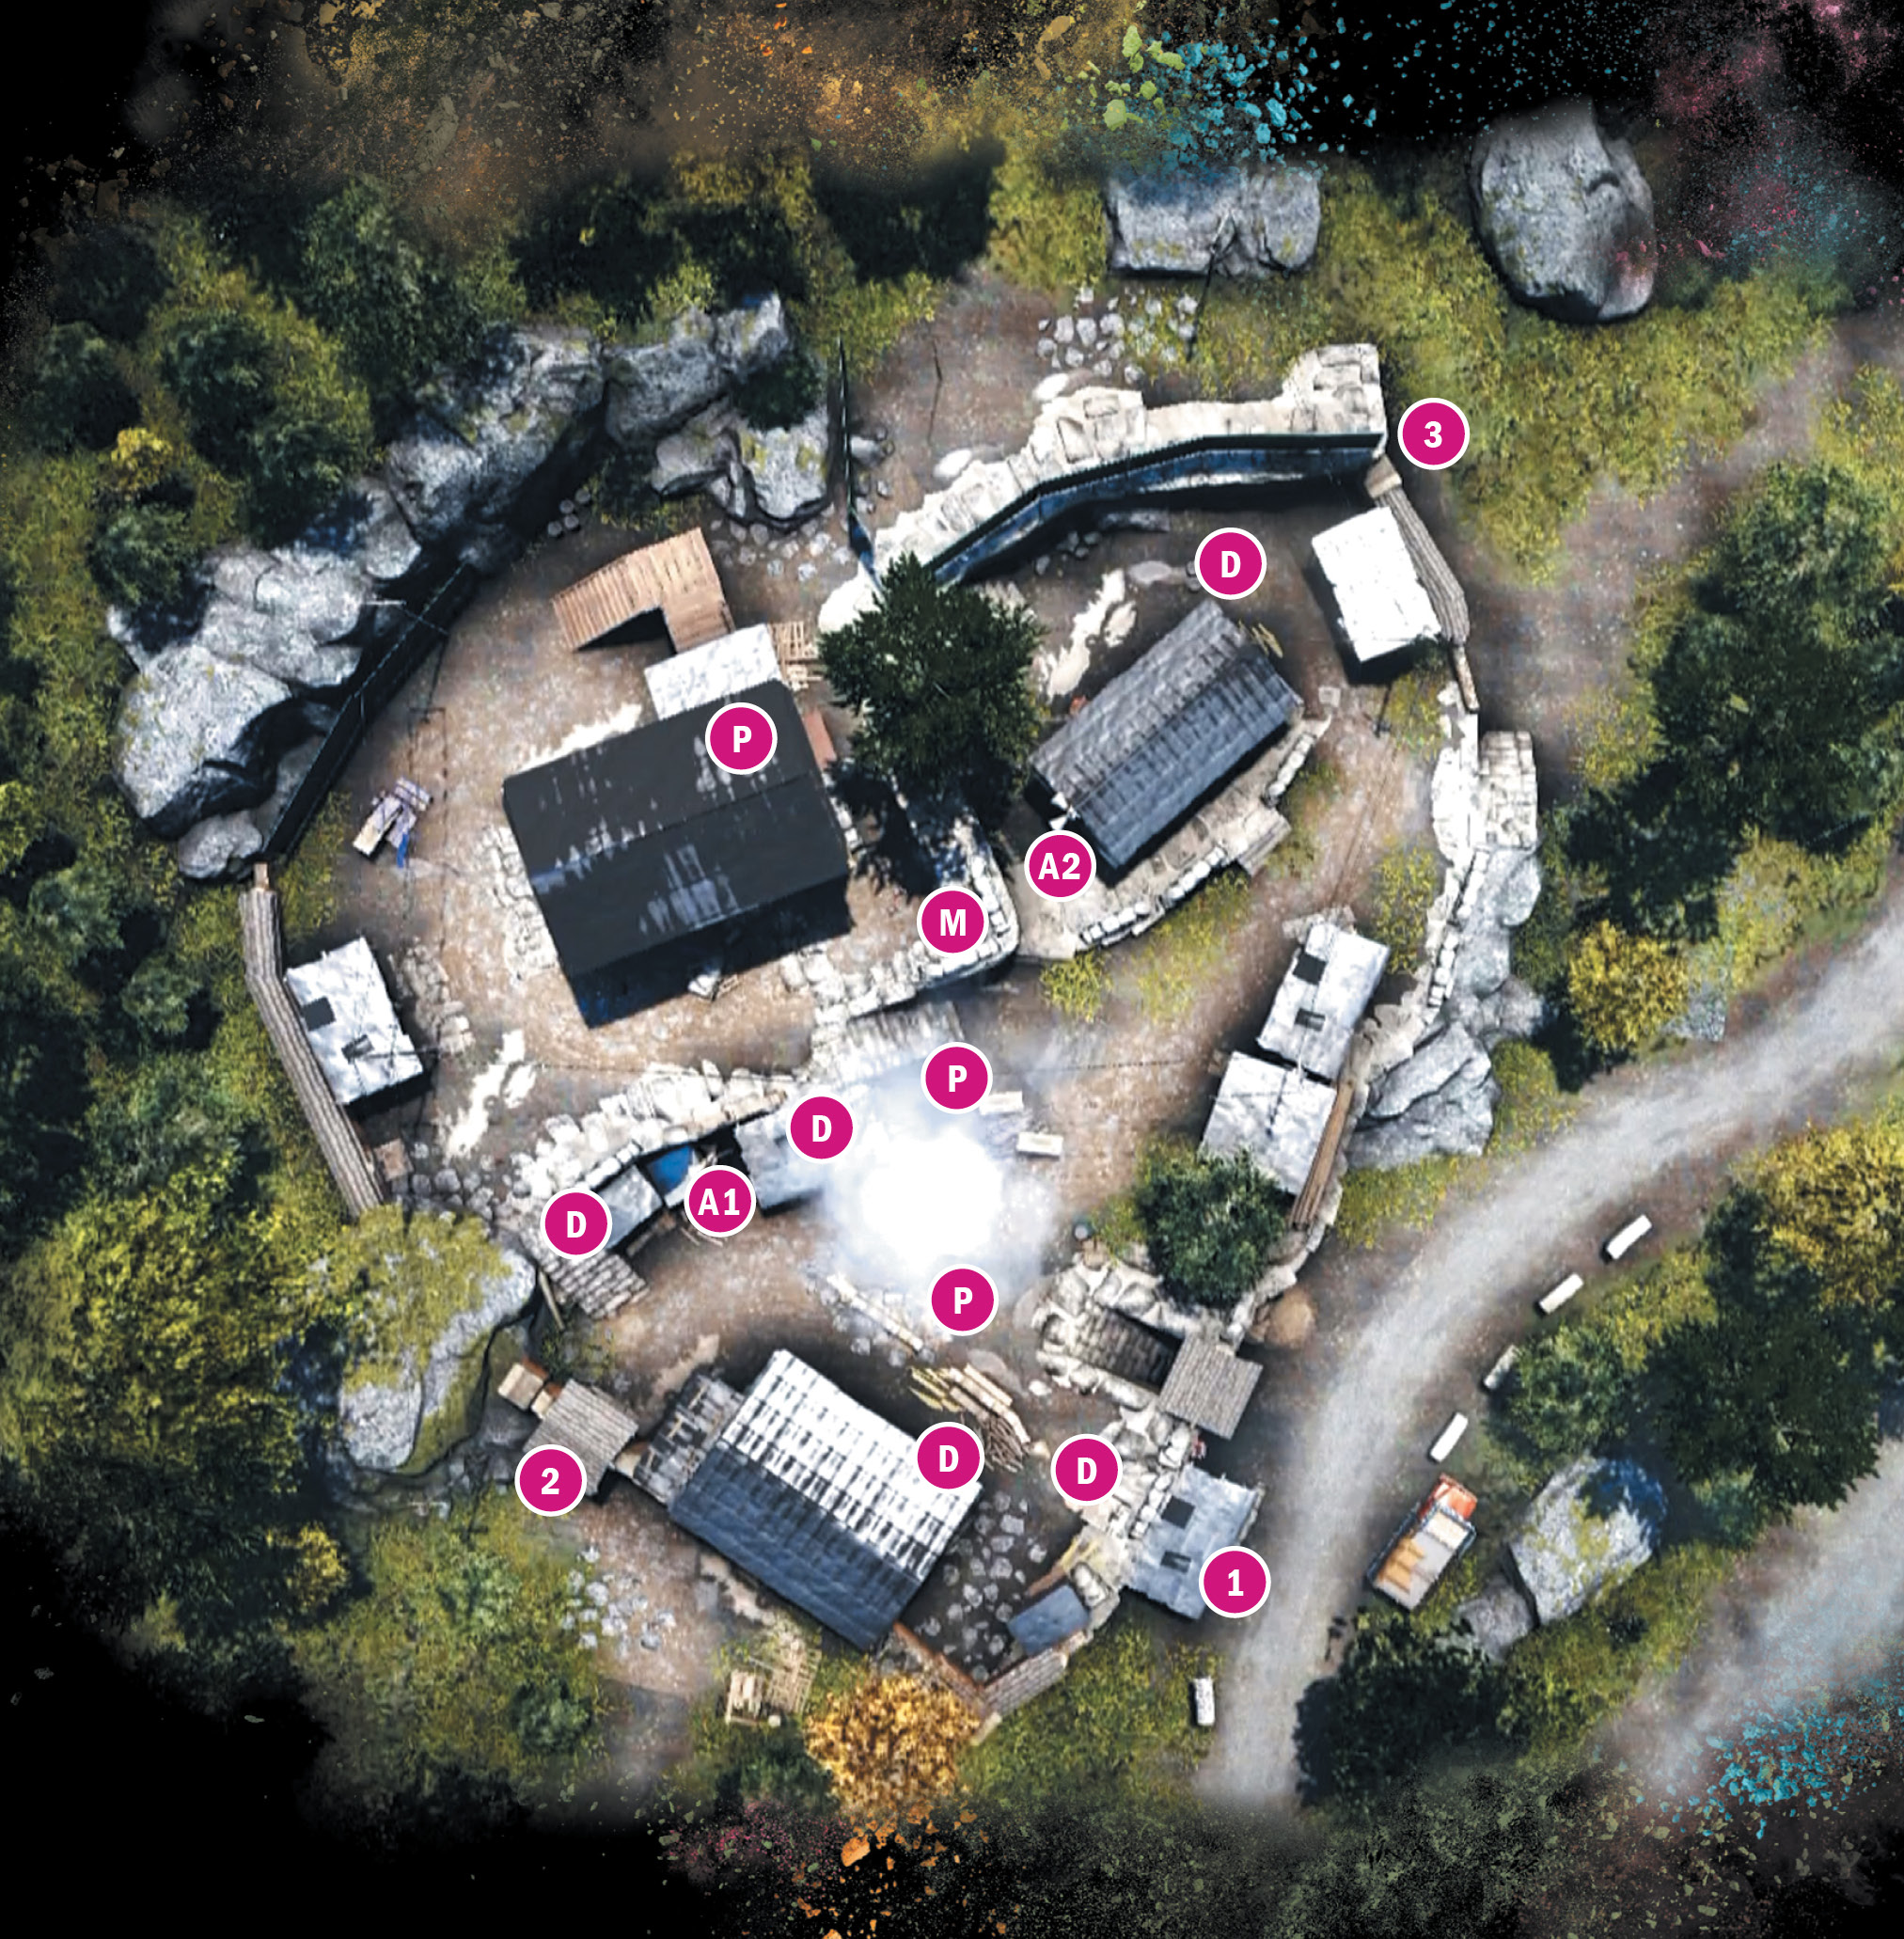
Pranijagat School
Location: x:350 y:625
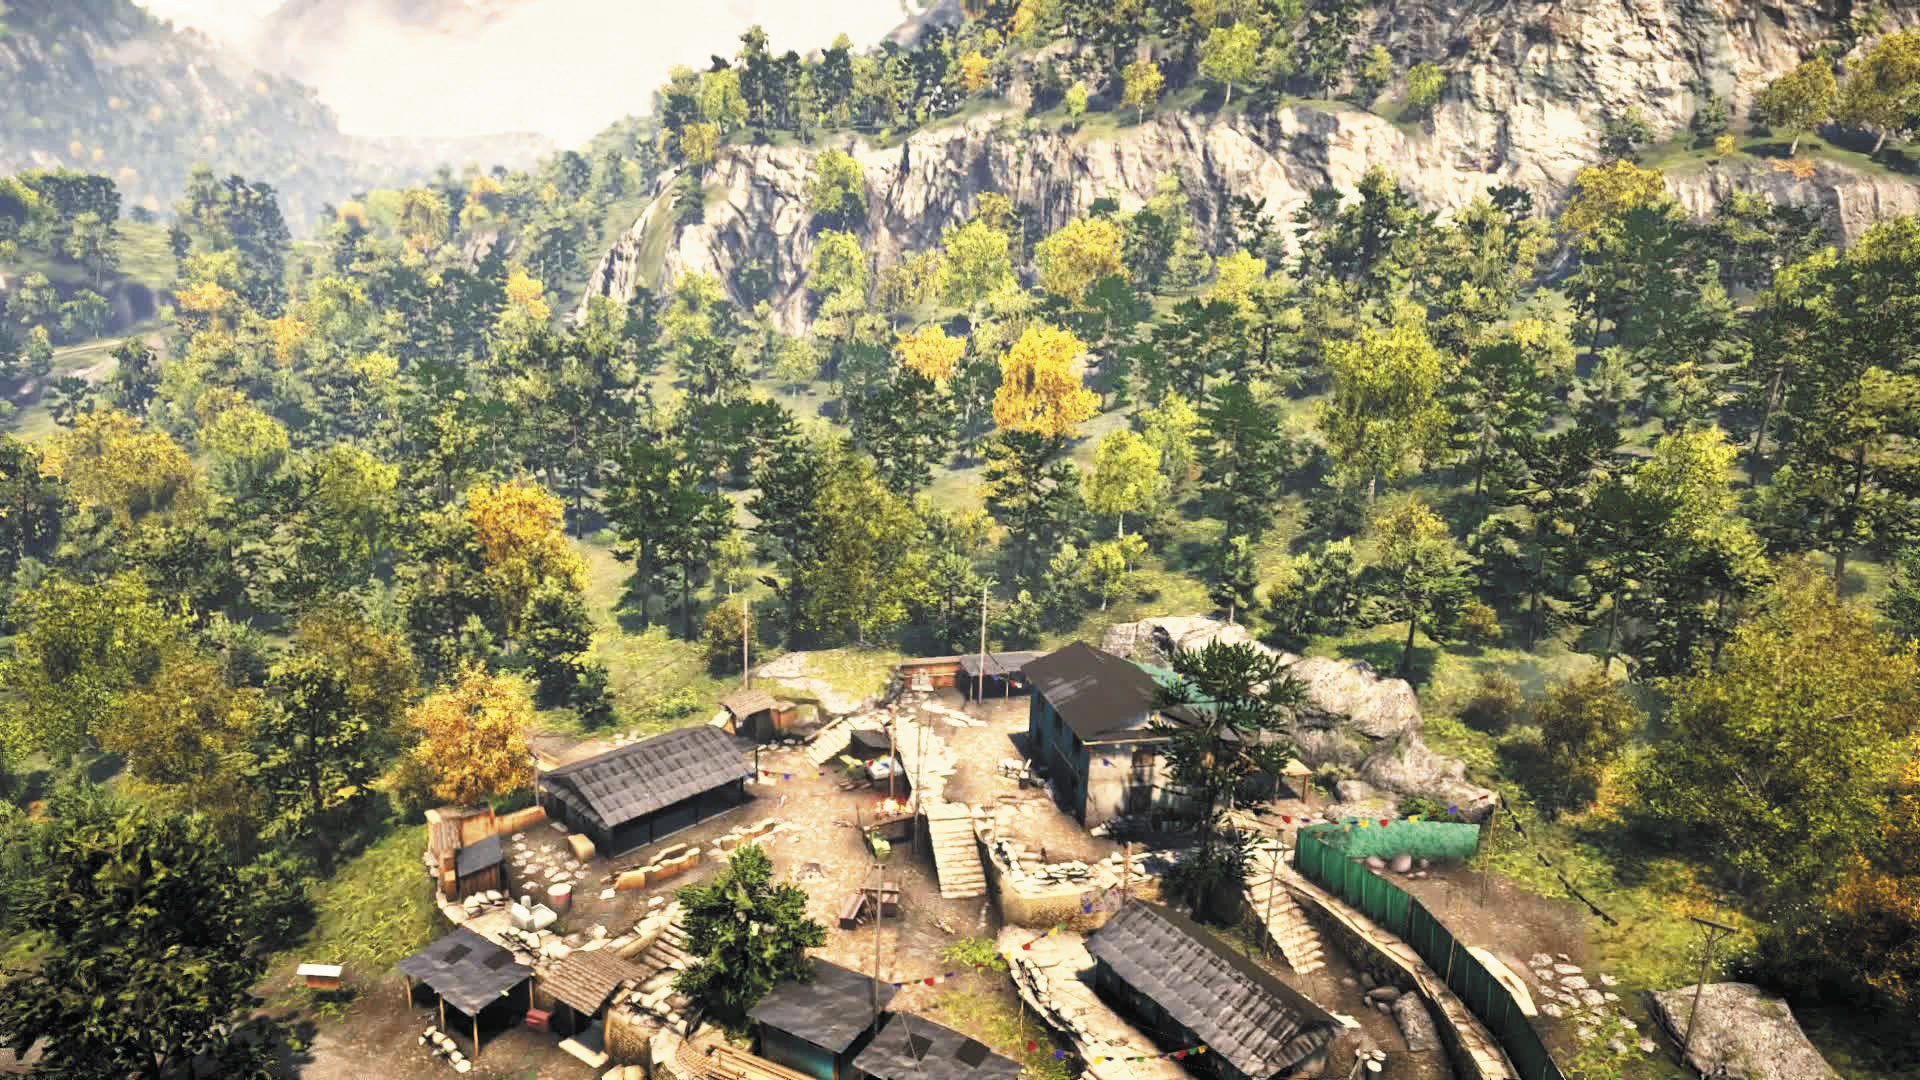
Nestled into a wooded hillside, this compact map features a dense population of pyros and defenders.
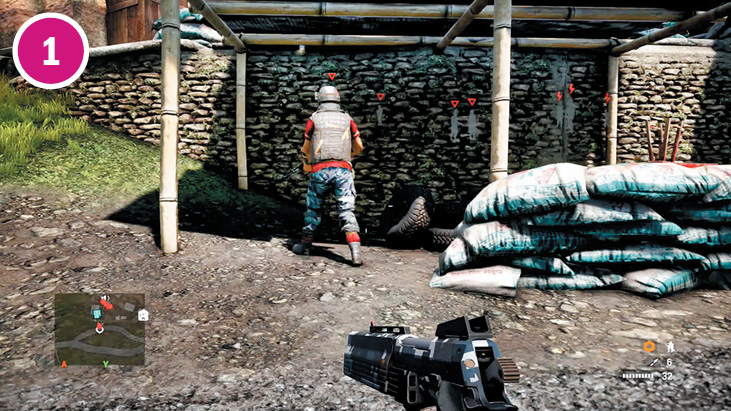
The awning beside the southeast stairs is a perfect place to put the closest guard down softly. Just be sure to move and hide the body before luring in a new victim.
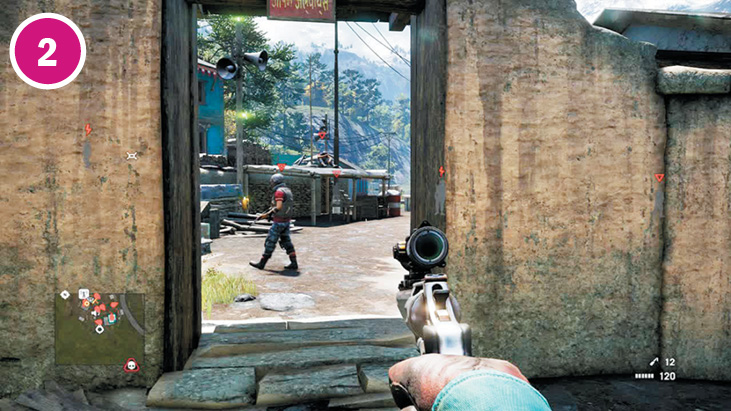
The open archway in the southwest offers a clear view of both the first alarm and the nearby explosive barrel. If you shoot quickly, they won’t sense your location. Then, you can move clockwise up and around, slip in the back way (you may have to take down the defender up here), and climb the big building’s back stairs. Snipe the second alarm from the top of the stairs and then step into the building’s upper story, leaving a mine at the door. From here, you can snipe the whole rest of the camp (with the possible exception of the defender to the east). Even if they figure out where you are, they can’t do anything about it because you’ve mined the only entrance.
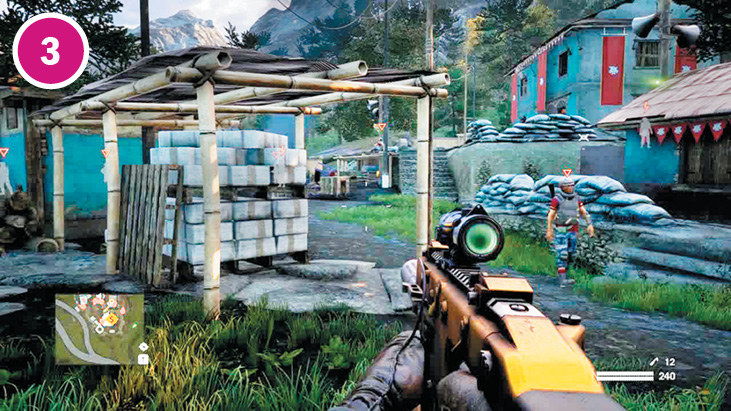
Another option is to enter from the northeast, where the single defender on regular patrol is easily dispatched. Skirt the small house to get to alarm A2, then watch for a moment to slip south to the opium bales under the awning, where you’ll have great cover and a clear snipe at alarm A1.
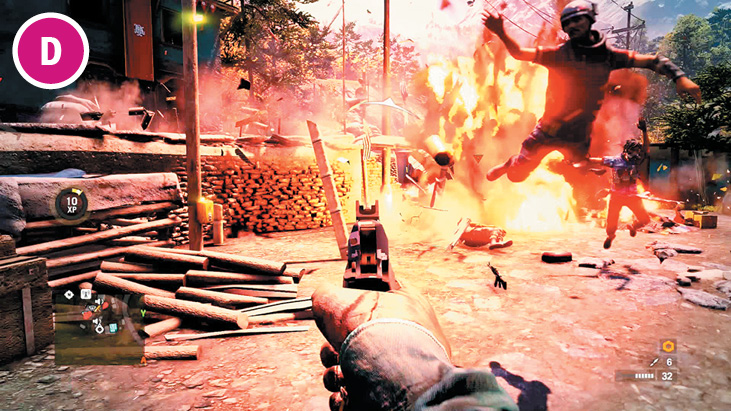
The barrel in the center of the map can get you out of a jam if things go pear-shaped.
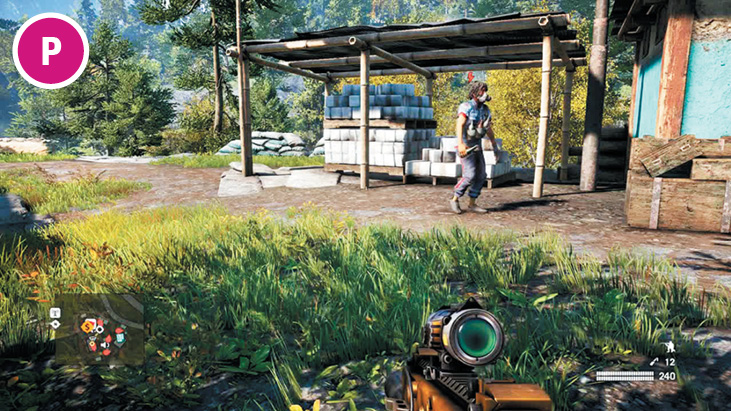
The pyro in the center of the map is extremely mobile. He’ll range everywhere from the south entrance to the hole in the fence at the map’s northern tip.
Notes:
 When you first approach, there will be a defender standing outside the southeast entrance. After a minute or two, he’ll head upstairs and take position by the sandbags.
 The first wave of reinforcements will come on foot from the north/northeast. Hope you like pyros. The second wave will come up the road from the south in two technicals and split, with one parking at the southwest entrance and one driving farther to the northeast.
 It takes longer, but the absolute simplest solution to this map is to go through the gap in the north fence, climb the steps into the house, and shoot the barrel in the room below through the floor. This will alert the camp to your presence. Next, shoot through the windows until they see you, then just wait at the door for the enemies to come to you. If they lose track of you, snipe a couple to renew their interest.
Open Hearts Clinic

 Alarm
Alarm
 Defender
 Mortar
 Pyro
Pyro
Note: Enemy locations on map are approximate. Enemies often roam or go on rounds. Always scout ahead.
Rochan Brick Co. Shipping
Location: x:394 y:503
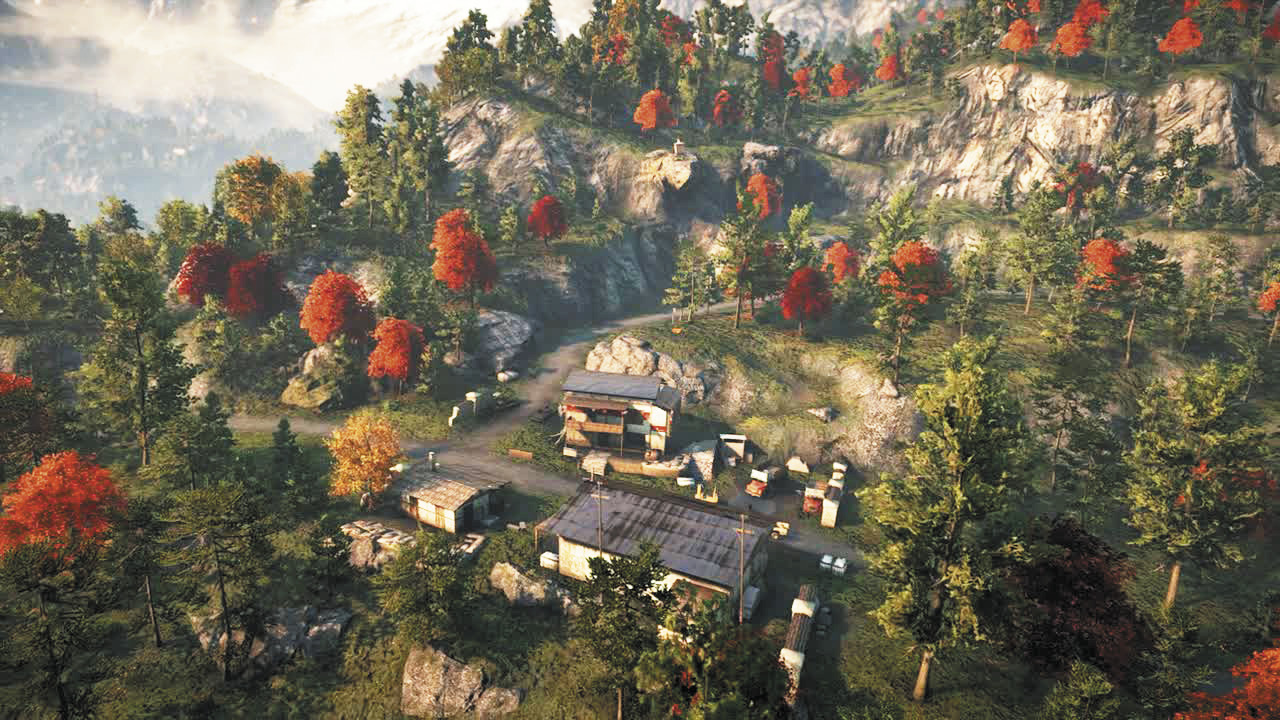
A simple warehouse along the side of the road. If not for the elephant, spilled fuel, zipline, bales of opium, men with automatic weapons, and awesome sniper perch, it would be no different than any other warehouse.
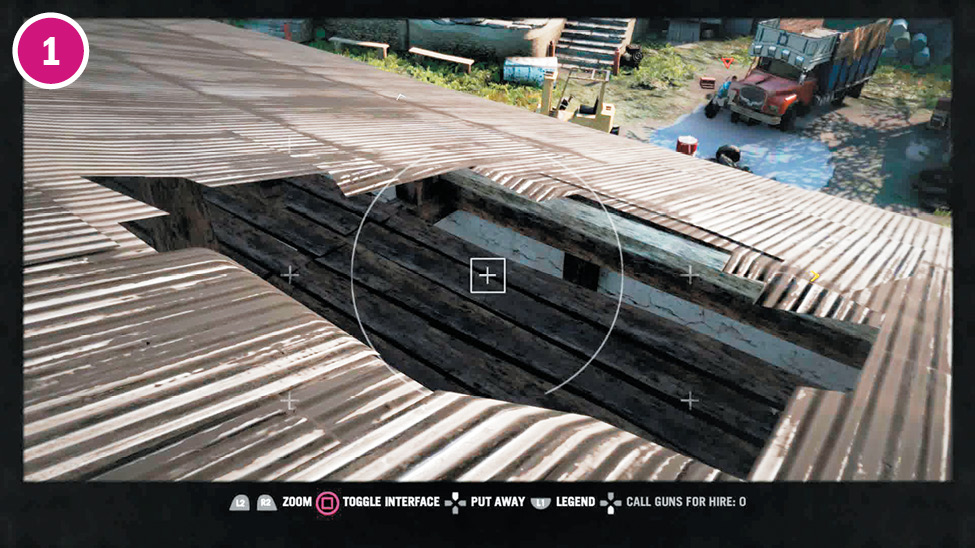
It’s very easy to come up from the slopes to the west as well. You can get into the southwest building, take down the lone assaulter inside, and climb the ladder on the outside west wall to the roof. The hole in the roof drops to a false ceiling, making it great cover for sniping. In fact, you can snipe the defender on the hill from here.
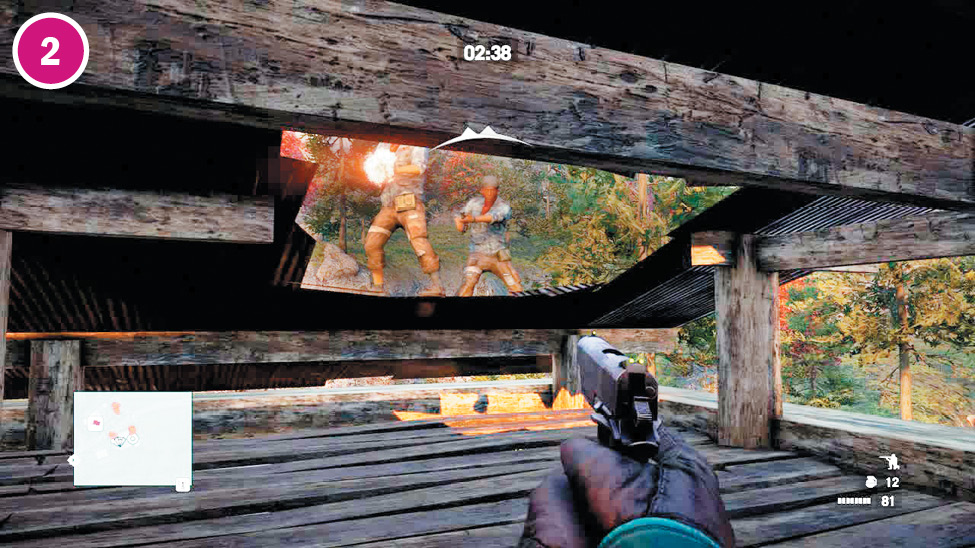
Be aware that when you drop into the hole in the roof, the assaulter inside will hear you (if he’s still alive). And you’re not the only one who can climb ladders.
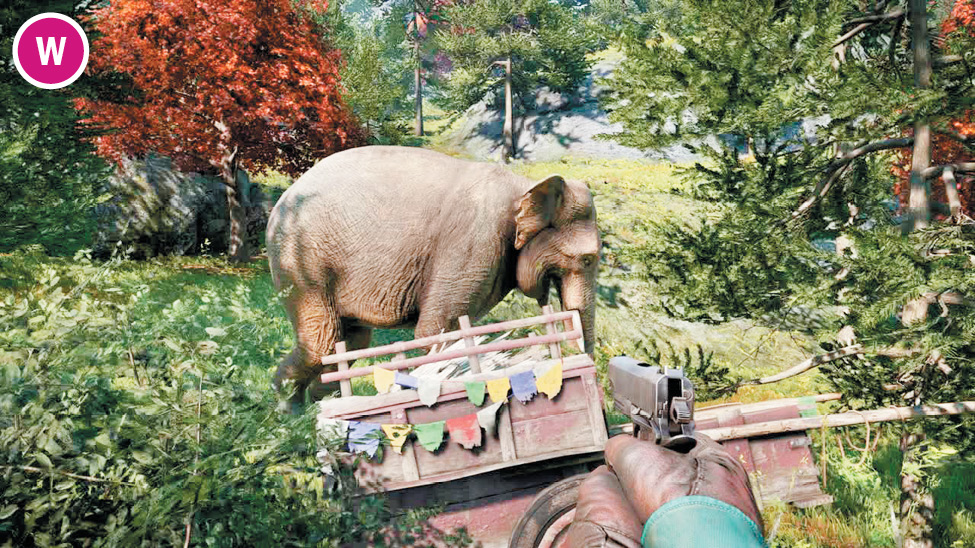
There’s an elephant hanging out on the side of the south entrance road, near a broken wagon. If you have the Elephant Rider skill, you just got a four-legged tank. Even if you don’t, you can spook the elephant into storming the outpost by going farther south and massaging it with a couple harmless pistol shots. As long as the elephant can’t see you, it’ll run away from the shots—in this case, straight into the camp—instead of attacking you.
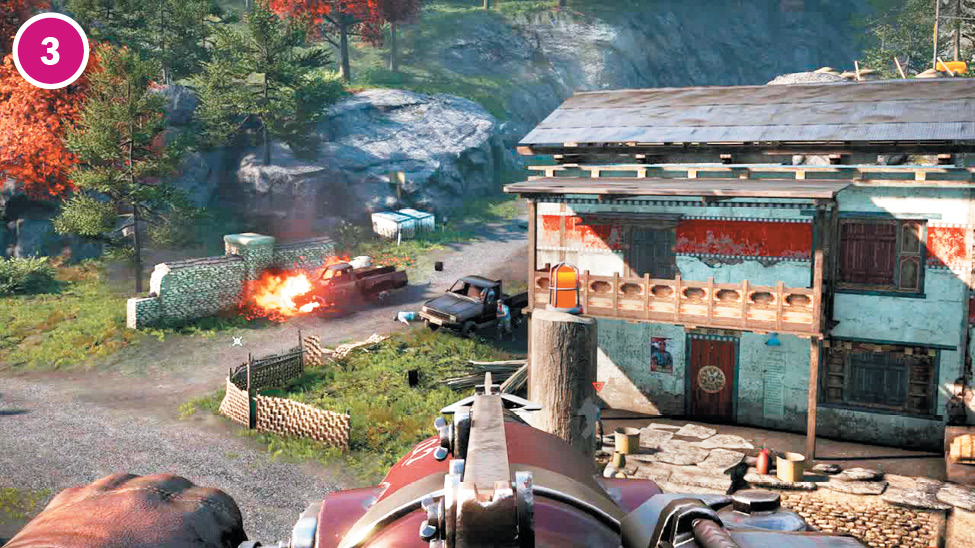
Two trucks of reinforcements will drive down from the eastern road. Unless you mine it, in which case their wreckage will sort of slide down a little.
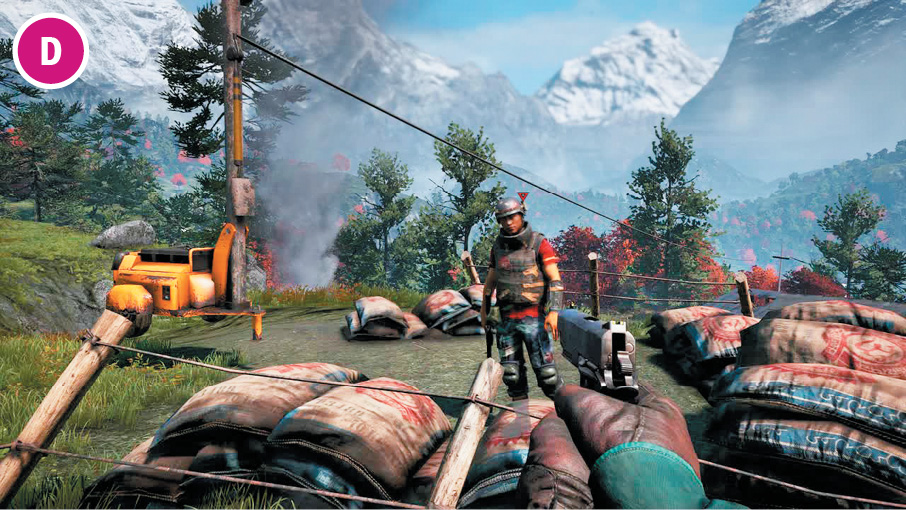
The most important thing about this map is the defender on the northeast hill. He almost requires you to come down from the hills and take him down first. The good news is, after putting him down, you can take three steps to the south and snipe the alarm box. If you’re lucky, the assaulter in the large building will be in view as well. Then, take the zipline to the main building’s roof and snipe everyone else.
Rochan Brick Co. Shipping
 Alarm
Alarm
 Assaulter
 Defender
Note: Enemy locations on map are approximate. Enemies often roam or go on rounds. Always scout ahead.
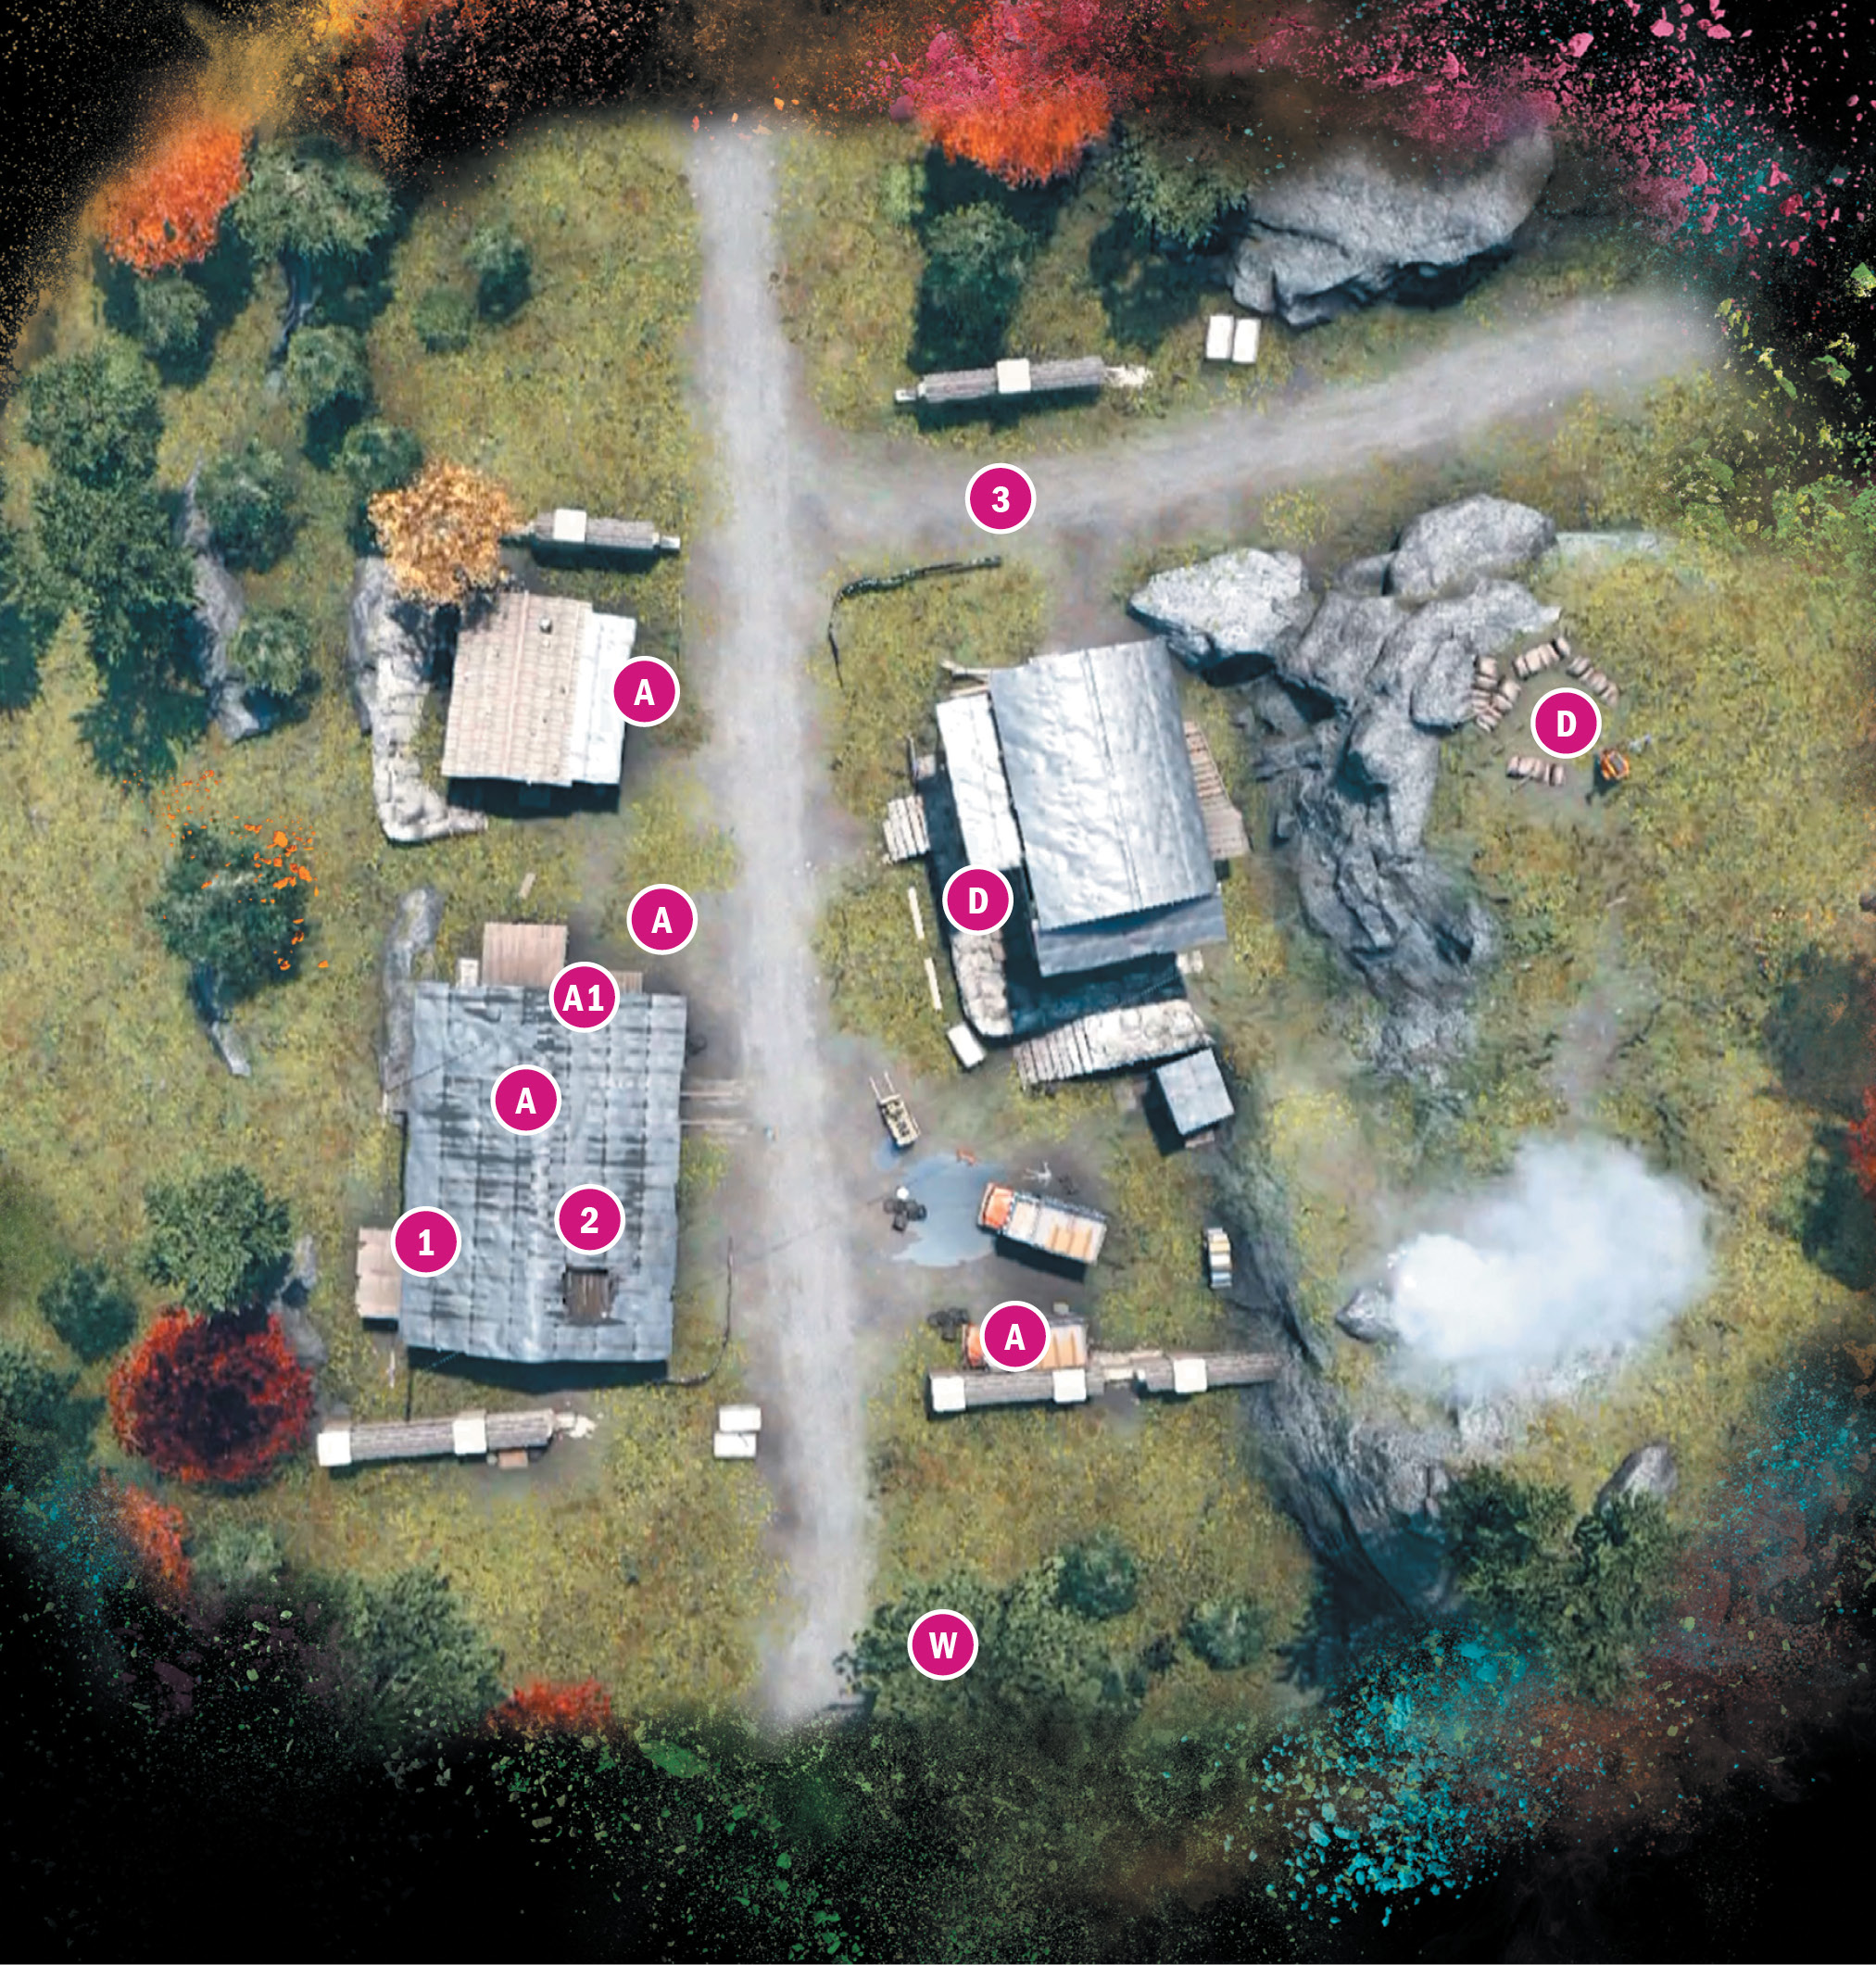
Rochan Brick Co. Storage
Location: x:440 y:543
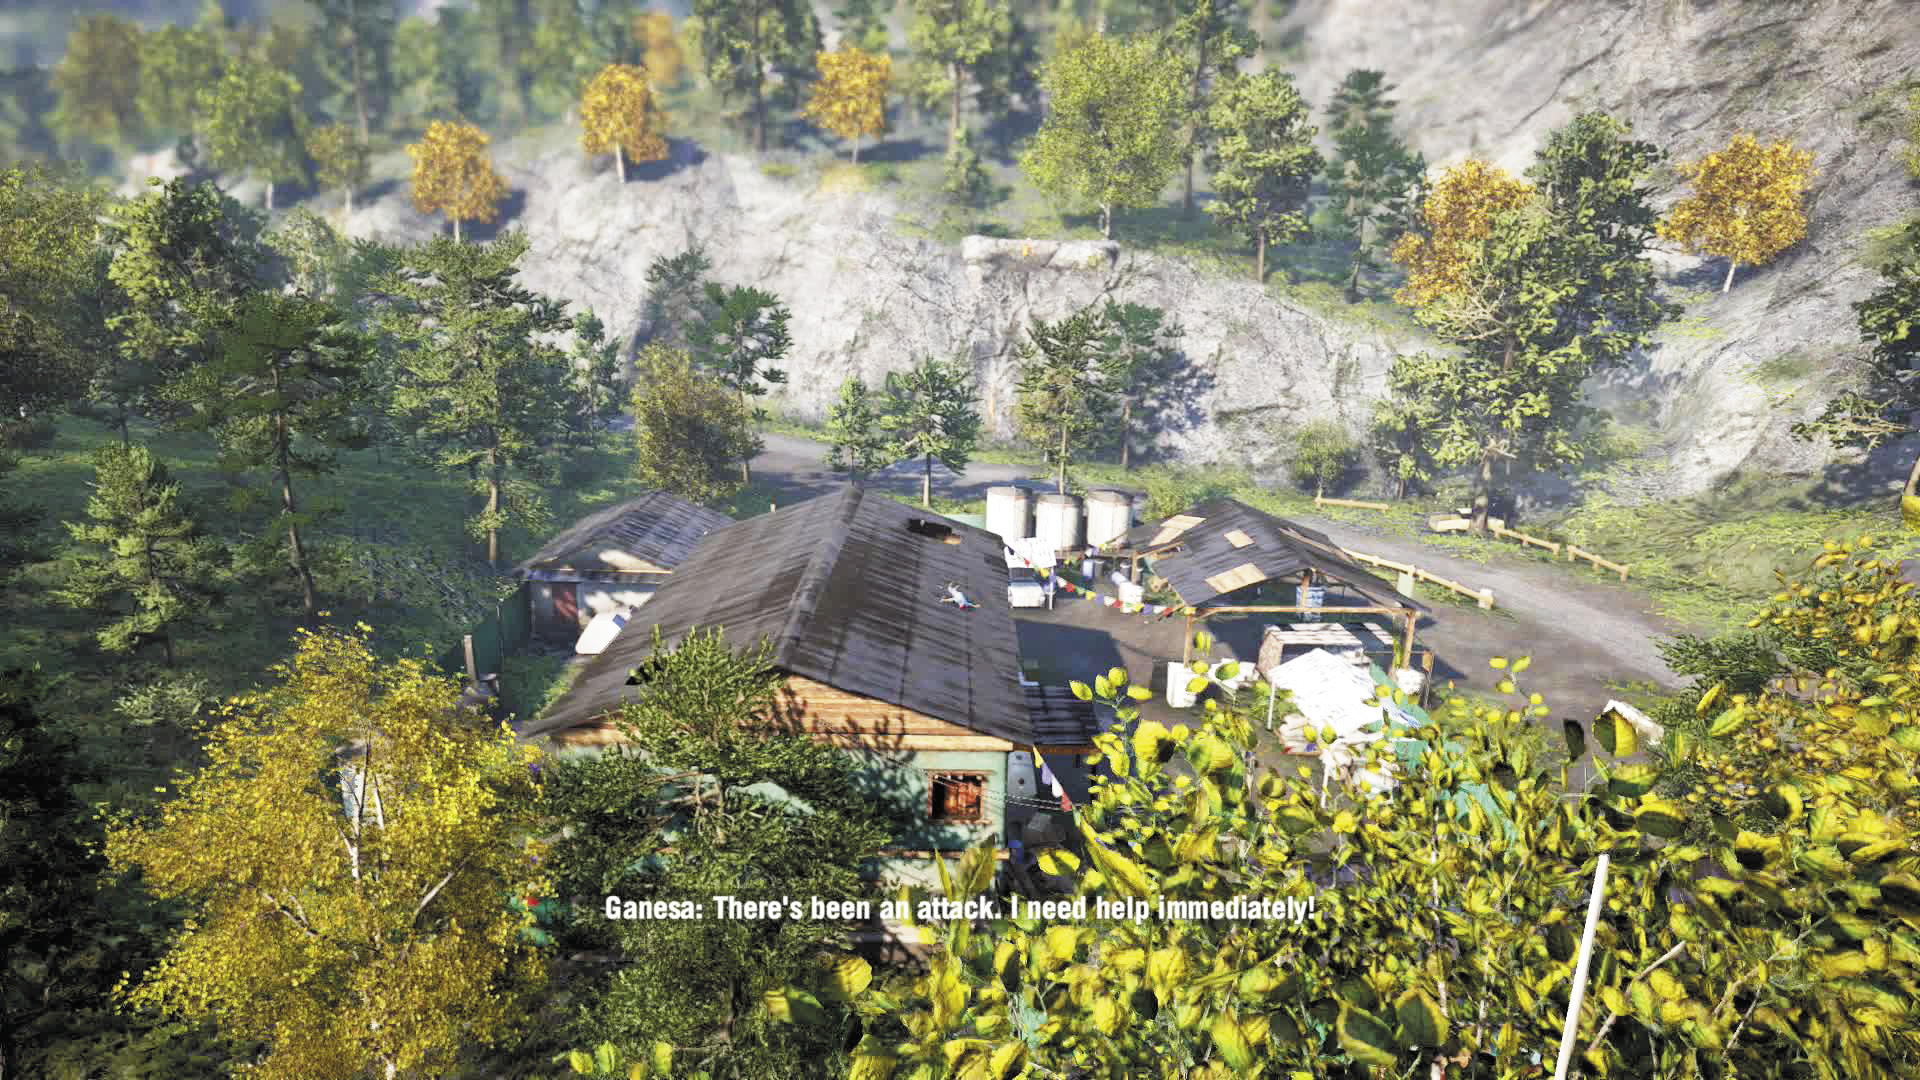
One of the early game’s best takeover targets, this soft-sided outpost features light defense and several very effective entry points.
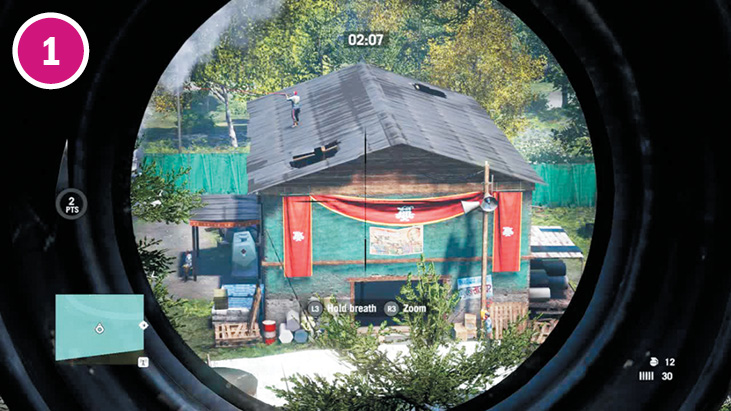
The easiest way to take this outpost is to grapple up the cliff to the east. From there, you can snipe the alarm box, the sniper on the roof, and the assaulters at the alarm as well, no sweat. In fact, it’s possible to wipe the whole base clean without leaving this spot if you wait for the remaining guards to find the bodies and go on alert, which will send them scurrying around out in the open.
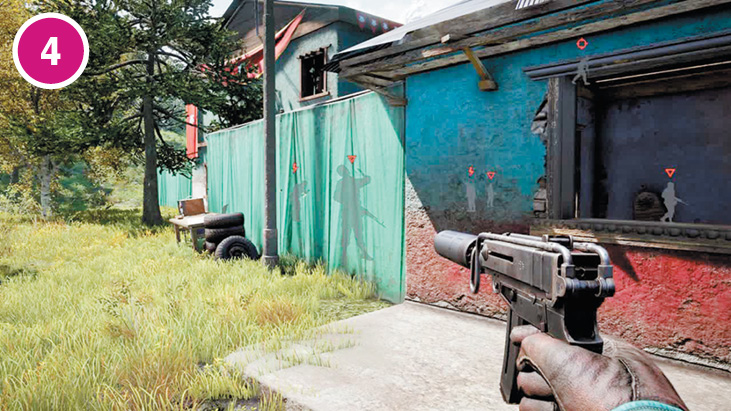
You can also climb onto the roof of the shack in the northeast, then drop down and climb the ladder on the north side of the large building. Take out the sniper (if you haven’t already), drop some C4 near the natural gas tank to the south, maybe drop down through the hole in the roof and surprise the berserkers, and you’ve got a full-on party.
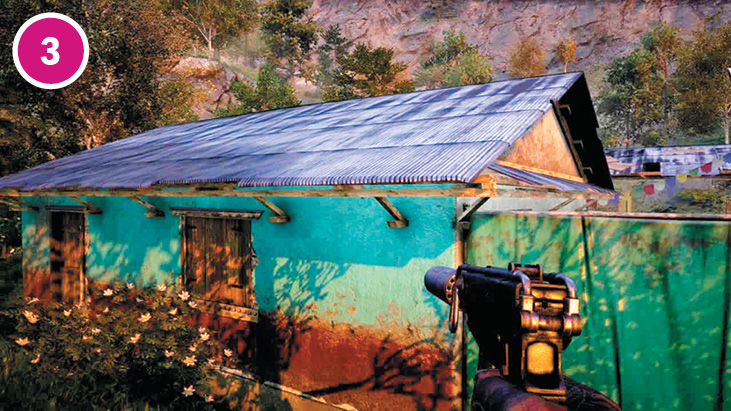
The alarm is constantly guarded by an assaulter and his roving partner. However, a hole in the east fence leads right to it as well. Sneak up, and you should be able to knife both guards and kill the alarm. Or just grenade it all.
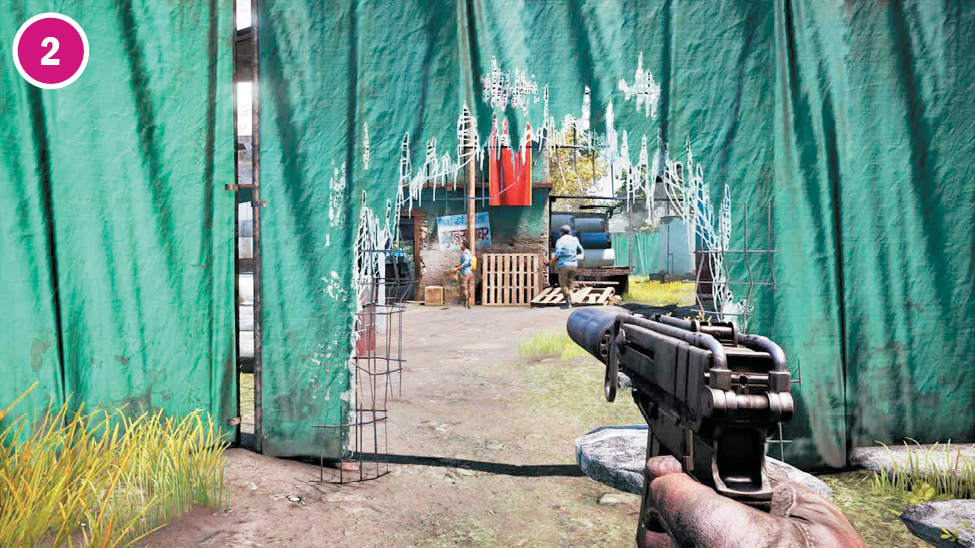
You can shoot the guard in the southwest through the green fencing, but then enter the compound through the window of the attached shack and hide his body. While you’re there, set a mine or C4 next to the fuel tank on the main building’s south side, just in case.
Notes:
 This outpost’s central building features not one, but two holes in its roof that drop down to a broad false ceiling.
 Don’t miss the two berserkers inside the large building. They’re easily the most formidable enemies in the outpost.
 At night, one of the guards will actually nap next to the large gas tank on the main building’s south side. How can you pass that up?
 Reinforcements here drive up along the east-west road to the south. A technical will come first, followed by a truck full of troops. They will also walk right past the explosive barrel at the main gate (in case you’re on the roof).
 Got bait? Throw it. There’s a good chance you can get some dholes to invade the camp.
Rochan Brick Co. Storage
 Alarm
Alarm
 Assaulter
 Berserker
 Sniper
Note: Enemy locations on map are approximate. Enemies often roam or go on rounds. Always scout ahead.
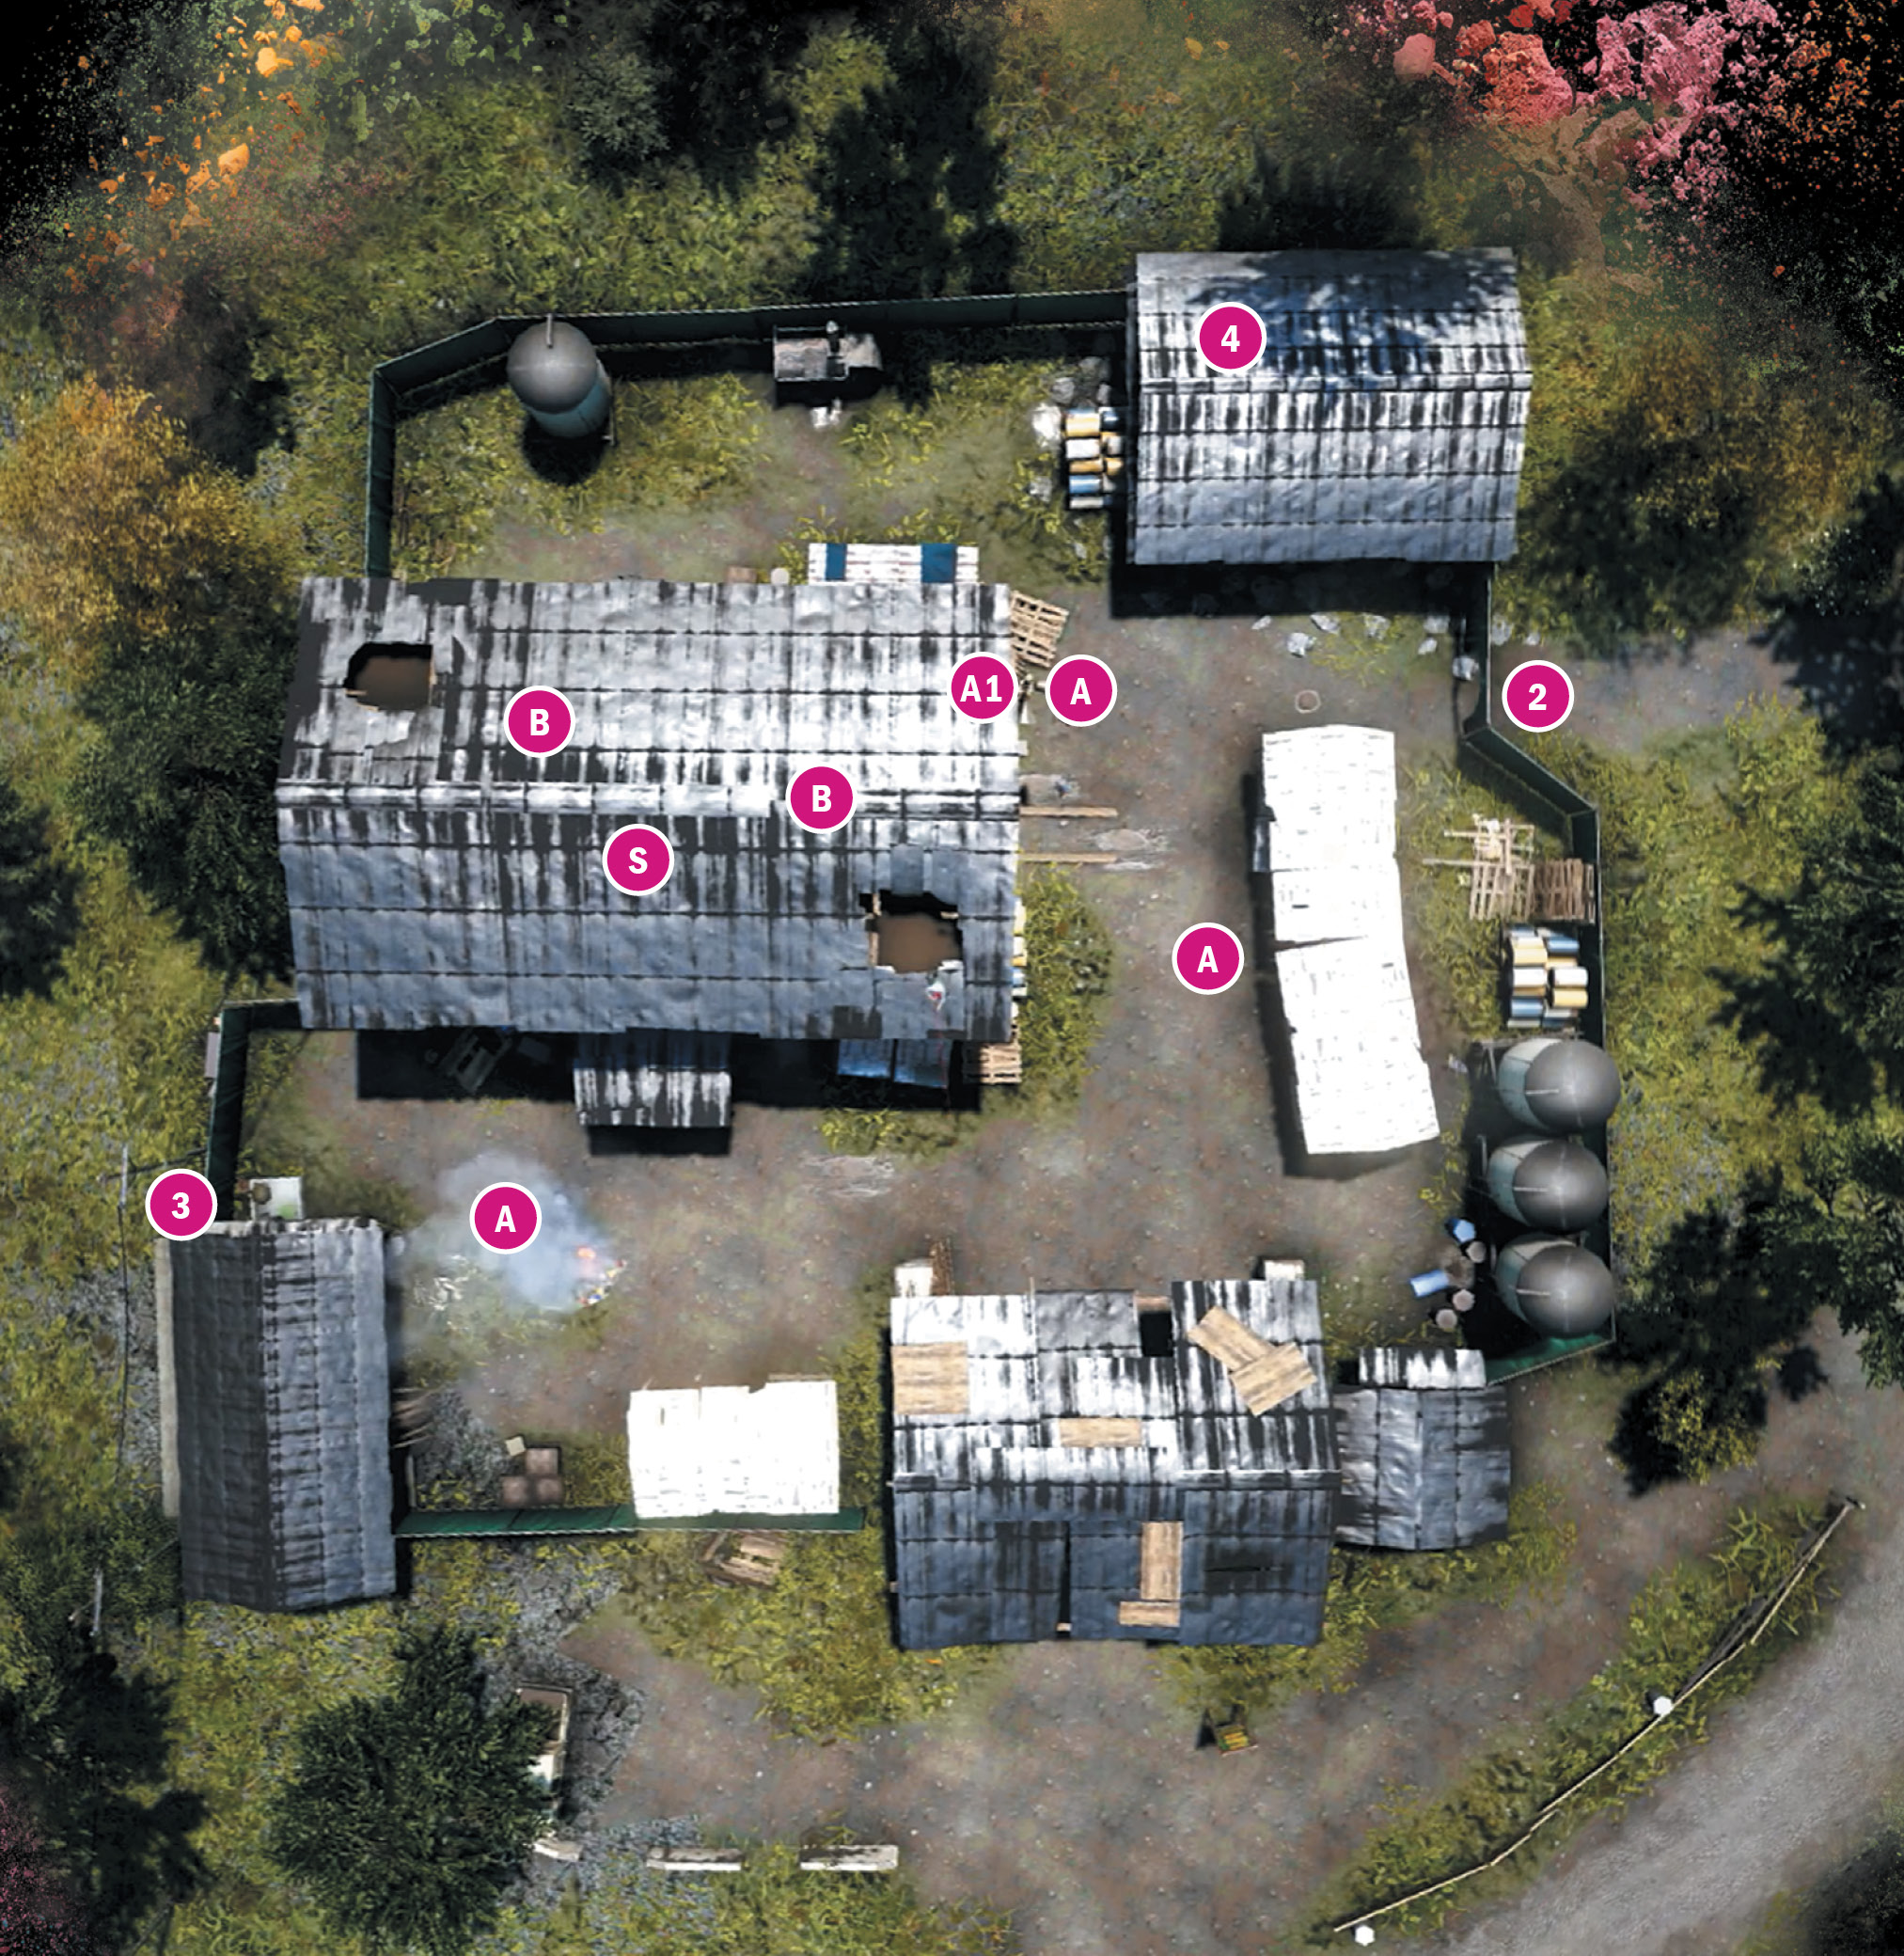
Royal Guard Kennels
Location: x:604 y:708
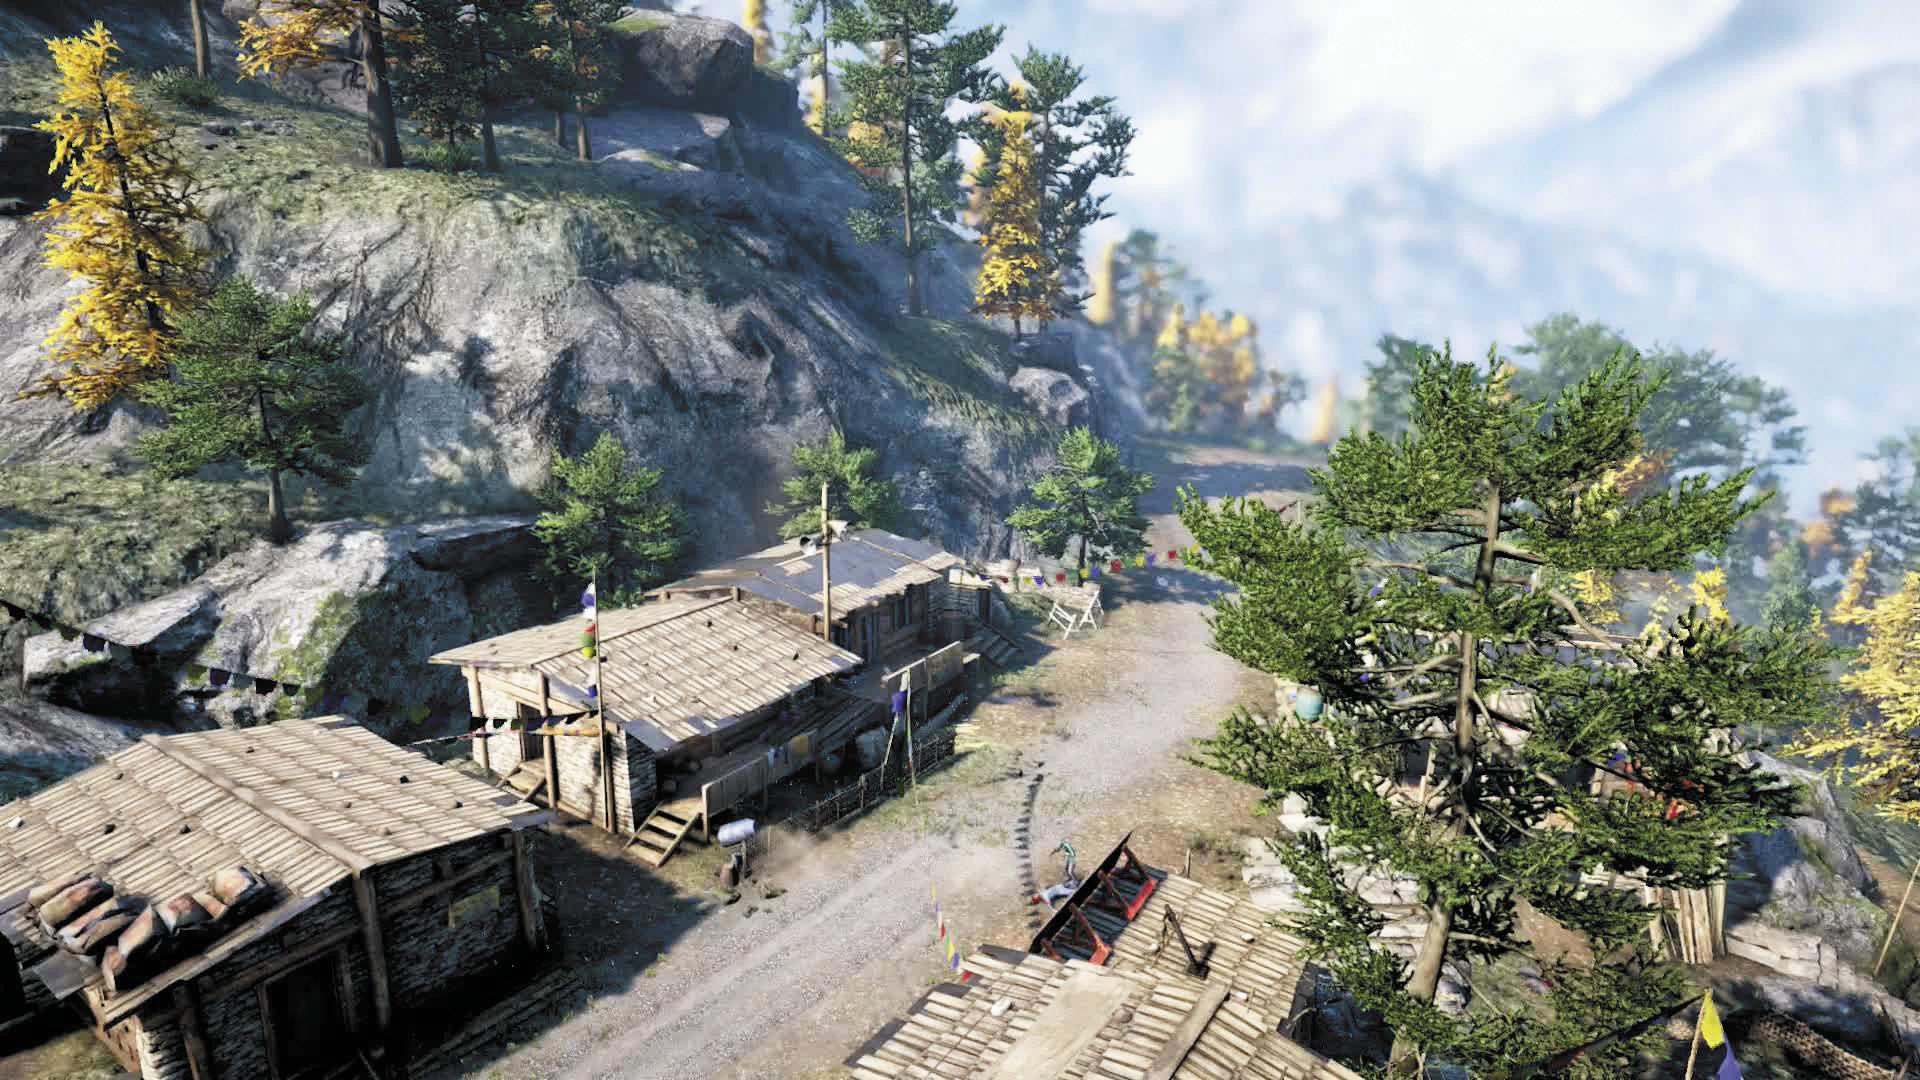
Someone clearly let the dogs out. The question is, do you have the skills to do anything about it?
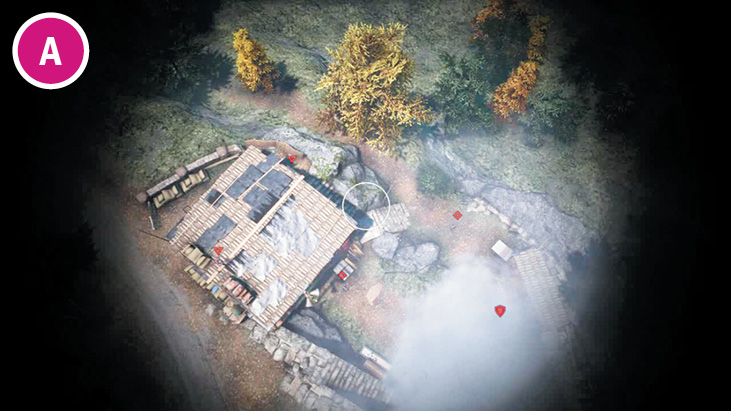
As with most maps, these guys are mobile. The western-most assaulter on the map actually walks a square around the building with the mortar on top. The heavy ranges all up and down the southwest path. And the northern assaulter paces from the middle building to the eastern gate.
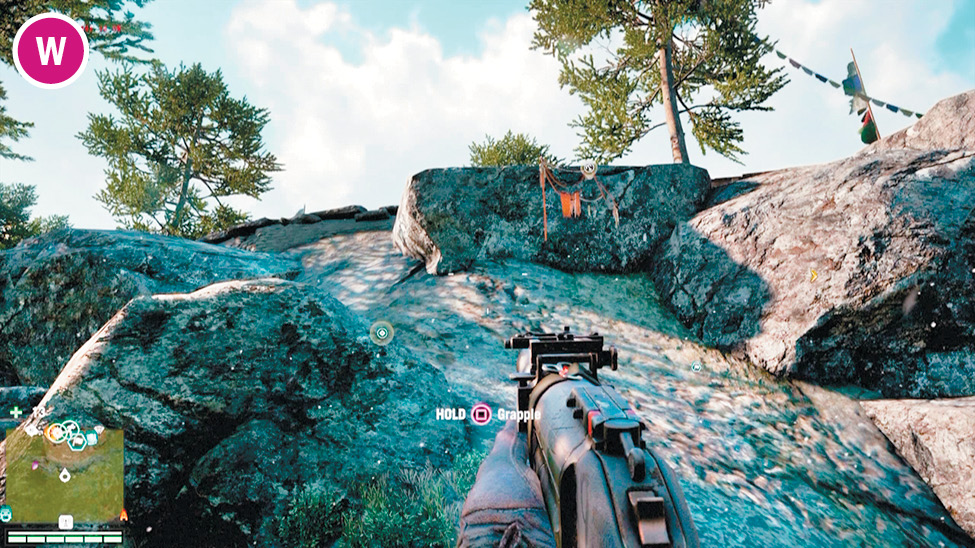
You can grapple up the cliffs to the south, but that puts you right in the thick of the puppy patrol. Better to come in from the north or the sides and thin out the assaulters before tackling the gunner and the dogs.
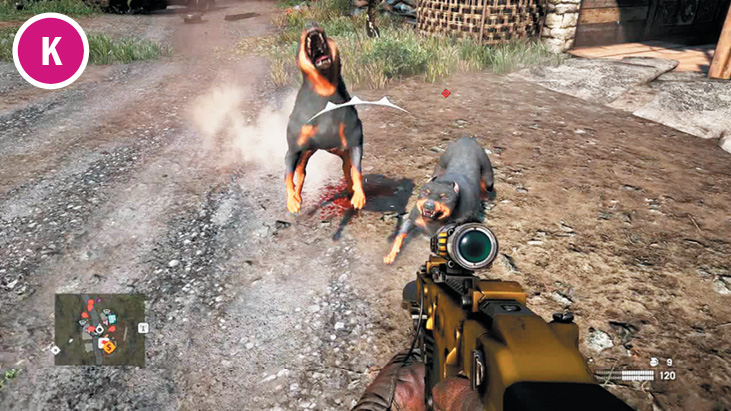
Though not as quick as dholes, attack dogs can still be tough to hit with normal guns. Go with something rapid-fire, so you can spray and pray, or something with a broad shot pattern, like a shotgun.
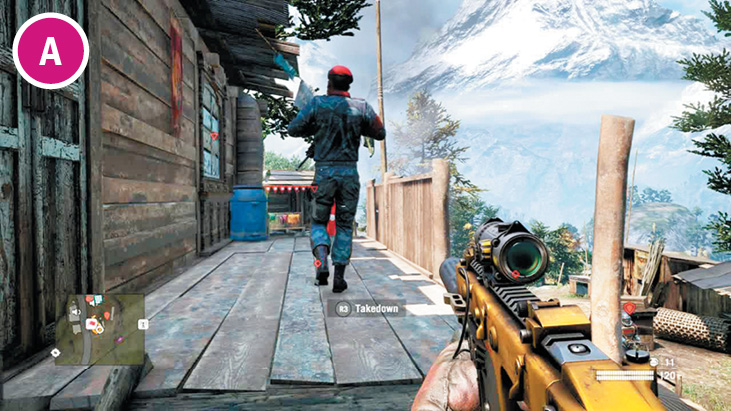
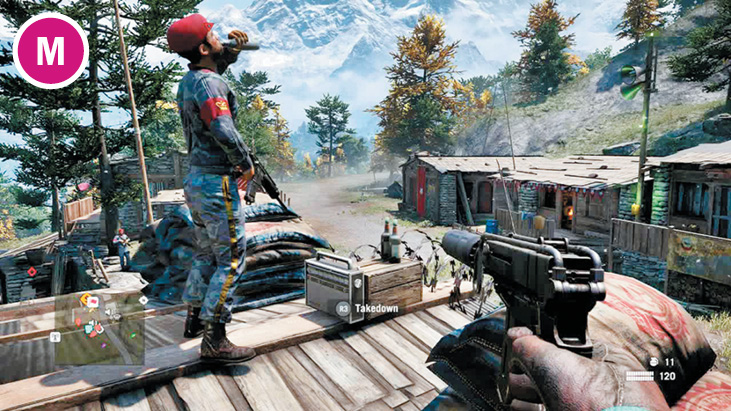
A couple bottles of hooch and a radio? Except for the whole “working for at mad tyrant” thing, the assaulter up on the roof seems like our kind of guy.
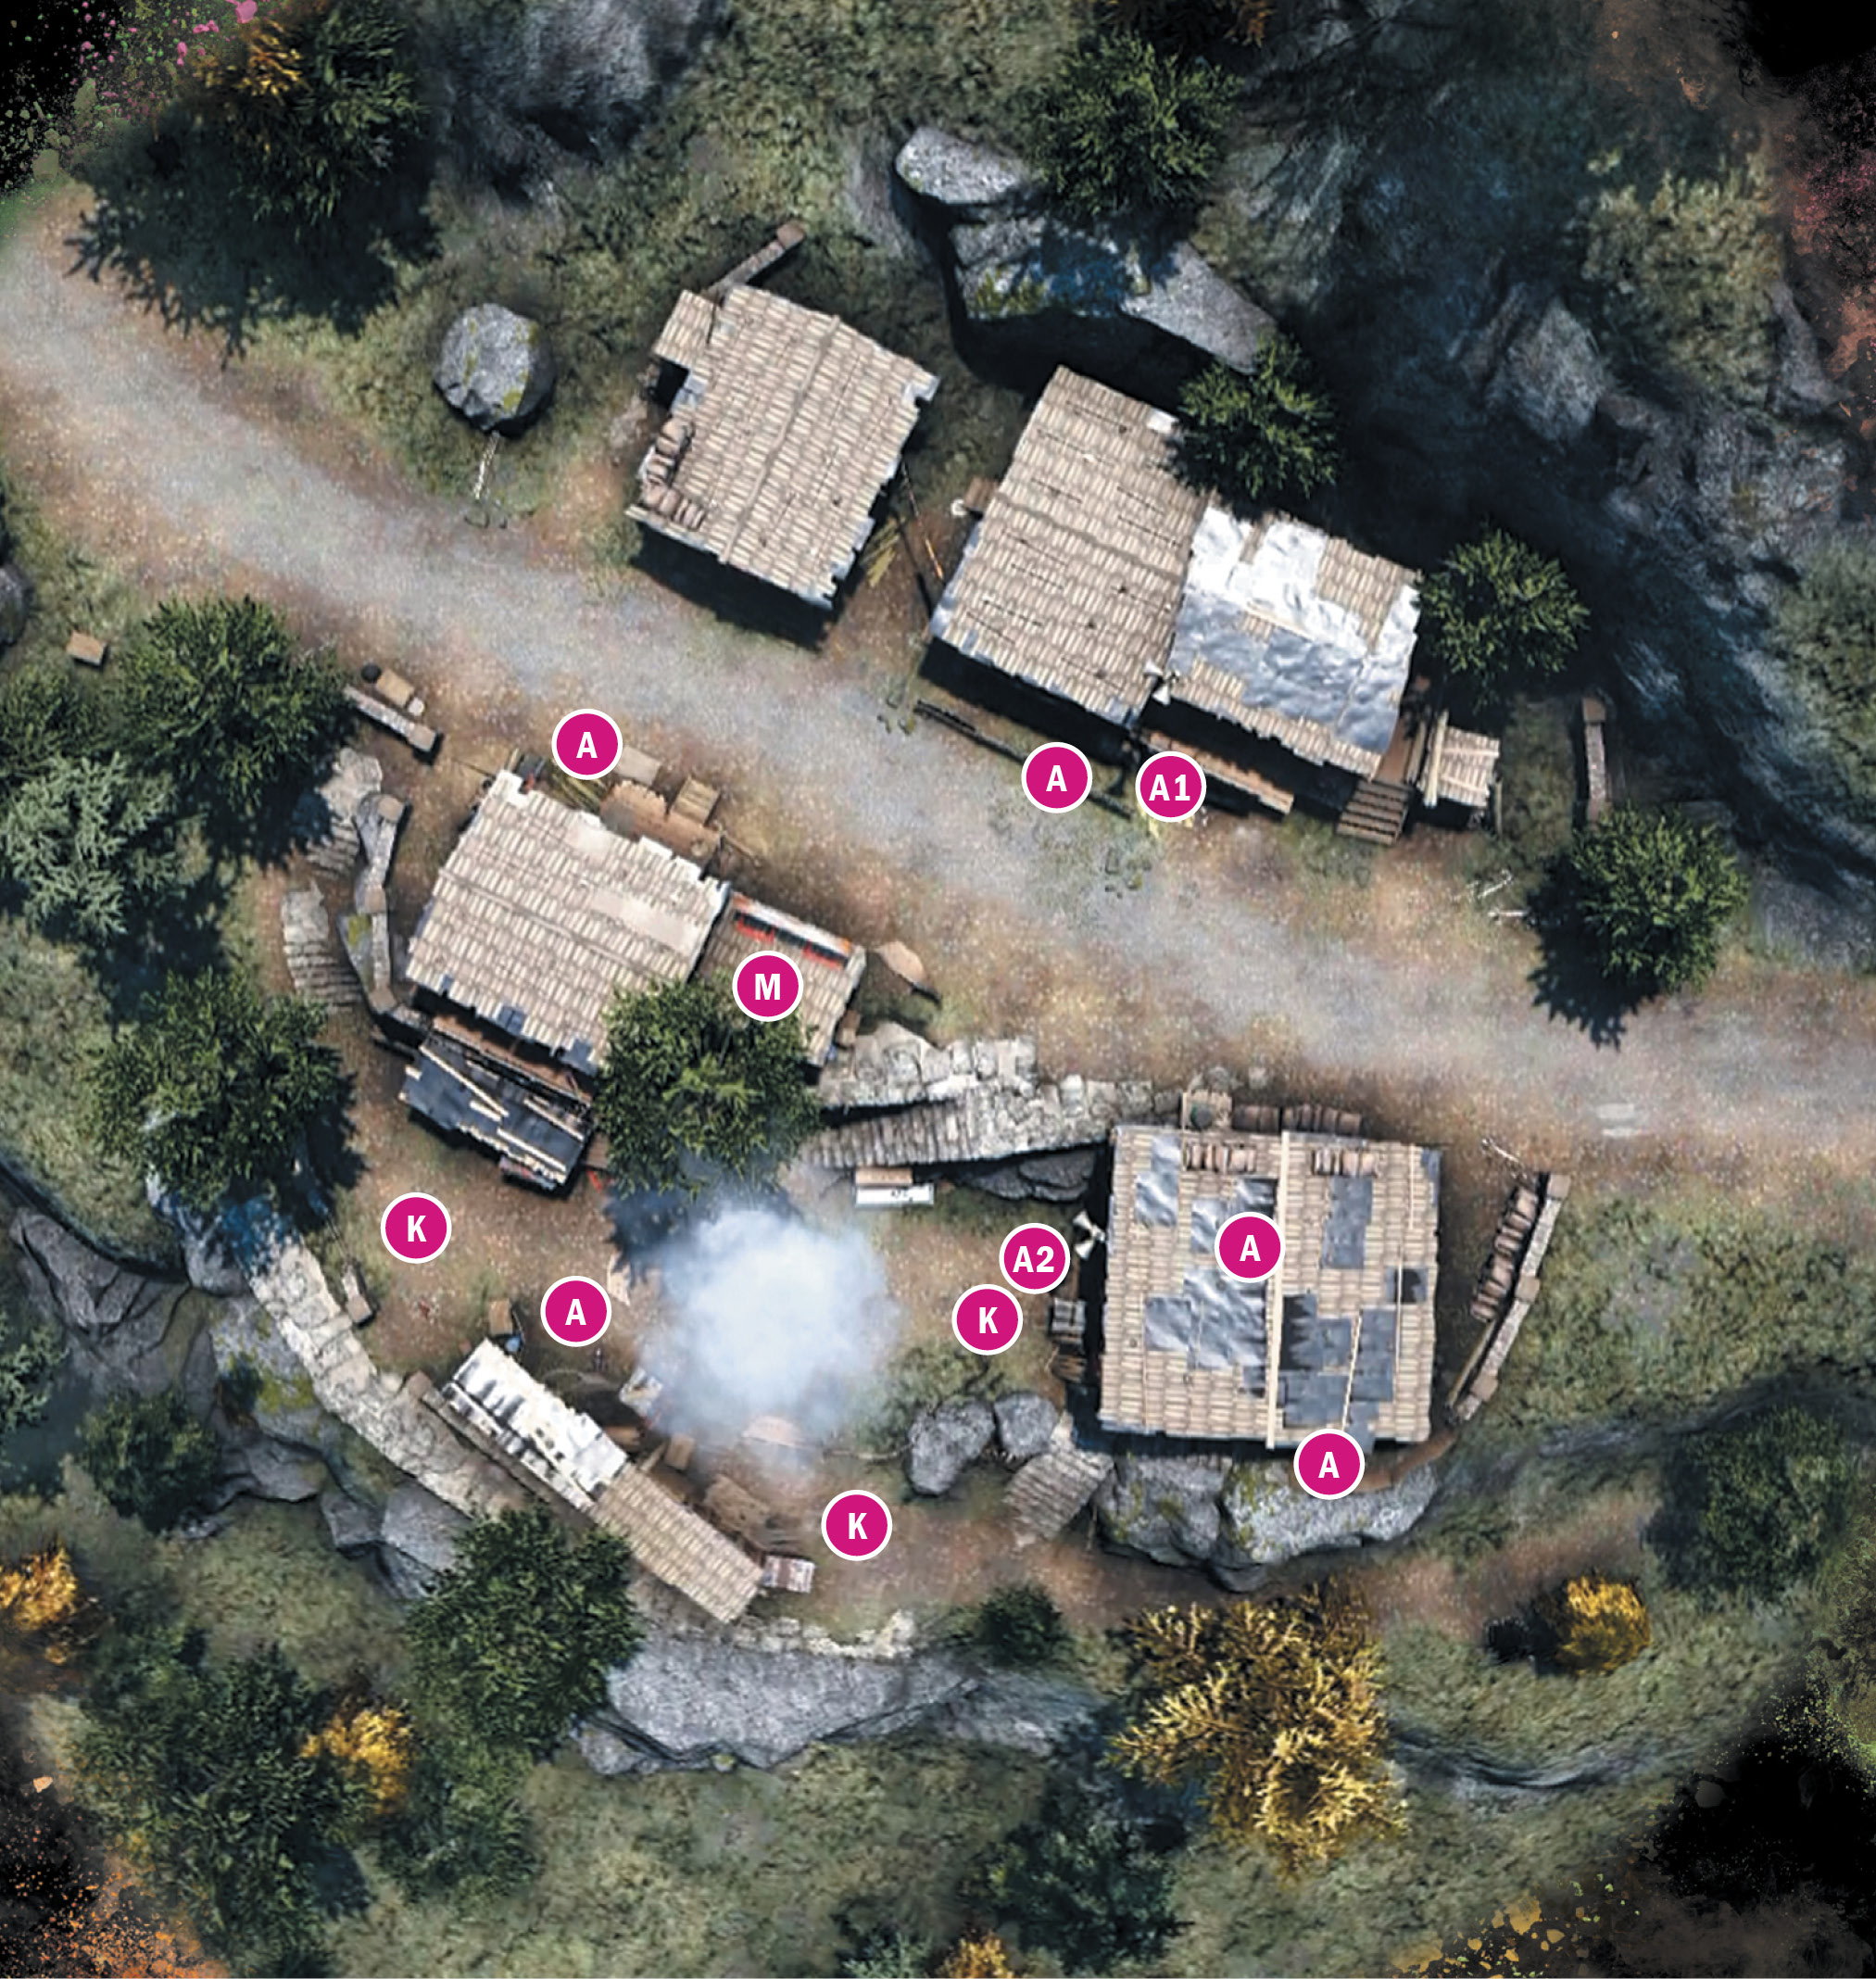
The mortar on the roof has a surprisingly tight aiming radius. You can hit just about every enemy with it.
Notes:
 The first wave of reinforcements will be a technical and a jeep pulling into town from the east.
 Stealth is difficult with dogs, but not impossible. Slip in the eastern gate and lure the northern guard behind the buildings for a takedown. Next comes the sniper. Either shoot him or go up the ladder on the east side of his building and take him down in person. Go through the house to stealth-kill the assaulter in the southeast, then step out the front, move north, and wait for the assaulter to walk by. This will leave you with just the gunner, whom you can easily kill with a takedown, and the dogs, who can be lured anywhere you like with thrown bait.
Royal Guard Kennels

 Alarm
Alarm
 Assaulter
 Attack Dog
 Mortar
 Sniper
Note: Enemy locations on map are approximate. Enemies often roam or go on rounds. Always scout ahead.
Royal Raksi Brewery
Location: x:553 y:534
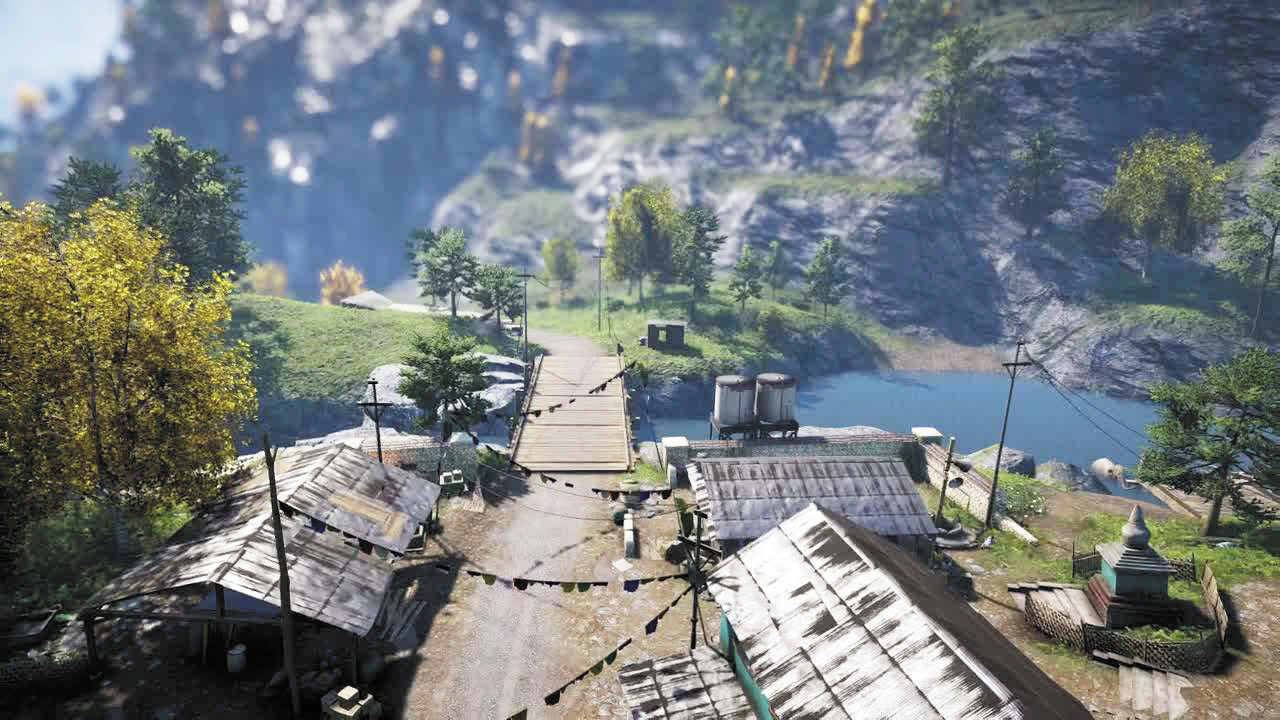
Even with hunters, the smattering of guards minding the liquor stills here are no match for you. Or an elephant. Or you on an elephant.
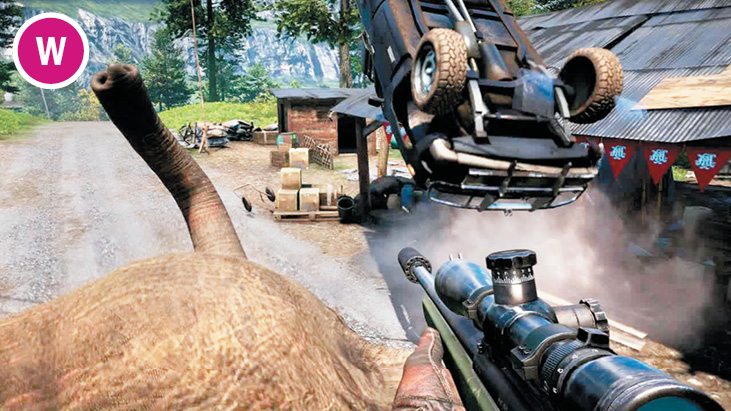
You’ll always find an elephant either swimming in the river or strolling along the shoreline to the north. What you do with that elephant is up to you.
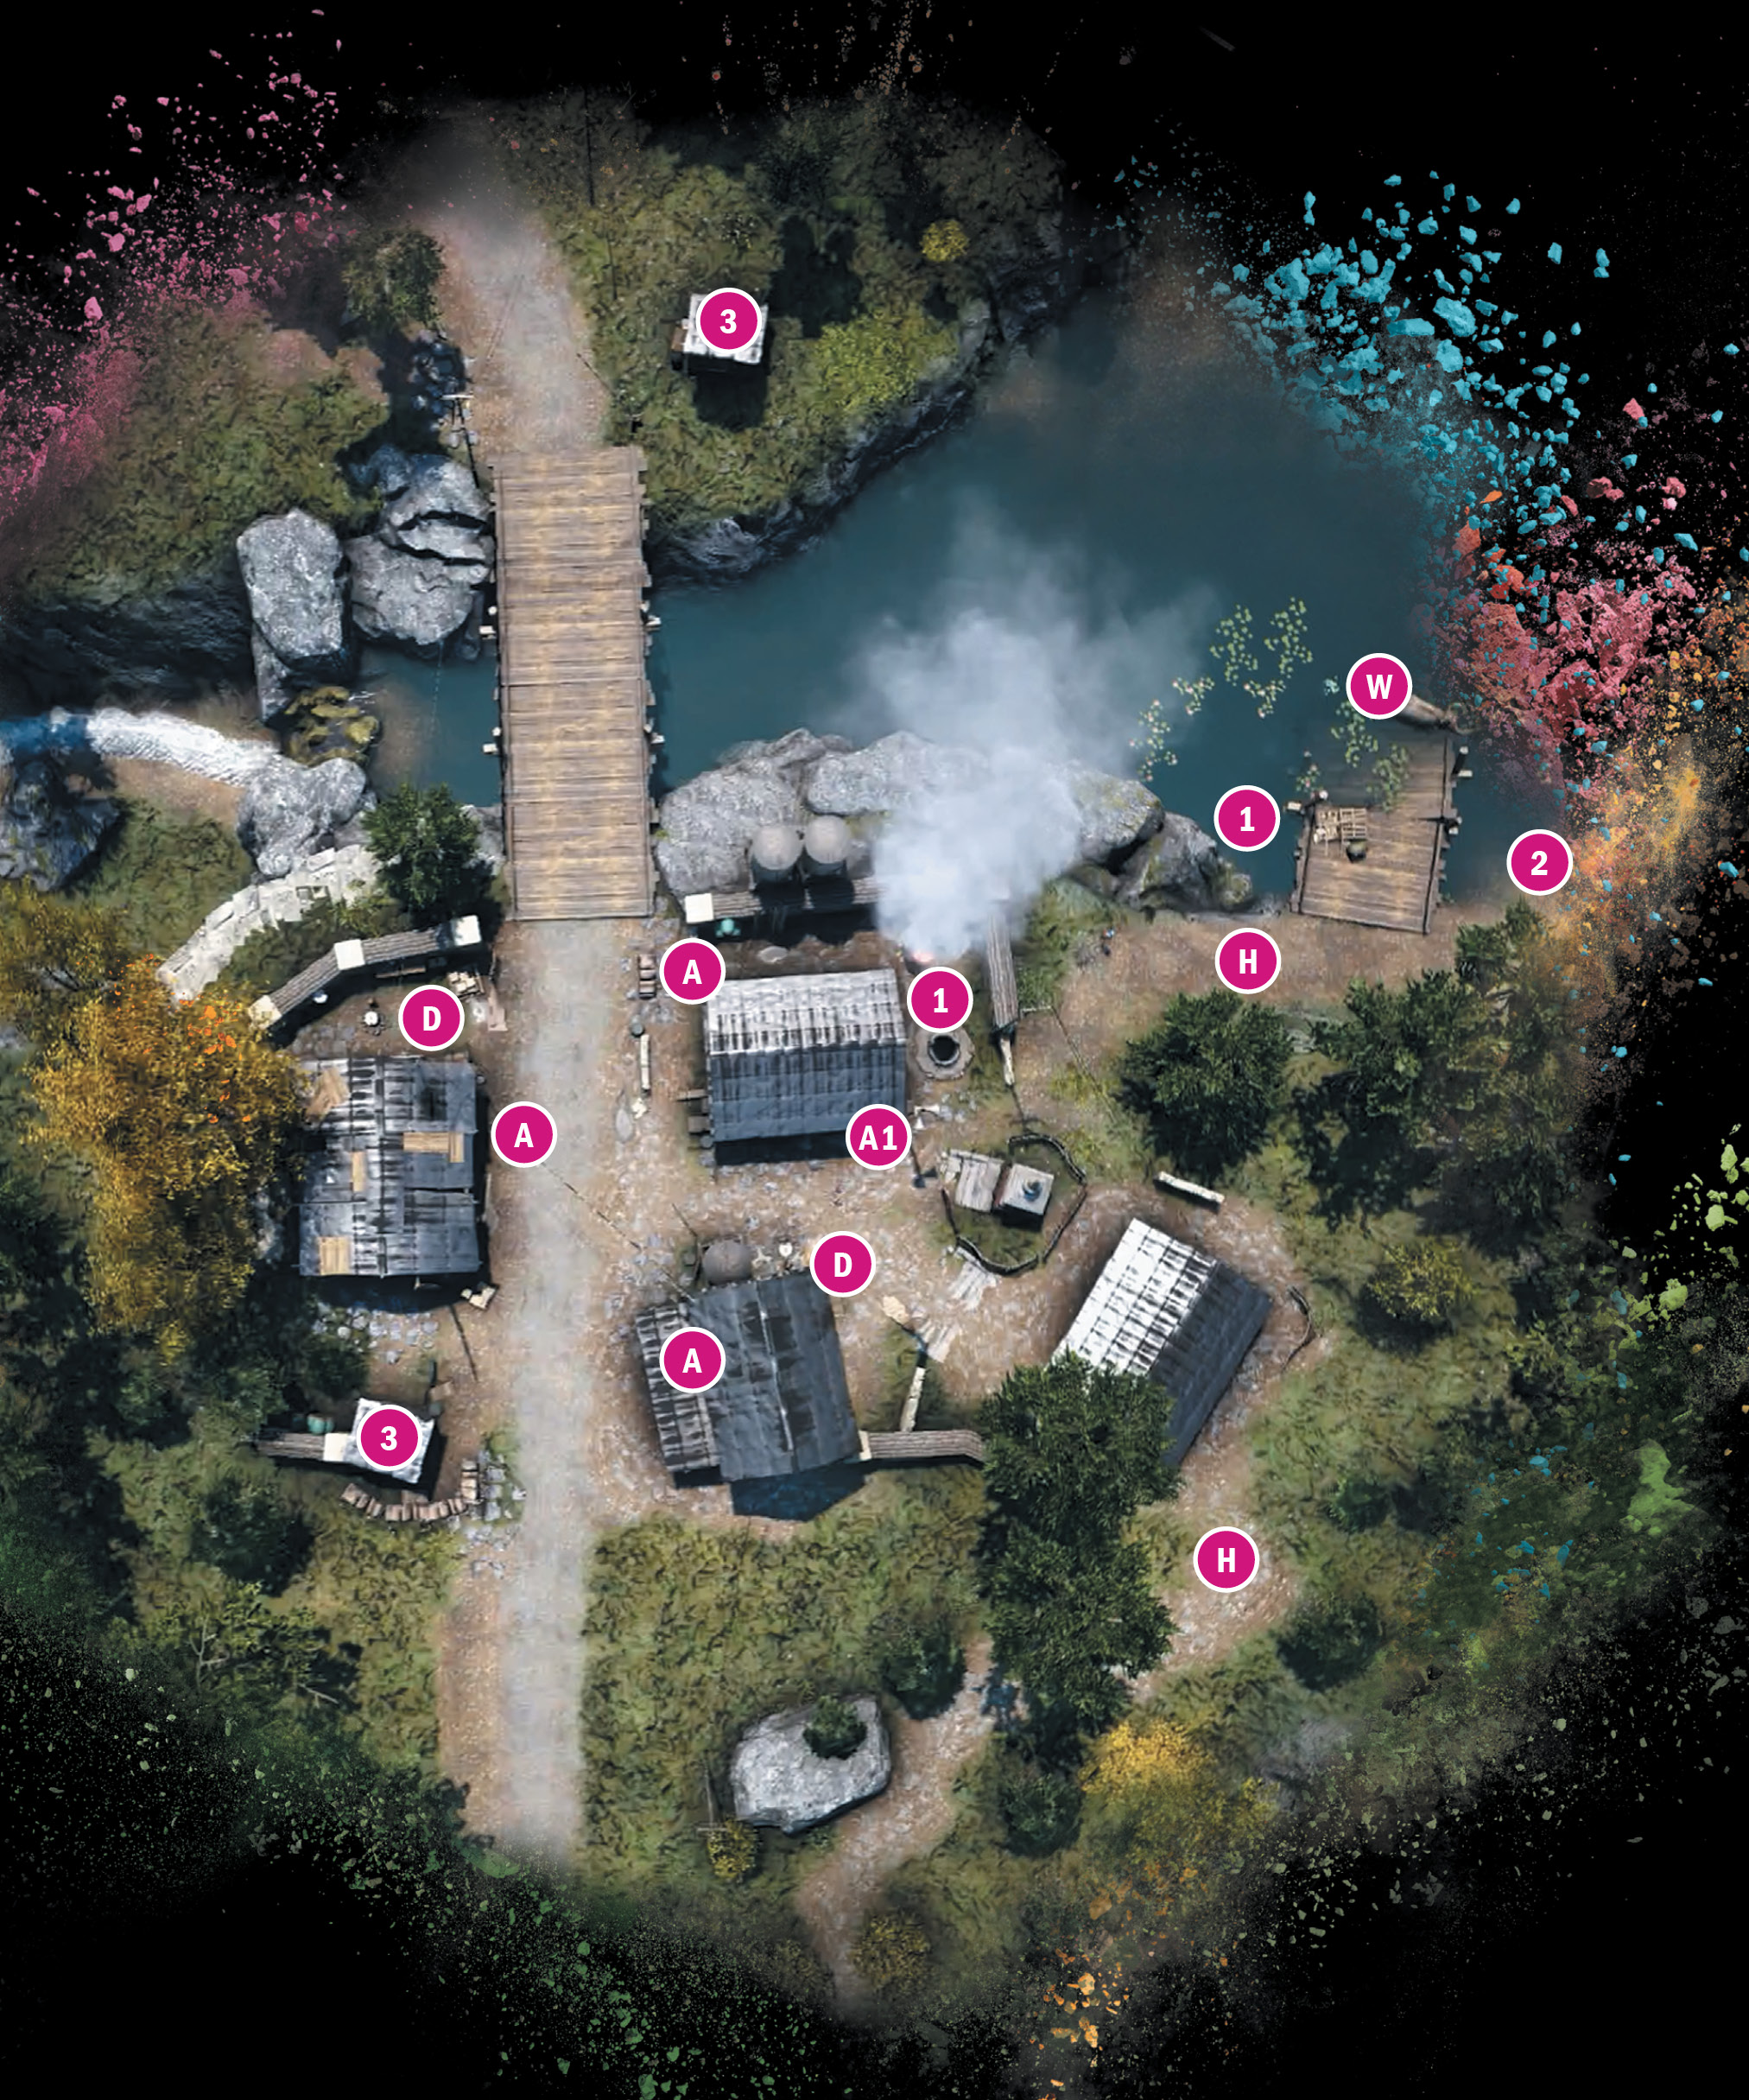
Having trouble locating the defender who’s supposed to be near the western campfire? Check the house. He constantly bounces between the two locations, fiddling with the liquor stills.
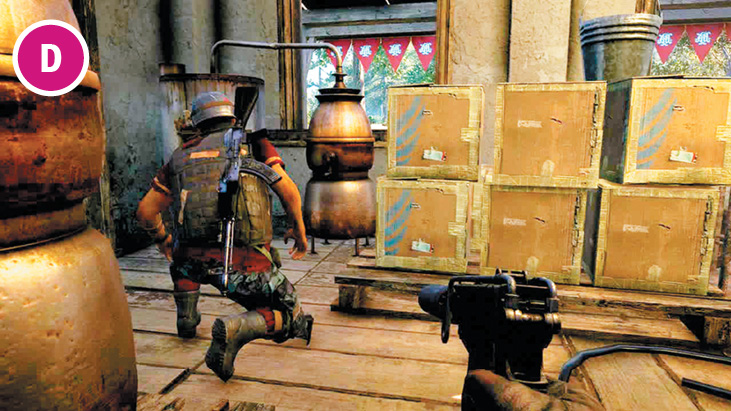
Want a very creative way to disable the alarm? Swim for it. If you search the area near the broken dock, you’ll see the entrance to an underwater cave. It leads to a well that lets out right beside the alarm.

Just past the dock, you can find a grapple point that will bring you up high on the cliffs, a perfect spot to snipe the alarm (and the two nearby hunters) just through the trees. From there, you can move down and take the defender warming himself at the still, then the one who keeps walking inside the house. Lure the guard near the bridge behind the north house and whack him, then take the guy sitting on the porch, and finally, whack the roaming guard.
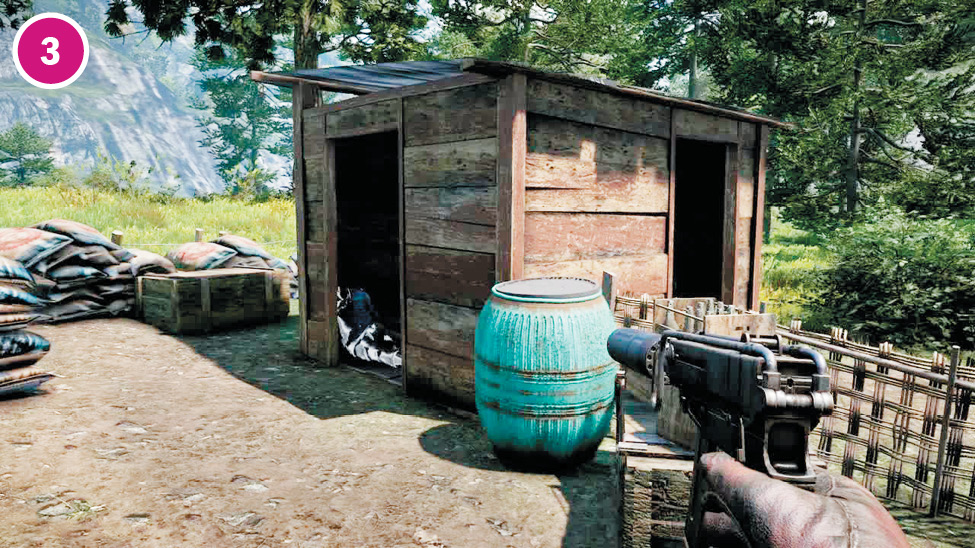
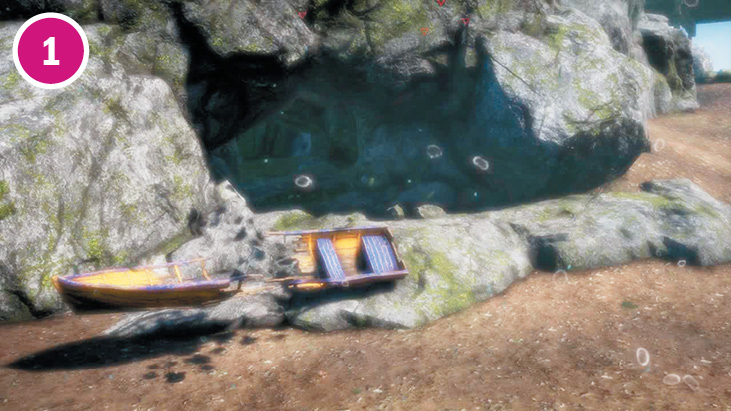
The toll booth to the far north is a fair spot from which to snipe the first few enemies. And the one in the south offers a great place to hide bodies.
Notes:
 The assaulter in the middle of the road on this map actually walks a loop around everything west of the road.
 Reinforcements arrive in two technicals coming down from the bridge to the north.
Royal Raksi Brewery
 Alarm
Alarm
 Assaulter
 Defender
 Hunter
 Wild Elephant
Note: Enemy locations on map are approximate. Enemies often roam or go on rounds. Always scout ahead.
Sahi Jile Checkpoint
Location: x:669 y:764
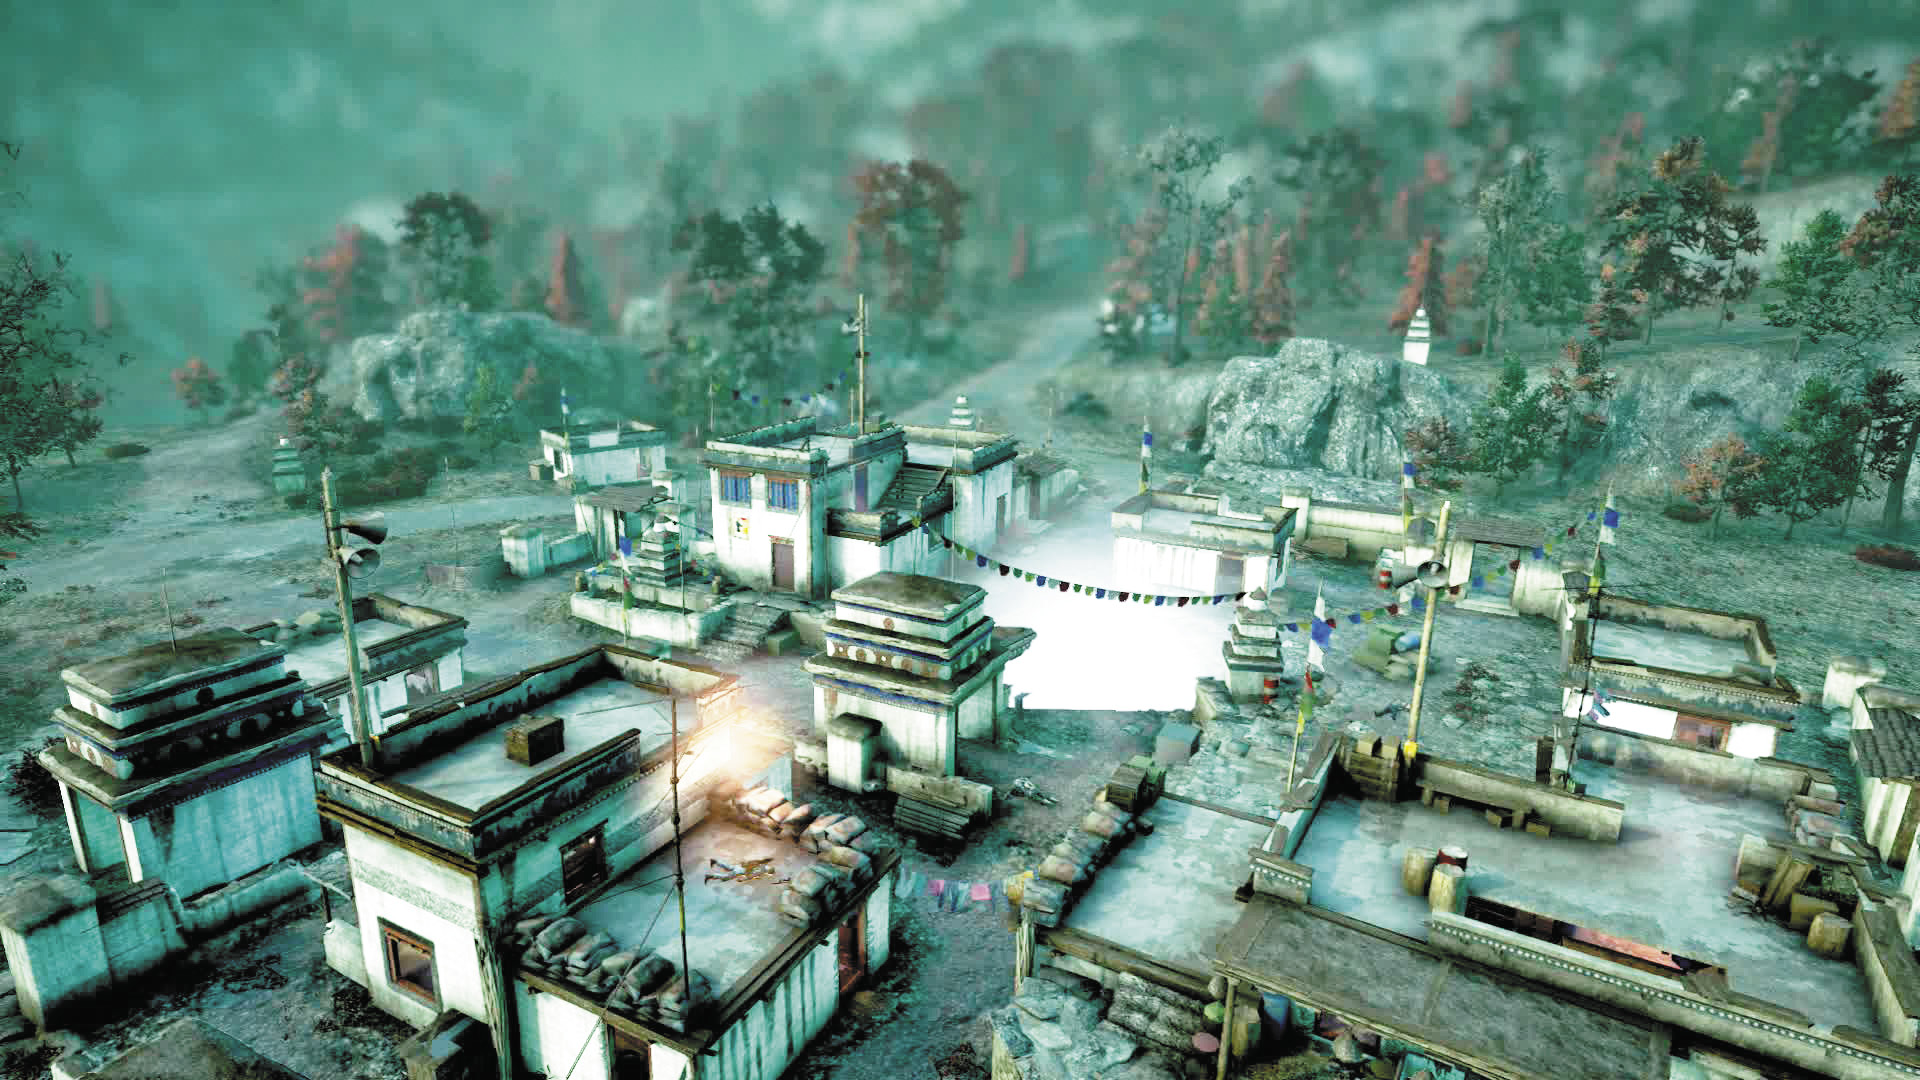
One of this heavily defended outpost’s alarm poles has more ordnance crowded around it than most entire checkpoints. Make sure you’re in control of it by the time reinforcements arrive.
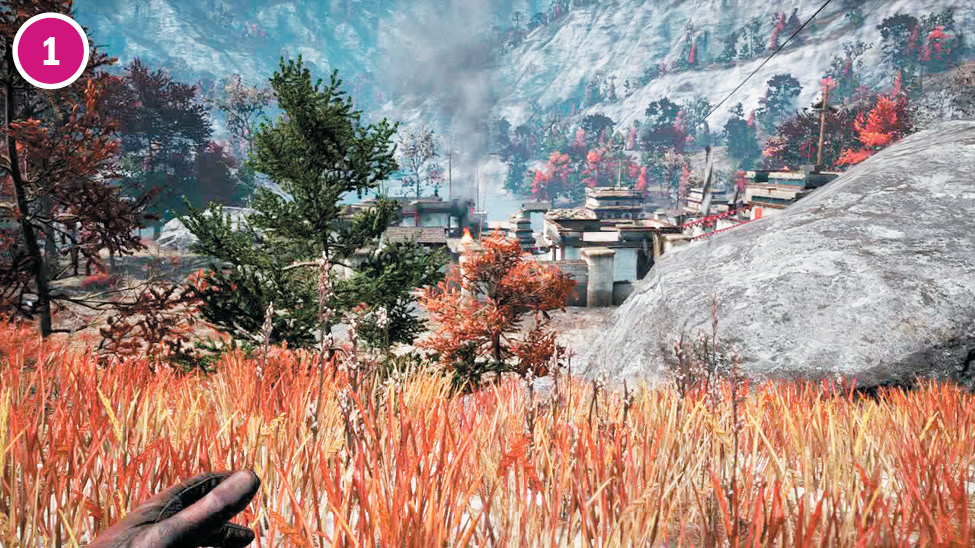
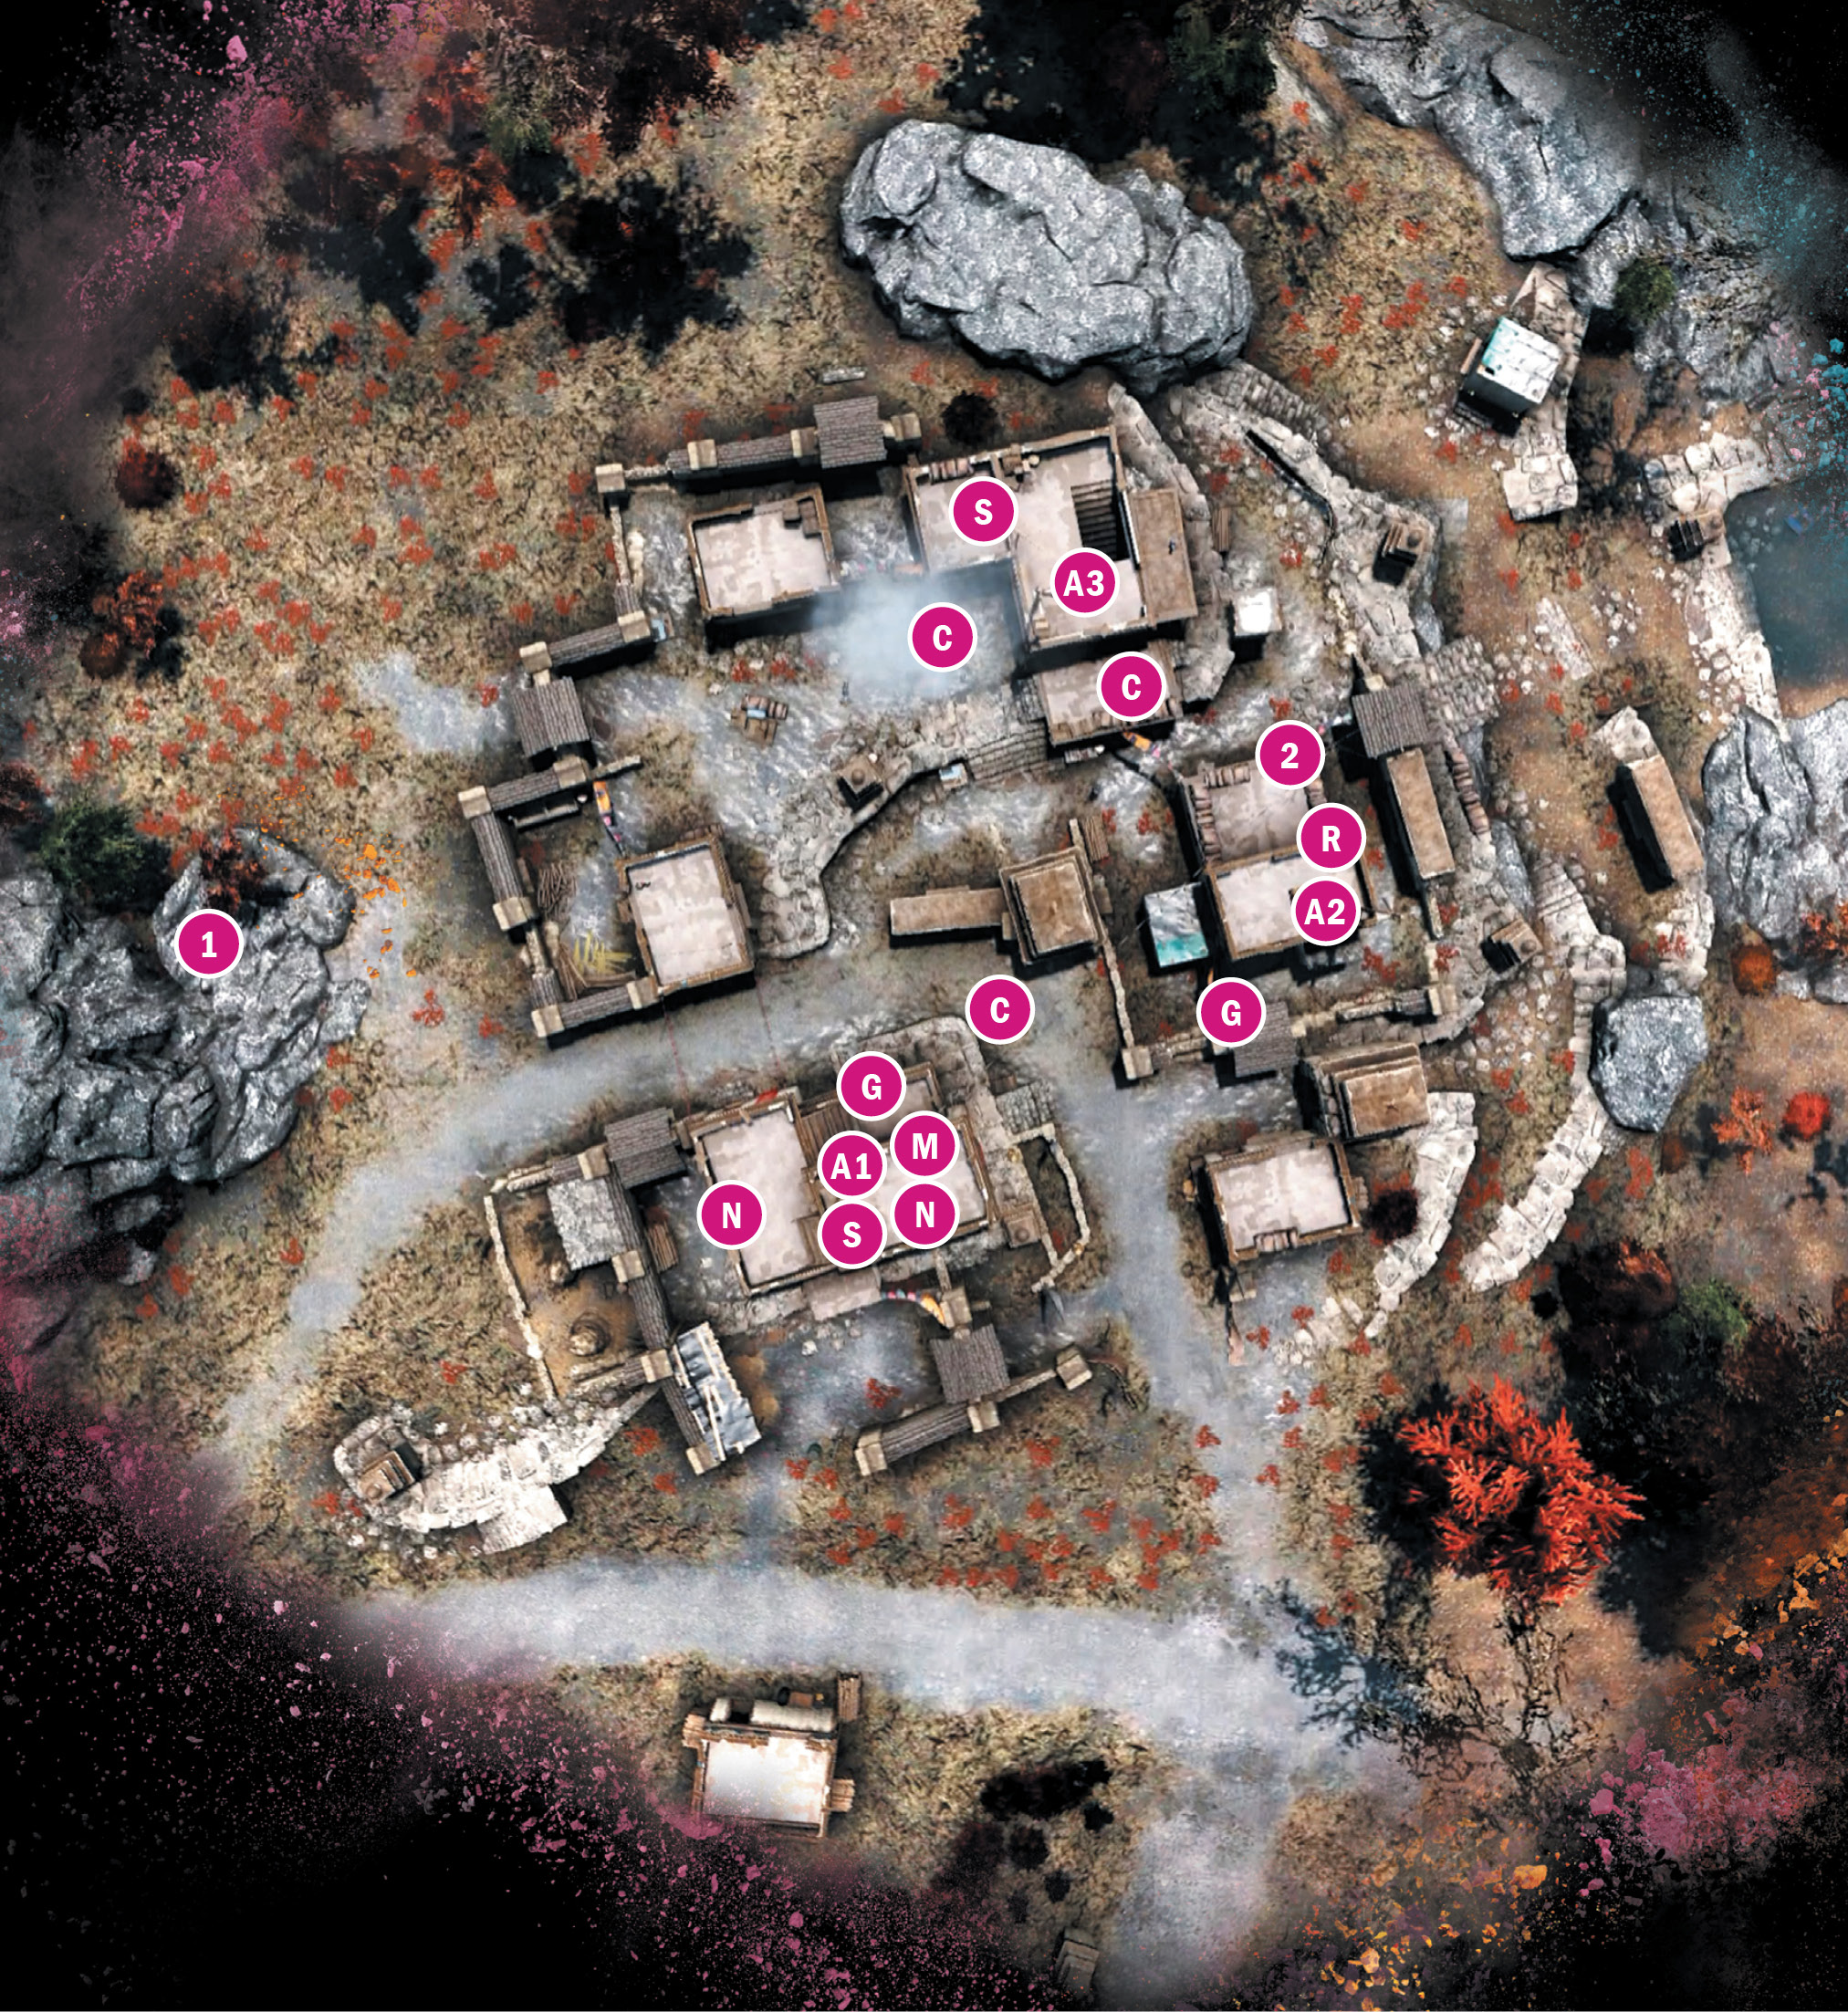
The key to a place like Sahi Jile is to soften it up first. And one way to do that is to stand behind the house-sized boulder to the west. From the boulder’s south side, you can snipe alarm A1 and its guard. From the boulder’s north side, you can hit the other two alarms and their rooftop guardians. And when you’re done, the zipline will deliver you to the rooftops.
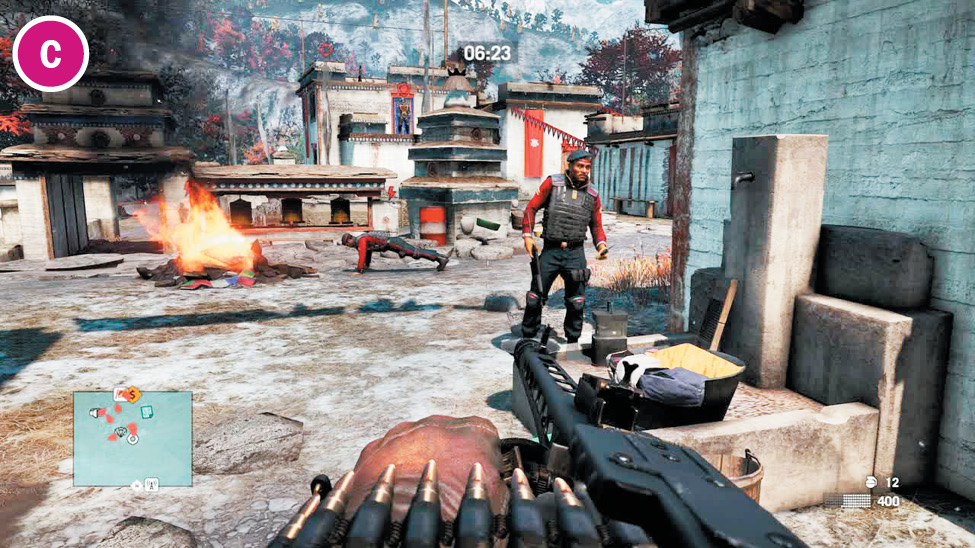
It’s as if they know it’s going to get ugly. There are red barrels tucked away in seemingly every corner.
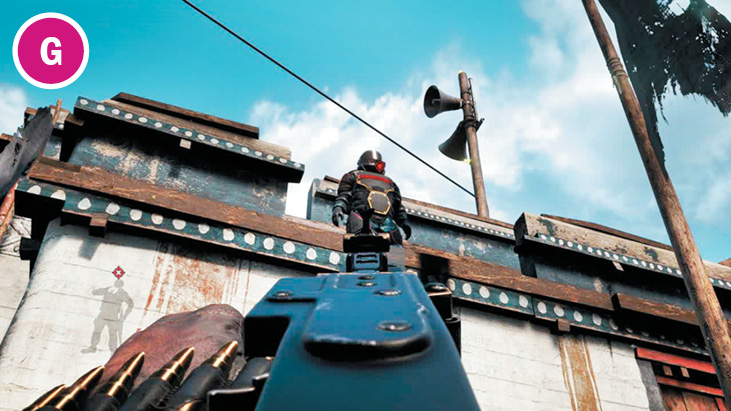
How do you stealth-kill that? You can’t even climb up to alarm A1 unless you get rid of the heavy guarding the ledge up. But if you’ve chosen a good hiding place, you can blow C4 somewhere across the map and pull everyone out of position.
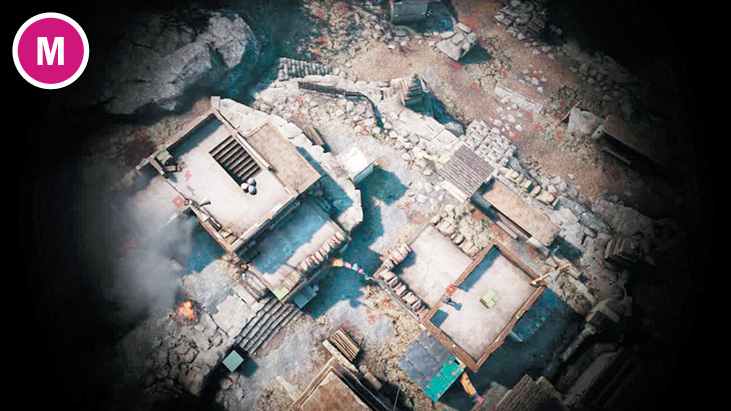
If you can get to it, the mortar beside alarm A1 can hit a huge amount of real estate, including alarms A2 and A3.
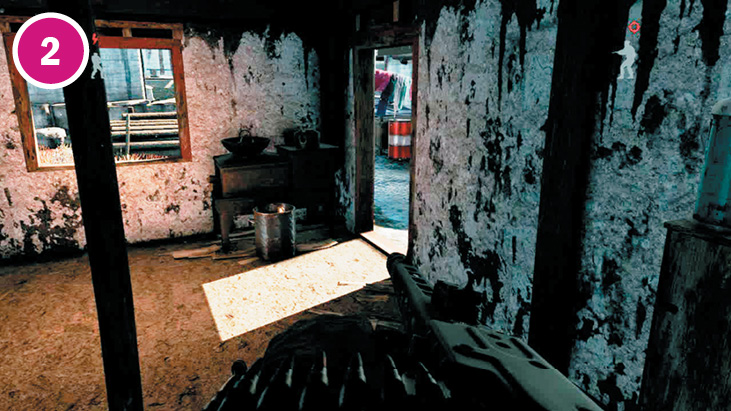
The little ground-level rooms littered around the edges of the compound can be a huge help to a player trying to stay unnoticed.
Notes:
 Reinforcements at this outpost come in three waves. Wave 1 arrives on foot from the south and consists mostly of rocketeers and heavy gunners. For wave 2, one technical will drive in from the west to the west gate, and two more will loop around to the south entrance road. The mounted guns near alarm A1 can really help out here. For wave 3, two armed RHIBs will float up from the river to the east, accompanied by a helicopter. Switch to the mortar to make those kills easier.
Sahi Jile Checkpoint
 –
– Alarm
Alarm
 Charger
 Heavy Gunner
 Mortar
 Mounted Machine Gun
 Rocketeer
 Sniper
Note: Enemy locations on map are approximate. Enemies often roam or go on rounds. Always scout ahead.
Seven Treasures Ashram
Location: x:432 y:394
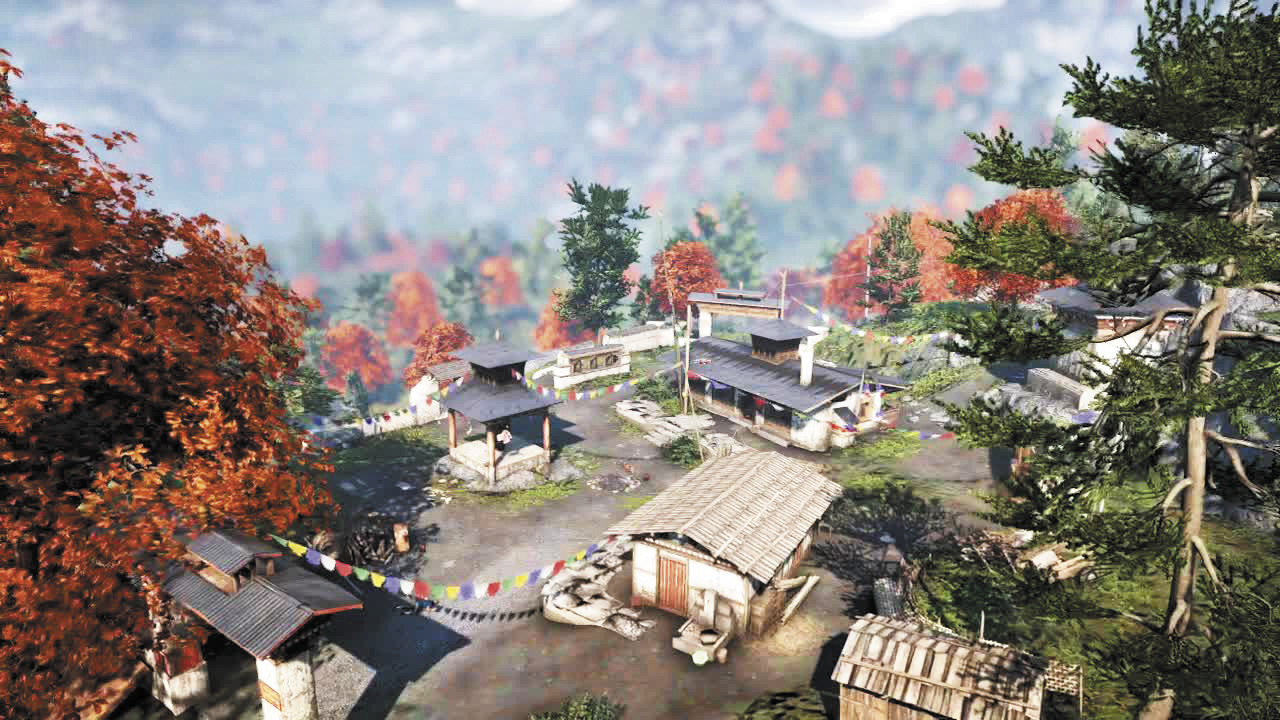
Seven human enemies lie in wait on this simple outpost, with a caged tiger rounding it out to an even eight.
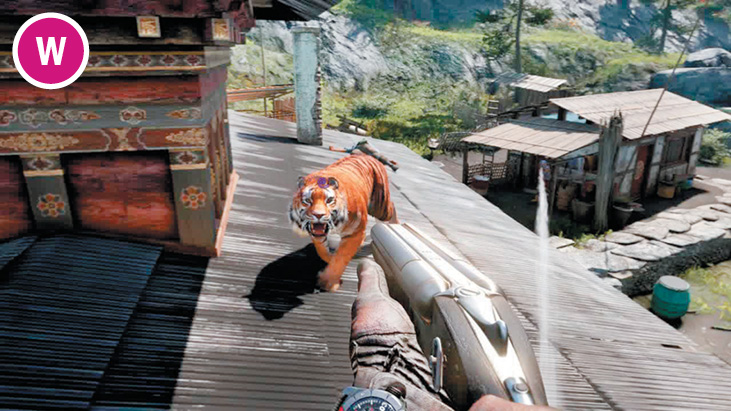
Of course you want to free the tiger. Just be sure to wait until the hunter is dead before you do it, because a charmed tiger will come after you even in places you think are safe.
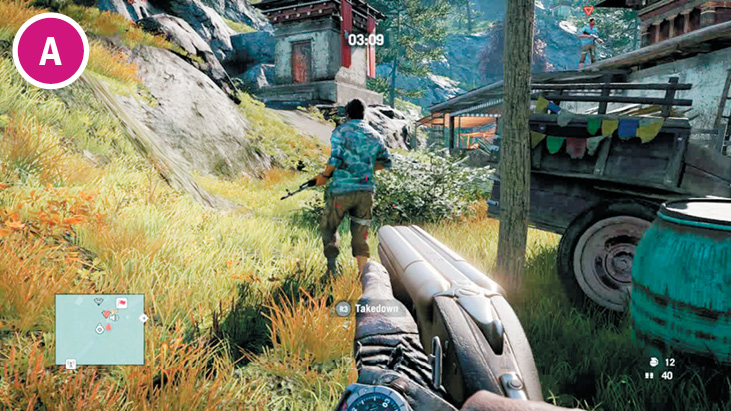
The assaulter shown on the lowest part of this map actually walks a square around the whole periphery of the level.
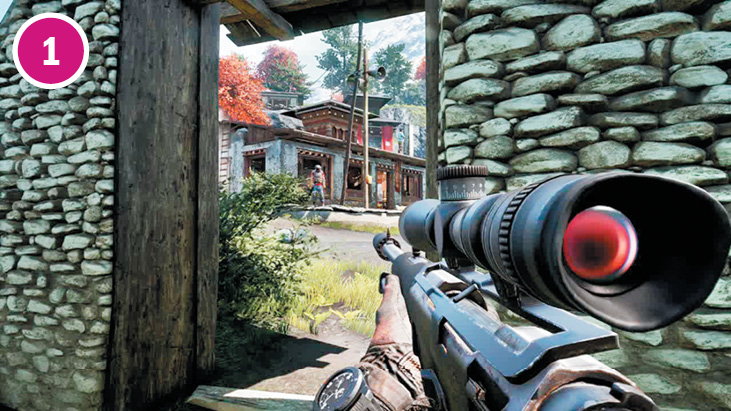
The hunter will occasion-ally walk behind the fence on the east side, giving you a great chance to snipe him in a place where his corpse is less likely to be noticed. The assaulter on rounds may still catch a glimpse of it though, so make him your next target.
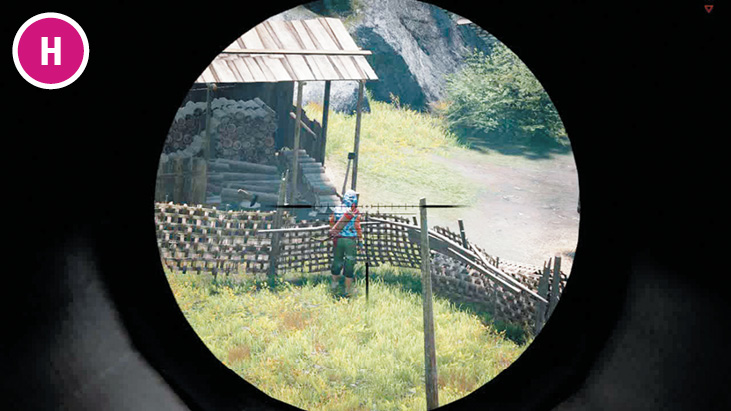
If you stand in the open doorway to the east, you can snipe the alarm and the rooftop sniper first thing. But if you do, be aware that people can see the sniper’s body on the slanted roof.
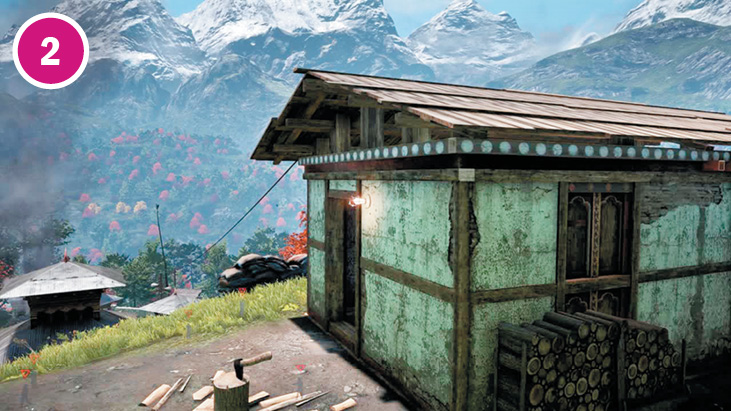
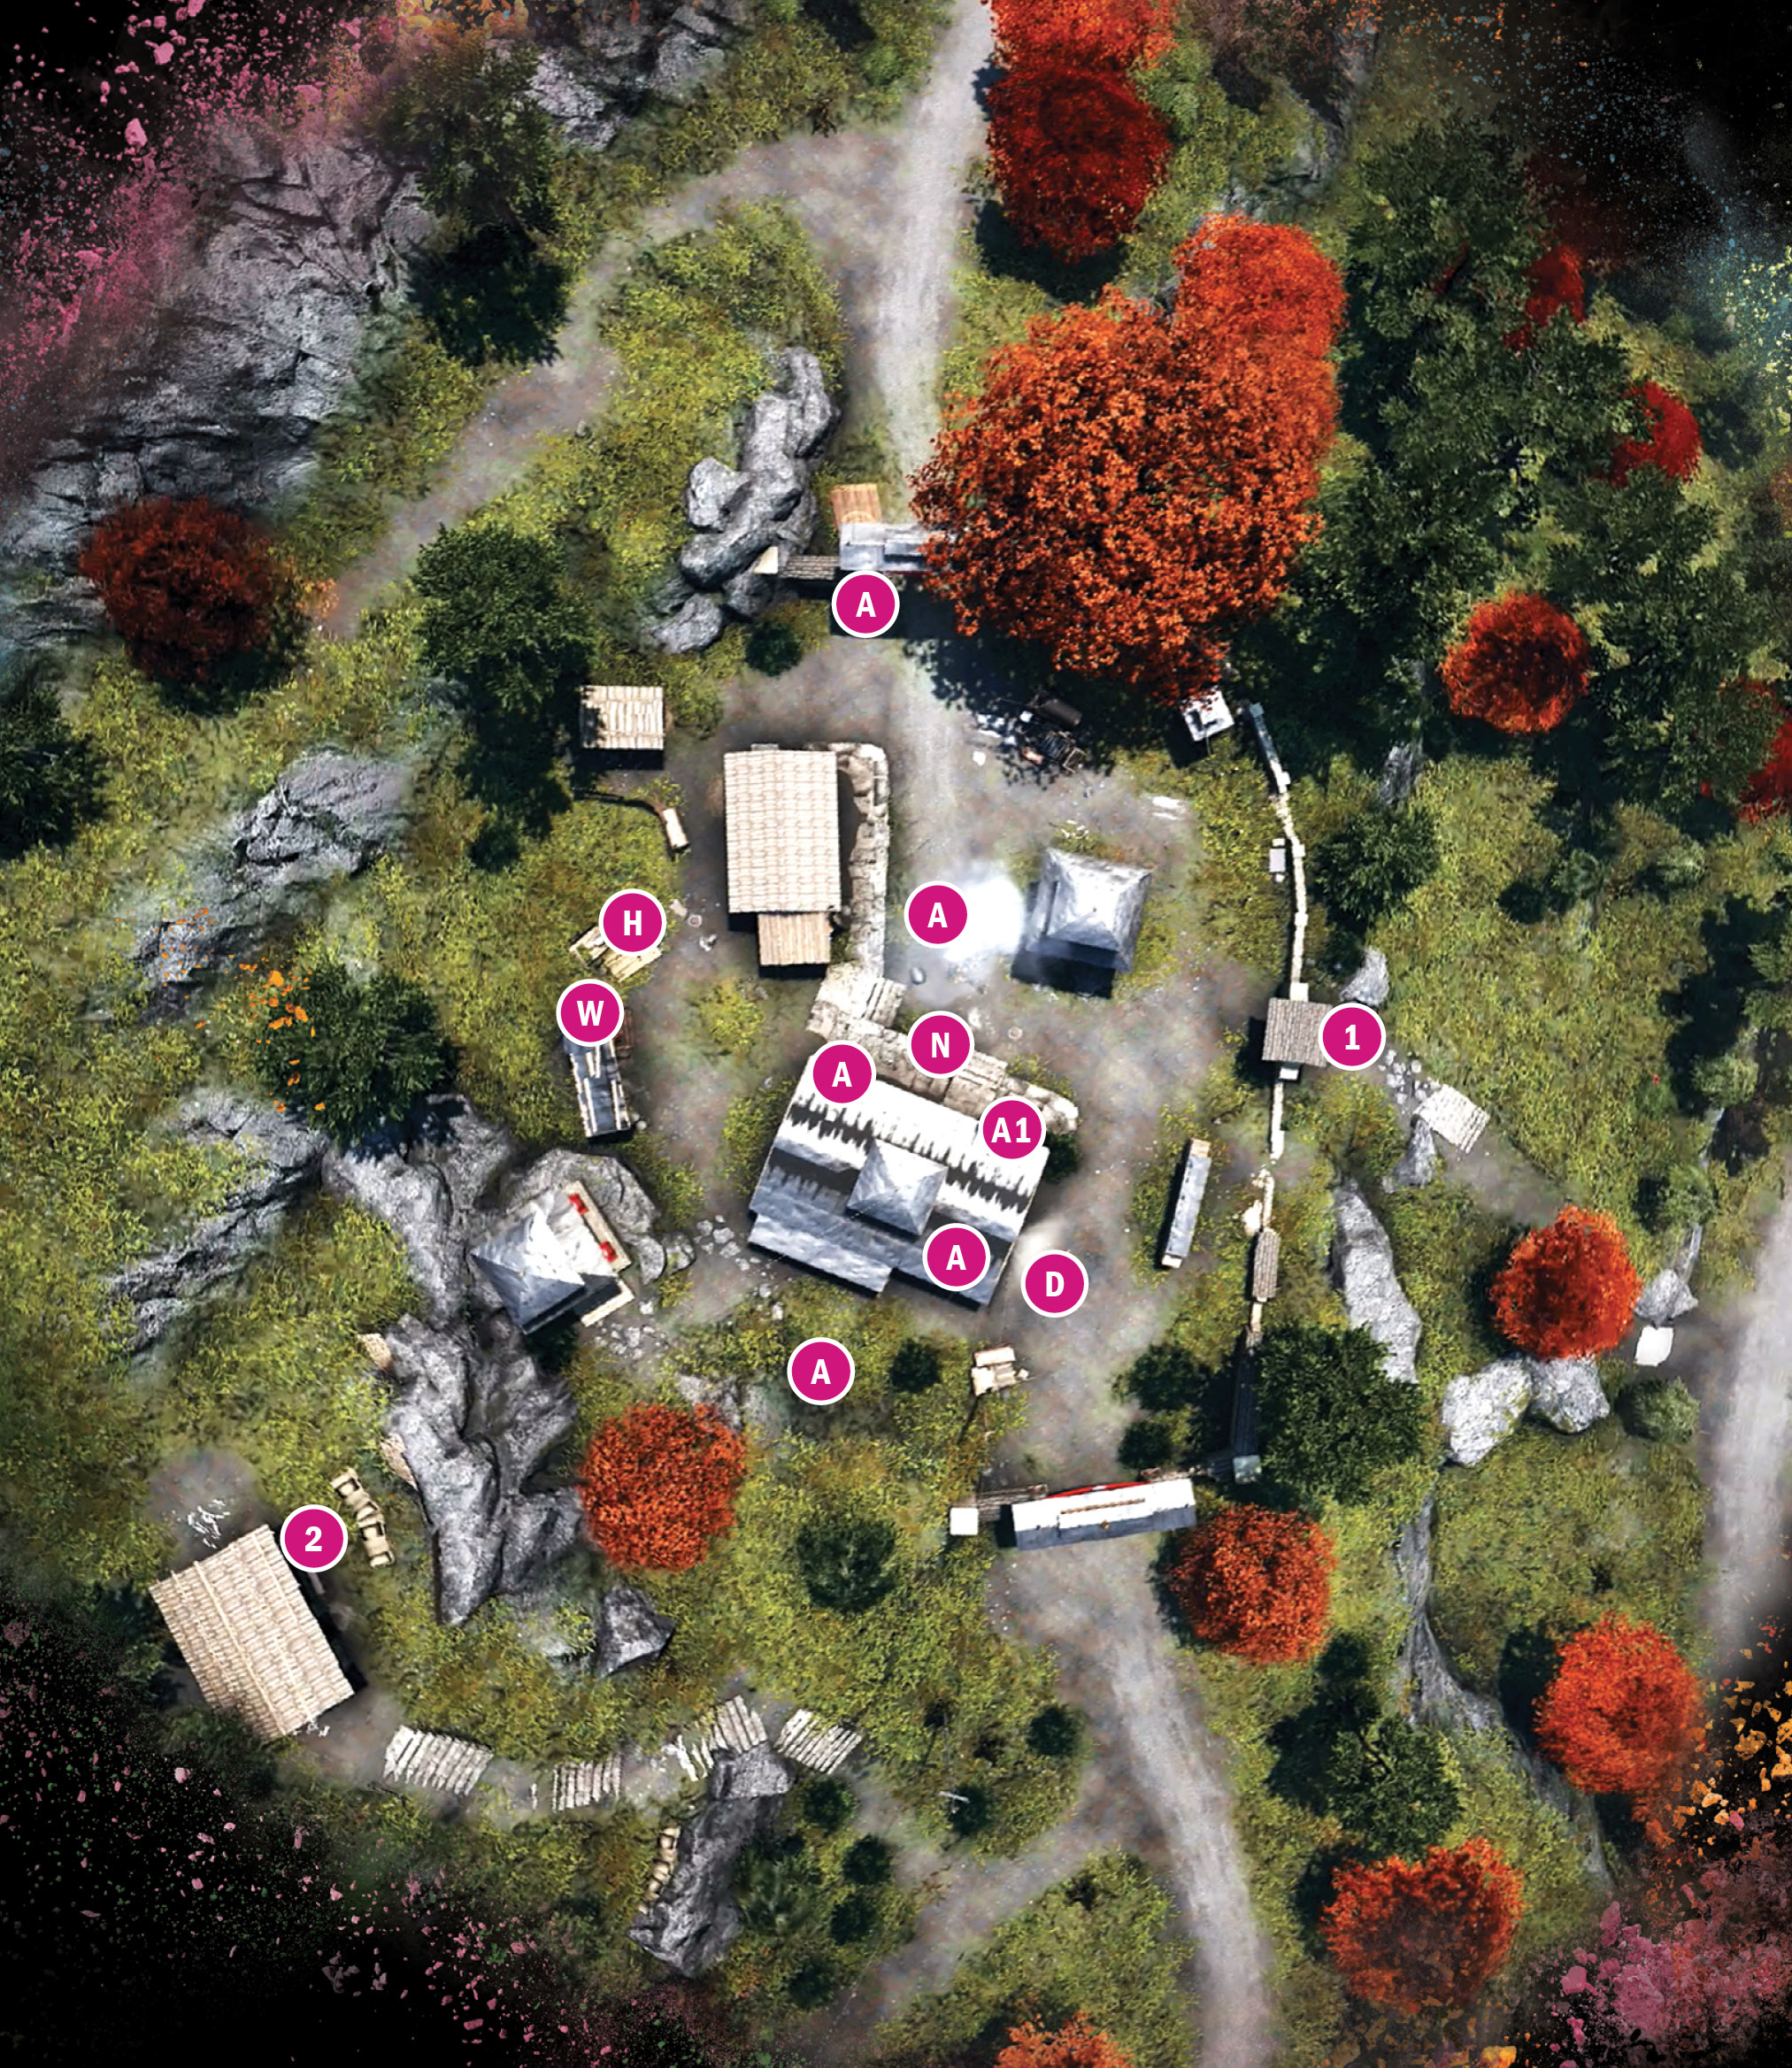
The hut along the southwest ridge is the perfect place to start your stealth takeover. Snipe the sniper on the roof, (or zipline to the roof and use a takedown), use the rooftop vantage point to snipe the hunter and the roaming assaulter, then climb back up the ladder and snipe the frame of the tiger’s cage door. After that? Just sit back and watch kitty work.
Notes:
 The sole wave of reinforcements arrives on foot from the north, and includes another hunter (so watch it with the tiger). You’ll notice the mounted gun on the main building’s north side points right toward them.
Seven Treasures Ashram
 Alarm
Alarm
 Assaulter
 Defender
 Hunter
 Mounted Machine Gun
 Tiger in a Cage
Note: Enemy locations on map are approximate. Enemies often roam or go on rounds. Always scout ahead.
Shanath Breeders
Location: x:380 y:574
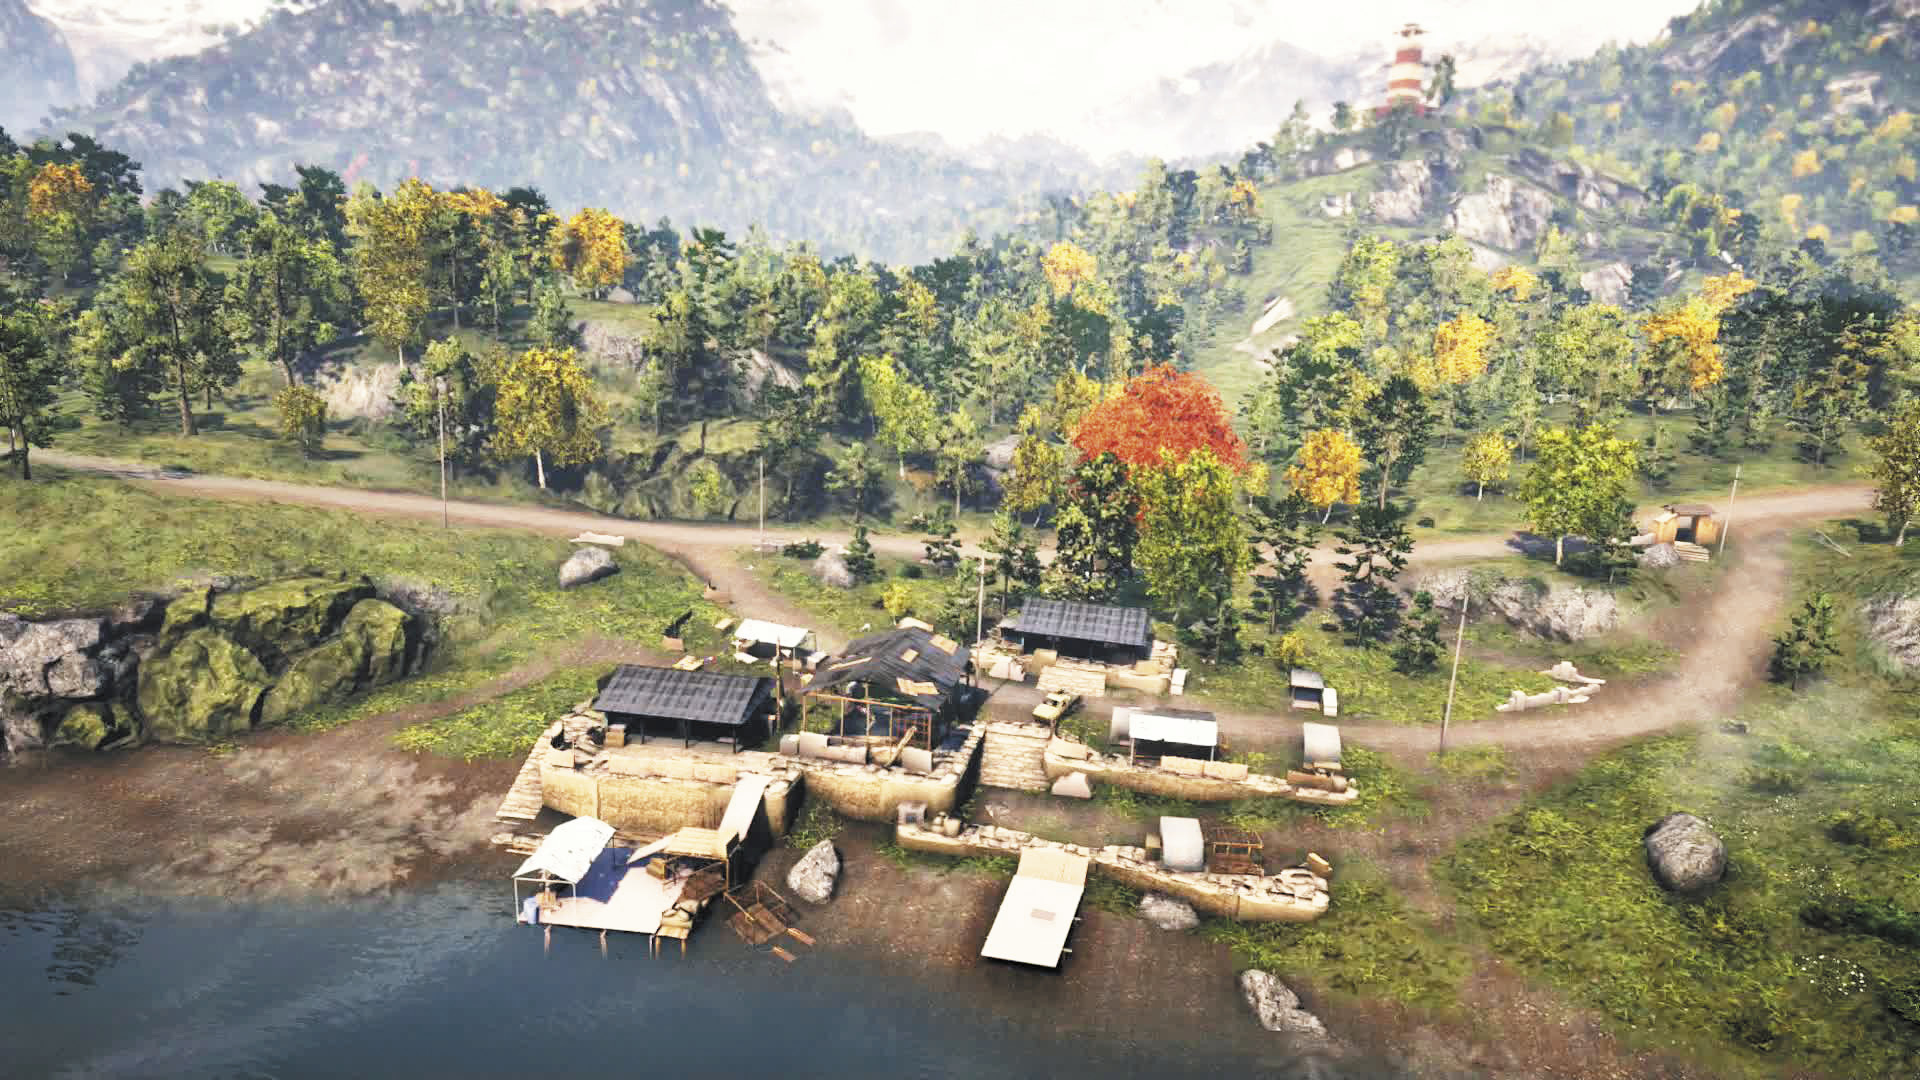
A riverside collection of rickety pens and cages, things here can get dicey in a hurry if that run-down elephant pen happens to give out once and for all.
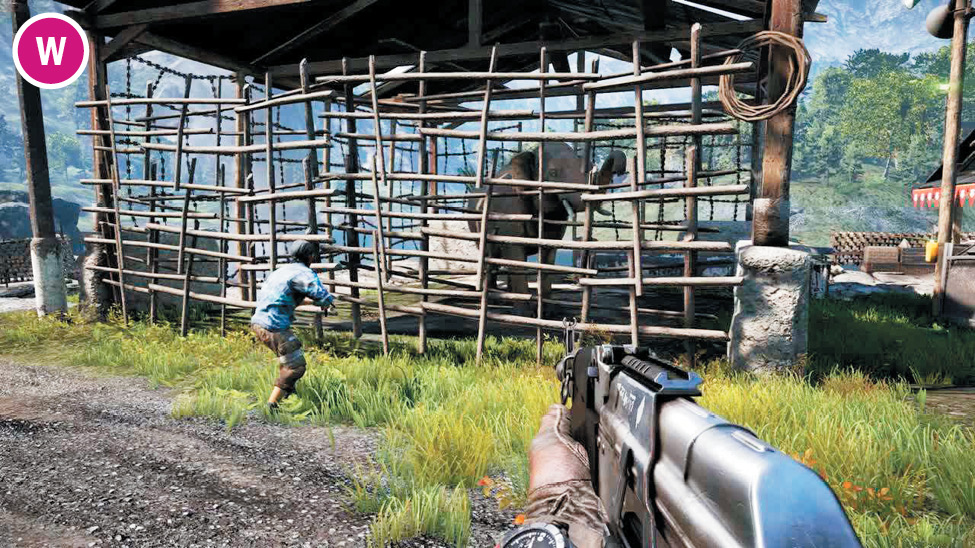
There’s an elephant caged in the pavilion in the center of the compound. That should probably figure into the ol’ takeover plan at some point, hmmm?
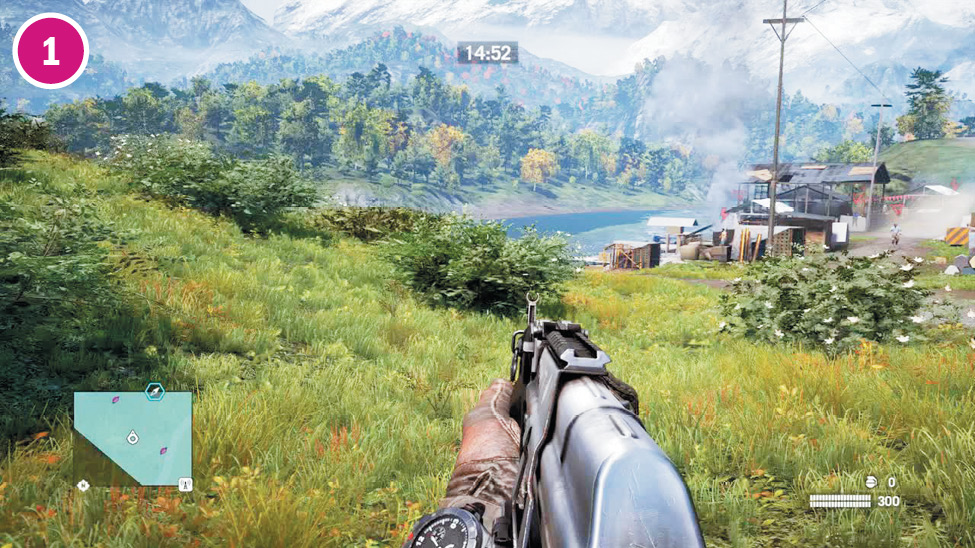
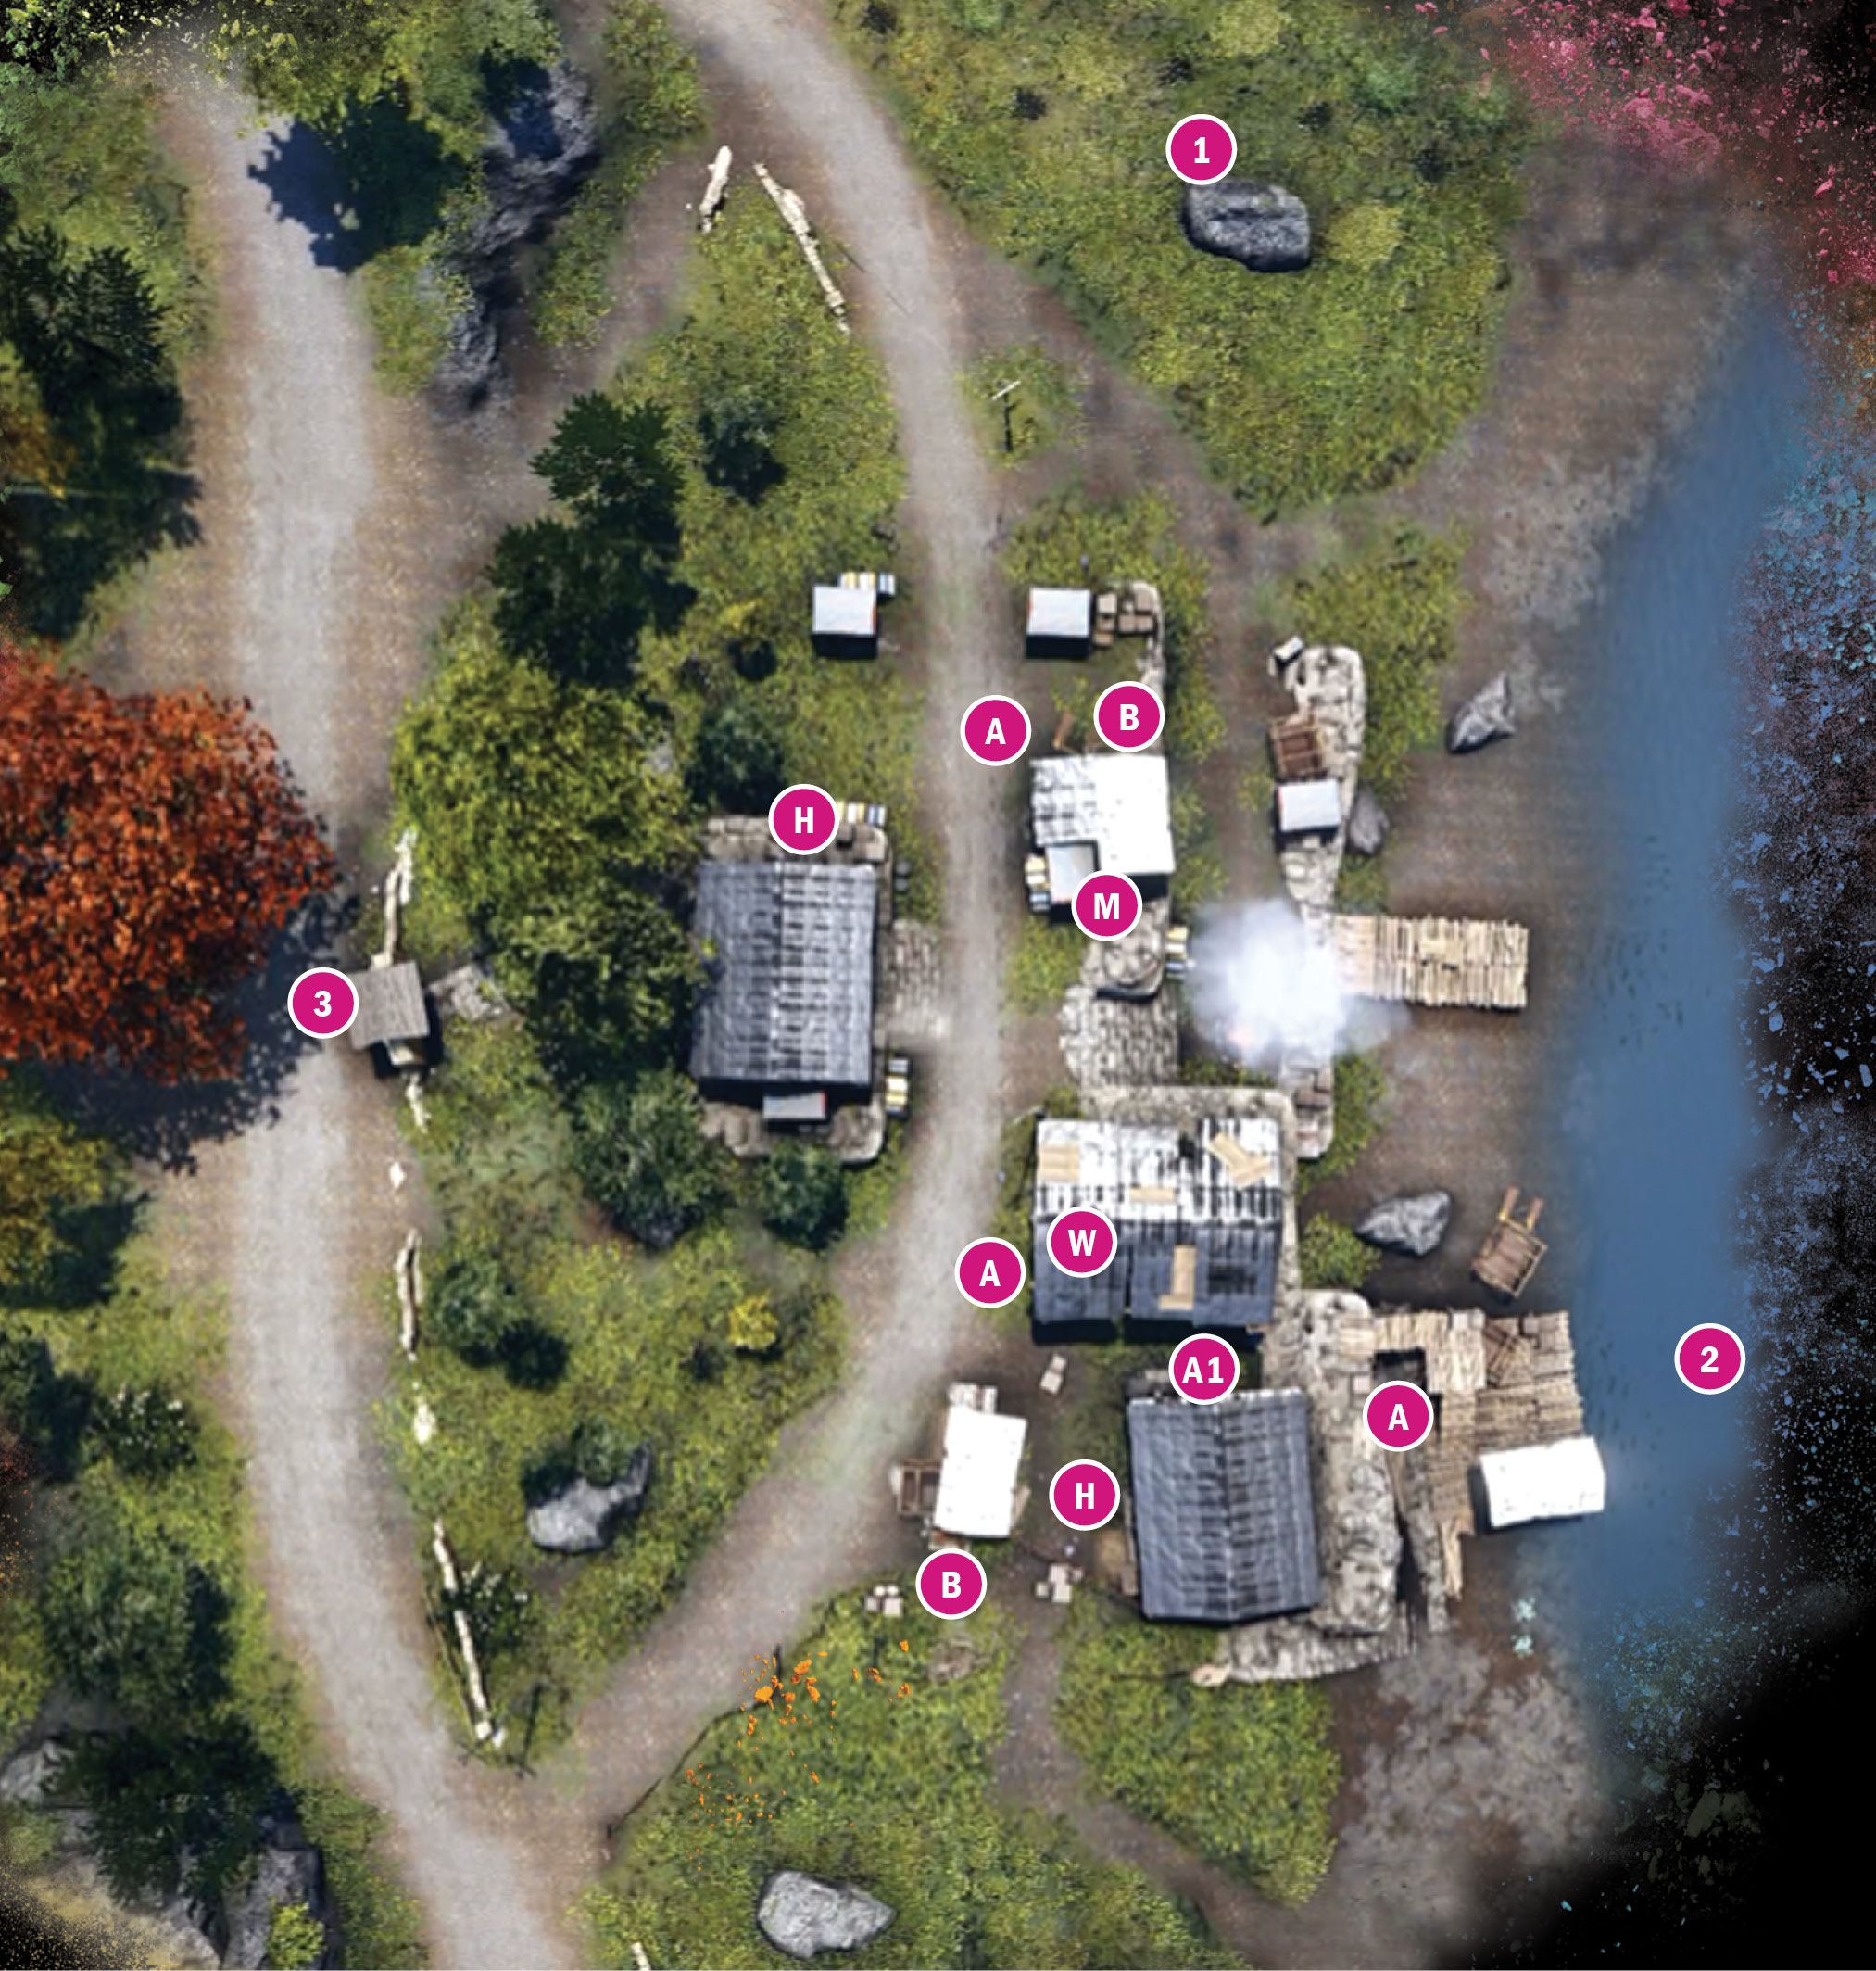
The flat plain on the northeast side offers a surprisingly effective entry point. It’s covered in bushes, and you can safely snipe the butcher and the lone dock guard and slip into the camp with very little chance of detection. Just don’t get caught by the guard on rounds.
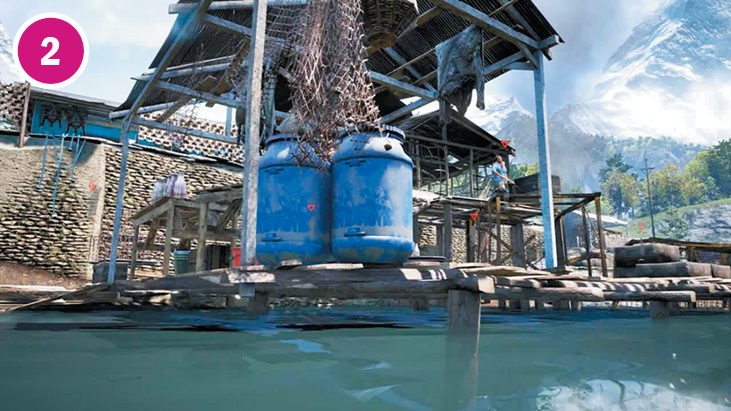
You can come in along the water as well, though there’s usually at least one guard. Coming straight across the river instead of up the shore usually offers less chance of him seeing you. Once you climb the stairs, the alarm and the back entrance to the elephant’s cage are both right there.
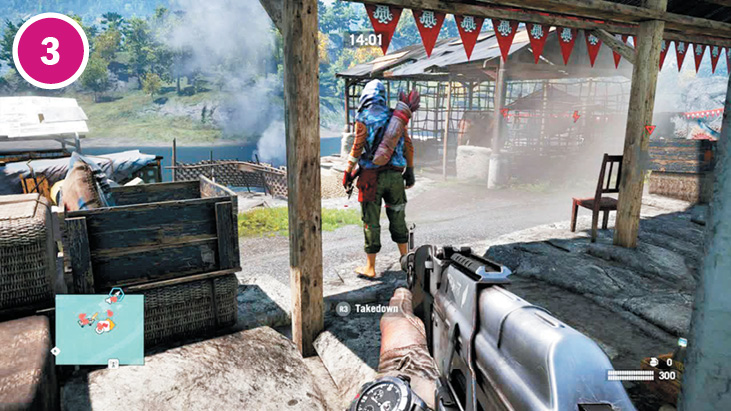
Another effective route is to come into the camp through the small archway on the west side. Stealth-kill the hunter on the porch, then skirt around the compound’s edge, taking out the butcher, the roving guard, and the dock guard before disabling the alarm or climbing in the back side of the elephant cage.
Notes:
 The hills to the west and southwest offer some nice sniping angles, but you’ll need to squint through layers of foliage to get the most out of them. The alarm can’t be sniped from the south because of obstruction, but it can be sniped from the west (again, through leaves) or shot from close range to the east.
 Reinforcements can seem to come from everywhere here. In reality, the two trucks drive in from the west, but split their routes so one swoops down from the north and the other comes from the south. The best plan is just to head to the road and watch for vehicles to appear on your mini-map (or kill the alarm so they never come).
Shanath Breeders
 Alarm
Alarm
 Assaulter
 Beheader
 Hunter
 Mortar
 Elephant in a Cage
Note: Enemy locations on map are approximate. Enemies often roam or go on rounds. Always scout ahead.
Shanath Training Ground
Location: x:255 y:543
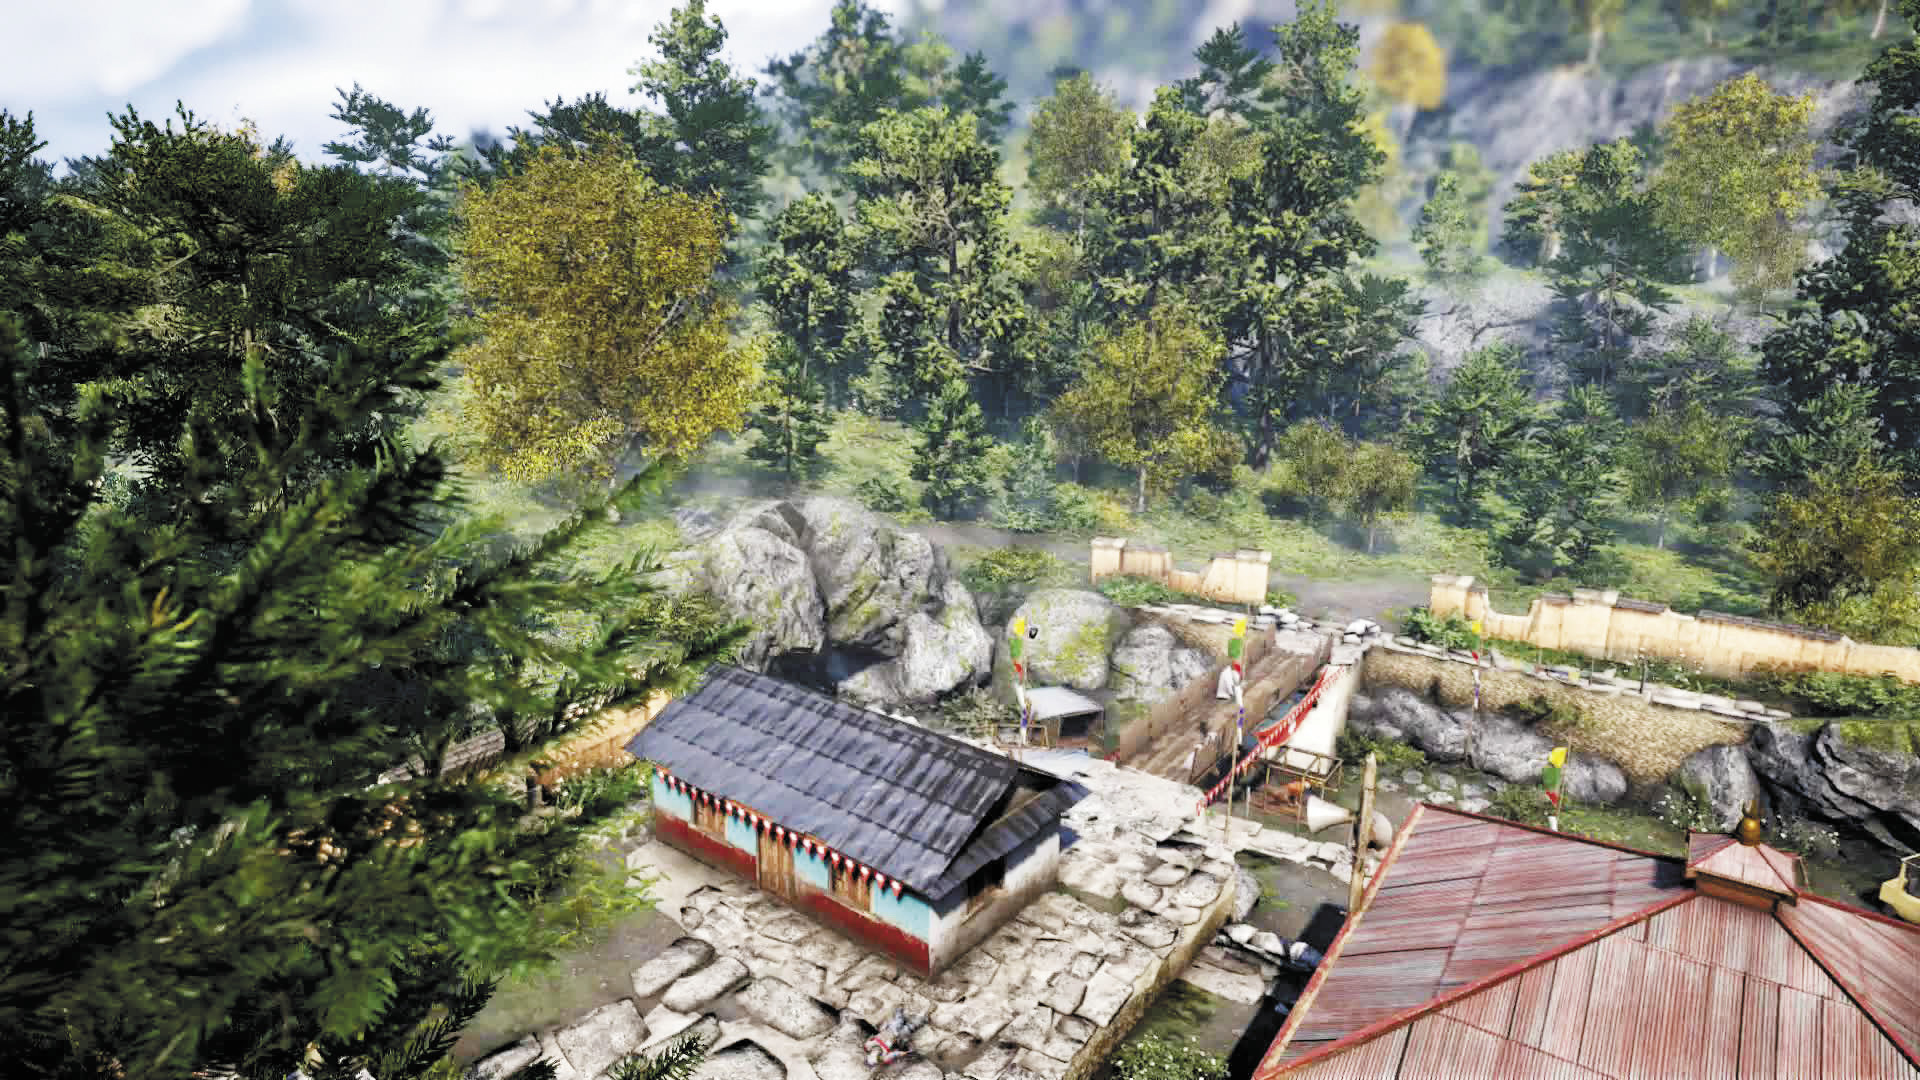
Like a modern-day gladiator pit, this outpost features a sunken area filled with caged tigers. Caged for now, at least.
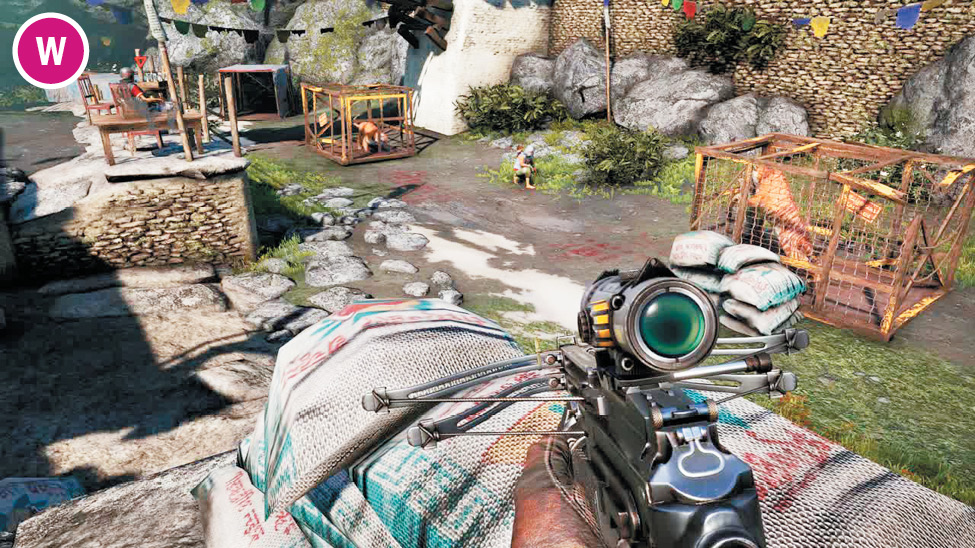
The pit area contains two caged tigers. A player slipping into the compound could quickly drop into the pit and set them free. (Or you could shoot the frames of the tigers’ cage doors, which is actually smarter, because when they attack the closest living thing, it won’t be you).
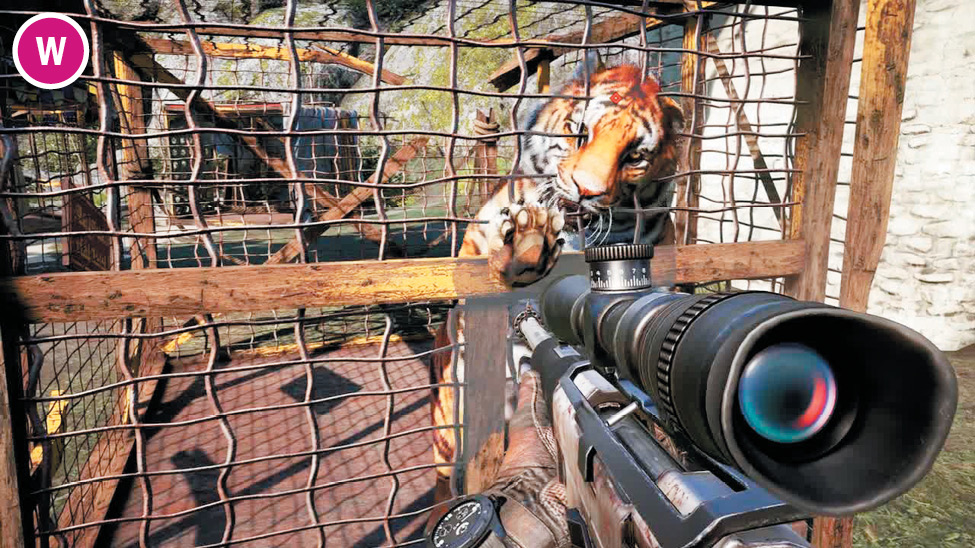
That said (you probably know this one by heart by now, but here it comes again) do NOT release the tigers until the hunters are dead. If you do, the very next thing you’ll hear is a trilling whistle. And the very next thing you’ll see is a charmed tiger leaping at your throat.
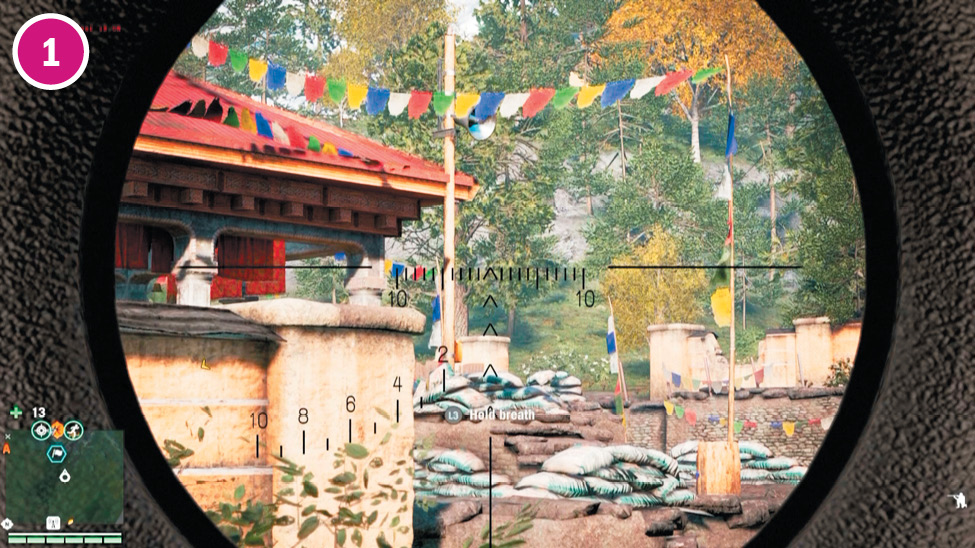
Looking for a strong insertion point? Stand outside the northwest corner. You can snipe the roaming hunter, then A1, then walk south along the wall and snipe A2 and even the tiger cages, all before you’ve even entered the outpost.
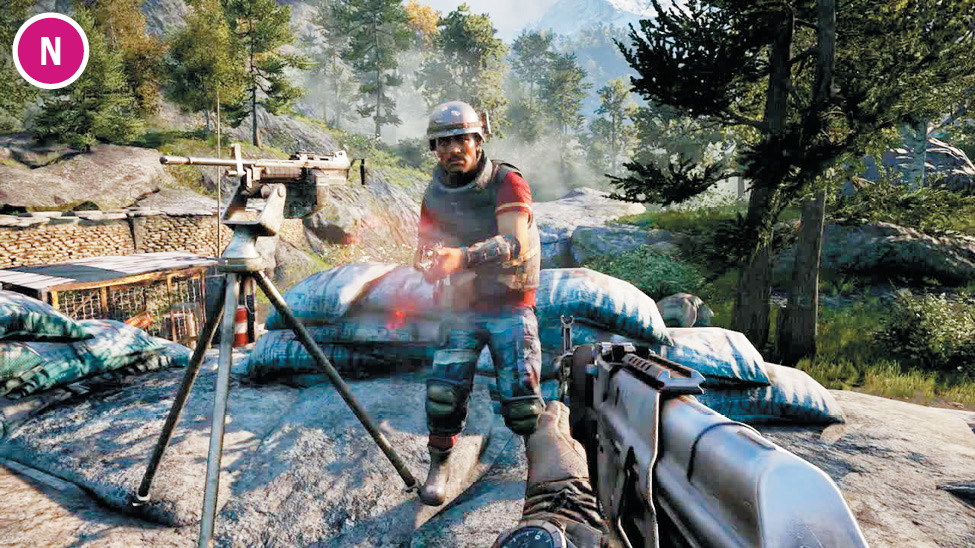
There’s a single explosive barrel near the pavilion’s west stairs, good for taking out the heavy. So is the mounted gun on the pavilion’s southwest corner. It swivels a full 360 degrees, so you can aim anywhere in the compound.
Notes:
 The first round of reinforcements arrives on foot from the west, and includes at least one replacement hunter. The second round comes on foot from the east.
 The high road to the south offers a fair chance to scout the area and snipe the alarms first, then every enemy in the base. If you let yourself be seen, the heavy will then lumber toward you, leaving the base unattended, and stand at the foot of the cliff, unable to target you but vulnerable to headshots, grenades, rocket launchers, and so on.
Shanath Training Ground

 Alarm
Alarm
 Defender
 Heavy Gunner
 Hunter
 Mounted Machine Gun
 Tiger in a Cage
Note: Enemy locations on map are approximate. Enemies often roam or go on rounds. Always scout ahead.
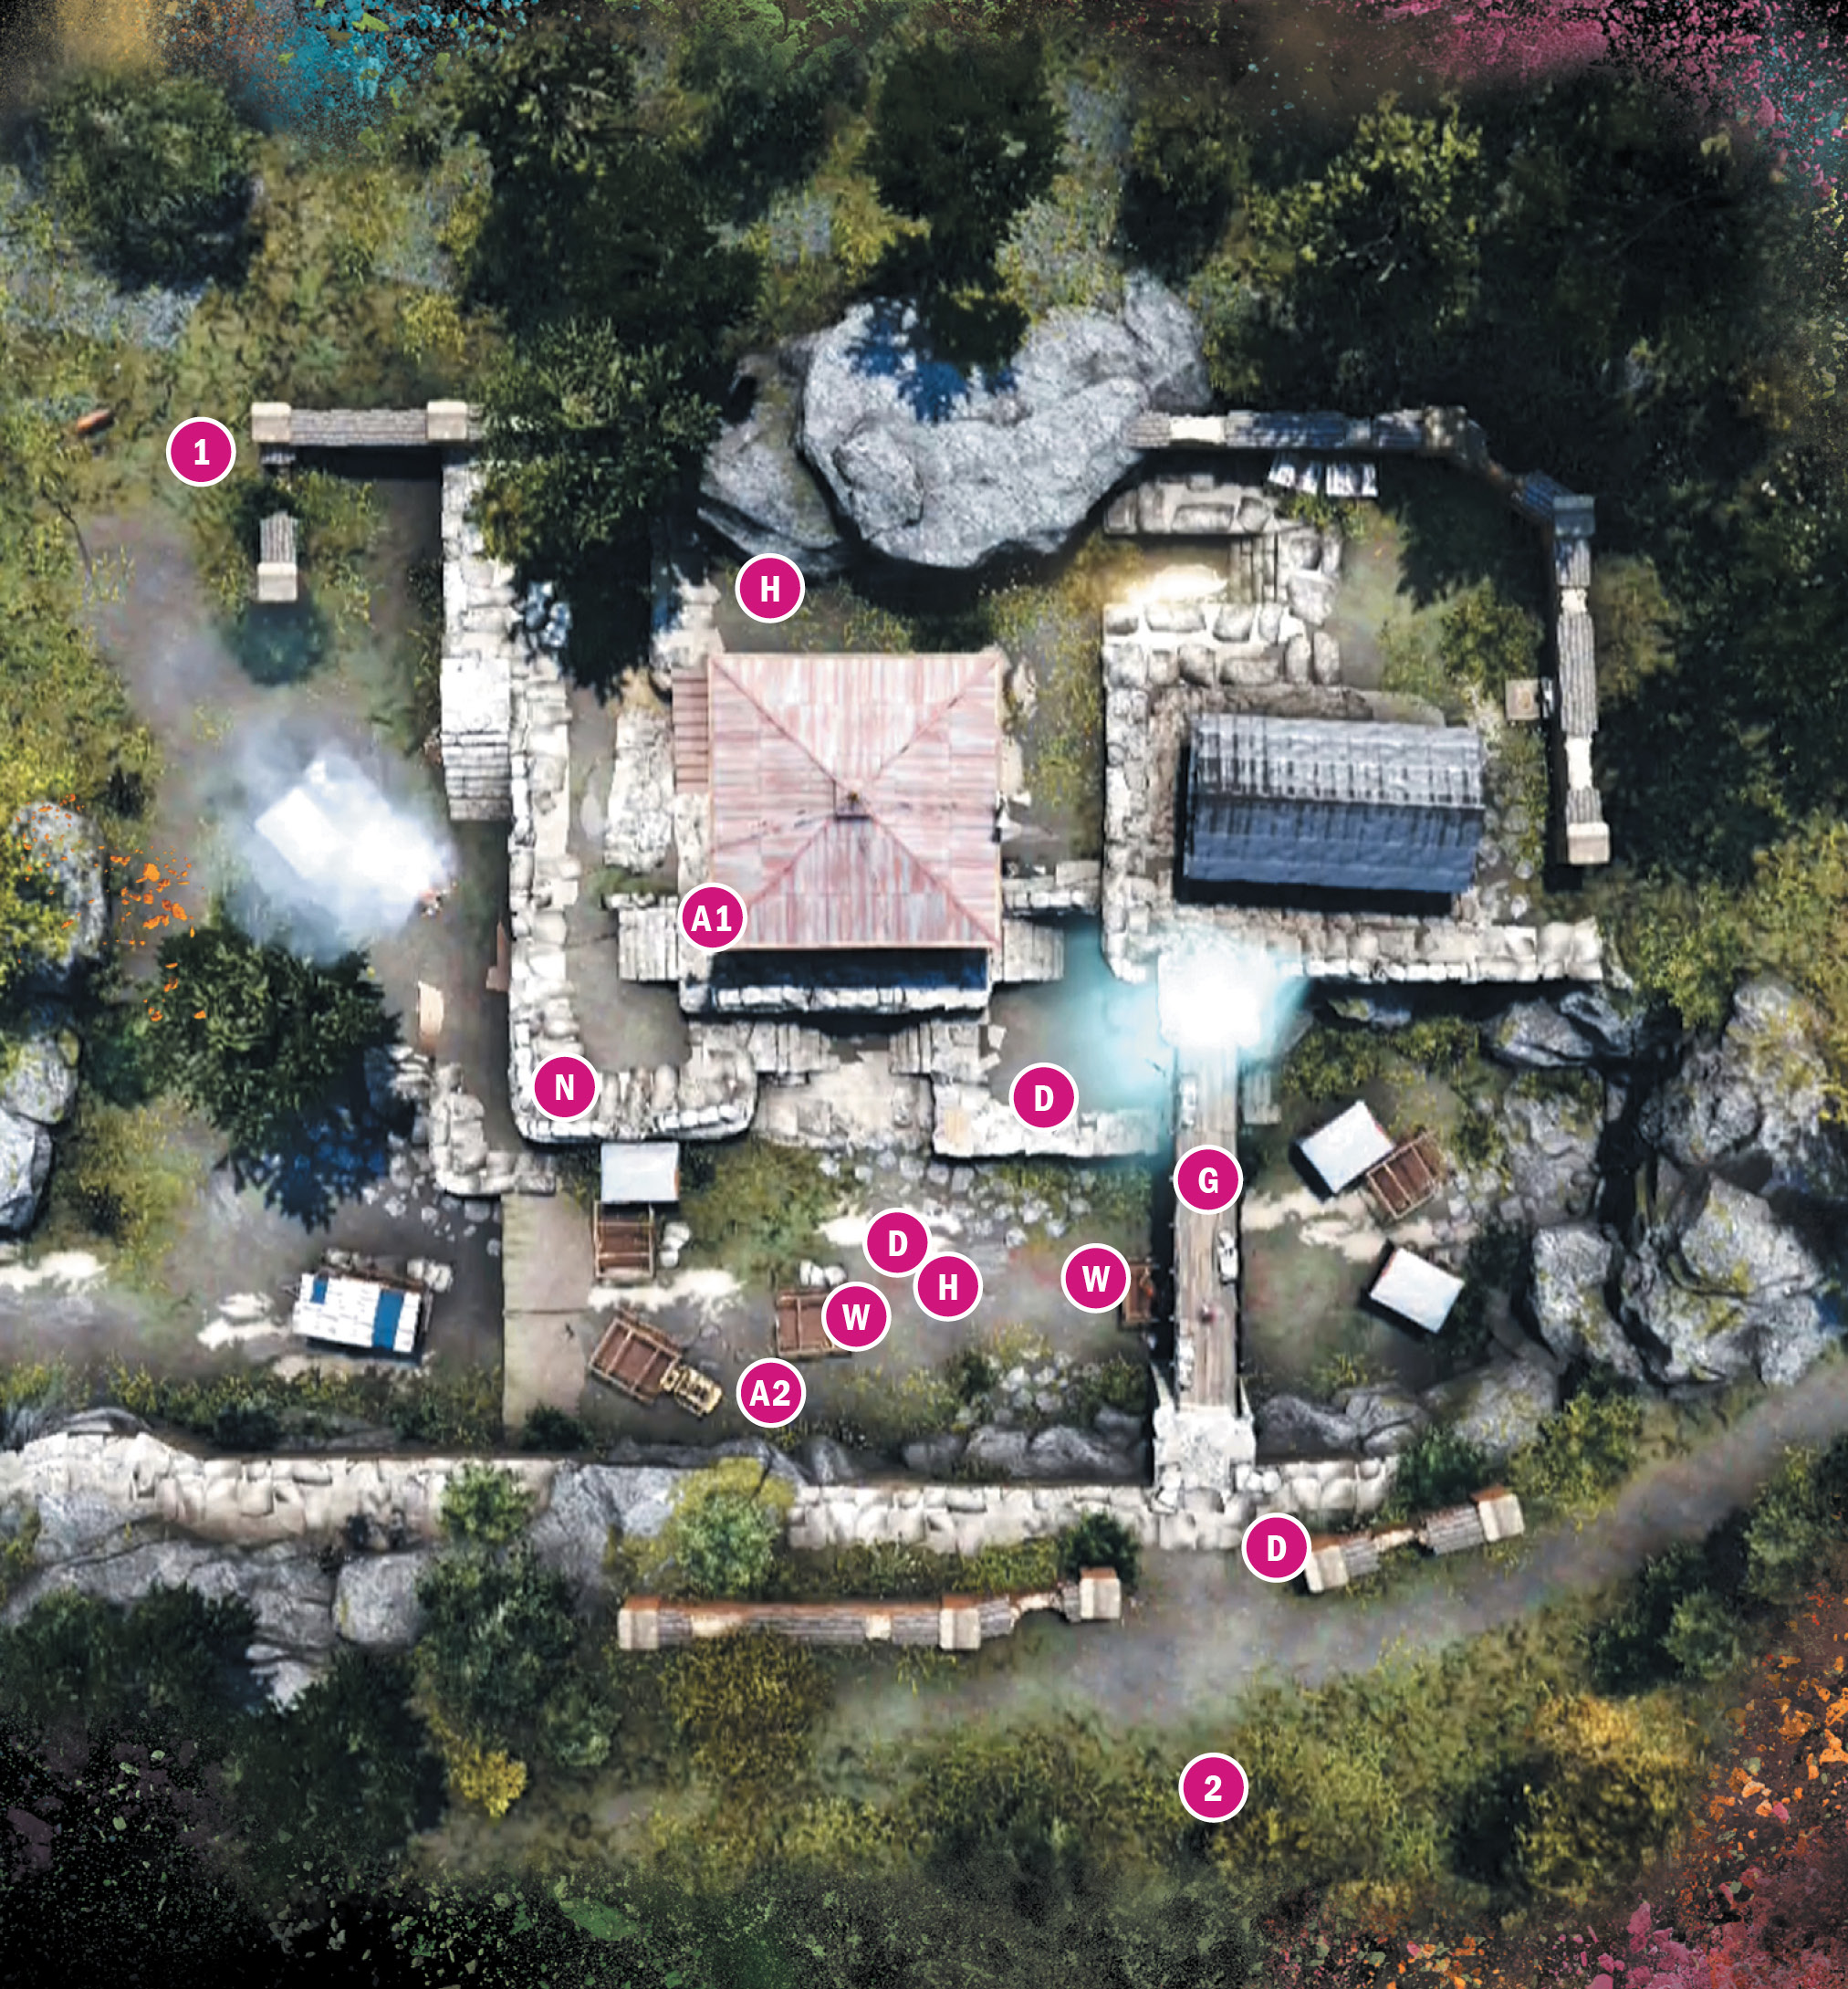
Shikharpur
Location: x:675 y:699
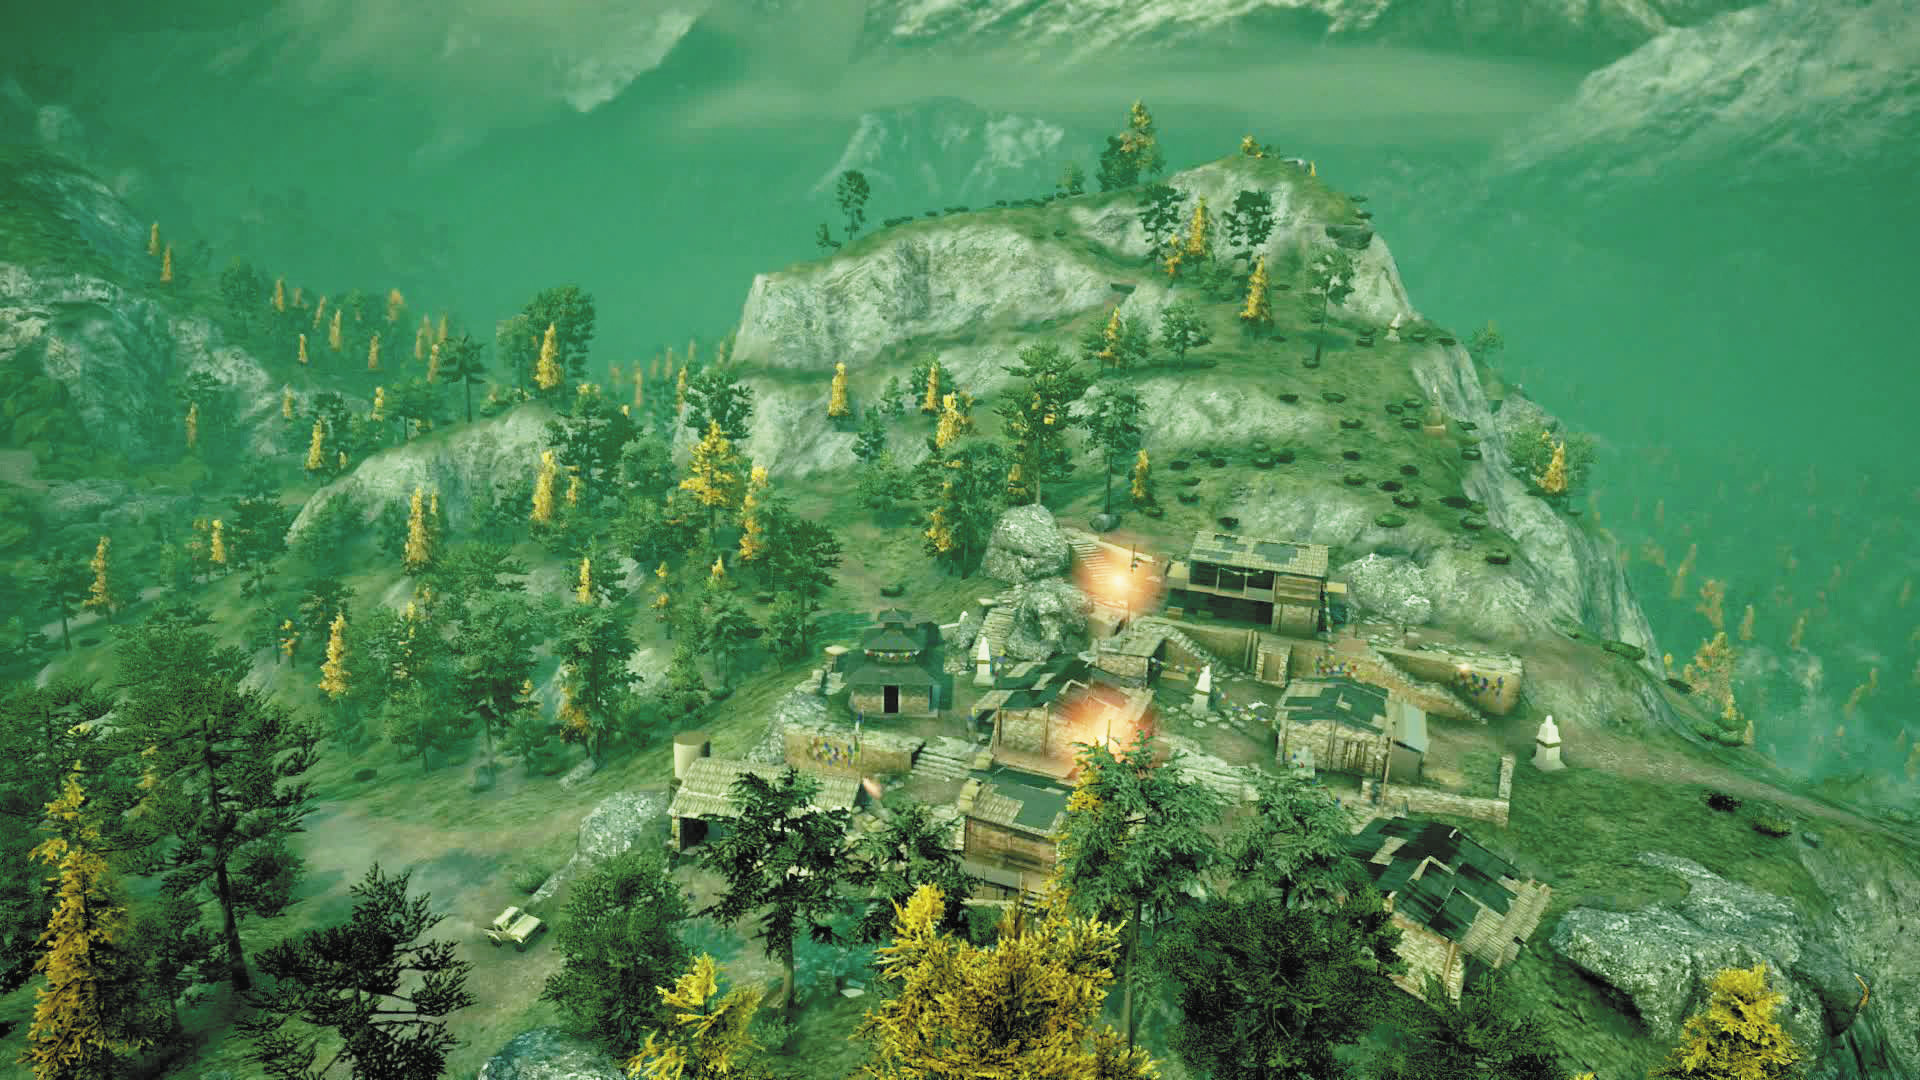
A compact tumble of buildings connected by what passes for narrow, twisting alleyways in Kyrat, Shikharpur is a close-quarters bloodbath waiting to happen.
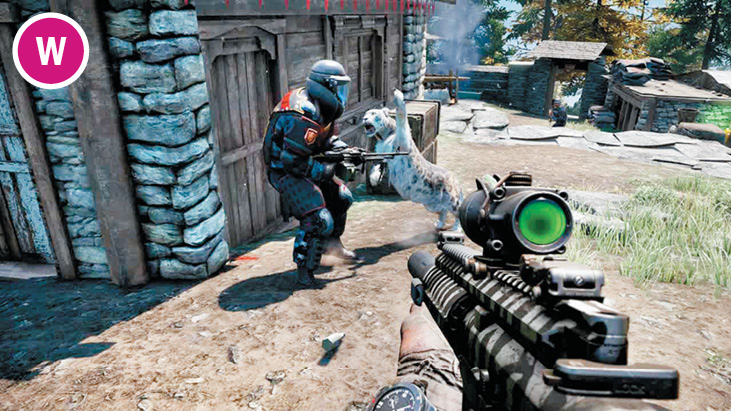
There’s a caged leopard right next to a mortar in the south-western corner of the map. Not certain how these two things fit together, but if they do, try to be somewhere else when it happens. On the bright side, if you stand on the balcony above and shoot the leopard’s cage door frame, there’s a good chance it’ll take down both the defender on the grenade turret and the sniper on the balcony.
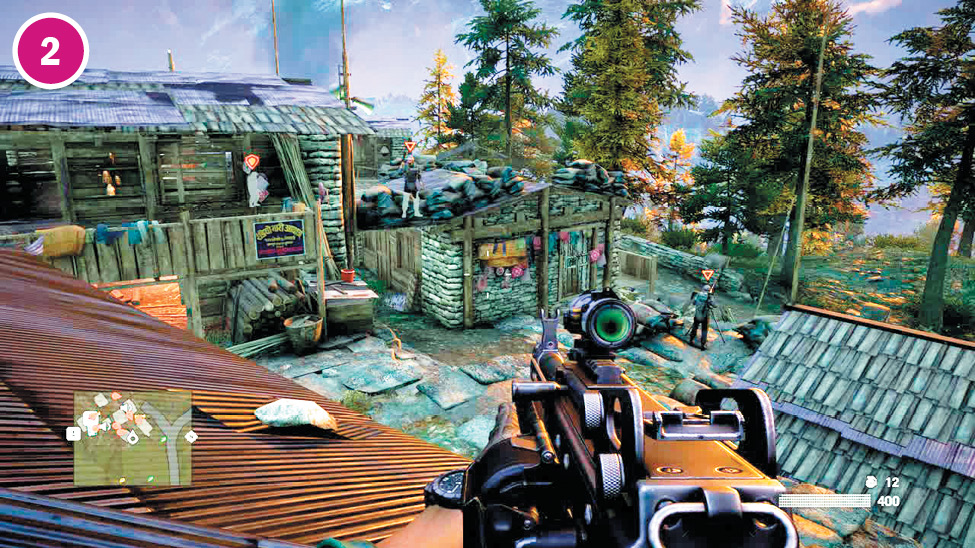
Another option for entering the compound is the crumbling bit of wall in the east. As long as you evade the sniper’s gaze, this gap will bring you up at a pagoda-like building whose roof you can then climb. Once there, you can begin to dismantle the camp’s northern defenders without interference from the grenade launcher or the heavy gunner below.
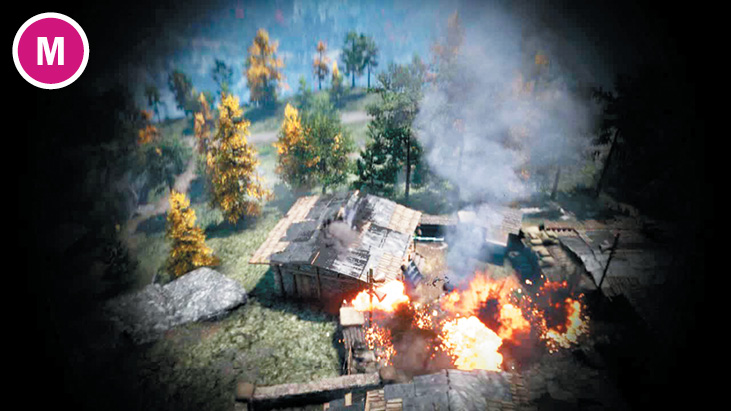
The mortar on this level is brutally devastating. Three to five quick shots will destroy all three alarms and wipe out every enemy on the ground.
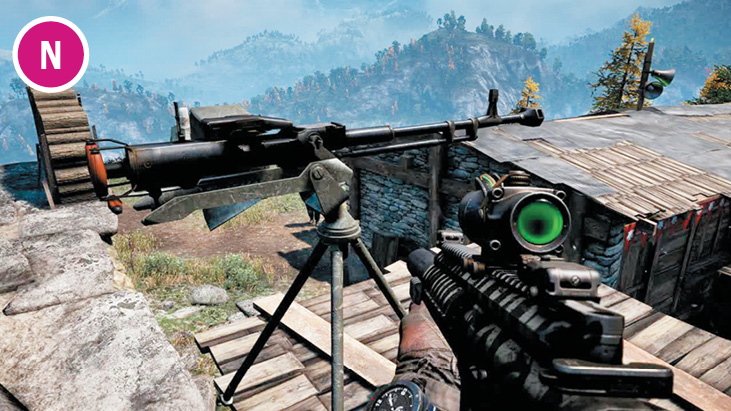
The mounted gun in the south isn’t as helpful as it would be in a level with wide open vistas. But the one in the north? Sure punches nice holes in the second wave of reinforcements.
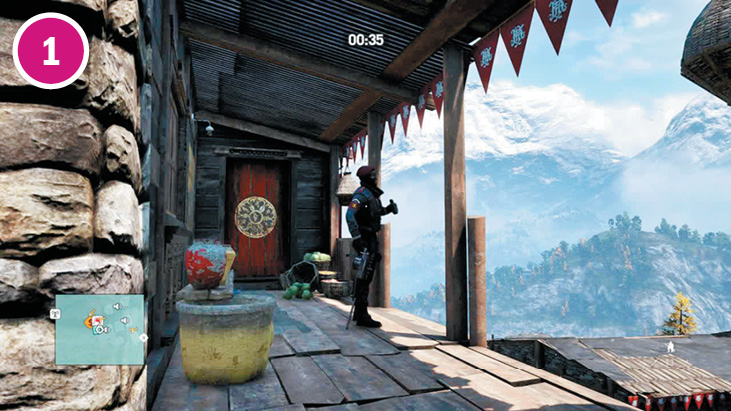
Descending from the south works like a charm. Either snipe or sneak up on the sniper first, then drop down and take out the grenade cannoneer. Then you’re just a few steps from the mortar. And that’s all she wrote.
Notes:
 The first wave of reinforcements arrives on foot from the southeast, and includes chargers and defenders. The second wave is two technicals and a truck, which will pull in on the road that runs east to west at the north end of the outpost. The third wave is a single helicopter.
Shikharpur
 –
– Alarm
Alarm
 Defender
 Heavy Gunner
 Mortar
 Mounted Gun
 Sniper
 Snow Leopard in a Cage
Note: Enemy locations on map are approximate. Enemies often roam or go on rounds. Always scout ahead.