
Far Cry 4 Guide Campaign Missions
Incursion
 Alarm
Alarm
 Assaulter
 Berserker
 Defender
 Elephant
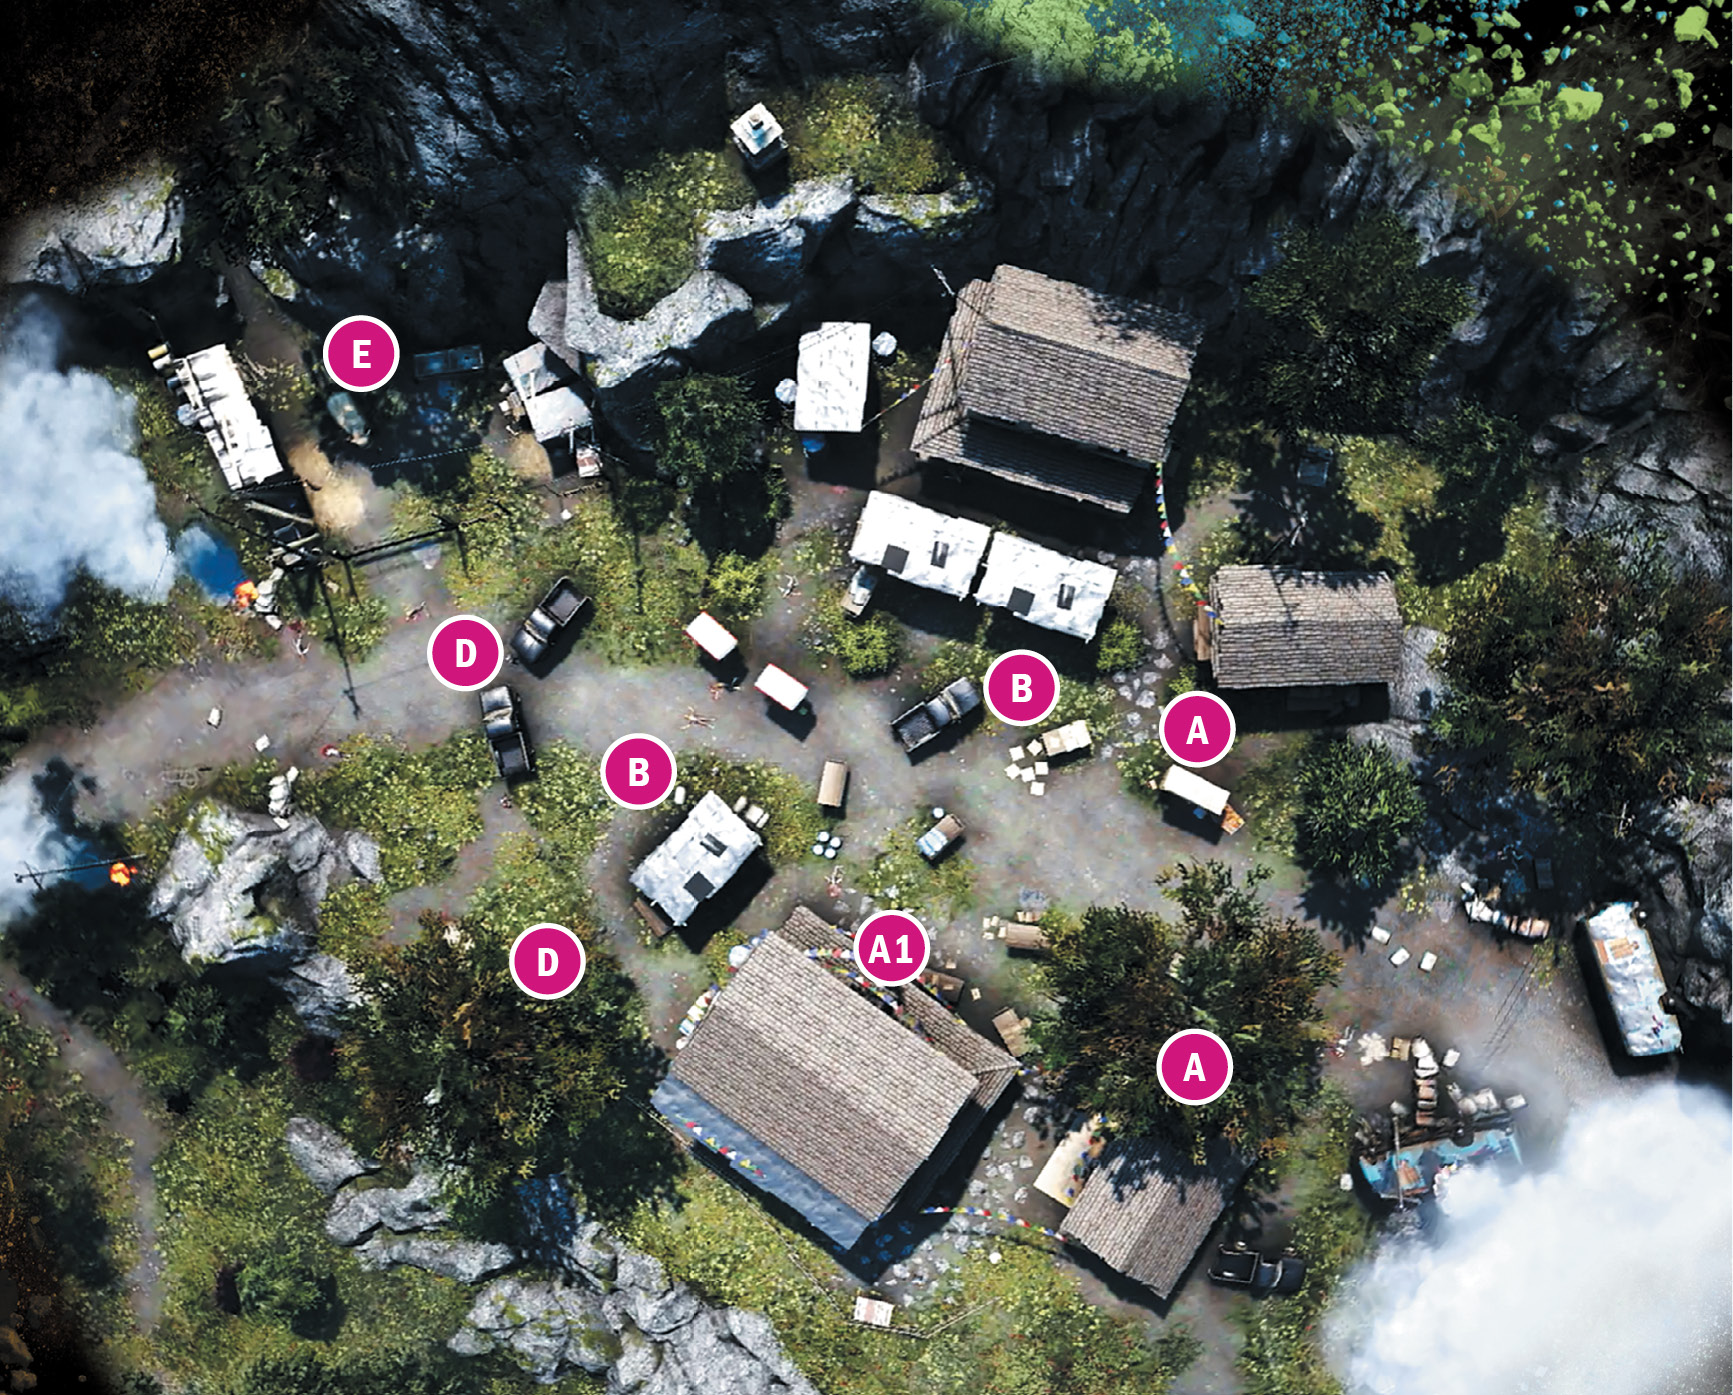
The Golden Path has sent you to take down your first outpost: Khilana Bazaar.
Outposts aren’t like any enemy hideout you’ve seen up to now. They’re intricate, packed with enemies, and have alarms to call in reinforcements. They’re also the point at which the sheer open-endedness of Far Cry 4’s design really delivers. You can take down an outpost from almost any direction and use any tactics you like, from stealthily creeping in and sneak-stabbing every soldier in the place or sniping it clean from a distant hillside to charging down main street chucking grenades and pouring bullets into anything that moves.
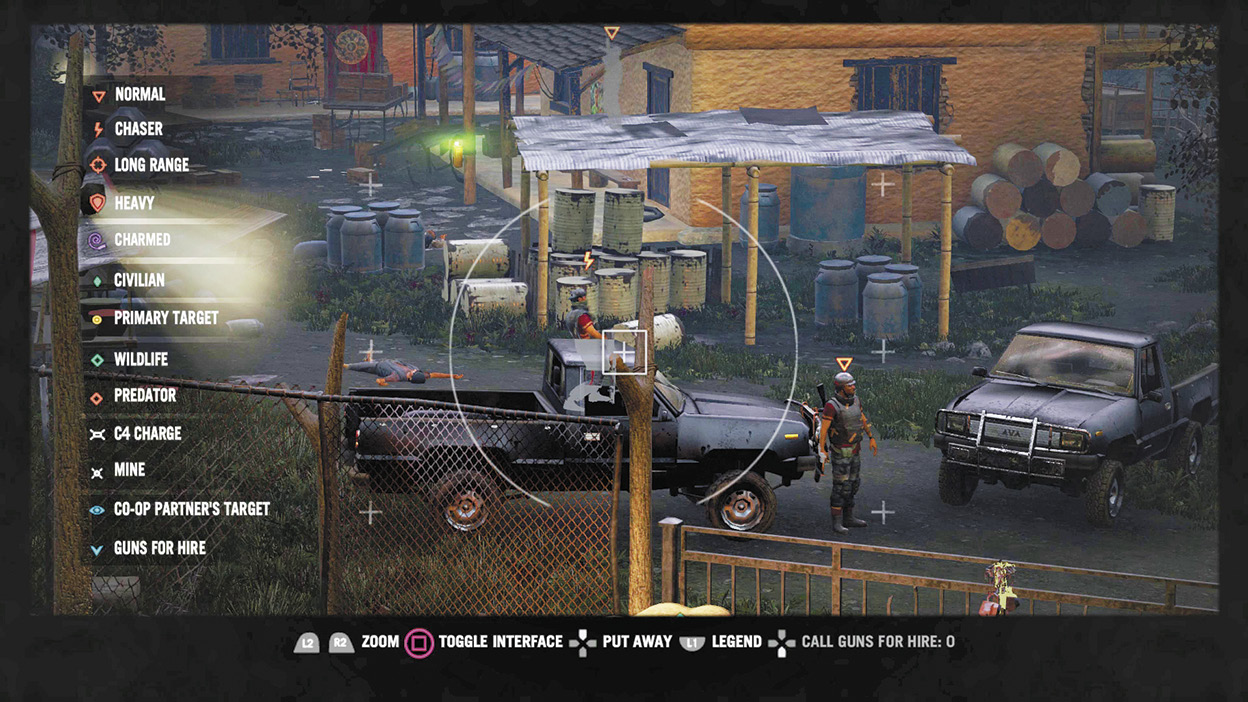
But regardless of what strategy you choose, proper recon is critical if you want to survive. So just before you get to the outpost, pull over and walk up the slope to the east. This will give you the perfect vantage point from which to case the joint before going in.
Your Left or My Left?
Words like “right” and “left” lose their meanings when you can approach a location from literally any direction. To avoid confusion in these situations, this guide will instead use the points of the compass—north, south, east, and west—which remain the same from any angle of approach.
Use your camera to scan the area from your vantage point. In addition to enemy locations, take careful notice of two things. First, note the alarm control, which is a yellow box mounted on a pole with bullhorn-like klaxon speakers and a green light on top.
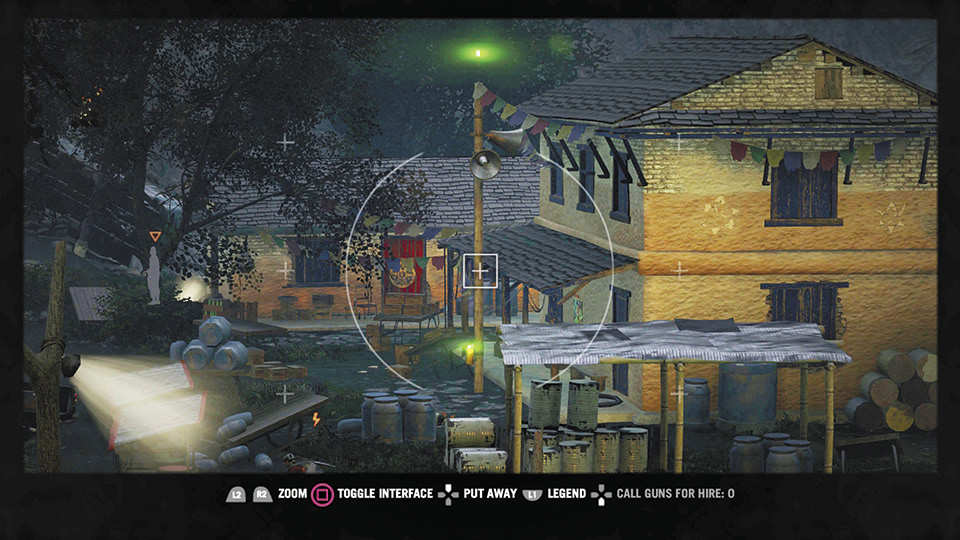
Unless you want a bigger fight, your first priority should be to disable this alarm, either by hand or with a bullet from afar, so the enemy can’t call in reinforcements. But this location has a second thing worth noticing:
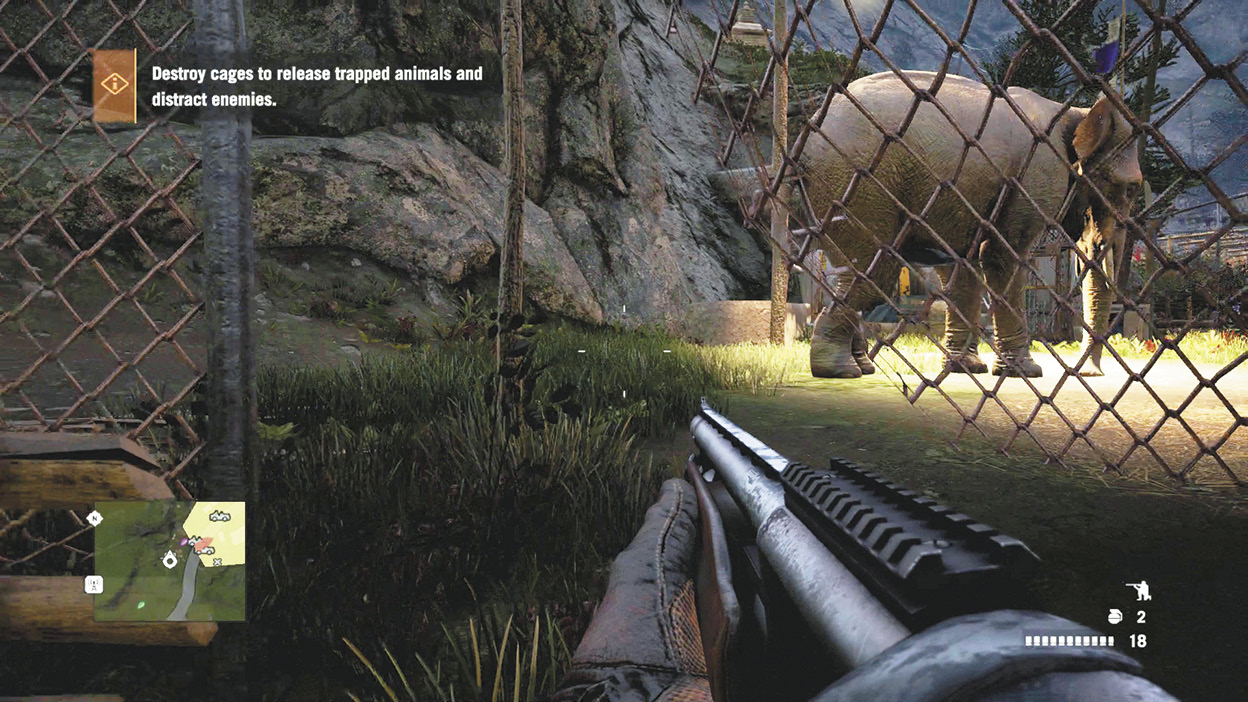
An elephant. Behind a gate with a gap in the fence and a lock you can shoot off.
Ordinarily, we’d say do whatever you like—that’s the entire point of outpost takeovers. But this is too good an opportunity to pass up. First, shoot the alarm box, especially if you have a silenced weapon. (We bring a silenced sniper rifle to every outpost takeover and highly recommend it.) Then, shoot the lock on the elephant’s cage door and either ride the pachyderm in (if you’ve purchased that skill by now) or follow him out.
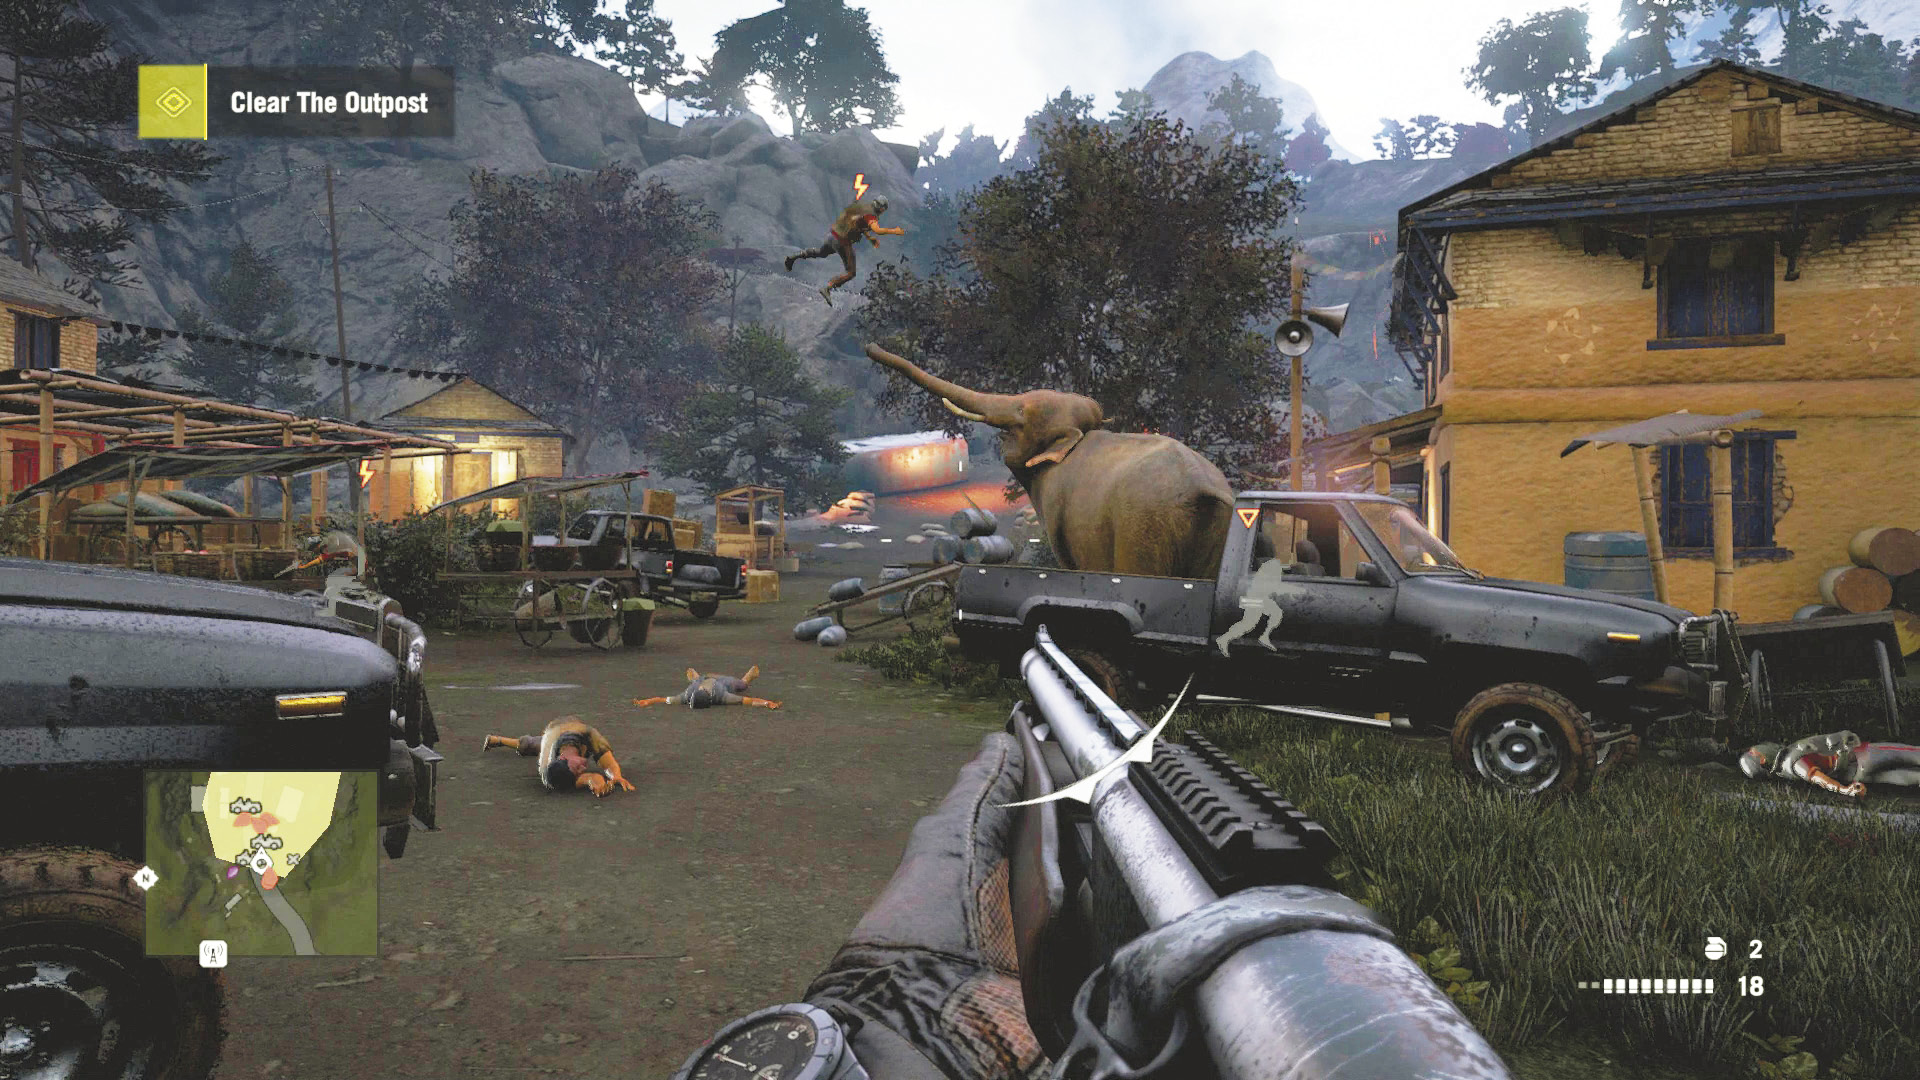
The elephant will probably clear the whole outpost for you. Just stay out of its way and pick off any stragglers lucky enough to survive.
Alternatively, you can ignore the alarm box and sneak straight into the elephant pen—there’s a hole in the eastern fence or you can drop down from the north—destroy the lock, and let him rampage through both the regulars and the reinforcements. He’s an equal opportunity tornado of destruction.
Once that’s done, you and Amita (who has warmed to your existence) have a talk that leaves you pondering the whole purpose of your visit to Kyrat.
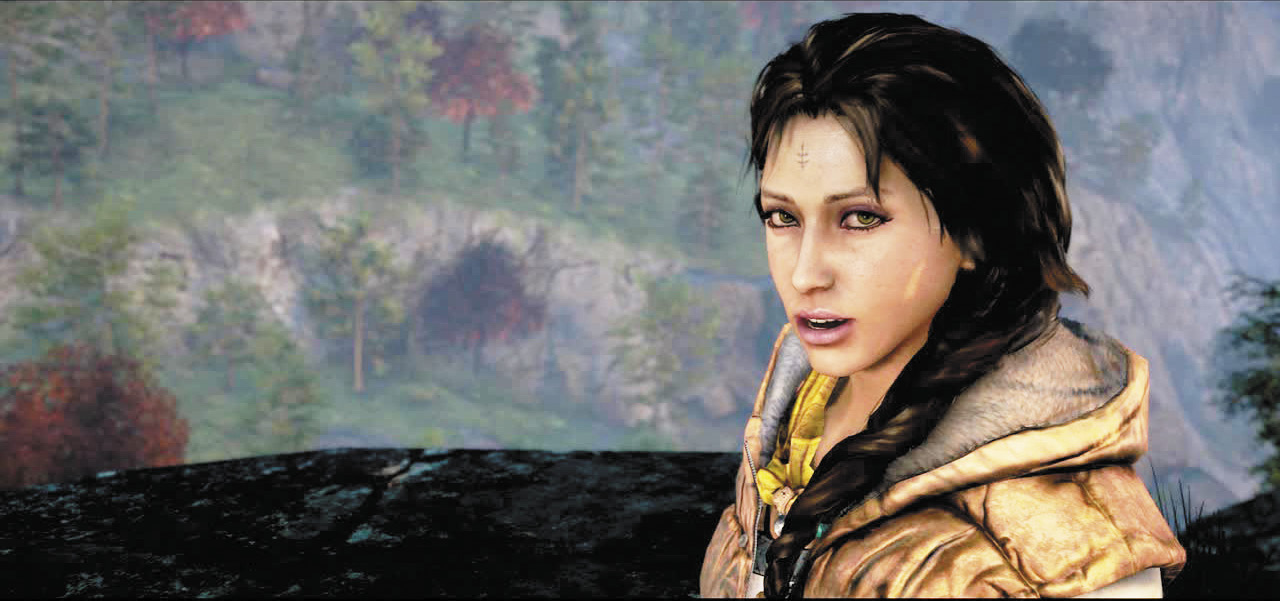
Head back to the outpost, which is now renamed Khilana Bazaar. If he wasn’t killed in the fighting, you’ll find an elephant here, along with the usual chests and a safe house. Once you’ve regrouped, take the southern road out of town to the big H on your mini-map. It’s time to meet a new character.
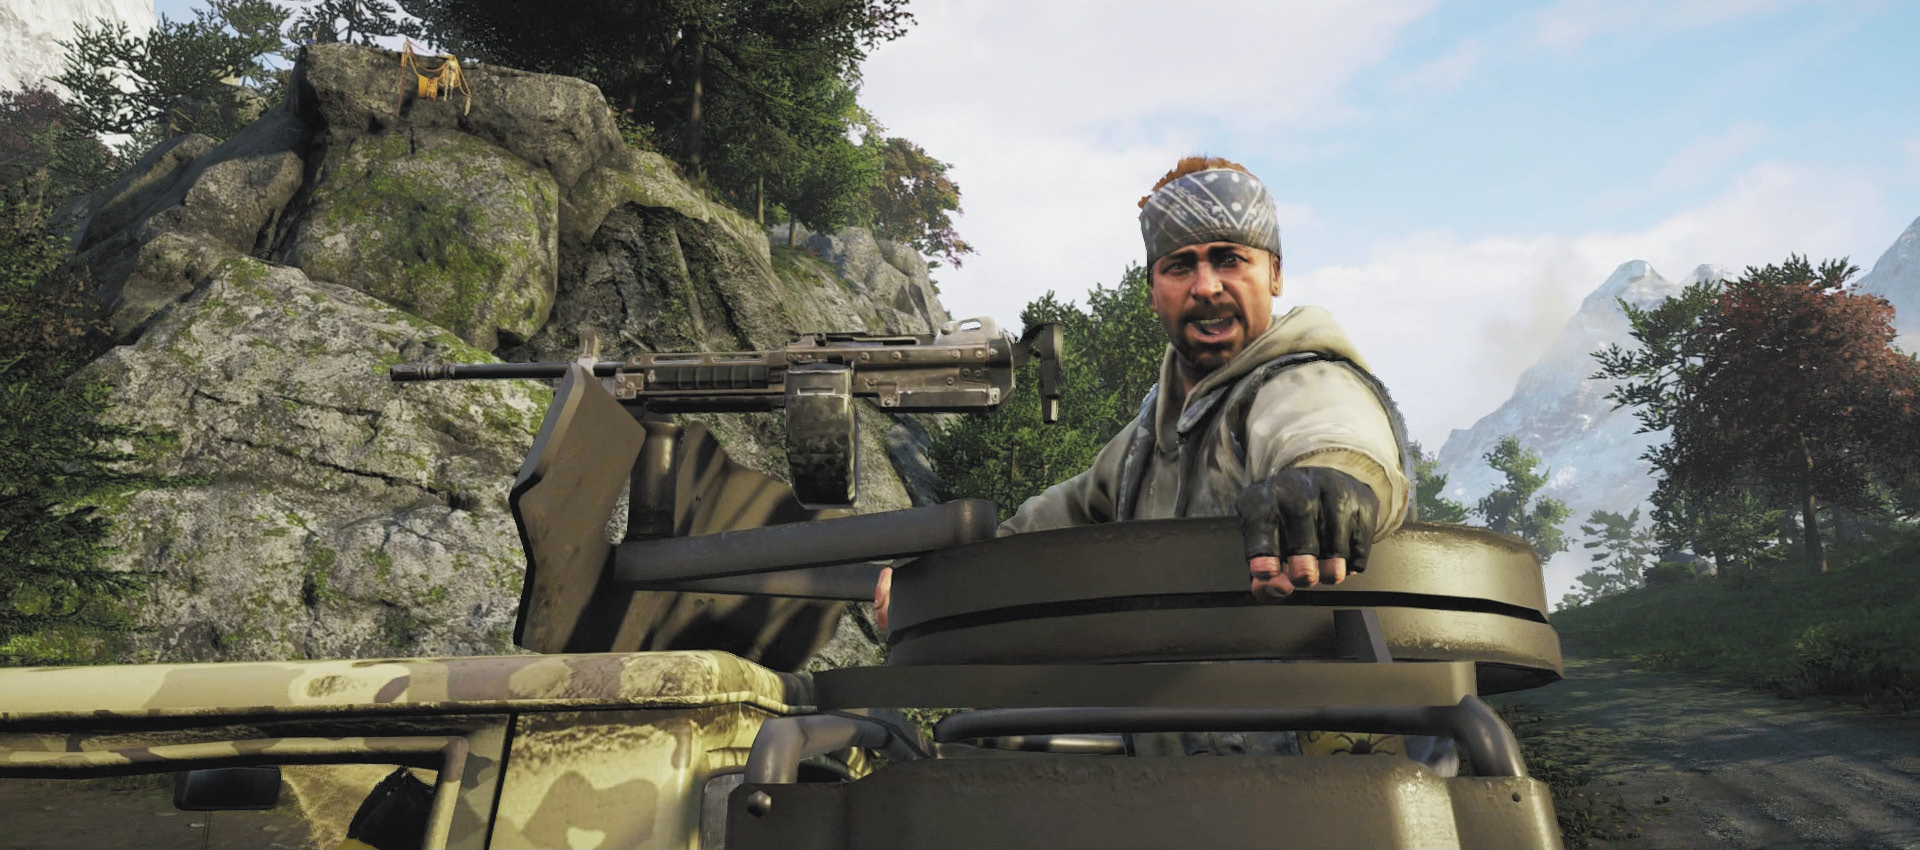
Hurk is a buffoon. But he’s YOUR buffoon.
Meet Hurk
As Hurk will explain (but mispronounce, which somehow makes sense), he’s the cavalry. If you invite a real-life co-op buddy to play alongside you, that player will appear in your game as Hurk. Or, if you’d rather stay solo but still have assistance, you can purchase Guns for Hire tokens that call in an AI-controlled Golden Path rebel (but not Hurk) to fight alongside you. Guns for Hire are better for full-frontal assault missions than anything requiring stealth. Some missions simply won’t allow them. And they don’t appear instantly (they have to drive to your location), so they’re not an instant “get out of death free” card. But the tokens cost less than most ammo, so there’s no reason not to keep a few handy for any time you want a wingman.
Turn back toward town, and take note of the narrow upward trail to the right (east) of the road. Before heading back toward town, take note of the strange, helicopter-looking device alongside the road. This is your new favorite thing: a buzzer.
Buzz Me In!
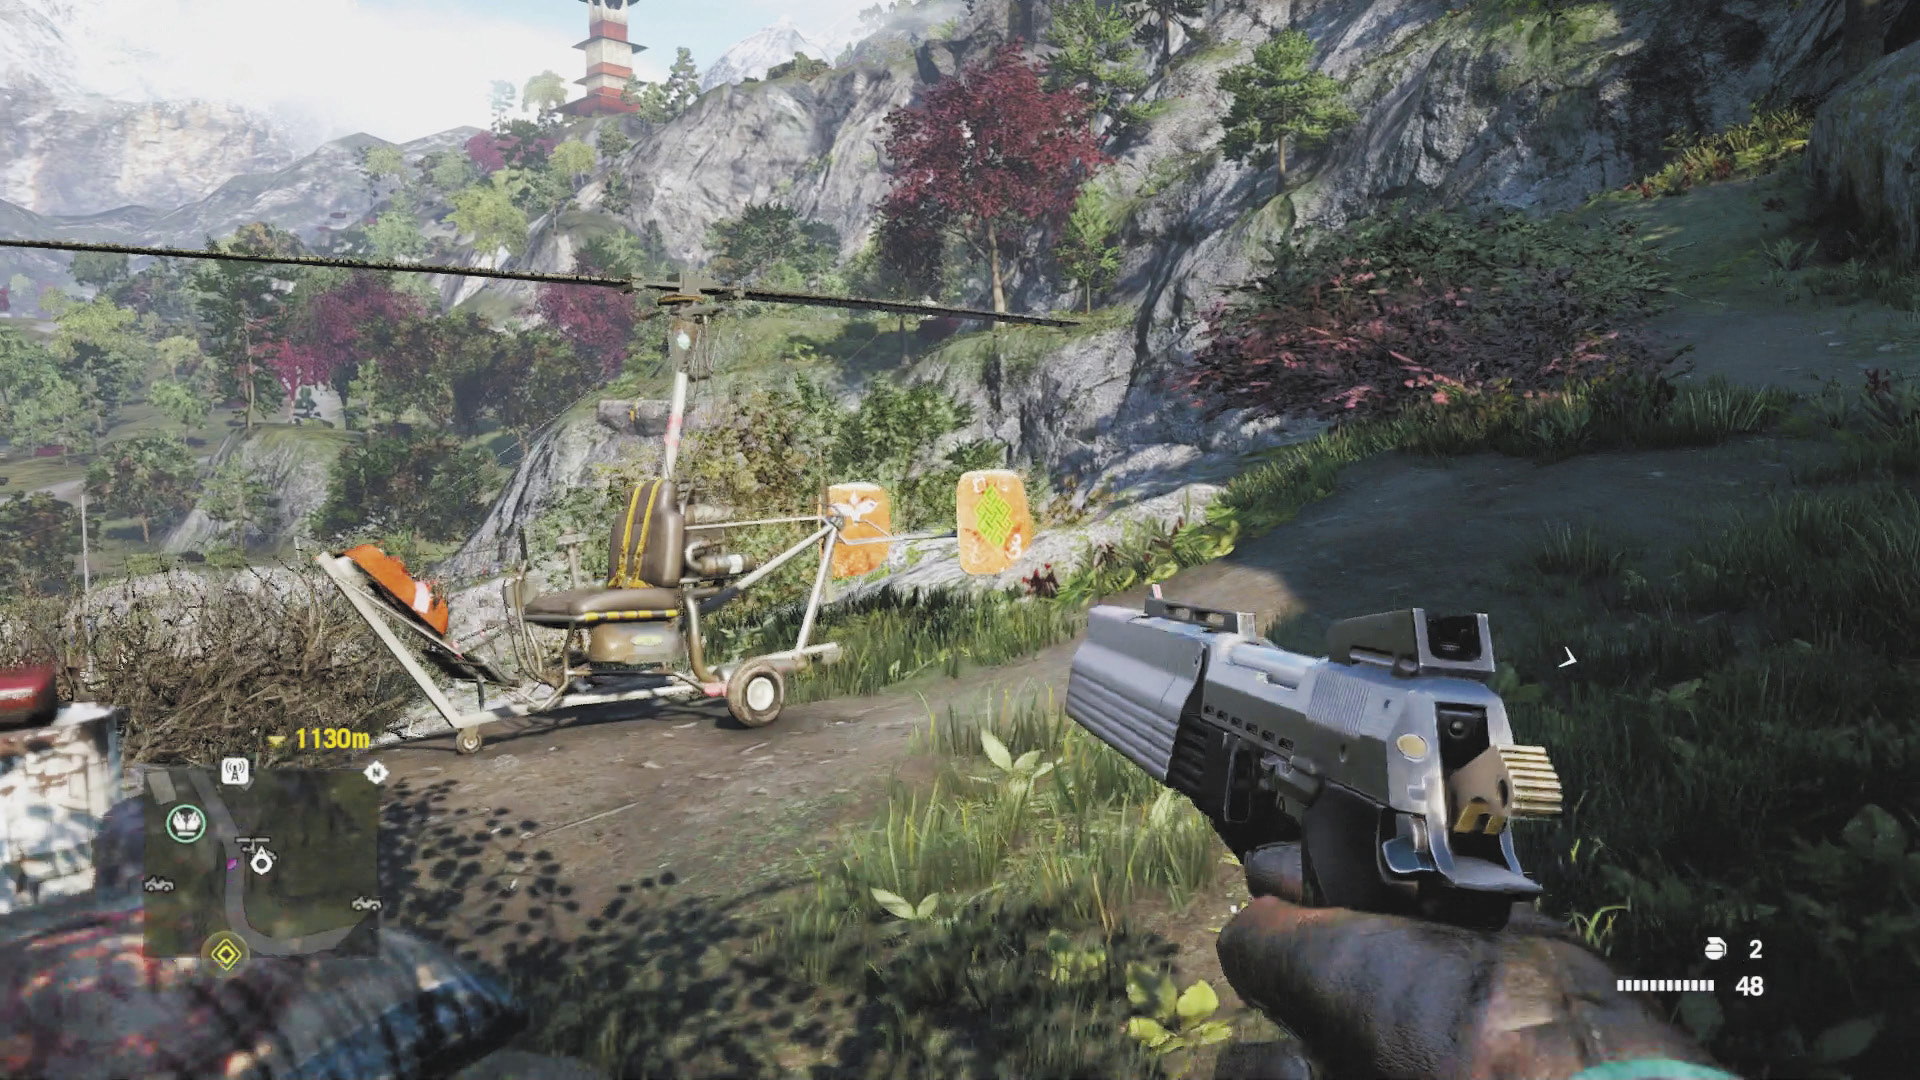
One of the absolute best additions to Far Cry 4 is the buzzer—better known as a gyrocopter. This little beauty can go almost anywhere in South Kyrat (and eventually North Kyrat as well) in record time, whizzing right over little inconveniences like wild animals, Min’s armies, and all but the highest mountains. Plus, it can land on a dime. Its only limitation is thin air, so if it starts to chug and sounds an alarm, descend a bit and it should keep on buzzing
Back in town, head into the hut marked with a crossed knives icon for a cutscene and a decision.
Sabal and Amita have very different ideas about how to run the resistance. This is the first of several times you’ll need to decide which one of them you want to support. Your choice will determine how the next mission unfolds.
You can listen to both proposals. Just talk to Amita and Sabal one at a time and select “leave” when each one finishes speaking. Then go back and accept whichever mission sounds better to you.
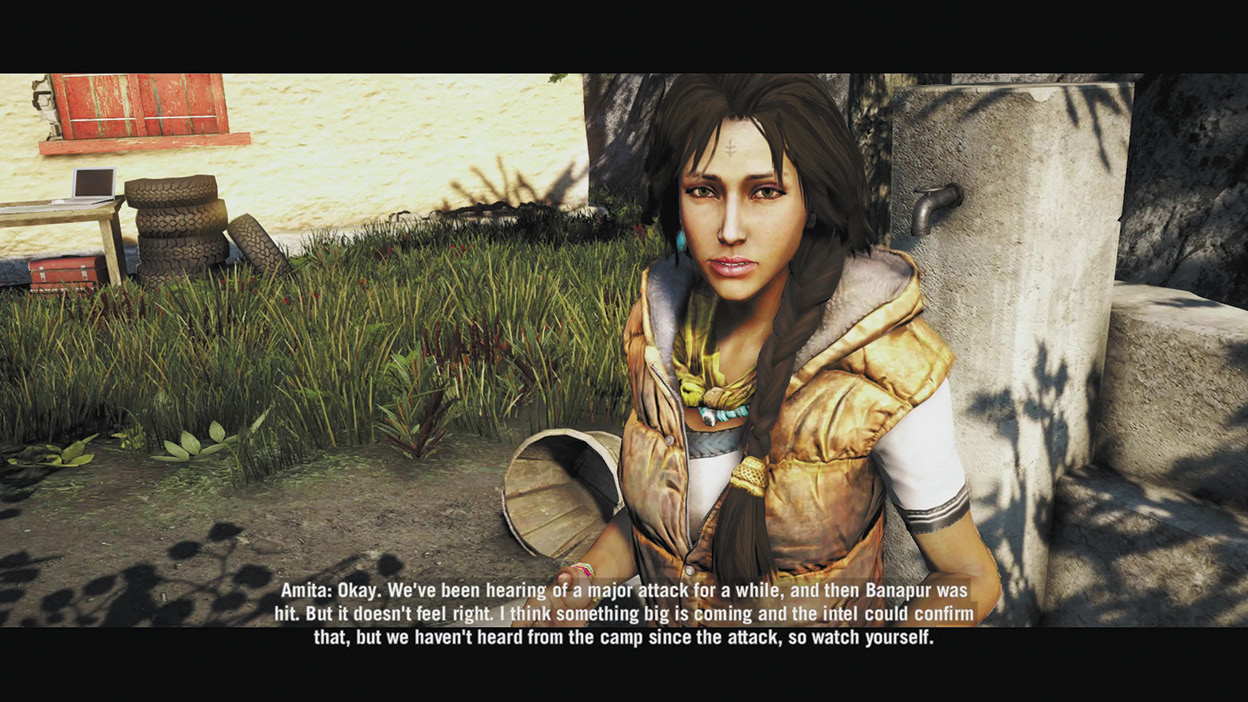
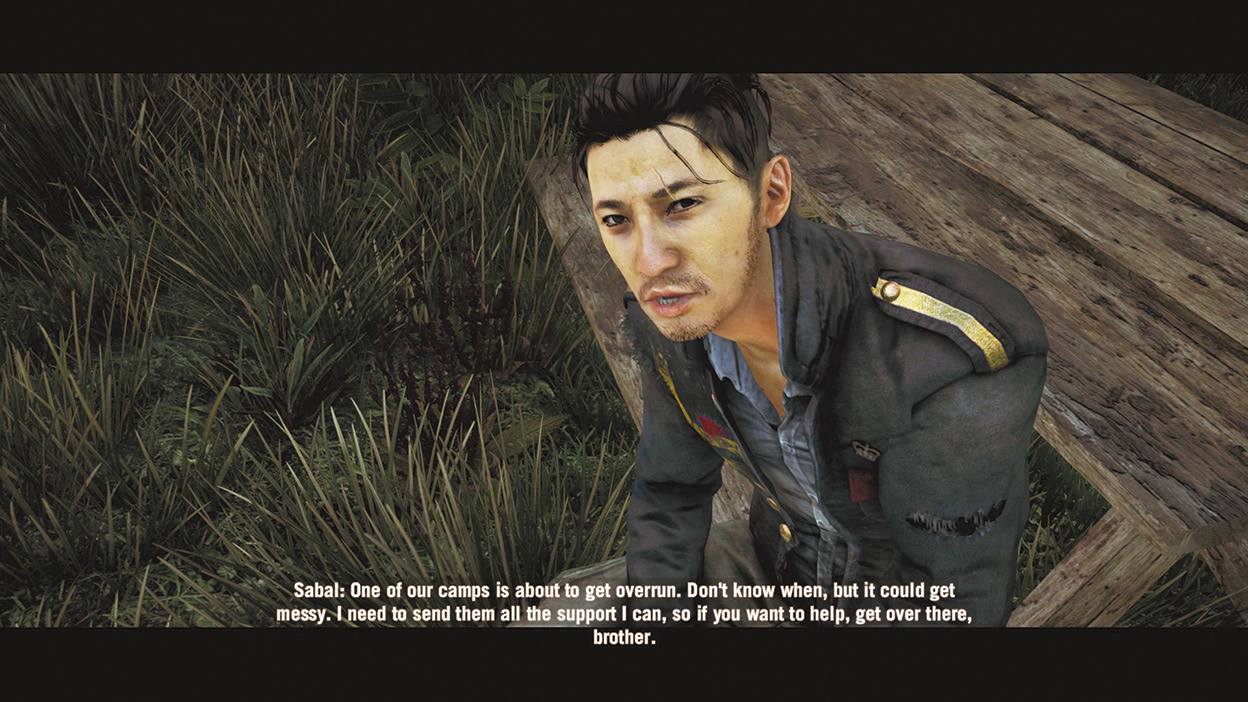
Amita and Sabal want very different things. Your choice will determine which mission you get, but will not change the outcome of the game. Yet.