
Far Cry 4 Guide Campaign Missions
The Monastery Battle
Your enemies’ goal during this battle is to plant bombs at three locations: the arsenal, the shrine, and the main monastery doors. Any time an enemy reaches one of these three sites, you’ll get a verbal warning and a pointer with a countdown timer inside will appear on screen. When that happens, you’ll have 80 seconds to get there in time to interrupt the bomb-planting process by snuffing the enemy. If the bomb does get planted, all is not lost, but you have just five seconds to defuse it before it detonates and the mission automatically fails.
The two keys to this battle are minimizing the number of enemies you face and minimizing the need to sprint between the three bomb sites. C4 and mines are the key to this strategy.
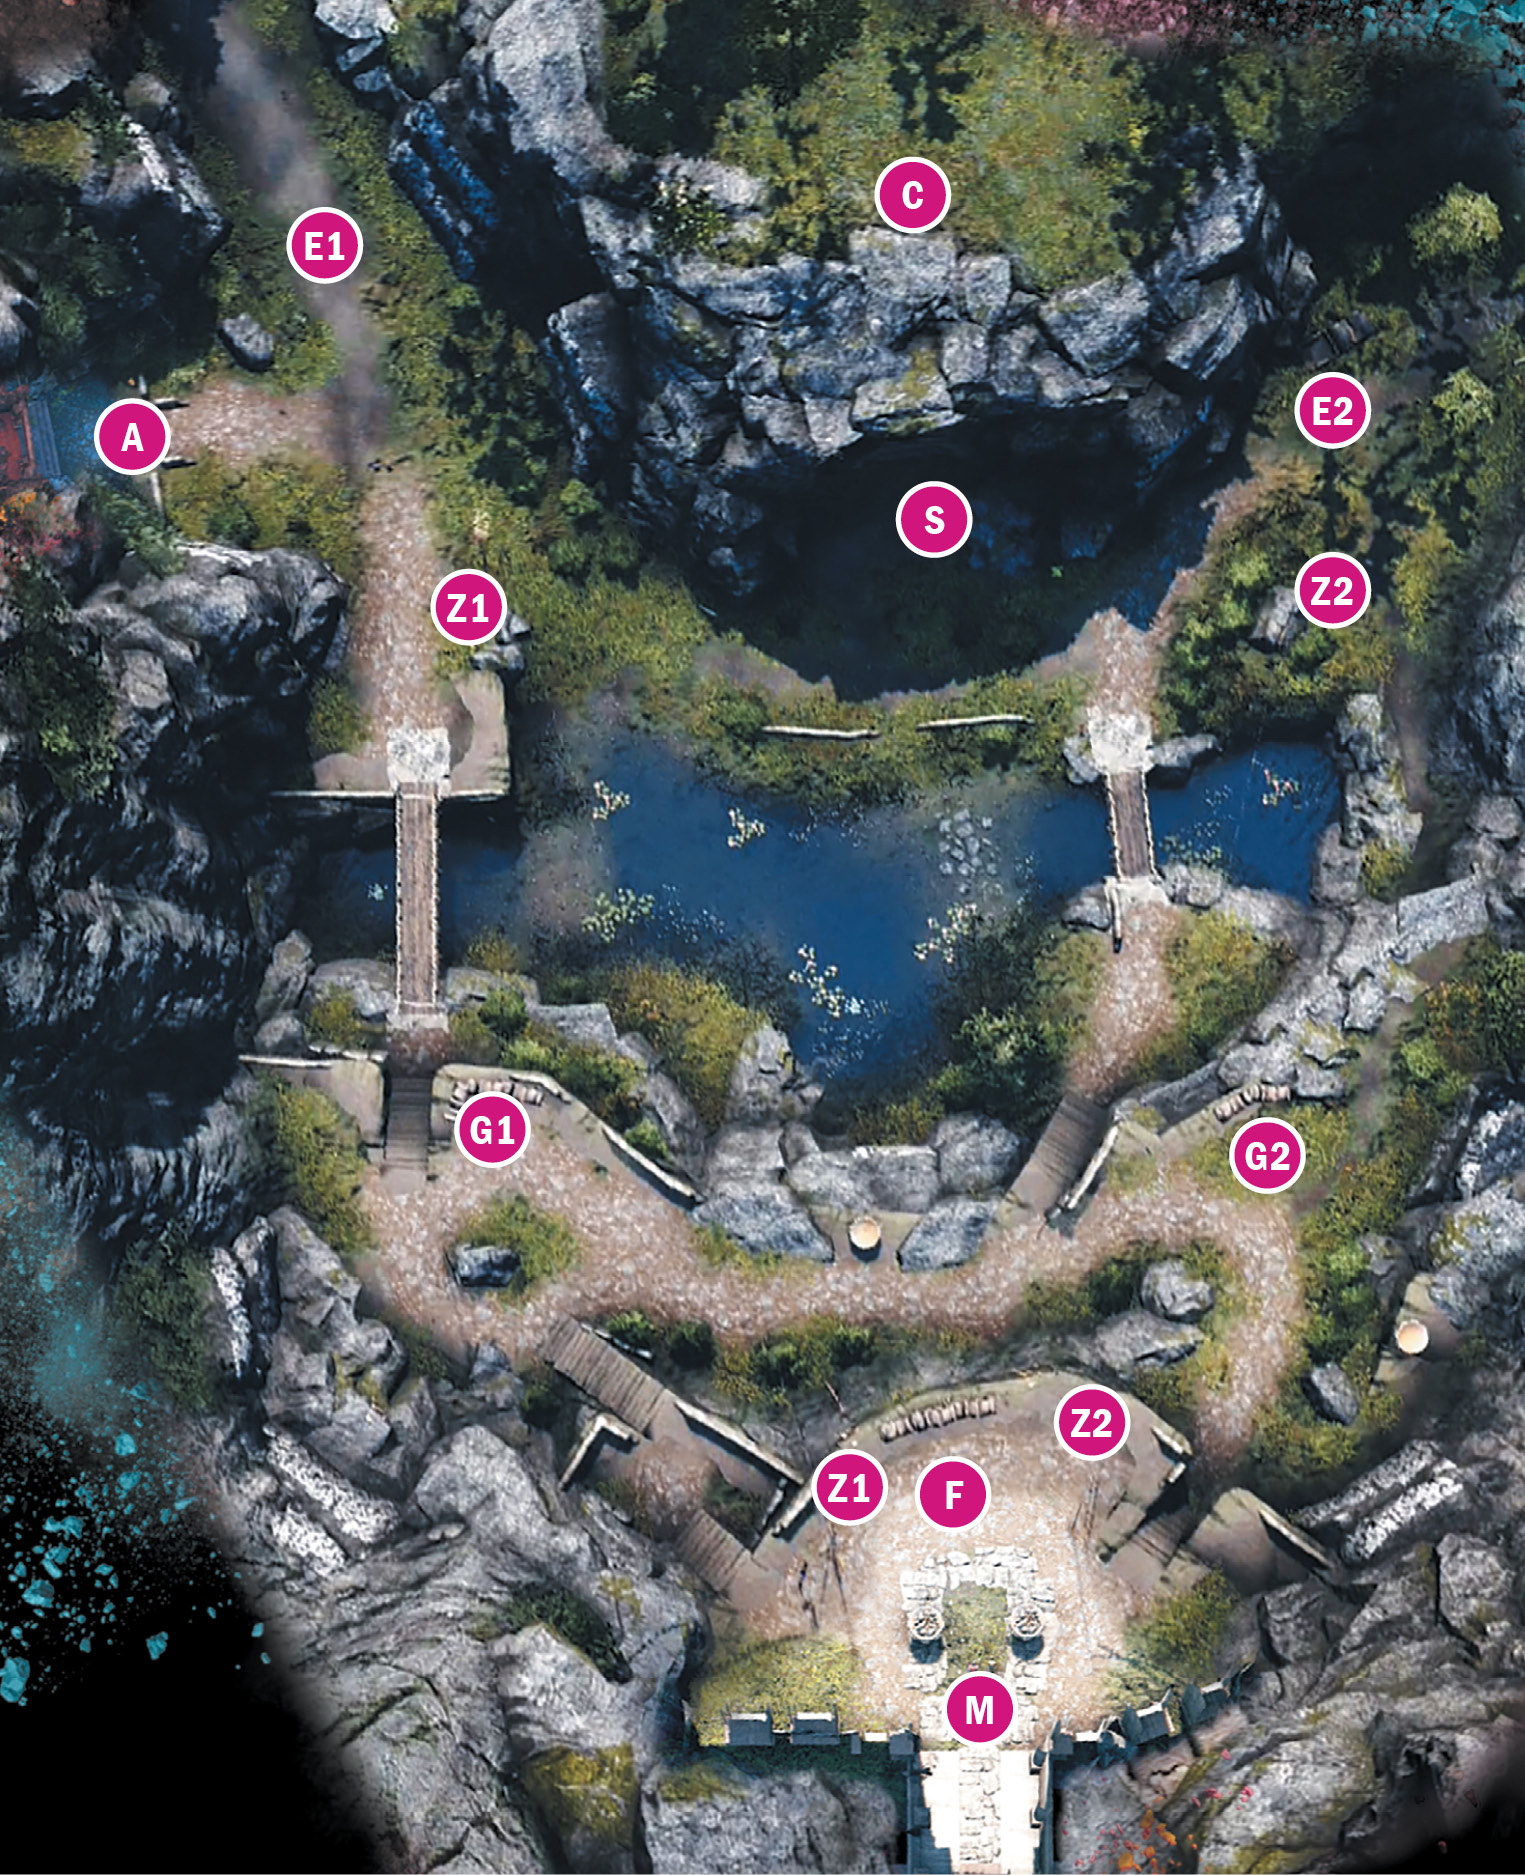
 Armory entrance:Load up on ammo and gear here. Its interior is one of the bombers’ targets, and its narrow shape makes it easy to defend.
 Shrine:The second bomb target. Don’t lose enemies in the bushes, and be aware that they can come from both sides here.
 Monastery doors: The third bomb target. This is where you want to drop your C4 packs.

 Entrance roads: Drop mines in both to turn enemy technicals into wreckage as they arrive.

 Machine gun nests: A risky place to camp, but you can’t beat the firepower.
 Monastery patio:The highest point on the map. A great view of the action, as well as the place the copter will drop off reinforcements.

 Ziplines:When time is of the essence, there’s no better way to travel.
Your first priority is to place mines on both entry roads. Why? Because technicals full of reinforcements will soon come barreling down each one. Drop a C4 satchel near the main door (trust us on this) and take the zipline on the right. Mine the road, run past the shrine (blasting any would-be bomb-setter in the back), then drop a mine on the left road and dash into the armory to check the newly-opened back room for bombers and loot. You should find another ammo crate, a rack where you can pick up a free PKM (a decent LMG) if you want it, two more health packs, C4, and fresh body armor.
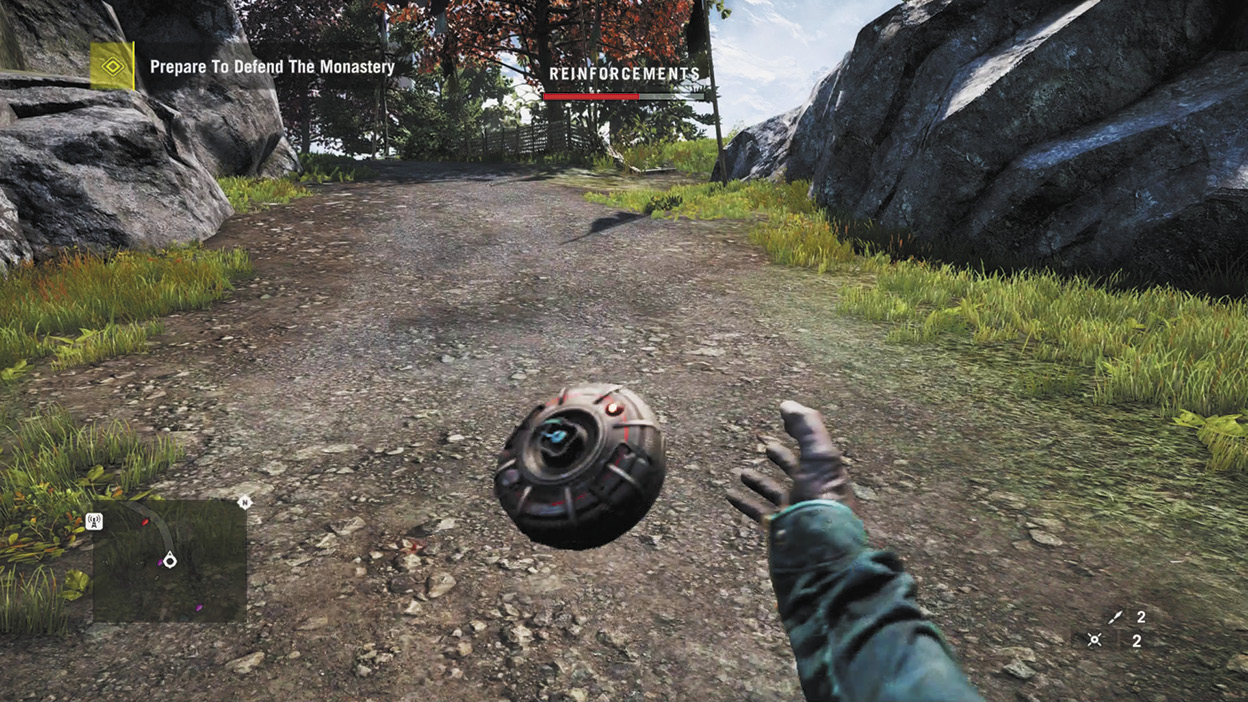
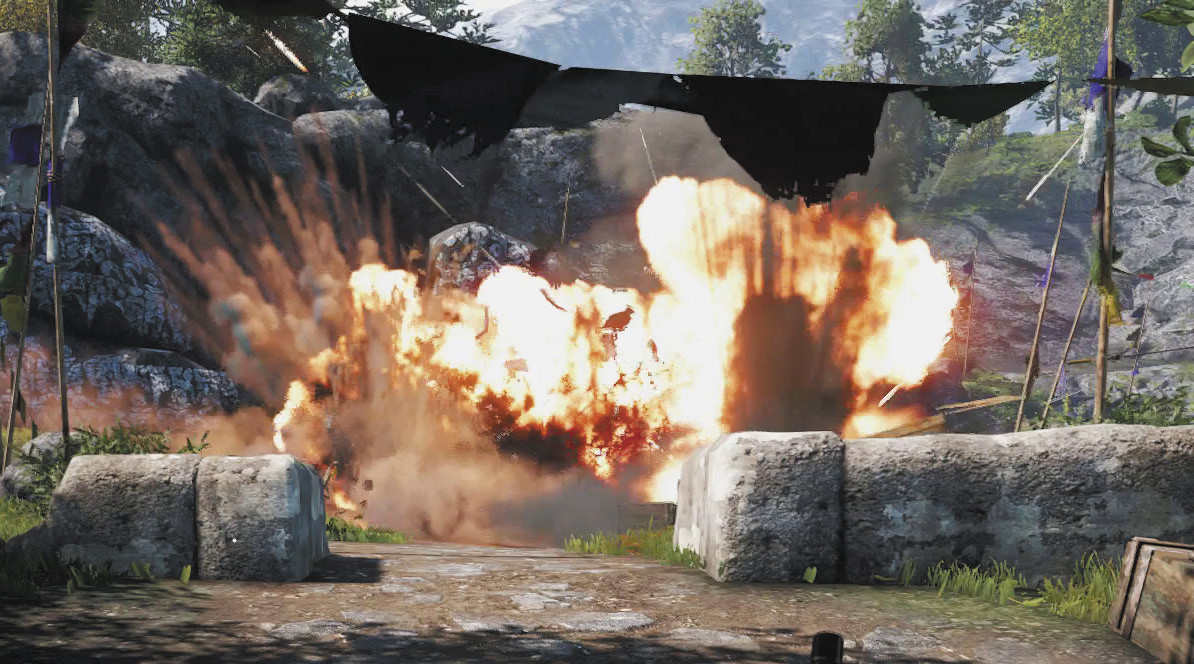
What truckload of enemy reinforcements? All I see is a fireball.
By now, someone is probably trying to set a bomb on the main doors. Remember your C4 you set there? Blow it.
You now have some options. You could hang out on the mid level and camp the turrets (especially the one nearest the armory), but with enemies swarming all around and the main doors behind you, that’s a tough position to hold for long. For most players, running and gunning will prove the better strategy. Shotguns are your friend here, as are explosive arrows, harpoons, grenade launchers (if you’ve got one), and anything else that kills quickly and enables you to keep moving.
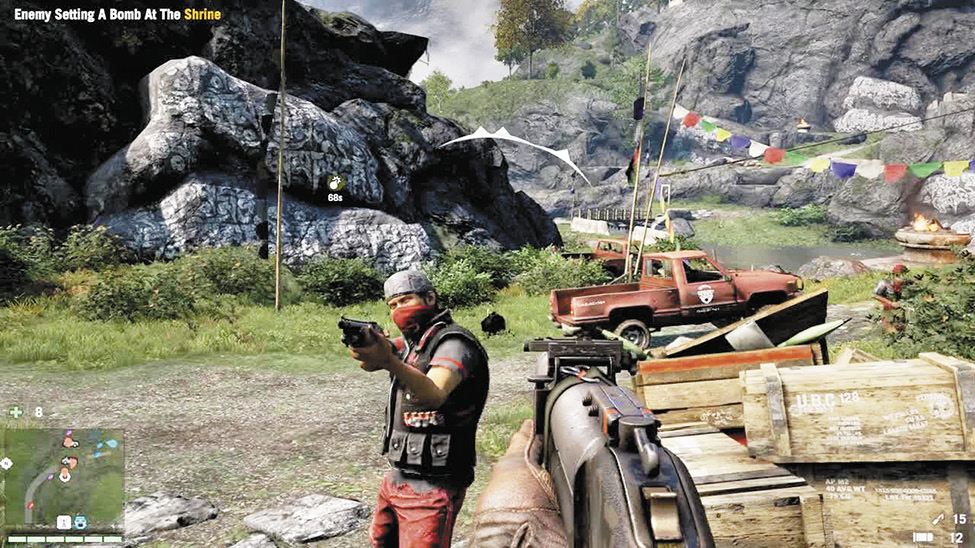
With mines and C4 protecting the roads and main doors, you can concentrate on keeping the two closest bomb sites—the armory and the shrine—enemy-free. The armory in particular makes an ideal home base thanks to its easy-to-defend shape, health packs, and near-bottomless ammo. When you get the message that there’s an enemy at the main door, either blow the C4 to kill him from wherever you are (if there’s C4 placed) or head up, paste him, and drop another C4 charge before ziplining back down (if there is no C4 currently in place). This way, you’re getting double mileage out of every trip up the stairs.
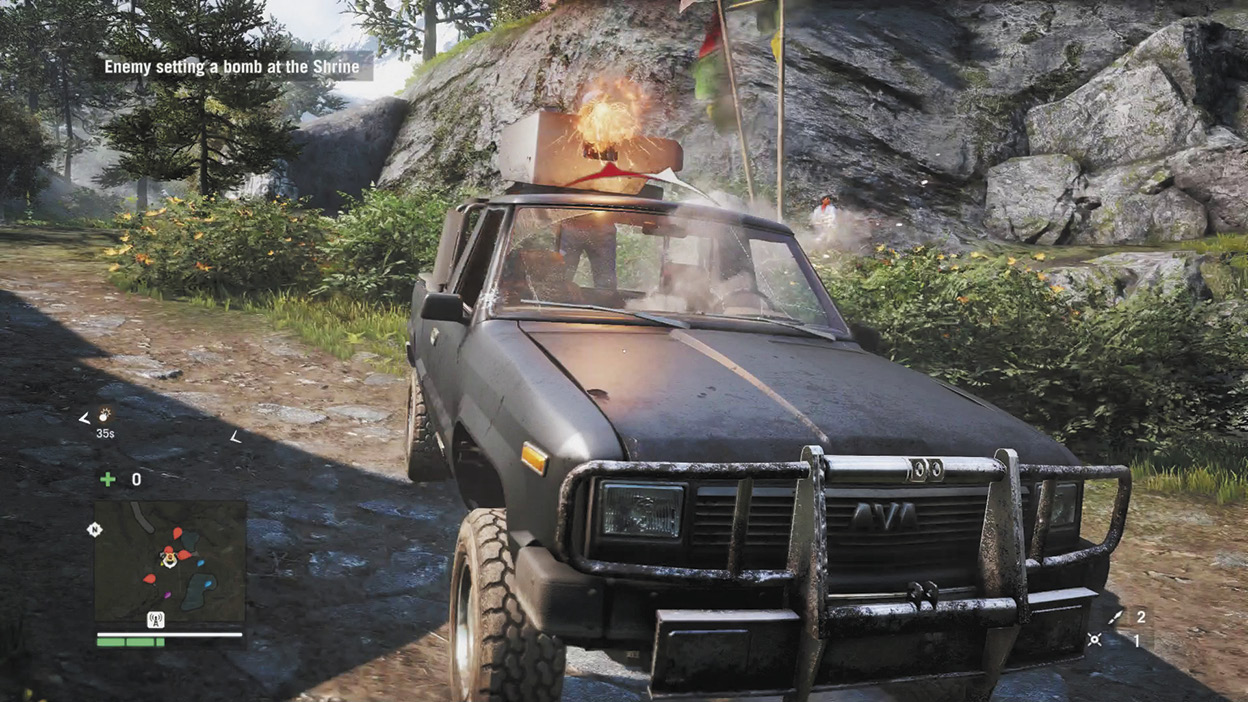
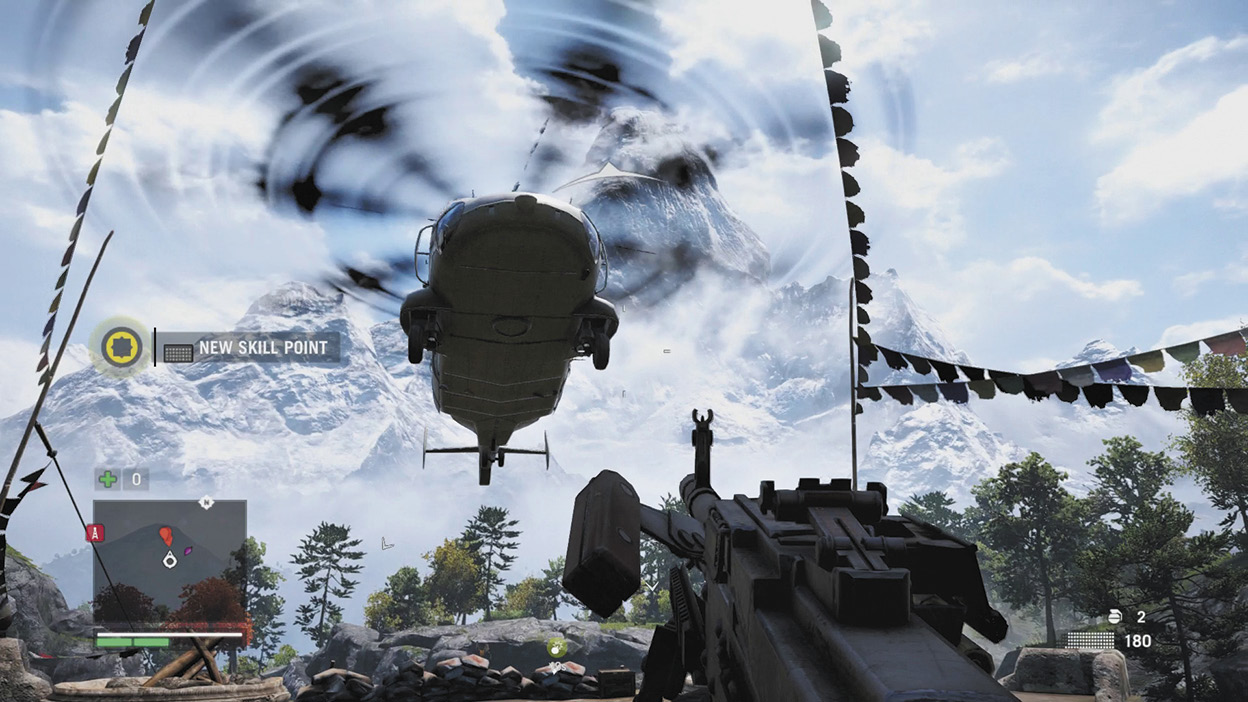
Meanwhile, watch and listen for your mines. The enemy will send four technicals in all (two per side), so if you happen to notice a new pile of flaming wreckage on one road or the other and you have the capacity to drop a second mine, do so. It’s worth it to keep those reinforcements and their turret guns out of commission. Eventually, a helicopter will approach and drop three soldiers directly onto the upper level. But they go down easily. The copter itself is tougher (unless you have the ordinance to handle it or find yourself at the turret when it swoops in), but it isn’t a required kill. It’ll just fly away if you don’t take it down.
After the mission, head into the armory one last time to reload (and grab the PKM if you haven’t already, because a free LMG is a great thing). Then step back through the monastery doors to Raju and the mission complete message.
Now that the mission has ended, Longinus calls and wants a favor. Before making that trip, however, take a look at the area southeast of Banapur, where a B on the lakeshore will take us to the story’s next chapter.