
Far Cry 4 Guide Bonus Missions
Reggie and Yogi Missions
Lost & Confused
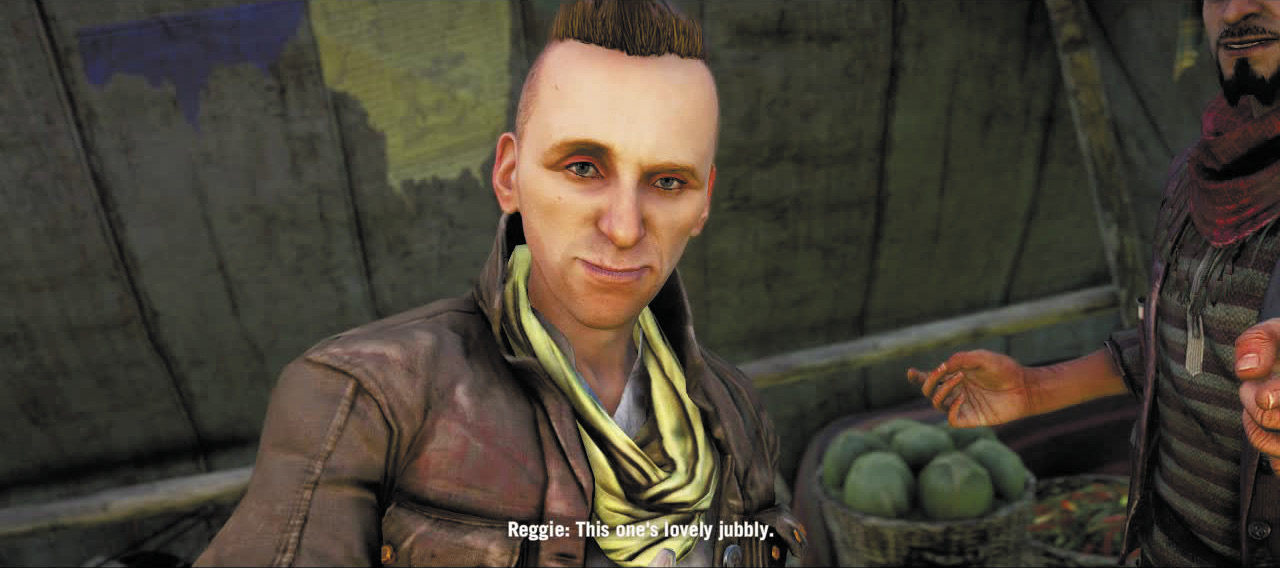
The first time you met Reggie and Yogi, you ended up naked and fighting for your life. The second time, you woke up in paradise…but also fighting for your life. Clearly, there’s a theme here. But you have to admit, they keep you guessing. Might as well stop by for another visit.
But just in case, stock up on health syringes first.
You kicked Reggie and Yogi out of the main house, but they didn’t go far. You’ll find them camping in a tent at the edge of your yard. They’ll offer you a sample of something they call “Oculus Spliff.”
And once again, this happens.
You’ll awaken in a cave, tugged gently back to consciousness by the melodious sounds of a crap-ton of man-eating bears huffing and growling all around the place. And naturally, the stoners stashed your weapons and left you with only your knife. At least, thanks to the drug, you can see the bears through the walls just as you would if you’d tagged them with your camera.
A note on the ground from Reggie instructs you to find him and Yogi. As if you needed the motivation.
Make your way out of the cave. The bears are—no joke—mostly busy gnawing the corpses of previous visitors. But you’ll probably still have to fight at least one bear (most likely the one at the cave mouth) on your way to the cave mouth. That’ll be the part where you slash for your life and use as many of those health syringes as needed to survive.
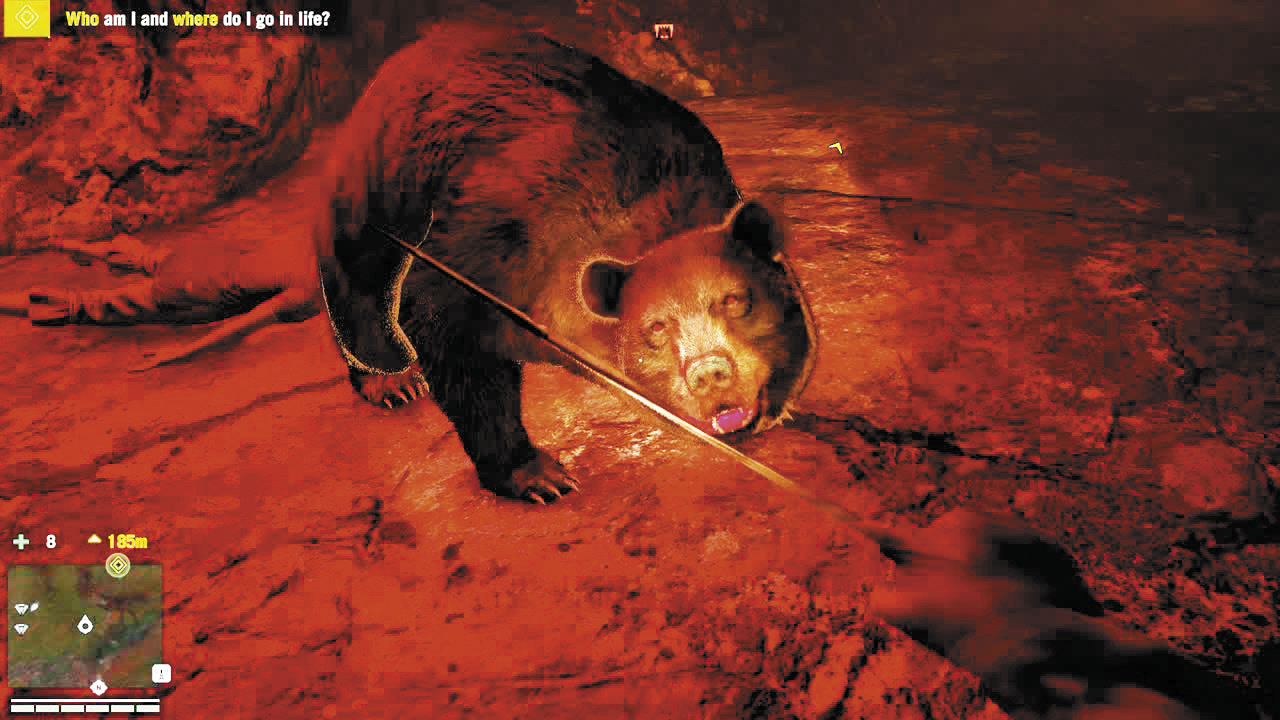
Outside, you’ll realize the cave is called Kyra’s Retreat. Also, two of soldiers are stationed right outside. Or at least, they were. This place is crawling with bears and leopards, so the soldiers may already be dead. If they aren’t, no worries. Sneak in for a takedown or use thrown bait to call in some assistance.
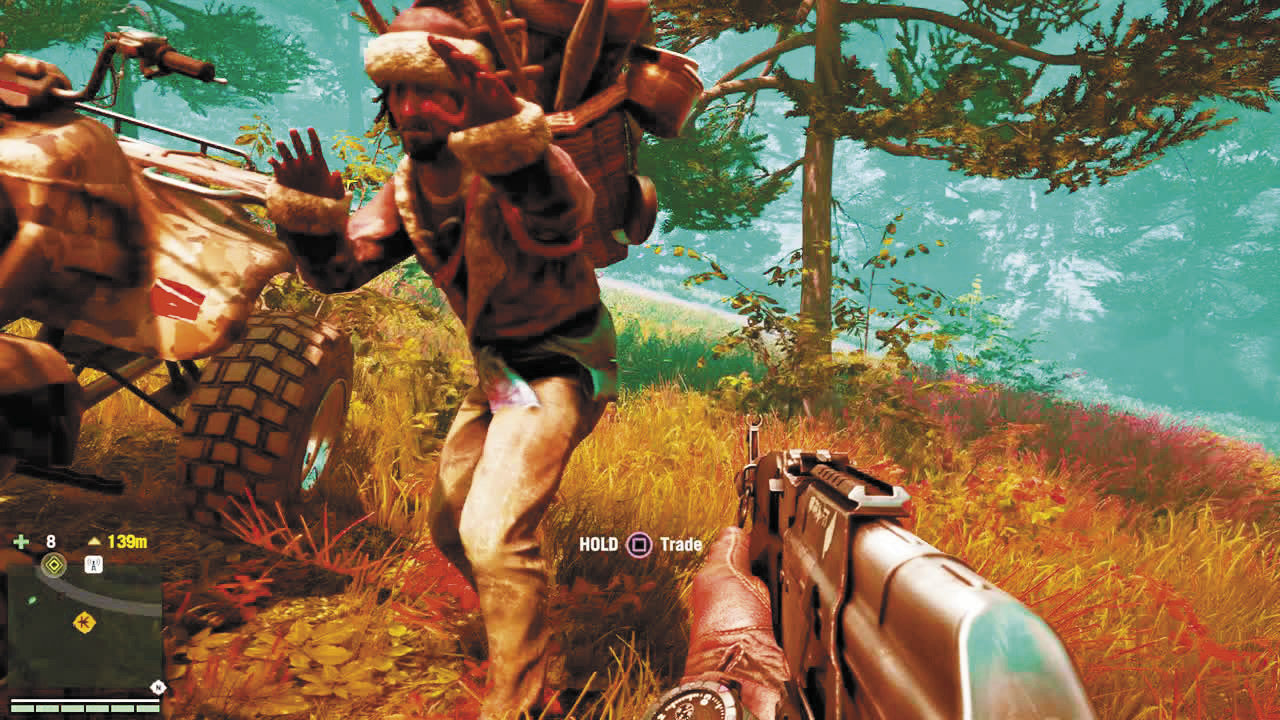
Grab a gun and continue the search for Reggie and Yogi. You’re still woozy from the drug, which explains why the world keeps changing color, you keep hearing swooshy music, and Reggie and Yogi vanish in a swirl of blue smoke (along with several monkeys) when you find them.
Continue to the new checkpoint, past leopards, rhinos, and enough sambar to form a soccer team. Keep your eyes open for a sherpa, and if you find him, stock up on a high-powered weaponry, such as shotguns, launchers, and LMGs. When you reach the checkpoint, another poof of smoke will reveal that two of the things you thought were cars were actually angry rhinos. Retreat quickly to avoid a battle you’re not equipped to fight. Or, if you’ve found the firepower, have at it. And note that the mani wheel’s concrete platform is one of the few bits of cover the rhinos can’t destroy.
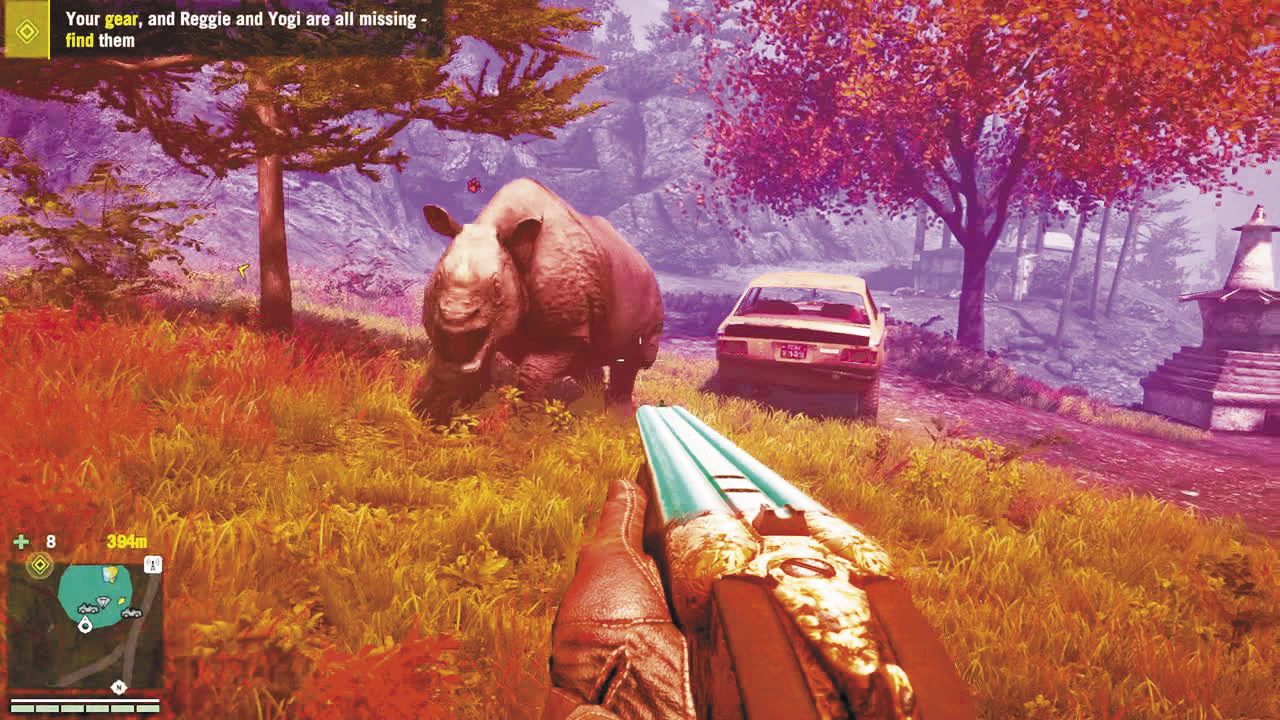
After the battle, check the road for a buzzer. Sure, you have no business piloting anything in this condition, but it’ll make the next two checkpoints far easier. The third checkpoint drops you at the base of a large Kyra statue, where Min’s soldiers and yet more bears pop into existence. Drop into cover in the statue’s “lap” to let the bears handle the soldiers for you. If you found the buzzer, you don’t even need to land here. You can just continue to the next checkpoint once the quest marker moves.
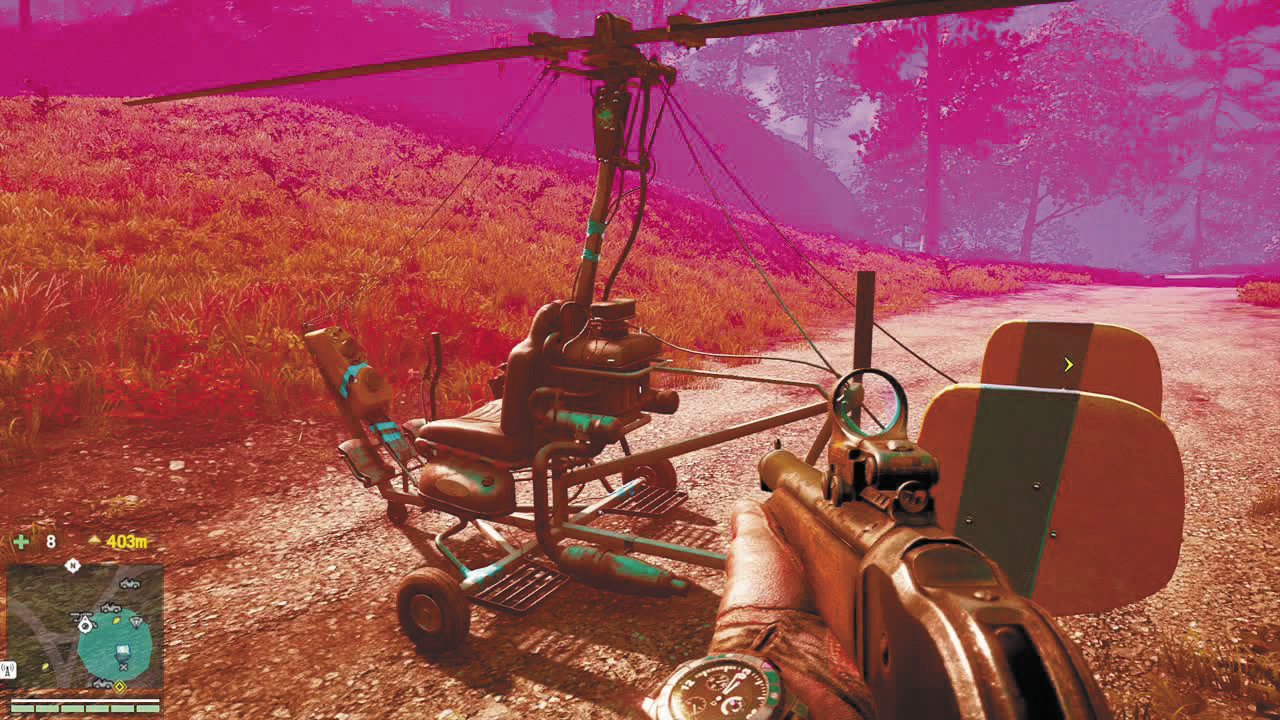
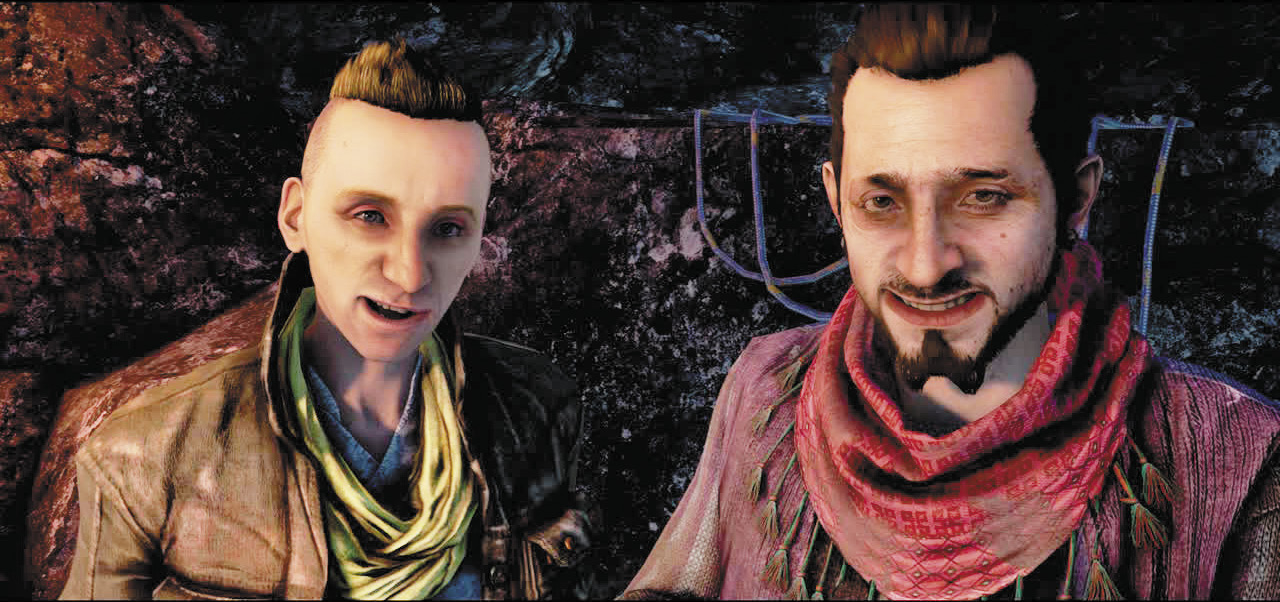
You’ll finally strike pay dirt at the fourth checkpoint, a cave called Kyra’s Meditation. Reggie and Yogi don’t exactly apologize, but they do promise to hook you up again any time you want. Oh, joy.
The Burning Forest
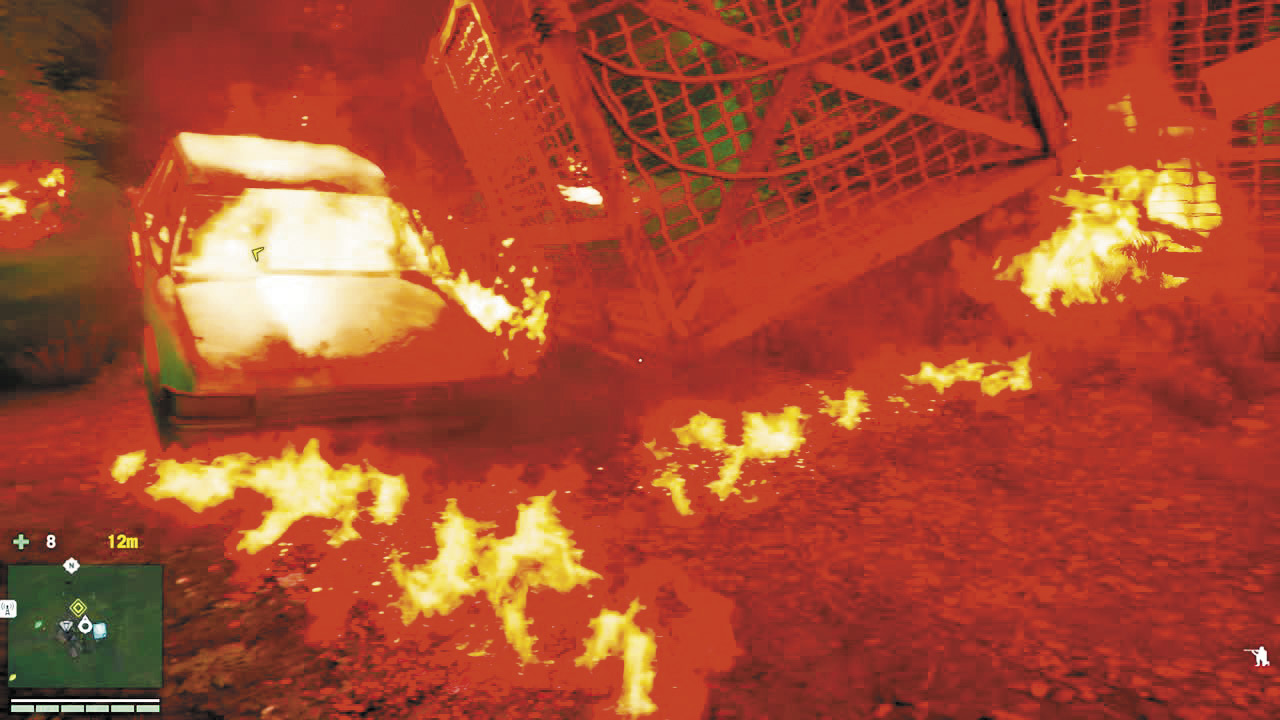
Another visit, another syringe. This time, you wake up in a makeshift corral crafted from wrecked animal cages and junked cars. All of which are in flames.
Grab the gun from the nearby corpse (because once again, Reggie and Yogi left you with only a knife) and move toward the quest marker, which is also the only direction you can travel without combusting.
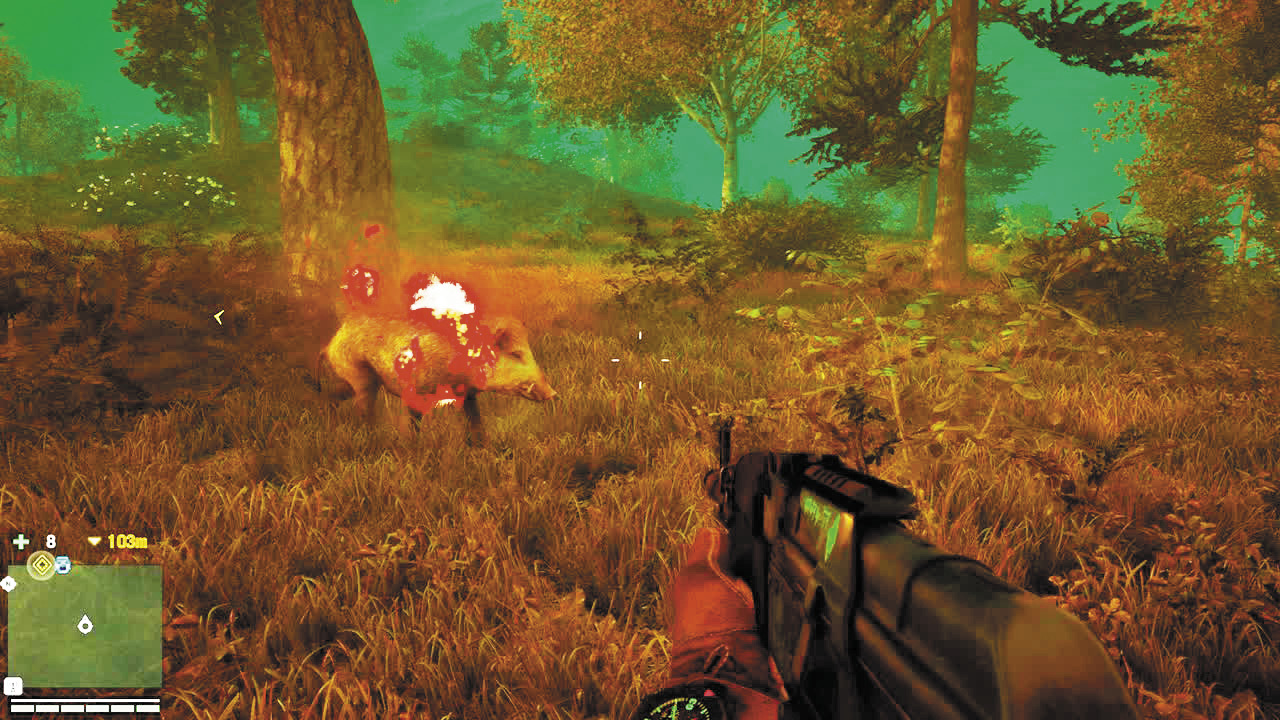
As you make your way through the forest, you’ll notice the sky has gone all disco-whooshy again. You should also come across some unusual wildlife.
As anyone who played the first quest might have guessed, the first checkpoint is a hallucination. The good news is that the red barrel on the cliff where the pyros poof in is oh-so real.
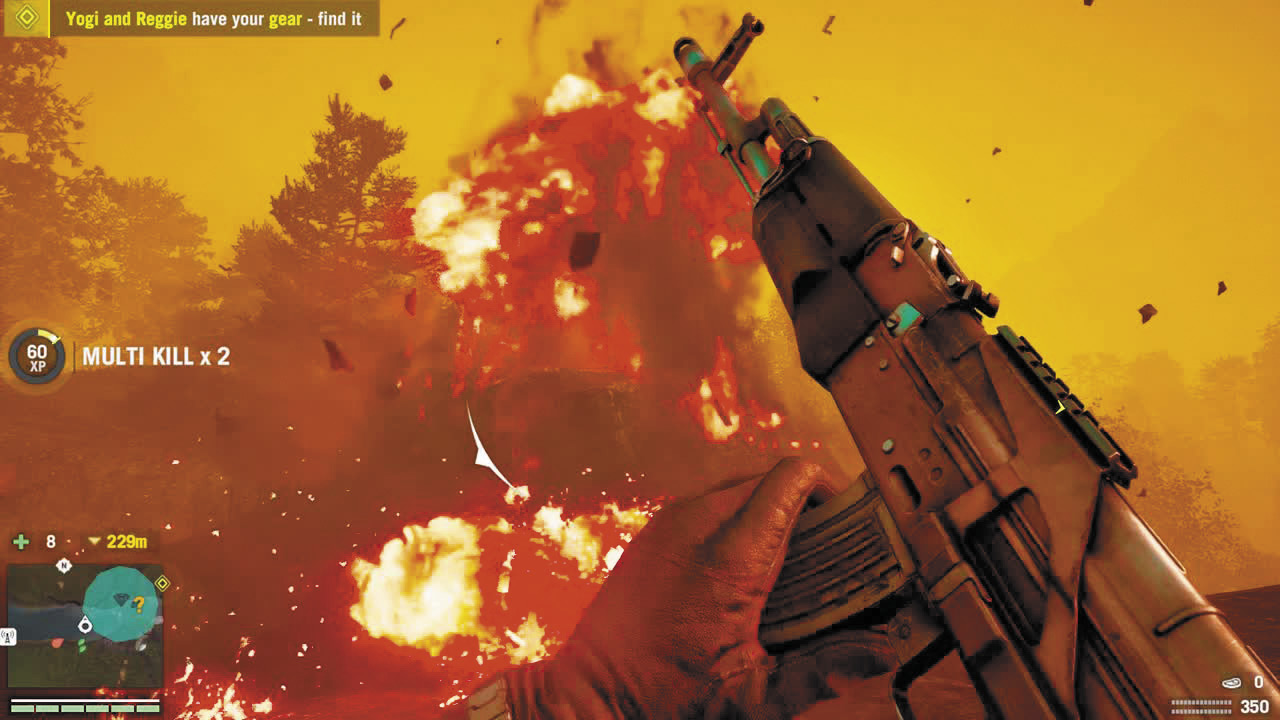
Standing right next to a red barrel. You would think pyros, of all people, would watch out for this sort of thing.
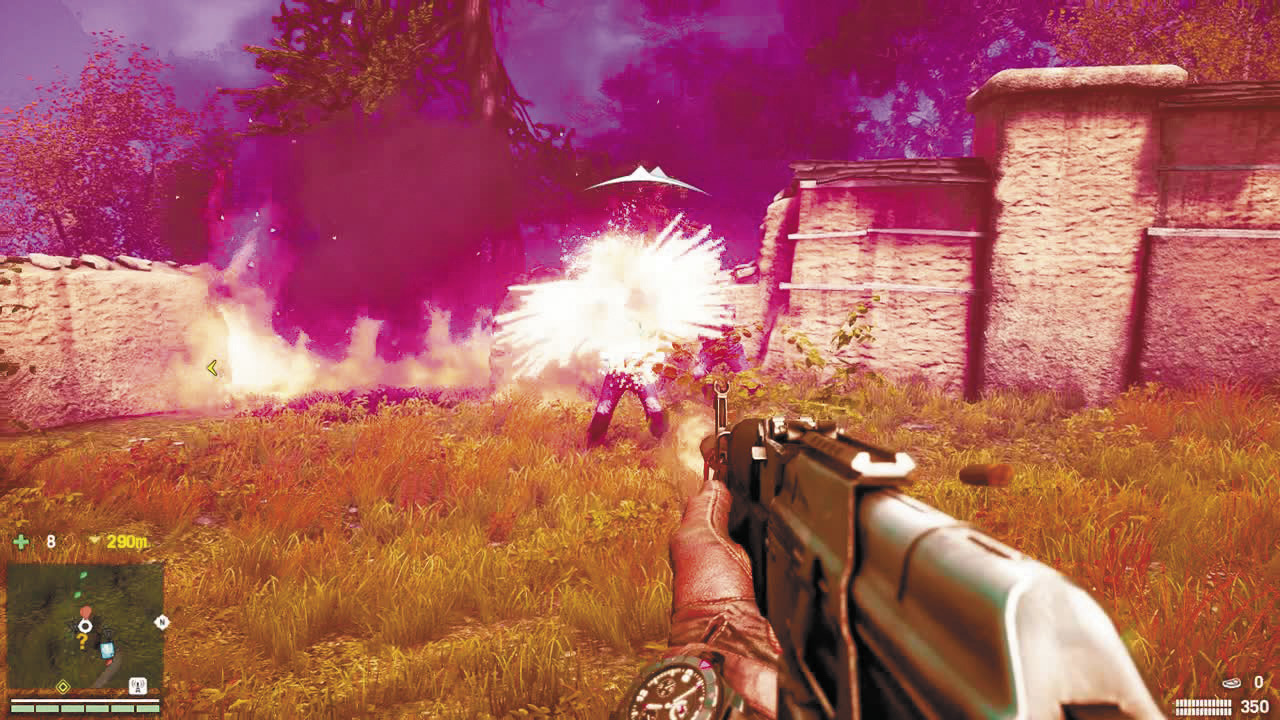
Don’t be lulled into thinking you’ll find Reggie and Yogi at the second location either. You will find a pair of pyros, though, so be ready. In this small area, they can cause trouble if you don’t put them down quickly. And in the “great idea” department, you should find a glider in the direction of the next marker.
As you approach the third checkpoint, you’ll see Reggie and Yogi standing on the roof of a small house. That’s probably totally real, right?
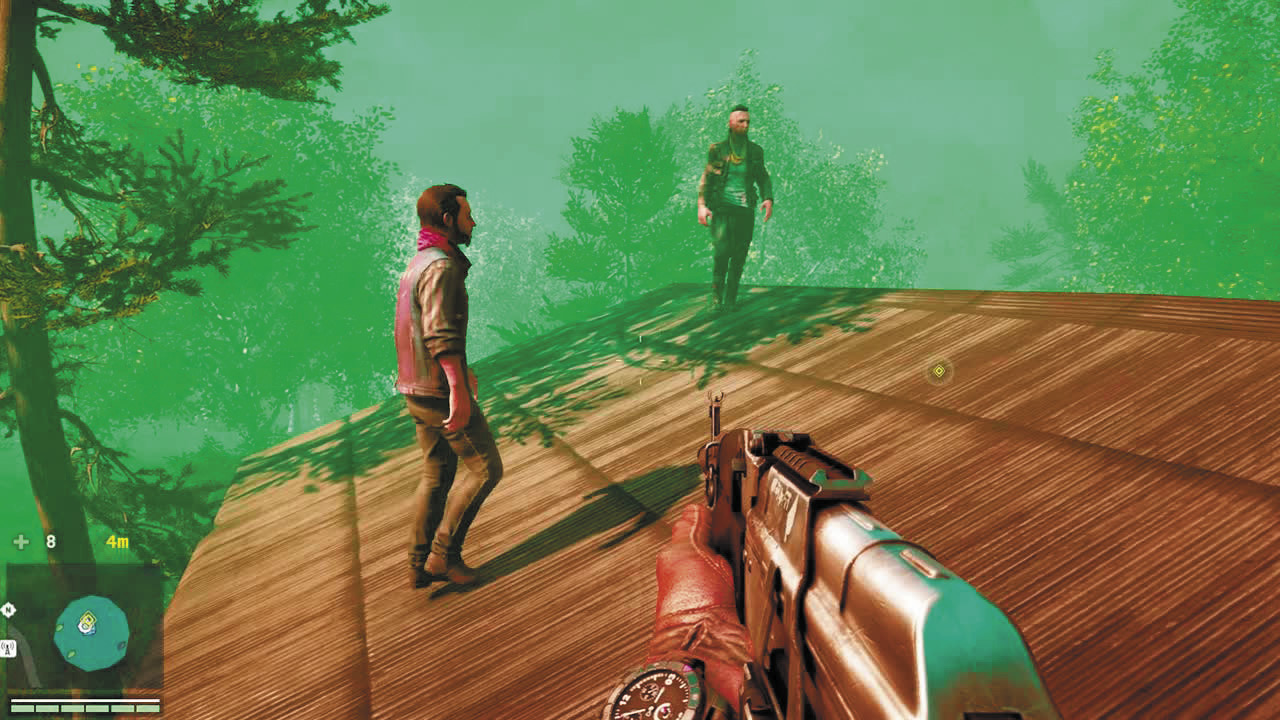
The good news is, the pyros don’t warp in and start torching the joint until you’re with imaginary Reggie and Yogi on the roof, which is a fairly safe starting location. The bad news is that the entire place will be in flames before you know it. Hold the high ground as long as you can and if you do have to jump down, run toward green or at least whatever color is not fire at the moment . But remember: If you’re on fire, you’re going to ignite the ground wherever you stop, so that green spot isn’t going to be safe for long. You’ll need to keep moving until the flames burn out (or manually douse them when you have the option).
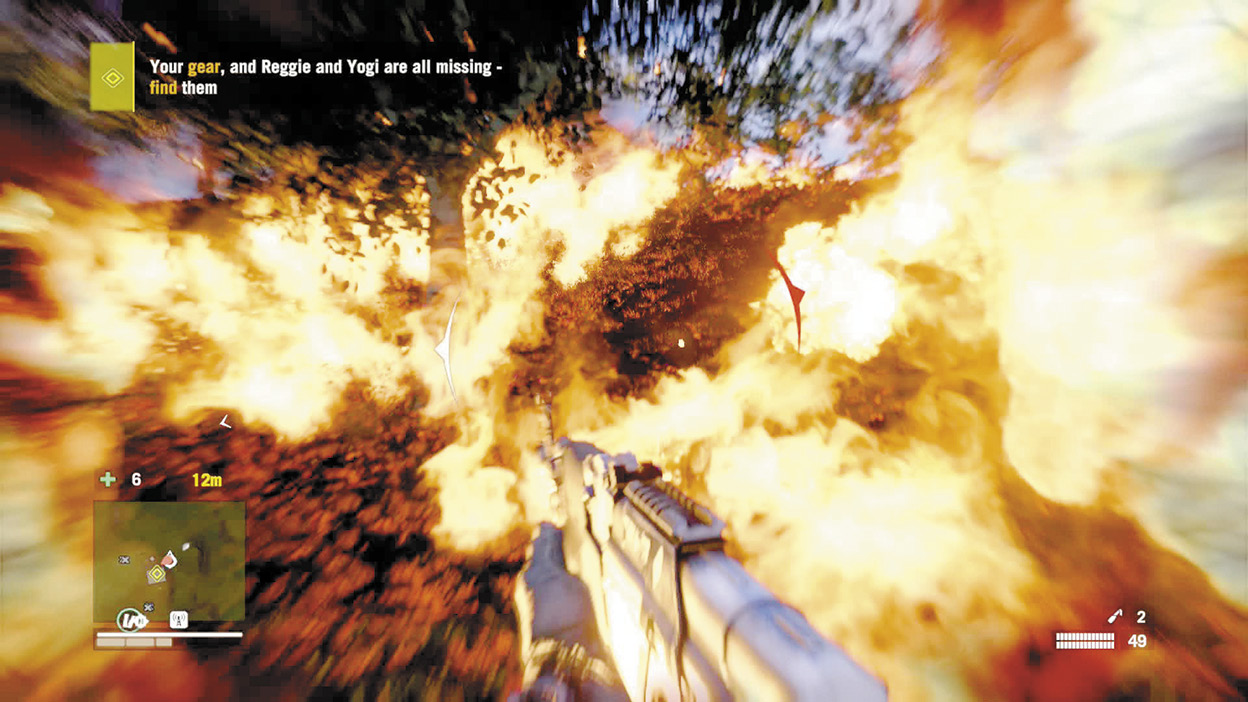
Things we really don’t have to tell you #437: “If your surroundings look like this, RUN.”
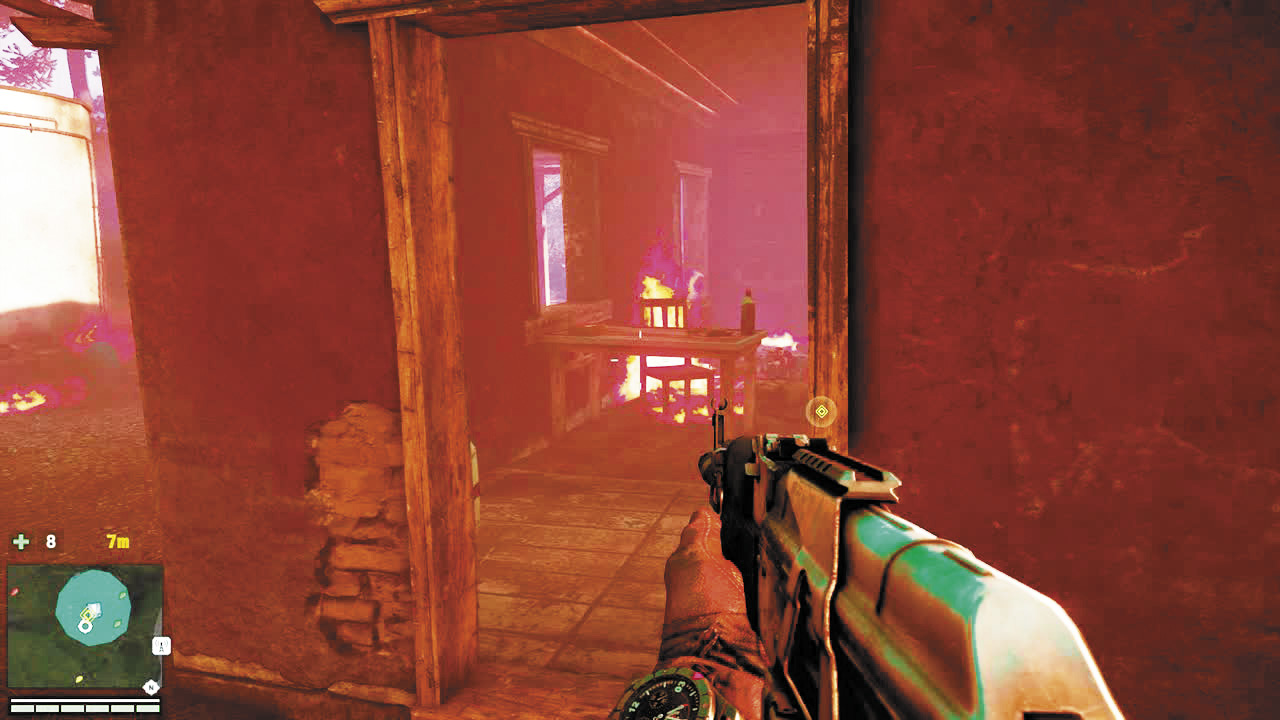
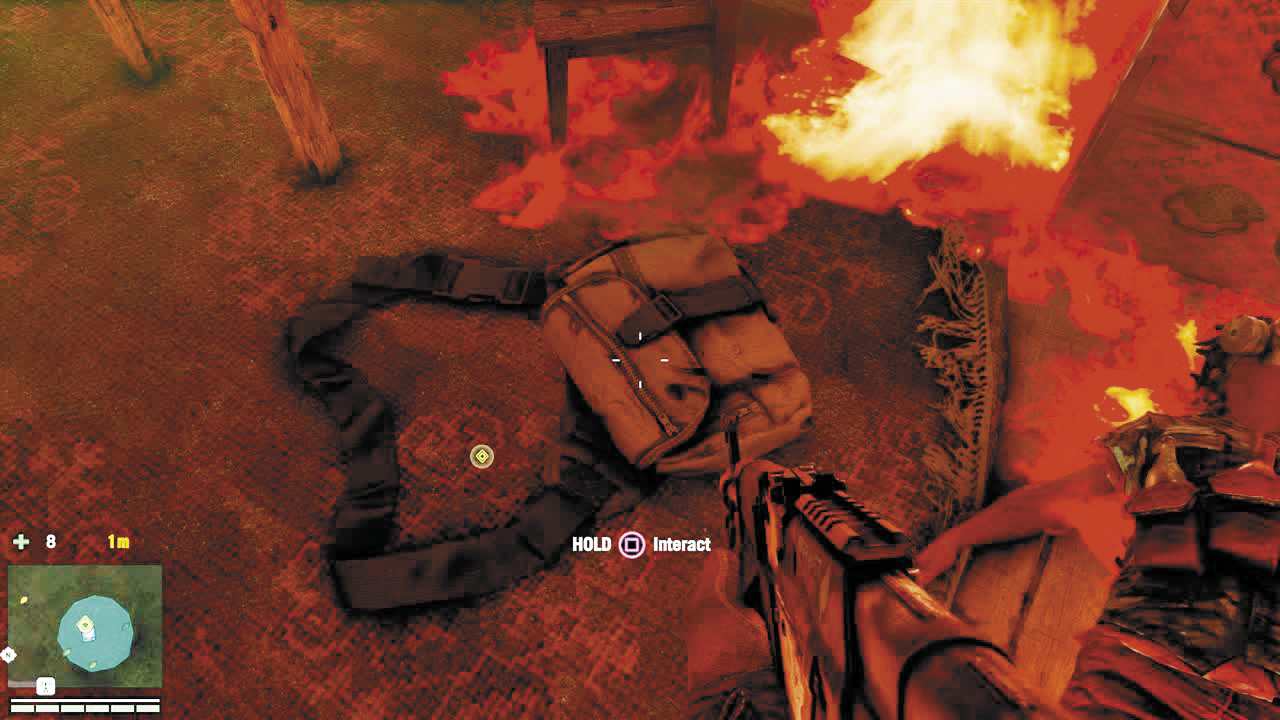
The thing you may not notice here is that the quest marker doesn’t move when the hallucinations disappear. Once you’ve dispensed with the pyros and let the flames die down a bit, head back to the house and enter any door not currently engulfed in flames. Once inside, you’ll find a satchel and finish the quest.
Naked & Screaming
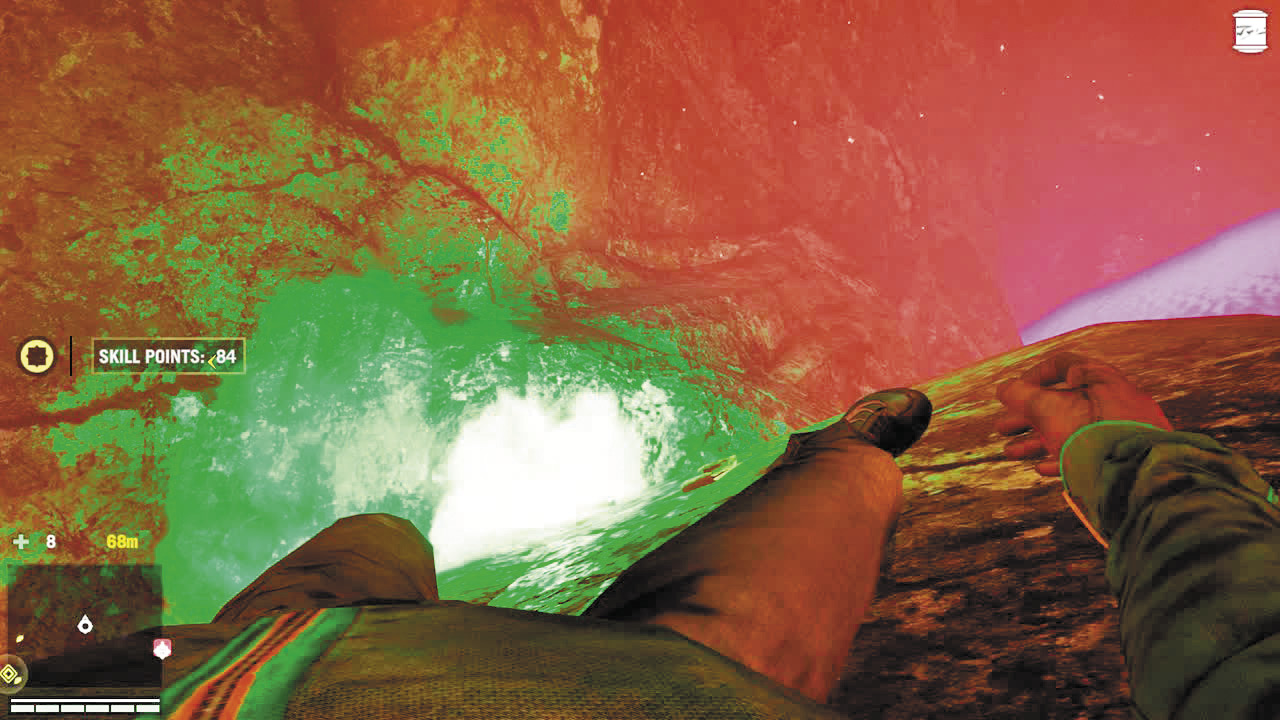
When you arrive at the tent, Reggie and Yogi will be having what turns out to be just another day for them.
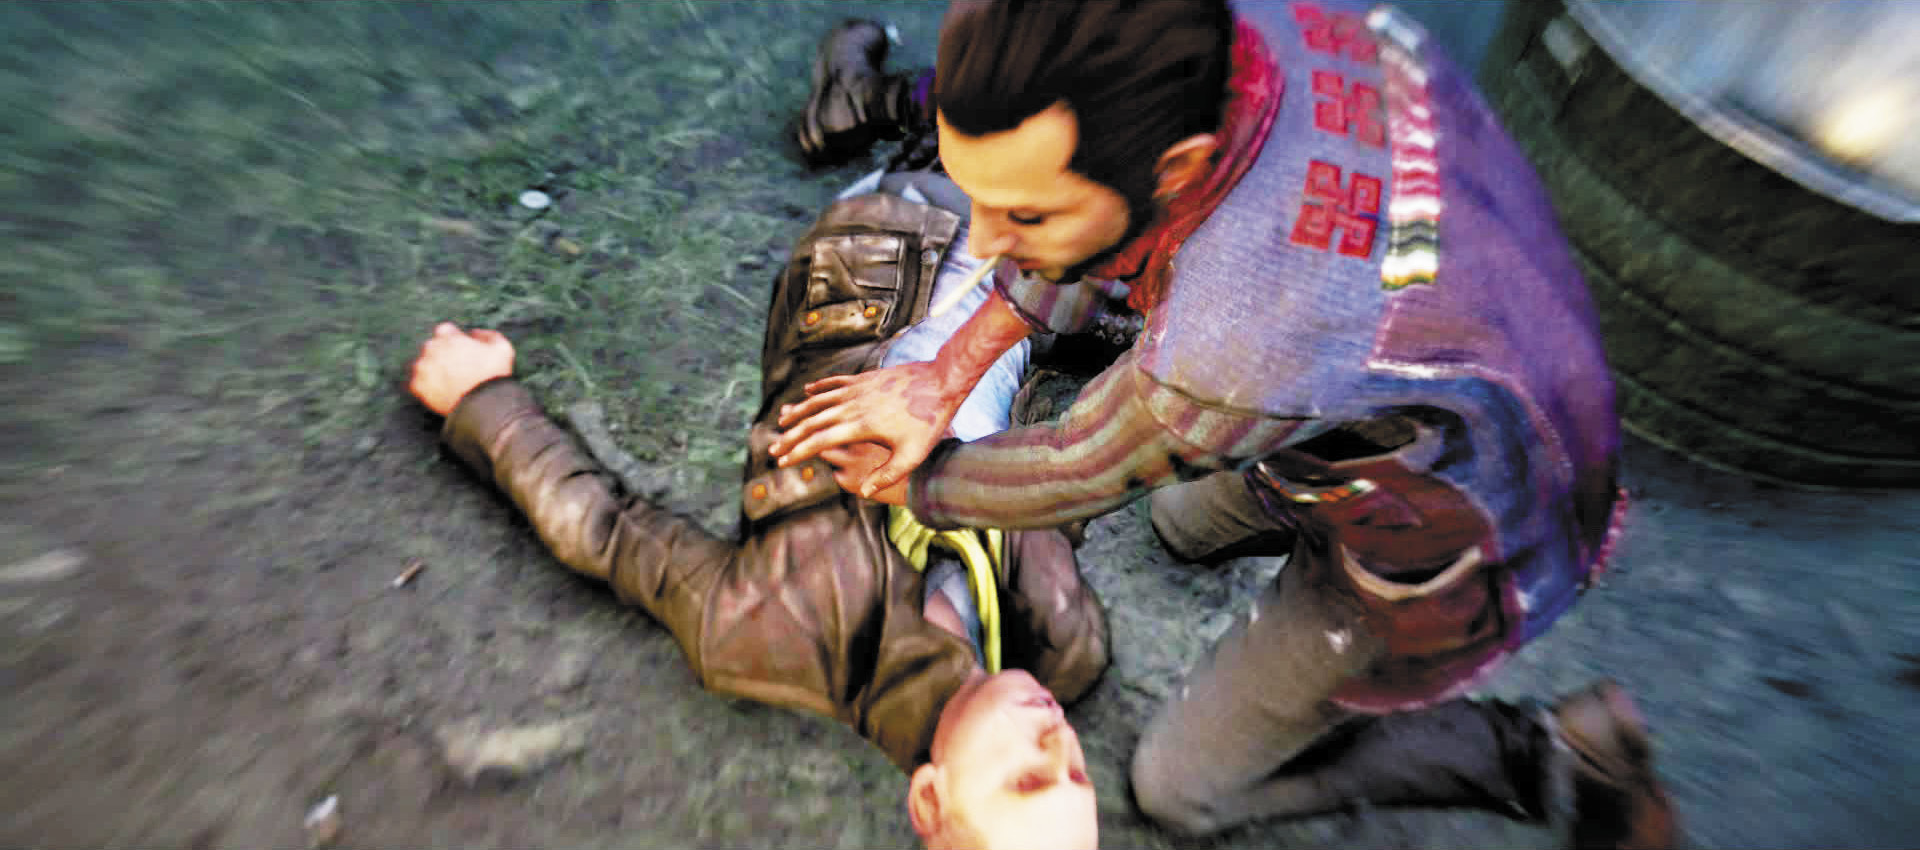
Yet somehow, you still volunteer for their next experiment.
This time, you come to in a cave with no visible exit. However, there is a strange, green light in the water. Read the usual note from the guys and jump in. You should see a trail of green and purple flares that lead you through a long underwater tunnel.
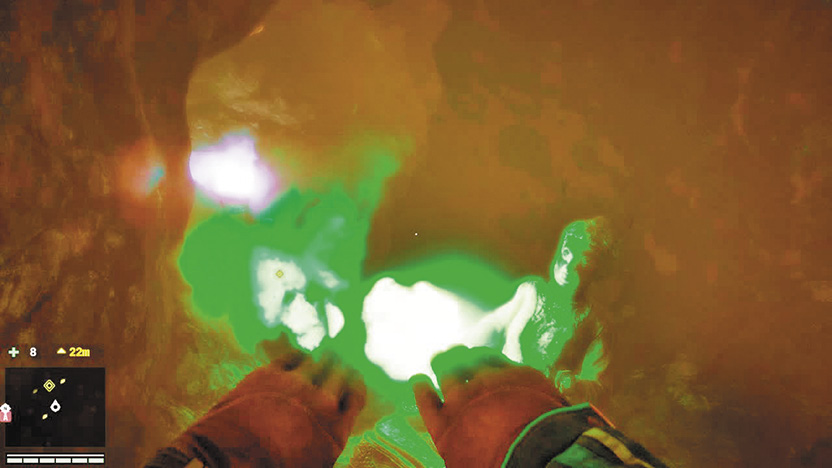
Just when your lungs are about to burst up through your esophagus, you’ll emerge onto a small rock with two Royal Guard soldiers’ corpses on it. Loot the corpses, then dive into the water on the other side of the rock.
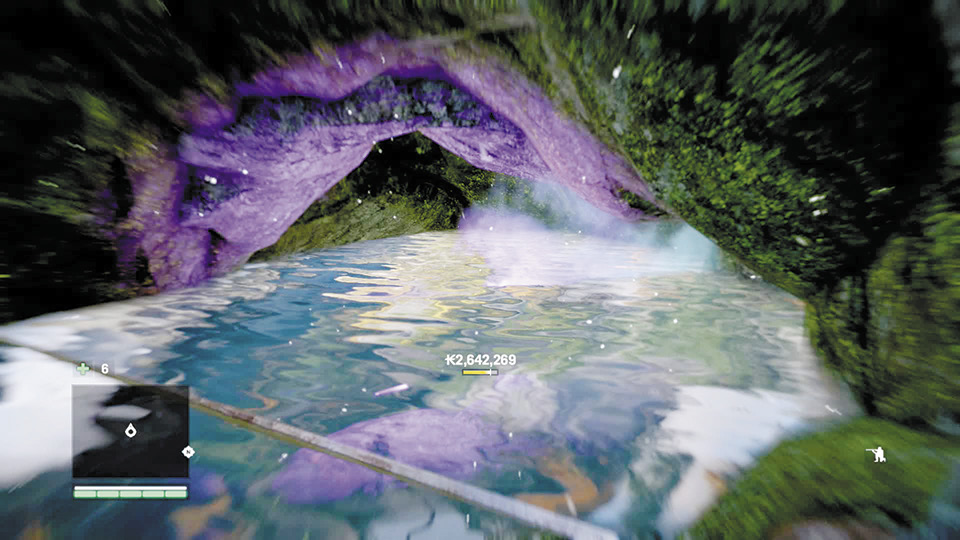
Pretty as it is, you’re facing the wrong way. Do a 180.
This is important because you’re about to swim through another tunnel, and you want to be sure to go through the new one, not the one you just used to get here.
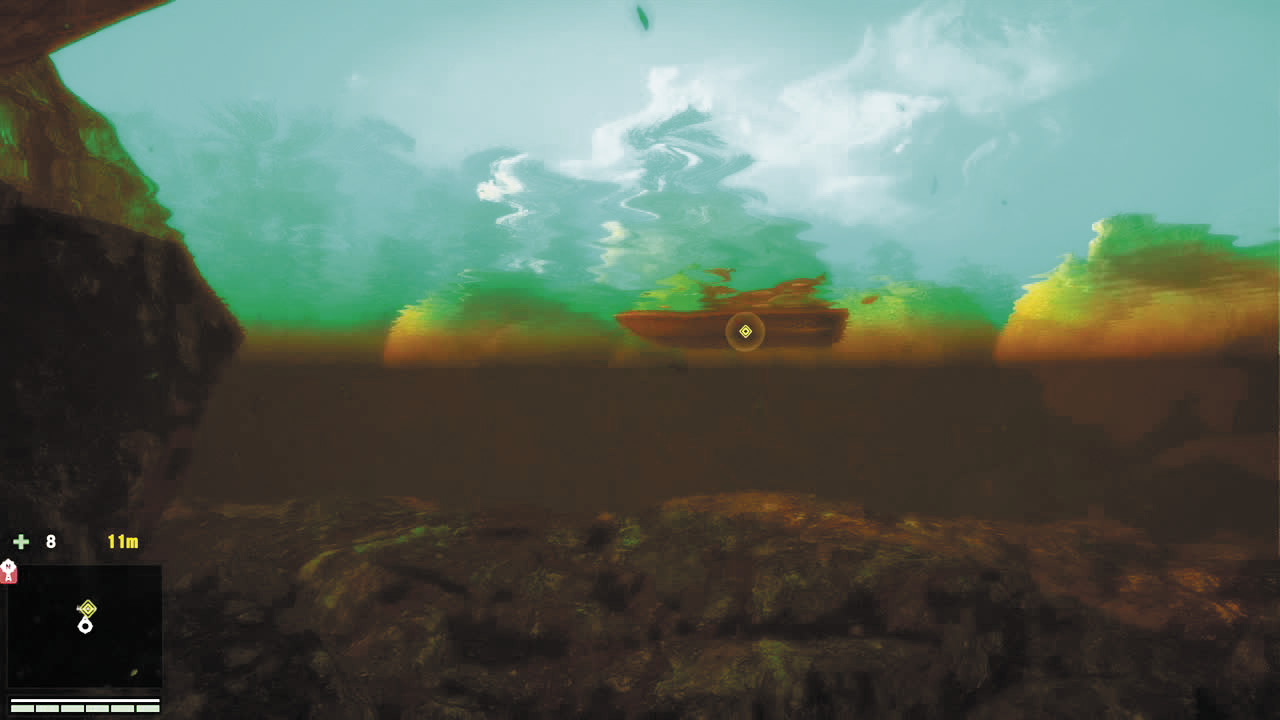
How will you know? For starters, the new tunnel leads to a lake and a jet ski.
Climb aboard and start your hazy-eyed journey to the first checkpoint. Almost immediately, you’ll notice a change. It’s not just the colors washing across the sky. It’s the cars, trucks, and cargo carriers falling from it.
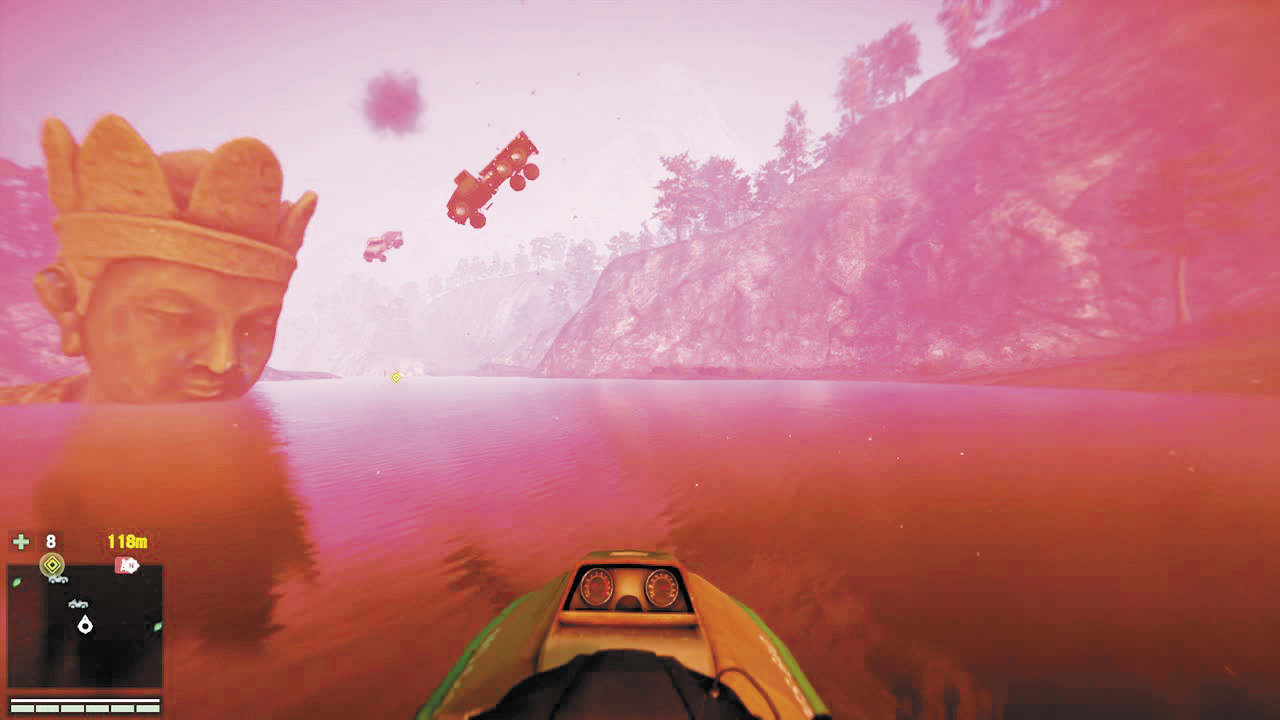
After running that strange gauntlet, you’ll come to an area where several boats will poof into view. There’s a machine gun nest on the shore, but you actually don’t need it. It turns out, these boats don’t shoot at you. They just explode when you drive past.
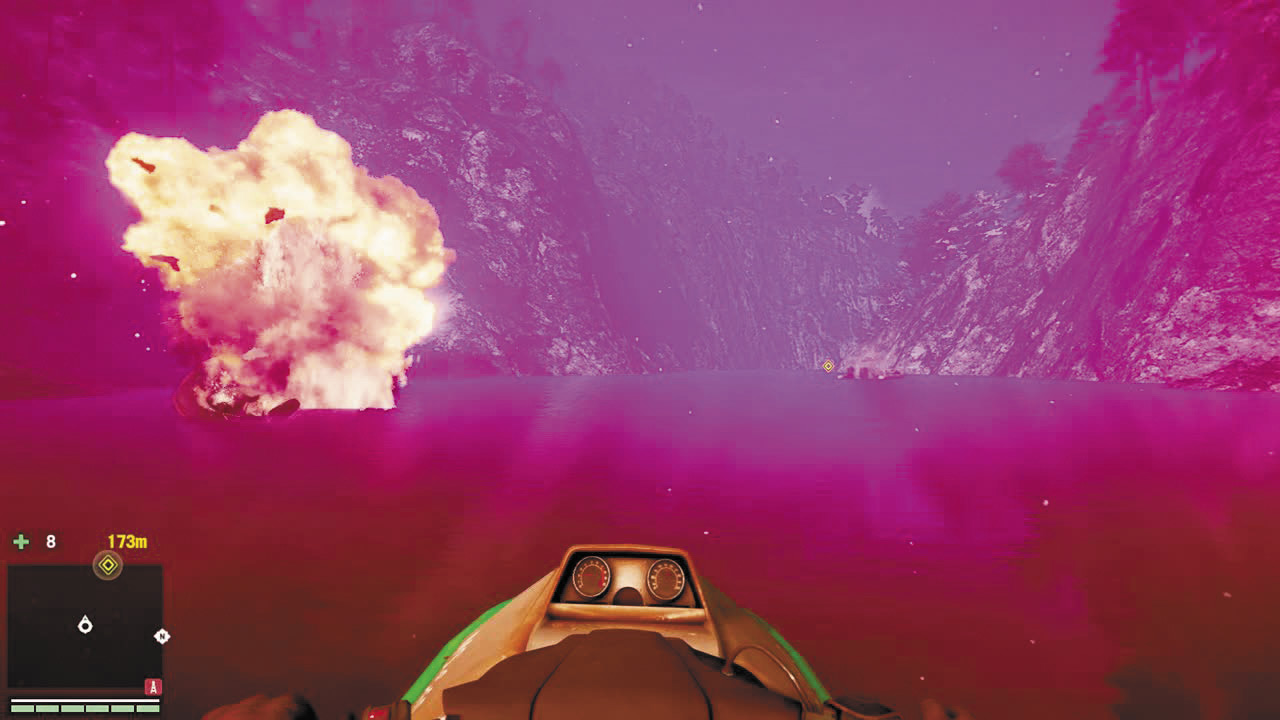
After another sprinkle of vehicle-sized hail, you’ll encounter a boat near a giant, but mostly submerged, Kyra statue. This boat will shoot at you. You have three options: head to shore and skirt around a huge portion of the mission on foot, race past it, or try to take it out.
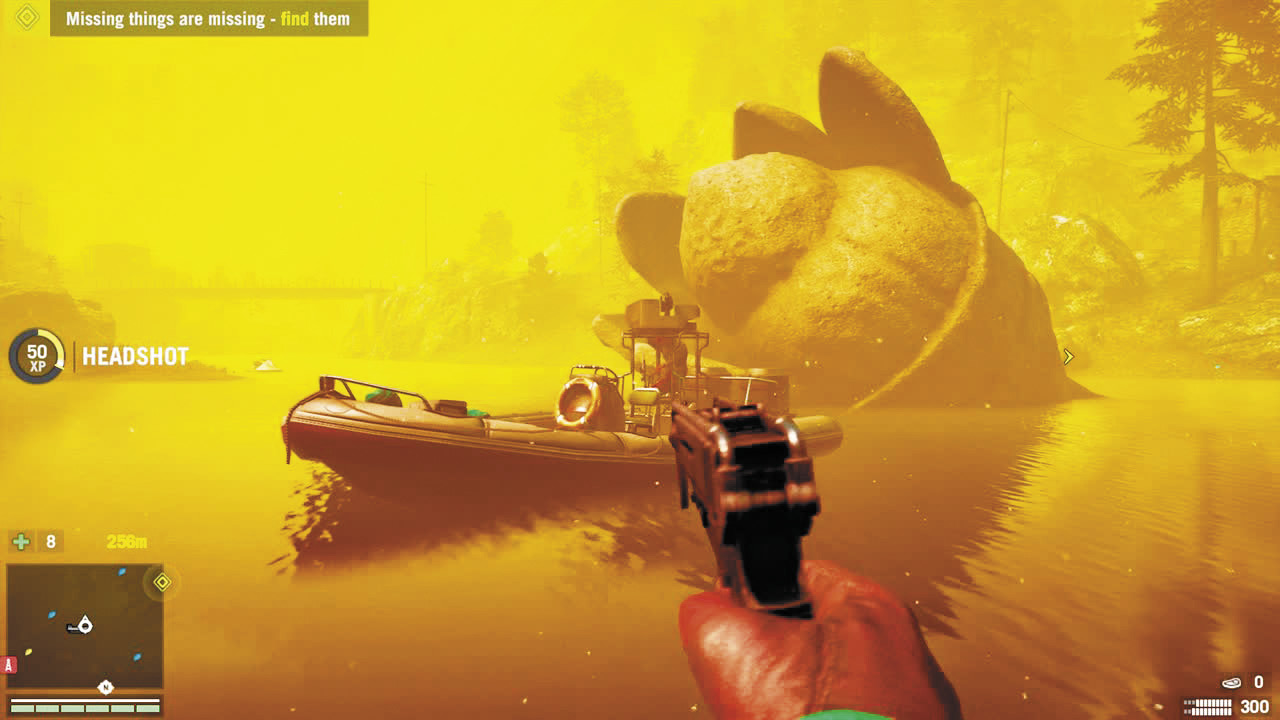
After the boat is disposed of, you’re free to head to the last checkpoint, which is a dock just past yet another towering Kyra statue. Reggie and Yogi will, naturally, disappear when you get close. But luckily, the bag inside does not.
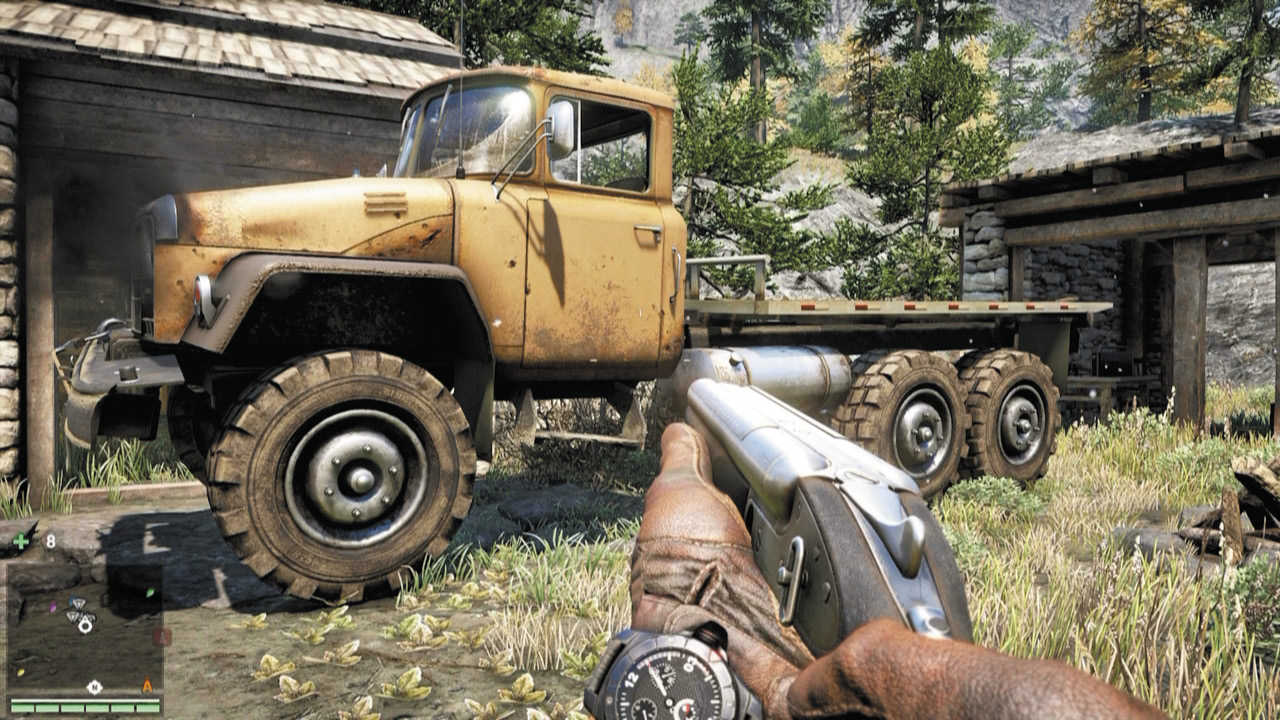
Plus, a sweet new set of wheels just fell from the sky.
Fly or Die Trying
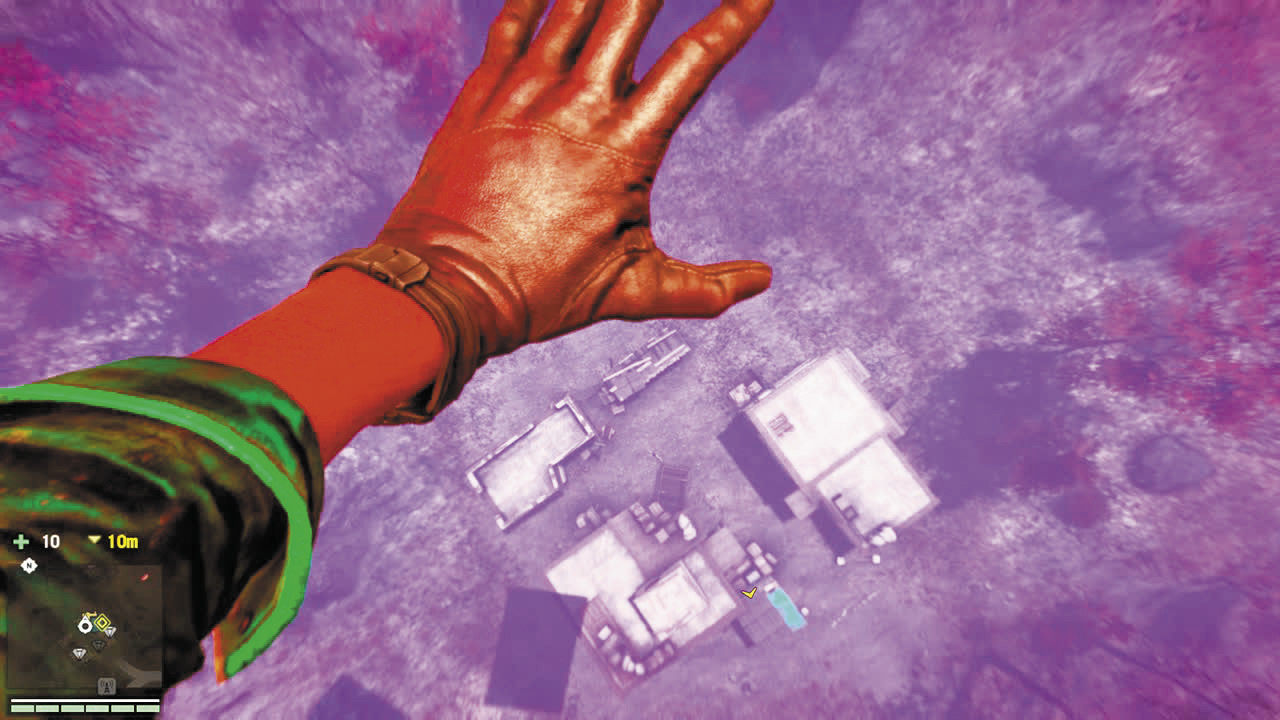
In typical Reggie and Yogi fashion, this quest begins with you in mortal peril. Luckily, this is another neon-disco-fever dream, so the lake below is just enough to keep you from having to change your job title to “red smear on the landscape”.
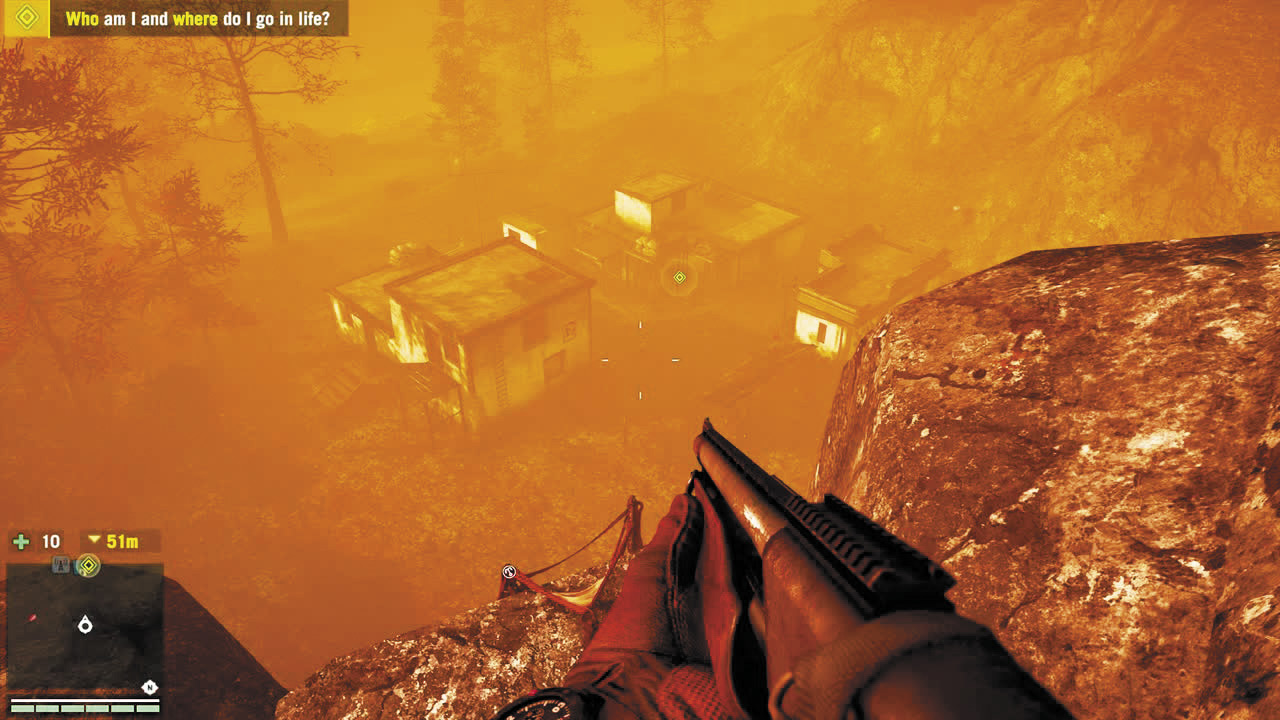
Back on dry land, the quest marker will lead to a cluster of abandoned buildings. Grab the gun from the corpse in the yard and climb the overhang to find imaginary Reggie and Yogi inside a small, second-story room. Naturally (or unnaturally, if we’re being precise), they poof away the moment you arrive. Plus, you get teleported to a tiny shack on the cliffs above.
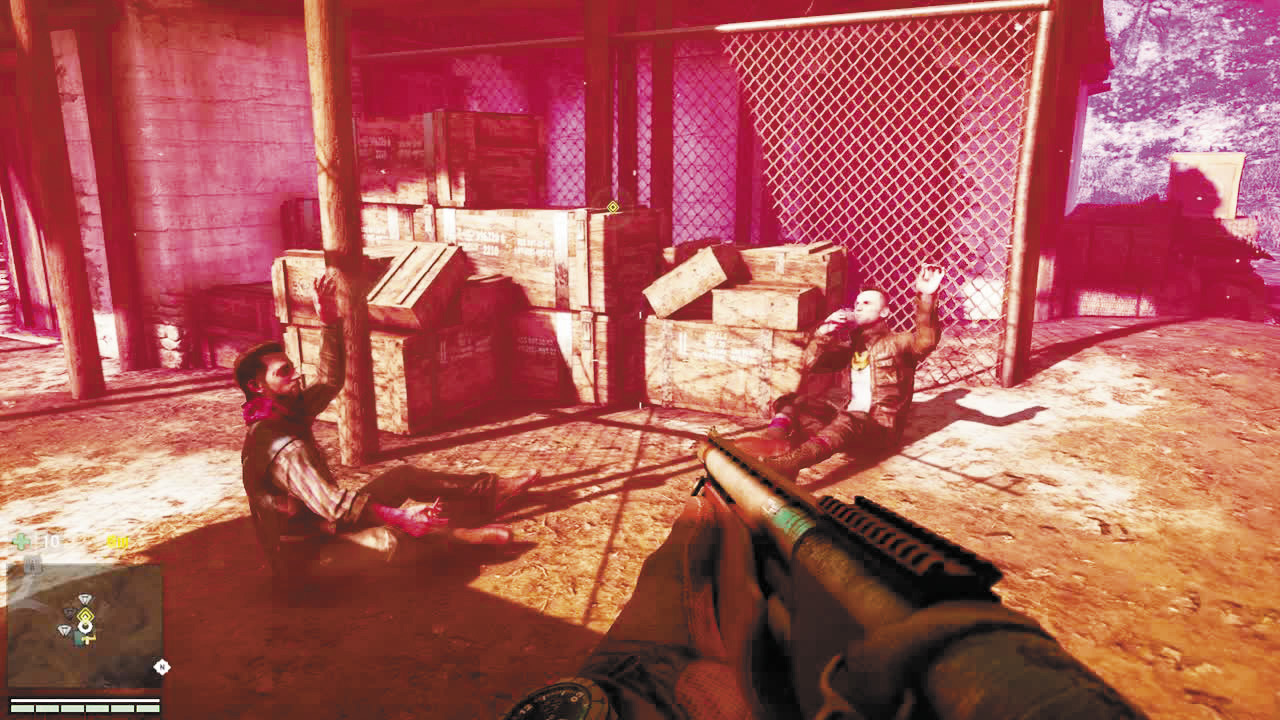
Slide and grapple back down to Earth and the new checkpoint, which is actually the same compound you just teleported away from, where Reggie and Yogi puff away while Min’s Royal Guard looks on.
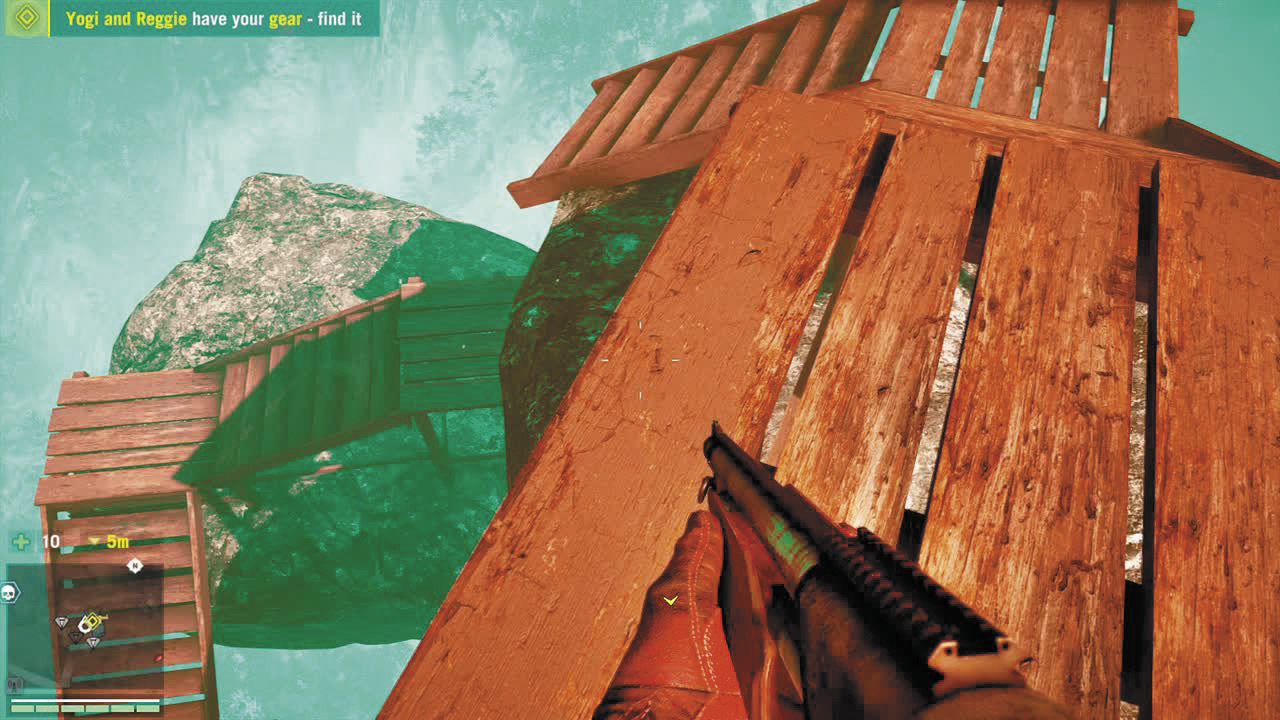
Take out the soldiers and approach Reggie and Yogi to trigger another double-teleport. This one leaves you in a cage, with a snow leopard on the other side. Kick your way out and head into the main house, where you’ll be teleported to a new stairway that would make M.C. Escher grin.
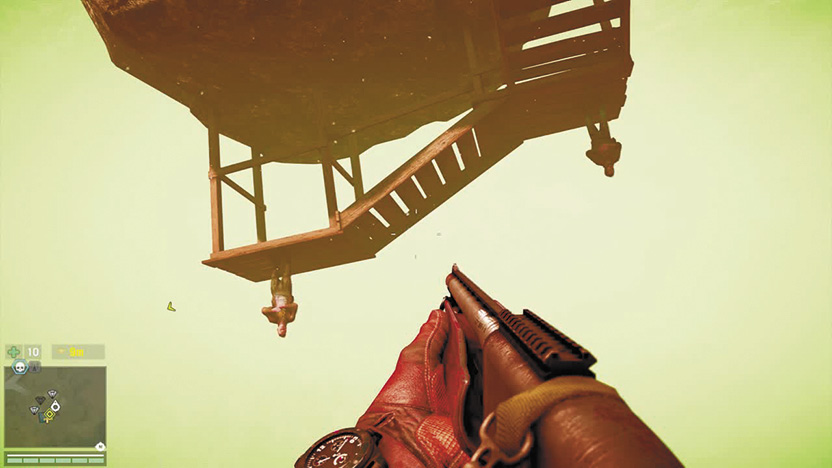
Follow the stairs down as far as you can. Don’t worry when you fall off. You’ll land softly back on terra firma, where your new checkpoint should come into view. It should also look familiar, considering it’s the same collection of buildings you’ve explored this whole quest. Only even weirder.
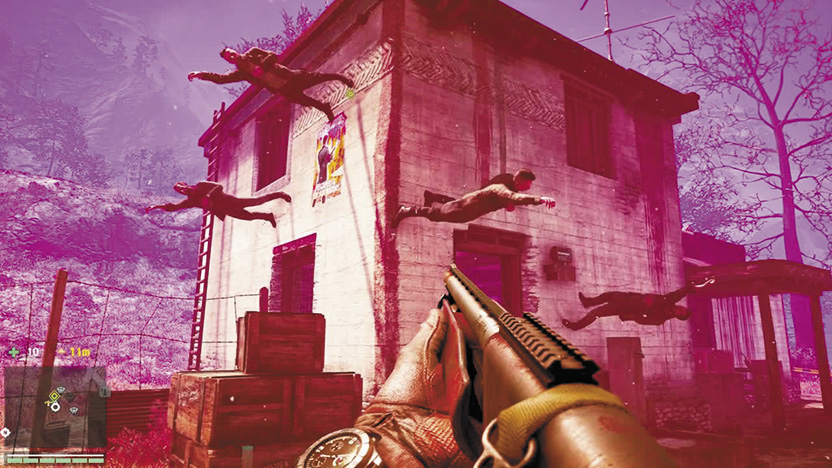
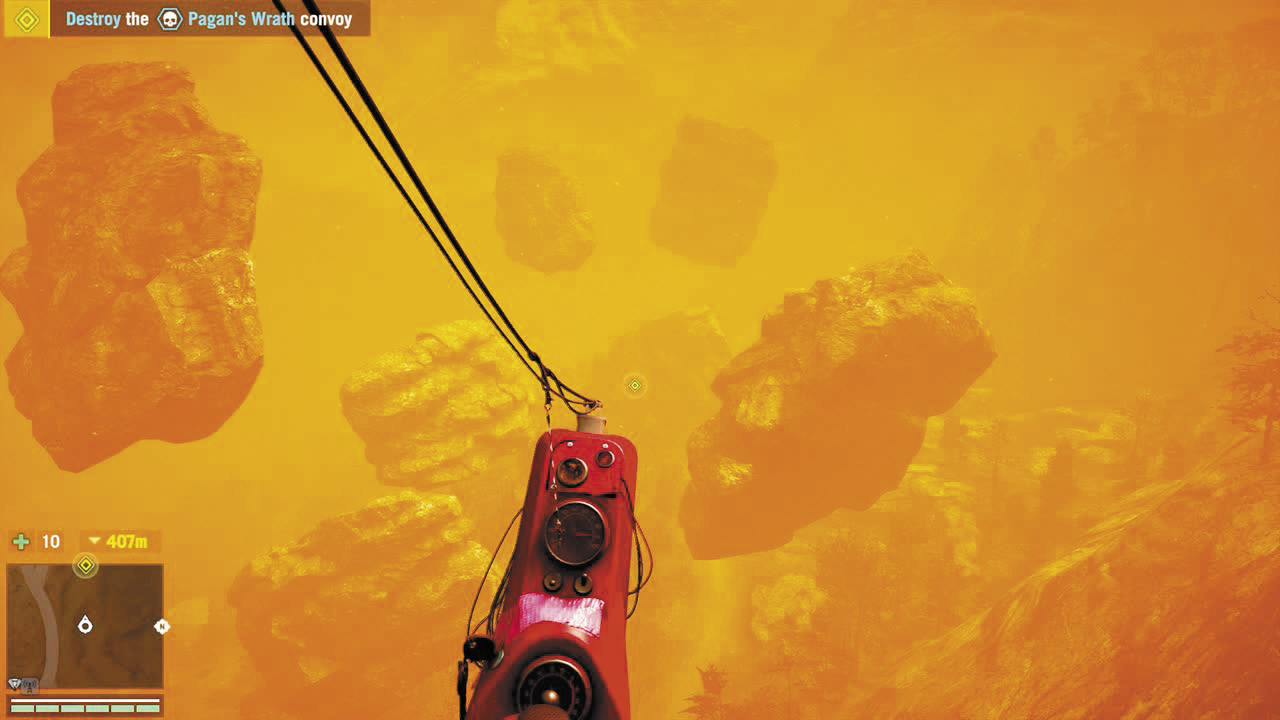
Take the steps and ledges behind the house to the roof, where you’ll find a buzzer. Climb aboard, captain. Get ready for a crazy sightseeing flight through floating rocks and more dancing toke-smokers than you’d find in any ten other games.
At the landing marker, step through the door and you’ll be greeted by the real Reggie and Yogi, who are so pleased you’ve lived through all of their experiments that they reward you with a gift.
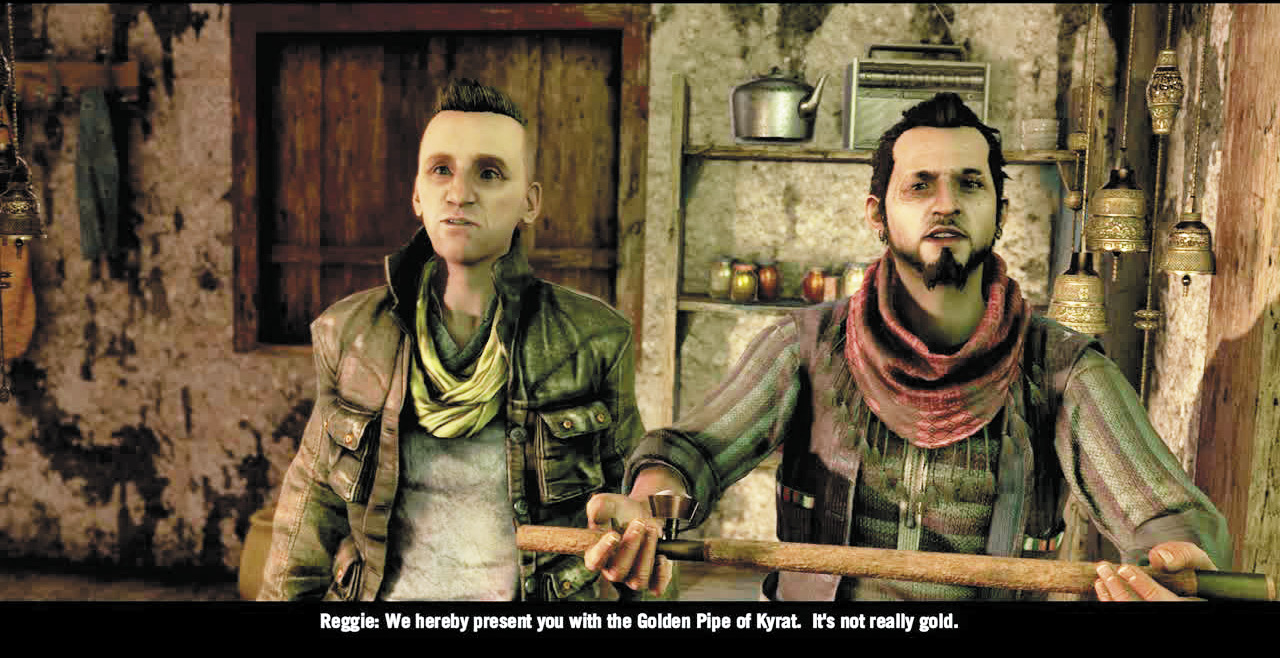
Hey, what a shock! Drug paraphernalia.