
Far Cry 4 Guide Campaign Missions
Sabals Mission: Rebel Yell
You need to rescue the fighters at Bravo Camp. Grab your shotty and sniper rifle (if you have one) and machine pistol and get going.
The camp is a good distance away, so you might as well take the buzzer for a spin. It can get you there in a beeline. It can’t handle thin air though, so if you hear a beeping alarm go off, just descend a bit.
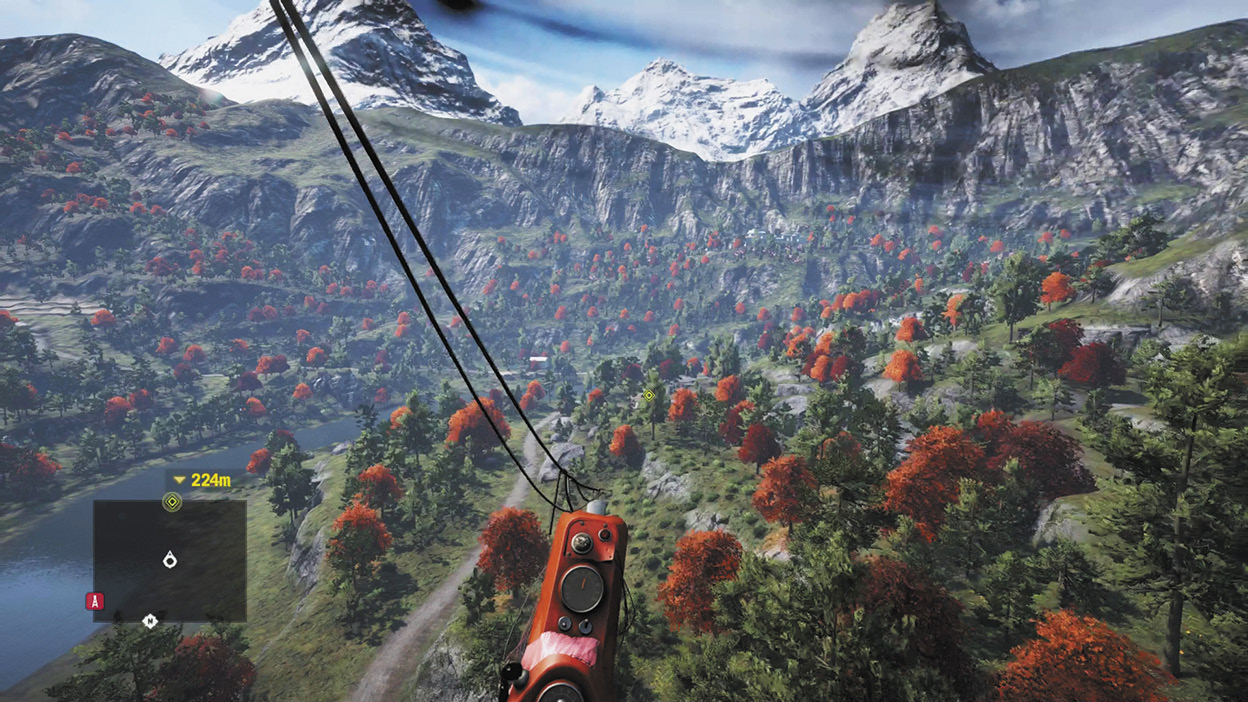
What dangers lurk down there? Doesn’t matter. You’re up here.
When you get to the location—a little shack with a raised area behind it—you’ll have about 45 seconds to lay mines, grab the health packs and ammo strewn around the house (ammo crates inside and against the south outside wall, mines and grenades on a table on the east side porch, health packs in the exterior corners, etc.), and get behind the turret gun in preparation for the onslaught. Place your mines on the raised cliff or behind the house—areas where the turret gun can’t reach. Also, put them a fair distance away to minimize the chances of your allies treading on them.
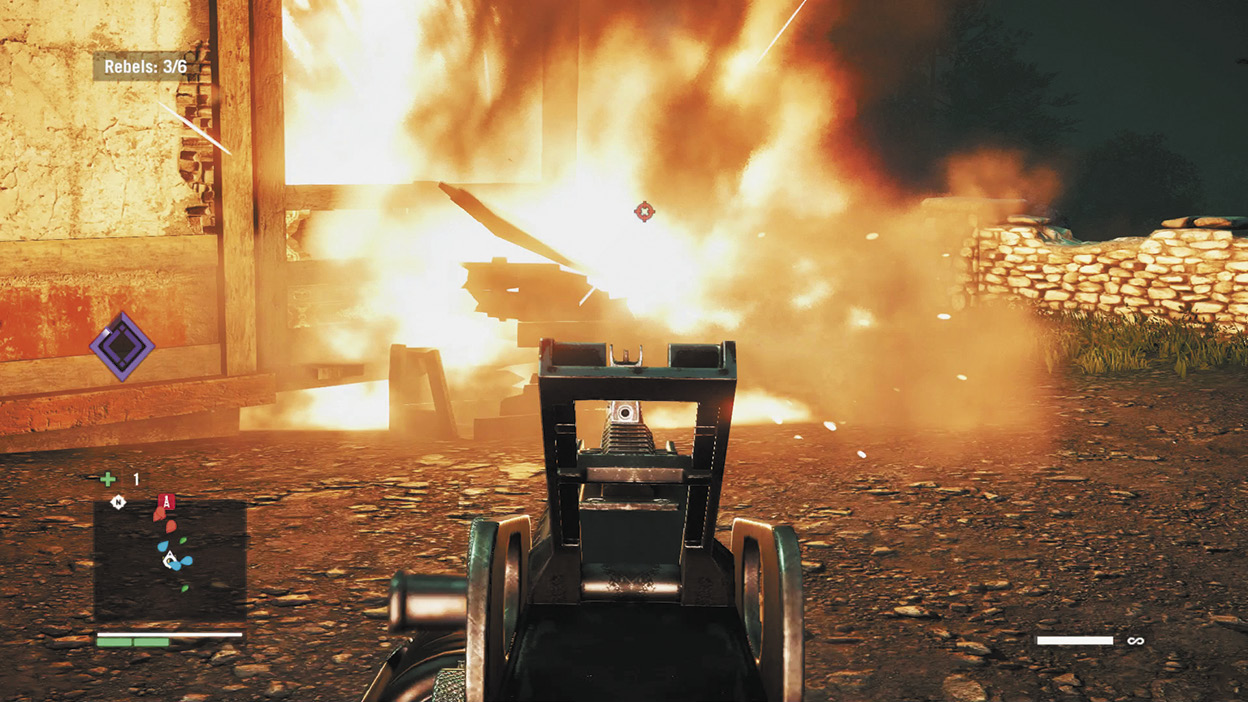
Note to self: Do not shoot the ammo crates.
The first enemies will come up the main path from the south, making it easy to mow them down. (If you don’t want to man the gun, a Golden Path buddy will do it.) But more will soon swarm down from the high ground to the west and south, and then from all around. Your best bet is to use the turret gun as much as you can, and if it has no targets in range, check your mini-map and always target the closest hunter.
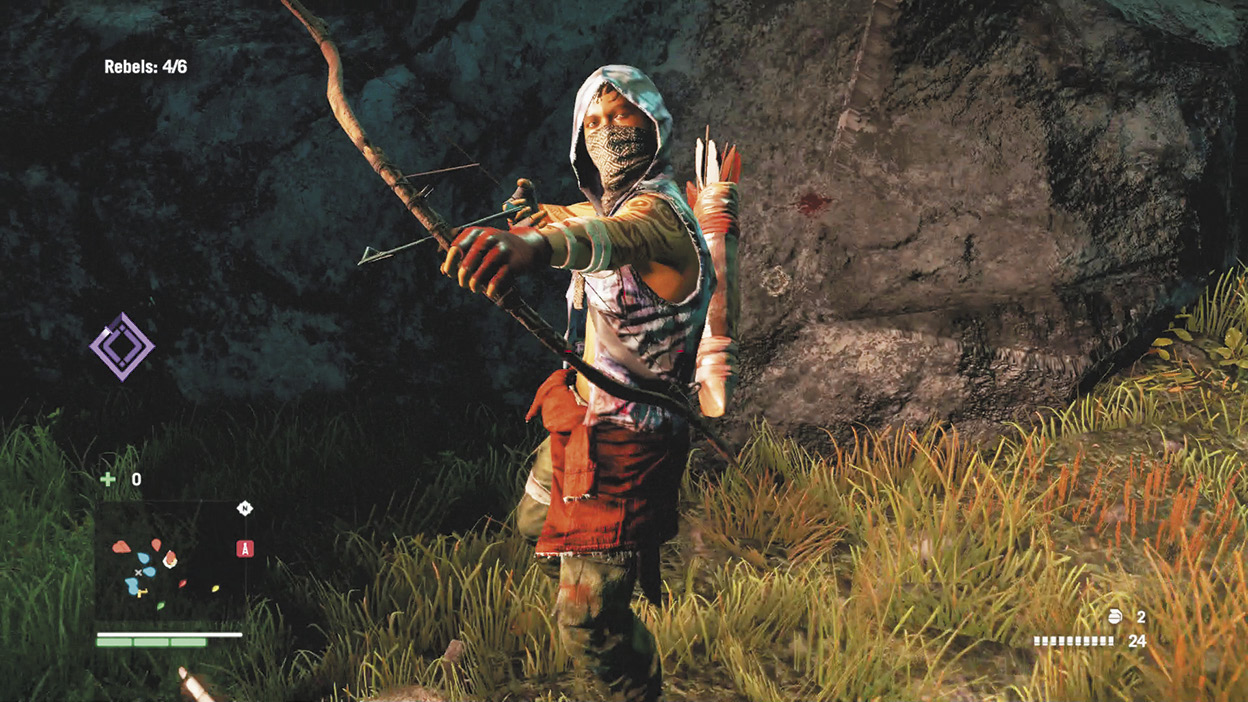
Hunters are wickedly efficient from long range. Get in close to even the odds.
Stay away from your AI partners here to minimize your chances of killing them by accident, but hug the hut and the stone walls for cover, because the hunters can arrow-snipe you to pieces in a heartbeat if you get caught in their crossfire. Close-range damage and mobility will beat hiding and sniping here.
Once the battle is over, Sabal will send you to secure Alpha Camp. You’ll encounter resistance along the way: more hunters, possibly with charmed wolves or eagles on their side. It’s a tight path, so use the trees for cover and heal relentlessly. Or, if you’ve dumped skill points into health, grab your shotgun and charge. This is a much more long-range part of the mission than before.
Alpha Camp itself has been overrun by enemies, and they should have multiple snipers watching the main path. Keep the hill between yourself and them by turning left when you see the dead body tied to a stake.
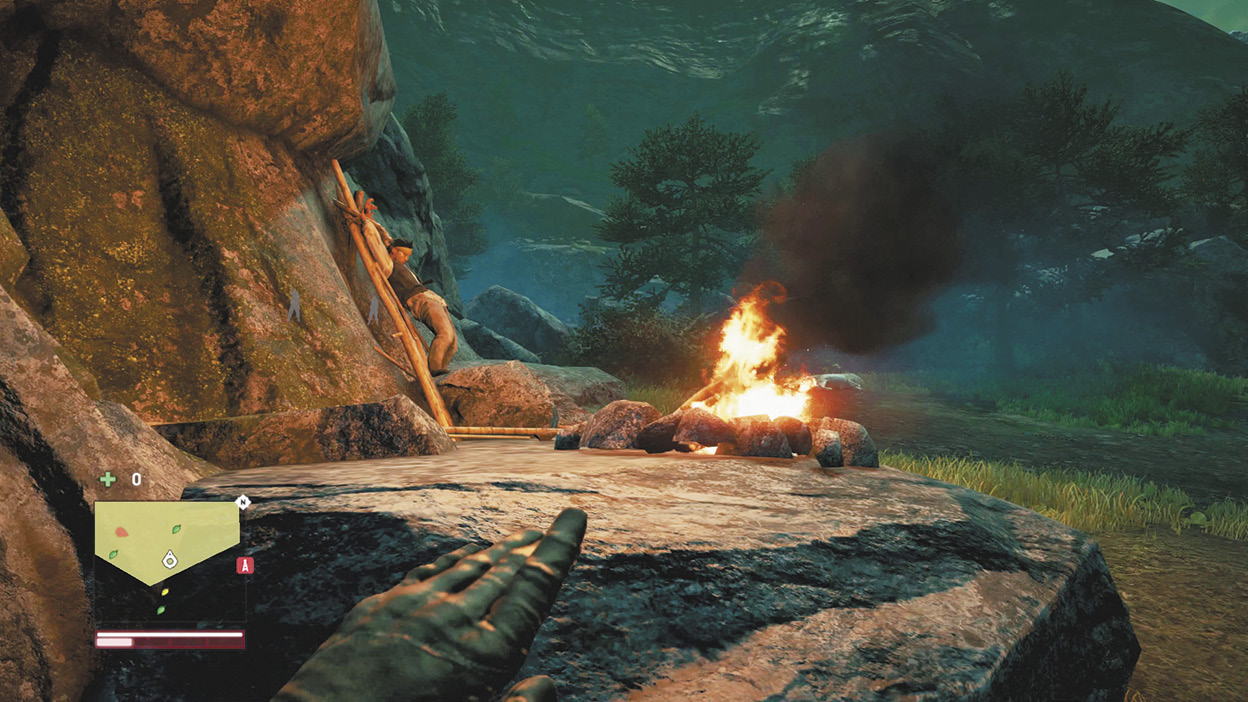
This will also lead to a small outcropping that gives you a slightly obscured view down onto the camp, so you have the high ground from which to snipe and throw grenades. Above all, keep an eye on your mini-map. Hunters are great at skirting around behind you. Also, hard chargers should know there’s a bear in an open cage inside the camp, so be ready to fight him off as well.
Once you’ve cleared the area, Sabal will call and tell you the mission was a success even though you didn’t find Amita’s intel.