
Far Cry 4 Guide Campaign Missions
Sabal: Burn it Down

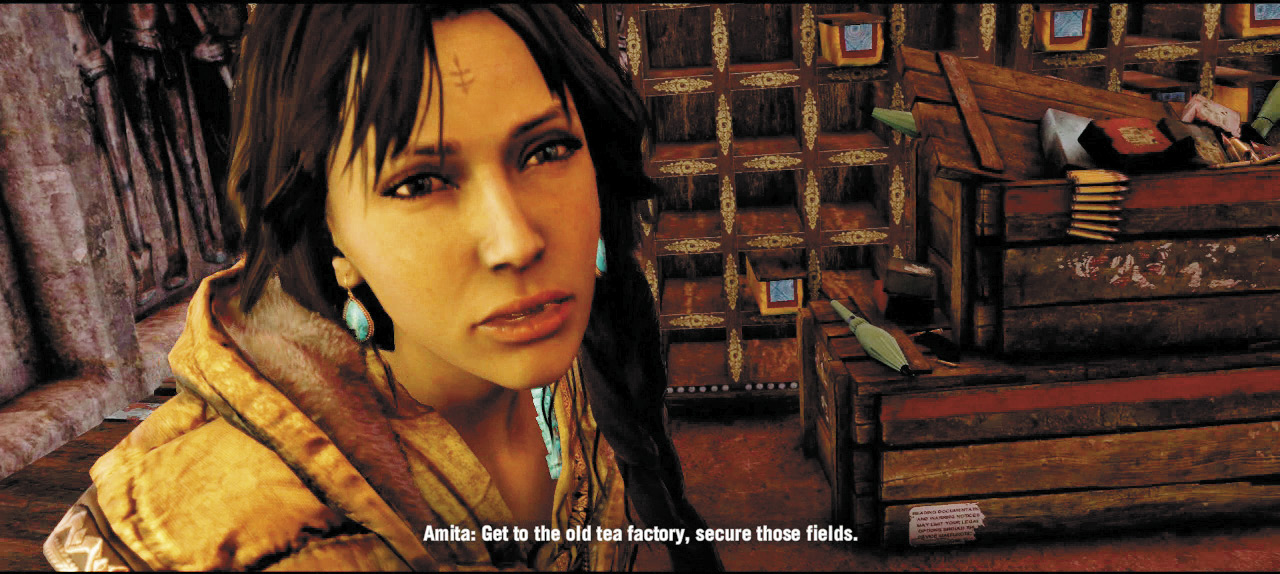
If you want to start a fire, you’ve got to bring a match (and just to be safe, bandages). Unfortunately, all the armory has is a flamethrower, a flare gun, and a recurve bow capable of conveying fire arrows over longer ranges. You can obtain all three, along with four health packs, by checking the various crates and tables on your way out. True, you don’t actually need all three, but you might not encounter these weapons again for a while and they can totally stand in for your shotgun, sidearm, and mid-range gun (AR or SMG) respectively, so why not get greedy? Do hang on to your (hopefully silenced) sniper rifle, though. You’ll want it.
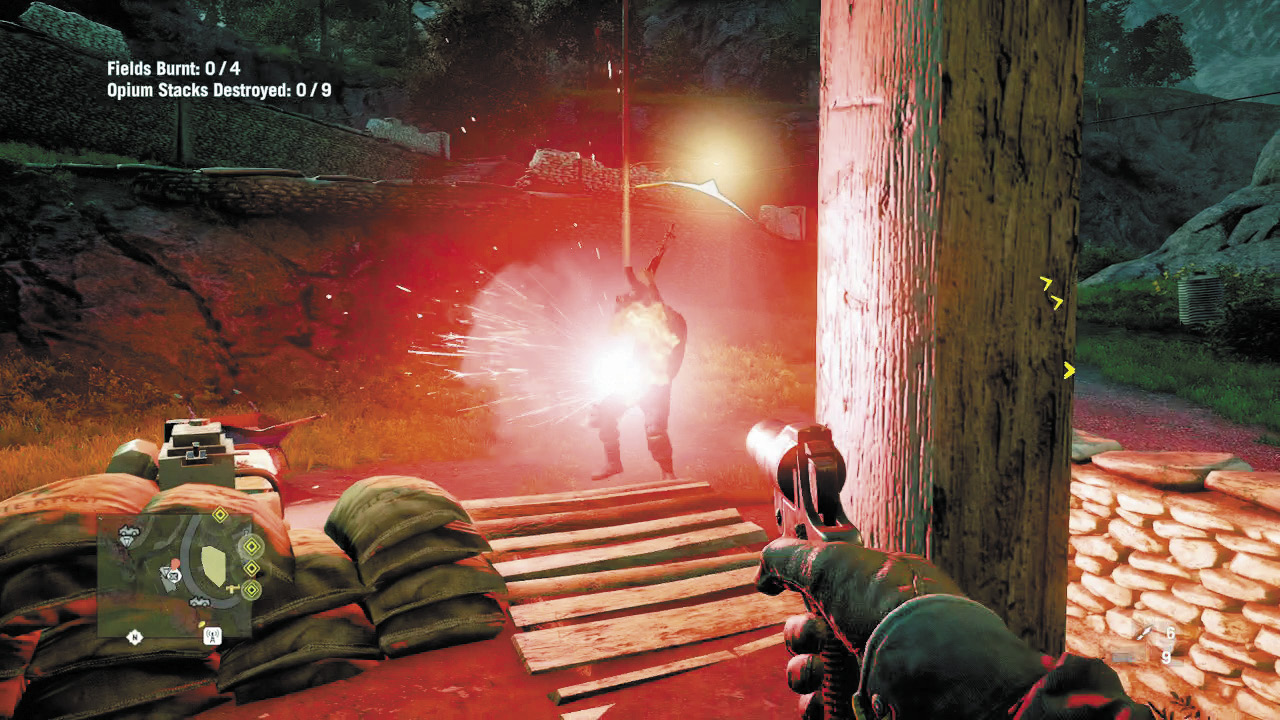
Think of the flare gun as a .44 Magnum with added fireworks.
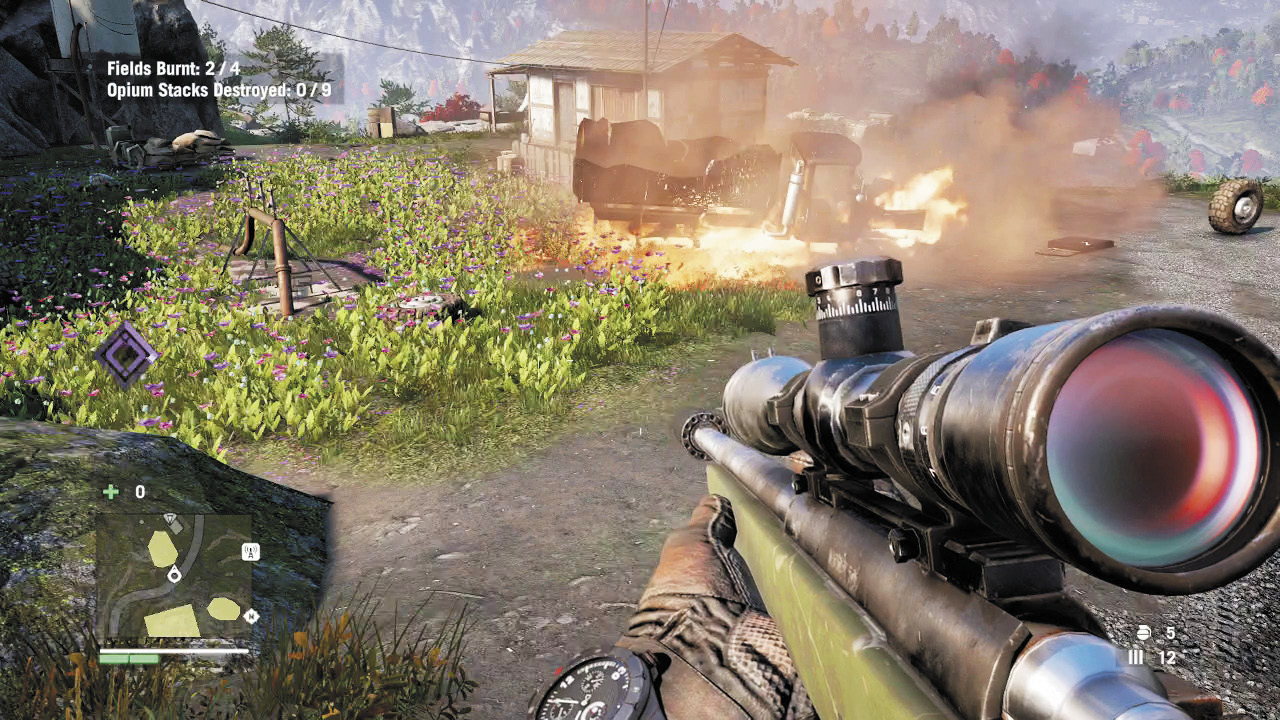
The factory lies nestled among several tiered fields of opium poppies. Your task is to destroy (or just shut down) the generators that power the sprinklers, then burn all four fields as well as nine pallets of opium stored inside the main building. And, of course, Min and his boys would rather you didn’t. Hence the shooting.
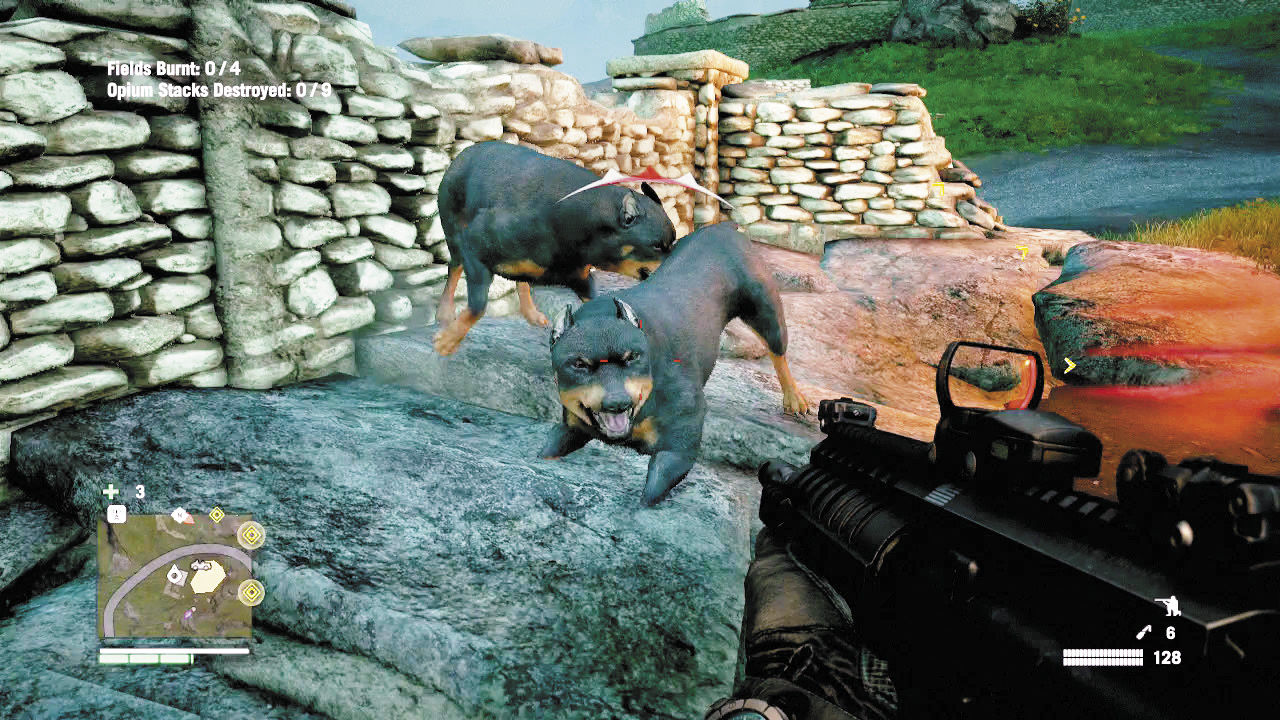
You can actually approach the farm from any direction and have success. The main road from the south is tricky, but do-able, and a stone stairway near the shack leads to the east field. The terraced hill to the west actually provides decent cover thanks to its retaining walls, and the cliffs to the north and east offer a great chance to scout the area, snipe the top-level guards, and grapple right into the fields. But our favorite insertion point is the shack in the northeast corner, where you can take out the guard (and the guard dogs nearby) and then sneak all the way to the main building without anyone saying boo.
The house itself is two-story, with a nice view for snipers all the way around and a mounted gun nest up near the house. Most importantly, there’s a mortar on a balcony on the east side roof. It can hit most of the surrounding fields. You’ll want to take down the two guards on this level quickly, both to keep them from using it on you and to gain its use for yourself. So either snipe them from afar or slip in via the back stairs (note the ammo crate, if you need it) and do the deed up close. Once you’re in, be aware that the bottom floor has more guards than lightbulbs, so you’ll have to be swift with either takedowns or flamethrower bursts.
One last suggestion for those contemplating a stealth approach here: Don’t bother. We’re not going to say playing this one from the shadows is impossible, but as soon as you start torching the fields and igniting the bales, new enemies will swarm in no matter how sneaky you’ve been. Besides, there’s wicked fun to be had with the fiery arsenal here.
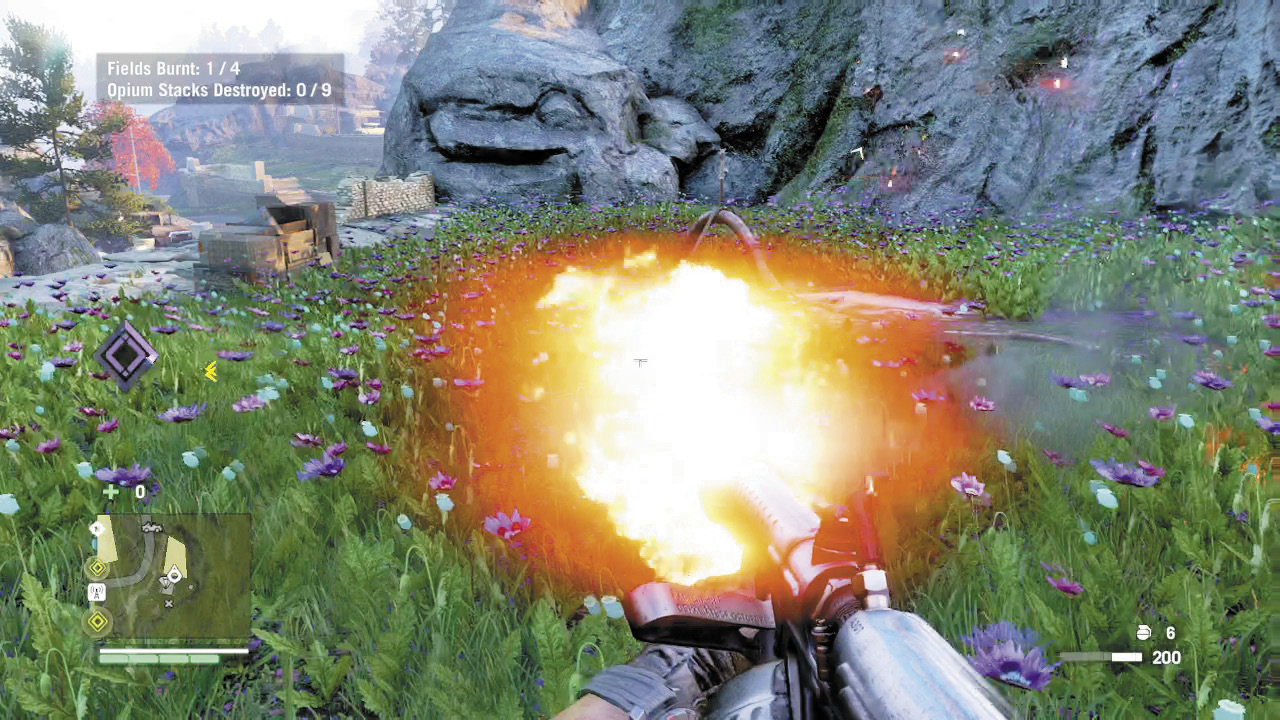
A single puff will burn a field to a cinder. What you do with the rest of your flamethrower fuel is up to you . . . .
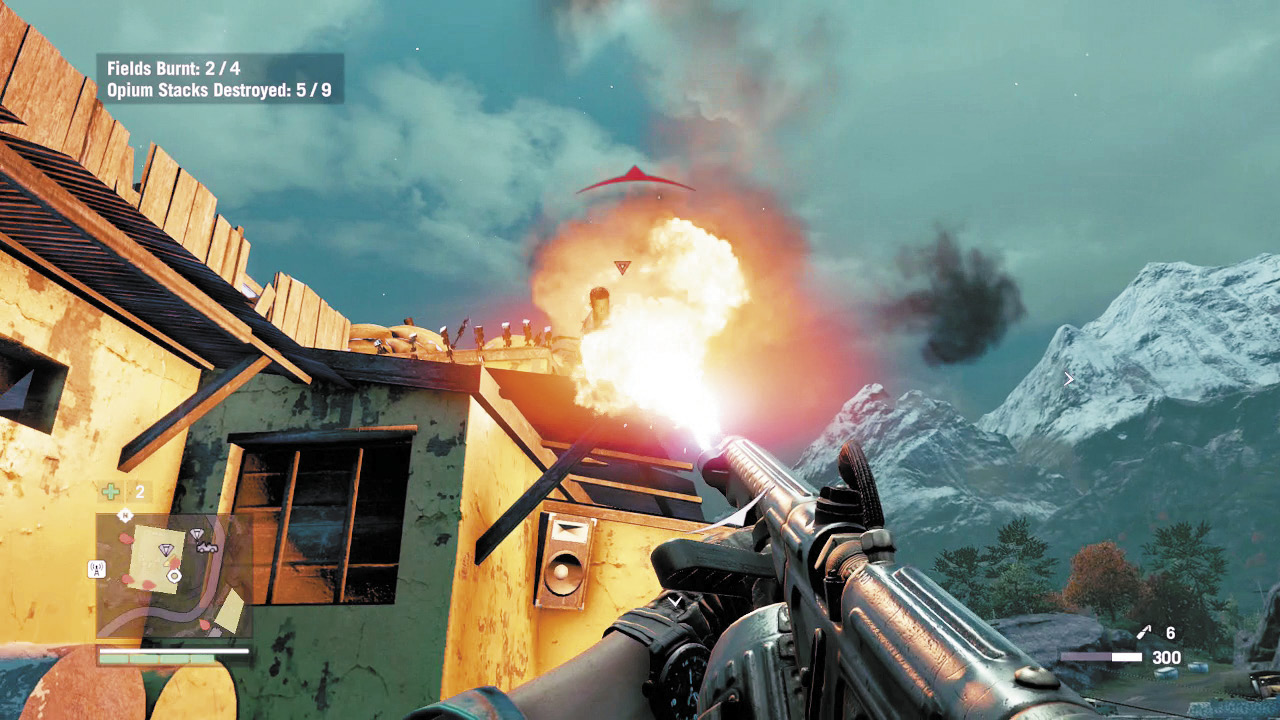
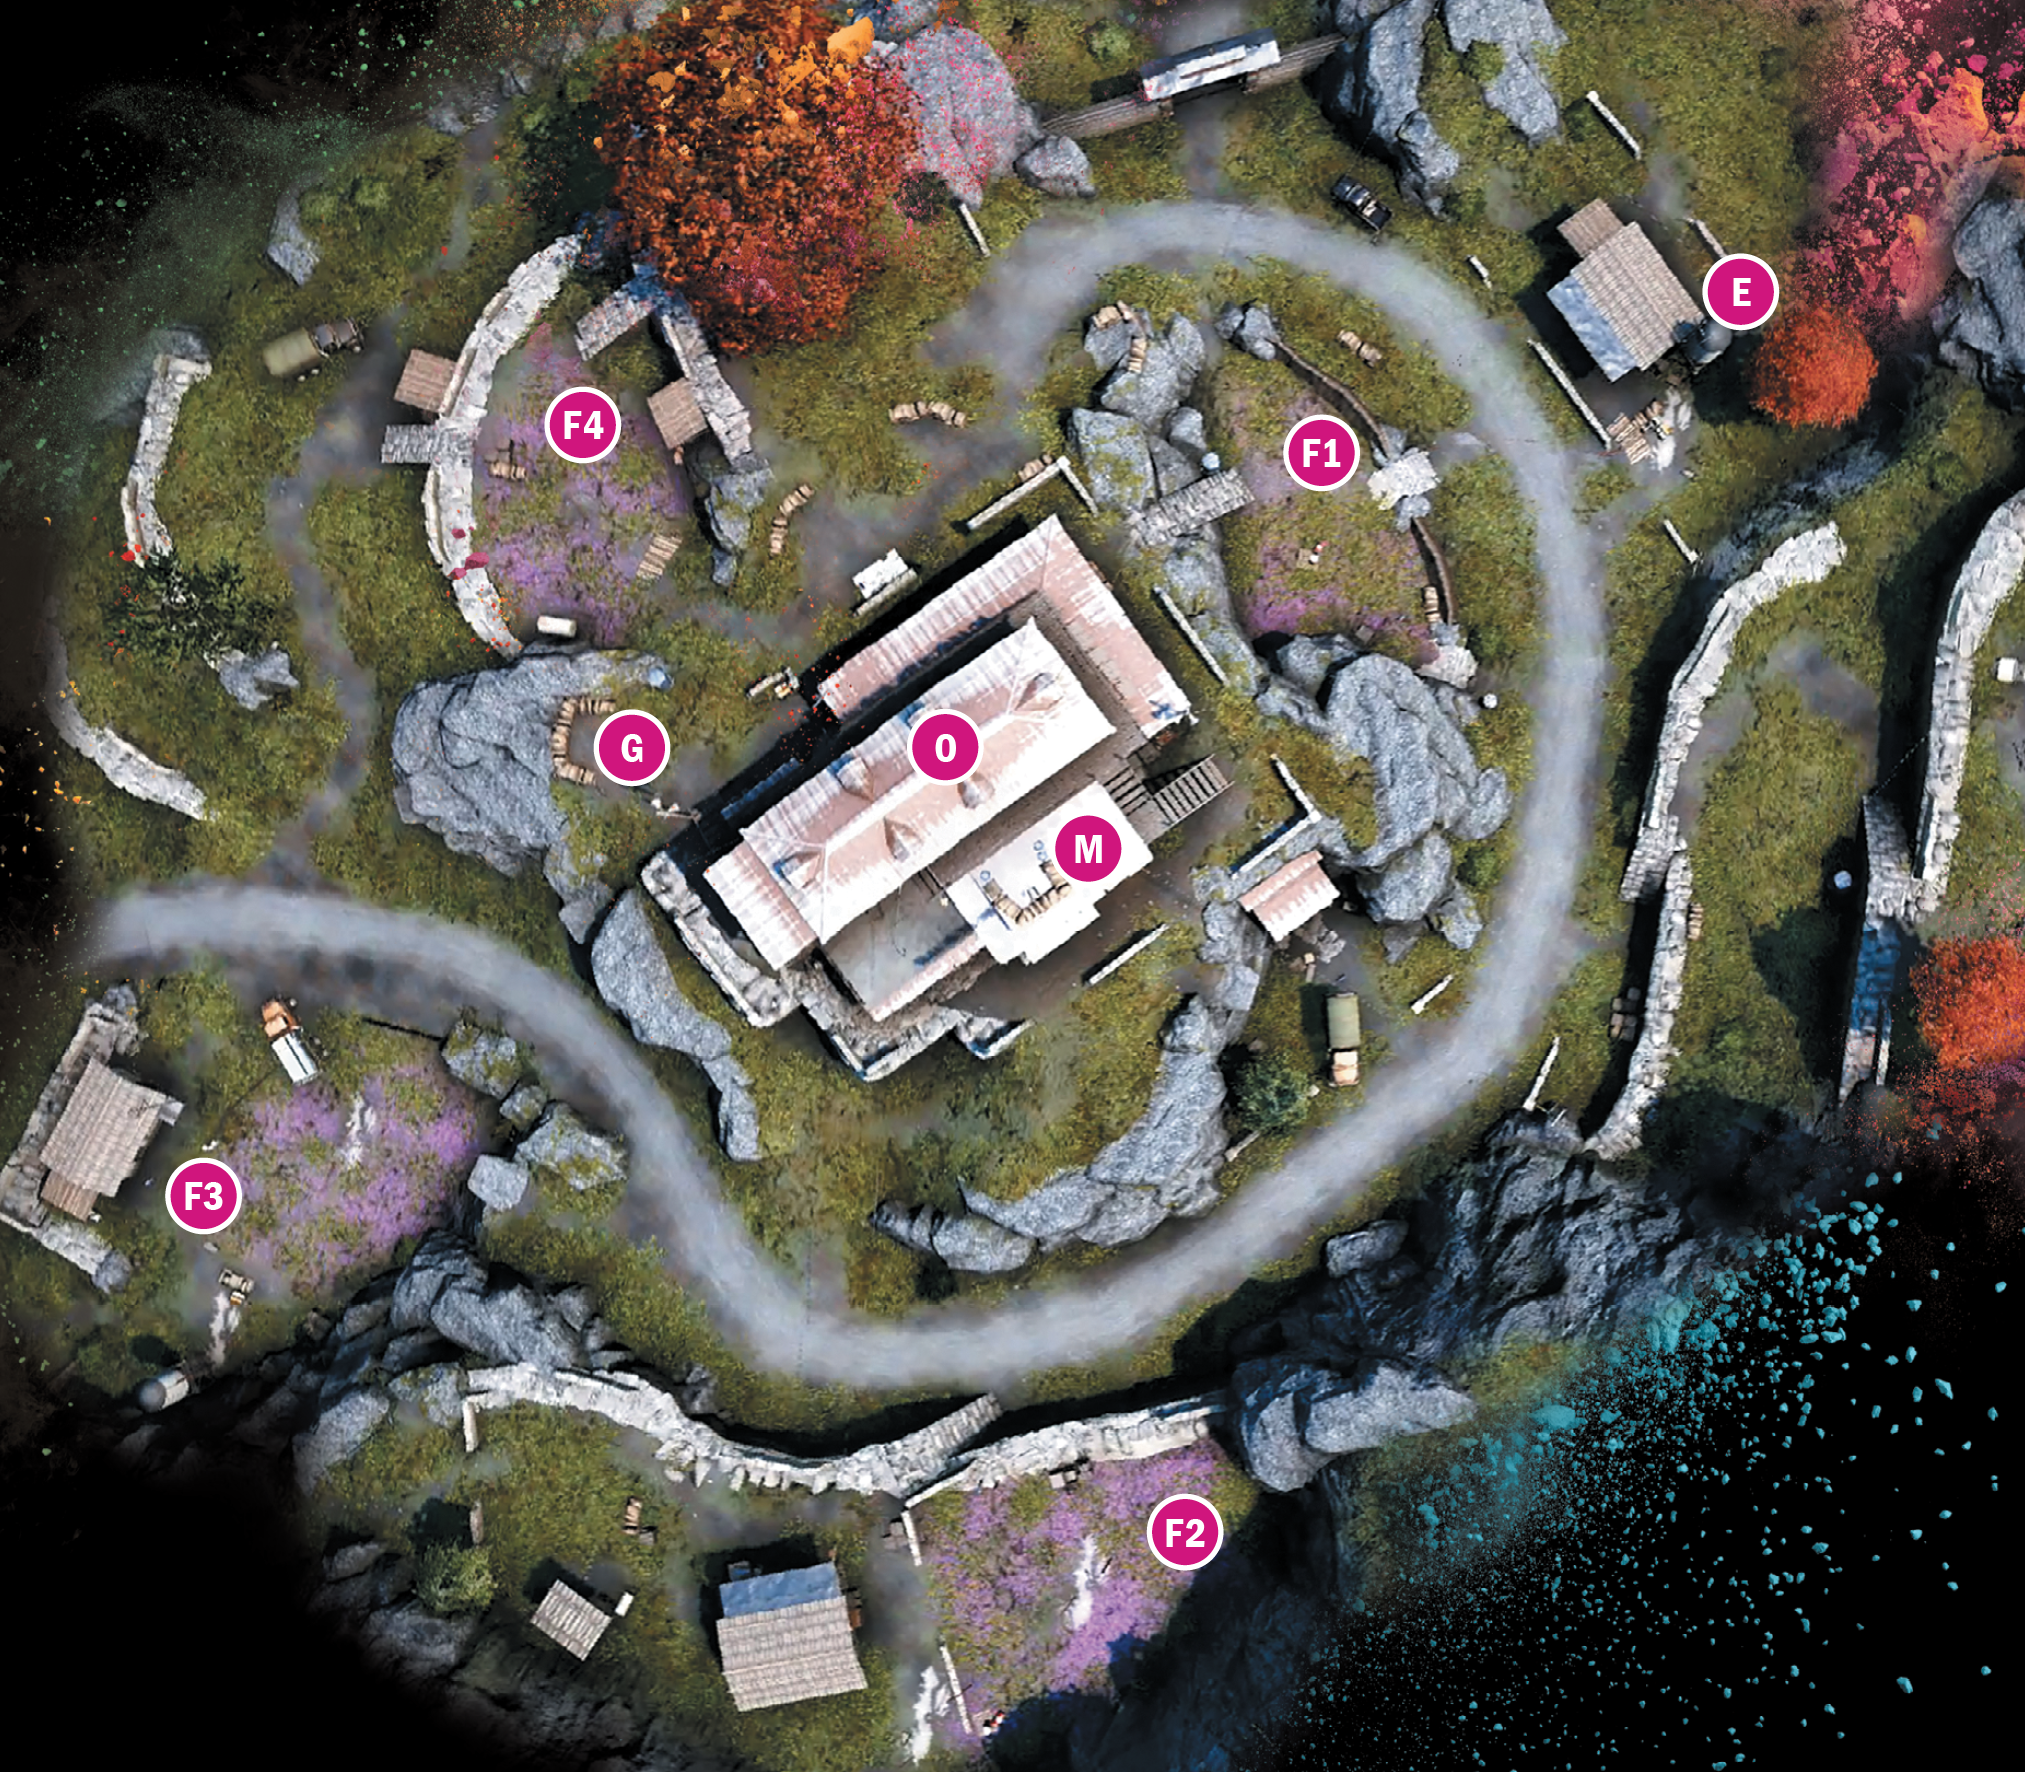
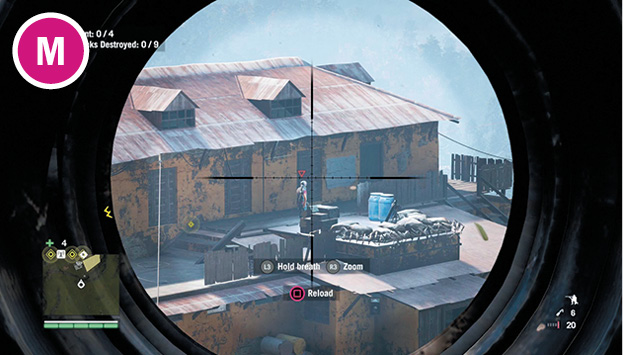
The mortar on the second level is a non-concern if you’re already in the house, but a nightmare if they see you coming.
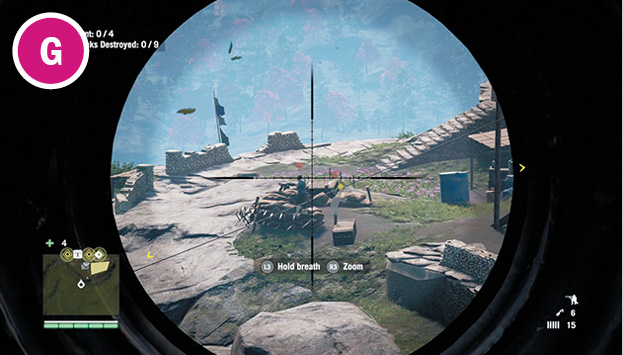
The machine gun can actually rotate the full 360 degrees, which is good or bad . . . depending on which end of it is pointed toward you.
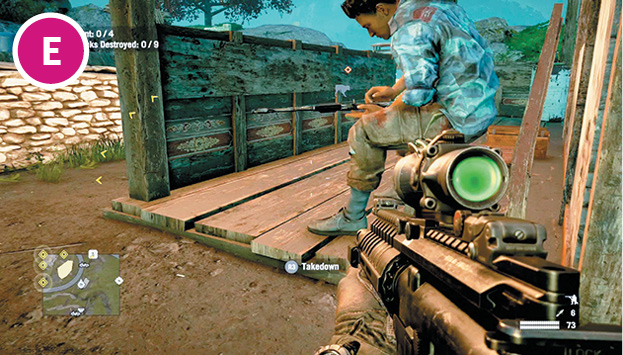
Take down the guard at the northeast shack for a nearly undetectable infil.
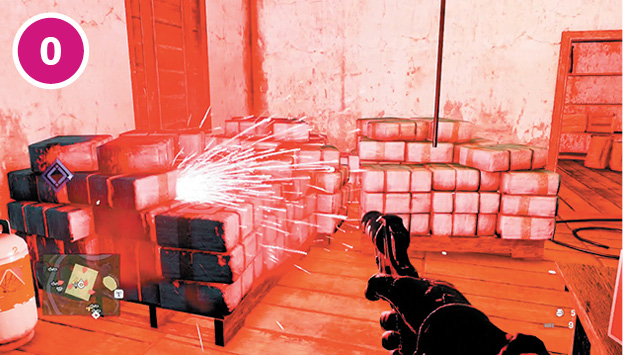
Most of the opium bales are inside the house. Note the explosive tanks always nearby.
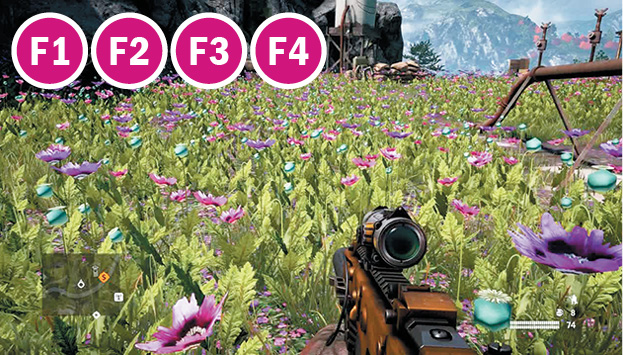
Opium poppies are purple. Whether you save them or scorch them depends upon whose mission you’ve selected.