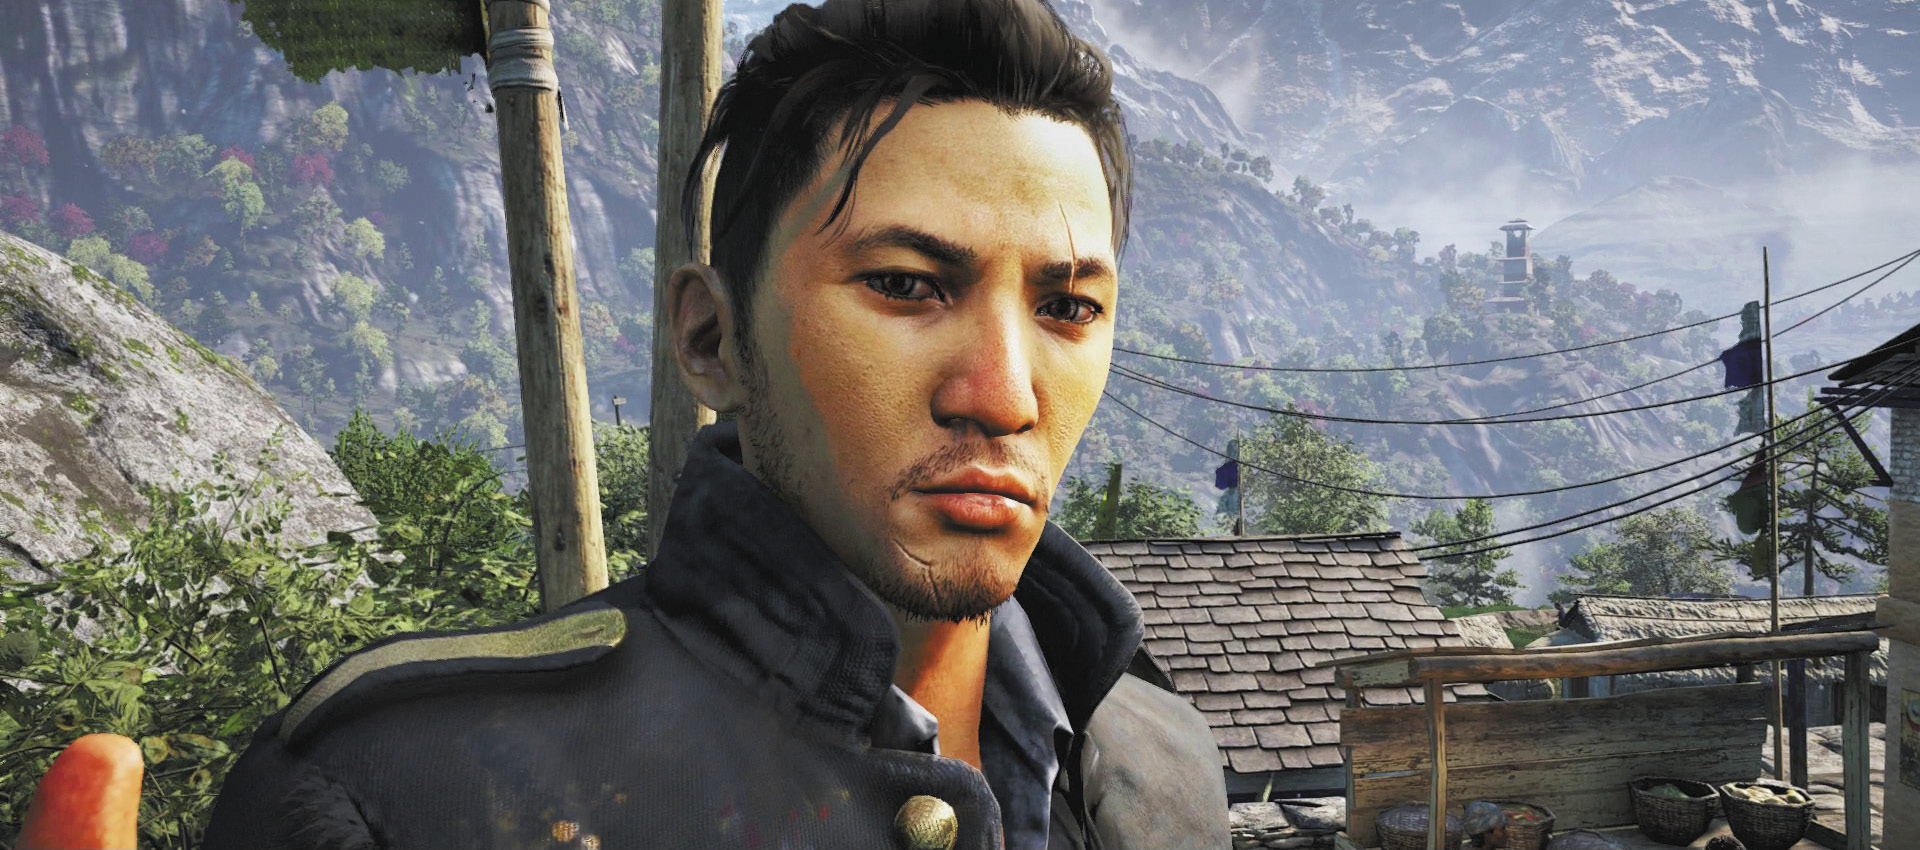
Far Cry 4 Guide Campaign Missions
Reach the Tower
After the cut scene, Sabal radios and tells you to meet him at a tower off in the distance. But Min’s troops block your path. Duck into a bush (your primary means of cover in the wilderness) and wait for them to disperse. You’ll end up with one on each side of the riverbank and one near the wreck, making him an easy target for the ol’ “throw a rock to distract him and sneak up from behind for an up-close stealth takedown” maneuver. Remember to crouch as you approach so you make less noise.
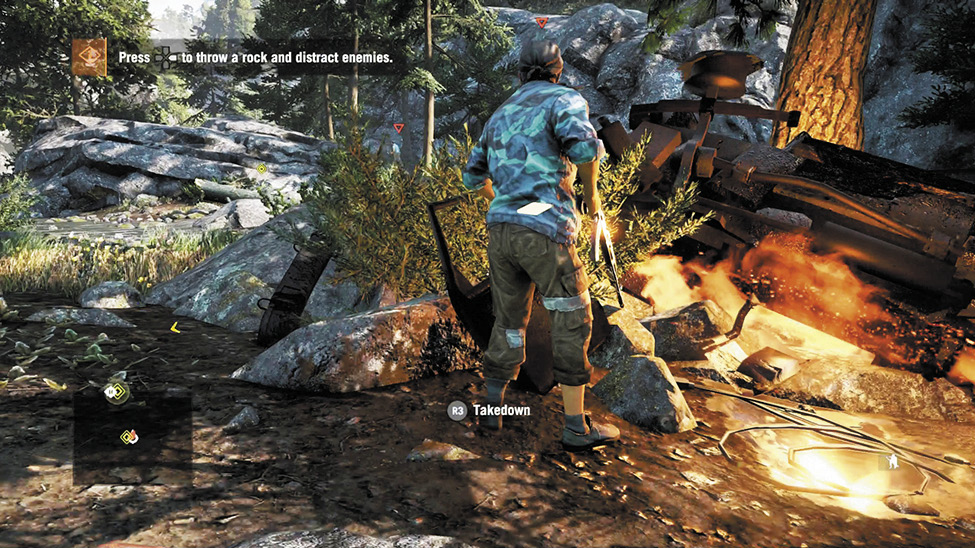
Takedowns can be risky, but they earn you more Experience Points than gun kills—even headshots.
Grab the guard’s gun, as well as the health pack sitting by your now-flaming getaway wheels.
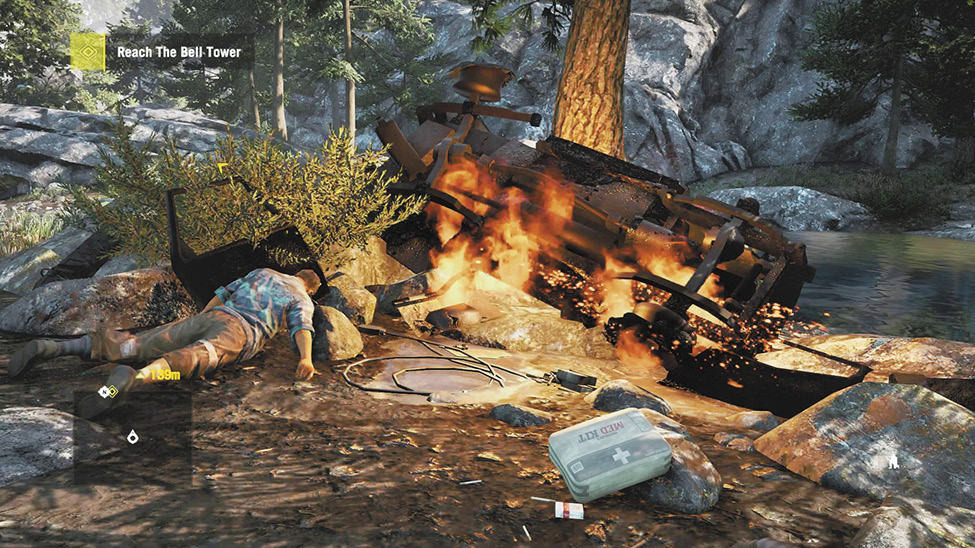
You don’t have to hide bodies yet, but remember to loot them for ammo, money, and random items.
Two more assaulters are still prowling around. Creep from bush to bush and take them down—with thrown rocks and takedowns if possible, to conserve your ammo—or a straight-up gunfight.
Head upstream to encounter another soldier, this one a lone defender. Scan for him frequently with your camera, and if you hear a “plink” sound and see a white triangle appear onscreen and begin to spread into an arc, it’s a signal the enemy is on the verge of seeing you, so get to cover.
After putting down the defender, you’ll come to a spot where you have to swim past two assaulters who are sure to see you. Swim underwater, which will keep them from noticing you or break their line of sight if they already did. Once you’re past, double back and take them down. Then continue upstream to reach your first skinnable animal carcass: a sambar.
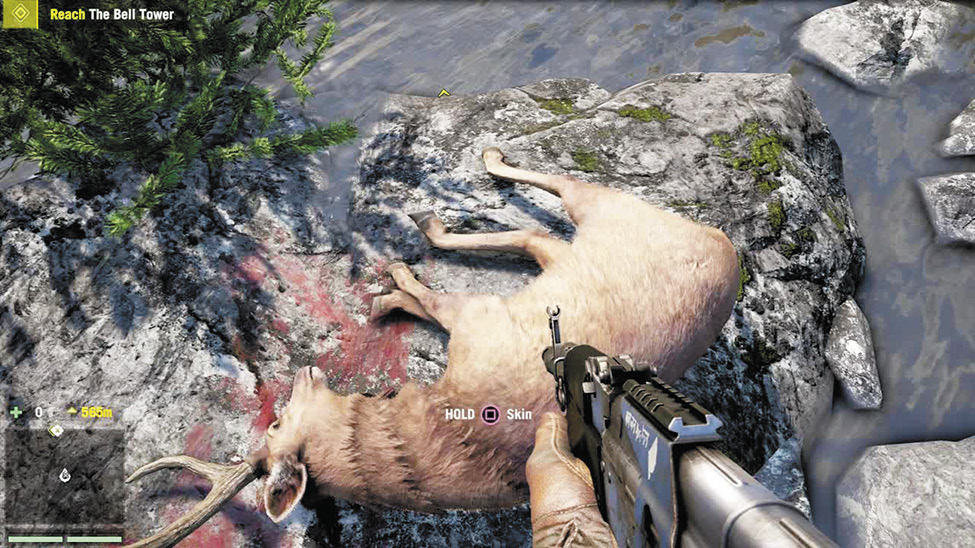
Continue forward, hugging the west shoreline but watching the east, where you should soon see a trio of enemies. Climb the nearby ledge (look for the vines draped over it), to reach the high ground and another animal carcass, a ram-like bharal. This is the part of the game where you see bait in action. Toss a hunk of meat into the midst of the bad guys and watch from afar as a bear appears and demolishes them.
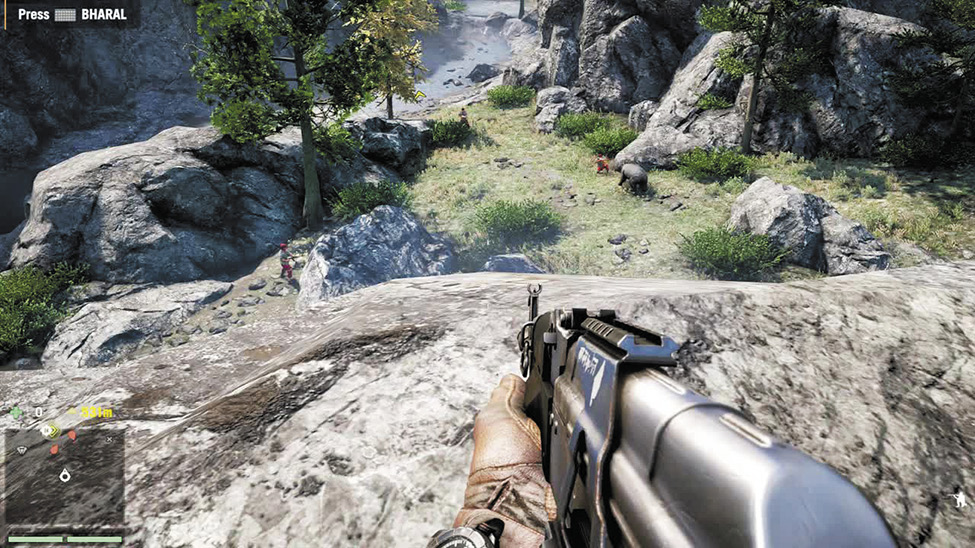
When that battle has ended, jump off the cliff (you can dive into water from any height and take zero damage), pick off any enemies the bear missed, and keep moving upstream, being careful to give the bear a wide berth. Your first big test is just ahead.
Like a Surgeon
Health operates a bit differently in the Far Cry 4 universe. That single white line is your body armor, which will take bullet damage (but not knives or claws) for you. Body armor wears out, but you can buy or find new body armor to replace it. You also have two (and eventually up to six) smaller, green blocks. These are your true health, and when they start ticking down, you’re in trouble. A health block with any green left in it will refill over time, or you can refill them manually—even if you have zero health syringes—by holding down the heal button. Ajay will spend a few seconds pulling off some on-the-go survival surgery and presto! Good as new. For now, at least.

You’ll reach a dead snow animal in a cage. Bash the cage open, loot the goodies, then use your camera to scout the enemy camp. You should ping five enemies: two stationed near a second caged leopard on the left, one hanging out way off to the right, and two wandering all over the place.
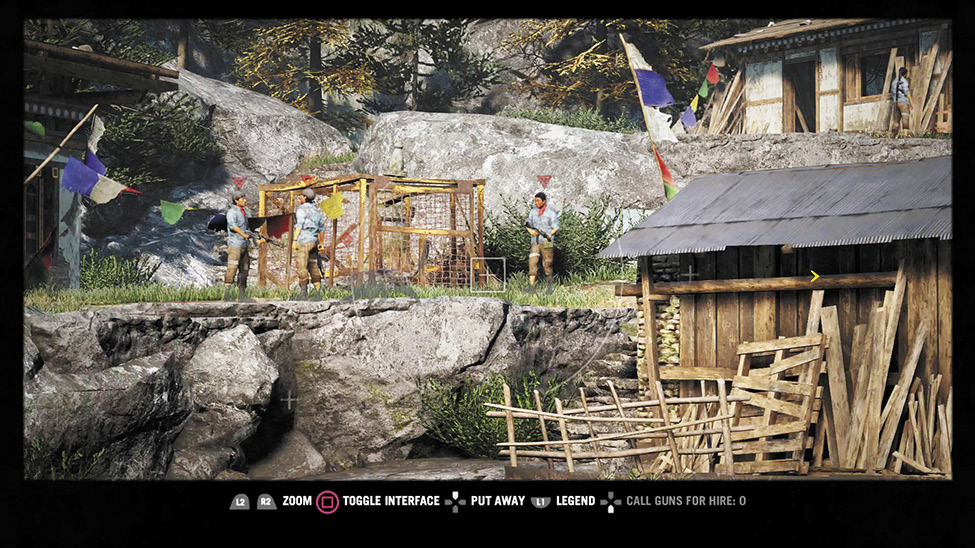
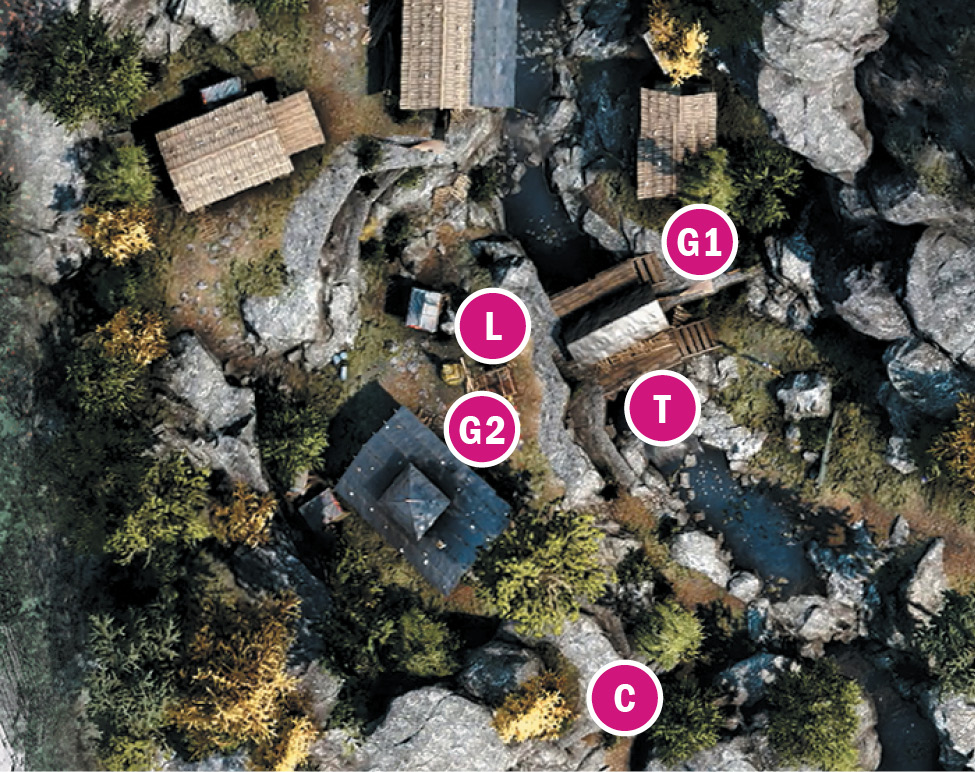
 Snow leopard cage
 Guard on patio
 Guards at cage
 Tunnel under house
 Climbable ledge
Like most battles in Far Cry 4, you can approach this situation any way you like. A direct assaulter can go in guns blazing (take the two enemies on the right out first, then climb the ledge or the stairs to get to high ground and plenty of cover). A stealthy player can sneak up the river’s left bank (look for the climbable ledge on the far left), hide behind the large building against the mountain, and set about systematically luring each guard to his doom. Or you could try our favorite method: climb the cliffs in the northeast, shoot the leopard cage’s door frame, and watch the show.
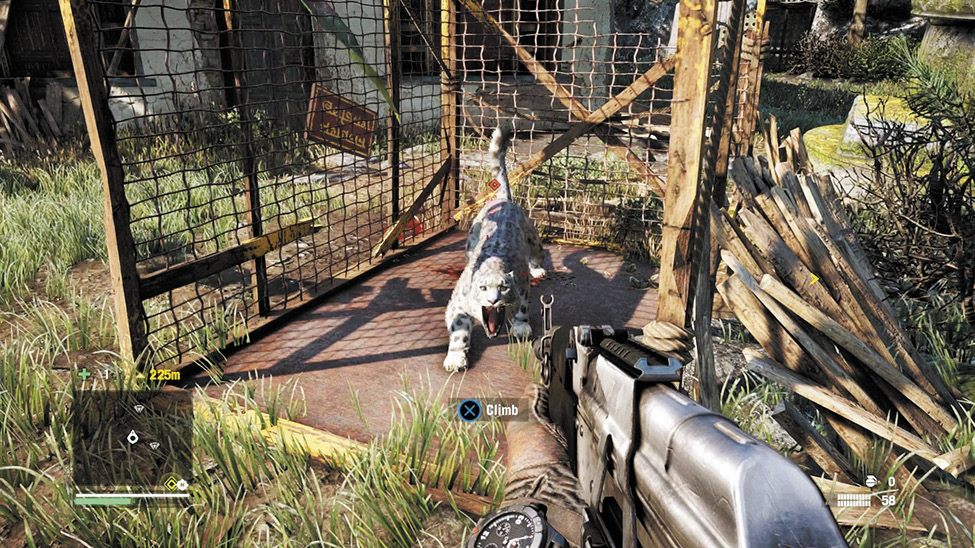
Snow leopards hate cages, gunfire, grenades, and frankly, all humankind in general. Don’t plan on petting one.
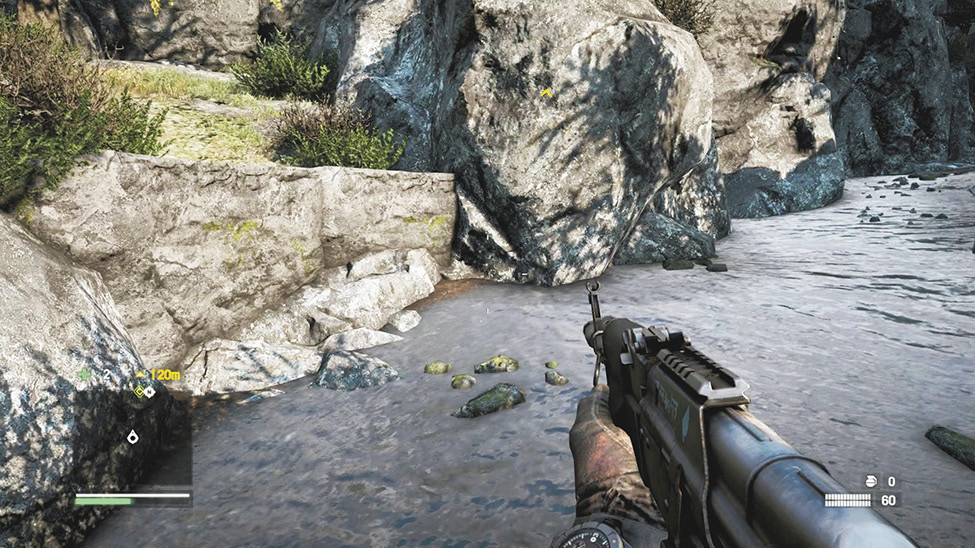
After you’ve searched the bodies, skinned the second leopard, and scoured the camp for ammo, letters, and chests, follow the river upstream. When you see a climbable ledge on your left, take it.
Follow the goat-like bharals up through the narrow cliffs. When you get to the gap, take a running leap. Then continue up the trail until it dead ends and a voice instructs you to learn how to climb a rope.
At the top, you’re reunited with Sabal just in time to defend a tower from an attack.
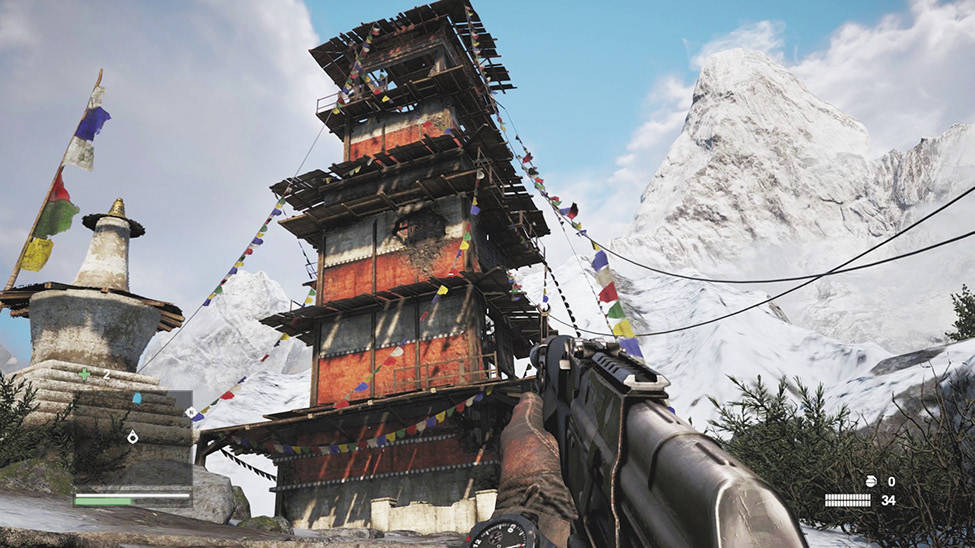
This is one of the nicer bell towers you’ll encounter.
Load up on ammo and head up to the balcony, where you’ll have a great angle on Min’s soldiers as they swarm down snowy “lanes” to your right and left. If you can take the heat, feel free to run down and loot some corpses.
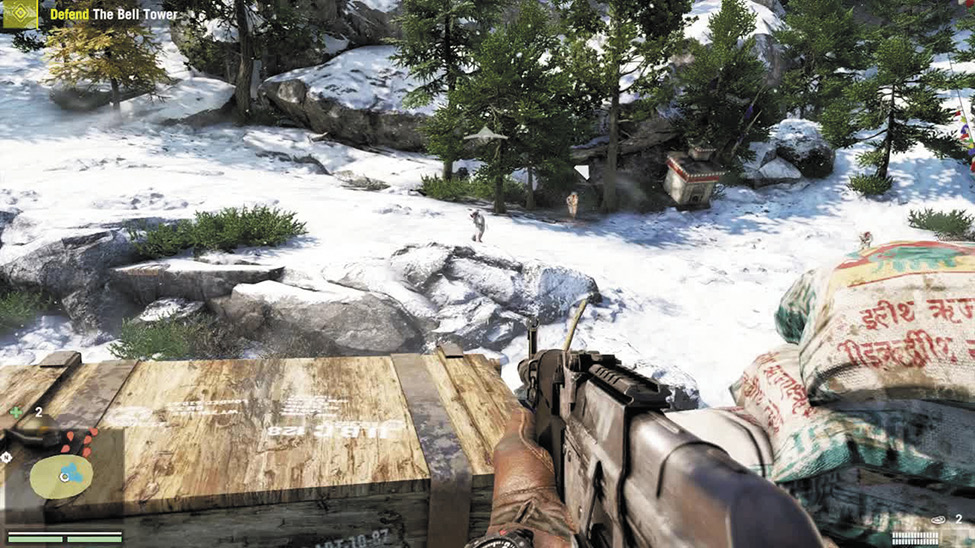
Eventually, the mountain itself will bring both the conflict and your introduction to Kyrat to a catastrophic end.
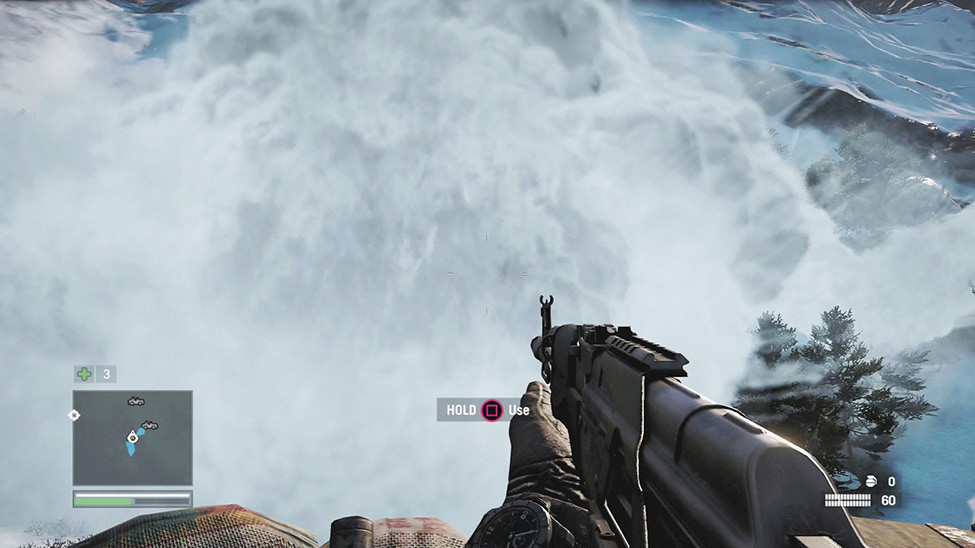
Sabal saved your life twice in less than an hour. Talk about good first impressions . . . .