Far Cry 4 Guide Campaign Missions
The Sleeping Saints
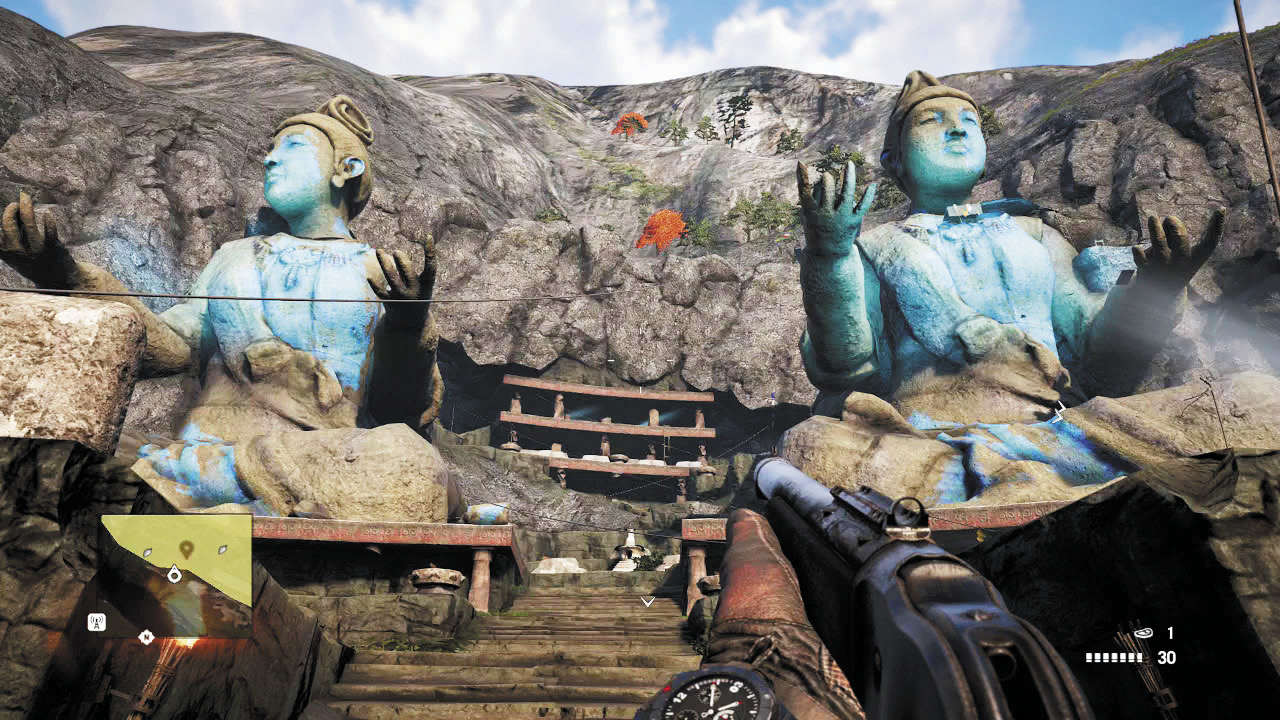
Your next assignment is to protect some super-sized Kyra statues from De Pleur’s demolitionists. But when you arrive on the scene, the giant gate is closed. Grab the poster left of the door and keep walking north to reach a downward-sloping trail and a frankly brutal sequence of grapples and jumps.
When you reach the outcropping that seems to be a dead end, look up to find a grapple point.
As you pull yourself up, the action will start—by which we mean something explodes. Crouch on the steps as several soldiers head slowly up the main stairs, then take the opportunity to wipe out the assaulters left nearby. Hopefully, you have the Knife Throw takedown by now. If you don’t, shooting the ammo crate will even the odds, but blow your cover.
Trail the surviving workers up the stairs, stealth-killing each one as you catch up to them (or just firing away, if you’ve abandoned stealth). If you do get spotted, two things will happen. First, the countdown timer will start. And second, berserkers and beheaders will come out of the woodwork. Don’t worry. You have plenty of time. Just mow them down and be aware there are two more soldiers (one a sniper) on the balcony-like area above—which is also your destination.
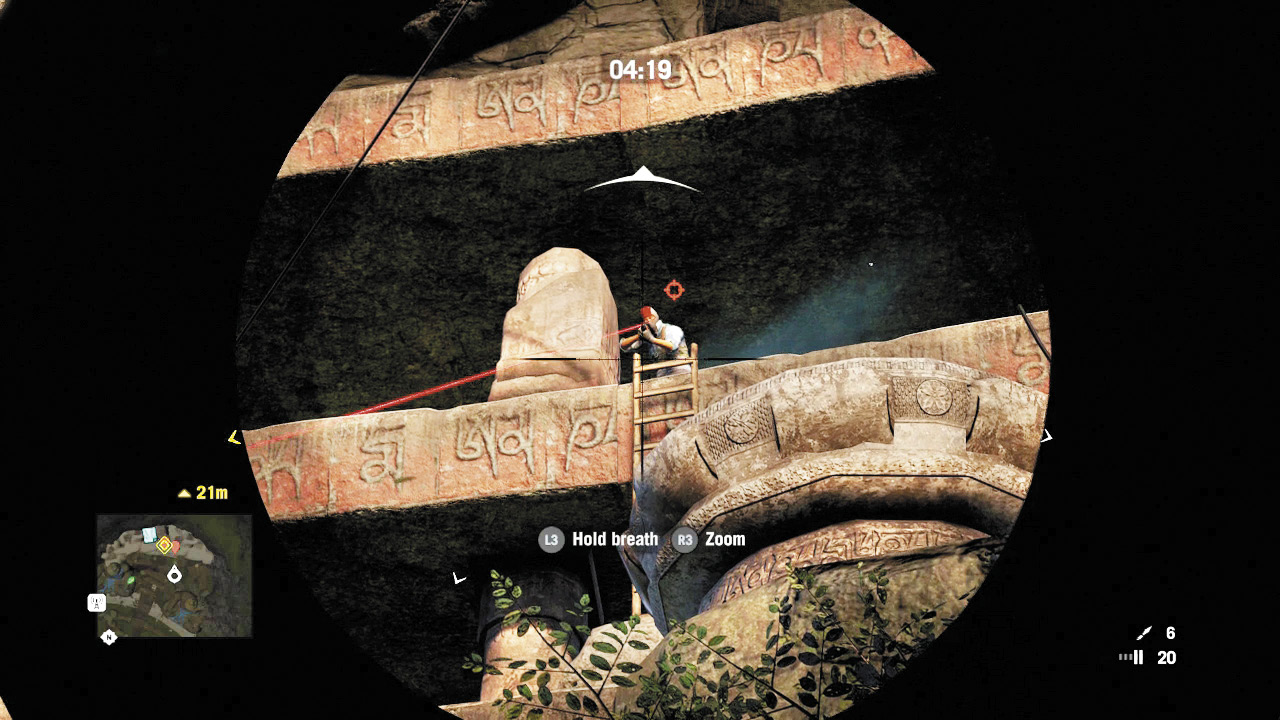
You can reach the spotlight level via the regular stairs (the guards are looking out, not down) and if you’re careful, you can do a double takedown up here as well. Be sure to stock up on ammo (assuming you’re even used any) and notice the SVD sniper rifle, health pack, and poster here for the taking. Most importantly, note the rocket launcher leaning against a crate. Go ahead and grab that. You’ll want it. Finally, defuse that detonator.
Now the real action begins.
Trucks of reinforcements will arrive in several waves, but you now have a four-step plan to stay alive and fend off the invaders.
Step 1: Place mines on both side stairways. You could drop extras in the grass by the ledge as well.
Step 2 [optional but advised]: RPG the trucks as they arrive.
Step 3: Pick off the foot soldiers as they run up the stairs below. They’re especially vulnerable as they pull themselves up ledges.
Step 4: Grab your shotgun, flamethrower, or whatever close-range death-spewing device you favor and bounce between the two side stairways, wiping out anyone left. When that’s done, reload, resupply, and return to step 1.
Eventually, troops will start to arrive by helicopter as well. Swat them from the sky with the RPG—especially the copters that shoot back. The gunners on those things have incredible aim.
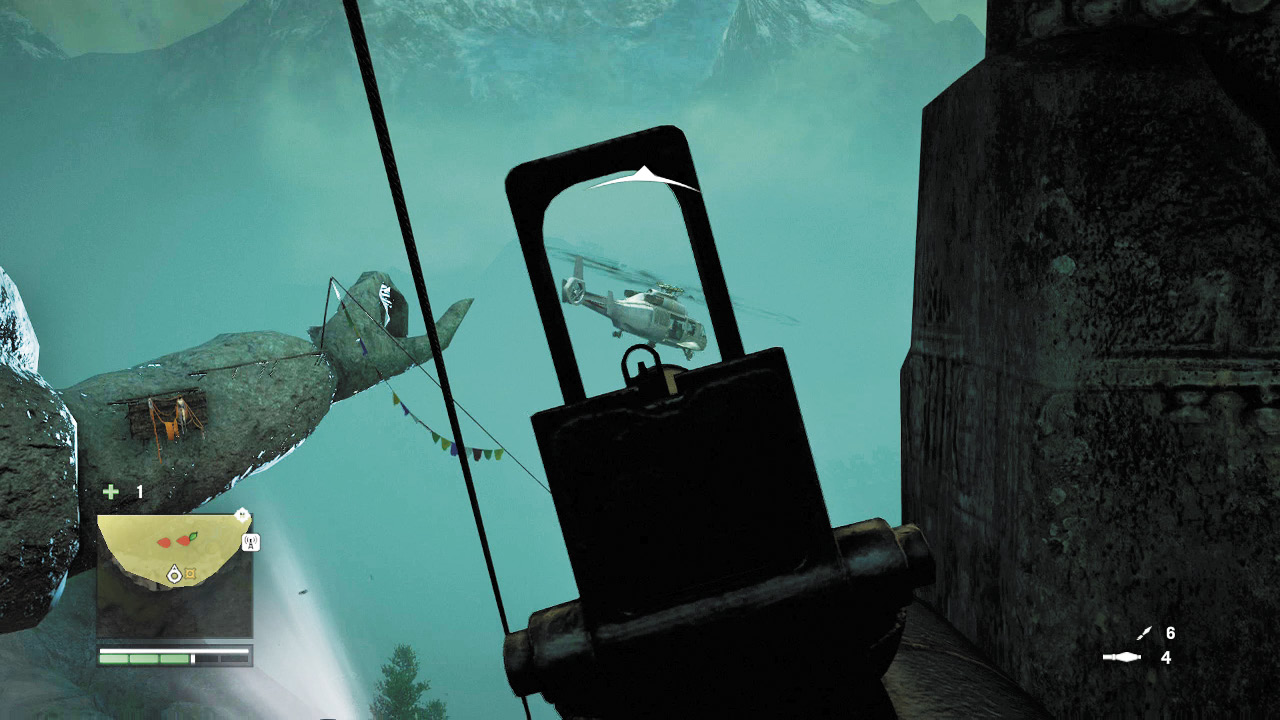
Once that’s done, the remaining baddies are a cinch to mop up. Your final act in this mission will depend upon whom you supported in the previous mission.
Sabal’s Ending
If you’re Sabal’s puppet, he’ll ask you to light the fires in the remaining statue’s hand, to encourage the people of Kyrat. That means climbing.
Head down the west-side steps and you should see a stairway leading to a platform with a ladder leading up behind the statue’s neck. This will take you to a wooden walkway and an ammo crate. Here the path splits and you have two options. Follow the walkway around the statue’s neck, to the right.
More enemies will arrive during this process, but they’re so far below, this is a fish in a barrel kind of situation for you. When the walkway dead-ends, use a flare gun or Molotov to light the right hand’s brazier.
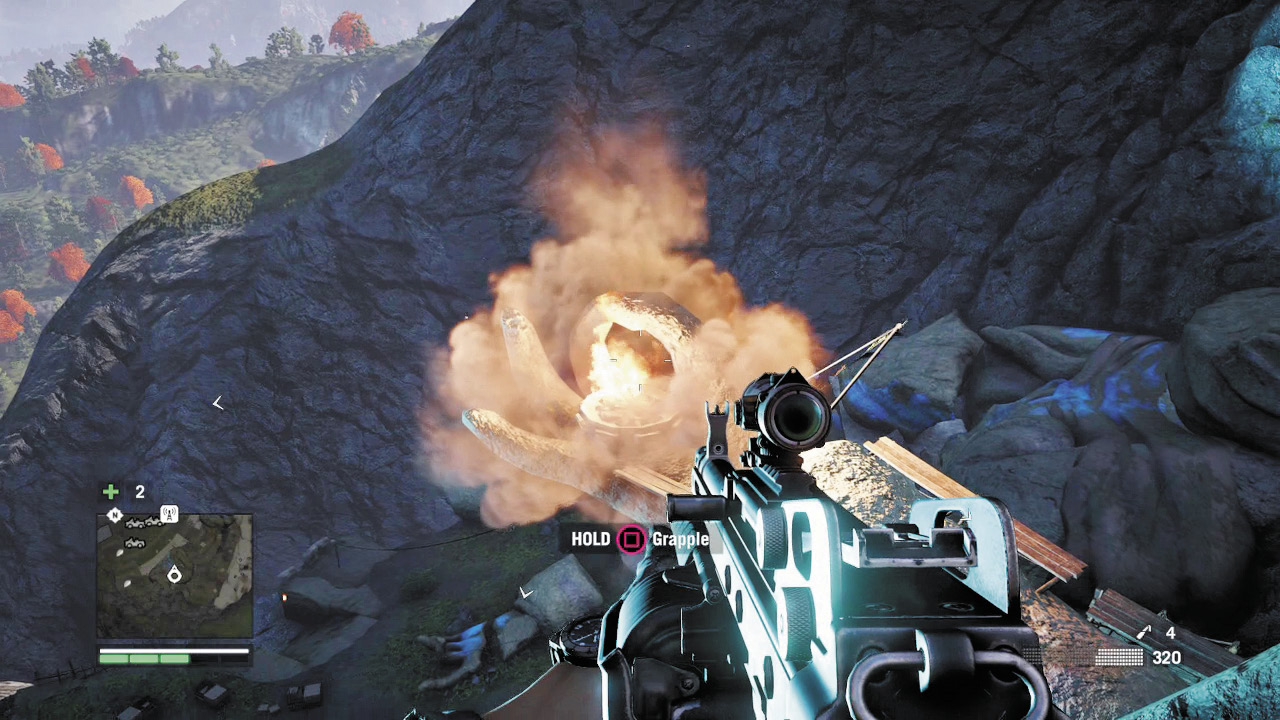
You can do the same with the left brazier, or if you’d rather not waste the ammo, backtrack and descend the two ladders near the zipline to light the brazier by hand. Mission complete.
Amita’s Ending
If you’re dancing to Amita’s jig, she’ll tell you to find a way to block off the road to the statues so Sabal isn’t tempted to waste soldiers defending them. Head down the west-side steps and you should see a stairway leading to a platform with a ladder leading up behind the statue’s neck. This will take you to a wooden walkway and an ammo crate. Take the zipline just past the crate and drop onto the path it leads to. You should find yourself traipsing—as in, alternating between land, grapple swings, and boards hammered into the mountainside—along an elevated path running parallel to the gated-off entrance road.
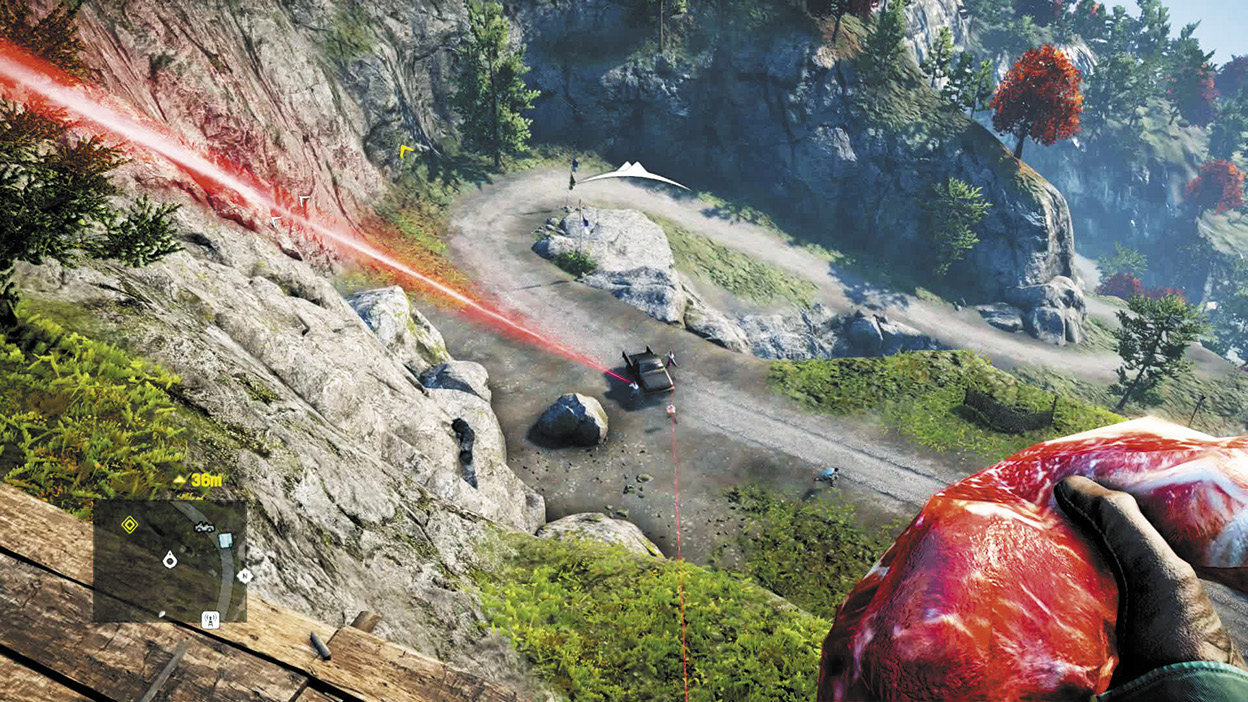
De Pleur’s troops will assault you from the road, but they’re so far below you, their odds of hitting you are slim. Still, a couple will have sniper rifles, so go ahead and take them out.
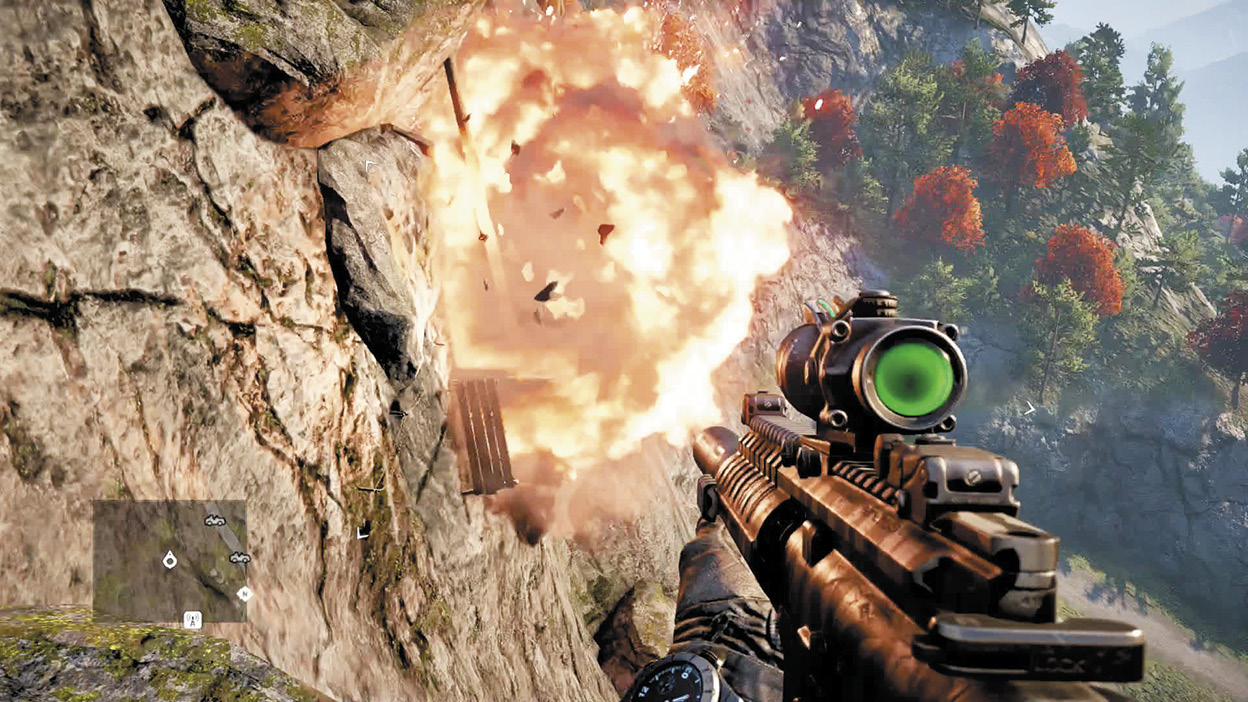
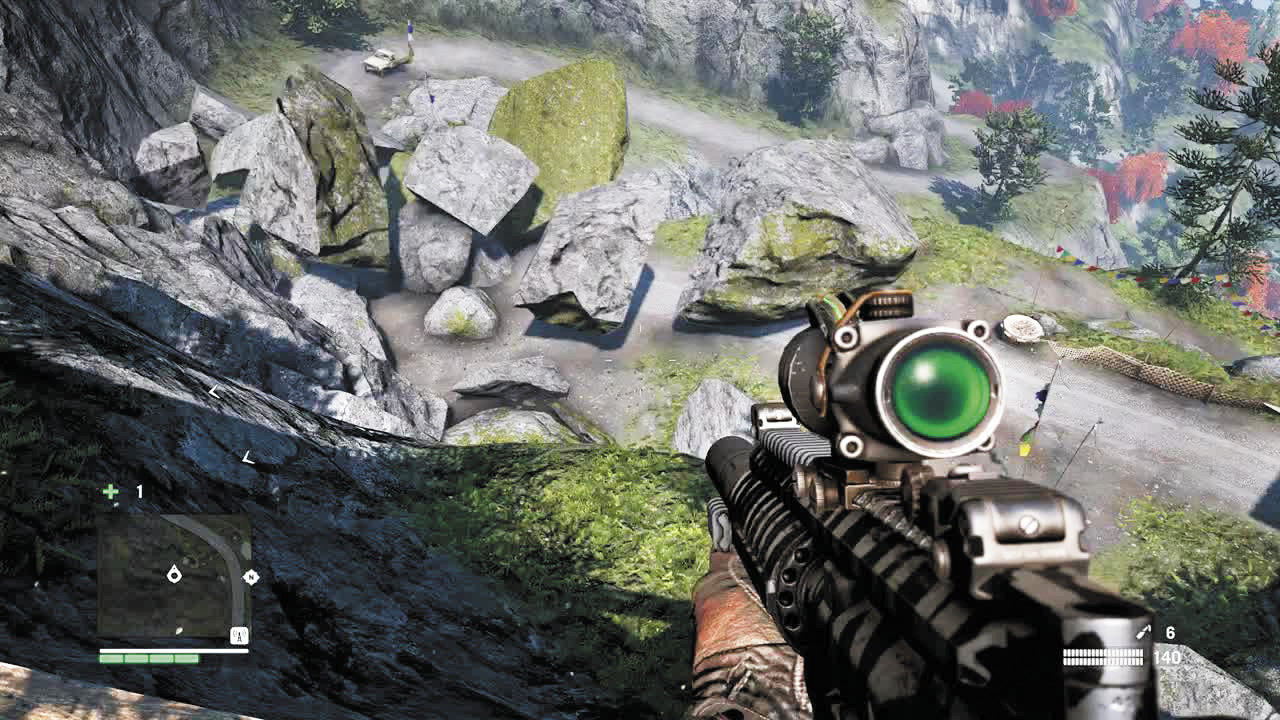
A short distance up the path, the wooden platforms will completely break down, but there’s a grapple point higher up on the cliff. From there, you’ll have a clear shot at your real target: a huge slab of rock hanging over a stockpile of explosives De Pleur’s men were using to destroy a small shrine. Toss a grenade or other destructive device their way and watch the show.